
There are certain desserts that just feel like coming home, you know? Those classic American sweets—creamy, cool, and ridiculously easy—are the ones I always turn to when I need a guaranteed win. Forget turning on that warm oven in the middle of July; we are keeping things chilled and simple today! I’m thrilled to share my absolute go-to recipe for the **best Oreo pie** you’ll ever make. Seriously, this is an incredibly easy, **no bake Oreo pie** that comes together in under 20 minutes of active time. It’s that perfect, nostalgic cookies and cream flavor, captured in a dessert that travels well and disappears instantly at any gathering. If you love a good no bake ice cream pie, you are going to adore this! Trust me, this chilled pie recipe is about to become a staple in your own kitchen.
- Why This No Bake Oreo Pie Recipe is Your New Favorite Easy Oreo Dessert
- Ingredients for the Best Oreo Pie
- How to Make This No Bake Oreo Pie Step-by-Step
- Tips for Success When Making Your Homemade Oreo Pie
- Serving Suggestions for Your Oreo Pie
- Storage and Make Ahead Dessert Tips for Your Oreo Pie
- Frequently Asked Questions About the Oreo Pie Recipe
- Nutritional Estimates for This Creamy Oreo Dessert
- Share Your Experience Making This Simple Oreo Treat
Why This No Bake Oreo Pie Recipe is Your New Favorite Easy Oreo Dessert
I’ve got a few desserts that the family demands every single time we have company, and this flavor combination is right at the top of that list. Why do people go wild for this oreo pie recipe?
- It’s the perfect quick dessert recipe—seriously, active prep is lightning fast!
- It delivers that rich, thick cookies and cream pie experience without any heat involved.
- It’s the ultimate easy oreo dessert for casual weeknights or huge holiday bashes.
If you need something impressive that you can whip up after dinner, this is it. We even have a pudding base swap for those who want something slightly different!
Prep Time Under 20 Minutes for Your Oreo Pie
You heard me right—we’re talking about 20 minutes max of actual work. Since this is a complete no oven dessert, you dump the crust ingredients, mix up the filling, and that’s it for the active cooking. The rest is just waiting for the fridge to do its magic, which is perfect for when you’re busy!
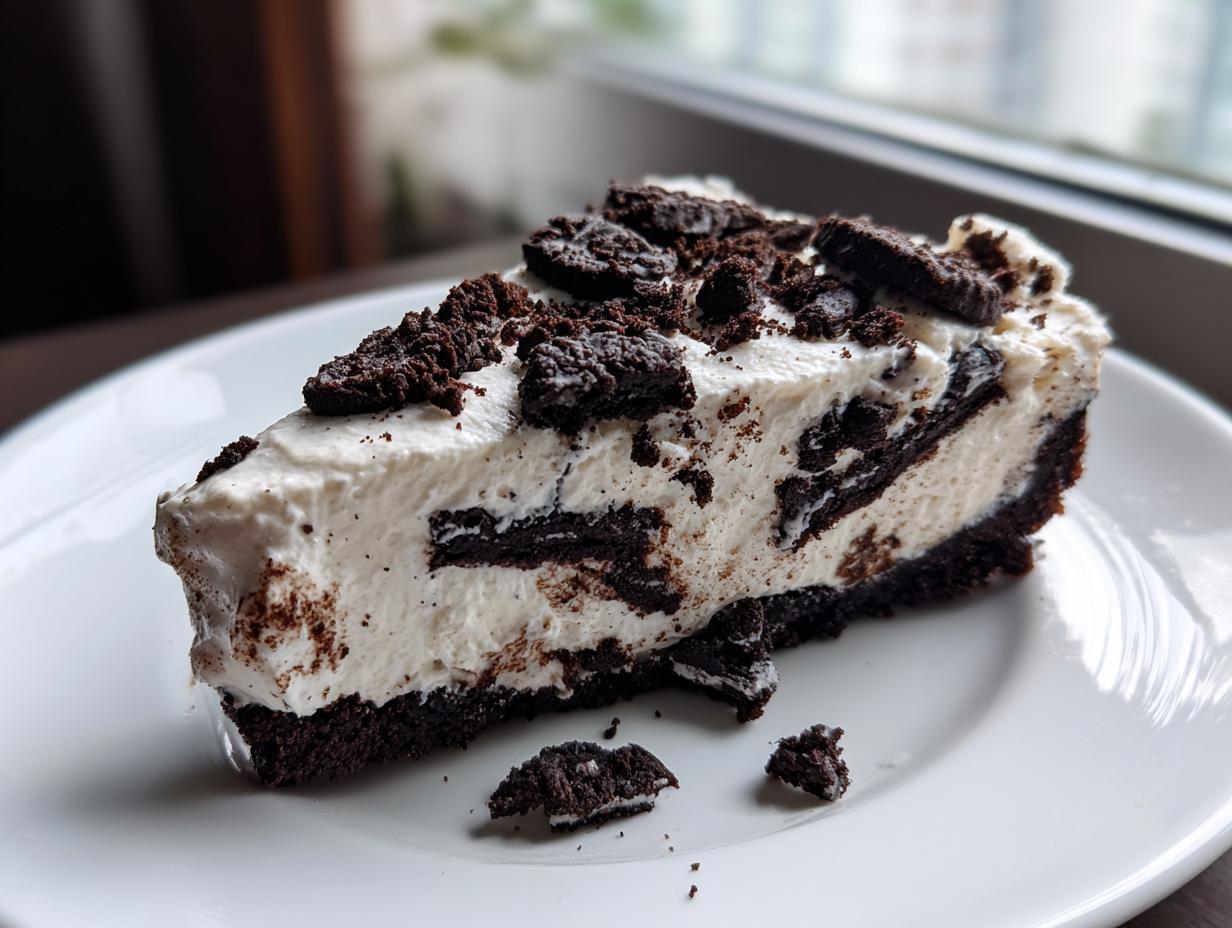
The Creamy Oreo Dessert Texture You Crave
My favorite part is definitely the texture. We aren’t going for a dense cheesecake here; we are aiming for ultra-light and cloud-like! This filling achieves that perfect fluffy oreo filling that melts in your mouth. That smooth, slightly tangy base from the cream cheese just makes the crushed Oreos sing.
If you want to see another great recipe that uses Oreos in a truly fun way, check out my easy dirt cake recipe!
Ingredients for the Best Oreo Pie
Okay, are you ready for this list? It’s ridiculously short, which is why this **Oreo Pie Recipe** is such a lifesaver. Remember, quality ingredients make a huge difference, even in a simple dessert like this! You’ll need everything ready to go before you start mixing because once we get going, this homemade Oreo pie comes together fast. Don’t forget you’ll need a standard 9-inch pie plate for everything to fit perfectly.
- 1 1/2 cups finely crushed Oreo cookies (that’s about 30 cookies whole!)
- 6 tablespoons unsalted butter, melted smooth
- 1 (8 ounce) package of cream cheese, make sure it’s softened up nicely
- 1 cup powdered sugar, sifted if you want to be extra careful
- 1 teaspoon pure vanilla extract
- 1 (12 ounce) container frozen whipped topping, completely thawed
- 1 cup crushed Oreo cookies, reserved just for that beautiful top layer
If you’re looking for another amazing dessert recipe using simple ingredients—maybe something with peanut butter?—you should check out my peanut butter cup cookies recipe!
Ingredient Notes and Substitutions for Your Oreo Pie Recipe
I always like to give you a couple of little secrets, so here are some adjustments if you need them. If you don’t have the frozen whipped topping on hand, don’t panic! You can whip 1 1/2 cups of heavy cream until stiff peaks form. Just fold that in gently instead. That’s a great tip for a richer, more decadent feel.
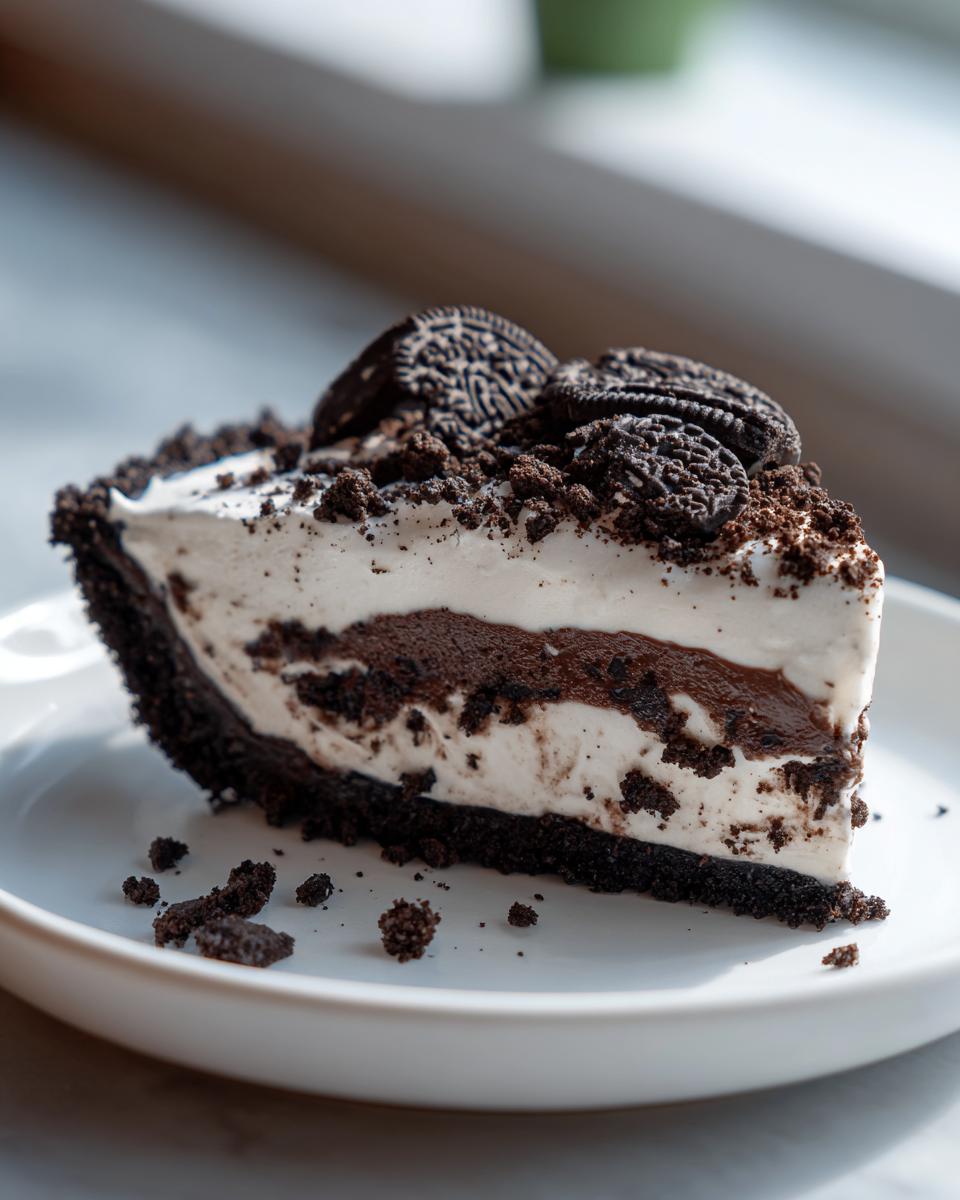
Also, remember how I mentioned swapping out the base? If you want to pivot away from the cream cheese entirely, you can definitely use a large box of instant chocolate pudding instead. Just mix that pudding according to what the box says, and then gently fold in the whipped topping. It transforms it into a light, mousse-like chocolate cream pie with Oreo crust—still delicious, just a different vibe!
How to Make This No Bake Oreo Pie Step-by-Step
This is where the speed really matters! Since we are keeping everything quick for this awesome chilled pie recipe, you just follow these steps right in order. Don’t rush the chilling part, though; that’s the secret handshake for a perfectly set oreo pie!
Creating the Chocolate Cookie Crust Dessert Base
Grab your 9-inch pie plate! First up, mix those 1 1/2 cups of crushed Oreos with the melted butter until everything looks uniformly dark and damp—like wet sand, basically. Press that mixture really firmly into the bottom and creep it up the sides of the plate. Really pack it down so it holds together! Pop that crust straight into the freezer while you handle the filling. Now, listen up: for a super sturdy crust that won’t crumble, my notes say you *can* bake it at 350°F for 10 minutes, but honestly, freezing it works perfectly fine for this chocolate cookie crust dessert!
Mixing the Fluffy Oreo Filling
Time to get that filling fluffy! First thing’s first: beat your softened cream cheese until it’s completely smooth—no lumps allowed, or your final slice won’t be an amazing creamy oreo dessert. Once smooth, whip in your powdered sugar and vanilla until everything is just combined. The final step is folding! Gently, I mean gently, fold in your thawed whipped topping. We need to keep all those air bubbles in there to make it light. If you overmix this part, you lose the fluff! Then, just spread that dreamy filling right into your frozen crust.
Once assembled, cover it up and let it chill for a minimum of four hours. I usually just leave it overnight when I make this quick dessert recipe; that way, it’s firm and ready to go the next day. If you need more tips on whipping up desserts in a hurry, check out how I make cake mix cookie bars!
Tips for Success When Making Your Homemade Oreo Pie
Making this homemade Oreo pie is usually foolproof because we aren’t baking, but there are a few things I always push people to remember for that absolute, perfect texture. No one wants a runny middle or a crumbly crust, right? Keep these confidence-boosting tips in mind!
- Crumbs need commitment! When you press the crust, really use the bottom of a flat measuring cup to pack it down tight. A loose crust means a messy slice later on.
- Softened doesn’t mean melted cream cheese! If your cream cheese is too warm, your filling will never set up right. It should be barely pliable when you start beating it.
- Don’t treat the whipped topping like cake batter. You must fold it in, my friends. Use a rubber spatula and cut down the middle and scrape up the sides. Overmixing kills the air, and we need that air for the fluffy oreo filling!
If you want to practice your whipping skills outside of this recipe, I have a great homemade cocoa powder recipe that starts with perfectly whipped cream!
Serving Suggestions for Your Oreo Pie
This incredibly easy oreo pie is already a showstopper, but sometimes you want to dress it up a tiny bit, especially when it’s the star of your party dessert ideas spread. Since it’s so rich and chocolatey, I love keeping the toppings simple so they don’t fight the cookies and cream flavor.
A light drizzle of high-quality chocolate syrup tastes amazing, but if you want something fresh to cut through that richness, grab some fresh raspberries or sliced strawberries. The tartness is just heavenly against the sweet cream. Also, honestly? A strong, hot cup of coffee served alongside makes this an adult dream dessert.

If you’re serving a big crowd and want something warm to balance out the cold pie, you should try my recipe for whipped hot chocolate—it’s an unexpected pairing that everyone loves!
Storage and Make Ahead Dessert Tips for Your Oreo Pie
This is one of the best things about making this no bake Oreo pie: it is the ultimate make ahead dessert! Seriously, the longer this pie sits in the fridge, the better the crust texture settles against that creamy filling. You want that nice, unified texture. Since this is a chilled pie, you absolutely cannot try to reheat it—that’s just asking for melted disaster!
You can safely store your finished pie, covered loosely with plastic wrap, in the refrigerator for about three to four days. I often make this on a Tuesday, and it’s still fantastic when we eat the last slice on Friday night. That chilling time helps the cream cheese base firm up wonderfully.
If you’re prepping for a big party, aim to have it fully assembled and chilled for at least 8 hours, or preferably overnight. It makes party day so much less stressful since all you have to do is pull it out, sprinkle on those last few crushed Oreos, and slice away! If you need another make-ahead favorite, you have to try my easy dirt cake recipe next; it keeps beautifully!
Frequently Asked Questions About the Oreo Pie Recipe
I know you probably have some burning questions about making sure your **oreo pie** gets that perfect creamy set! It’s normal to wonder about swaps, especially if you’re missing an ingredient or want to make this oreo pie recipe work for guests with different needs. I’ve gathered up the most common things folks ask me about this wonderful simple oreo treat.
Can I use a different cream base instead of cream cheese for this Oreo Pie?
You absolutely can change up the base, which is nice because it means you can customize your cookies and cream pie! If you mentioned in the recipe notes that you want to skip the cream cheese, you can swap it out for one large box of instant chocolate pudding. Mix that pudding according to the package directions, and then gently fold in the thawed whipped topping. This gives you a lighter, more mousse-like slice—a delicious chocolate cream pie with Oreo crust alternative! For the absolute lightest result possible, you could even skip the sugar and just whip heavy cream with a bit of vanilla until stiff, then fold that into the mix.
What is the minimum chilling time required for the No Bake Oreo Pie?
This is critical for any chilled pie recipe! If you are in a massive rush and absolutely need a slice within the same day, the minimum chilling time for this no bake oreo pie is four hours. That’s long enough for the filling to firm up nicely against that buttery crust. But, and this is my strong advice from years of baking this, the texture is truly superior if you chill it overnight! When it sets overnight, the cream cheese blends perfectly with the crumb, giving you that unbelievably smooth slice.
If you are looking for another fantastic make-ahead dessert that sets beautifully in the fridge, check out my recipe for brownie refrigerator cake—it’s incredibly easy!
I also often get asked if you can use other sandwich cookies. While I think Oreos are king here, yes, you can certainly use any chocolate wafer cookie you prefer to make a crust for your easy oreo dessert!
Nutritional Estimates for This Creamy Oreo Dessert
Gather ’round folks, let’s talk fuel! While this creamy Oreo dessert is definitely a treat, sometimes it’s helpful to see what you’re working with. Keep in mind, these are just great estimates for one slice, based on the recipe as written. Because we all know how we customize things—maybe you use heavy cream instead of Cool Whip—your final count might look a little different!
- Per Serving: 1 slice
- Calories: About 410
- Fat: 26g
- Sugar: 32g
This is a fairly decadent oreo pie recipe, so enjoy every bite! If you want to see a lighter, fruit-forward dessert, try my easy moist plum cake recipe next time.
Share Your Experience Making This Simple Oreo Treat
Well, that’s it! You’ve now successfully made what I truly believe is the best Oreo pie out there—simple, reliable, and so darn delicious. I hope this no bake Oreo pie brings as much pure joy and nostalgia to your kitchen as it does to mine here at Cookin’ Corner.
I’m crossing my figures that it sets up perfectly for you! Once you’ve served it up (and trust me, it disappears fast!), I really want to know what you thought. Did you add the optional baking step for the crust? Did you stick with the cream cheese base or try the pudding swap? Please jump down into the comments and let me know your success story!
It means the world to me when you share photos of your simple Oreo treat online. Tag us so we can see your beautiful, chilled creation! And if you found this recipe a lifesaver on a busy night, please consider leaving a rating—it helps other home cooks find this classic dessert, too.
If you’re wrapping up this amazing dessert but still have that sweet craving, you absolutely must check out my recipe for the snickerdoodle cheesecake recipe next; it’s another guaranteed crowd-pleaser!
For more inspiration on quick desserts, someone else recently shared their take on this easy no bake Oreo pie recipe that I think you might enjoy, too. Thanks so much for baking with me today!
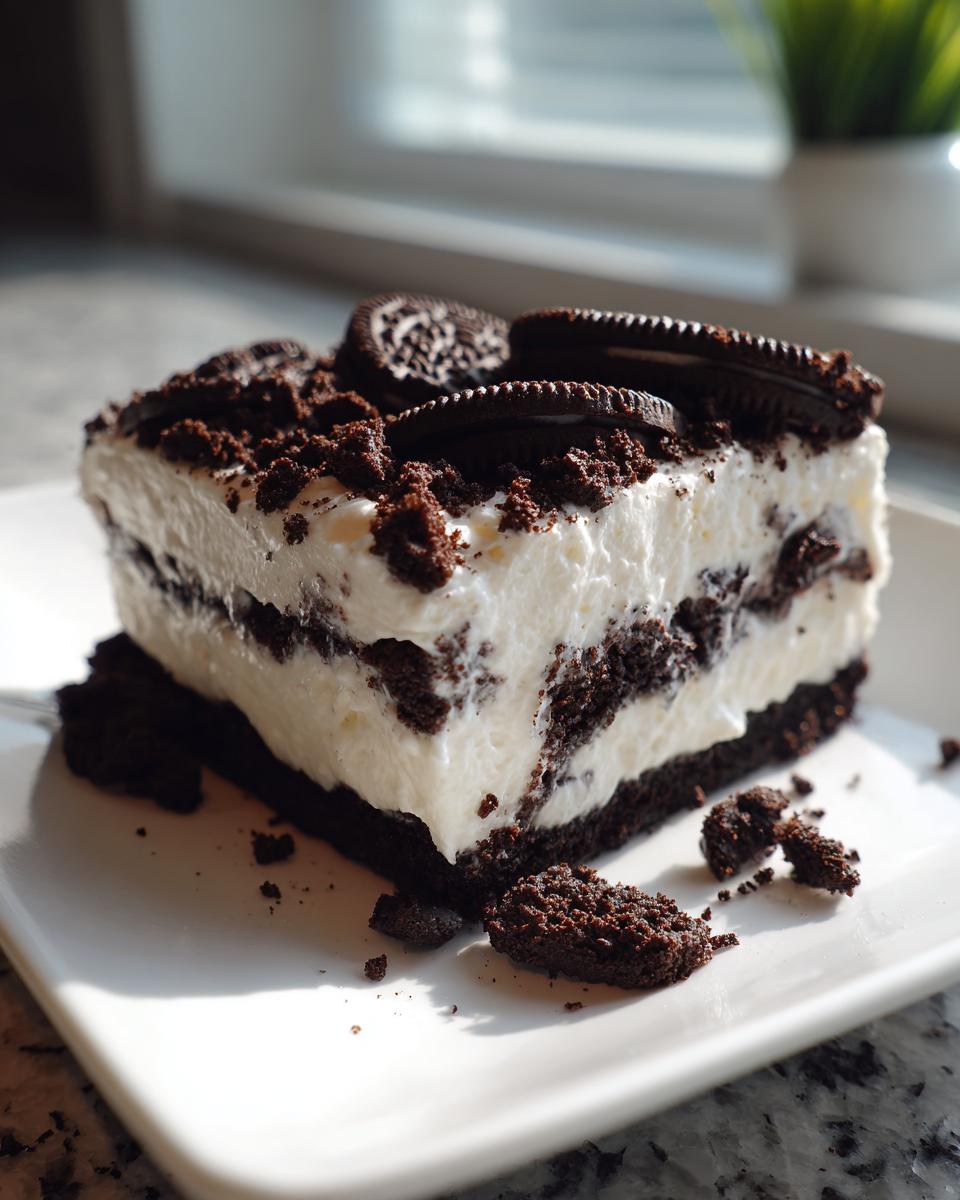
PrintEasy No-Bake Cookies and Cream Oreo Pie

You can make this simple, creamy Oreo pie without turning on your oven. It features a rich chocolate cookie crust and a light, fluffy cookies and cream filling. This is a quick dessert perfect for parties or a weeknight treat.
- Prep Time: 20 min
- Cook Time: 0 min
- Total Time: 4 hr 20 min
- Yield: 8 servings 1x
- Category: Dessert
- Method: No Bake
- Cuisine: American
- Diet: Vegetarian
Ingredients
- 1 1/2 cups finely crushed Oreo cookies (about 30 cookies)
- 6 tablespoons unsalted butter, melted
- 1 (8 ounce) package cream cheese, softened
- 1 cup powdered sugar
- 1 teaspoon vanilla extract
- 1 (12 ounce) container frozen whipped topping, thawed (or 1 1/2 cups heavy cream, whipped)
- 1 cup crushed Oreo cookies, for topping
Instructions
- Prepare the crust: Mix the 1 1/2 cups of finely crushed Oreos with the melted butter until the crumbs are evenly moistened. Press this mixture firmly into the bottom and up the sides of a 9-inch pie plate. Place the crust in the freezer while you prepare the filling.
- Make the cream cheese base: In a large bowl, beat the softened cream cheese until smooth. Add the powdered sugar and vanilla extract, beating until fully combined and creamy.
- Fold in the whipped topping: Gently fold the thawed whipped topping into the cream cheese mixture until no streaks remain. Do not overmix.
- Assemble the pie: Remove the crust from the freezer. Spread the creamy filling evenly into the chilled Oreo crust.
- Chill: Cover the pie loosely with plastic wrap and refrigerate for at least 4 hours, or until the filling is firm. For best results, chill overnight.
- Serve: Before serving, sprinkle the remaining 1 cup of crushed Oreos over the top of the pie. Slice and serve this chilled pie recipe immediately.
Notes
- For a firmer crust, you can bake the crust at 350°F (175°C) for 10 minutes, then let it cool completely before filling.
- If you prefer a chocolate pudding filling over the cream cheese base, substitute the cream cheese, powdered sugar, and vanilla with one large box of instant chocolate pudding mixed according to package directions, then fold in the whipped topping.
- This make ahead dessert tastes best when served cold directly from the refrigerator.
Nutrition
- Serving Size: 1 slice
- Calories: 410
- Sugar: 32g
- Sodium: 310mg
- Fat: 26g
- Saturated Fat: 14g
- Unsaturated Fat: 12g
- Trans Fat: 0.5g
- Carbohydrates: 42g
- Fiber: 1g
- Protein: 4g
- Cholesterol: 55mg