
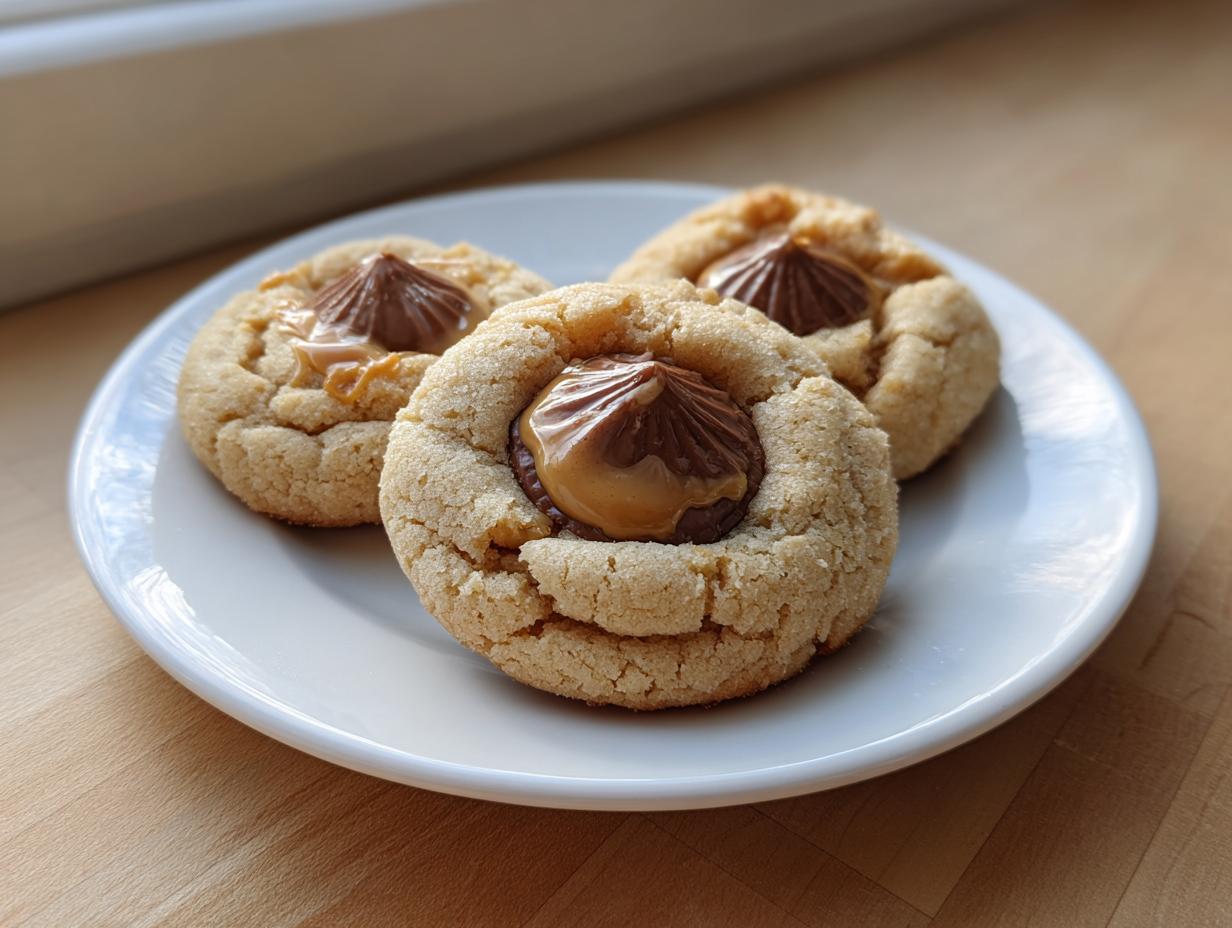
There are pairings in the kitchen that just *demand* to be together, and honestly, peanut butter and chocolate is at the very top of my list. If you’re anything like me, you know that slightly salty, wonderfully rich combination is pure comfort food magic. That’s why I’ve spent years perfecting these incredible peanut butter cup cookies. Trust me, they are worth every single moment, especially since they come together in less than 30 minutes total! Growing up in my grandma’s Midwest kitchen, we learned that comfort baking is the best baking, and these cookies sure pass that test. They are soft, they are chewy, and they taste exactly like home. If you love this flavor profile, make sure you check out my recipe for the easiest peanut butter cookies sometime, too!
- Why You Will Love These Peanut Butter Cup Cookies
- Essential Ingredients for Perfect Peanut Butter Cup Cookies
- Equipment Needed for Making peanut butter cup cookies
- Step-by-Step Instructions for Gooey Peanut Butter Cup Dessert
- Tips for Success with Soft Baked Peanut Butter Goodness
- Variations on peanut butter cup cookies
- Storage and Reheating Instructions for peanut butter cup cookies
- Frequently Asked Questions About peanut butter cup cookies
- Sharing Your Irresistible Chocolate Candy Cookies
Why You Will Love These Peanut Butter Cup Cookies
Look, I know everyone has their go-to chocolate chip cookie, but when you want something truly special that still feels quick, this recipe is it. You absolutely need these in your baking rotation!
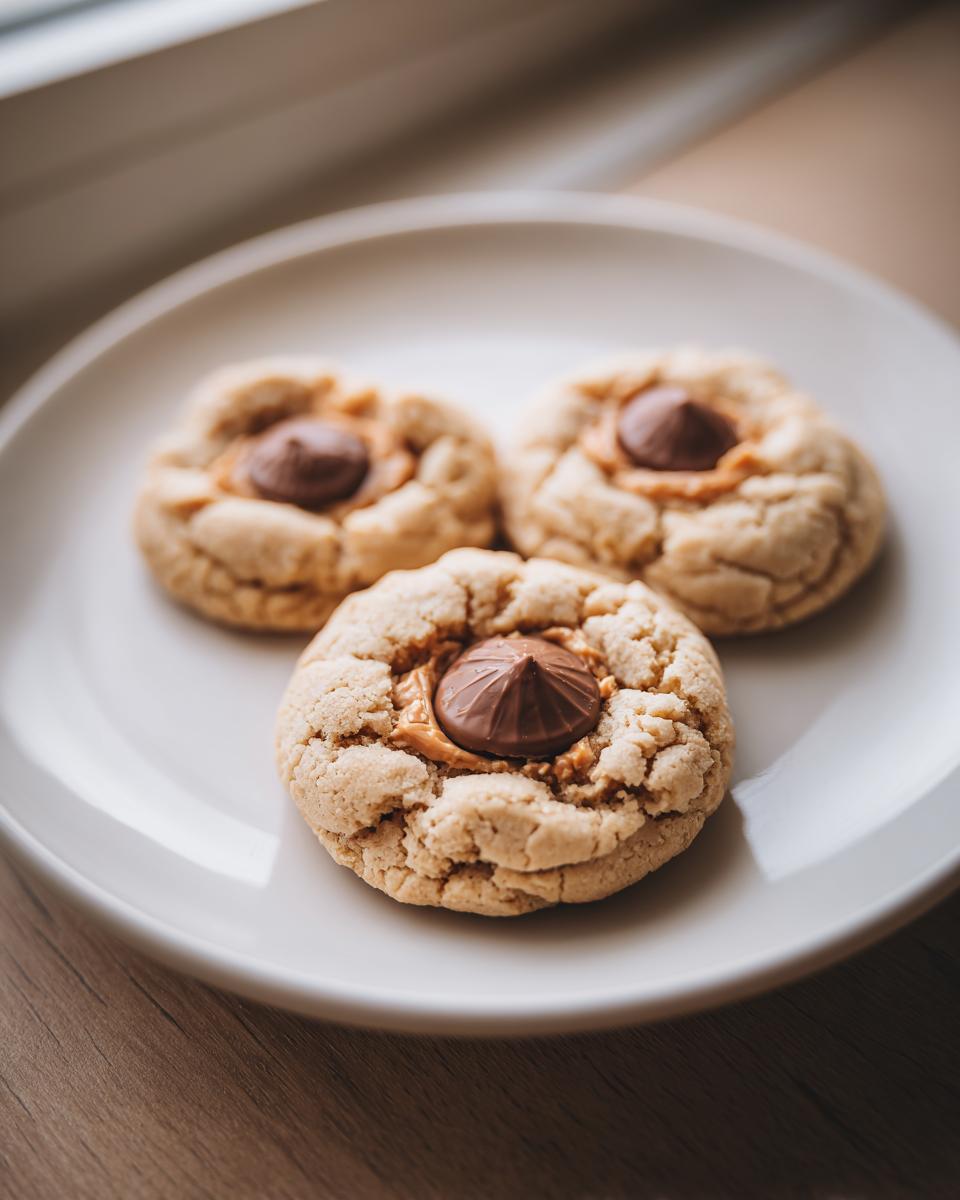
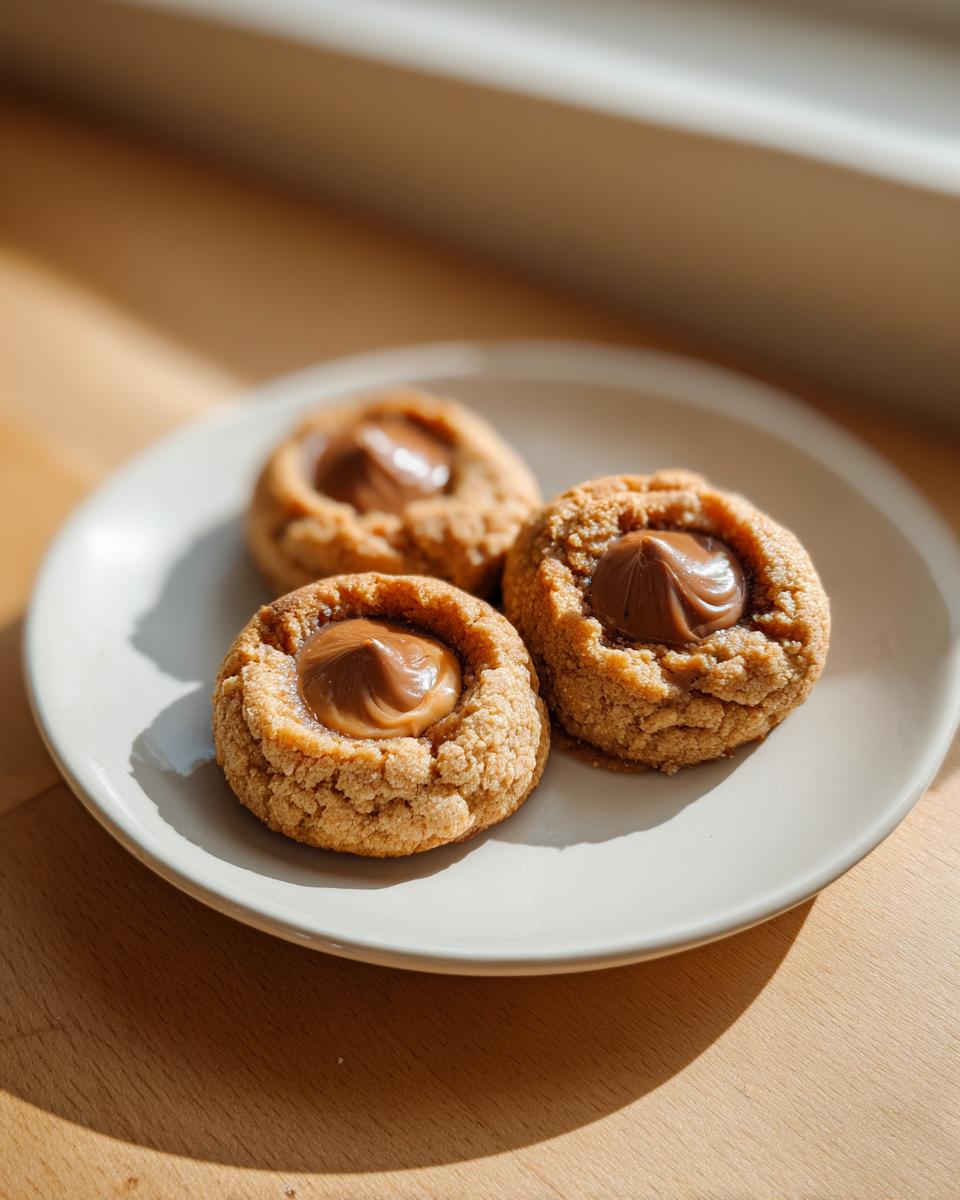
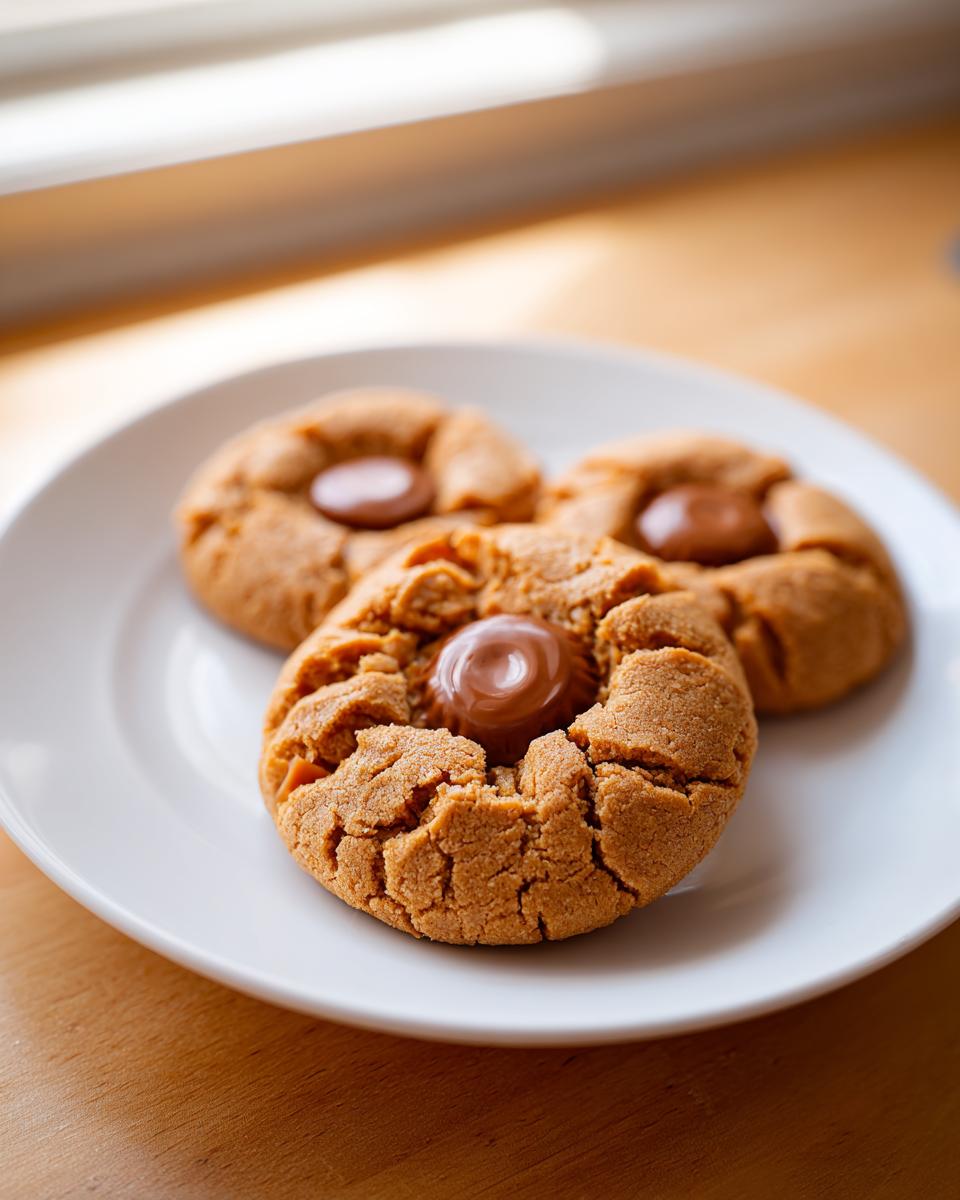
- Texture Perfection: We’re not making dry hockey pucks here! These are designed to be incredibly soft with a perfectly gooey, melted peanut butter cup center.
- Speedy Fix: Seriously, you can have these waiting to cool while you clean up. Total time is under 30 minutes, making them an ideal last-minute treat.
- Crowd Pleaser Alert: If you bring these to a potluck or a holiday gathering, they will disappear first. It’s that perfect balance of chocolate and peanut butter that everyone chases.
Essential Ingredients for Perfect Peanut Butter Cup Cookies
When you’re aiming for that perfect decadent flavor, you gotta start with good quality components. This recipe uses classic items you probably already stock, but paying attention to the details—like softening your butter *properly*—makes all the difference. Remember, these are peanut butter cup cookies, so the main flavors need to shine through clearly!
Here’s exactly what you’ll need to gather up before you start:
- 1 cup (2 sticks) unsalted butter, softened
- ¾ cup creamy peanut butter
- ¾ cup granulated sugar
- ¾ cup packed light brown sugar
- 2 large eggs
- 1 teaspoon vanilla extract
- 2 ¼ cups all-purpose flour
- 1 teaspoon baking soda
- ½ teaspoon salt
- 1 cup peanut butter chips (optional, but I highly recommend them!)
- 12 standard-sized peanut butter cups (like Reese’s), unwrapped and halved
Ingredient Notes and Substitutions for Your peanut butter cup cookies
The most crucial part of this whole operation is the candy center. We use standard-sized cups, unwrapped, and then halved. This is key for getting that melted, gooey center when they come out of the oven! If you press them in too early, they just melt into the dough, which isn’t what we want here.
Now, about that peanut butter! I always call for creamy because it blends into the batter so beautifully, giving us that classic soft bake. But hey, if you love texture, using crunchy peanut butter instead will give you little surprise crunch factors throughout the dough. That’s totally allowed!
If you only have those little mini peanut butter cups on hand, just use more of them! Skip cutting them in half and just roll the dough ball around a whole mini cup. Just remember, if you swap sizes, you might need to adjust your baking time by a minute or two since the heat penetration will be different.
Equipment Needed for Making peanut butter cup cookies
You don’t need a massive professional setup to make these incredible peanut butter cup cookies. Honestly, I bake mine using the same basic tools I’ve had since I first moved into my own little apartment. Keep it simple, keep it clean, and you’ll be just fine!
Here’s a quick list of what you should have laid out on the counter before you dive into the creaming process:
- A good sturdy mixing bowl. If you have a stand mixer, use the paddle attachment—it makes creaming the butter so much easier. If you’re going completely old-school like my Dad taught me, a big wooden spoon and some elbow grease will work too!
- Measuring cups and spoons are essential for accuracy, especially when dealing with baking soda and salt amounts.
- Two medium bowls—one for your dry ingredients (flour mix) and one for quickly unwrapping those sweet little peanut butter cups.
- Baking sheets, of course. You’ll need two lined up if you’re making a full batch.
- Parchment paper! Please, please, please use parchment paper. It stops sticking instantly, and cleanup becomes a breeze. It’s the only way I roll these days for any holiday cookie recipes.
- A cookie scoop (or just two spoons) for portioning the dough evenly. Consistency here is key for even baking times.
Step-by-Step Instructions for Gooey Peanut Butter Cup Dessert
Okay, let’s get down to business! This is where the magic happens, and if you follow these steps exactly—especially around the mixing and the timing of adding those cups—you’ll nail that perfect, melt-in-your-mouth center. We’re aiming for something truly remarkable here, not just a regular cookie. Remember, these peanut butter cup cookies promise a total time under 30 minutes, so get your pans ready!
Preparing the Dough for Your peanut butter cup cookies
First things first: make sure your oven is preheated to 350°F (175°C) and your baking sheets are lined with parchment paper. Seriously, don’t skip the parchment if you want them to pop right off! In your large bowl, you need to cream the softened butter, peanut butter, granulated sugar, and that lovely packed brown sugar. Grab your electric mixer and go for about three full minutes until it looks light and fluffy—it needs that time to whip in the air!
Next, drop in your eggs one by one, beating well after each addition, followed by that splash of vanilla. Now, in a separate bowl, whisk your flour, baking soda, and salt together. When you add the dry stuff to the wet, go slow! Mix on low speed until *just* combined. I cannot stress this enough: if you overmix the flour, you invite gluten development, and that means cake texture instead of cookie chewiness. If you’re adding those optional peanut butter chips, fold them in right here. Stop mixing the second the streaks disappear!
Assembling and Baking the peanut butter cup cookies
Once the dough is ready, scoop out about two tablespoons worth of dough for each cookie and roll it gently between your palms. Flatten that ball slightly in your hand. This is the first secret to the *gooey* center: take one half of a standard peanut butter cup and press it right into the middle of the flattened dough, making sure the dough covers most of it up. You don’t want the chocolate exposed too much during the initial bake.
Place them on your prepared sheets, leaving plenty of space—about 2 inches—between each one so they have room to spread out. Bake these beauties for just 10 to 12 minutes. Watch them closely! You want the edges to look set, but the very center should still look a tiny bit soft and underdone. This slight rawness is crucial!
As soon as they come out of the oven, get ready for the second secret: immediately lay that second half of the peanut butter cup right on top of the hot center! Use the residual heat from the cookie to melt it perfectly into the top. Let them sit on that hot pan for five minutes to firm up just enough, then move them carefully onto a cooling rack. You can check out my technique for great dipping sauces for leftovers here, though I doubt you’ll have any: cowboy caviar recipe!
Tips for Success with Soft Baked Peanut Butter Goodness
I truly believe the difference between a good cookie and a spectacular one—especially one of these decadent peanut butter cup cookies—lies in how you handle the cooling! Don’t rush this part, even though these are quick to bake. After all that work creating that gooey center, we don’t want them falling apart.
The biggest trick for that irresistibly soft texture is baking them just slightly *underdone*. Pull them when the center looks puffed but still looks a little too soft for comfort. That residual heat continues to bake the cookie perfectly after it leaves the oven. Remember, for the best results, let them rest on that hot baking sheet for five minutes before you even think about moving them.
If you’re freezing dough balls for later, wrap them tightly and freeze them pre-scooped. Then, when you’re ready to bake, you can just pop them right onto the sheet and add 2–3 minutes to the bake time. It is a great way to have fresh cookies ready whenever a craving hits! For more foolproof soft baking tips, you can look over my guide for the best sugar cookie recipe.
Variations on peanut butter cup cookies
One of the things I love most about a great base recipe like this one is how easily you can make it your own! These aren’t set in stone—they’re just waiting for you to put your own spin on them. While I adore the classic version, sometimes you need a change-up, especially if you’re making a big batch for the holidays.
If you want to try something slightly different next time you make these peanut butter cup cookies, here are a few ways I like to switch things up:
- Ditch Creamy for Crunchy: As I mentioned before, swapping your creamy peanut butter for crunchy totally changes the texture experience. You get that lovely, familiar chew from the dough, but then you get these little pops of texture from the nuts themselves. It’s fantastic!
- The Chip Boost: Even though the chocolate cup is the star, I really push for adding those peanut butter chips into the dough batter like the main recipe suggests. This ensures that *every* bite has that sweet, salty peanut butter flavor infused throughout, not just where the candy is stuffed.
- Going Mini for Parties: If you’re baking for a big crowd or just want little bite-sized treats, making mini peanut butter cookie cups is a great idea. Just use mini peanut butter cups and watch the baking time carefully. They usually need about 8 to 10 minutes instead of the full 12. They bake up so fast, and they’re perfect for grazing!
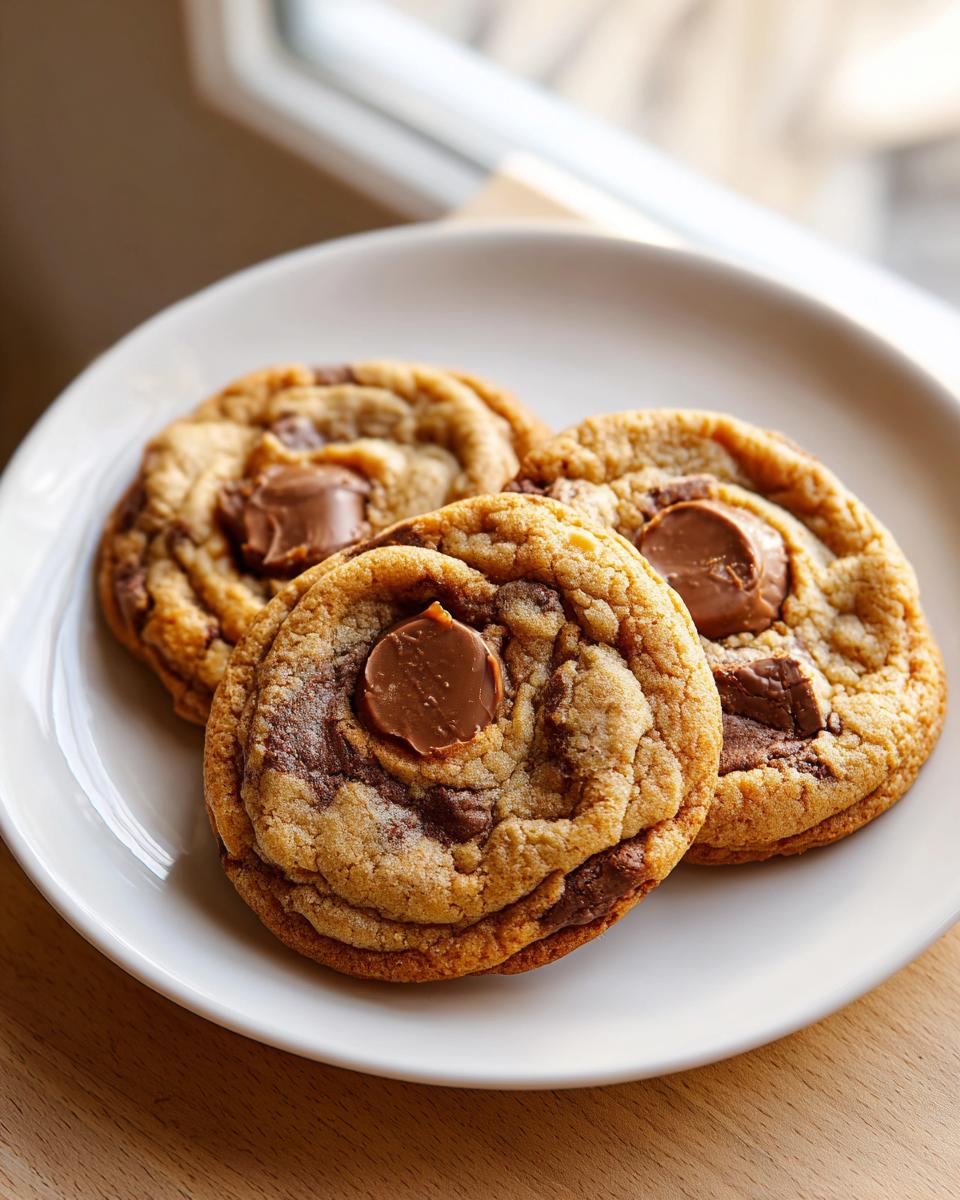
- The Swirl Effect: If you happen to have some leftover peanut butter frosting or even a little bit of melted chocolate on hand, you can skip the stuffing process entirely! Just bake the cookies as plain peanut butter cookies, and once they are warm, drizzle or swirl the topping gently over the top. That gives you a gorgeous chocolate peanut butter swirl cookie look without all the fuss of stuffing!
Honestly, the possibilities are wide open once you master the basic dough. Just remember that the timing of adding that second candy piece after baking is what guarantees that beautiful, gooey peanut butter cup dessert texture we’re aiming for!
Storage and Reheating Instructions for peanut butter cup cookies
Oh, these peanut butter cup cookies are dangerous because they are so easy to eat right off the cooling rack in one sitting! But if you manage to save a few—and you will want to save a few, especially since they stay soft for days—you need to know how to keep them tasting like they just came out of the oven.
Luckily, because of that buttery, rich dough we made, these cookies are excellent keepers! You don’t need to worry about complicated freezing or refrigeration unless it’s summer and your kitchen gets really hot; otherwise, room temperature is where these happiest.
Here’s my rule for keeping that soft, chewy texture intact for up to four days:
- Airtight Container is Non-Negotiable: Always store your cooled cookies in an airtight container. I use sturdy plastic containers with snap lids, but a simple zip-top bag will work if you squeeze all the air out. Exposure to air is what turns any wonderful cookie stale, so seal them up tight!
- Room Temperature Only: Keep the container on the counter. This is important for these cookies because refrigeration can sometimes make that peanut butter filling inside the cup a little too firm. We want that lovely give when you bite into it, remember?
- The Four-Day Window: These are best eaten within the first two days, naturally, but the recipe notes say they hold up beautifully for about four days at room temperature. After that, you might notice they start to firm up just a tiny bit.
Now, what if you do have some that got a little too firm after day three? Don’t throw them out! Reheating is super easy. I just pop one or two on a microwave-safe plate and hit it for about 8 to 10 seconds. That little burst of warmth brings the chocolate right back to life and softens the dough again. If you want to get crazy, you can heat them up alongside an ice cream scoop for the ultimate quick dessert recipe under 30 minutes—though the total time will be longer than that!
Frequently Asked Questions About peanut butter cup cookies
I know you probably have some lingering thoughts—I always do when I’m trying a new recipe, even one as classic as these peanut butter cup cookies! It’s all about getting that perfect bake and figuring out the best way to store the results. Don’t worry, I’ve answered the most common things folks ask me when they try this recipe for the first time. Let me know if you have others! If you love these, you should see how fun they are compared to my easy no bake avalanche cookies when you need something fast!
Can I use crunchy peanut butter instead of creamy in the dough?
Absolutely, you know I mentioned this under substitutions! If you prefer a little more texture in your soft baked peanut butter goodness, crunchy peanut butter works perfectly fine in the dough. It changes the mouthfeel a little bit, but it doesn’t change the overall structure or flavor profile much. It’s totally acceptable to use it if that’s what you have on hand.
How do I freeze these homemade candy center cookies?
Freezing these is super easy, making them great for holiday cookie recipes peanut butter exchanges! Scoop the dough into balls, press in the first half of the peanut butter cup as directed, then place the dough balls on a baking sheet and freeze until solid. Once frozen, transfer them to a heavy-duty freezer bag. When you bake from frozen, just add about 2 to 3 extra minutes to the bake time listed in the instructions.
If I only have mini peanut butter cups, how do I adjust the recipe?
If you’re aiming for those cute little bite sized peanut butter cookie cups, you’ll just need to use mini cups instead of cutting the standard ones in half. Since they are smaller, they melt faster. You will want to reduce your baking time by about 1 to 2 minutes, depending on your oven. Check them early! I’d pull them out right around the 9-minute mark to ensure that center stays gooey. For more fun cookie ideas, make sure you check out my tips on my snickerdoodle recipe page.
Can I adapt this recipe into chewy chocolate peanut butter bars instead?
That’s a fun idea for making a big batch of chewy chocolate peanut butter bars style treat! You definitely could. Instead of scooping individual cookies, press the entire dough mixture into a parchment-lined 9×13 inch pan—make sure to press the first layer of peanut butter cups into the dough before you bake it. Then, bake it at the same temperature for about 20–25 minutes. Once it comes out, you can melt the second half of the cups on top before letting it cool completely. It makes for an amazing dessert! For more ideas, you can also see what others have done with the original inspiration.
Sharing Your Irresistible Chocolate Candy Cookies
Now listen, I’ve given you all my secrets—the creaming technique, the crucial second press of the peanut butter cup—and I truly hope you’re heading to the kitchen right now to try these out! Baking is always best when it’s shared, and I just love hearing how my kitchen heritage translates into your home.
When you finish up with these decadent treasures, I’d be thrilled if you let me know what you thought! Did they turn out soft? Did that center get as gloriously gooey as you hoped? Please drop a comment below and let me know how your batch of Irresistible Chocolate Candy Cookies turned out. Knowing that my grandma’s tried-and-true methods are still producing happy bakers warms my heart!
If you snapped a picture of your beautiful, finished cookies—maybe they’re sitting on a cooling rack or packed up for a school lunch—share it on social media and tag me! It’s always a thrill to see my recipes come to life in your world. And if you’re already looking for your next baking project after conquering these, maybe peruse my classic pumpkin pie recipe for the next big holiday!
PrintThe Best Soft and Chewy Peanut Butter Cup Cookies
You can make these irresistible peanut butter cup cookies from scratch. They are soft, chewy, and packed with chocolate and peanut butter flavor, perfect for any occasion.
- Prep Time: 15 min
- Cook Time: 12 min
- Total Time: 27 min
- Yield: 24 cookies 1x
- Category: Dessert
- Method: Baking
- Cuisine: American
- Diet: Vegetarian
Ingredients
- 1 cup (2 sticks) unsalted butter, softened
- ¾ cup creamy peanut butter
- ¾ cup granulated sugar
- ¾ cup packed light brown sugar
- 2 large eggs
- 1 teaspoon vanilla extract
- 2 ¼ cups all-purpose flour
- 1 teaspoon baking soda
- ½ teaspoon salt
- 1 cup peanut butter chips (optional)
- 12 standard-sized peanut butter cups (like Reese’s), unwrapped and halved
Instructions
- Preheat your oven to 350°F (175°C). Line baking sheets with parchment paper.
- In a large bowl, cream together the softened butter, peanut butter, granulated sugar, and brown sugar until the mixture is light and fluffy. This takes about 3 minutes with an electric mixer.
- Beat in the eggs one at a time, mixing well after each addition. Stir in the vanilla extract.
- In a separate medium bowl, whisk together the flour, baking soda, and salt.
- Gradually add the dry ingredients to the wet ingredients, mixing on low speed until just combined. Do not overmix. If using, stir in the peanut butter chips.
- Scoop dough portions, about 2 tablespoons each, and roll into balls. Flatten each ball slightly in your palm.
- Press one half of a peanut butter cup into the center of each dough ball, pushing it down slightly so it is mostly covered by the dough.
- Place the dough balls onto the prepared baking sheets, leaving about 2 inches between them.
- Bake for 10 to 12 minutes, or until the edges are set but the centers still look slightly soft.
- Remove from the oven. Immediately press a second half of a peanut butter cup into the center of each warm cookie. The residual heat will soften it.
- Let the cookies cool on the baking sheet for 5 minutes before transferring them to a wire rack to cool completely.
Notes
- For a gooey center, use standard-sized peanut butter cups and press them in immediately after baking.
- If you prefer mini cookies, use mini peanut butter cups and reduce the baking time by 1 to 2 minutes.
- You can substitute creamy peanut butter with crunchy peanut butter for added texture.
- Store cooled cookies in an airtight container at room temperature for up to 4 days.
Nutrition
- Serving Size: 1 cookie
- Calories: 250
- Sugar: 20g
- Sodium: 180mg
- Fat: 15g
- Saturated Fat: 7g
- Unsaturated Fat: 8g
- Trans Fat: 0g
- Carbohydrates: 26g
- Fiber: 1g
- Protein: 5g
- Cholesterol: 45mg