
Do you ever smell something and suddenly you’re right back in your childhood kitchen? For me, that smell is the deep, warm scent of caramelized brown sugar. That’s the magic of a truly old-fashioned butterscotch pie, and honestly, nothing else comes close!
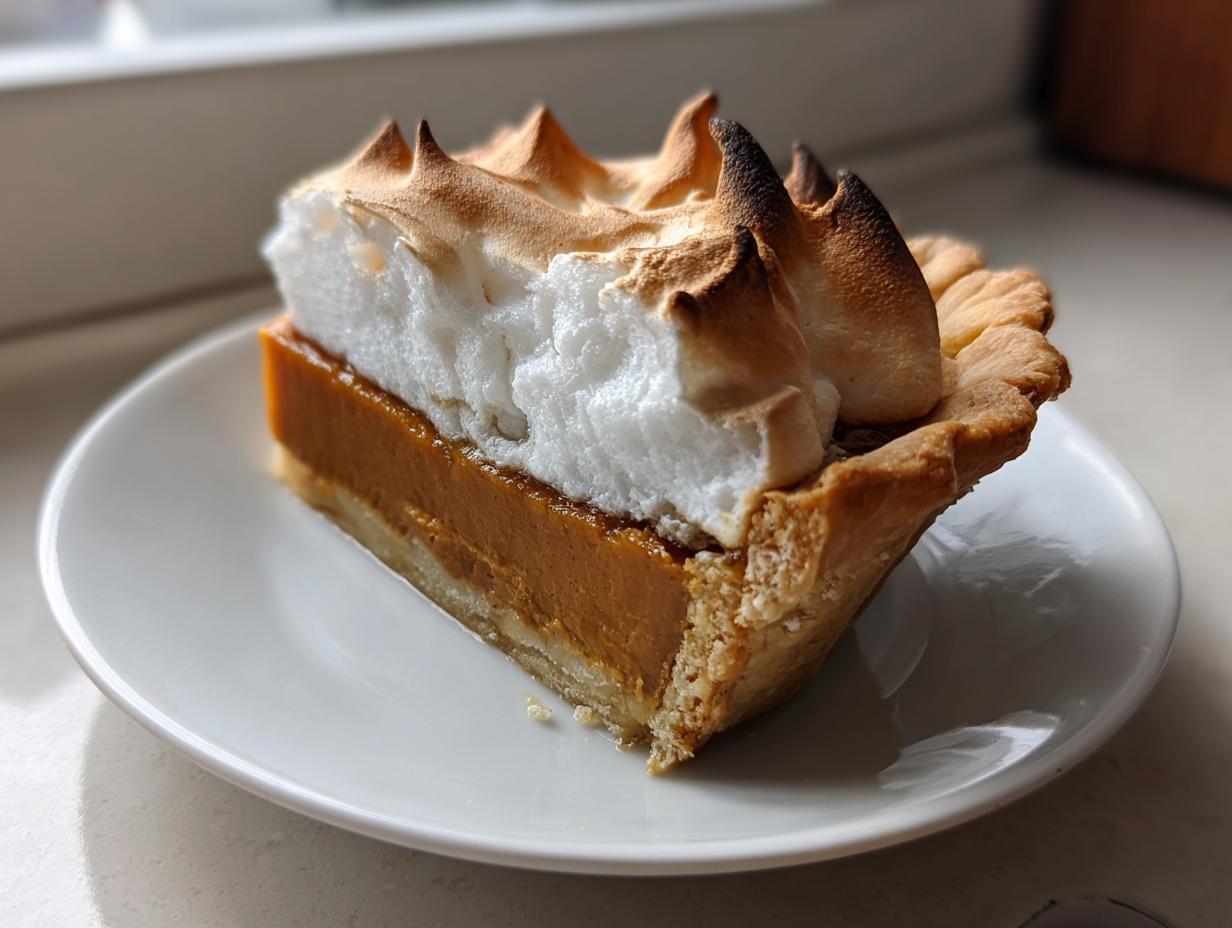
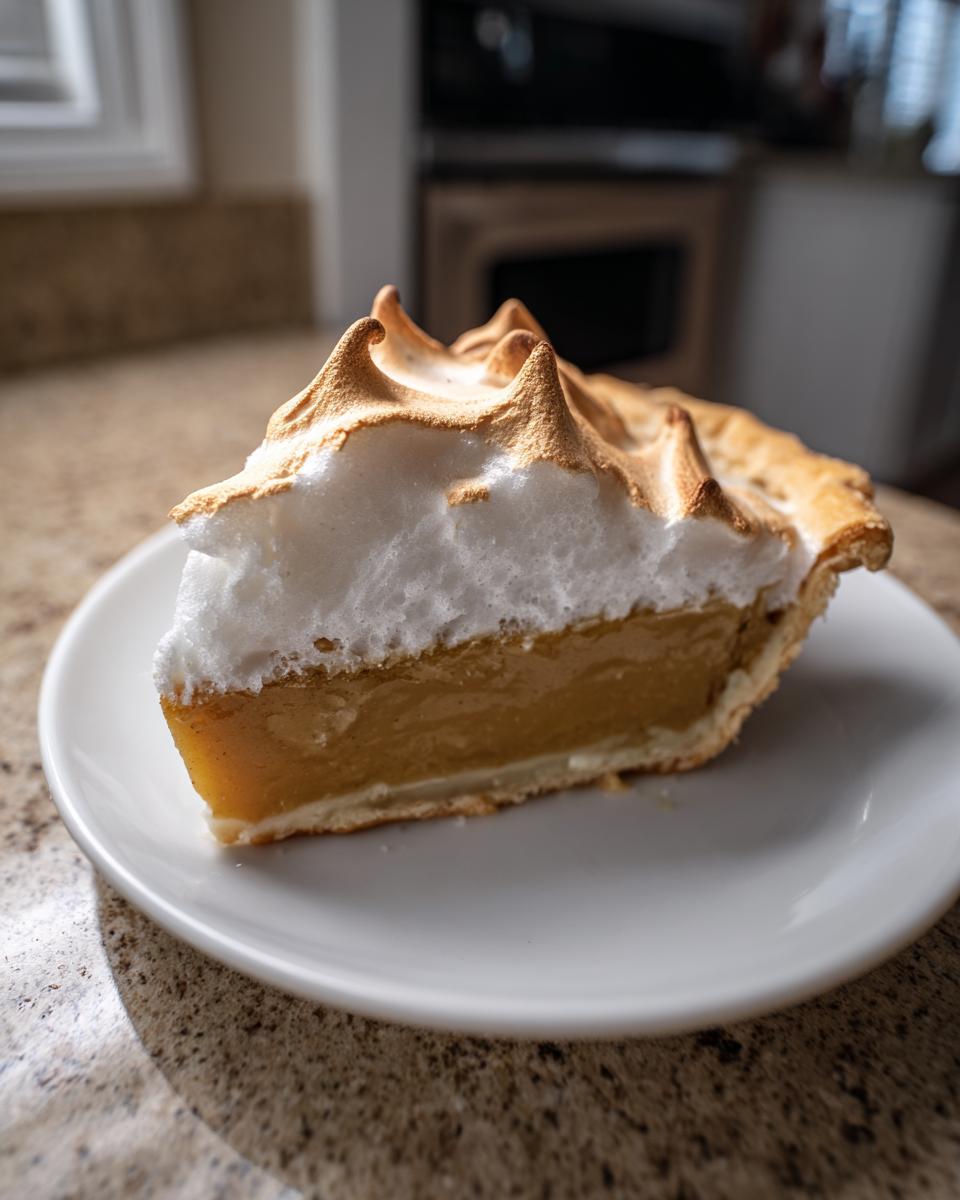
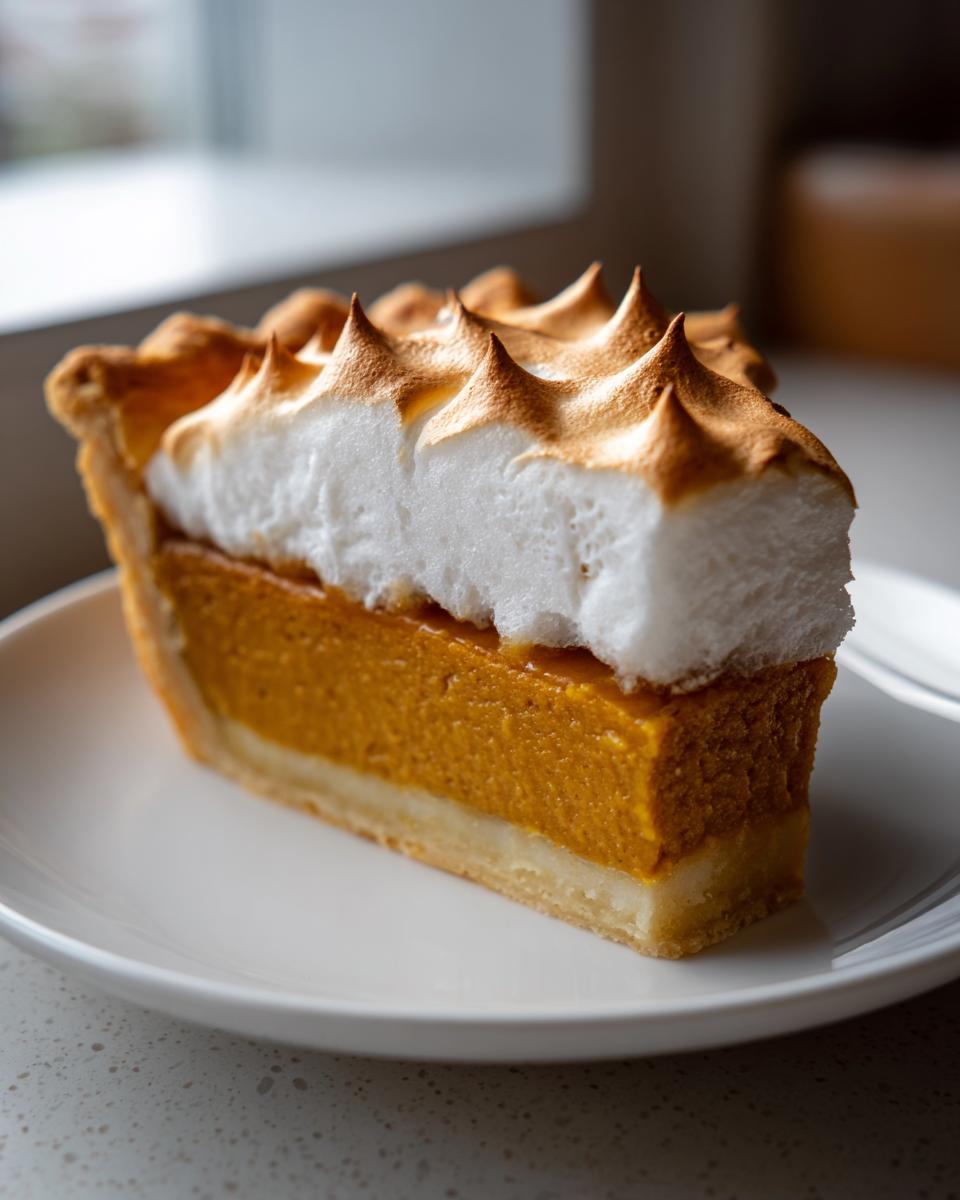
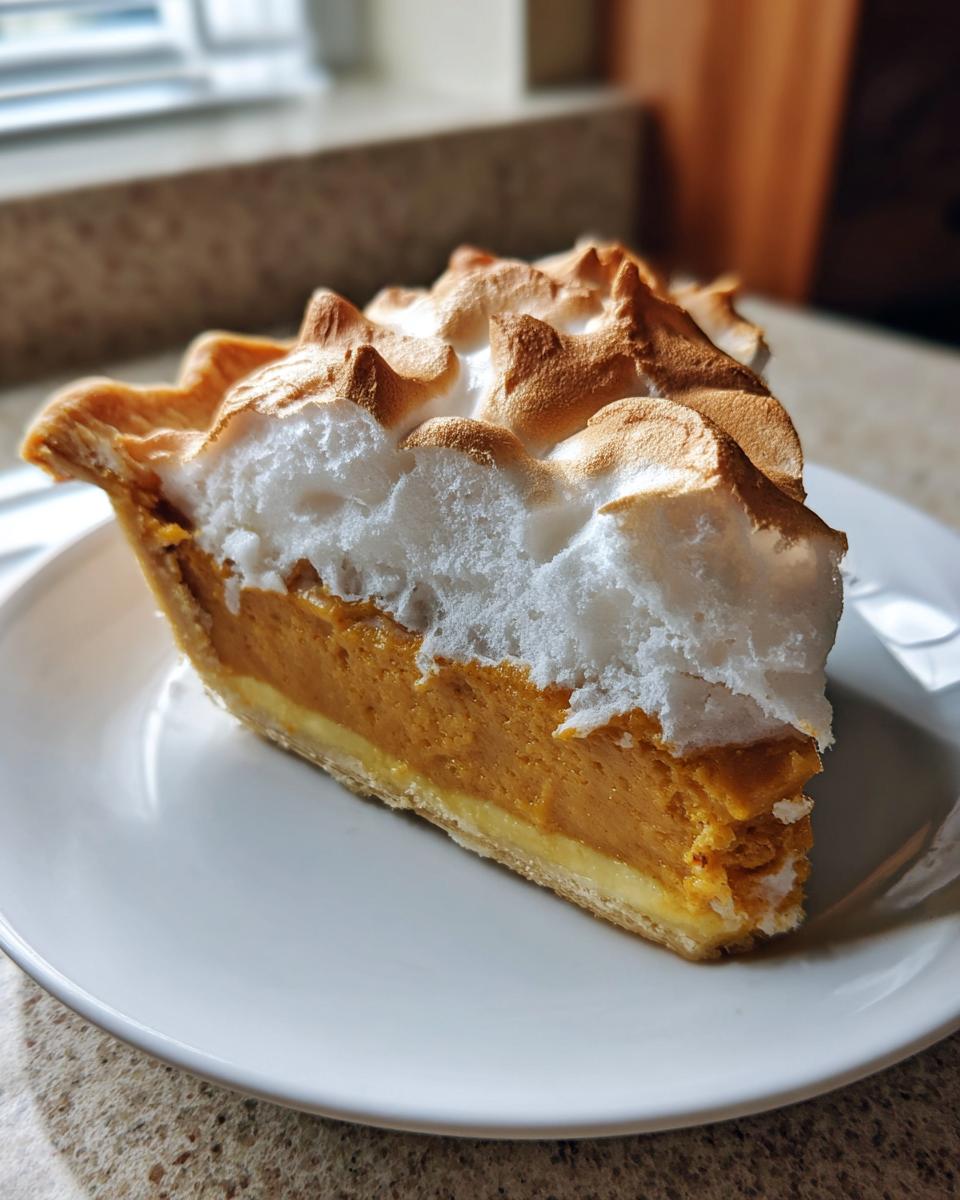
This isn’t just any pie; this is my ultimate comfort food, the one I whip up when I need a taste of home. We’re going to make a Classic Homemade Creamy Butterscotch Pie that sets up perfectly smooth and rich every single time. Trust me, it beats that box stuff hands down. And just wait until you see that optional, cloud-like meringue topping—it truly makes this a special occasion dessert, though I often sneak a slice on a Tuesday afternoon!
I’ve tweaked this recipe countless times, ensuring the filling is silky and never grainy. Grab your apron; we’re making memories today. If you loved my recipe for classic apple crumble, you are absolutely going to adore this, too!
- Why This Classic Homemade Butterscotch Pie Recipe Works (E-E-A-T Focus)
- Gathering Ingredients for Your Homemade Butterscotch Pie
- Step-by-Step Instructions for the Best Butterscotch Pie
- Tips for Making the Best Butterscotch Pie Every Time
- Variations on the Classic Butterscotch Pie Recipe
- Serving Suggestions for Your Rich Dessert Recipes
- Storage and Reheating Instructions for Butterscotch Pie
- Frequently Asked Questions About Homemade Butterscotch Pie
- Share Your Classic Dessert Recipes Success
- Estimated Nutritional Data for Butterscotch Pie
Why This Classic Homemade Butterscotch Pie Recipe Works (E-E-A-T Focus)
So, why should you trust my version of this butterscotch pie recipe over all the others out there? It comes down to texture, honey. This is an Old Fashioned Butterscotch Pie that stands up to anything my Southern grandmother used to make. I’ve spent years trying to perfect this recipe, ensuring it sets up perfectly smooth and rich every single time. Trust me, it beats that box stuff hands down. Even my old standby, classic apple crumble, doesn’t get this much attention!
We use dark brown sugar as the base, which gives that deep, resonant, caramelized flavor that white sugar just skips over. The blending of the milk, butter, and sugar creates what I call ‘pie gold’—the foundation for a genuinely Creamy Butterscotch Pie. It’s about care and technique, not shortcuts, here at the Corner.
Achieving the Perfect Creamy Butterscotch Pie Filling
The single most important step to keep this pie silky smooth is tempering the egg yolks. If you just dump beaten yolks into the hot sugar mixture, you end up with little specks of cooked egg floating in sweet custard. Nobody wants that! You have to ladle a little bit of that hot liquid into the yolks first, whisking like crazy, to gently raise their temperature.
Once those yolks are warmed up nice and slow, you pour them back into the pot. That’s what locks in the structure and gives you that luxurious, luscious texture we’re aiming for in this butterscotch pie. It’s a simple move, but it guarantees that smooth filling!
Gathering Ingredients for Your Homemade Butterscotch Pie
Okay, let’s get our mise en place ready! When you’re making a straightforward dessert like this butterscotch pie—our beautiful, rich dessert recipes style—the quality of the ingredients really shows through. You don’t need anything fancy, but you do need accuracy. That rich, nutty flavor comes straight from the butter and the brown sugar doing their thing on the stovetop.
If you’ve ever made my sourdough French toast, you know I preach about good foundational items. For this pie, it means using real, quality butter—don’t skimp here! It makes all the difference in the mouthfeel.
Ingredients for the Rich Butterscotch Pie Filling
Here’s what you need for that classic, gorgeous pudding filling:
- 1 (9 inch) unbaked pie crust (homemade is lovely, but if you need an easy win, a good store-bought one works great!)
- 1 cup packed light brown sugar
- 1/4 cup all-purpose flour
- 1/4 teaspoon salt
- 1 1/2 cups half-and-half or whole milk
- 3 large egg yolks, lightly beaten
- 1/2 cup (1 stick) unsalted butter, cut into pieces
- 1 teaspoon vanilla extract
Optional Ingredients for the Classic Butterscotch Meringue Pie Topping
If you want that show-stopping height and contrast, you need a good meringue. Remember, for maximum volume, make sure your egg whites are completely at room temperature—it really helps them whip up into beautiful peaks!
- 3 large egg whites, room temperature
- 1/4 teaspoon cream of tartar
- 6 tablespoons granulated sugar
Step-by-Step Instructions for the Best Butterscotch Pie
Now for the fun part—we turn those beautiful ingredients into the best butterscotch pie you’ve ever enjoyed! Accuracy is key here, especially when you’re working with eggs on the stovetop. If you follow these steps closely, especially the tempering part, you’ll get that beautiful, set custard filling that makes everyone ask for your secrets.
For those of you looking to join the ranks of happy bakers, this process is similar to making other classic fillings. If you need some extra visual help along the way, check out this other no-fuss guide easy jello poke cake recipe for general mixing confidence, but stick with my notes for this pie!
Preparing the Pie Crust and Initial Filling Mix
First things first: get your environment ready! Preheat your oven to 375 degrees Fahrenheit. If you pre-baked your crust (which I highly recommend for a crisp base!), make sure it’s completely cooled down before you start adding hot liquids. Trying to pour hot filling into a warm crust is a fast track to a soggy bottom, and we absolutely can’t have that!
In a medium saucepan—don’t use one that’s too heavy, it burns faster—whisk together your brown sugar, flour, and salt until they are totally blended. Then, slowly whisk in the half-and-half. You want zero lumps here before we even turn on the heat. Seriously, take your time with the whisking!
Cooking and Tempering for a Smooth Butterscotch Pie
Put that saucepan over medium heat. Now, you must stir constantly. I mean it! You’re aiming for the mixture to thicken enough to coat the back of a spoon nicely, usually taking about 8 to 10 minutes. The moment it starts bubbling hard, pull it off the heat right away. We want it thick, not scorched!
This is where the magic happens to create that perfect homemade butterscotch pie filling: tempering. Take about 1 cup of that hot mixture out and slowly, slowly drizzle it into your lightly beaten egg yolks while whisking constantly in a separate bowl. If you pour too fast, you’ll scramble the yolks! Once tempered, pour that yummy yolk mix right back into the main saucepan mixture. Return it to low heat for just a minute or two more—just until it thickens a tiny bit more. Remember, no rapid boiling!
Finishing the Filling and Making the Meringue Topping
Take the pan off the burner for the final time. Now, stir in all that lovely butter until it melts completely, followed by the vanilla. Pour this hot filling right into your cooled, ready crust. It should look heavenly already!
If you’re making the meringue, grab a clean, grease-free bowl. Beat those room-temperature egg whites with the cream of tartar until you hit soft peaks. Then, add your sugar little by little—gradually—while you keep beating until you have stiff, glossy peaks. Spread that meringue right over the hot filling, making absolutely sure you seal it right to the edges of the crust. A sealed edge stops it from shrinking back while it bakes, trust me on this!
Baking and Cooling the Butterscotch Meringue Pie
Pop the whole thing into an oven that’s been dialed back to 350 degrees Fahrenheit. You only need 12 to 15 minutes, just until the meringue turns that beautiful, light golden brown color. It happens fast, so keep an eye on it!
This is the hardest part, but you MUST let the butterscotch pie cool completely on a wire rack. I know you want to slice it immediately, but you need at least 3 hours of cooling before you even think about cutting it. This gives that custard time to set up properly so you get perfect slices of Butterscotch Meringue Pie.
Tips for Making the Best Butterscotch Pie Every Time
Even with the best recipe in the world, sometimes things go a little sideways in the kitchen, right? Don’t sweat it! Getting the best butterscotch pie is all about anticipating those little hiccups, like weeping meringue or a filling that just won’t set up right. I’ve learned a few tricks over the years just standing over the stove like you are now.
My absolute personal rule, which I learned the hard way? If you had any trouble getting that crust perfectly crisp, don’t hesitate to pivot to a graham cracker base for your pie. Sometimes a flaky crust just fights you, and a Buttermilk Biscuits baker like me doesn’t always have time for a stubborn crust!
Troubleshooting Common Butterscotch Pie Issues
If your meringue starts crying little sugar tears (that’s called weeping), it usually means it wasn’t sealed properly to the hot filling, or maybe you added the sugar too fast when beating the whites. Make sure you spread it right to the edge of that warm pie! Also, if your filling seems a little loose, simply put the finished pie back into a 350°F oven for 5 more minutes to let that pudding firm up just a touch more before cooling. Patience pays off!
Variations on the Classic Butterscotch Pie Recipe
While I’m devoted to this Homemade Butterscotch Pie made from scratch on the stovetop, I know life is busy! You might need a super-fast treat for a last-minute gathering. That’s okay! We can still get that amazing butterscotch flavor without turning on the oven for the filling.
If you need speed, you can always look into a simpler preparation. Or, if you want to capture that incredibly popular Southern flair, try adding a hint of something extra special to the filling base. Some folks swear by adding a tiny bit of strong brewed coffee or espresso powder to really deepen the caramel notes—so good! If you’re curious about specific celebrity takes on this treat, you can check out how others handle the layering when researching versions like the Dolly Parton Butterscotch Pie.
Creating an Easy No Bake Butterscotch Pie Alternative
If you just can’t bake that crust or don’t have time to cook the pudding, you can absolutely pivot to making an Easy No Bake Butterscotch Pie. The easiest way is to use good quality instant butterscotch pudding mix, whip it up with heavy cream instead of the milk called for on the box, and fold in some stiffly whipped cream cheese for stability. Pour that into a pre-made graham cracker crust, chill it for four hours, and you’re good to go. It’s faster, but my no-bake peanut butter pie proves that baked fillings often have the richest flavor, so give this baked version a try first!
Serving Suggestions for Your Rich Dessert Recipes
Honestly, this butterscotch pie is so rich and decadent on its own, sometimes you need something bright to cut through all that lovely sweetness. It’s fantastic after a heavy meal, but a little tartness really balances it out beautifully.
When I serve this rich dessert, I love having a side of tart berries—think fresh raspberries or maybe even some sliced Granny Smith apples if you want something crunchy. The sharp fruit works wonders against the deep brown sugar notes in the filling. And, of course, a strong cup of black coffee or a really dark roast espresso is the perfect partner. If you’re serving this during the holidays, you simply must try this cranberry apple cider punch—it’s festive and refreshing alongside something sweet!
Storage and Reheating Instructions for Butterscotch Pie
Since this beautiful butterscotch pie has that tender, cooked custard filling and that lofty meringue, we have to be a little careful about storage. Custard-based pies absolutely demand refrigeration, so don’t even think about leaving this on the counter overnight! That homemade filling just won’t keep well at room temperature.
If you’ve topped it with the meringue, cover the pie loosely—you don’t want the plastic wrap sticking to those pretty peaks, or they’ll deflate! This pie stays wonderfully creamy in the fridge for about three good days. If you need to store it longer, I suggest scooping out the filling and storing it separately in an airtight container, or better yet, make a No Bake Butterscotch Pie next time if you plan on leftovers lasting longer than that! Speaking of keeping things fresh, if you haven’t tried my easy refrigerator pickles, you’re missing out on another make-ahead staple!
Frequently Asked Questions About Homemade Butterscotch Pie
I get so many questions asking about tweaks and shortcuts for this pie, and that’s wonderful! It shows you’re getting ready to bake! I want to make sure you get the best results possible when making this Homemade Butterscotch Pie. Don’t worry if you’re worried about the cooking process; we’ve covered the tricky parts already, like tempering the yolks!
Can I use pre-made pudding mix instead of making this Homemade Butterscotch Pie filling from scratch?
Oh, you certainly can, if you’re in a huge pinch! But I have to tell you, the flavor difference is night and day. Using the box mix is fast, but this recipe is designed to capture that deep, caramelized flavor only achieved by cooking down the brown sugar and milk right on the stove. If you want that true Old Fashioned Butterscotch Pie experience, stick with cooking it from scratch!
What is the secret to preventing the meringue on my Butterscotch Meringue Pie from shrinking?
The meringue is dramatic, but easily managed! The secret, which I stressed in the instructions, is sealing it up tight against the pie. You need to make sure that fluffy meringue touches every single edge of the filling and the crust. When it’s sealed like that, it bakes evenly and stays put. If there are gaps, the steam escapes unevenly, and you get shrinkage or weeping! Keep it locked down!
Can I make this a Caramel Cream Pie instead of a butterscotch pie?
That’s a fun thought! They are cousins, for sure, but butterscotch is sweeter and deeper because its foundation is cooked brown sugar. A traditional caramel pie usually starts with white granulated sugar cooked to that amber stage. While the cooking technique is similar—and I bet my recipe for creamy tuna pasta shows I love comfort food—the depth of flavor just isn’t the same without that brown sugar base. If you check out this discussion on butterscotch pie differences, you’ll see what I mean!
Share Your Classic Dessert Recipes Success
Well, you made it! I just love knowing that a piece of our kitchen history is now sitting on your table. Whether you stuck to this traditional butterscotch pie recipe or tried adding a little something extra, I truly want to hear about it.
Did the meringue turn out high and puffy? Did your family immediately ask for the recipe like mine always does? Please, drop a star rating down below!
Leaving a comment is the best way you can let me know that this recipe worked perfectly for you, or perhaps give me a tip I haven’t thought of yet—I’m always learning, just like my grandmother taught me. Sharing your success helps other home cooks feel confident trying these traditional Southern pie recipes, too! It’s all about building those delicious memories together. Speaking of memorable treats, you absolutely have to try my soft ricotta cookies next!
Estimated Nutritional Data for Butterscotch Pie
Now, I always believe in being honest about what goes into these beautiful, rich desserts. Just so you know, the nutritional info for this butterscotch pie—which usually includes that glorious meringue topping—is an estimate. I calculate these based on splitting the entire recipe into 8 generous slices, just like we always did at the dinner table!
Remember, this is a classic, decadent comfort food, so it’s not exactly diet fare, but goodness gracious, it is worth every single calorie. Keep this in mind when serving at your next gathering!
- Calories: 410
- Fat: 22g (Watch that Saturated Fat, that’s the good butter doing work!)
- Protein: 6g
- Carbohydrates: 50g
- Sugar: 35g
This data is based on standard ingredient calculations for one slice of the butterscotch pie made with the optional topping. Treat yourself! Cooking with love always tastes better than counting macros, in my opinion.
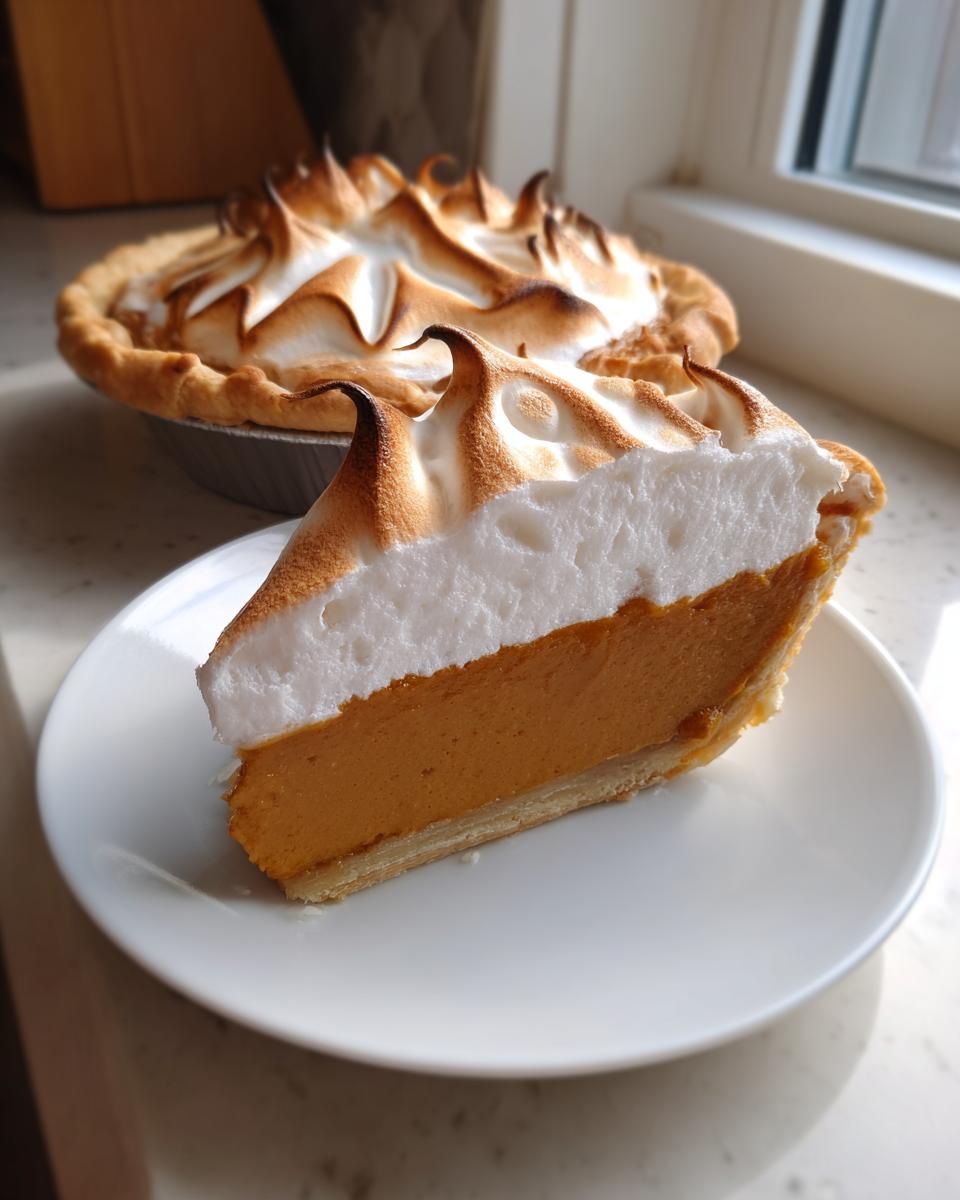
PrintClassic Homemade Creamy Butterscotch Pie with Optional Meringue

This recipe delivers a rich, silky butterscotch filling in a flaky crust, reminiscent of Grandma’s best desserts. You can top it with a dreamy meringue for a truly special occasion pie.
- Prep Time: 20 min
- Cook Time: 35 min
- Total Time: 4 hours 55 min
- Yield: 8 servings 1x
- Category: Dessert
- Method: Baking
- Cuisine: American
- Diet: Vegetarian
Ingredients
- 1 (9 inch) unbaked pie crust (store-bought or homemade)
- 1 cup packed light brown sugar
- 1/4 cup all-purpose flour
- 1/4 teaspoon salt
- 1 1/2 cups half-and-half or whole milk
- 3 large egg yolks, lightly beaten
- 1/2 cup (1 stick) unsalted butter, cut into pieces
- 1 teaspoon vanilla extract
- For Meringue Topping (Optional): 3 large egg whites, room temperature
- For Meringue Topping (Optional): 1/4 teaspoon cream of tartar
- For Meringue Topping (Optional): 6 tablespoons granulated sugar
Instructions
- Preheat your oven to 375 degrees Fahrenheit. If using a homemade crust, bake it according to standard pie crust instructions until lightly golden; let it cool.
- In a medium saucepan, whisk together the brown sugar, flour, and salt. Gradually whisk in the half-and-half until the mixture is smooth.
- Cook the mixture over medium heat, stirring constantly, until it thickens enough to coat the back of a spoon, about 8 to 10 minutes. Do not let it boil rapidly.
- Remove the saucepan from the heat. In a small bowl, lightly whisk the egg yolks. Slowly pour about 1 cup of the hot butterscotch mixture into the egg yolks while whisking constantly to temper them.
- Pour the tempered egg yolk mixture back into the saucepan with the remaining butterscotch mixture. Return the pan to low heat. Cook for 1 to 2 minutes, stirring constantly, until the filling thickens slightly more. Do not let it boil.
- Remove from heat. Stir in the butter until it melts completely, then stir in the vanilla extract.
- Pour the hot filling into the cooled, pre-baked pie crust.
- If making the meringue: In a clean, grease-free bowl, beat the egg whites and cream of tartar with an electric mixer until soft peaks form. Gradually add the granulated sugar, beating until stiff, glossy peaks form.
- Spread the meringue evenly over the hot filling, making sure the meringue touches the edges of the crust all around to prevent shrinking.
- Bake the pie at 350 degrees Fahrenheit for 12 to 15 minutes, or until the meringue is lightly golden brown.
- Cool the pie completely on a wire rack for at least 3 hours before slicing and serving.
Notes
- For a richer flavor, substitute 1/2 cup of the half-and-half with heavy cream.
- If you prefer a simpler topping, use 1 cup of stabilized whipped topping instead of meringue.
- This pie sets best when chilled for several hours after cooling to room temperature.
Nutrition
- Serving Size: 1 slice
- Calories: 410
- Sugar: 35g
- Sodium: 250mg
- Fat: 22g
- Saturated Fat: 13g
- Unsaturated Fat: 9g
- Trans Fat: 0.5g
- Carbohydrates: 50g
- Fiber: 1g
- Protein: 6g
- Cholesterol: 110mg