
When the summer heat hits and you just cannot stand the thought of turning on that oven, what do you do? Forget fussy baking! You need something rich, something decadent, and most importantly, something fast. That’s why I’m thrilled to share what I think is the absolute best no bake peanut butter pie recipe out there. It’s cool, it sets up beautifully, and that super creamy peanut butter filling? Forget about it—it’s heaven! Here at Cookin’ Corner, Sarah Jane Thompson built this space on the idea that true home cooking should be reliable and bring back those warm, nostalgic feelings. This pie does exactly that, proving you don’t need a complex method to achieve something truly amazing. If you love easy treats that skip the heat, you should definitely check out my easy no-bake avalanche cookies recipe too!
- Why This Creamy No Bake Peanut Butter Pie is Your New Favorite
- Gathering Ingredients for Your No Bake Peanut Butter Pie
- Step-by-Step Instructions for Your No Bake Peanut Butter Pie
- Tips for the Best No Bake Peanut Butter Pie Success
- Serving Suggestions for Your Quick Dessert Ideas
- Storage and Make Ahead Dessert Instructions for No Bake Peanut Butter Pie
- Frequently Asked Questions About No Bake Peanut Butter Pie
- Approximate Nutritional Data for This Indulgent Sweet Treat
- Share Your Experience Making This No Bake Peanut Butter Pie
Why This Creamy No Bake Peanut Butter Pie is Your New Favorite
I get it. When it’s 90 degrees outside, the last thing you want is to heat up your whole kitchen just for dessert. This recipe is perfect for those moments! When I developed this, I wanted a showstopper that required zero sweat equity. It’s one of my go-to quick and easy recipes because it delivers big flavor with so little effort. Honestly, it’s the best no bake peanut butter pie you’ll ever freeze!
- It’s the ultimate warm-weather hero when you need a quick dessert.
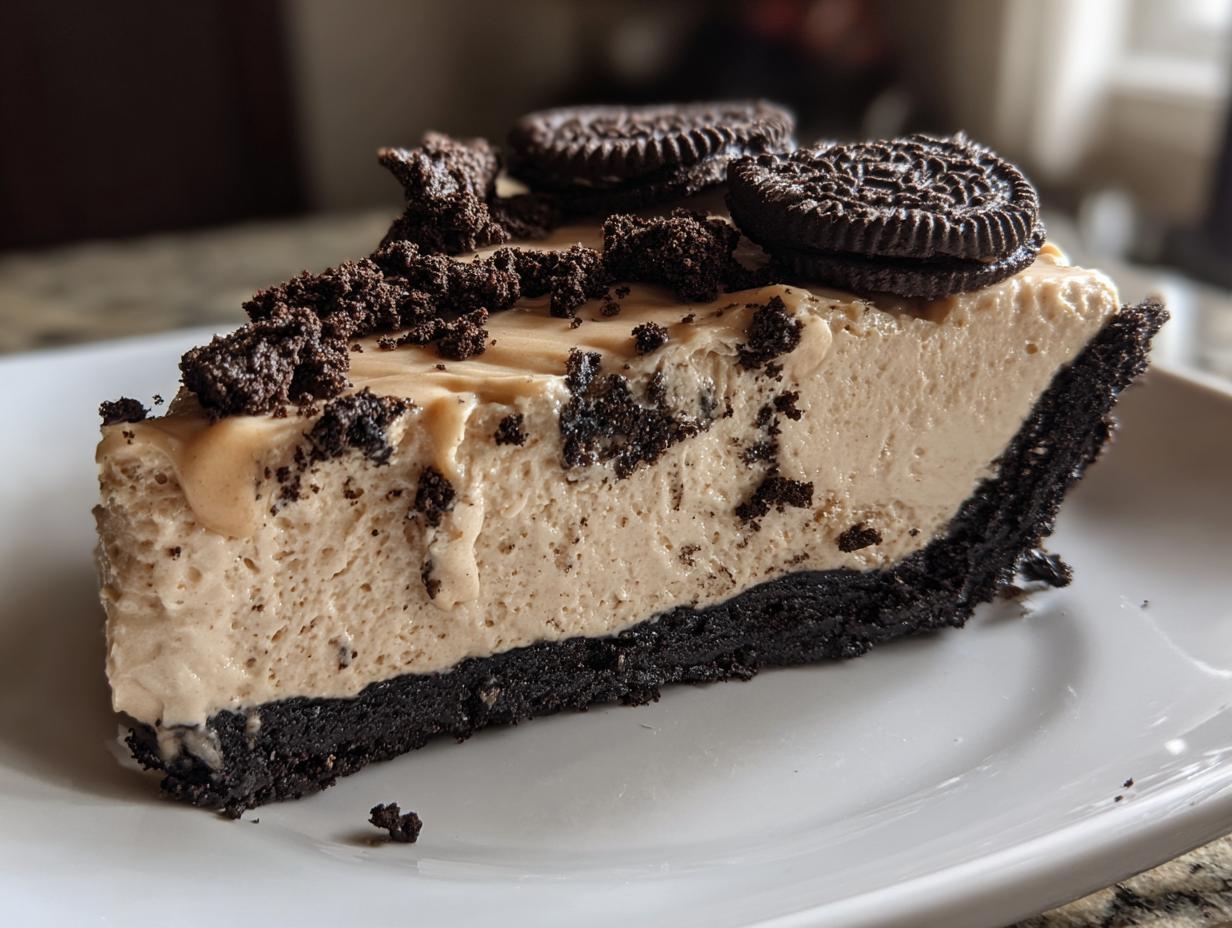
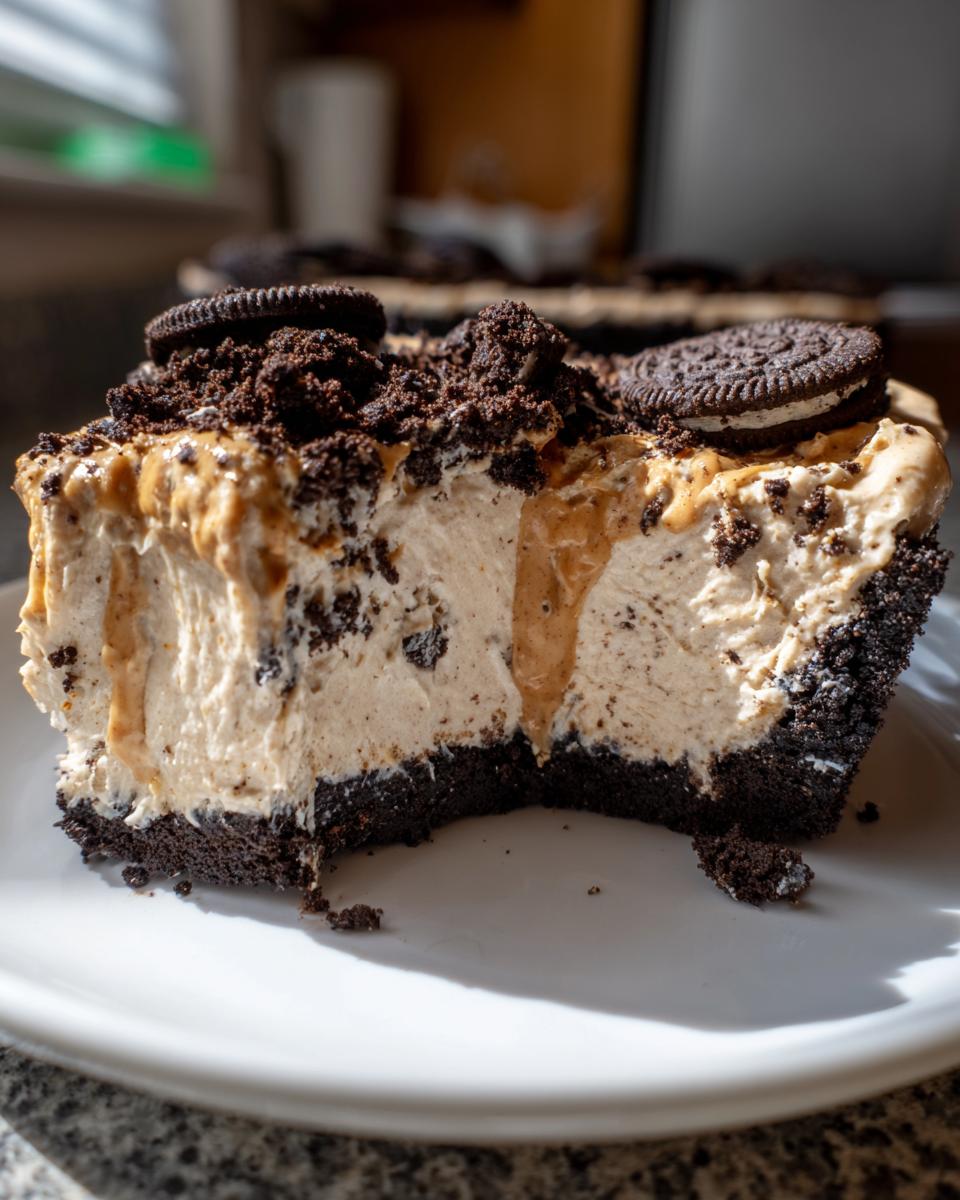
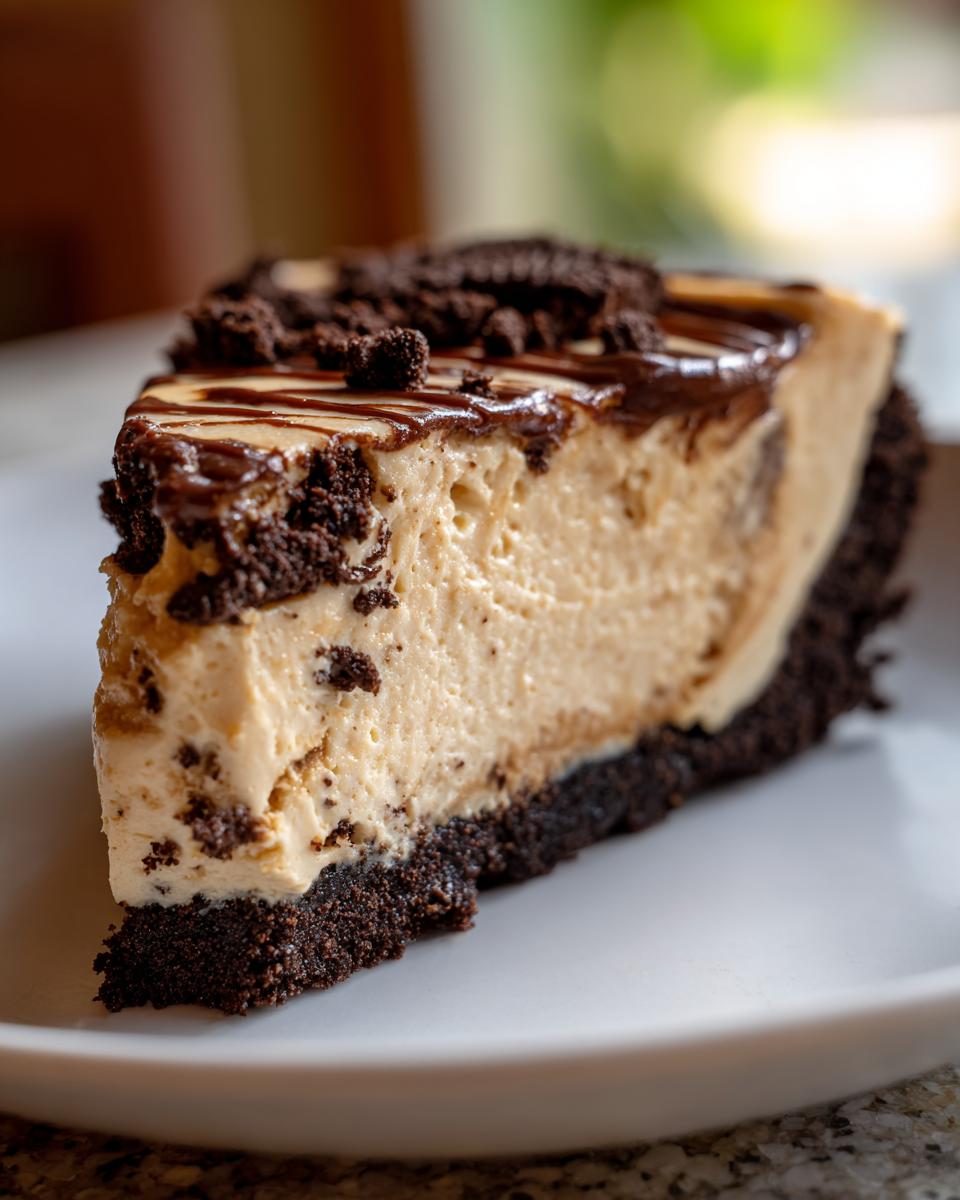
- The Oreo crust makes it unbelievably indulgent!
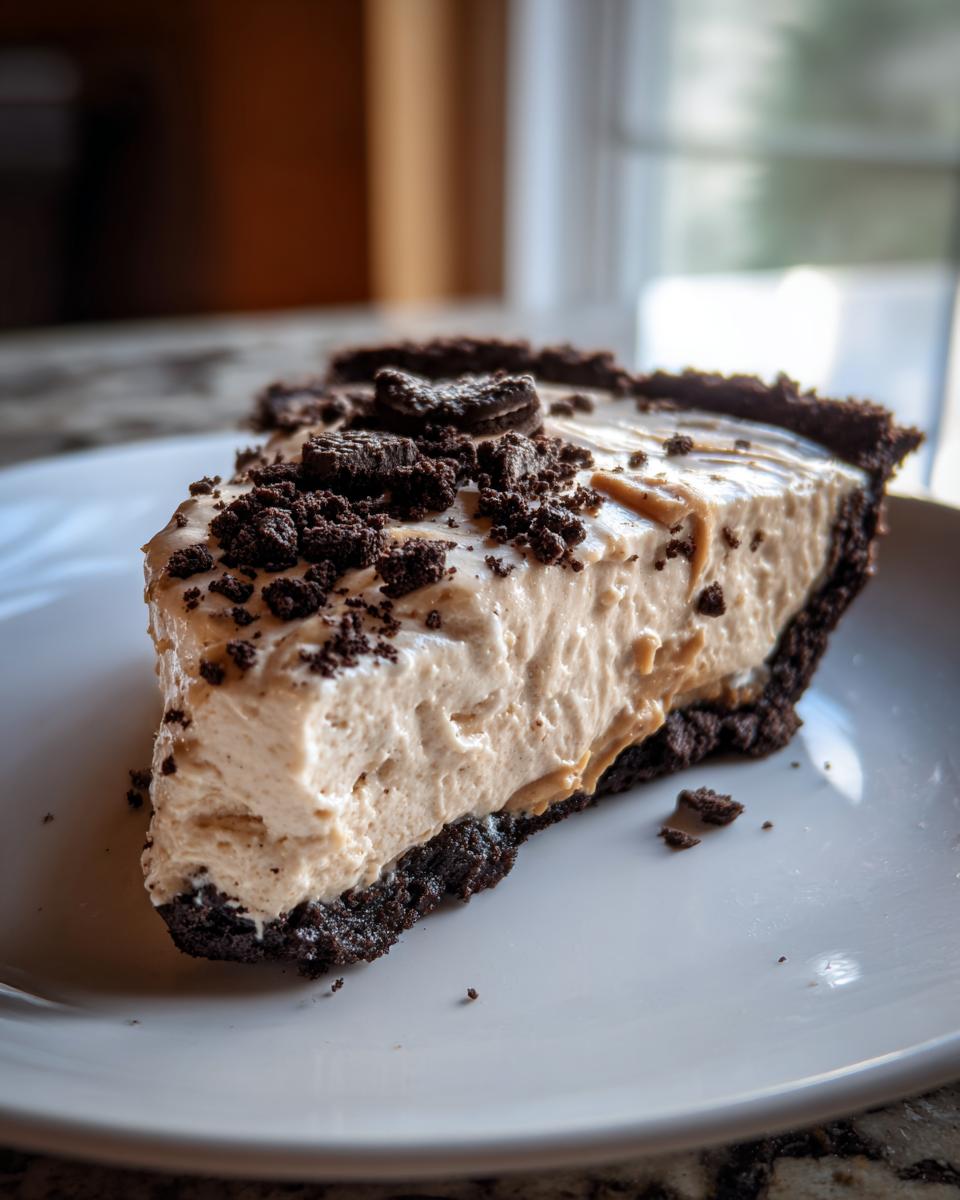
- It slices beautifully after chilling—no runny mess here!
Zero Oven Time for the Best No Bake Peanut Butter Pie
Seriously, the best part? We skip the oven entirely. This is my go-to choice when I need a make ahead dessert for a potluck that doesn’t stress me out on the day of the event. You pull out the crust you prepped earlier, mix the filling while the water runs for a sink bath, and that’s it! No heat required means your house stays cool and your energy stays high.
Achieving the Perfect Fluffy Peanut Butter Dessert Texture
The texture here is everything. We aren’t going for dense or heavy; we want fluffy! That amazing, light quality comes from the combination of slightly tangy, softened cream cheese mixed into that sweet base, which is then folded gently—and I mean gently—with the whipped topping. It creates the signature creamy peanut butter filling that just melts in your mouth. That’s the expertise coming through!
Gathering Ingredients for Your No Bake Peanut Butter Pie
Okay, planning is half the battle when you’re making an easy peanut butter pie recipe like this one. Since we aren’t baking, the quality of what goes into the filling really shines through! Don’t skimp on the cream cheese—it absolutely has to be softened to room temperature, or you’ll end up with lumps, and nobody wants that in their smooth creamy peanut butter filling. Gather everything first because once you start, it moves fast!
For the Crunchy Oreo Crust Pie
If you’re using my favorite chocolate cookie crust, make sure you have these guys on hand:
- One package (about 14.3 ounces) of chocolate sandwich cookies, like Oreos—we use the whole thing!
- Six tablespoons of unsalted butter, fully melted. Don’t try to eyeball this measurement; it’s important for binding those crumbs!
For the Creamy Peanut Butter Filling
This is the heart of our magnificent no oven dessert. Get your mixer ready for these:
- One cup of creamy peanut butter—I stick with Jif or Skippy, nothing too oily!
- Eight ounces of cream cheese, and I stress this: it must be fully softened.
- One cup of powdered sugar, sifted if you want extra insurance against lumps.
- One teaspoon of vanilla extract.
- One carton (8 ounces) of frozen whipped topping, thawed completely, or about two cups of homemade whipped cream if you’re feeling fancy.
Don’t forget the optional toppings, like chocolate syrup! Those make it extra special.
Step-by-Step Instructions for Your No Bake Peanut Butter Pie
You know how I always say that even a simple dessert requires proper technique? Well, since this is a no bake peanut butter pie, our technique focuses on temperature and gentle mixing. Don’t worry, it’s totally intuitive, but following these steps ensures you get that dreamy, fluffy result we talked about instead of a dense brick. We need to respect the chilling time—that’s the real “baking” step here! Trust me when I say this method guarantees a perfect slice every single time. You can find tons more reliable dessert recipes right here on the blog.
Preparing the Oreo Crust Base
First things first, we tackle that amazing Oreo crust. Toss your chocolate sandwich cookies right into the food processor and pulse them until they turn into fine crumbs. Don’t leave big chunks, we want it smooth! Once they look like damp sand, pour in your six tablespoons of melted butter and pulse again until everything is moistened. Now, grab your 9-inch pie plate. Press that cookie mixture firmly and evenly along the bottom and up the sides. Really pack it in there with the back of a measuring cup! As soon as that crust is set, pop it into the freezer while we move on to the filling.
Mixing the Creamy Peanut Butter Filling
Time for the magic! Grab your large mixing bowl. We mix the heavy hitters first. Beat the peanut butter, your softened cream cheese, powdered sugar, and vanilla extract together until it’s completely smooth. You absolutely must stop and scrape down the sides of the bowl a couple of times here—we want no gritty patches left! Once it looks perfect and glossy, take your thawed whipped topping. Gently fold it in with a rubber spatula. I mean gently! We are trying to keep all that air we built up, so stop folding the second you see no more white streaks.
Assembling and Chilling the No Bake Peanut Butter Pie
Take that chilled crust out of the freezer. Scoop all that beautiful, creamy peanut butter filling right into the shell. Use your spatula to spread it out evenly across the top. Now comes the hardest part: waiting! You must cover this loosely with plastic wrap and put it right in the refrigerator. I always recommend chilling for at least four hours, but honestly, if you can wait until the next day, it sets up even firmer. That long chill time is what makes this an amazing make ahead dessert!
Tips for the Best No Bake Peanut Butter Pie Success
You’ve got your perfect crust, your creamy filling is mixed—now let’s talk about those little details that move this from just “good” to “Oh my gosh, what’s your secret?” Every baker has little tricks, and I’ve learned a few over the years making this no bake peanut butter pie that make sure you get that picture-perfect slice every time. These tips help secure that rich flavor and flawless texture that people expect from an indulgent sweet treat.
Ingredient Temperature Matters for Creamy Peanut Butter Filling
I cannot stress this enough: temperature is key for that unbelievably smooth texture. Your cream cheese absolutely has to be softened. If it’s straight out of the fridge, it will fight you, leaving you with visible cream cheese chunks instead of that velvety dream we want in our creamy peanut butter filling. On the flip side, your whipped topping—even though it’s thawed—should still feel chilly when you fold it in. If it gets too warm, it turns soupy too fast, and you lose all that wonderful air we worked to incorporate!
Making a Graham Cracker Crust Dessert Variation
I picked the Oreo crust because I love that chocolate contrast, but sometimes you just need that classic, lighter flavor. This recipe is so flexible, which is why it’s one of my favorite no bake dessert options! If you want to make a traditional graham cracker crust dessert instead? Easy swap! Just use 1 1/2 cups of graham cracker crumbs instead of the Oreos. You’ll also need to cut back on the binder—use just 1/4 cup of melted butter instead of those six tablespoons the chocolate crust calls for. It works beautifully, and you can find more tips on how to make gravy without drippings if you’re still looking for savory ideas later (easy chicken gravy recipe no drippings).
Serving Suggestions for Your Quick Dessert Ideas
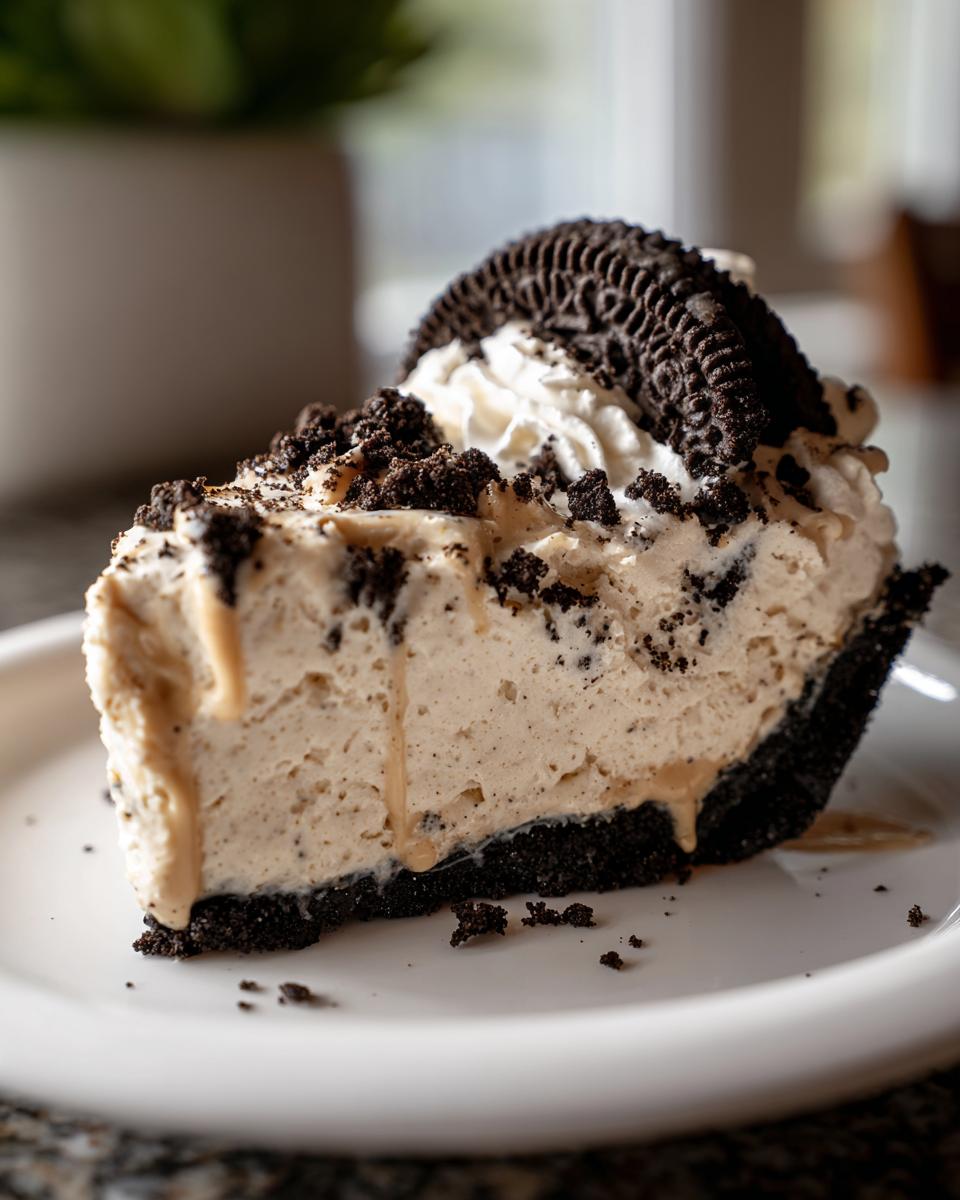
Once that pie is firm and ready to go, presentation is everything! This no bake peanut butter pie is already rich, so I love topping it to add texture contrast. A drizzle of warm chocolate syrup or sprinkling some miniature peanut butter cups right on top turns it instantly into an extra special chocolate peanut butter pie lookalike. If you’re serving it up for a party, a simple dollop of extra whipped cream on the side of the plate looks lovely.
For pairings, keep it simple. Since this is already such an indulgent sweet treat, maybe skip the heavy sides. But if you want a complementary flavor, a few fresh raspberries on the plate add a tiny bit of brightness. If you’re looking for other celebration desserts that are just as impressive, you have to try my chocolate raspberry cake recipe sometime!
Storage and Make Ahead Dessert Instructions for No Bake Peanut Butter Pie
One of the greatest things about this recipe is that it just keeps getting better, which is why it earns the title of the ultimate make ahead dessert. Because we aren’t using eggs or flour, we don’t have the usual worries about spoilage that come with baked treats. Once that crust is set and the filling is firm, it’s ready for prime-time storage!
You need to keep this pie tightly covered in the refrigerator. I usually use plastic wrap, making sure it doesn’t stick directly to the filling, maybe by tenting it slightly over the top. Under those cool conditions, this no bake peanut butter pie stays absolutely perfect for about three to four days. I’ve tested it! It really holds onto that creamy texture for a long time, which is fantastic for busy weeks.
Now, can you freeze it? Yes, you absolutely can! If you need to make your quick dessert idea weeks in advance, wrap the chilled pie tightly in plastic wrap first, and then cover it completely with a layer of aluminum foil. Freeze it for up to a month, though I always recommend eating it sooner for the best texture. When you’re ready for it, just pop it into the fridge overnight to thaw slowly. It stays surprisingly creamy, even after freezing! It truly is one of the most dependable make ahead desserts you can put in your rotation.
Frequently Asked Questions About No Bake Peanut Butter Pie
I always get questions when people make this recipe for the first time—it’s just so different from a regular baked pie! Honestly, it’s so easy that sometimes people think they must have messed up because it came together too fast. Not at all! This is one of those wonderful easy peanut butter pie recipe secrets that delivers maximum happiness without maximum effort. Here are a few things I hear most often about making this perfect no oven dessert.
Can I use crunchy peanut butter in this easy peanut butter pie recipe?
You certainly can, but you need to know what you’re signing up for! Using crunchy peanut butter will definitely change the texture of that signature creamy peanut butter filling. Instead of being perfectly smooth and velvety, you’ll get little peanut bits throughout. If you prefer crunch, go for it! I usually opt for creamy because I want that blanket of smooth filling, but crunchy is totally fine if that’s your favorite.
What is the best way to get a clean slice of this no oven dessert recipe?
This is probably the most important question for presentation! If you cut it too early, you’ll drag that beautiful filling right out of the crust, leaving a sloppy mess on the plate. First, make sure you’ve given it every minute of chilling time you possibly can—overnight is best for that firm set. Second, here’s my pro trick for those stunning slices you see in photos: dip a long, sharp knife in a glass of hot water, wipe it dry quickly, and then slice. Reheat the knife between every single cut. This ensures a clean release every time you serve up a slice of this no oven dessert.
If you need more inspiration for fast weeknight meals after you’ve mastered this dessert, swing by my section on easy dinner ideas!
Approximate Nutritional Data for This Indulgent Sweet Treat
When you’re indulging in something as rich and luxurious as this no bake peanut butter pie, I think it’s only fair to have a general idea of what you’re diving into! Remember, since we aren’t using standard baking methods and every pantry is a little different, these numbers are just a roadmap—an approximation per slice, assuming you cut the pie into eight equal servings. This is just meant to give you an idea of why this really is an indulgent sweet treat!
I always aim for transparency on Cookin’ Corner, just like my grandmother taught me about honesty in the kitchen. If you’re looking for lighter alternatives or maybe just want to see how this stacks up against other things we make, you can always browse through my healthy recipes section, but for this particular pie, we are leaning into creamy deliciousness!
Here are the approximate estimates:
- Serving Size: 1 slice
- Calories: About 450—worth every bite, I promise!
- Total Fat: Around 30g (with about 10g coming from saturated fat, thanks to that cream cheese and butter).
- Carbohydrates: Roughly 40g.
- Protein: About 10g.
- Sugar: Expect about 35g, mostly from the powdered sugar and the chocolate in the crust.
It tastes like pure joy, and that’s the most important metric for any easy peanut butter pie recipe!
Share Your Experience Making This No Bake Peanut Butter Pie
Now that you have the tools and the foolproof steps for what I truly believe is the absolute best no bake peanut butter pie, all that’s left is hearing about your success! This is the part that connects us, you know? Food should never just live on a page; it needs to be made, shared, and enjoyed at your own kitchen table.
If this quick dessert idea saved your summer barbecue or satisfied a serious craving, please come back and tell me all about it! I rely on feedback from home cooks like you to know which recipes are truly dependable. Did you use the Oreo crust, or did you try the graham cracker variation? Drop all your thoughts down in the comments below. I read every single one, just like I used to read my grandmother’s handwritten notes in the margins of her older recipes.
If you loved how easily this came together—especially that wonderfully creamy peanut butter filling—please give this easy peanut butter pie recipe a full five stars! That star rating helps other busy people find this reliable make ahead dessert when they need one fast. And if you snap a picture of your gorgeous, chilled pie, tag Cookin’ Corner on social media! I love seeing our family classics come to life in kitchens all over the country. Happy scooping!
PrintThe Best Creamy No Bake Peanut Butter Pie with Oreo Crust
Make this easy no bake peanut butter pie for a quick dessert. It features a rich, creamy peanut butter filling and a crunchy chocolate Oreo crust. This recipe requires no oven and is perfect for potlucks or summer gatherings.
- Prep Time: 20 min
- Cook Time: 0 min
- Total Time: 4 hr 20 min
- Yield: 8 servings 1x
- Category: Dessert
- Method: No Bake
- Cuisine: American
- Diet: Vegetarian
Ingredients
- 1 package (14.3 ounces) chocolate sandwich cookies (like Oreos)
- 6 tablespoons unsalted butter, melted
- 1 cup creamy peanut butter
- 1 package (8 ounces) cream cheese, softened
- 1 cup powdered sugar
- 1 teaspoon vanilla extract
- 1 carton (8 ounces) frozen whipped topping, thawed (or 2 cups homemade whipped cream)
- Optional topping: Chocolate syrup or mini peanut butter cups
Instructions
- Prepare the crust: Place the chocolate sandwich cookies in a food processor and pulse until fine crumbs form. You need about 1 1/2 cups of crumbs.
- Mix the crust: Pour the melted butter over the cookie crumbs in the food processor and pulse until the crumbs are moistened.
- Press the crust: Press the crumb mixture firmly and evenly into the bottom and up the sides of a 9-inch pie plate. Place the crust in the freezer while you prepare the filling.
- Make the filling base: In a large bowl, beat the creamy peanut butter, softened cream cheese, powdered sugar, and vanilla extract together with an electric mixer until the mixture is smooth and well combined. Scrape down the sides of the bowl as needed.
- Fold in topping: Gently fold the thawed whipped topping into the peanut butter mixture until just combined. Do not overmix; you want the filling to remain fluffy.
- Fill the pie: Spoon the creamy peanut butter filling evenly into the chilled Oreo crust. Smooth the top with a spatula.
- Chill: Cover the pie loosely with plastic wrap and refrigerate for at least 4 hours, or until the filling is firm. For best results, chill overnight. This is a crucial step for a firm, easy-to-slice pie.
- Serve: Before serving, top the pie with chocolate syrup or chopped peanut butter cups, if desired. Slice and serve this indulgent sweet treat cold.
Notes
- If you prefer a graham cracker crust dessert, substitute 1 1/2 cups of graham cracker crumbs for the Oreo crumbs and use 1/4 cup of melted butter instead of 6 tablespoons.
- For an extra rich flavor, use 1/2 cup of cream cheese and 1/2 cup of sour cream in the filling instead of all cream cheese.
- This make ahead dessert sets up best when chilled for a full 6 hours.
Nutrition
- Serving Size: 1 slice
- Calories: 450
- Sugar: 35g
- Sodium: 320mg
- Fat: 30g
- Saturated Fat: 10g
- Unsaturated Fat: 20g
- Trans Fat: 0g
- Carbohydrates: 40g
- Fiber: 2g
- Protein: 10g
- Cholesterol: 35mg