
There are some smells that just feel like coming home, aren’t there? For me, growing up in that small Midwest kitchen, it was always the warm, sweet scent of baked cinnamon apples. That aroma instantly washes away stress and brings back memories of my grandmother watching over me as I learned to bake. If you’re looking for that perfect moment of cozy nostalgia baked into a dish, you’ve absolutely found it. Forget those sad, soggy crusts; this is The Best Classic Apple Crumble with a Buttery, Never-Soggy Oat Topping. Trust me when I say this simple apple crumble is the dish you’ll want on repeat all autumn long because it delivers pure, comforting magic every single time.
- Why This is the Best Homemade Apple Crumble Recipe
- Gathering Ingredients for Your Classic Apple Crumble
- How to Prepare the Easy Apple Crumble Recipe Step-by-Step
- Tips for Success with Your Apple Crumble
- Serving Suggestions for This Classic Apple Dessert
- Storage and Reheating Instructions for Leftover Apple Crumble
- Understanding Apple Crisp vs Crumble
- Frequently Asked Questions About Making Apple Crumble
- Share Your Family Favorite Apple Bake
Why This is the Best Homemade Apple Crumble Recipe
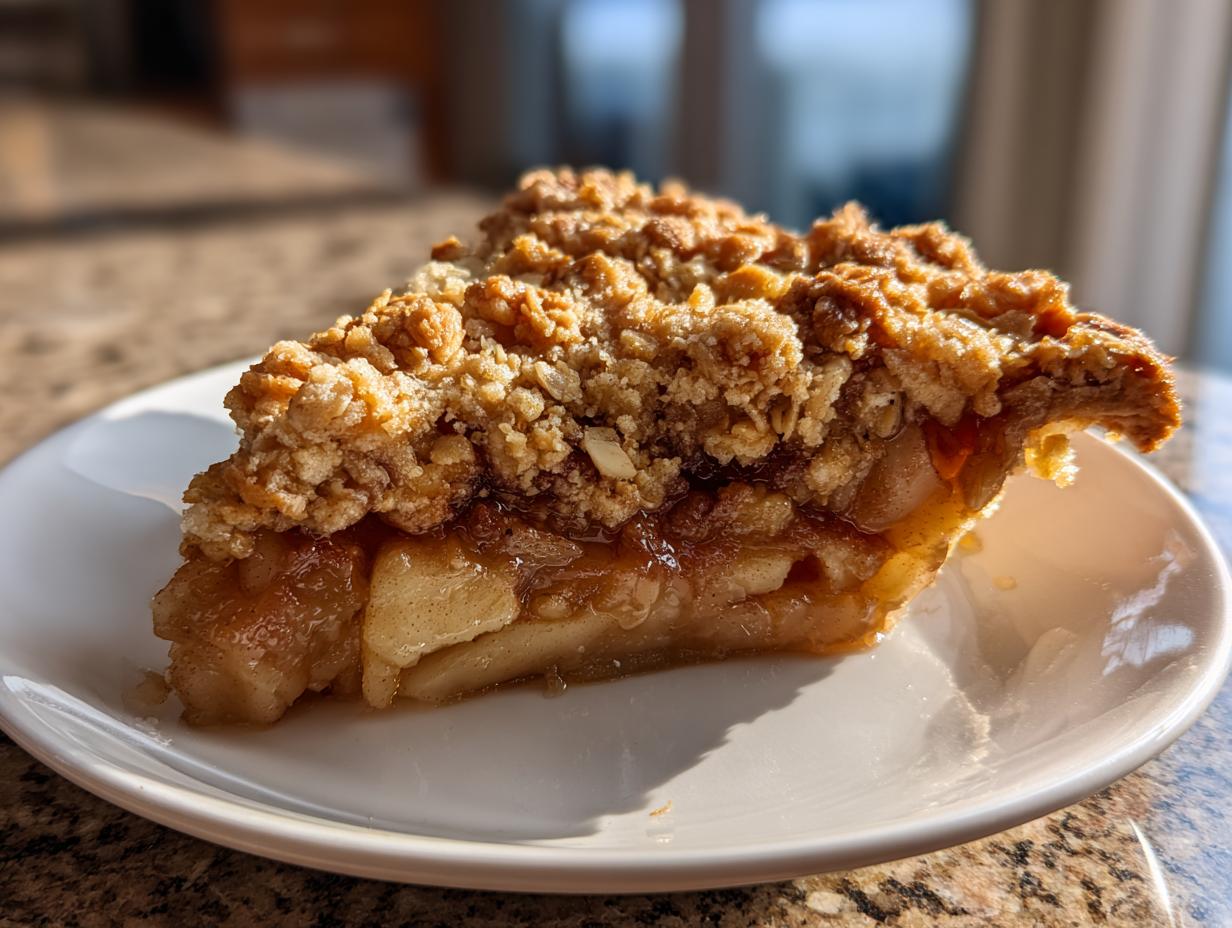
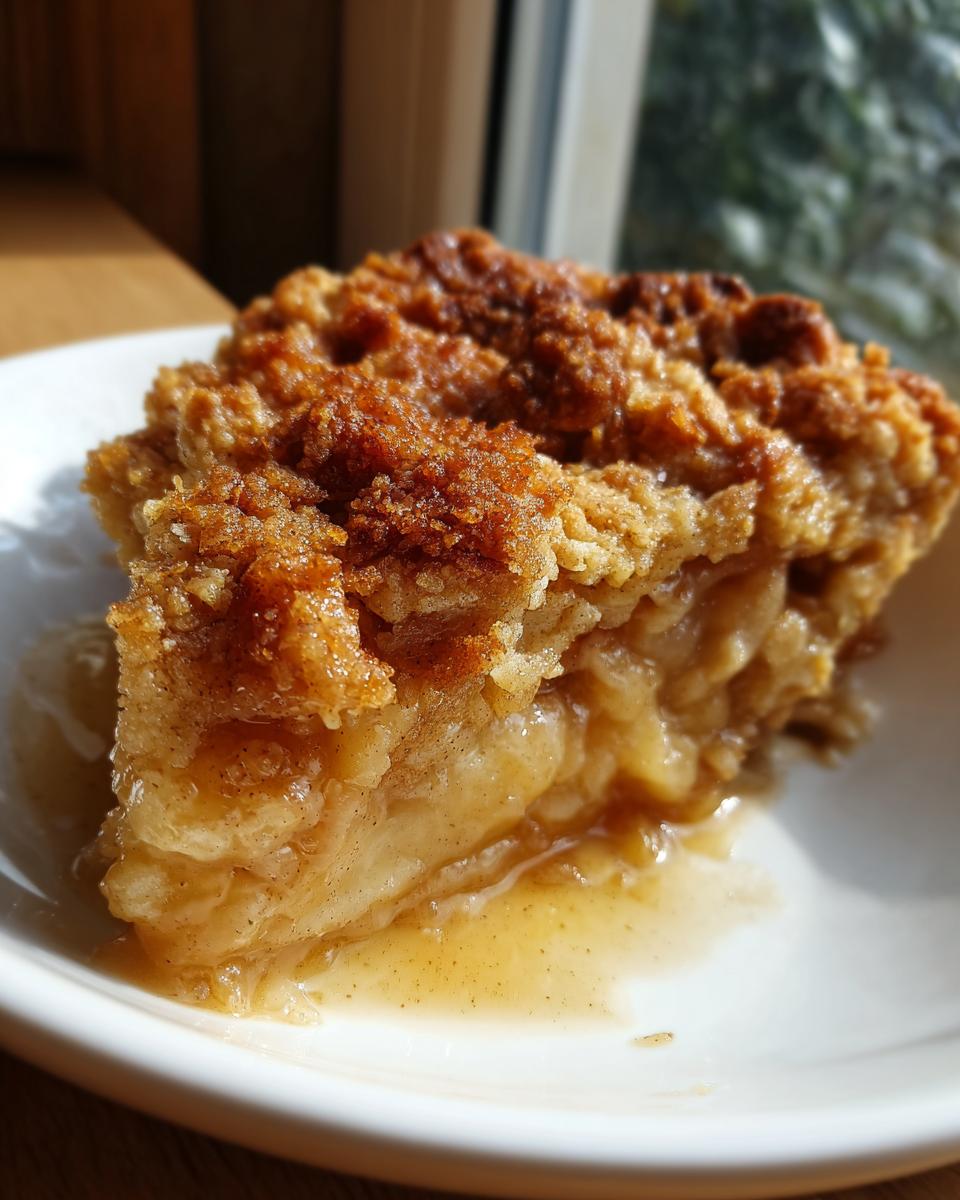
I’ve made every kind of apple bake imaginable over the years, but this one is the one I keep coming back to—it’s truly my Best Homemade Apple Crumble Recipe. It’s the ultimate Comforting Fall Dessert because it nails that textural contrast that so many baked goods miss. You get the soft, yielding apples that have basically melted into spiced perfection, right underneath that gorgeous, crunchy topping.
It’s the way the warming spices dance with the fruit that makes it special. Honestly, it just tastes like home, only better because you don’t have to wrestle with a fussy pie crust!
Achieving the Perfect Buttery Crumble Topping
The secret to keeping that crumble crisp and buttery isn’t complicated, but you have to respect the cold butter! When you cut that cold butter into the flour and oats, you’re creating little pockets of fat. These pockets hold their shape just long enough during baking, melting slowly to create that sandy, crisp texture you crave.
There’s no sogginess here, I promise. Make sure you leave those pea-sized butter pieces in there—that’s your insurance against a soupy bottom layer!
Tender Spiced Apple Filling Secrets
For the filling, you need apples that hold up, like Granny Smith or Honeycrisp. They give you that nice little tart bite that cuts through the sweetness. We toss them with cinnamon and nutmeg, which gives you that classic spiced apple filling flavor; that’s where your Cinnamon Apple Crumble magic really starts.
Don’t forget that tablespoon of flour! It looks like nothing, but it grabs all those apple juices as they cook down, making sure you get a luscious, slightly thick base instead of just watery apple syrup.
Gathering Ingredients for Your Classic Apple Crumble
Okay, pulling this beautiful Classic Apple Crumble together is simple because we aren’t making any fussy doughs! It’s all about having the right stuff ready to go before you start tossing things around.
Clarity here is key. When you measure out your apples, make sure they are peeled, cored, and, most importantly, sliced evenly—that ensures they melt at the same rate in the oven. Get your cold butter cubed and ready for the topping; I always keep mine in the freezer until the second I need it!
Ingredients for the Spiced Apple Filling
- 6 medium baking apples (like Granny Smith or Honeycrisp), peeled, cored, and sliced
- 1/4 cup granulated sugar (for filling)
- 1 tablespoon all-purpose flour (for filling)
- 1 teaspoon ground cinnamon
- 1/4 teaspoon ground nutmeg
- 1 tablespoon lemon juice
Ingredients for the Buttery Crumble Topping
- 1 cup all-purpose flour (for topping)
- 1/2 cup rolled oats
- 1/2 cup packed light brown sugar
- 1/4 teaspoon salt
- 1/2 cup (1 stick) cold unsalted butter, cut into small cubes
How to Prepare the Easy Apple Crumble Recipe Step-by-Step
Now we get to the fun part! This is what makes this an Easy Apple Crumble Recipe. Don’t let the word ‘baking’ scare you; this is practically foolproof Simple Crumble Baking. We’re moving fast, so have your baking dish (I use my trusty 8×8 inch one) right there on the counter, ready to go.
Preheating and Preparing the Apple Filling for Apple Crumble
First things first: fire up that oven to 375°F (190°C). While it warms up, lightly grease your baking dish—you don’t want any sticking when that bubbly filling tries to escape! In a big bowl, it’s time to combine all those beautiful apples with the sugar, that one tablespoon of flour, cinnamon, nutmeg, and the tang of lemon juice. Use your hands or a rubber spatula and just toss everything together until those slices are perfectly coated. Then, spread that spiced fruit into an even layer in your prepared dish.
Creating the Never Soggy Crumble Topping
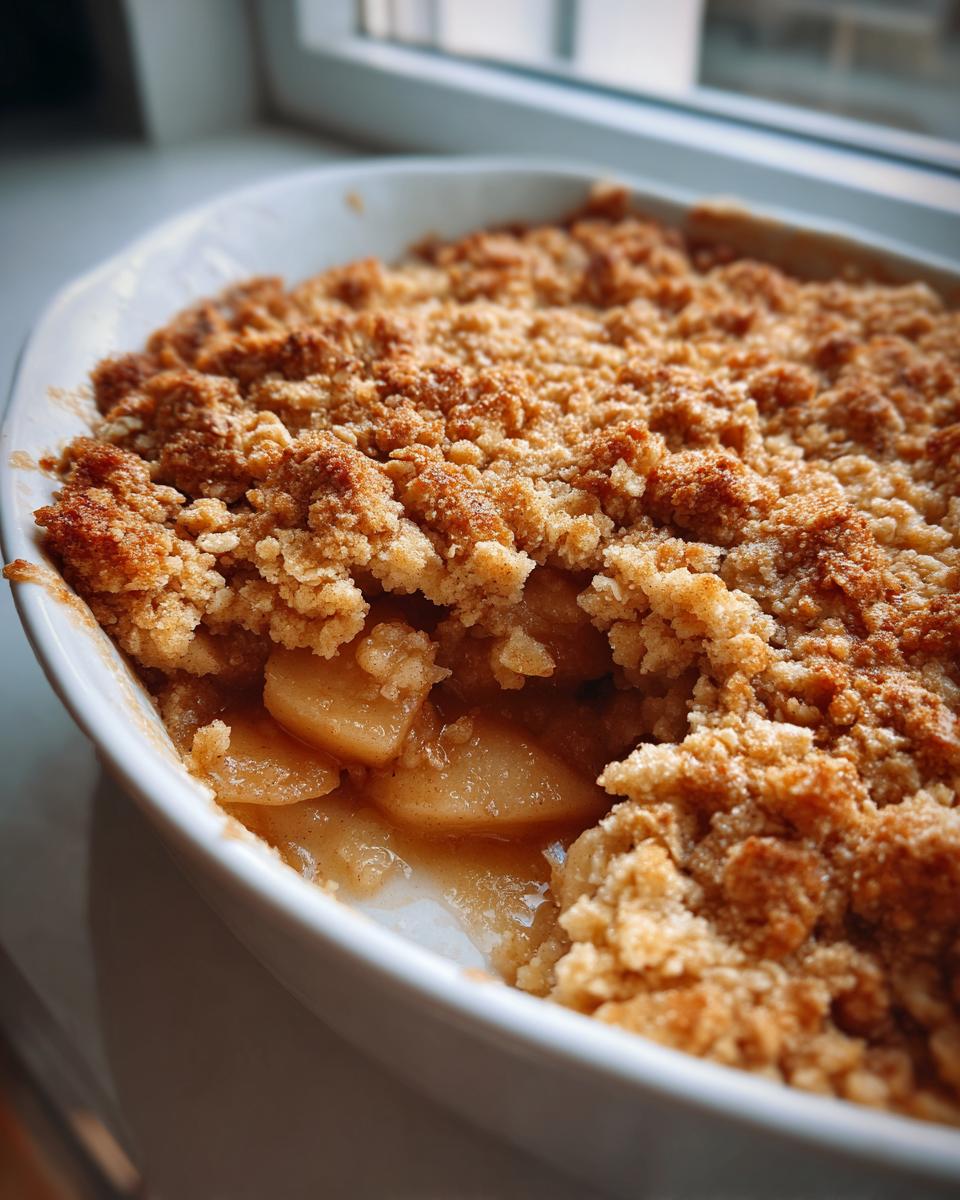
In a separate bowl, whisk your topping dry ingredients—the flour, oats, brown sugar, and salt. This is where the magic happens! Add your cold, cubed butter. I just dive in with my fingertips here. You need to work that butter in quickly so it doesn’t warm up too much. Keep squishing and rubbing until you get what looks like coarse crumbs, like wet sand, with some pieces still the size of little peas. Stop mixing when you hit that stage; overmixing is the enemy of crispness!
Baking and Resting Your Apple Crumble
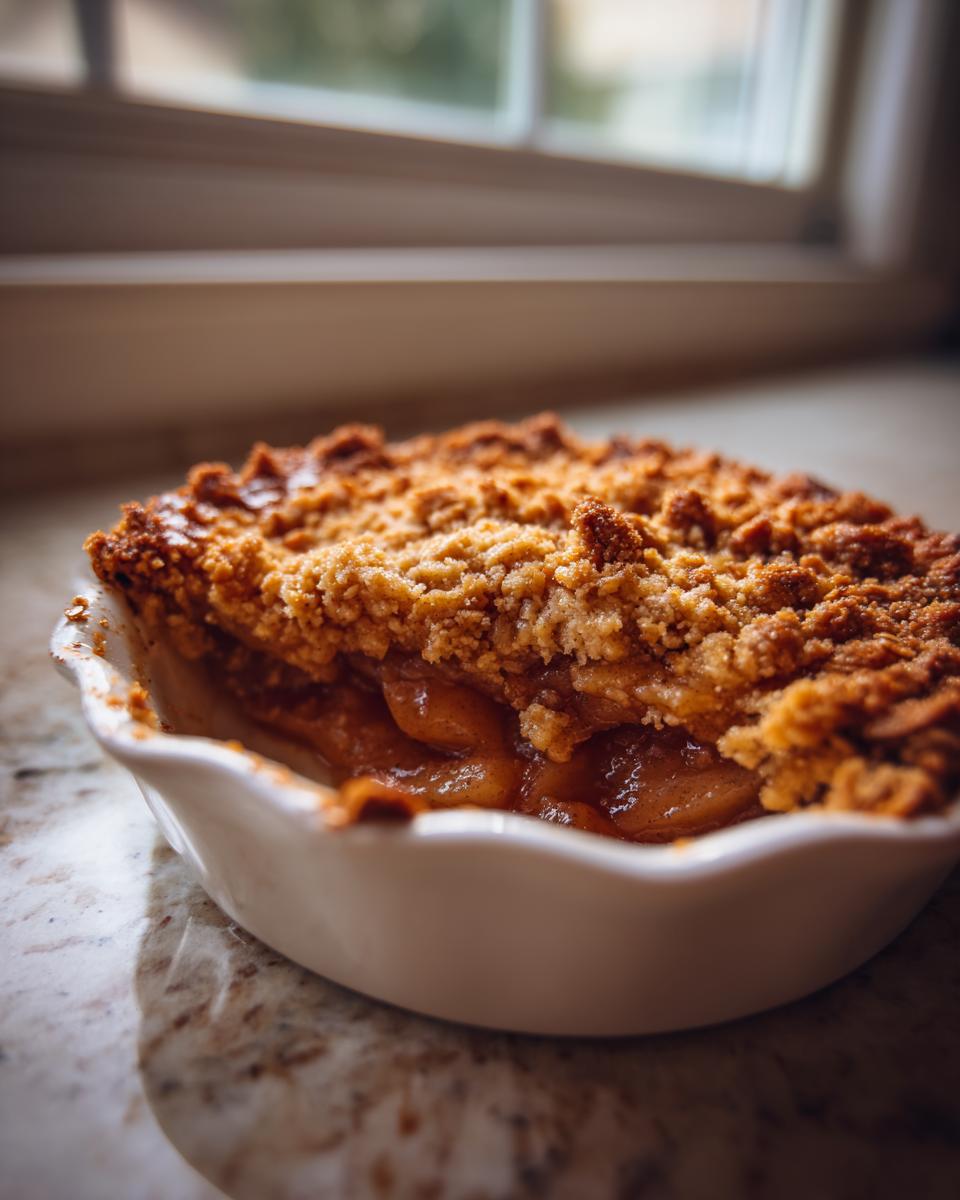
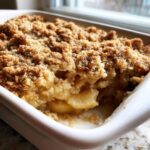
Sprinkle that gorgeous, buttery mixture evenly over the apples—make sure you cover every single spot! Pop it into the oven for about 35 to 45 minutes. You’re looking for two signs: deep golden brown on top and I mean *bubbling* hot around the edges of the pan. The most important step happens when it comes out, though. Don’t touch it! Let that Apple Crumble rest on the counter for a good 15 minutes. This lets the filling set up just right so you don’t end up with a soupy mess when you serve it.
Tips for Success with Your Apple Crumble
I’ve learned a few things over the years through trial and error, and the beauty of this Apple Crumble is how forgiving it is if you know the little tricks. These aren’t huge changes; they’re just little insights I’ve jotted down on my own recipe cards to make sure every batch is as good as the last one.
Ingredient Adjustments and Substitutions for Apple Crumble
If you find your apples are naturally very tart and you’re craving a sweeter profile, don’t hesitate to bump that granulated sugar in the filling up an extra quarter cup. It really helps them break down nicely. Also, I love experimenting! If you want to make your topping feel richer and a little more rustic, try swapping out half of the all-purpose flour for almond flour.
For the best texture, remember my absolute number one rule: your butter has to be ice cold when you cut it in. Cold butter creates steam, and that steam is what gives you that gorgeous, light, and crisp crumble instead of a dense, oily one. That’s the best piece of advice I can give you!
Serving Suggestions for This Classic Apple Dessert
There’s a big difference between an apple crumble eaten straight from the pan standing over the sink (I’ve done it!) and one served up properly. This Classic Apple Dessert really shines when it’s warm. Seriously, you absolutely must try it with a generous scoop of high-quality vanilla ice cream. The contrast between the hot, spiced apples and the melting, cold cream? It’s just heaven. If ice cream isn’t handy, a dollop of thick whipped cream works beautifully too.
For something richer, especially if you’re serving this after a big dinner, drizzling some homemade caramel sauce over the top takes it over the top. You can find my recipe for an amazing caramel apple trifle that uses a similar fall flavor profile!
Storage and Reheating Instructions for Leftover Apple Crumble
Now, if you even have leftovers—which I rarely do, honestly!—you want to keep that beautiful topping from getting soggy. Once the crumble has cooled completely, just cover the dish tightly with plastic wrap or transfer the portions to an airtight container. Keep it in the fridge for up to four days.
To bring back that crispness, skip the microwave! Pop your portion onto a baking sheet and reheat it in a 350°F oven for about 10 minutes. This dries out any lingering moisture and crisps up the topping perfectly again. It tastes almost as good as fresh! If you happen to have some extra apple butter, swirl a tiny bit into the reheated apples.
Understanding Apple Crisp vs Crumble
I get asked this all the time, especially since my topping includes oats—which can get confusing! People wonder what the real difference is between an Apple Crumble and an Apple Crisp. Honestly, in my kitchen, we treat them almost interchangeably, but there’s a subtle traditional distinction.
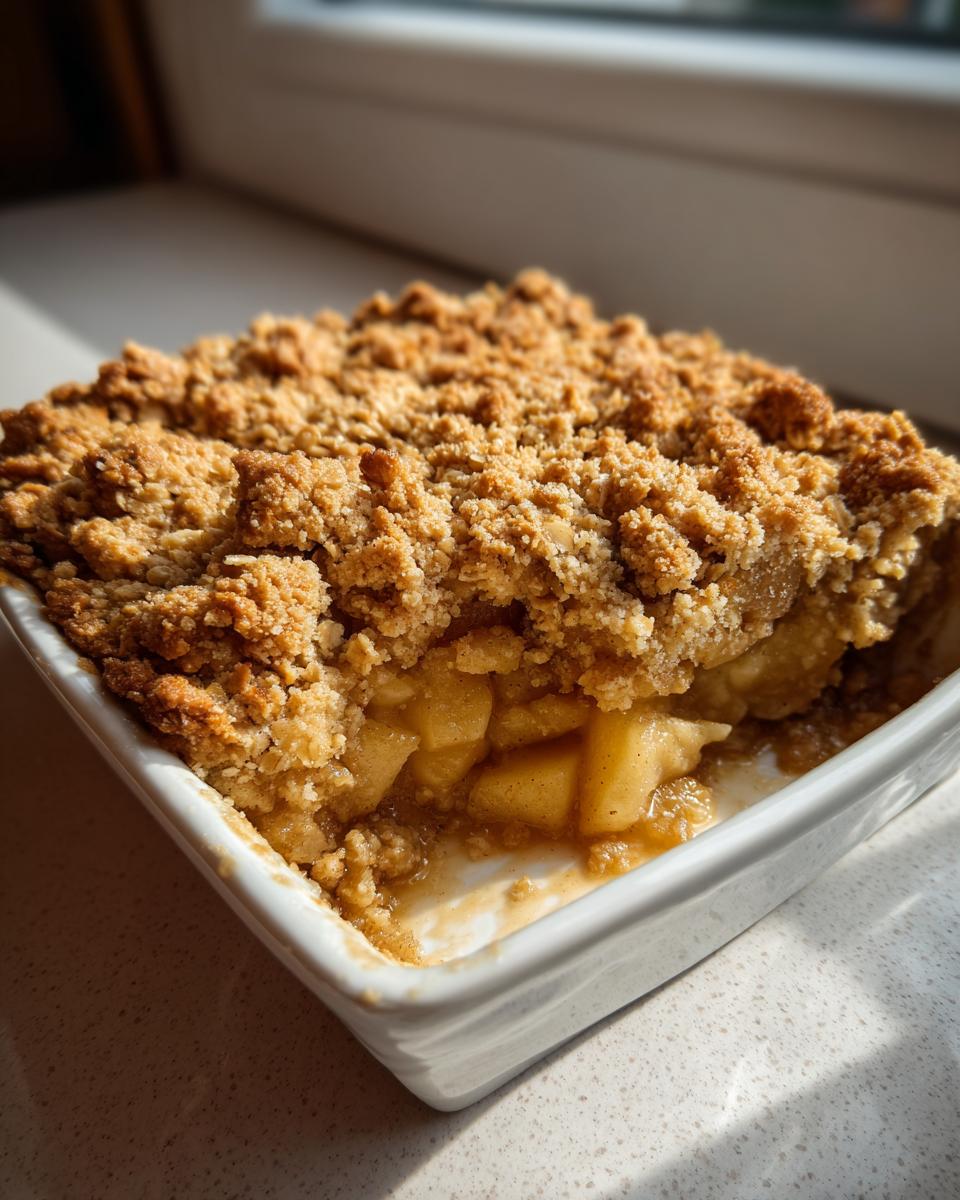
Traditionally, the term “crumble” means the topping is strictly flour, butter, and sugar—it’s just that buttery, crumbly streusel texture. When you add rolled oats, as we do here, it slides right over into being called a “crisp.” Why did I put oats in my crumble, then? Because those oats add chewiness and extra structure that I absolutely adore!
You can check out my dedicated best old-fashioned apple crisp recipe if you want that classic oat-heavy version. But for this standard apple crumble recipe, think of it this way: oats make it crispier, but we still call it a crumble because the heart of the topping is that lovely, sandy structure. Either way, it’s warm, spiced apples covered in butter, and that’s what matters most on a chilly night!
Frequently Asked Questions About Making Apple Crumble
It’s funny how even the simplest desserts can bring up questions! Since everyone wants that perfect Comforting Fall Dessert experience, I’ve collected the three concerns I hear the most often about this apple crumble. Asking these questions means you’re already on the path to making a fantastic Classic Apple Dessert, so let’s get you the answers you need!
Can I make this apple crumble ahead of time?
Oh yes, you absolutely can organize ahead of time! I highly recommend preparing the apple filling and the topping separately the day before. Keep them tightly wrapped in the fridge. But here’s the key: don’t mix them until you are ready to bake. If you assemble the whole thing overnight, the moisture from the apples will start soaking into your gorgeous buttery crumble topping, and that’s how we lose the crispness! Assemble just before it goes into a 375°F oven.
What is the best type of apple for this recipe?
For the absolute best results, you really need apples that are firm enough to hold their shape while they soften up in the oven. I rely on either Granny Smith or Honeycrisp—they are my go-tos every time. Granny Smiths give you that wonderful, tart contrast to the sweet brown sugar, which really elevates the whole dish. If you use something softer, like McIntosh, they tend to break down too quickly and you end up with applesauce rather than tender fruit slices.
How do I prevent the bottom apple layer from being watery in my apple crumble?
This is the oldest question in the bake sale book, isn’t it? There are two main safeguards for an Apple Crumble base that isn’t watery. First, make sure you’re using that tablespoon of flour in your apple mixture. It acts like a binder for all the juices released by the fruit. Second, and this is just as important: you have to let it rest! That mandatory 15 minutes after it comes out of the oven allows the hot juices to thicken up before they hit the plate. Don’t skip that resting time if you want a perfect, satisfying bite!
Share Your Family Favorite Apple Bake
This recipe—my version of the ultimate Family Favorite Apple Bake—isn’t complete until I see it inspiring someone new to get in the kitchen and make some memories around the table. That’s the whole point of Cookin’ Corner, right? It’s about passing along those core recipes that feel like tradition.
When you try this apple crumble, I really want to hear about it! Did serving it warm with vanilla ice cream make someone’s whole week? Did you sneak a bite straight from the pan while it was still too hot (I always do)? Don’t be shy!
Please take a moment and leave a rating right below the recipe card. Tell me how it went, if you made any little tweaks of your own, or how this classic dessert fit into your own family’s baking routine. Happy baking, friends, and thank you for letting me share a piece of my kitchen with yours!
PrintThe Best Classic Apple Crumble with a Buttery, Never-Soggy Oat Topping
This recipe delivers the ultimate comfort dessert: tender, spiced apples beneath a crisp, buttery oat topping. It is easy to prepare and perfect for cozy nights, especially served warm with vanilla ice cream.
- Prep Time: 15 min
- Cook Time: 40 min
- Total Time: 55 min
- Yield: 6 servings 1x
- Category: Dessert
- Method: Baking
- Cuisine: American
- Diet: Vegetarian
Ingredients
- 6 medium baking apples (like Granny Smith or Honeycrisp), peeled, cored, and sliced
- 1/4 cup granulated sugar (for filling)
- 1 tablespoon all-purpose flour (for filling)
- 1 teaspoon ground cinnamon
- 1/4 teaspoon ground nutmeg
- 1 tablespoon lemon juice
- 1 cup all-purpose flour (for topping)
- 1/2 cup rolled oats
- 1/2 cup packed light brown sugar
- 1/4 teaspoon salt
- 1/2 cup (1 stick) cold unsalted butter, cut into small cubes
Instructions
- Preheat your oven to 375°F (190°C). Lightly grease an 8×8 inch baking dish or a similar-sized oven-safe dish.
- Prepare the apple filling: In a large bowl, combine the sliced apples, granulated sugar, 1 tablespoon of flour, cinnamon, nutmeg, and lemon juice. Toss gently until the apples are evenly coated. Pour this mixture into your prepared baking dish and spread it into an even layer.
- Prepare the buttery crumble topping: In a separate medium bowl, whisk together the 1 cup of flour, rolled oats, brown sugar, and salt.
- Cut in the cold butter: Add the cold, cubed butter to the dry topping ingredients. Use your fingertips or a pastry blender to cut the butter into the dry mixture until the mixture resembles coarse crumbs, with some pea-sized pieces remaining. Do not overmix; this keeps the topping crisp.
- Sprinkle the crumble topping evenly over the apple filling in the baking dish.
- Bake for 35 to 45 minutes, or until the topping is golden brown and the apple filling is bubbling around the edges. The apples should be tender when pierced with a fork.
- Remove from the oven and let it cool for at least 15 minutes before serving. This resting time helps the filling set and prevents sogginess.
- Serve your warm apple crumble with a generous scoop of vanilla ice cream for the ultimate cozy fall dessert experience.
Notes
- For the best texture, make sure your butter is very cold when making the topping. Cold butter creates steam in the oven, resulting in a crisp, never-soggy crumble.
- If you prefer a sweeter filling, increase the granulated sugar to 1/3 cup.
- You can substitute half of the all-purpose flour in the topping with almond flour for a richer flavor.
Nutrition
- Serving Size: 1 serving
- Calories: 380
- Sugar: 28g
- Sodium: 150mg
- Fat: 18g
- Saturated Fat: 11g
- Unsaturated Fat: 7g
- Trans Fat: 0.5g
- Carbohydrates: 55g
- Fiber: 4g
- Protein: 5g
- Cholesterol: 45mg