
Some flavors just smell like home, don’t they? For me, it’s the deep, sweet scent of bubbling blackberries mixed with that unmistakable aroma of browning butter from a fresh-baked crust. That’s why I hold this classic homemade blackberry pie recipe so close to my heart. This isn’t some finicky, professional kitchen trick; this is pure American comfort dessert designed to work! If you’ve ever been burned by a runny filling or a crust that turned out tough, trust me, this version fixes those problems. We’re going to nail that flaky pie crust secrets technique and ensure your filling sets up perfectly. That’s the care you bring from my kitchen to yours.
- Why This Classic Blackberry Pie Recipe Works Every Time
- Gathering Ingredients for Your Blackberry Pie
- Step-by-Step Instructions for Classic Blackberry Pie
- Tips for the Best Blackberry Pie Success
- Serving Suggestions for this Homemade Berry Pie
- Storage and Reheating Instructions for Blackberry Pie
- Frequently Asked Questions About Blackberry Pie
- Nutritional Estimate for Classic Blackberry Pie
- Share Your Perfect Blackberry Pie Creation
Why This Classic Blackberry Pie Recipe Works Every Time
Look, I’ve made my fair share of disastrous pies in my time. We’ve all been there staring mournfully at a beautifully latticed top while the filling oozes out like soup onto the baking sheet! That’s why I put so much work into figuring out the tricks that make this classic blackberry pie recipe truly foolproof. It all comes down to fighting two main enemies: tough dough and a runny mess.
The secret to the flaky pie crust secrets isn’t magic; it’s temperature control. If your butter melts, you get a tough crust, not flaky layers. That’s simply a fact! We tackle this by keeping everything frigid.
Achieving the Perfect Buttery Pie Dough
When we mix the flour and butter, you aren’t looking for a uniform paste, oh no. You want coarse crumbs, and you absolutely need those little pea-sized pieces of butter hanging around in there. When those cold chunks hit the hot oven, they steam quickly, creating actual air pockets—that’s the flakiness we want! That’s how you get that wonderful buttery pie dough.
Creating a Juicy Blackberry Filling That Sets
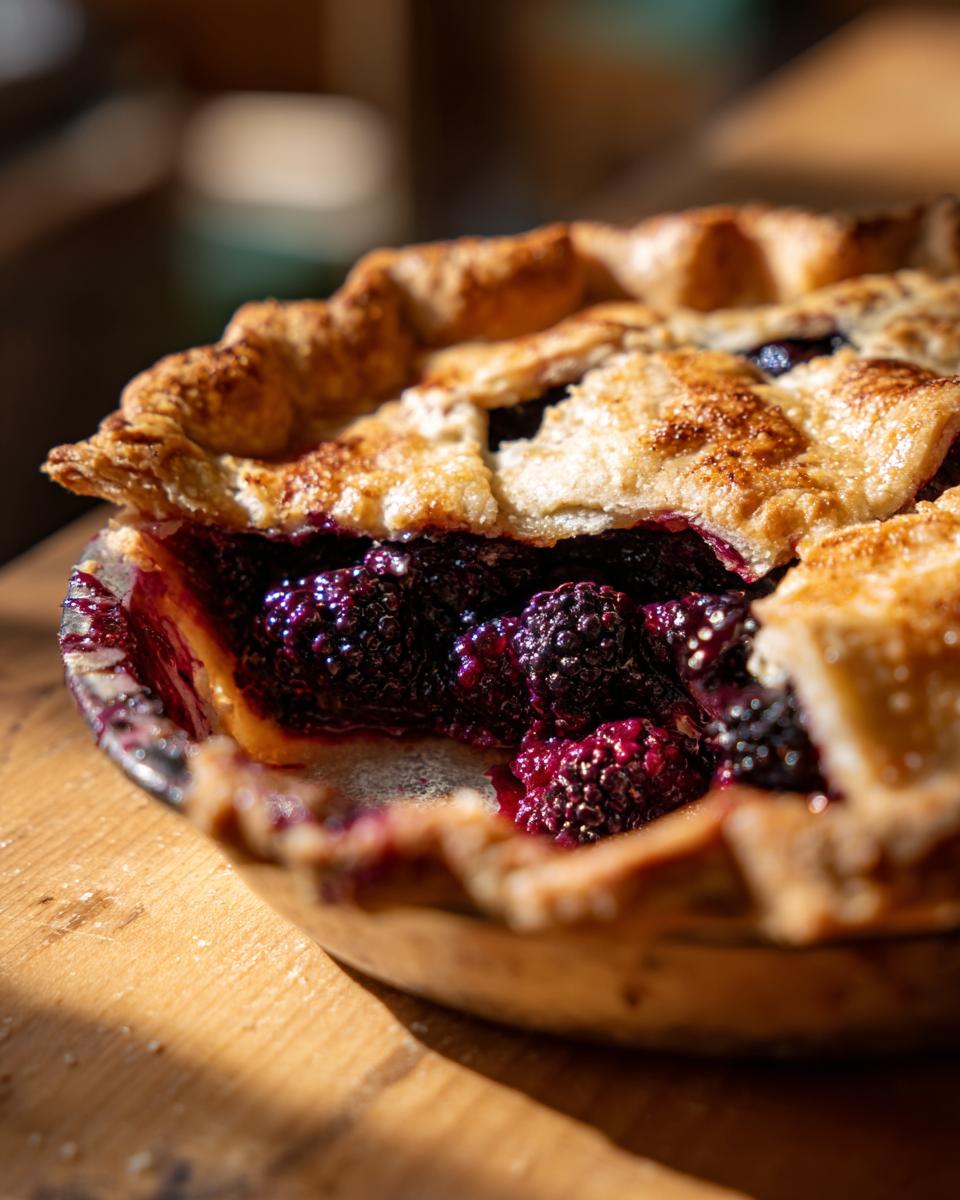
To get that perfect sliceable, but still luscious, juicy blackberry filling, we lean hard on cornstarch. It’s not glamorous, but it’s essential for taking the liquid the berries release and turning it into a thick, glossy sauce. If you’re using frozen blackberries for your blackberry pie, which you totally can do (just toss them in frozen, don’t bother thawing!), the cornstarch really shines because frozen berries release more water.
This careful attention to the cold dough and the right thickener is exactly how to prevent soggy pie bottom issues. Trust me, your family will think you’ve been baking since you were old enough to hold a rolling pin!
Gathering Ingredients for Your Blackberry Pie
Alright, now that we know *why* this recipe is so dependable, let’s talk about getting everything ready. Having the right components lined up before you start is half the battle, especially when you are aiming for that beautiful, tender buttery pie dough. Don’t worry, these aren’t exotic ingredients; they are the core of any great American comfort dessert. This is the essential shopping list for a truly classic blackberry pie recipe.
Remember, for the filling, we are going for taste perfection, so don’t skimp on quality berries! When you gather everything, you’ll see how simple this old fashioned pie recipe truly is. If you ever want a companion dessert, you should check out my recipe for a classic apple crumble, but right now, blackberries rule the kitchen!
For the Flaky All-Butter Pie Crust
- 2 1/2 cups all-purpose flour—you just need the standard stuff.
- 1 teaspoon salt—for seasoning the fat!
- 1 cup (2 sticks) cold unsalted butter, cut into small cubes—I mean COLD, like straight from the freezer for 10 minutes.
- 1/2 cup ice water, plus more if needed—make sure that water is truly icy!
For the Perfectly Sweet Blackberry Pie Filling
This mix guarantees that gorgeous, set filling that doesn’t run everywhere.
- 6 cups fresh or frozen blackberries—see my tips later on using frozen ones!
- 1 1/2 cups granulated sugar—this balances the tartness of the berries perfectly.
- 1/4 cup cornstarch—this is our non-negotiable magic helper for thickening and achieving that juicy blackberry filling.
- 1 tablespoon lemon juice—it brightens everything up.
- 1/4 teaspoon ground cinnamon—just a tiny whisper of spice.
Oh, and you’ll need 1 large egg, beaten with 1 teaspoon water (for the egg wash), plus 1 tablespoon coarse sugar for sprinkling on top. Doesn’t that look manageable? You’re already halfway to making the best blackberry pie!
Step-by-Step Instructions for Classic Blackberry Pie
This is where the magic happens, but remember, patience is your greatest tool here. Don’t rush the chilling process! We need to build structure into this dough so we can enjoy the reward of that flaky pie crust secrets texture later on. Follow these steps closely, and you’ll be pulling a gorgeous blackberry pie out of the oven before you know it.
Making and Chilling the Buttery Pie Dough
First up, we tackle the crust. Whisk your flour and salt together. Now, take those cubed butter pieces—they have to be cold!—and cut them into the flour using a pastry blender or your fingertips. Seriously, work fast so your hands don’t warm up the fat. You want coarse crumbs with some buttery bits still looking like small peas. Next, drizzle in that ice water just a tablespoon at a time. Mix it lightly until the dough stubbornly holds together. Don’t knead this! Just bring it together, divide it into two smooth disks, wrap them tight, and get them into the fridge for at least an hour. They need that beauty sleep!
Mixing the Blackberry Filling and Assembling the Blackberry Pie
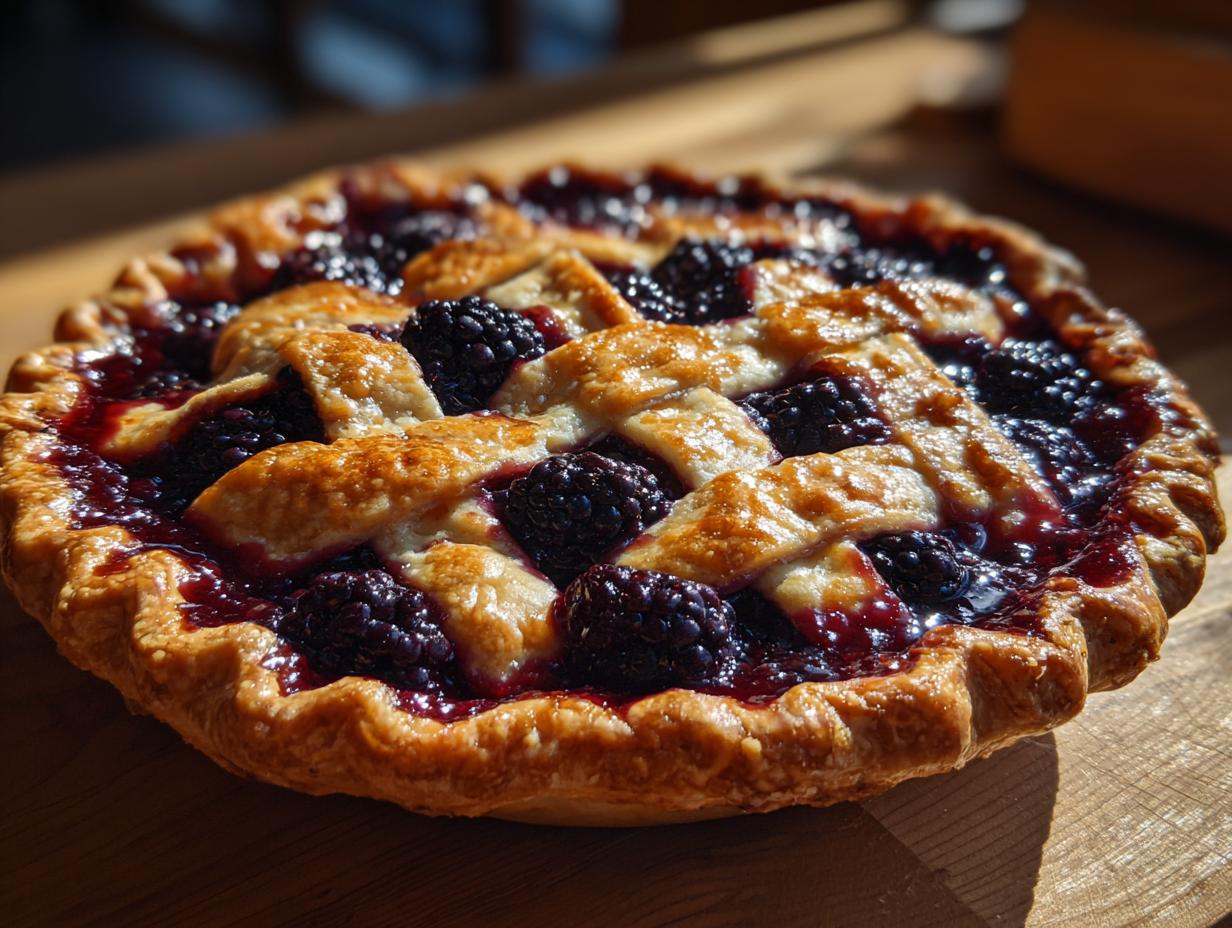
While the dough chills, let’s mix the filling. In a separate bowl, gently toss your blackberries with the sugar, cornstarch—that’s our setting agent—lemon juice, and cinnamon. Be kind to those berries! Once the dough is chilled, preheat your oven to 425 degrees F. Roll out one disk into a nice 12-inch circle and ease it into your pie plate. Pour in all that beautiful filling. Now, grab that second disk. You can cover it solid, or if you’re feeling fancy, try that lattice top tutorial design you saw—either way, seal those edges up tight! Brush it with egg wash and sprinkle on that coarse sugar for crunch.
Baking and Cooling to Prevent Soggy Pie Bottom
Time to bake this beauty! Pop the pie on a baking sheet—you really don’t want filling drips ruining your oven floor—and bake it hot at 425 degrees F for just 15 minutes. Then, drop the heat down to 375 degrees F for another 40 to 50 minutes. Keep an eye on the edges; foil goes on if they look like they are browning too fast. The true test is the bubbling filling! Once it’s golden and bubbling thick, pull it out. BUT WAIT! Do not slice it! You absolutely must let this pie cool down for a full four hours. This step is your insurance policy against the dreaded soggy pie bottom. That cornstarch needs time to fully set up those juices!
Tips for the Best Blackberry Pie Success
You’ve got the steps down, but these little bits of knowledge are what separate a good pie from your new favorite old fashioned pie recipe. Baking with seasonal fruit, like these gorgeous blackberries, means knowing how to handle what nature gives you. I’ve spent years perfecting these small tweaks so you don’t have to waste a single berry! If you love this type of fruit dessert, you should also take a peek at my classic homemade apple pie recipe.
Handling Berries: Fresh vs Frozen Blackberry Pie
If you managed to pick a huge batch of fruit, freezing them is great! When you use frozen blackberries, the most important thing is this: don’t thaw them first! Seriously, keep them solid rock when you mix them with the sugar and cornstarch. If you thaw them, they turn mushy, and you lose all that beautiful structure we talked about. The cornstarch we added in the recipe handles the extra water released when the frozen berries warm up in the oven, so we’re good to go there.
Achieving Golden Brown Perfection on Your Blackberry Pie
When that egg wash hits the crust, you’re essentially painting on shine and color. Don’t be shy with the wash, but don’t let it pool either—just a nice, thin, even coat. And that coarse sugar sprinkled on top? That’s for texture! It gives you a wonderful little snap against the tender crust. If you notice the edges are getting darker than you’d like around the 30-minute mark, just grab a small ring of aluminum foil and lay it gently over the rim. It protects the edges from burning while the center finishes baking. This should guarantee you that beautiful golden look every time you make a blackberry pie.
Serving Suggestions for this Homemade Berry Pie
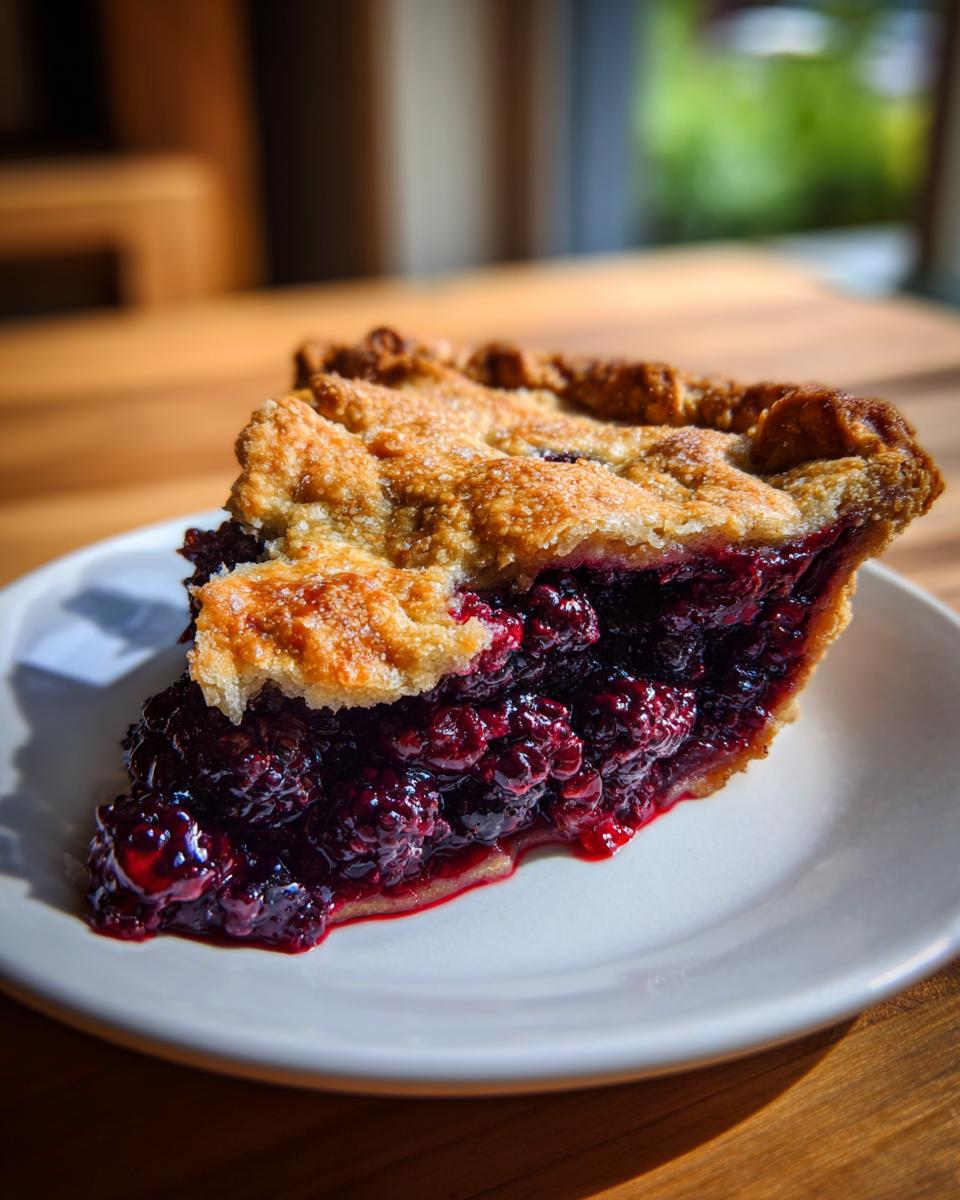
Now that you’ve achieved pie perfection, we need to talk about presentation! Because this is such a hearty, American comfort dessert, it deserves the right partner on the plate. Honestly, nothing beats a piping hot slice topped with something cold and creamy. If you ask me, the best dessert to serve with ice cream alongside this homemade berry pie is a really good, high-quality vanilla bean ice cream. The cold cream cuts right through that rich, warm filling beautifully.
If you’re serving a crowd, you could also whip up a simple dollop of unsweetened whipped cream, or even drizzle it with a tiny bit of honey if you want to lean into that natural sweetness. Sometimes I even serve a slice with a scoop of lemon sorbet if it’s a super hot summer evening. But really, my heart belongs to that classic ice cream pairing. You know, sometimes when I’m making something savory, I use my homemade brown gravy recipe, but not here! Enjoy every bite of this incredible blackberry pie—you earned it!
Storage and Reheating Instructions for Blackberry Pie
Okay, so you’ve made the absolute best blackberry pie, and now you have leftovers—lucky you! The biggest decision now is, how do I keep this beauty tasting amazing for tomorrow? Honestly, this is where a lot of people mess up their crusts, especially when trying to save that flaky texture we worked so hard for.
For the first day, if you simply can’t wait to dig into the rest of that homemade berry pie, you can leave it right on the counter. Pies with a high sugar content and a fruit filling that has been properly thickened (thanks to that cornstarch!) are pretty stable at room temperature for about 24 hours. Just cover it loosely with foil or a plastic dome—don’t wrap it tightly, or you’ll steam the crust and lose all that crispiness.
However, if you need it to last longer than a day, or if your kitchen is just too warm, pop it into the fridge. Wrap it up snuggly in plastic wrap or foil before it goes in. The crust might soften a little, but hey, that’s the trade-off for keeping those berries fresh!
Now for reheating a slice—this is my favorite part! Don’t use the microwave unless you absolutely have to; that’s the fastest way to make a pie crust go totally soggy. If you want to bring back that glorious, flaky crust integrity, heat individual slices in a toaster oven or a regular oven set to about 350 degrees F for about 8 to 10 minutes. You want it just warm enough that the filling gets gooey again, but the crust gets that second crisping. Serve it warm with that vanilla ice cream we talked about!
Frequently Asked Questions About Blackberry Pie
I know you’re going to have some questions once you settle in to bake this—because baking is all about learning and tweaking! I’ve gathered up the ones folks ask me most often down here. I hope these help you achieve that perfect slice of history!
Can I substitute the blackberries with other fruit in this blackberry pie recipe?
Absolutely, you can! This is a wonderful base for any summer berry dessert. If you’re switching to strawberries or blueberries, the recipe works beautifully as-is. If you switch to a significantly wetter fruit, or a fruit that releases less pectin, like peaches, you might want to bump that cornstarch up just a tiny bit—maybe to a heaping 1/3 cup—just to be safe. If you love combinations, check out my guide for a foolproof triple-berry pie, which uses a similar thickening base!
What is the best way to get a crisp bottom crust for my homemade berry pie?
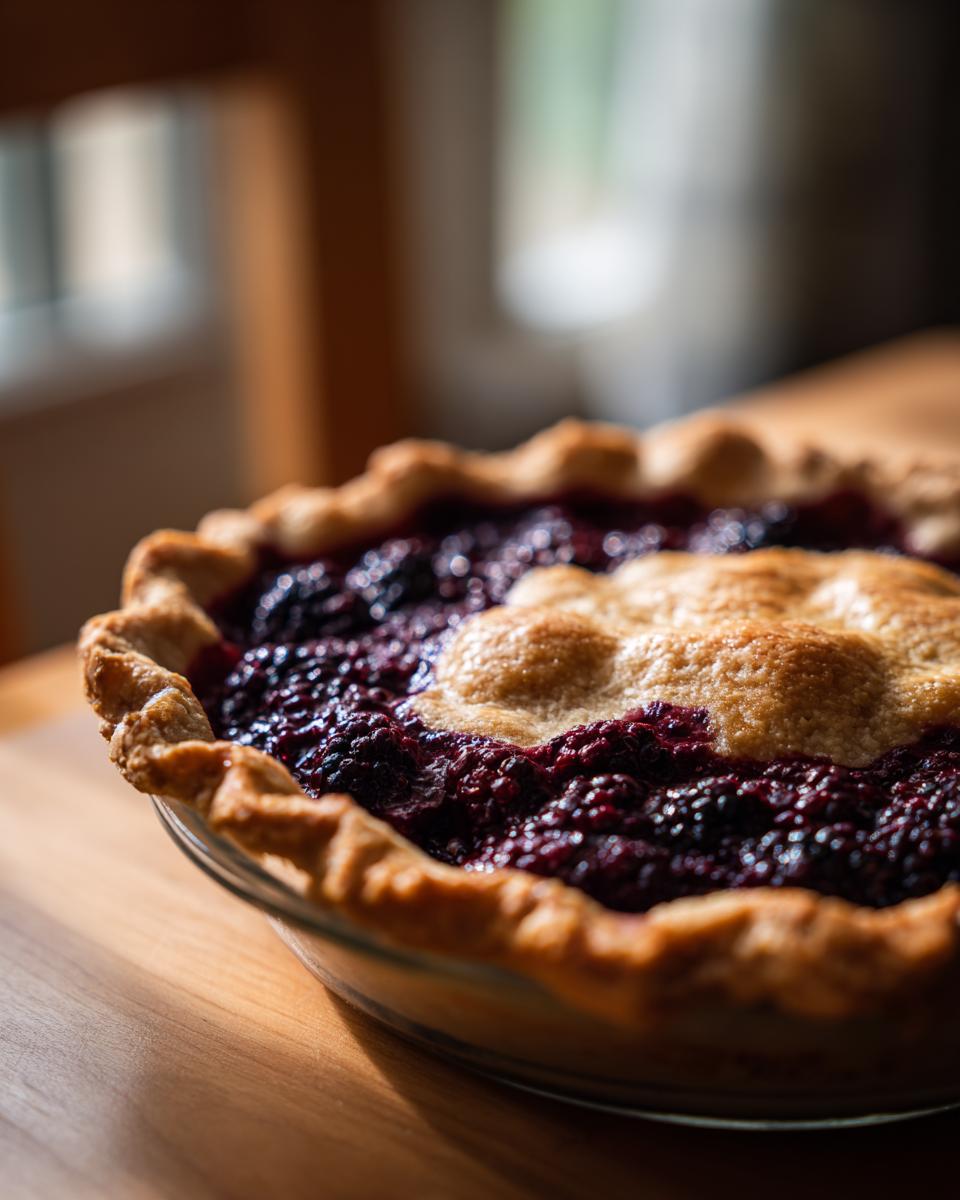
You know I am obsessed with avoiding that awful wet spot! Beyond our crucial four-hour cooling period, I have two extra tricks for you. First, place your pie dish on the lowest rack in your oven for the first 20 minutes. That direct heat helps set the bottom crust fast. Second, if you have a glass pie dish, use it! The glass conducts heat differently than metal, and you can visually see when the bottom crust is starting to brown. That visual check helps so much when you are chasing that crisp texture for your homemade berry pie.
Can I make easy blackberry pie bars instead of a traditional pie?
Yes! If you’re looking for something easier for a picnic or potluck, cutting this filling down into squares is a great idea. You just need to adjust the crust technique. Instead of two full top/bottom crusts, you line a 9×13 pan with one rolled-out piece of dough, fill it with the blackberry mixture, and then use the second disk of dough to either make a crumb topping, similar to a blackberry crumble pie, or cut it into strips for a checkerboard.
Nutritional Estimate for Classic Blackberry Pie
Now, I know that when we are baking up gorgeous, old-fashioned treats like this blackberry pie, we aren’t exactly counting macros, but it’s good to have a general idea of what we’re diving into, right? When I calculated this out based on the ingredients—all that glorious butter and sugar that make the crust so heavenly—this is a rich dessert! It’s exactly what you’d expect from a classic American dessert.
Keep in mind that this is just an estimate. If you use less sugar, or maybe skip the egg wash, the numbers will shift slightly. But these figures are based on sticking exactly to my classic blackberry pie recipe, divided into 8 generous slices.
- Serving Size: 1 slice
- Calories: 410
- Sugar: 38g (That’s the berries talking, mostly!)
- Fat: 22g (Hello, all-butter crust!)
- Carbohydrates: 55g
- Protein: 4g
- Sodium: 250mg
The fat content is higher because we use real butter—always!—for that unbeatable texture. But honestly, when you cut into that golden, flaky crust and you know you’ve successfully avoided a soggy pie bottom, you just can’t worry about the numbers too much. This is meant to be enjoyed!
Share Your Perfect Blackberry Pie Creation
Now that you’ve pulled that unbelievably golden, perfectly set blackberry pie out of the oven—and let it cool for those crucial four hours!—I truly want to see what you’ve made. This whole process, this preserving of the old fashioned pie recipes, is about community. It’s about keeping the traditions of American home cooking alive together.
If this recipe—the one that guarantees that flaky top and stops that soggy bottom—was a success in your kitchen, please come back and tell me! Drop a comment below and give the recipe a star rating. Did you manage a perfect lattice top tutorial design, or did you go with the classic solid top? I read every single story you share, and it just warms my heart to know I helped bring a classic back to your table.
And if you took a picture of that slice of heaven (maybe with a scoop or two of vanilla ice cream on top?), I’d absolutely love to see it on social media! Tag Cookin’ Corner so I can admire your handiwork. You just made one of the very best summer berry desserts, and that deserves to be shared! Happy baking, and keep those memories cooking!
If you’re already planning your next adventure, you can browse through all our other comforting classics right here on the Cookin’ Corner dessert recipes page. Keep baking with love!
PrintClassic Homemade Blackberry Pie with Foolproof Flaky Crust

This recipe guides you to make a truly classic American blackberry pie. You will achieve a juicy, perfectly set filling and an impossibly flaky, all-butter crust every time you bake.
- Prep Time: 45 min
- Cook Time: 65 min
- Total Time: 110 min
- Yield: 8 servings 1x
- Category: Dessert
- Method: Baking
- Cuisine: American
- Diet: Vegetarian
Ingredients
- 2 1/2 cups all-purpose flour
- 1 teaspoon salt
- 1 cup (2 sticks) cold unsalted butter, cut into small cubes
- 1/2 cup ice water, plus more if needed
- 6 cups fresh or frozen blackberries (do not thaw if frozen)
- 1 1/2 cups granulated sugar
- 1/4 cup cornstarch (for thickening)
- 1 tablespoon lemon juice
- 1/4 teaspoon ground cinnamon
- 1 large egg, beaten with 1 teaspoon water (for egg wash)
- 1 tablespoon coarse sugar for sprinkling
Instructions
- Prepare the All-Butter Pie Crust: In a large bowl, whisk together the flour and salt. Cut in the cold butter using a pastry blender or your fingers until the mixture resembles coarse crumbs with some pea-sized pieces of butter remaining.
- Gradually add the ice water, one tablespoon at a time, mixing lightly with a fork until the dough just comes together. Do not overmix.
- Divide the dough in half, form each half into a disk, wrap in plastic wrap, and chill in the refrigerator for at least 1 hour.
- Prepare the Filling: In a separate bowl, gently combine the blackberries, granulated sugar, cornstarch, lemon juice, and cinnamon. Toss lightly until the berries are evenly coated. The cornstarch is key to preventing a runny filling.
- Assemble the Pie: Preheat your oven to 425 degrees F (220 degrees C). On a lightly floured surface, roll out one disk of dough into a 12-inch circle. Carefully transfer the dough to a 9-inch pie plate. Trim the edges, leaving a 1-inch overhang.
- Pour the blackberry filling into the crust. Dot the top of the filling with a few small pieces of leftover butter if desired for extra richness.
- Roll out the second disk of dough. You can either place it over the top as a solid crust or cut it into strips to create a lattice top tutorial design. Crimp the edges of the top and bottom crusts together to seal. Cut several slits in the top crust for steam to escape.
- Brush the top crust with the egg wash and sprinkle generously with coarse sugar.
- Bake the Pie: Place the pie on a baking sheet (to catch drips). Bake at 425 degrees F for 15 minutes.
- Reduce the oven temperature to 375 degrees F (190 degrees C) and continue baking for 40 to 50 minutes, or until the crust is golden brown and the filling is bubbling thickly. If the edges brown too quickly, cover them loosely with foil.
- Cool Completely: This step is crucial for preventing a soggy bottom. Let the pie cool on a wire rack for at least 4 hours before slicing. This allows the cornstarch to fully set the juices.
Notes
- For the flakiest pie dough, handle the butter as little as possible. Keep all ingredients cold.
- If using frozen blackberries, do not thaw them before mixing with the sugar and thickener.
- Serve this classic blackberry pie warm with a scoop of vanilla ice cream for the ultimate American comfort dessert experience.
Nutrition
- Serving Size: 1 slice
- Calories: 410
- Sugar: 38g
- Sodium: 250mg
- Fat: 22g
- Saturated Fat: 14g
- Unsaturated Fat: 8g
- Trans Fat: 0.5g
- Carbohydrates: 55g
- Fiber: 4g
- Protein: 4g
- Cholesterol: 55mg