
Oh, you know that feeling when you pull something out of the oven and the smell alone just resets your entire day? That’s what a perfect, homemade berry pie does for me. It smells like summer road trips and big family picnics back home in the Midwest. For years, I tried every fruit pie under the sun, always wrestling with a messy, runny filling that just refused to set up right when slicing. No more! After too many soggy bottoms and juice explosions, I finally cracked the code. This Foolproof Triple Berry Pie with Flaky Crust isn’t just another recipe; it’s the one that actually works every single time, guaranteeing you a beautiful, sliceable dessert brimming with sweet-tart berries. Trust me, once you master this, you’ll be pulling out pie dishes for every gathering!
- Why This Berry Pie Recipe is Your New Favorite American Classic Dessert
- Essential Ingredients for Your Triple Berry Pie Recipe
- How to Prepare Your Foolproof Berry Pie Step-by-Step Instructions
- Tips for Success: Mastering Your Homemade Fruit Pie
- Variations: Rustic Berry Pie and Berry Pie with Crumble Topping Ideas
- Storage and Reheating Instructions for Your Berry Pie Recipe
- Serving Suggestions for this Juicy Berry Dessert
- Frequently Asked Questions About Making Berry Pie
- Share Your Perfect Berry Pie Creations
Why This Berry Pie Recipe is Your New Favorite American Classic Dessert
I’ve baked a lot of pies in my time, and honestly, getting it right means nailing two things: that crust and that filling. This Berry Pie Recipe is what I call my true American Classic Dessert because it truly delivers on both promises without being fussy. It’s my go-to because it’s practically foolproof! I spent an entire summer just perfecting the thickness of the berry filling—I probably wasted three pounds of berries before I got that perfect, juicy set.
Achieving the Buttery, Flaky Pie Crust Tutorial
The trick to a stunning Flaky Pie Crust Tutorial is simple: temperature control! You have to treat the butter like it’s fragile, tiny ice sculptures. Keep everything cold—your butter has to be straight from the fridge, cubed small. When you mix it in, you want to handle it the absolute minimum. Those little cold pockets of butter turn to steam in the oven, creating those beautiful layers of flaky separation. If you overwork it, you get tough pastry, and trust me, no one wants that!
The Secret to a Perfectly Set Berry Pie Filling
Runny berry pie is a heartbreak, pure and simple. That’s why the Best Berry Pie Filling relies on a very specific thickener. We use cornstarch, not flour, because it gives you that beautiful, clear, glossy set that holds its shape when you slice into it. But even the cornstarch needs time to do its job. You absolutely *must* let the pie cool completely after it comes out of the oven. Patience here makes the reward so much better.
Essential Ingredients for Your Triple Berry Pie Recipe
When you’re making an American Classic Dessert like this, you can’t skimp on the quality of what goes into it. I always say, if you use good berries, half the battle is already won! This recipe is designed to be flexible, which is great for any home cook.
Here are the things you need to gather up. Notice that we call for everything in one big list because we need to treat the berries gently once they are mixed with the sugar.
- Two and a half cups of all-purpose flour for the crust structure.
- One cup of unsalted butter—and listen to me, it has to be very cold and cubed small!
- About half a cup of ice water for bringing that dough together.
- Six cups of mixed berries—strawberries, blueberries, raspberries, I don’t care what mix you use! This works beautifully whether you use fresh berries or frozen berries straight from the freezer.
- Sugar, lemon juice to brighten things up, and the most important part for setting the filling: cornstarch!
Don’t worry if you don’t have all the berries listed. Use what you have on hand; that’s the spirit of a good Mixed Berry Pie!
How to Prepare Your Foolproof Berry Pie Step-by-Step Instructions
Okay, deep breath. We’re putting it all together now! This process is easy once you break it down, and remember, the chilling time is your friend, not wasted time. A well-chilled crust is the key to avoiding shrinkage and getting those gorgeous flakes.
Making the Flaky Pie Crust Tutorial Dough
First things first: the crust! Whisk together your flour and salt. Now, the butter goes in. You need to use your fingers or a pastry blender to work that cold butter into the flour until it looks like really rough crumbs, you want some pieces the size of small peas still hanging around. Those are your flaky pockets! Once you hit that texture, start drizzling in the ice water, just a tablespoon at a time. Mix until it *just* holds together when you squeeze a handful—that’s the moment you stop. Don’t knead it, don’t fuss with it! Split the dough into two disks, wrap them up tight, and send them to the fridge for at least one full hour.
Mixing the Juicy Berry Dessert Filling
While that dough is getting cold and happy, we mix the inside. Take your mixed berries, sugar, that thickening cornstarch, the lemon juice, and cinnamon, and gently toss everything together in a bowl. If you’re using frozen berries, this is important: toss them in while they are still frosty hard! Don’t let them thaw fully first, or you’ll end up with a soup instead of a Juicy Berry Dessert filling. The cornstarch will absorb the liquid as it bakes and cools.
Assembling and Baking the Berry Pie
Time to roll out that dough! On a floured surface, roll out your first disk, lay it gently into your nice 9-inch pie plate, and trim the edges to leave an inch hanging over. Now we assemble the berry pie—pour that glorious filling right in there. Then, top it with your second crust, crimp those edges together super securely, and cut vents so the steam can escape. Before it goes in, give the top a quick brush with your egg wash and sprinkle on some coarse sugar for that great crunch.
Here’s the heat trick: Start it hot at 425°F for about 15 minutes to set that bottom crust. Then, drop the heat down to 375°F for another 40 to 50 minutes until it’s bubbling thickly. Always place it on a baking sheet beforehand—it saves your oven rack from sticky berry juice drama!
Tips for Success: Mastering Your Homemade Fruit Pie
You have the perfect recipe, the right temperatures, and beautiful berries. But just like my grandmother always said, the difference between a good pie and a legendary Homemade Fruit Pie is those little details you see in the professional bakeries. These are the things I learned through trial and—well, messy error in my own kitchen.
Here are my top three favorite tricks to make sure your next Berry Pie Recipe is absolutely spot-on:
- Bake it LOW and SLOW for the Very End: I know I told you to start hot to set the bottom crust, which helps prevent sogginess. But if you see your edges browning too fast near the end—which usually happens around the 40-minute mark—don’t just pull it out! Take a strip of aluminum foil and gently rest it over the rim of the crust. This shields the delicate edge while letting the heat penetrate the middle so the filling finishes bubbling thickly.
- The Egg Wash Matters More Than You Think: Don’t skip brushing the top crust with that simple egg and milk mixture! It’s not just for looks. That egg wash creates a seal and helps the final dusting of sugar adhere beautifully, leading to that professional, deep golden color. It’s what separates a good-looking pie from a show-stopper worthy of a holiday table.
- The Absolute Must for Slicing Cleanly: I mentioned this before, but I’m saying it again: cooling time is your friend! You need a minimum of three, preferably four, hours on a wire rack before you even *think* about cutting into it. The cornstarch needs that time to cool down and fully organize itself to hold all that lovely fruit juice. Slicing it hot means you’ll get a beautiful spill, but it won’t hold its shape for serving. For the best slices, check out the genius tips over at Bliss Batter regarding structure!
If you want to see how I handle a different fruit filling, make sure to check out my method for achieving the perfect flaky base for my classic apple pie—the crust principles are exactly the same!
Variations: Rustic Berry Pie and Berry Pie with Crumble Topping Ideas
One of the best things about a good Berry Pie Recipe foundation, like the one we just made, is how easily you can change up the top! Sometimes you just don’t want a full double crust, especially when the berries are so gorgeous you want them peeking out at everyone. I love offering options for my big summer gatherings.
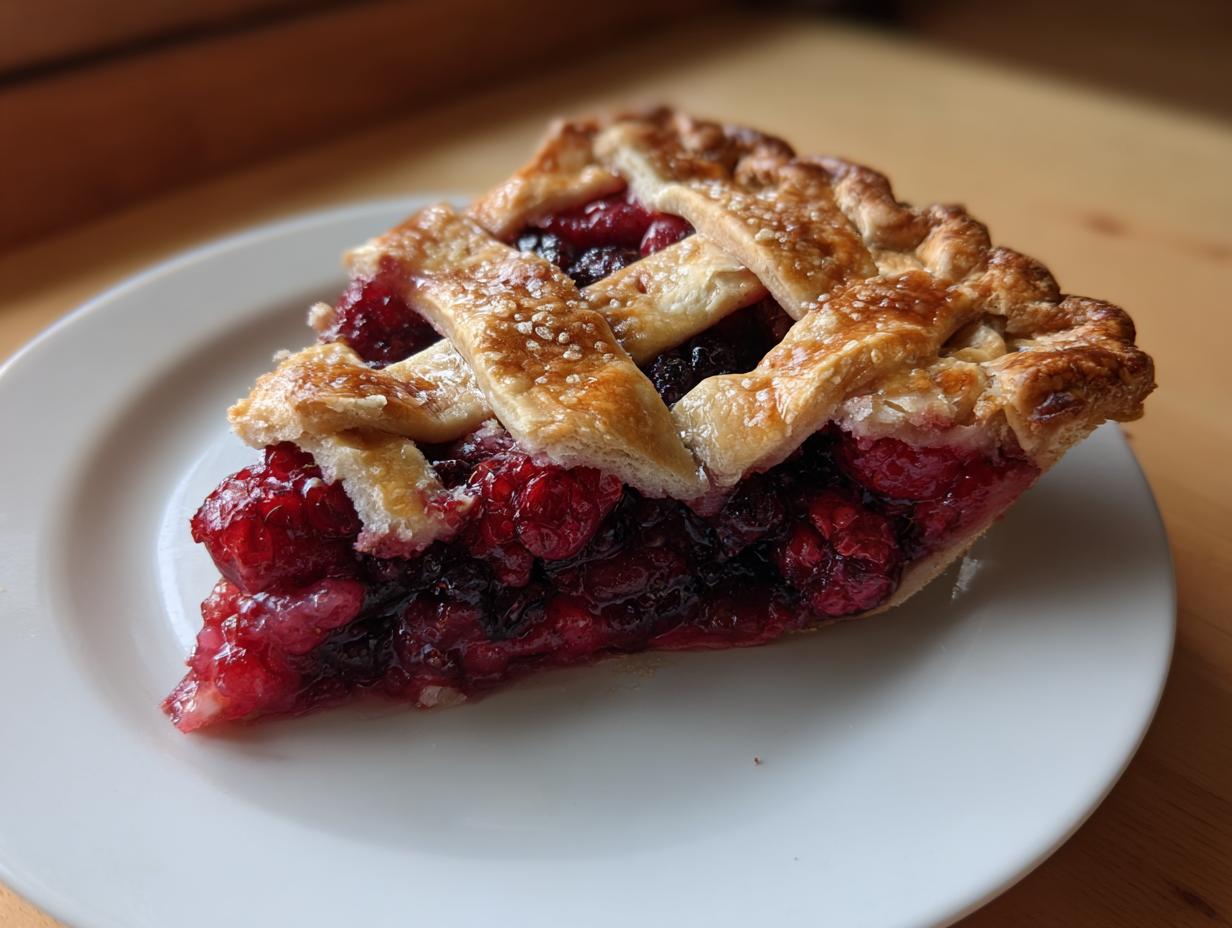
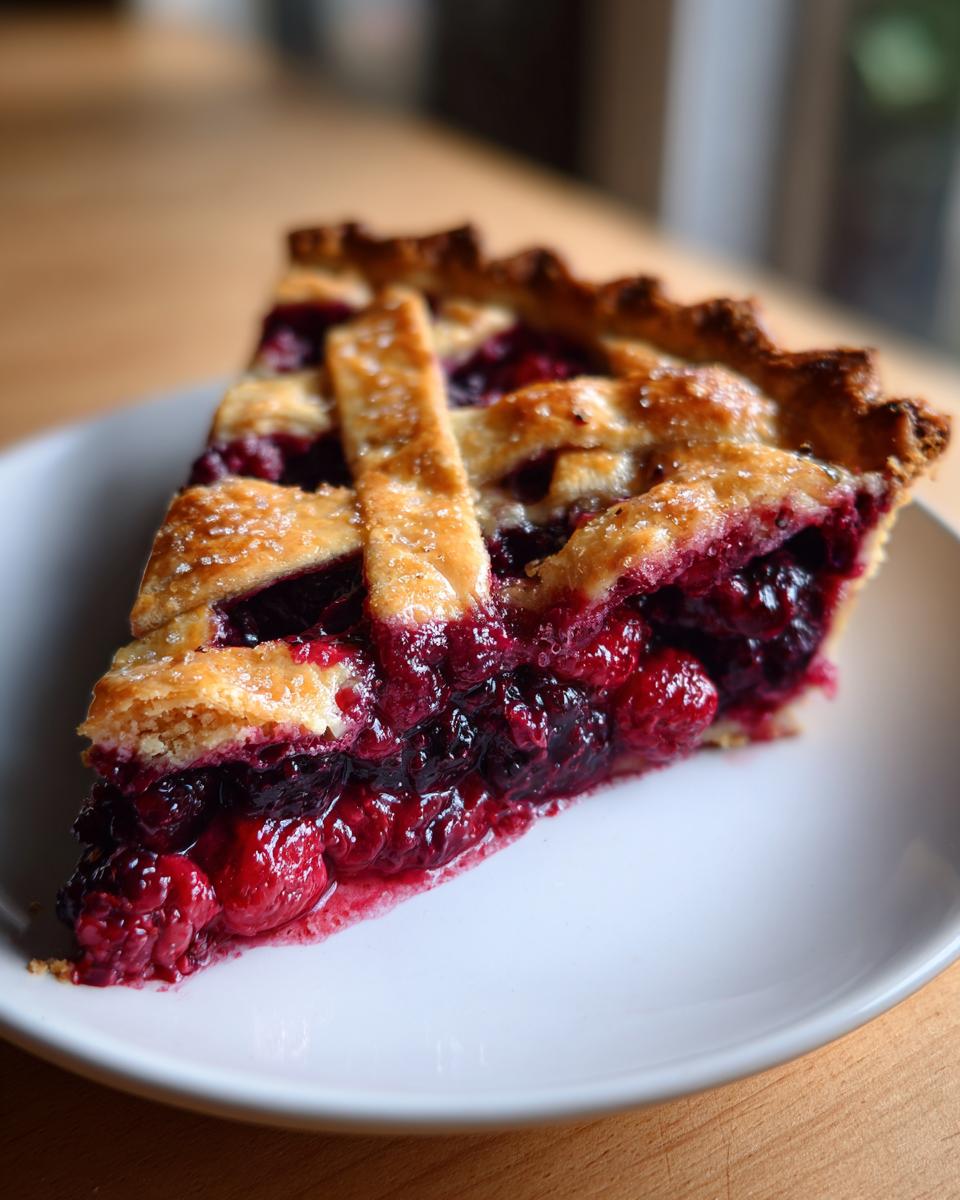
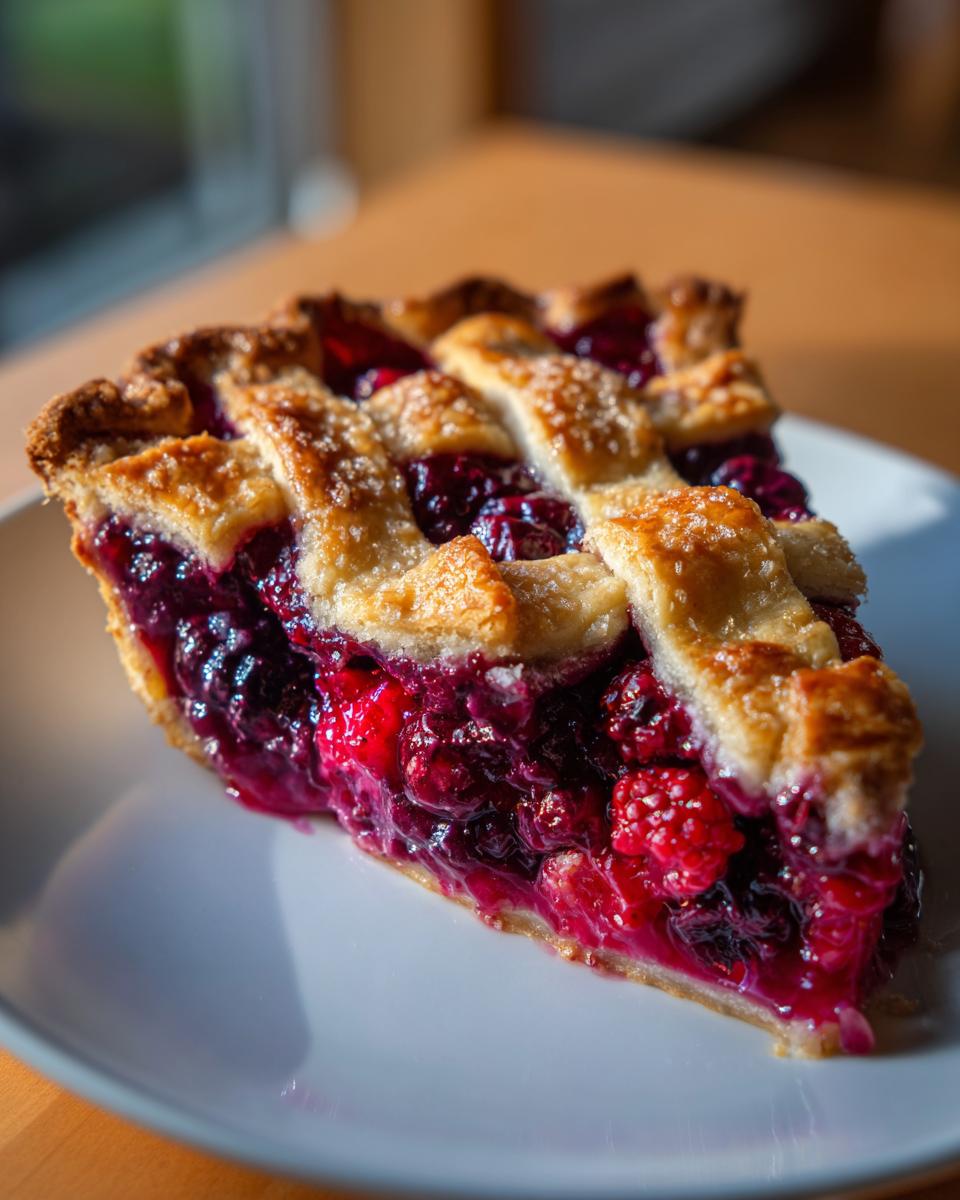
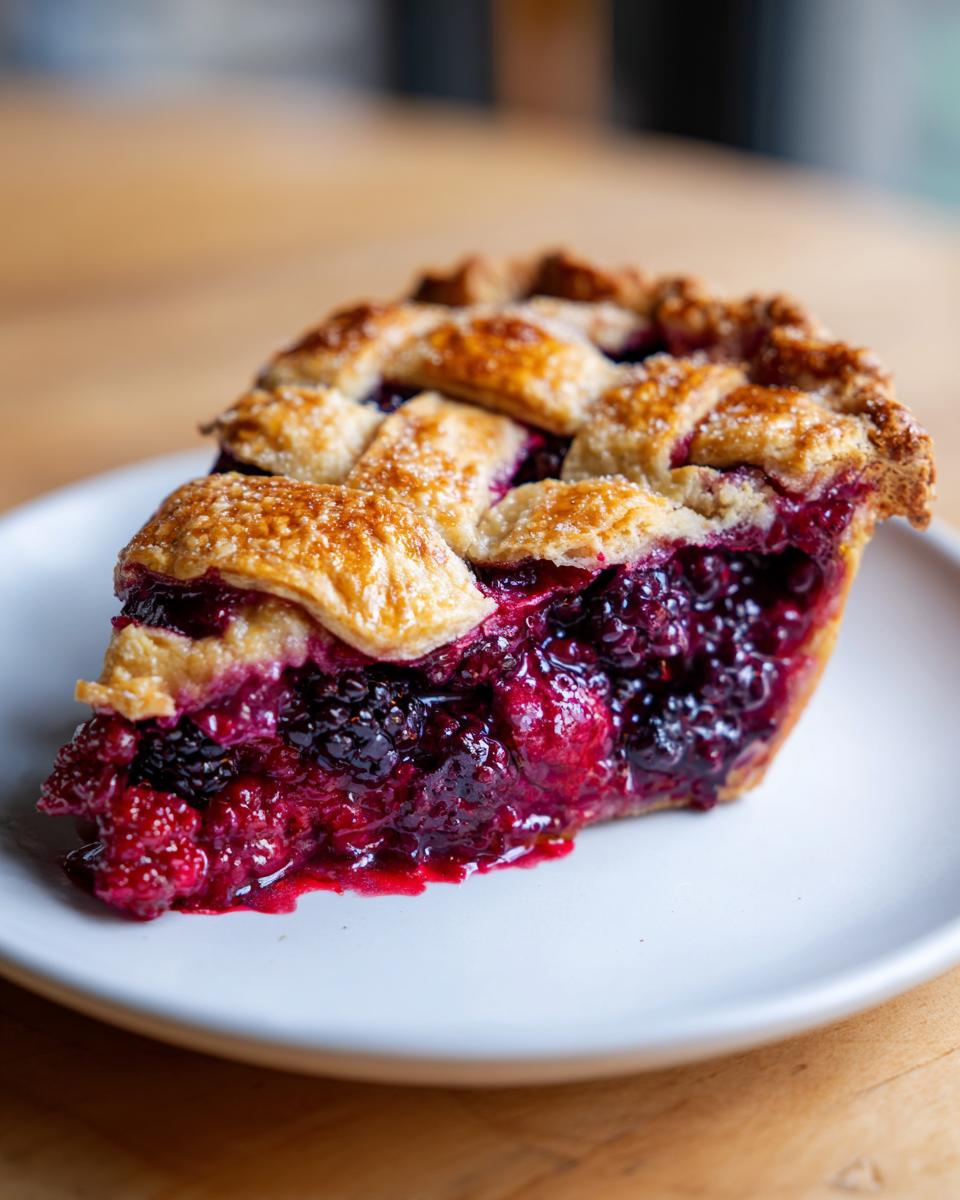
If you’re feeling artistic and want that slightly more casual, elegant look, you can go for a Rustic Berry Pie by just doing a lattice top. It’s easier than you think, I promise! All you need to do is cut that second dough disk into even strips—I like mine about 3/4 inch wide.
Lay half the strips parallel across your filling, then gently lift every other strip and lay them perpendicular to create that woven basket look. Press the ends into the bottom crust overhang and crimp them together. It looks fancy, but it’s really just weaving dough!
Now, if you are looking for that crunchy, slightly oaty texture that pairs so well with super juicy fruit, let’s ditch the top crust entirely and make a wonderful Berry Pie with Crumble Topping. This is my secret weapon when I’m short on time or just craving texture.
You skip rolling out that second disk of dough completely. Instead, you mix up the crumble topping ingredients: flour, brown sugar, maybe some rolled oats if you have them, and cold butter. You want to pinch this together until you have coarse little clumps. Sprinkle that mixture generously all over the filling. Honestly, a good crumble topping baked over tangy berries is just pure happiness and such a fantastic Easy Summer Dessert.
For a really successful crumble topping, you can hop over to Whiskful Cooking; they have a great recipe base for that topping alone. It makes this simple Mixed Berry Pie feel really special without the fuss of a full top crust!
Storage and Reheating Instructions for Your Berry Pie Recipe
So, you have leftover slices of this amazing Berry Pie Recipe—congratulations, you have excellent self-control! Now, the big question: how do we keep that glorious, buttery crust amazing until tomorrow? It mostly depends on whether you still have the whole pie or just bits left over.
For any half-eaten or whole pie, you must keep this pie away from the counter after the first day. Because we used fresh berries, the moisture level is high, and fruit pies should always be stored covered at room temperature for up to 24 hours, primarily to let that crust stay tender. After that first day, though, it’s fridge time to keep things safe and stop that crust from getting soggy.
When you wrap it, be gentle! Use plastic wrap or foil, but don’t press it directly onto the crust, or you’re inviting moisture transfer. A loose tent over the top is perfect.
Best Way to Reheat a Slice of Berry Pie
Reheating is where we save the crust! Please, if you can manage it, avoid the microwave for a whole slice if you want that flaky texture back. The microwave turns crusts rubbery faster than you can say ‘oops.’
The best method, hands down, is the oven. This brings back that crispness and warms the fruit just right.
- Preheat your oven to a moderate 325°F (160°C).
- Place your slice directly on a small baking sheet lined with parchment paper—this lets the bottom reheat without steaming.
- Bake for about 8 to 10 minutes. You want the filling warm and gooey, but you don’t want the crust to scorch.
If you’re in a real pinch and only need a small sliver warmed up quickly, a toaster oven works wonderfully too. It heats more evenly than the microwave and helps crisp up the edges faster. Enjoy your perfectly saved slice!
Serving Suggestions for this Juicy Berry Dessert
Now that you’ve managed to make a beautiful, set, and sliceable Juicy Berry Dessert, the final step is presentation! While slicing into this homemade classic is a reward all by itself, a few simple additions can turn a slice of pie into a genuine showstopper. These pairings are non-negotiable in my house; they just elevate the experience wonderfully.
You absolutely have to have ice cream. It doesn’t matter if it’s 100 degrees out or snowing; warm pie and cold ice cream is the law. I prefer vanilla bean, of course, because it lets the berry flavor shine through, but you can get fancy if you want!
- Classic Vanilla Bean: The contrast between the warm, sweet-tart fruit and the cold, creamy vanilla is just perfection.
- Homemade Whipped Cream: Skip the canned stuff! Even five minutes of whipping heavy cream with a touch of powdered sugar makes a huge difference. Its lightness cuts through the rich, buttery crust.
- Cheddar Cheese Slice: Don’t roll your eyes! This is a wonderfully old-school American Classic Dessert tradition. A thin slice of sharp cheddar melted slightly on top of the warm berry pie is divine—the saltiness really makes the sweet berries sing.
Honestly, the pie is nearly perfect plain, but these little extras make it feel like an extra special occasion. If you used the crumble topping variation, maybe skip the whipped cream and go straight for that cheese!
Frequently Asked Questions About Making Berry Pie
I get so many wonderful questions when folks try out this Berry Pie Recipe for the first time! It’s clear you all care about making the best dessert possible. Remember, baking is about learning the ‘why,’ not just the ‘how.’ Here are the things I hear most often when people are planning their perfect Easy Summer Desserts.
Can I substitute the berries in this berry pie recipe?
Oh, please do! That’s the fun of a Mixed Berry Pie! You are welcome to swap out any of the berries listed for others you prefer or have on hand, like boysenberries or even rhubarb. However, you need to pay attention to moisture. If you are swapping in something naturally more watery, like fresh plums, I always suggest adding an extra tablespoon of cornstarch to the mix just to be safe. If you use berries that are very tart, you might want to bump your sugar up by a quarter cup. Trust your tastebuds when mixing the fruit!
How long must the berry pie cool before slicing?
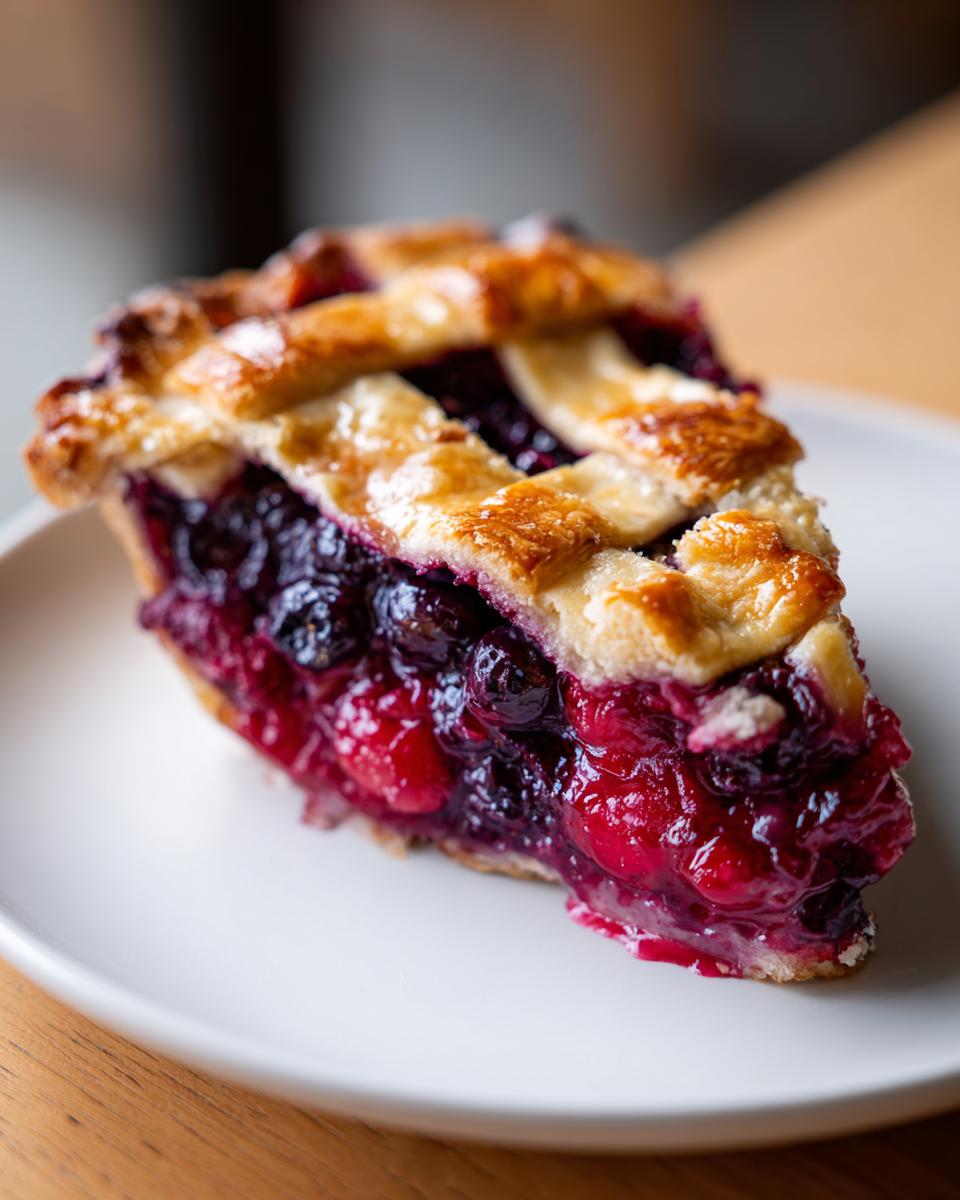
This is the most important question for presentation, and I need you to hear me clearly: You must let this pie cool for at least three full hours, preferably four, before you attempt to cut the first slice. I know, I know, the smell is torture, and you want to serve it warm! But cutting it early means your beautifully thickened filling will run out all over the plate. The cornstarch needs that time to fully transition from a liquid to a jelly-like set. If you’re serving it for a holiday dinner, make this pie the day before and just give it a quick warm-up, or serve it at room temperature for that guaranteed, perfect slice.
Is it okay to use frozen berries for this recipe?
Yes, absolutely! One of the reasons this recipe is so great for planning ahead is that it handles Baking with Frozen Berries so well. The only special instruction is what I mentioned earlier: do not thaw them! Toss the frozen berries directly into your sugar, cornstarch, and spice mixture while they are still hard. The coldness helps keep the butter in your crust from melting while you’re assembling, and the extra liquid they release is accounted for by the cornstarch ratio.
My bottom crust always gets soggy. How do I prevent this?
Soggy bottoms are the bane of every home baker! We address this partially by baking hot first to set that dough base, but here are two more things you can do. One: make sure the crust that lines your pie plate is chilled right up until the moment you pour the filling in. Two: try brushing the bottom crust with a very thin layer of egg white right before you add the filling. The egg white acts as a moisture barrier, creating a seal against the juicy berries. You won’t even taste the egg white, I promise!
Share Your Perfect Berry Pie Creations
Well, that’s all she wrote, folks! We’ve walked through everything from getting those buttery layers just right in the crust to ensuring your berry pie filling sets up perfectly so you can get those gorgeous, clean slices.
Now, I truly want to see what you’ve made. Cooking is a conversation, and your successes—and yes, even your funny little learning moments—are what make this corner of the internet special.
Did this recipe finally give you the set filling you’ve been dreaming about? Did that crust shatter when you cut into it just right? Please take a minute and tell me about it! Drop a comment below with your rating and let me know if you stuck to the Triple Berry mix or went off-script with your own favorite fruits.
And if you snapped a photo of your beautiful, golden-brown masterpiece—especially if you tried the lattice top—I’d be so tickled if you tagged me on social media. Seeing you bring these cherished American classics into your own kitchens is why I keep sharing these old family secrets. Happy baking, and enjoy every bite of that juicy berry dessert!
PrintFoolproof Triple Berry Pie with Flaky Crust

Make the best homemade berry pie using this foolproof recipe for a perfectly set, juicy filling and a buttery, flaky crust. This recipe works well with fresh or frozen berries.
- Prep Time: 45 min
- Cook Time: 60 min
- Total Time: 105 min
- Yield: 8 servings 1x
- Category: Dessert
- Method: Baking
- Cuisine: American
- Diet: Vegetarian
Ingredients
- 2 1/2 cups all-purpose flour
- 1 teaspoon salt
- 1 cup (2 sticks) unsalted butter, very cold and cubed
- 1/2 cup ice water, plus more if needed
- 6 cups mixed berries (strawberries, blueberries, raspberries, or blackberries), fresh or frozen
- 1 1/2 cups granulated sugar (adjust based on berry sweetness)
- 1/4 cup cornstarch (for thickening)
- 1 tablespoon lemon juice
- 1/4 teaspoon ground cinnamon
- 1 large egg, beaten (for egg wash)
- 1 tablespoon milk or water (for egg wash)
- 1 tablespoon coarse sugar (for topping)
Instructions
- Prepare the Flaky Pie Crust: In a large bowl, whisk together the flour and salt. Cut in the cold, cubed butter using a pastry blender or your fingers until the mixture resembles coarse crumbs with some pea-sized pieces of butter remaining.
- Gradually add the ice water, one tablespoon at a time, mixing until the dough just comes together. Do not overmix. Divide the dough in half, form each half into a disk, wrap in plastic, and chill for at least 1 hour.
- Prepare the Berry Filling: In a separate bowl, gently combine the mixed berries, granulated sugar, cornstarch, lemon juice, and cinnamon. If using frozen berries, do not thaw them completely; toss them gently with the dry ingredients. The cornstarch is key to achieving a perfectly set filling.
- Assemble the Pie: Preheat your oven to 425°F (220°C). On a lightly floured surface, roll out one dough disk to fit a 9-inch pie plate. Carefully place the bottom crust into the plate. Trim the edges, leaving a 1-inch overhang.
- Pour the berry filling evenly into the bottom crust.
- Roll out the second dough disk for the top crust. Place it over the filling. Trim the edges, crimp the top and bottom crusts together to seal, and cut several vents in the top crust to allow steam to escape.
- For a golden, buttery finish, brush the top crust lightly with the egg wash (beaten egg mixed with milk or water) and sprinkle with coarse sugar.
- Bake the Pie: Place the pie on a baking sheet to catch any drips. Bake at 425°F (220°C) for 15 minutes.
- Reduce the oven temperature to 375°F (190°C) and continue baking for another 40 to 50 minutes, or until the crust is golden brown and the filling is bubbling thickly through the vents. If the edges brown too quickly, cover them loosely with foil.
- Cool Completely: This step is crucial for a clean slice. Let the pie cool on a wire rack for at least 3 to 4 hours before slicing. This allows the cornstarch to fully set the juices.
Notes
- If you prefer a rustic berry pie look, you can create a lattice top instead of a full top crust.
- For an easy mixed berry pie with a crumble topping, skip the top crust and mix 1 cup flour, 1/2 cup brown sugar, 1/2 cup rolled oats, and 1/2 cup cold butter until crumbly, then sprinkle over the filling before baking.
- This recipe is excellent for holiday baking or as an easy summer dessert.
Nutrition
- Serving Size: 1 slice
- Calories: 450
- Sugar: 45g
- Sodium: 250mg
- Fat: 25g
- Saturated Fat: 15g
- Unsaturated Fat: 10g
- Trans Fat: 0g
- Carbohydrates: 58g
- Fiber: 3g
- Protein: 5g
- Cholesterol: 60mg