
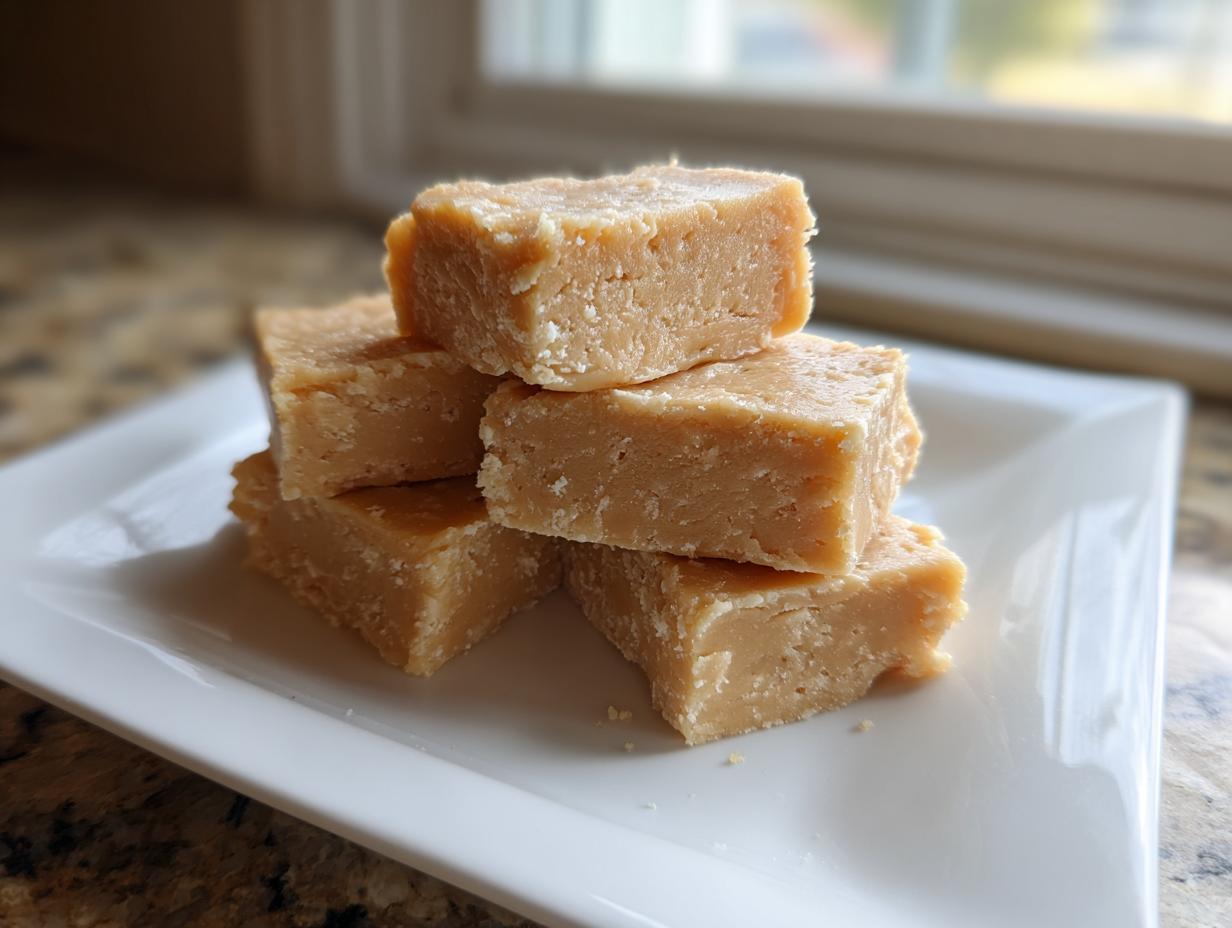
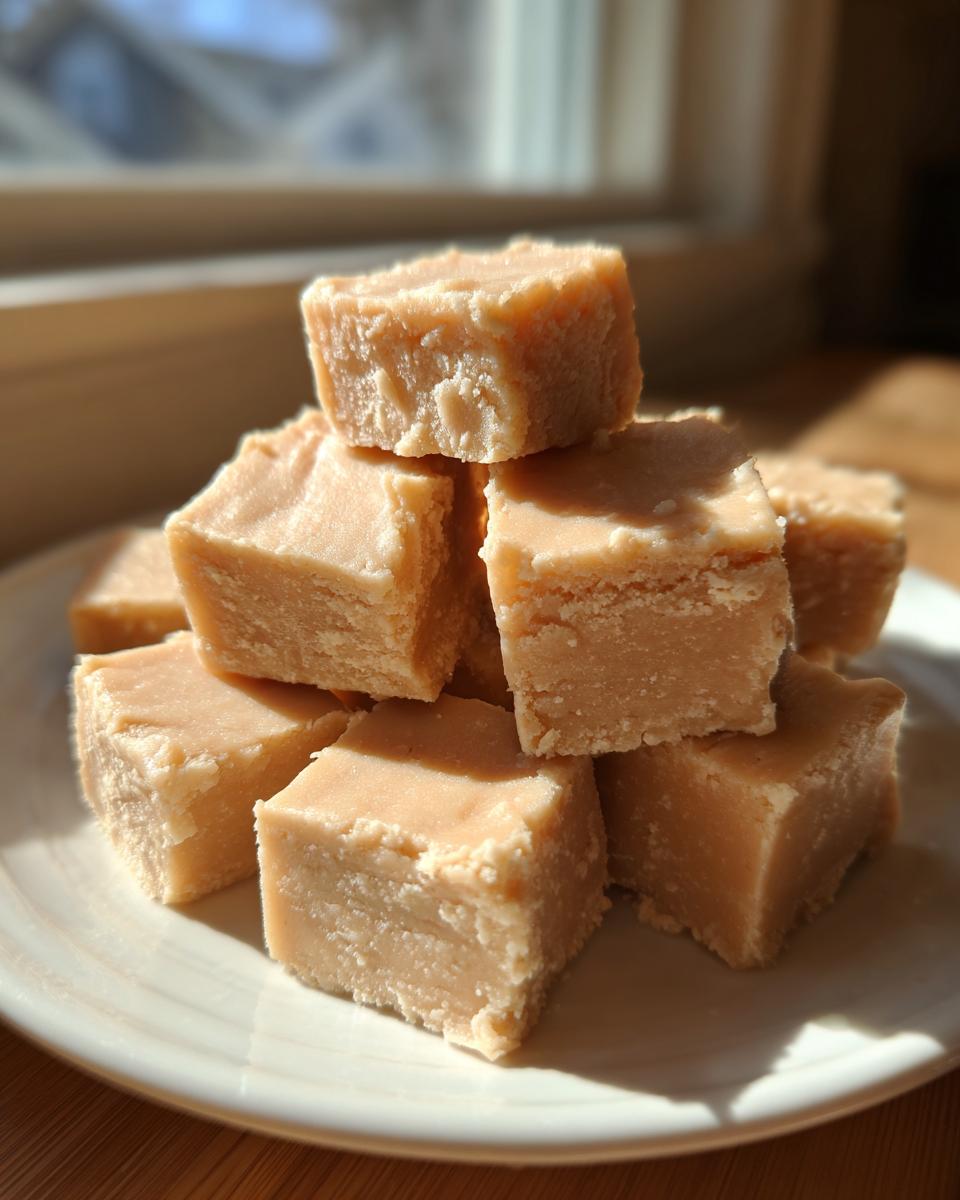
Some flavors just take you straight back to Grandma’s kitchen, don’t they? For me, that’s always been the scent of rich, sweet chocolate or, even better, that unmistakable, comforting aroma of perfect **peanut butter fudge**. It’s one of those classic American sweet treats that feels special but should never be complicated. Here at Cookin’ Corner, we’re all about passing down reliable recipes that truly work, and this one is foolproof. Forget the grainy messes or the fussy candy thermometers; this is the ultimate, no-bake way to get that perfect, melt-in-your-mouth texture we all crave. If you love this comforting flavor, you absolutely have to try our peanut butter cup cookies recipe too! Trust me, once you master this simple recipe, it’ll be your go-to for holidays and quick cravings alike.
- Why This Creamy Peanut Butter Fudge Recipe Works Every Time
- Ingredients for Your Easy Peanut Butter Fudge Recipe
- How to Prepare No Bake Peanut Butter Fudge Step-by-Step
- Tips for Success Making This Best Peanut Butter Fudge
- Storage and Reheating Instructions for Peanut Butter Fudge
- Variations on Classic Peanut Butter Fudge
- Serving Suggestions for This Sweet Peanut Butter Dessert
- Frequently Asked Questions About Making Peanut Butter Fudge
- Nutritional Estimate for Homemade Peanut Butter Treats
Why This Creamy Peanut Butter Fudge Recipe Works Every Time
I think people get intimidated by fudge, but honestly, once you see how uncomplicated this recipe is, you’ll be making it weekly! This method is designed for guaranteed results, so you get gorgeous, creamy peanut butter fudge every single time. It’s pure magic, really.
- It creates that satisfying melt in your mouth fudge texture without any guesswork.
- It’s completely **no bake peanut butter fudge**—no pulling out the candy thermometer!
- We rely on just four basic ingredients, which keeps things wonderfully simple.
Achieving the Perfect Melt in Your Mouth Fudge Consistency
The reason we skip cooking everything on the stovetop is simple: we are relying on the temperature of the butter and the powdered sugar to do the hard work. If your butter is too cold when you start creaming it, you introduce tiny clumps that lead to a grainy texture later on. My biggest tip, and this is straight from my earliest attempts, is to make sure that butter is truly softened—soft enough that you can easily poke a finger into it without resistance. That perfect starting temperature is the key to the melt in your mouth fudge you deserve!
The Secret to Quick Peanut Butter Candy Preparation
Who has time these days to stand over a hot stove stirring sugar syrups? Not me! This recipe is lightning fast. You are only looking at about 10 minutes of true hands-on time before it goes into the pan to chill. Seriously, you can mix this entire batch up before your kettle even finishes boiling for tea. It’s the ultimate quick peanut butter candy for when that sweet craving hits hard and fast.
Ingredients for Your Easy Peanut Butter Fudge Recipe
Getting the ingredients right is half the battle when you’re making something this simple, like our easy peanut butter fudge recipe. Since there isn’t much chemistry happening besides mixing and chilling, the quality and state of your ingredients really matter! I’ve listed exactly what you need below, but pay close attention to the preparation notes, because that’s what keeps this dessert consistently amazing.
- 1 cup (2 sticks) unsalted butter, softened to room temperature
- 1 cup creamy peanut butter
- 1 teaspoon vanilla extract
- 4 cups powdered sugar, sifted well
You’ll also want an 8×8 inch pan ready lined with parchment paper. If you’re looking for other quick treats to make while you have the mixer out, you can check out my easy no-bake ice cream pie—it keeps that simple, no-fuss vibe going!
Ingredient Notes and Substitutions for Perfect Peanut Butter Fudge
Listen, I know we want this to be *the best* peanut butter fudge, so let’s talk specifics. Butter temperature is crucial, like I mentioned, but so is the peanut butter choice! You definitely want to use creamy peanut butter here. Natural peanut butter—the kind that separates and needs stirring—often has too much oil, and that oil tends to seep out during chilling, leaving you with a greasy, watery mess instead of dense fudge. We want that classic, smooth, decadent texture!
If you’re craving a little texture, you *can* sneak in about 1/4 cup of crunchy peanut butter along with the creamy cup, but don’t go overboard. Sticking to the softened butter and creamy peanut butter combination is what locks in that lovely, velvety quality that keeps people coming back for more of these homemade peanut butter treats.
How to Prepare No Bake Peanut Butter Fudge Step-by-Step
Even though this is our best peanut butter fudge, the process is so straightforward! Seriously, it’s all about the order you put things in and making sure you don’t rush the base mixture. Before you even grab your bowl, make sure that 8×8 pan is lined with parchment paper—leave those extra flaps hanging over the sides. That’s your handle for lifting everything out later, trust me, you’ll thank me when it’s time to cut them into perfect little squares!
Mixing the Base for Smooth Peanut Butter Fudge
Alright, grab your mixer. You need to beat the softened butter and the peanut butter together until they look completely unified. Not just *kind of* mixed, but truly smooth and creamy, like a lovely, thick paste. This is where we build the foundation for that melt in your mouth fudge quality. Once that’s perfect, add your vanilla. Don’t be tempted to whip it on high speed once the powdered sugar comes out! We want to keep the air incorporation minimal here, so mix low and slow, adding that precious sifted sugar one cup at a time. Only increase the speed briefly after each cup is *just* combined.
Setting and Cutting Your Homemade Peanut Butter Treats
Once that last bit of sugar is incorporated, stop the mixer! The dough will be incredibly thick—sometimes it looks like it won’t work, but have faith! Scrape all that goodness into your prepared pan. Use a small offset spatula or the back of a wooden spoon sprayed lightly with oil to press the mixture evenly across the bottom. Press it down firmly and make the top as flat as you can. Now comes the hardest part: waiting! You need this to chill for a minimum of two hours in the fridge so it sets properly. Once firm, use those parchment overhangs to lift the whole beautiful slab out, and slice into small, indulgent squares of your homemade peanut butter treats. You can find other great ways to use up that sugar from this sugar cookie truffles recipe right here on the blog!
Tips for Success Making This Best Peanut Butter Fudge
I’ve spent years perfecting this recipe—and yes, I mean *years*—trying everything under the sun to stop that grainy texture from creeping in! This best peanut butter fudge is supposed to be smooth enough that it almost dissolves the second it hits your tongue. If you follow these few insider tips, you’ll never second-guess your results again.
First things first: Sift, sift, sift! I know it feels like an extra chore, but powdered sugar clumps up like nobody’s business, and those little hard balls of sugar will absolutely ruin the texture of your fudge. If you try to beat them out with the mixer, you’ll just whip too much air into the mixture, making the fudge crumble instead of melt. So, take the extra minute, use a fine-mesh sieve, and get that sugar powdery soft before it ever sees the butter.
Secondly, think about the environment in your kitchen. If you are trying to make this on a super hot, humid summer day, you might have trouble getting it to set up right. Humidity introduces moisture, and moisture makes soft things softer! If it’s dreadfully hot, try chilling your peanut butter and butter in the freezer for just about 10 minutes before you start mixing. This gives you a firmer starting point, similar to slightly cooler temperatures. But remember, never let the butter get hard again!
I also want to talk about the cutting consistency. People often try to cut the fudge while it’s still slightly warm in the middle, and that leads to stretched, messy squares. Don’t do it! You need that full two-hour chill time. If you’re planning on serving it, try pulling the pan out of the fridge about 15 minutes before you plan to slice and serve. This lets it warm up *just* enough so it cuts cleanly with a sharp knife. For beautiful presentation, I always use a large, sharp chef’s knife dipped in hot water between each cut. It makes the edges so crisp and professional. If you love super crisp edges on your sweets, you might also enjoy my recipe for classic melt in your mouth butter cookies!
Storage and Reheating Instructions for Peanut Butter Fudge
One of the best things about this rich, sweet treat is that it lasts! We love keeping a stash of our **homemade peanut butter treats** around for spontaneous snacking, but you have to store them right to keep that perfect creamy texture.
Since this is a no-bake recipe relying on butter and powdered sugar rather than cooked syrup, refrigeration is absolutely mandatory to keep it firm enough to hold a square shape. If you leave it sitting out on the counter, especially when the weather is warm, it’s going to get seriously soft—maybe even a melted puddle if it gets hot enough! So, once you cut those gorgeous squares, pop them into an airtight container.
I usually layer mine between sheets of parchment paper inside a container so they don’t stick together, and they keep beautifully in the fridge for up to two weeks, easy. You don’t want to freeze them, though. Freezing can sometimes change the texture when they thaw, making them a little too soft or a bit watery.
The important part about serving is timing. Remember what I said about cutting? Serving works the same way! Straight out of a cold fridge, this fudge can be a little too firm right away, which dulls that amazing “melt in your mouth” factor. Seriously, don’t serve it ice cold! Just pull the container out about 15 to 20 minutes before you plan to offer them around. That little bit of warming time allows the butter to soften just enough to create that incredible, luscious mouthfeel we worked so hard to achieve!
Variations on Classic Peanut Butter Fudge
Once you have this basic, foolproof recipe down—and trust me, you will after the first batch—the fun part is getting creative! This ultra-creamy base is just begging for a few extra additions. It’s such a versatile **peanut butter fudge** recipe, which is why it’s perfect for everything from a casual Tuesday snack to a big presentation on a holiday fudge recipes platter.
If you want to add some texture, I highly recommend folding in about half a cup of mini chocolate chips right at the very end. Make sure you are turning the mixer off and folding them in by hand with a spatula—we don’t want to beat them up!
For something that looks extra fancy but takes zero extra work, try a swirl! Melt about four ounces of good quality milk or dark chocolate chips (you’ll need a tiny bit of coconut oil if you microwave it to keep it smooth). Pour the melted chocolate gently over the fudge once it’s pressed into the pan but before it chills. Then, take a butter knife and gently drag it through the chocolate a few times to create those lovely swirls peaking through. It looks incredibly professional!
And here’s a little flavor boost that I do often, especially around Christmas: after you press the fudge into the pan, wait five minutes, and then sprinkle the top generously with flaky sea salt. Just a little pinch cuts through all that sweetness and makes the peanut butter flavor really *pop*. It turns your simple **homemade peanut butter treats** into something truly indulgent.
If you’re looking for another great variation for your holiday baking trays, don’t forget to check out my recipe for Christmas cookie bars—they bring a totally different kind of chewy delight to the party!
Serving Suggestions for This Sweet Peanut Butter Dessert
I love having this fudge on hand because while it’s definitely a dense, sweet treat, it pairs beautifully with things that cut through that richness. It’s never just about the eating, right? It’s about the whole experience. You want to set up a lovely little moment when you serve this sweet peanut butter dessert.
Honestly, a small square of this fudge alongside a piping hot cup of coffee is my favorite way to enjoy it mid-morning. The bitterness of the coffee balances the sugar perfectly. If you’re serving kids, a cold glass of whole milk is the absolute classic accompaniment—just like when we were little!
If you’re putting this on a dessert platter, try pairing it with something less rich so people don’t get overwhelmed by sweetness. It looks fantastic next to bright, tart lemon bars or maybe even some simple, undecorated sugar cookies. If you’re looking for another cozy drink option to pair with this, you have to check out my recipe for whipped hot chocolate—it’s warm, comforting, and feels just as nostalgic as the fudge itself!
Frequently Asked Questions About Making Peanut Butter Fudge
I always get so many questions after people try this recipe for the first time—usually because they can’t believe how simple the **best peanut butter fudge** can be! I’ve gathered up the most common things folks ask me about creating this **easy peanut butter fudge recipe** so you can whip up a perfect batch every time.
Can I make this 3 ingredient fudge recipe using natural peanut butter?
This is the million-dollar question! If you search online, you’ll see tons of **3 ingredient fudge** recipes. They usually rely just on peanut butter, powdered sugar, and maybe some melted chocolate or condensed milk. While those are *fast*, they often lead to a texture that’s either too soft or separates later, because natural peanut butter just doesn’t have the stabilizers we need.
I really push for this 4-ingredient version because using softened butter and creamy peanut butter gives you the dense, smooth, creamy peanut butter fudge that truly melts in your mouth. If you MUST use natural PB, I suggest adding an extra tablespoon of butter to try and combat the sheer oiliness, but honestly, sticking to the recipe yields the best results for that foolproof, never-fail texture.
Is this a fudge recipe without a candy thermometer?
YES! Absolutely, 100% yes! This is one of the many reasons I love this recipe so much. If you’ve ever tried making traditional fudge, you know the panic that sets in when you need to hit that specific temperature for a soft-ball stage. It’s stressful, and you often risk scorching the sugar.
This method is entirely different. It’s all about creaming the fat (butter) with the sugar, which is a much more forgiving method. It belongs squarely in the category of **fudge recipe without a candy thermometer**! It sets up in the fridge purely through the chilling of the fats and sugar structure, making it ideal for beginners or anyone who wants a reliably wonderful **homemade peanut butter treat** without the fuss.
Why is my fudge always grainy or crumbly?
Graininess is the enemy of good fudge! Nine times out of ten, this happens for one of two reasons. Either your powdered sugar wasn’t sifted well enough (those tiny, hard sugar clumps don’t dissolve in the cold process!), or maybe your butter wasn’t quite as soft as it needed to be at the start. If the butter isn’t pliable, you can’t cream it properly to create that smooth base that wraps around every grain of sugar.
If the fudge feels too crumbly when you press it into the pan, sometimes it just means you added the powdered sugar too quickly, and the mixer grabbed too much air. Next time, mix that sugar in one cup at a time on the *lowest* possible speed until it’s just barely incorporated. Patience pays off here, I promise!
Can I skip the butter in this recipe?
Oh, honey, no! I really wouldn’t advise skipping the butter. In this specific recipe style, the butter plays a huge role in the texture. Its fat content is what keeps that fudge from turning into a rock once it chills down. It’s what gives you that luxurious, rich mouthfeel, not just sweetness.
If you were trying to cut back on dairy, you *could* try using shortening instead, but you’ll lose a ton of flavor. I find that the classic combination of butter and peanut butter is what makes this such an incredible, **indulgent peanut butter dessert**. If you need an alternative for dietary reasons, you might want to look at a condensed milk variation instead, but this tried-and-true recipe definitely calls for that full cup of butter!
If you’re looking for another classic, totally reliable recipe that doesn’t require any tricky baking, you should take a peek at my guide for the easy traditional Irish soda bread. It’s another one of those kitchen staples that just *works*!
Nutritional Estimate for Homemade Peanut Butter Treats
Now, I have to be honest with you all here. When I’m whipping up a big batch of this amazing **peanut butter fudge**, I’m really not thinking about spreadsheets or calories—I’m thinking about how fast it’s going to disappear! But since we’re sharing these treasured recipes, I always try to give you a general idea of what’s in it. These figures are just estimates, mind you, because whether your peanut butter has a little extra sugar or you cut the squares a hair bigger, it changes things!
This calculation is based on making about 64 small squares, which is how I usually cut them for perfect portion control (though my family rarely sticks to just one!). If you’re looking for ideas for quick, balanced meals to balance out the sweet treats, don’t forget to check out my collection of easy dinner ideas!
Here is what the numbers generally look like:
- Serving Size: 1 square
- Calories: 175
- Sugar: 22g
- Fat: 9g (with 4g of that being saturated fat)
- Protein: 4g
- Total Carbohydrates: 23g
Remember, this is for one small, rich square of pure joy! That 22 grams of sugar is what gives us that wonderful, quick energy boost and that signature sweetness, but the good news is that because it’s so rich, one piece is usually exactly what you need to satisfy that craving for a **sweet peanut butter dessert**!
PrintThe Best Creamy Peanut Butter Fudge (Easy No-Bake Recipe)
Make rich, creamy peanut butter fudge that melts in your mouth using just a few simple ingredients. This foolproof, no-bake recipe delivers classic, old-fashioned flavor without needing a candy thermometer.
- Prep Time: 10 min
- Cook Time: 0 min
- Total Time: 2 hr 10 min
- Yield: About 64 small squares 1x
- Category: Dessert
- Method: No-Bake
- Cuisine: American
- Diet: Vegetarian
Ingredients
- 1 cup (2 sticks) unsalted butter, softened
- 1 cup creamy peanut butter
- 1 teaspoon vanilla extract
- 4 cups powdered sugar, sifted
Instructions
- Line an 8×8 inch baking pan with parchment paper, leaving an overhang on the sides for easy removal. Lightly grease the paper.
- In a large bowl, beat the softened butter and creamy peanut butter together until smooth. You can use a hand mixer or stand mixer for best results.
- Add the vanilla extract and mix until combined.
- Gradually add the sifted powdered sugar, one cup at a time, mixing on low speed until fully incorporated after each addition. The mixture will become very thick.
- Press the fudge mixture evenly into the prepared baking pan. Use a spatula or the back of a spoon to smooth the top surface.
- Refrigerate the fudge for at least 2 hours, or until firm enough to cut.
- Use the parchment paper overhang to lift the fudge out of the pan. Cut into 1-inch squares.
Notes
- For the smoothest texture, use room temperature butter and ensure your powdered sugar is sifted to prevent lumps.
- If you prefer a slightly firmer fudge, chill the mixture for 30 minutes before pressing it into the pan.
- This recipe makes a wonderful holiday fudge treat for gifting.
Nutrition
- Serving Size: 1 square
- Calories: 175
- Sugar: 22
- Sodium: 75
- Fat: 9
- Saturated Fat: 4
- Unsaturated Fat: 5
- Trans Fat: 0
- Carbohydrates: 23
- Fiber: 0
- Protein: 4
- Cholesterol: 15