

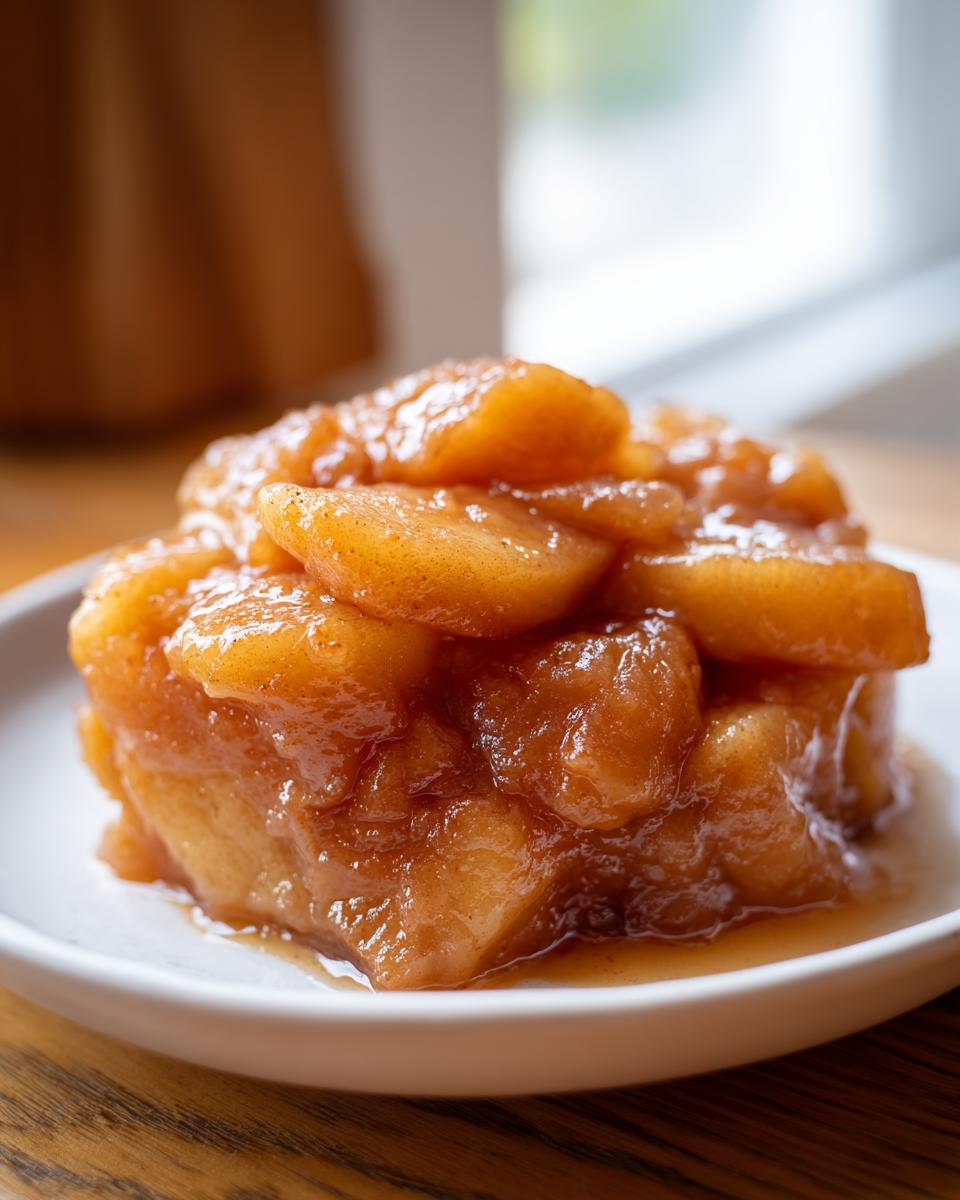
There’s nothing quite like pulling a homemade apple pie out of the oven—that warm, sweet smell just settles deep into your bones, doesn’t it? Here at Cookin’ Corner, Sarah Jane Thompson believes that the heart of that perfect pie rests entirely in the filling. Forget those canned versions that end up soupy; we’re talking about the best homemade apple pie filling you’ve ever made!
I promise you, we cracked the code for a thick, luscious result every single time, and the best part? We do it on the stovetop in about eight minutes flat. This quick stovetop apple pie filling isn’t just fast; it’s packed with the perfect blend of spices that reminds me of my own grandmother’s kitchen traditions. If you’re also working on mastering the crust, make sure to check out the instructions for the best homemade apple pie flaky crust recipe, because you need a worthy vessel for this filling! Trust me, once you see how easy it is to make a superior apple pie filling from scratch, you won’t go back.
- Why This Quick Stovetop apple pie filling Recipe Works Best
- Gathering Ingredients for the Best apple pie filling
- How to Make apple pie filling on the Stovetop in Minutes
- Tips for Success with Your Spiced apple filling recipe
- Versatile Uses for This apple pie filling
- Storage and Make-Ahead Guide for apple pie filling
- Frequently Asked Questions About Homemade apple pie filling
- Nutritional Snapshot of This Buttery apple filling
- Share Your Comfort Food Apple Desserts
Why This Quick Stovetop apple pie filling Recipe Works Best
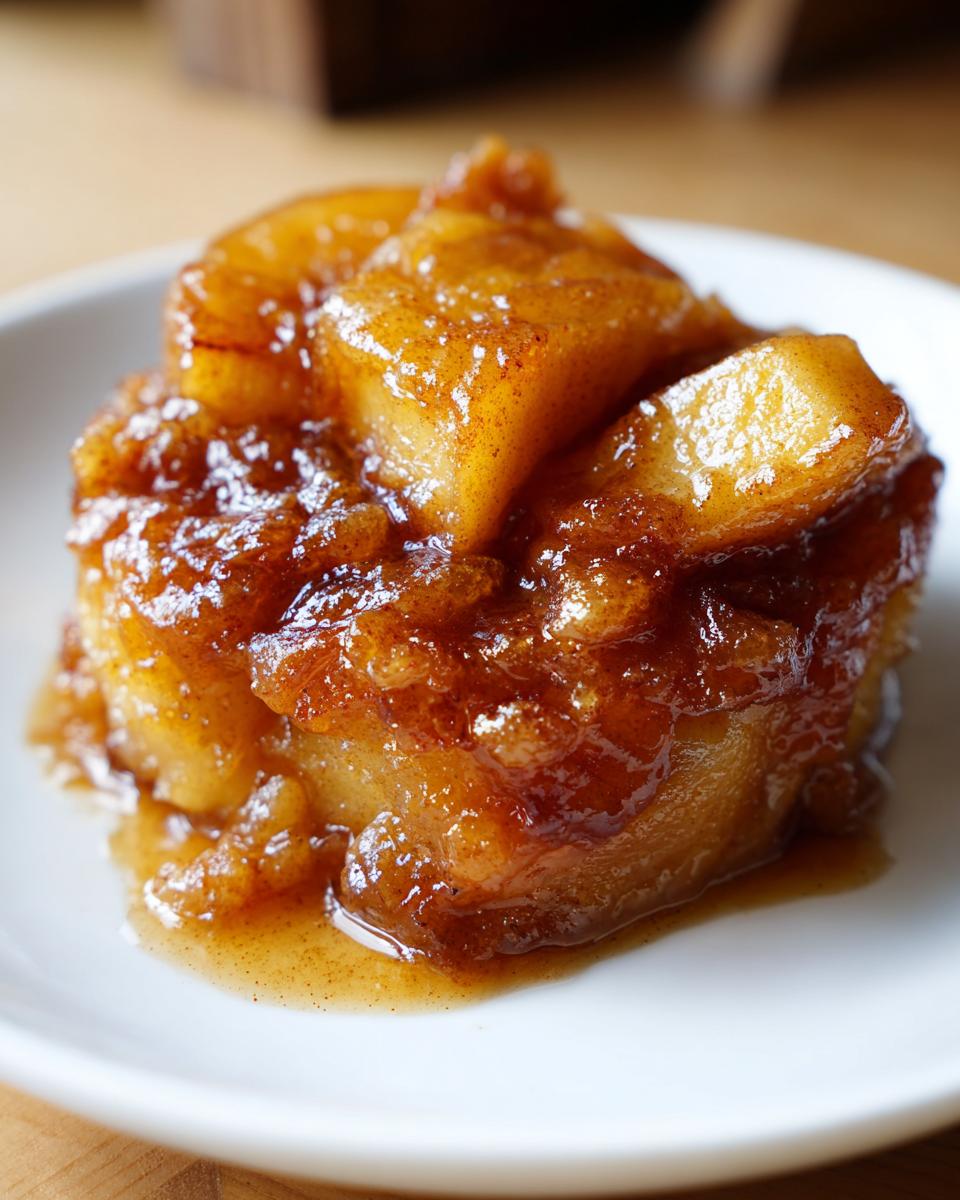
When you’re craving that cozy dessert flavor, waiting hours just isn’t an option, right? That’s what I love about this recipe—it delivers the ultimate, wonderfully spiced result in less time than it takes to set the table. Seriously, we’re talking about a complete, rich, easy apple pie filling recipe ready in under 15 minutes.
But speed isn’t the only thing here. The biggest win in this recipe is achieving that absolutely thick apple pie filling consistency people search for online. No more sad, runny puddles inside your beautiful pastry! We’ve managed to conquer the watery filling monster using some classic stovetop know-how. If you want to see an example of how this filling holds up beautifully even after baking, you can check out another quick method over here: Quick & Tasty Apple Pie Filling.
Achieving Perfect Consistency: The Cornstarch Trick for apple pie filling
The secret weapon for thickness is making sure you handle your dry ingredients correctly *before* they hit the heat. Never dump cornstarch straight into the liquid! My rule, which Sarah Jane taught me, is to whisk the cornstarch right into the sugars and spices first. This coats every particle perfectly, so when it hits the heat with the apples and water, it dissolves smoothly and immediately starts thickening the sauce into that glossy, homemade glaze we all deserve. It completely eliminates lumps and guarantees that luscious, velvety texture.
This method is also fantastic if you plan on using the filling for something like an easy fruit filling for turnovers later!
Gathering Ingredients for the Best apple pie filling
Okay, once you’ve mastered the thickness trick, the next crucial part for making the best apple pie filling is treating these ingredients right. Remember, since this is a quick stovetop recipe, every part counts because those apples don’t have hours to soften up slowly!
You’ll want packed light brown sugar—that molasses flavor really makes a difference against the crisp spices. I always say, precision in measuring your cornstarch is just as important as getting the apples right. If you need ideas for other sweet, spiced bases, check out how I prepare my candied sweet potatoes with brown sugar glaze; it uses a similar layering of sweetness.
Apple Selection for Homemade apple pie filling
This is where so many people mess up, especially with a fast cook time. You absolutely need apples that are firm enough to laugh in the face of heat! I strongly recommend using a mix of tart and sweet. Think Granny Smith for that perfect little bite, paired with Honeycrisp or Fuji for sweetness.
Make sure you peel, core, and slice them evenly to about 1/4 inch thick. If they are too thin, they’ll turn to applesauce before the sauce thickens. If they’re too thick, they won’t soften up during our quick 8-minute simmer. It’s all about that perfect, consistent slice!
How to Make apple pie filling on the Stovetop in Minutes
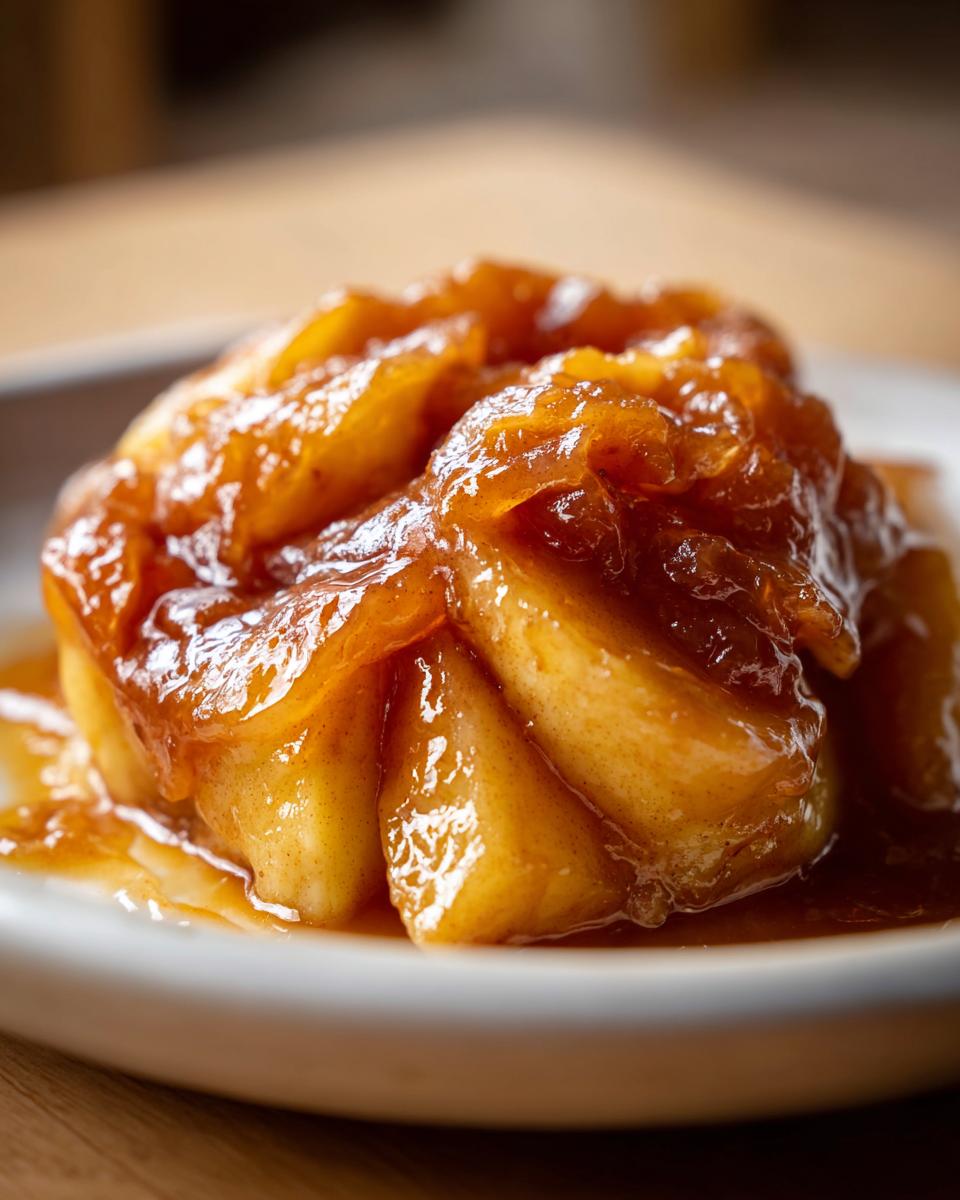
Are you ready for the magic? This is where that gorgeous, thick, spiced sauce comes together so fast it feels like cheating. This whole process for our quick stovetop apple filling moves quickly, so have your pie shell ready! We are aiming for tender-crisp apples, not mushy applesauce, so pay attention to that simmer time.
If you’ve already got a favorite crust tucked away, amazing! If not, I have a whole resource section dedicated to making quick and easy recipes, but for now, let’s focus on this amazing filling.
Step-by-Step Instructions for apple pie filling
I’ve broken down the instructions below. Trust me, taking the time to whisk those dry ingredients correctly is the biggest time-saver here. It keeps everything smooth, and you’ll find tons of great tips over at Savory Experiments for handling things like this, too.
- First thing: grab your large saucepan. Toss in those beautifully sliced apples and the tablespoon of lemon juice, just to keep them bright while you prep the dry stuff!
- In a separate little bowl—this is important!—whisk together the brown sugar, white sugar, cornstarch, cinnamon, nutmeg, and allspice. Whisk it till you see nothing but a unified tan powder.
- Pour that dry mix right over the apples. Now add your water and the two tablespoons of unsalted butter. Pop the whole thing onto medium heat.
- Stir constantly right from the start until the butter melts and the sugar dissolves completely. Keep stirring!
- Once it hits a gentle simmer (you’ll see those bubbles creeping up), keep it simmering while stirring often for just 5 to 8 minutes. Watch the sauce—it should start clinging nicely to the apples.
- As soon as the apples are tender-crisp (they still have a tiny bit of fight left!), yank that pan off the burner immediately. We don’t want them breaking down!
- This last part is crucial for the final texture: you must let the apple pie filling cool for at least 20 minutes before you even think about pouring it into your crust. It thickens up immensely as it rests, so don’t panic if it looks a little looser right out of the pot!
Tips for Success with Your Spiced apple filling recipe
Even though this is a famously quick stovetop method, we still want that picture-perfect result, right? When you’re making this delicious spiced apple filling recipe, my biggest piece of advice—learned the hard way, I might add—is to keep that heat honest. That 5 to 8 minutes of simmering goes fast, and it’s easy for the sugars to scorch on the bottom of a heavy pot.
I actually find that if I use my non-stick skillet instead of a straight-sided pot, I avoid that burnt flavor almost entirely because the heat transfers more evenly across the apples. Keep stirring, even if you think you don’t need to!
Also, remember the note I gave in the recipe card: if you really want that luxurious richness that sets this recipe apart, try swapping out one tablespoon of the white sugar for an extra tablespoon of the brown sugar. That little bit of molasses makes such a huge impact on the final flavor profile. If you love cinnamon and sweet things, you should definitely check out my cinnamon roll muffins when you’re done pie-making!
Versatile Uses for This apple pie filling
While this recipe is designed to create the absolute best apple pie filling for a classic double-crust pie, please don’t feel like you have to stop there! Once you have this luscious, thick sauce made, it opens up a whole world of quick comfort desserts. It’s so good, you’ll want to use it for everything!
My favorite application besides pie is turning it into an apple crisp filling recipe. You just pour this mixture into a baking dish, top it with your favorite oats/crumb topping, and bake until bubbly. It’s pure autumn magic with hardly any effort. If you want a great recipe for that crusty topping, I have a wonderful best old-fashioned apple crisp recipe you can check out.
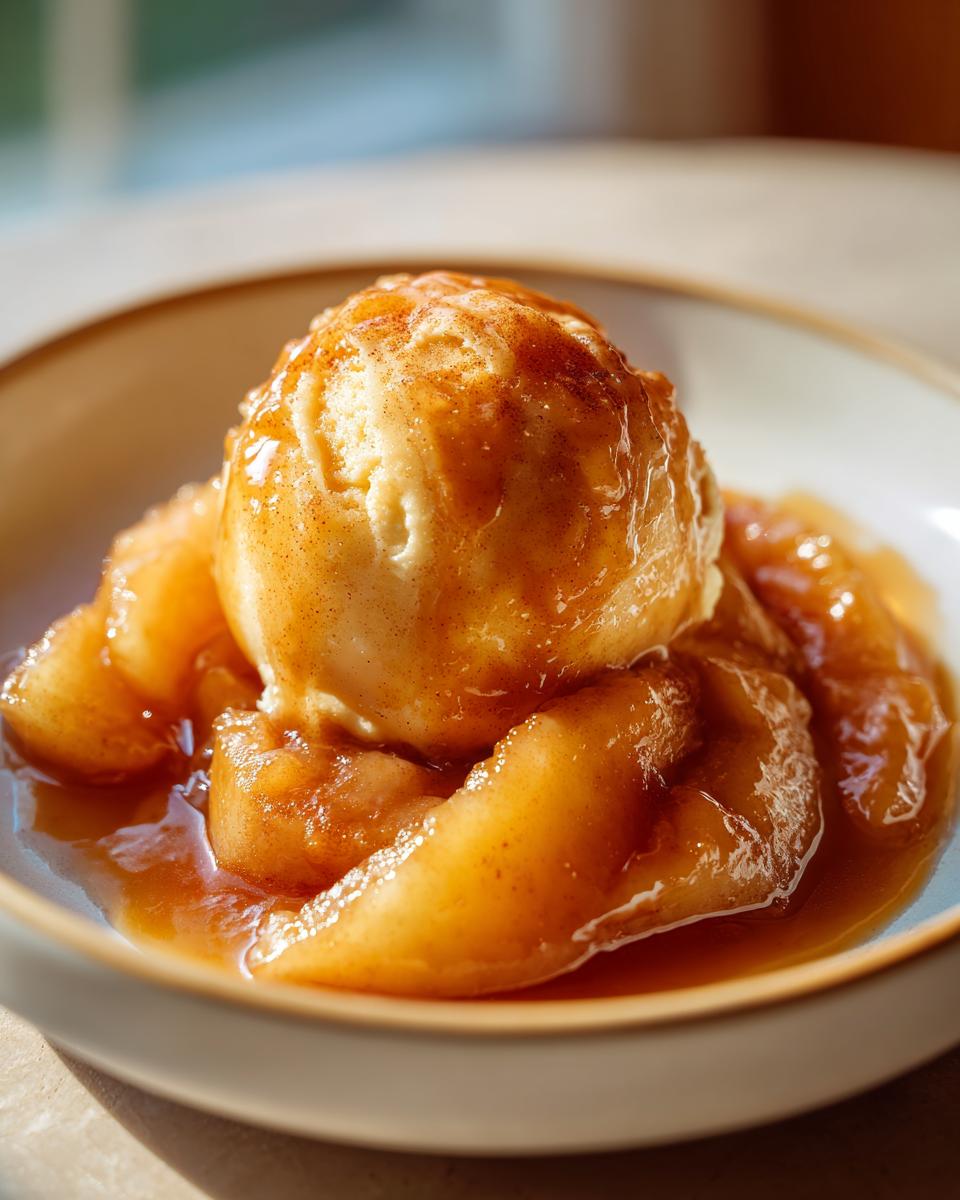
Think outside the oven, too! This spiced, buttery mixture makes incredible apple pie topping ideas. Warm it up slightly and drizzle it over pancakes or waffles—it’s way better than syrup. It’s also fantastic dolloped right onto hot oatmeal or vanilla ice cream for a super easy dessert.
Because the consistency is so perfect, whether you use it as a pie base or a topping, it shows you just how versatile a good, scratch-made filling can be. I even use this exact mixture when I make my simpler apple crisp filling recipe if company shows up unexpectedly!
If you’re looking for recipes that use this concept but maybe swap out the grain topping entirely, you can see a great combination of apples and crisp topping over on this pin here: Apple Crisp Recipe With Apple Pie Filling.
Storage and Make-Ahead Guide for apple pie filling
One of the things I truly love about making my own pie filling from scratch is how easy it is to prep ahead! Since we’re whipping this up so quickly on the stovetop, it’s a perfect candidate for doubling the batch when you have apples on sale. You can save yourself a huge amount of time later when you’re facing a big holiday baking schedule.
For the fridge, just let your apple pie filling cool completely, then tuck it into an airtight container. It keeps beautifully for about a week, which is great for unexpected cobblers or crumbles. If you’re looking further ahead, this freezes like a dream!
To freeze, use freezer-safe bags or containers, leaving about an inch of space at the top because the sauce will expand slightly. It stays fresh quality for up to three months. When you pull it out, let it thaw overnight in the fridge, give it a quick stir, and it’s ready for the crust. It’s honestly just as good as when you made it fresh! Speaking of making things ahead, have you ever tried my easy slow-cooker apple butter recipe? That’s another great way to preserve that fall flavor!
Frequently Asked Questions About Homemade apple pie filling
I always get so many questions when people try this recipe for the first time, and honestly, that’s the fun part of sharing! It’s so satisfying to know you’re taking control of what goes into your desserts. We’ve covered the basics, but here are a few common stumbling blocks that pop up with this homemade apple pie filling.
Can I use pre-sliced apples for this apple pie filling?
You certainly can, but I always encourage you to slice right before you start cooking if you can manage it. Freshly sliced apples just have the best texture! If you are using those handy pre-sliced bags from the store, make sure you give them a quick, cold rinse first. Sometimes they have a preservative coating, and rinsing helps them start with a clean slate for absorbing our lovely spices. They work just fine in a pinch, though!
How do I adjust the sweetness of this quick stovetop apple filling?
This recipe is balanced for standard pie flavor, but sweetness is so personal. If you want it less sweet, you can certainly swap out one tablespoon of the white sugar for a little extra brown sugar, as that gives you depth without just adding pure sweetness (remember that note!). However, I beg you, do *not* mess with the cornstarch ratio! We need that exact amount to get the right thickness in this quick stovetop apple filling, no matter how sweet you like it.
My filling seems too thin; what went wrong with my apple pie filling?
Don’t panic! This happens sometimes if your apples release a lot more liquid than mine did, or if you pulled it off the heat too soon. The easiest fix is to mix one teaspoon of cornstarch with one tablespoon of cold water—like a tiny slurry—and whisk that right into the simmering filling. Let it bubble gently for just 30 seconds, and it should thicken right up! This works every time to fix any apple pie filling that didn’t quite set up perfectly on the first try. If you’re looking for other foolproof fillings that don’t even require the oven, check out my easy no-bake ice cream pie recipe!
Nutritional Snapshot of This Buttery apple filling
Now, I know we aren’t making this recipe for the health benefits, but it’s always good to have an idea of what’s in our favorite treats, right? Here is the estimated nutritional breakdown for this glorious buttery apple filling, based on the full recipe yield (about 5 cups). Remember that these numbers are just estimates because the size of your apples can truly change things!
- Serving Size: 1/2 cup
- Calories: 245
- Sugar: 38g
- Fat: 3g
- Protein: 0g
It’s worth every single sugary, warm bite, I promise!
Share Your Comfort Food Apple Desserts
Honestly, that’s all there is to it! In under 20 minutes, you’ve gone from raw apples to the most perfect, thick, and warmly spiced apple pie filling imaginable. I truly hope this recipe brings that comforting feeling of an old-fashioned autumn kitchen right into your home, just like it does mine.
I absolutely love seeing what you all create! Please, if you whip up a batch of this quick stovetop filling, let me know how you use it. Did you stick to a classic pie? Did you pile it high on some pancakes for brunch? Don’t be shy—head over to the contact page and send me a picture or just tell me about your baking adventure.
And if this recipe saved the day for you—maybe you needed a last-minute pie filling in a pinch—please consider leaving a star rating right below the recipe card! Your feedback helps other home cooks like us find these reliable, classic recipes. Happy baking, friends, and I can’t wait to hear about your delicious results!
PrintQuick Stovetop Apple Pie Filling: Thick and Spiced Homemade Recipe
Make the best homemade apple pie filling on the stovetop in under 15 minutes. This easy recipe yields a thick, perfectly spiced filling ideal for pies, crisps, or as a topping.
- Prep Time: 10 min
- Cook Time: 10 min
- Total Time: 20 min
- Yield: About 5 cups filling 1x
- Category: Dessert
- Method: Stovetop Cooking
- Cuisine: American
- Diet: Vegetarian
Ingredients
- 6 medium apples (like Granny Smith or Honeycrisp), peeled, cored, and sliced 1/4 inch thick
- 3/4 cup packed light brown sugar
- 1/4 cup granulated sugar
- 2 tablespoons cornstarch
- 1 teaspoon ground cinnamon
- 1/4 teaspoon ground nutmeg
- 1/8 teaspoon ground allspice
- 1 tablespoon lemon juice
- 2 tablespoons unsalted butter
- 1/4 cup water
Instructions
- Combine the sliced apples and lemon juice in a large saucepan. Toss gently to coat.
- In a separate small bowl, whisk together the brown sugar, granulated sugar, cornstarch, cinnamon, nutmeg, and allspice. This prevents lumps.
- Pour the sugar and spice mixture over the apples in the saucepan. Add the water and butter.
- Place the saucepan over medium heat. Stir the mixture constantly until the butter melts and the sugar dissolves.
- Bring the mixture to a gentle simmer. Continue to cook, stirring often, for 5 to 8 minutes. The sauce will thicken noticeably as it simmers.
- Remove the pan from the heat once the apples are tender-crisp and the sauce coats the back of a spoon. Do not overcook; the apples should hold their shape.
- Let the apple pie filling cool for at least 20 minutes before using it in your pie crust or dessert. The filling will thicken further as it cools.
Notes
- For the thickest consistency, ensure you fully dissolve the cornstarch mixture before simmering.
- Use a mix of tart and sweet apples for the best flavor balance in your pie filling.
- This versatile filling works well as a topping for pancakes or oatmeal.
- If you prefer a richer flavor, substitute 1 tablespoon of the granulated sugar with an extra tablespoon of brown sugar.
Nutrition
- Serving Size: 1/2 cup
- Calories: 245
- Sugar: 38g
- Sodium: 3mg
- Fat: 3g
- Saturated Fat: 2g
- Unsaturated Fat: 1g
- Trans Fat: 0g
- Carbohydrates: 55g
- Fiber: 3g
- Protein: 0g
- Cholesterol: 8mg