
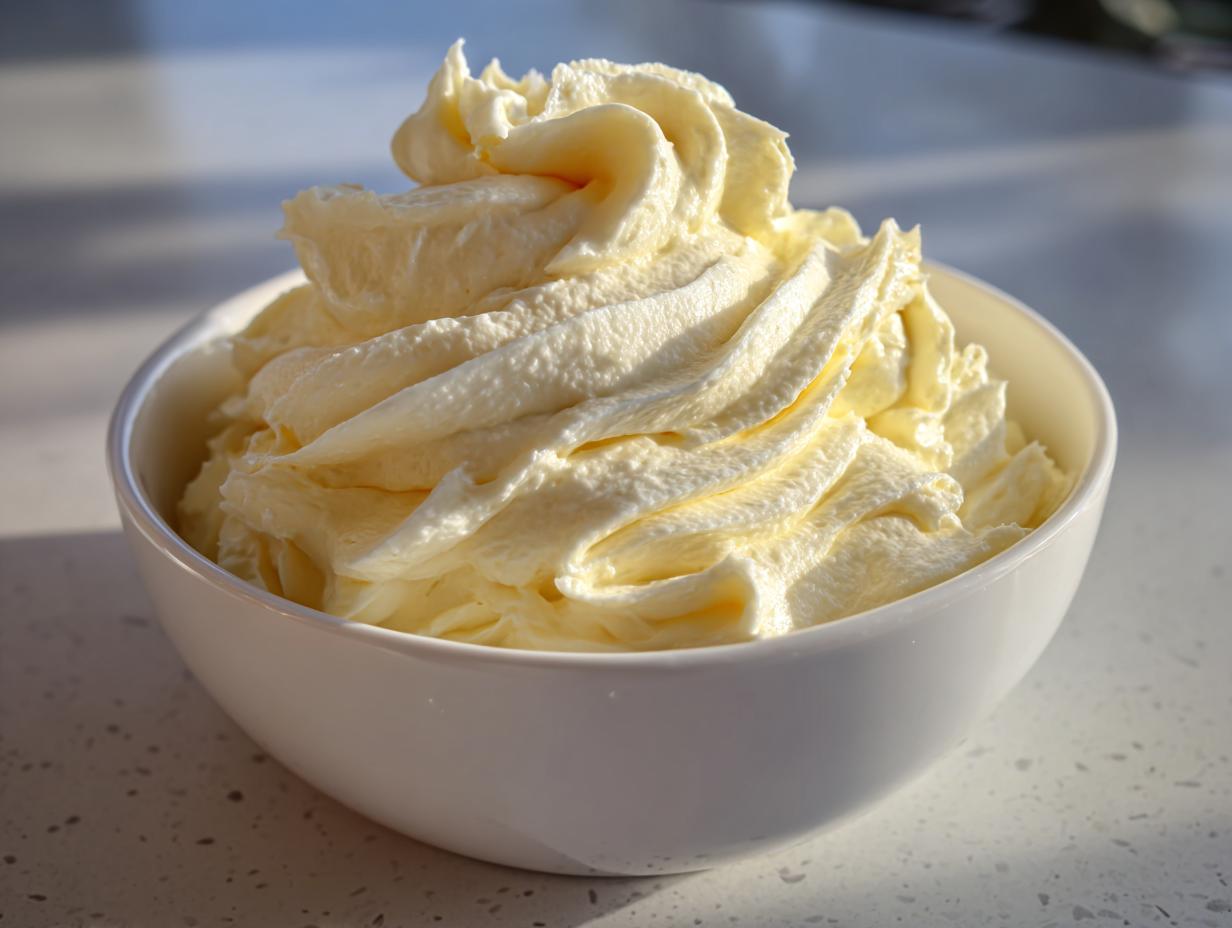
Oh, listen to me when I say that frosting can make or break a celebration! A perfectly baked cake deserves an icing that sings, right? Nothing is more frustrating than whipping up a batch of topping only to find it’s lumpy, soupy, or tastes overwhelmingly like sweet sugar. That’s why I want to share something really special with you today—my absolute **ultimate classic vanilla buttercream frosting**. This isn’t some fussy French creation; this is reliable American baking at its best, passed down right here from my own kitchen heritage. Trust me, Sarah Jane Thompson guarantees this recipe will give you that magically smooth, stable, and wonderfully fluffy texture you need, and we can have it ready in practically ten minutes!
- Why This Is the Ultimate Vanilla Buttercream Frosting Recipe
- Ingredients for Fluffy Cake Icing
- Ingredient Notes and Tips for Perfect Vanilla Buttercream Frosting
- Step-by-Step American Buttercream Tutorial for Vanilla Icing for Layer Cakes
- Tips for Stable Buttercream Frosting and Piping Perfection
- Troubleshooting Your Classic Vanilla Buttercream
- Serving Suggestions for Your Ultimate Vanilla Topping
- Storage and Reheating Instructions for Easy Homemade Frosting
- Frequently Asked Questions About How to Make Vanilla Frosting
Why This Is the Ultimate Vanilla Buttercream Frosting Recipe
I know there are a million recipes out there, but you need one you can always rely on. This **vanilla buttercream frosting** is the answer because it solves all the classic problems. It’s whipped up to be incredibly light and airy, but it has the structure to hold beautiful swirls for decorating. When I developed this version, I focused hard on making it foolproof so you can grab your piping bag without a second thought!
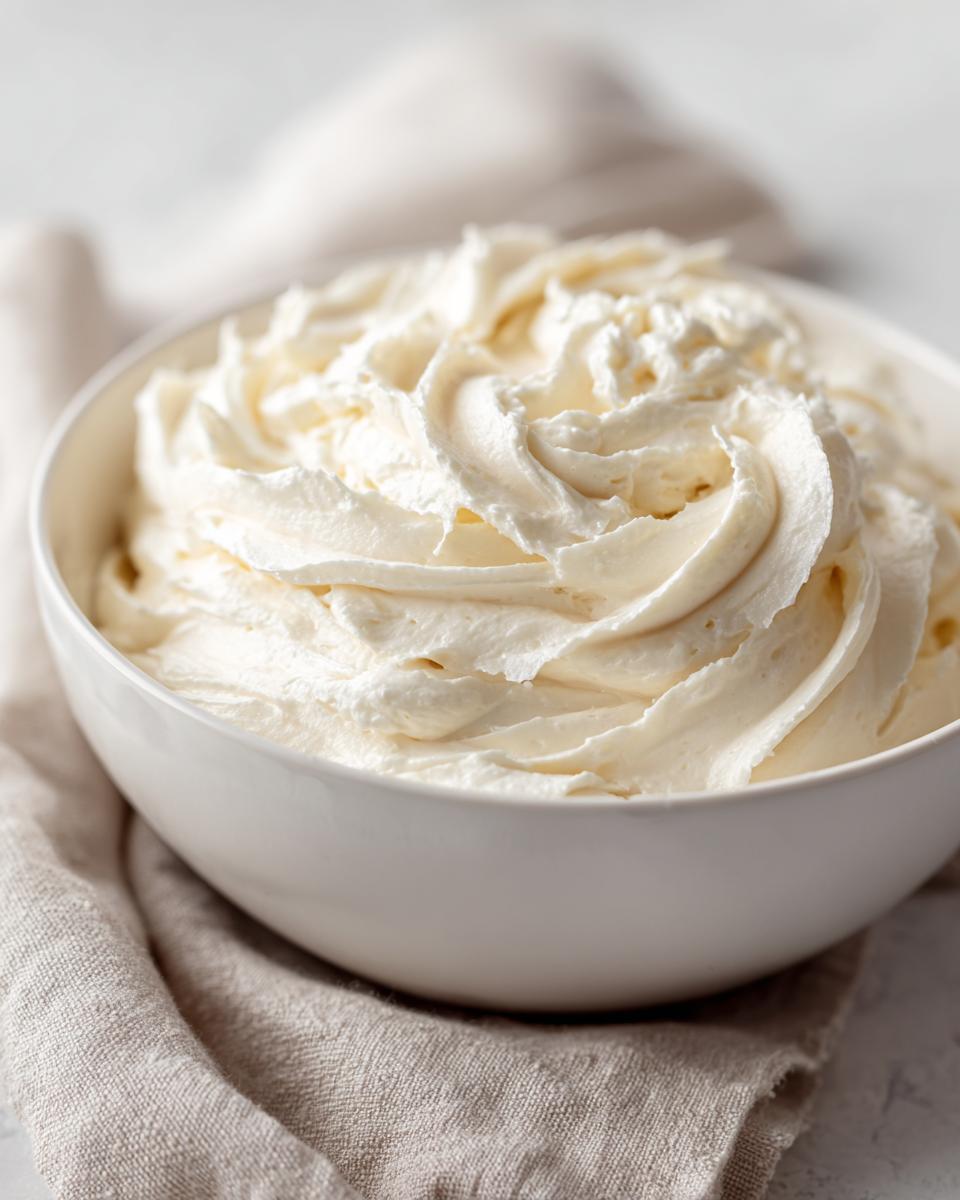
- It’s genuinely light, fluffy, and incredibly creamy—not that heavy, overly sweet stuff you sometimes get.
- It sets up perfectly, making it wonderfully stable for piping gorgeous details on cakes or cookies.
- It comes together faster than you can brew a pot of coffee!
Quick Prep Time for Easy Homemade Frosting
Seriously, we are clocking this prep time at around ten minutes total. Ten minutes! That’s the beauty of the **classic vanilla buttercream**—it’s an American classic built on quick creaming and beating. You don’t need to wait for it to chill or temper anything. You mix it, and you use it. It’s the perfect choice when you’ve finished baking your Southern Coconut Cake and realize you forgot the topping!
Achieving Smooth Vanilla Frosting Texture
The secret here is control, not complicated steps. If you’ve ever had gritty frosting, you know how disappointing that is. We defeat graininess right at the start by paying attention to how soft the butter is and making sure the sugar is thoroughly incorporated. If you follow the whipping times, you lock in microscopic air bubbles that keep everything wonderfully light and guarantee that **smooth vanilla frosting** finish.
Ingredients for Fluffy Cake Icing
You only need five things to make this incredible **fluffy cake icing**, but I want you to treat each one like gold. Remember, keeping things simple means we have to nail the details! This recipe yields about three cups, which is perfect for frosting a two-layer 8-inch cake or frosting a big batch of cupcakes. You’ll want to make an extra batch if you’re feeling ambitious, maybe for these yummy Pecan Pie Cupcakes!
- 1 cup unsalted butter, softened to room temperature
- 4 cups powdered sugar, sifted
- 1 teaspoon pure vanilla extract
- 3 to 5 tablespoons heavy cream or milk
- 1/4 teaspoon salt
Ingredient Notes and Tips for Perfect Vanilla Buttercream Frosting
When you’re making something this simple, the ingredients really do all the heavy lifting. This is where we separate the ‘good’ frosting from the *amazing* **vanilla buttercream frosting**. I learned from my grandmother that you don’t need a complicated process if you start with high-quality components. Using the right butter and the best vanilla makes all the difference in achieving that delicate balance of flavor and texture we are aiming for!
Butter Temperature: The Secret to Creamy Cupcake Frosting
Listen to me on this: the temperature of the butter is make-or-break territory! When a recipe calls for ‘softened’ butter, it absolutely does not mean melted, gooey butter. If it’s too warm, it won’t hold the air we beat into it, and your **creamy cupcake frosting** will turn into a thin, oily puddle. You want the sticks to be cool to the touch—maybe you can press your finger into it and leave a slight dent, but it shouldn’t feel greasy or starting to sweat. That slight chill is what allows the butter to emulsify correctly with the sugar and create that stable structure.
Substitution Options for Your Butter and Sugar Frosting
Most folks stick to pure unsalted butter because it gives the best flavor, period. But I know some recipes call for shortening if you want a blindingly white finish, especially if you’re coloring the icing for a bright holiday cake. You can swap up to half the butter for shortening, but be warned—you lose some of that rich, familiar flavor. When it comes to the liquid, heavy cream is my absolute favorite because it keeps the frosting super rich. If you’re out, use milk, but I also love using half-and-half for an extra bit of body in the final **butter and sugar frosting**.
Step-by-Step American Buttercream Tutorial for Vanilla Icing for Layer Cakes
Alright, time to get messy and make this magic happen! This is where all that precision with the butter temperature pays off. Follow these exact steps, and you won’t have to worry about a single lump or weepiness in your **vanilla icing for layer cakes**. We’re going from zero to perfect **vanilla buttercream frosting** in about ten minutes flat. Just be ready to scrape down that bowl—that’s step one, and it’s crucial!
- Set up your mixer with the paddle attachment. Put that softened butter in there and just let it run on medium speed until it looks completely smooth and creamy, like really soft silk. Seriously, give this about three full minutes, and then *stop* and scrape down the sides. I can’t stress that enough!
- Now for the sugar. You have to add the sifted powdered sugar slowly, one cup at a time. Keep the mixer on low speed for this part. If you dump it all in at once, you’re just going to end up with a sugar cloud filling your kitchen, and nobody wants that mess.
- Once the sugar is incorporated, toss in your pure vanilla extract and that tiny pinch of salt—that salt is important to cut the sweetness! Then, crank the speed up to medium-high and beat it until it visibly lightens up, maybe another 3 minutes.
- This is where we control the texture. Add the heavy cream or milk one tablespoon at a time. If you’re planning on piping lots of delicate leaves, use less liquid. If you just want to spread it on a simple sheet cake, use a little more.
- Finally, for that extra-amazing, **stable buttercream frosting**, turn the mixer up to high speed and let it go for two or three more minutes. This whips in all that air and gives you that lovely airy, yet set, texture.
That’s it! If you want a deeper dive into the science of that final aeration, check out this great tutorial on achieving stable results: Achieving a stable texture is often the hardest part for folks! Also, if you ever need an icing that sets up hard like a glaze, you’ll want to bookmark my tips for sugar cookie icing that dries hard or grab the recipe for sugar cookie icing recipes, just for comparison.
Mixing Technique for a No-Fail Frosting Recipe
The order matters more than the speed, especially at the front end. We start with just butter so we can establish a smooth base. Then, we introduce the sugar *slowly* so it doesn’t fly everywhere and so that the abrasive sugar crystals can be fully incorporated into the fat. If the sugar sits unmixed, it stays gritty! Only introduce the liquid once the butter and sugar are friends. This controlled method means you avoid splitting later on, resulting in that **no-fail frosting recipe** you’ve been crying out for!
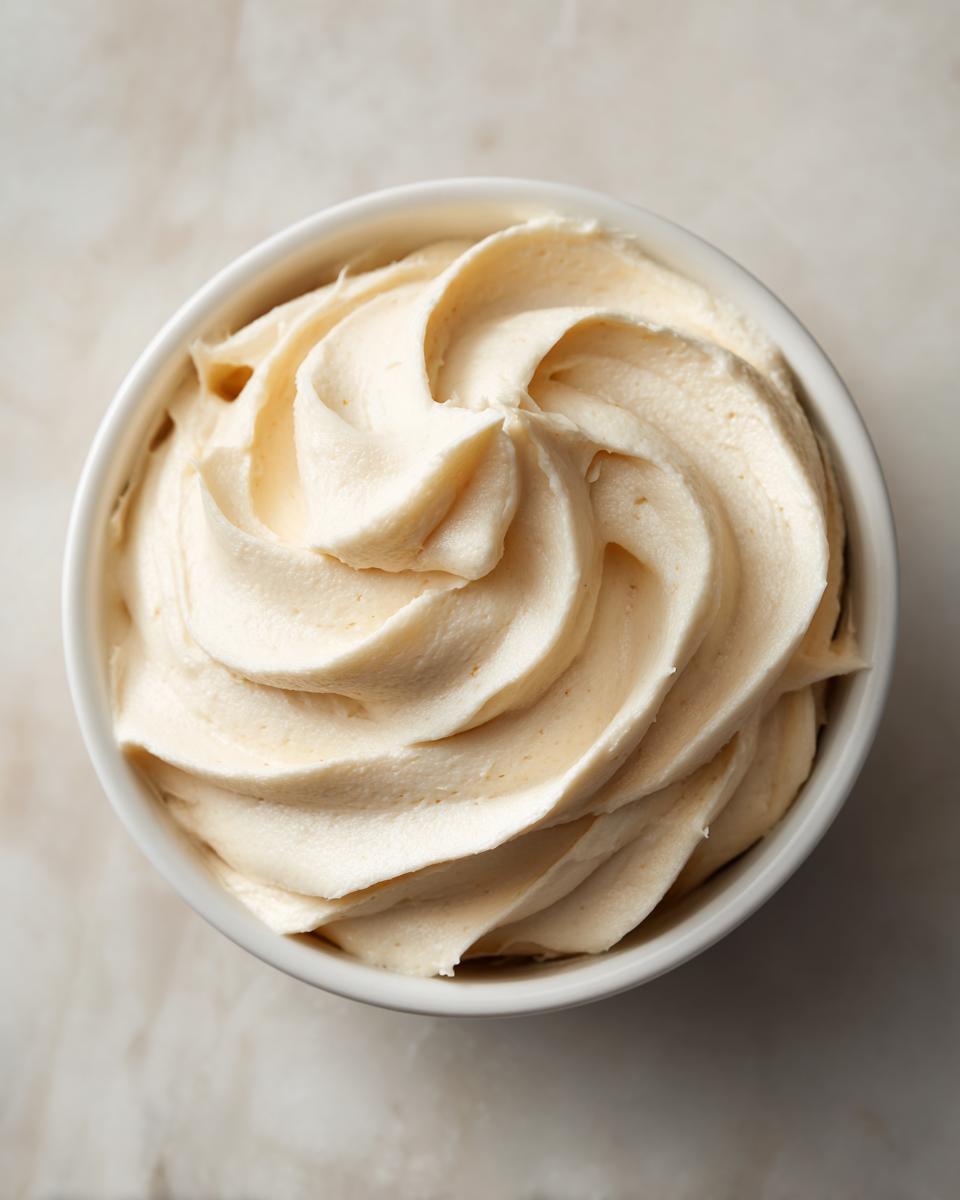
Tips for Stable Buttercream Frosting and Piping Perfection
Now that we have whipped this beautiful **vanilla buttercream frosting** into something light and airy, the next question is always: “Sarah Jane, will it actually hold its shape when I pipe it?” Because, honestly, nothing is worse than spending time creating a gorgeous rosette just to watch it slowly slump onto your cupcake. My goal for you is that **stable buttercream frosting** that looks exactly like it came from a real bakery!
If you followed the high-speed beating step at the end, you’ve already done 90% of the work creating that stiffness. But sometimes, especially on a warm day, it still needs a little encouragement. The trick is making sure you haven’t added too much liquid too early on. If you are aiming for true **buttercream for piping**, you want to use the bare minimum of cream—maybe just 3 tablespoons total during the mixing process.
I remember once trying to pipe these tall, delicate stars for my niece’s wedding cake—it was a very hot July day! The first few test swirls were soft, and I panicked! I tossed the whole bowl in the fridge, but only for about ten minutes! That quick chill firmed everything up just enough so when I brought it back out and gave it one last minute-long whip on medium speed, it was perfect. I could pipe those tall stars, and they didn’t budge all night. That rapid chilling and re-whipping technique is my secret weapon!

If you are looking for inspiration on piping techniques, even though this is a sweet recipe, the precision thinking applies totally differently to something like my Duchess Potatoes recipe—it teaches you how to control pressure, which translates perfectly to the piping bag. For more inspiration on beautiful finishing touches, you might enjoy seeing what others have achieved over at Sweetly Cakes!
Troubleshooting Your Classic Vanilla Buttercream
Okay, even though I told you this is a **no-fail frosting recipe**, sometimes life throws us a warm kitchen or maybe we got a little distracted adding the cream! Don’t you dare throw that bowl away! Every single baker—and I mean *every single one*—has had to troubleshoot their **vanilla buttercream frosting**. It’s just part of the process of loving things made with butter. We just need to assess the situation and apply a little kitchen common sense to get that beautiful, creamy finish back.
If your frosting is too runny, my immediate thought goes straight to the butter temperature. If the butter was too soft before you started, the whole foundation is weak. If it’s too stiff, well, it’s almost always a liquid issue, unless you used too much powdered sugar to begin with. Let’s tackle the most annoying one first, though, because nobody likes biting into crystalized sugar!
Fixing Gritty Vanilla Buttercream Frosting
Graininess happens when the powdered sugar crystals don’t completely dissolve into the fat (the butter). It’s super common! My first line of defense is always more time in the mixer. Sometimes, if you just keep beating it on medium-high speed for two or three extra minutes, the friction and air will smooth those tough sugar granules out. Don’t stop checking until you think you can’t possibly beat it anymore—then beat it for one more minute!
If that doesn’t work—and this is the neat trick I learned—you need a tiny introduction of heat or extra liquid to help dissolve what’s left. Take one teaspoon of *hot* water or *hot* milk (just a tiny bit, make sure it’s steaming) and add it to the mixer while it’s running on medium speed. The small amount of heat will help melt those last few gritty bits. Be careful, though; add one teaspoon at a time, because too much liquid will send you right into the runny frosting problem we talked about! This usually gives you that perfectly **smooth vanilla frosting** in seconds.
If you’ve got a runny frosting because you added too much liquid, the fix is easy: put the bowl in the fridge for about 15 minutes. Don’t forget it! Once it’s chilled, bring it back to the mixer and whip it on medium speed again. It will firm right up, ready to use on your next layer cake!
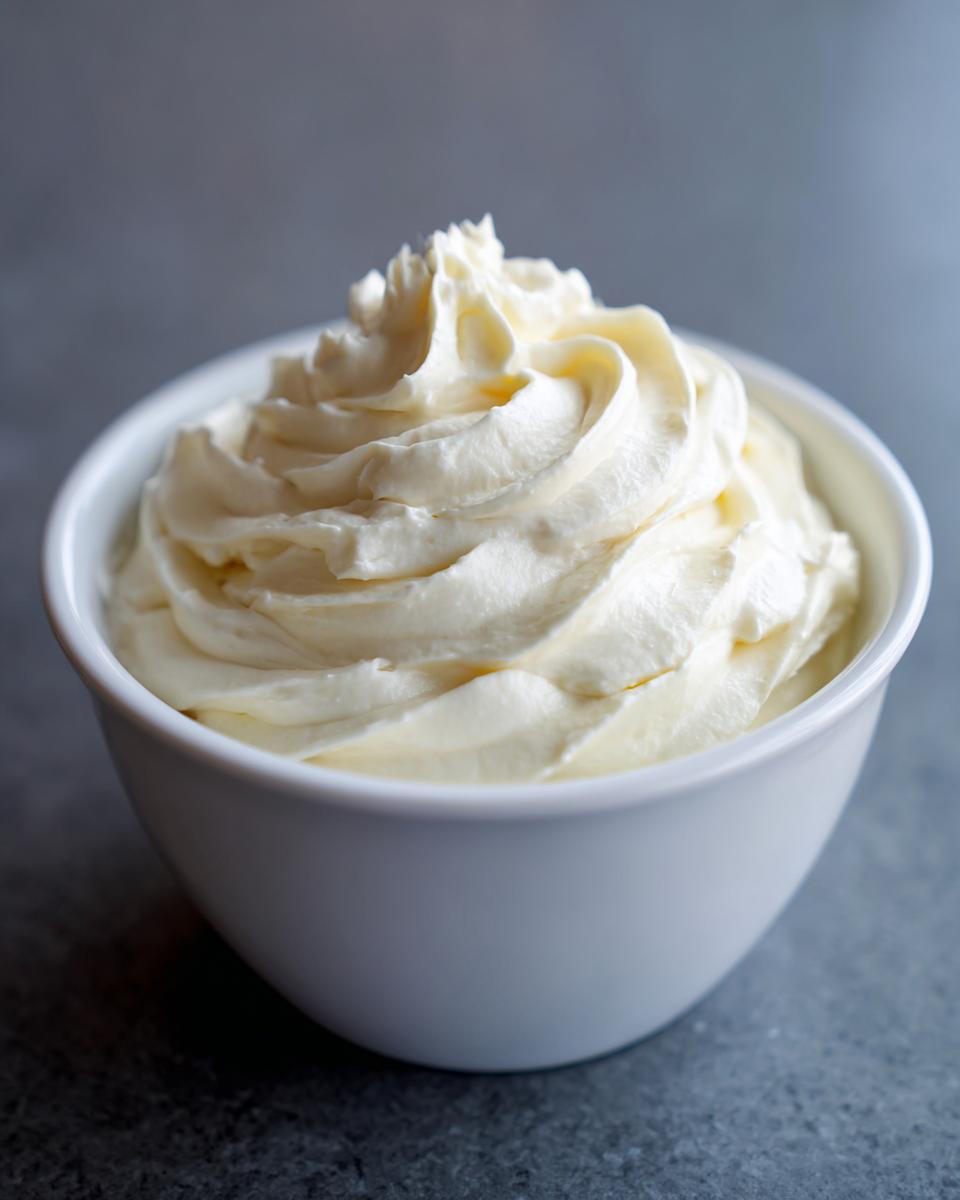
Serving Suggestions for Your Ultimate Vanilla Topping
Now that you have this spectacular, **ultimate vanilla topping**, what are you going to do with it? Don’t just stop at a quick swirl on a brownie edge! This rich, **classic vanilla buttercream** is sturdy enough for a showstopper. It’s absolutely divine slathered on a classic vanilla layer cake, providing that perfect, smooth coating contrast.
But here’s what I love to do: use it as a filling between sandwiched cookies—it holds up great when slightly chilled! It’s also incredible layered between batches of my moist Red Velvet Cupcakes. Just use a small offset spatula to fill the center before frosting the outside. This **easy homemade frosting** turns any simple bake into something elegant!
Storage and Reheating Instructions for Easy Homemade Frosting
So you made this huge batch of gorgeous **vanilla buttercream frosting**, and now you have leftovers? Lucky you! While this **easy homemade frosting** tastes best when it’s freshly mixed, it stores like a dream. The key to keeping it perfect is remembering that this is mostly fat—butter—so temperature is everything when it comes to texture preservation.
For short-term storage, like if you only need it for a day or two, you can leave it airtight at room temperature. I mean, if your kitchen isn’t scorching hot, this **butter and sugar frosting** can hang out on the counter covered up. This makes it super convenient because when you need it, it’s already soft and ready to go for your next batch of cupcakes!
If you need to keep it longer, say a week or two, you absolutely must refrigerate it. Put it in a proper airtight container—I usually use a container with a tight seal to keep any fridge smells out. Remember, butter absorbs odors like a sponge, so seal it well!
Now for the reheating part, which is crucial for maintaining that smooth texture. You can’t just microwave a hunk of buttercream, trust me on that one! If it’s been chilled, you need to let it come back up to room temperature slowly first. Pull it out of the fridge about an hour or two before you plan to use it. Once it feels soft again—like the butter was when you first started—you must give it a good whipping for about two to three minutes on medium speed. This re-incorporates all the air we lost while chilling, turning it back into that luscious, **creamy cupcake frosting** you fell in love with. Don’t skip that re-whip, or it will look slightly separated or curdled!
Frequently Asked Questions About How to Make Vanilla Frosting
I know when you’re deep into baking, questions pop up fast! Don’t let confusion stop you from getting that perfect finish. People ask me all the time about adapting this **vanilla buttercream frosting** for different needs or trying to mimic that look they see in bakery windows. Here are the quick answers to the things I hear most often about achieving that perfect, **smooth vanilla frosting**.
Can I make this vanilla buttercream frosting ahead of time?
Absolutely, you can make it ahead! This is a great recipe for advance prep, especially if you have a busy baking day planned. I usually make a fresh batch the day before I need it, and I store it in a truly airtight container in the refrigerator. Like I mentioned before, the second it comes out of the cold, it will look stiff and maybe a little separated. Don’t panic! You *must* let it sit on the counter until it softens up a bit—just pliable—and then give it a good, vigorous whipping again on medium speed for a few minutes to bring all that air back in. That re-whip is non-negotiable for getting that luscious texture back!
How do I get that bright white bakery style vanilla frosting look?
This is a fantastic question, especially if you want your frosting to look pure white for bright color additions or just prefer that classic, stark look. My recipe, using only butter, naturally leans toward a pale ivory color because butter is yellow! If you want true, bright white **bakery style vanilla frosting**, you have two main options. First, swap half (or even all) of the butter out for vegetable shortening. Shortening is pure white, so your icing will be blindingly white, though you lose a little flavor depth. Second, if you are determined to use all butter, switch that pure vanilla extract for clear vanilla extract. That way, you keep the buttery flavor but lose the dark color from the extract itself!
What is the difference between this and a Swiss Meringue Buttercream?
Oh, that’s a big difference there, though both are fantastic! What we just made is an American Buttercream frosting—it’s just butter, sugar, and flavoring mixed together raw. It’s fast, sweet, and sturdy. Swiss Meringue, on the other hand, is more complicated. That one involves heating egg whites and sugar over a double boiler to dissolve the sugar completely before you whip them into a meringue, and *then* you beat in the butter. Swiss Meringue is silkier, less sweet, and fluffier, but it takes way longer. My recipe is your trusty, super-quick go-to for home baking, dessert toppings, or if you just need something reliable fast, like for those amazing Classic Apple Crumbles!
PrintThe Ultimate Classic Vanilla Buttercream Frosting: Smooth and Stable for Piping
Make the best vanilla buttercream frosting using this simple, no-fail recipe. You will achieve a perfectly smooth, creamy, and fluffy texture ideal for frosting layer cakes and piping decorations.
- Prep Time: 10 min
- Cook Time: 0 min
- Total Time: 10 min
- Yield: About 3 cups 1x
- Category: Dessert Topping
- Method: Mixing
- Cuisine: American
- Diet: Vegetarian
Ingredients
- 1 cup unsalted butter, softened to room temperature
- 4 cups powdered sugar, sifted
- 1 teaspoon pure vanilla extract
- 3 to 5 tablespoons heavy cream or milk
- 1/4 teaspoon salt
Instructions
- Place the softened butter in the bowl of a stand mixer fitted with the paddle attachment. Beat the butter on medium speed until it is completely smooth and creamy, about 3 minutes. Scrape down the sides of the bowl.
- Gradually add the sifted powdered sugar, one cup at a time, mixing on low speed until just combined after each addition.
- Add the vanilla extract and salt. Increase the mixer speed to medium-high and beat for 3 minutes until the mixture is lightened in color and fluffy.
- Add the heavy cream or milk, one tablespoon at a time, beating well after each addition until you reach your desired consistency. If you need a stiffer buttercream for piping, use less liquid. If you want a softer spreadable frosting, use more.
- Beat on high speed for an additional 2 to 3 minutes to incorporate air, making the frosting extra smooth and stable. This step is key for bakery style vanilla frosting.
- Use immediately to frost your cakes, cupcakes, or cookies.
Notes
- To prevent grainy frosting, always sift your powdered sugar before adding it to the butter.
- If your frosting seems too soft, chill it for 10 minutes, then re-whip it. If it is too stiff, add more cream, one teaspoon at a time.
- For the best flavor, use high-quality pure vanilla extract. This is the secret to rich vanilla flavor.
- This American buttercream recipe holds its shape well for piping swirls and decorations.
Nutrition
- Serving Size: 1/4 cup
- Calories: 350
- Sugar: 50
- Sodium: 55
- Fat: 17
- Saturated Fat: 10
- Unsaturated Fat: 7
- Trans Fat: 0
- Carbohydrates: 50
- Fiber: 0
- Protein: 1
- Cholesterol: 45