
There is just nothing as satisfying as pulling a tray of perfectly decorated sugar cookies from the cooling rack. When the lines are crisp, the color is bright, and that perfect hard shell sets up flawlessly, you know you’ve nailed it. If you’ve ever ended up with sticky messes or cracked icing, I totally get it—that’s why I’m sharing my absolute favorite, foolproof royal icing recipe with you today. Here at Cookin’ Corner, we focus on tried-and-true classics, and this version, built around meringue powder for ultimate stability, is guaranteed to give you that smooth, professional finish you’ve been dreaming of. Trust me, this is the foundation for all your best cookie art!
- Why This Royal Icing Recipe Delivers Professional Cookie Decorating Icing
- Gathering Ingredients for Your Royal Icing Recipe
- How To Make Royal Icing: Step by Step Icing Guide
- Coloring Your Professional Cookie Icing
- Tips for Success with Your Royal Icing Recipe
- Storage and Reheating Instructions for This Royal Icing Recipe
- Frequently Asked Questions About Royal Icing for Sugar Cookies
- Estimated Nutritional Data for Vanilla Royal Icing
- Share Your Royal Icing Creations
Why This Royal Icing Recipe Delivers Professional Cookie Decorating Icing
Forget what you think you know about fussy, temperamental icing! This royal icing recipe is designed specifically for home bakers who want bakery-style results without the headache. The biggest reason this batch works so well as Cookie Decorating Icing is the meringue powder. Honestly, using meringue powder (instead of raw eggs) is a total game-changer for stability and peace of mind!
Because we whip it properly, this icing dries rock solid—we’re talking Icing That Dries Hard, which is essential if you plan on stacking or shipping your holiday cookies. When you look at my detailed notes on ingredients, you’ll see why I never go back to just fresh whites for consistency. If you want reliable results that hold up, you need to check out my full guide on sugar cookie icing that dries hard.
Achieving That Signature Glossy Cookie Icing Finish
That beautiful shine you see on sugar cookies? That’s the magic of a well-mixed batch. The gloss comes directly from incorporating just the right amount of air while mixing, which this recipe forces you to do over those 5 to 7 minutes. Don’t rush it! When you beat it just long enough, you lock in moisture in a way that ensures you get that ultimate Glossy Cookie Icing Finish once it sets. It makes even a beginner’s flood look smooth and professional.
Gathering Ingredients for Your Royal Icing Recipe
Okay, let’s get down to the good stuff! Making this recipe feel truly effortless starts with having your ingredients ready to go. We aren’t doing complicated sourcing here; these are simple pantry staples that just need exact measuring. The powerhouse ingredient here is the meringue powder—that’s your secret weapon for making Easy Royal Icing that stays perfect for days. You’ll need:
- 4 tablespoons meringue powder
- 6 cups powdered sugar, sifted
- 1 teaspoon vanilla extract
- 1/2 cup warm water (approximately)
Ingredient Notes and Substitutions for Easy Royal Icing
Listen, I know not everyone keeps meringue powder in their cupboard right now, but I really urge you to try it for this recipe! It’s what makes this batch hold up so well. If you absolutely must substitute, you can use 2 large fresh egg whites instead, but please know that icing won’t have the same shelf life, which is important if you’re baking ahead of time. Another must-do? Sifting your powdered sugar! It’s tedious, I know, but it’s the first step to a fabulous Smooth Icing Tutorial. Skipping that step leads to frustrating lumps!
How To Make Royal Icing: Step by Step Icing Guide
This is where the magic happens, and truly, it’s so straightforward once you know the trick. This Step by Step Icing Guide gets you professional icing in about ten minutes flat! We start by combining that meringue powder and sifted sugar, then we add the vanilla and just half of our warm water to get things going on low speed with the mixer.
Next up is the crucial part: cranking the speed to medium-high and letting it run for a full 5 to 7 minutes. When I first tried this years ago, I stopped way too early! I thought the icing was ready, but it cracked the second it dried. You have to keep whipping it until it turns brilliantly white and you see those super stiff peaks forming—that aeration is what gives you that amazing, strong finish. I swear, watching those peaks form the first time felt like I discovered alchemy! This intense mixing is exactly what creates that premium Stiff Consistency Icing.
Once it’s beaten, you check your water slowly. If you’re making something like my brown butter sugar cookies, you want them perfectly coated, and that means adjusting texture.
Adjusting to Flooding Consistency Icing
Now, if you want to fill in those cookies—that’s called flooding—you need the icing to move a bit easier. After mixing up the stiff base, you just add that reserved water, maybe a teaspoon or two at a time. You’re aiming for what we call the 10-second rule for Flooding Consistency Icing. Drizzle a little icing over the top of the mass in the bowl. If that drizzle smooths back into the rest of the icing in about ten seconds flat, stops the little trail, you’re perfect! Any slower and it’s too thick; any faster and it’s too runny for the edges.
Maintaining Stiff Consistency Icing for Piping Details
The great news is that the initial 5 to 7 minutes of beating gives you almost perfect Piping Icing Recipe texture right out of the bowl! This stiff icing is what you use for borders, writing, or intricate details. If, for some reason, your icing seems too loose right after beating it—maybe your humidity is just wild that day—don’t panic! Just add more sifted powdered sugar, one tablespoon at a time, until it stiffens up again. Patience pays off here, folks!
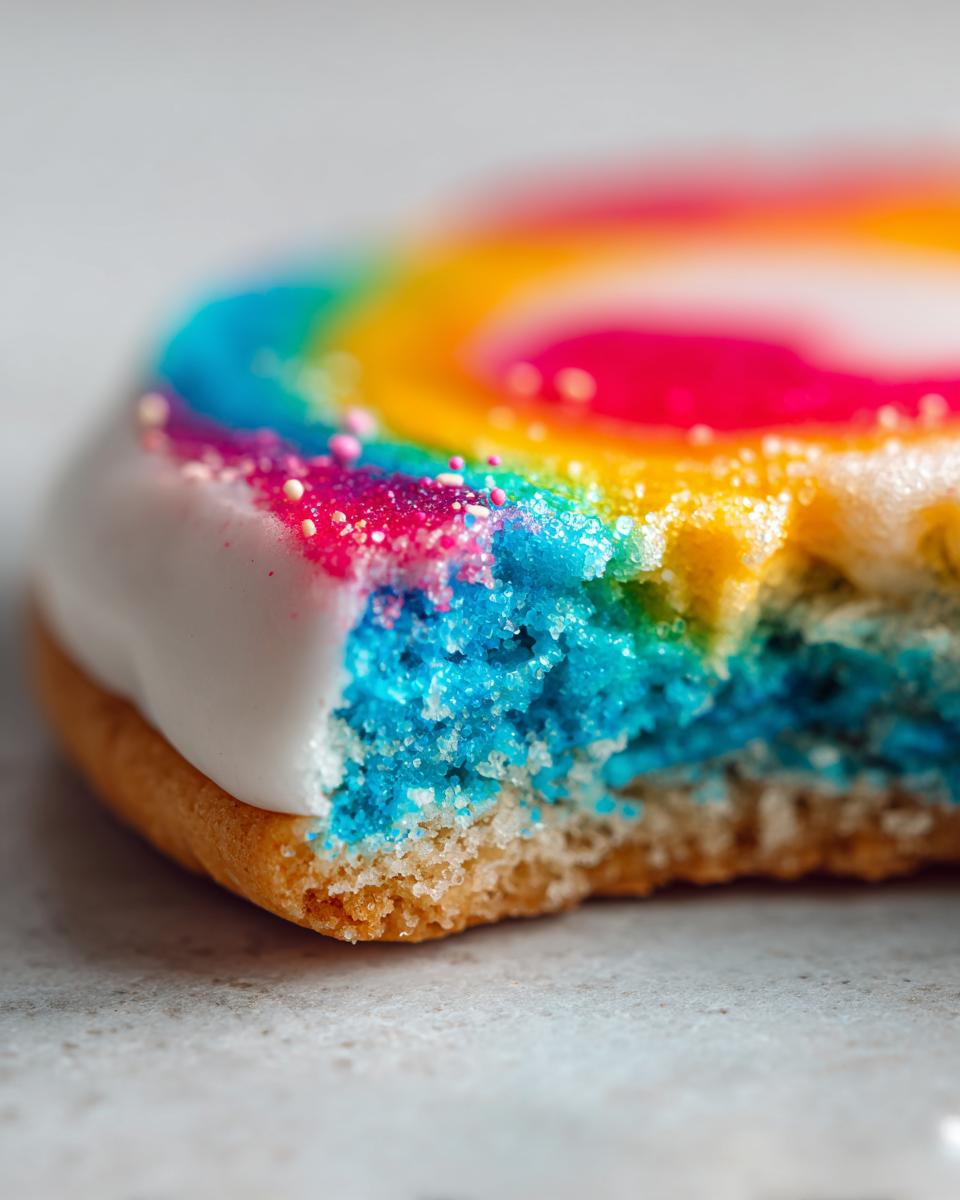
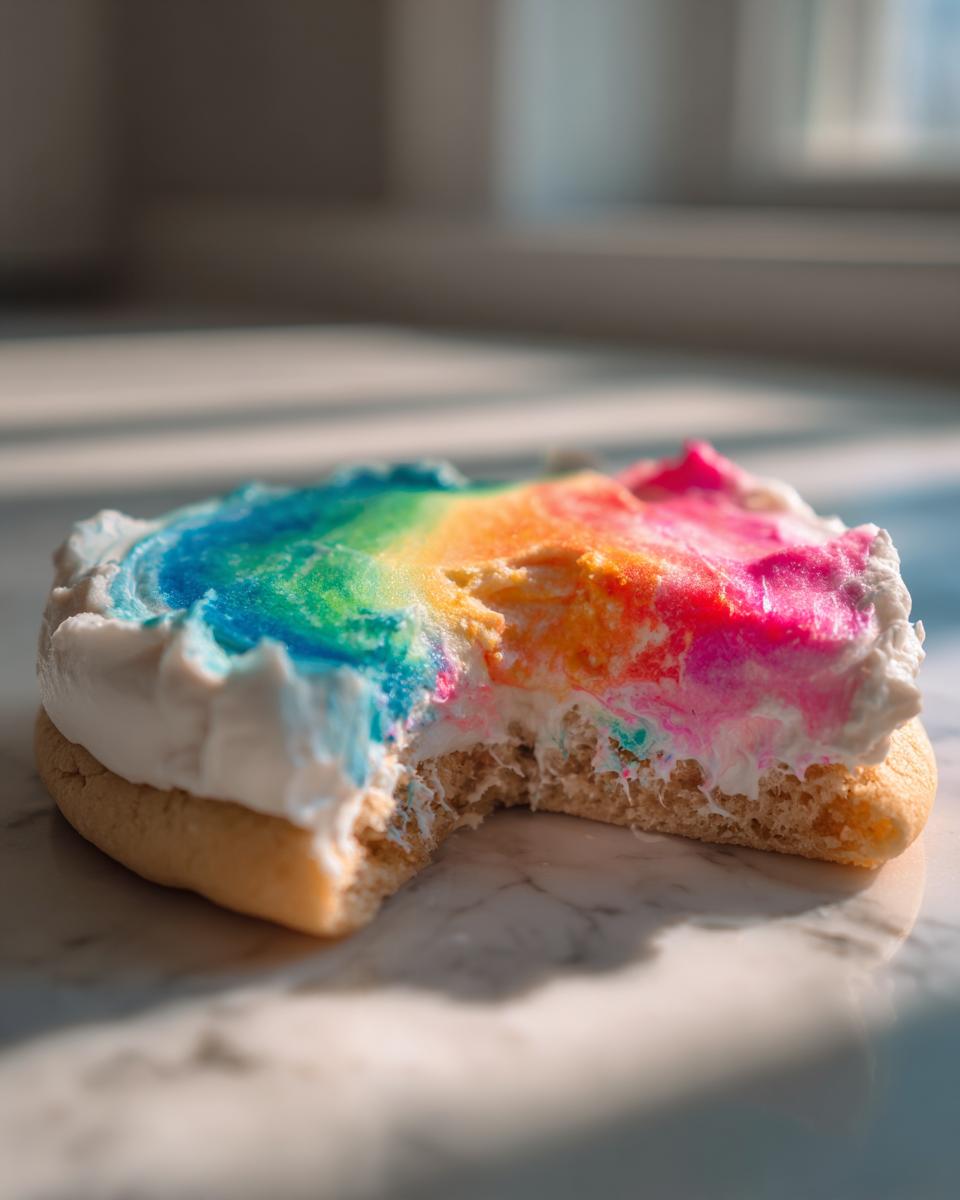
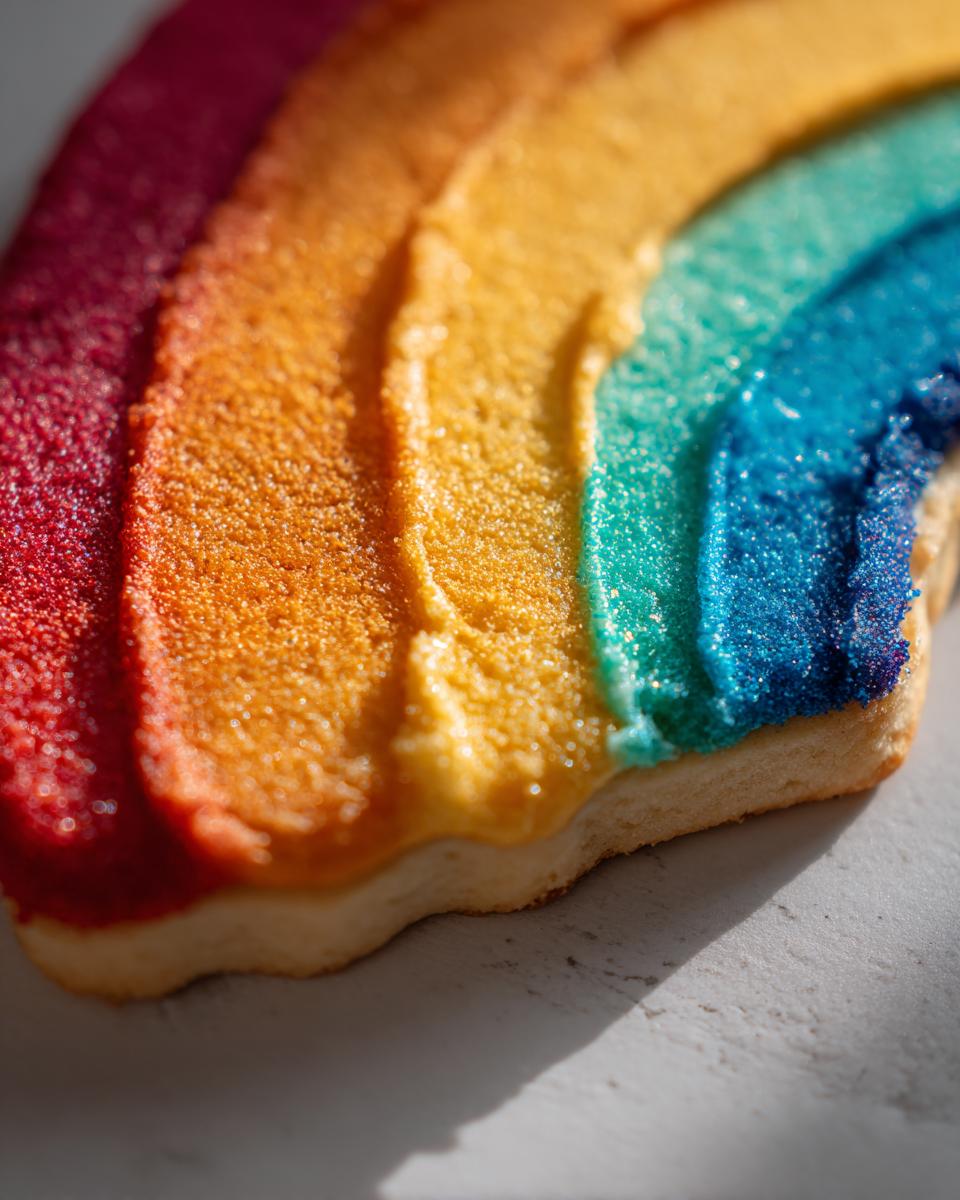
Coloring Your Professional Cookie Icing
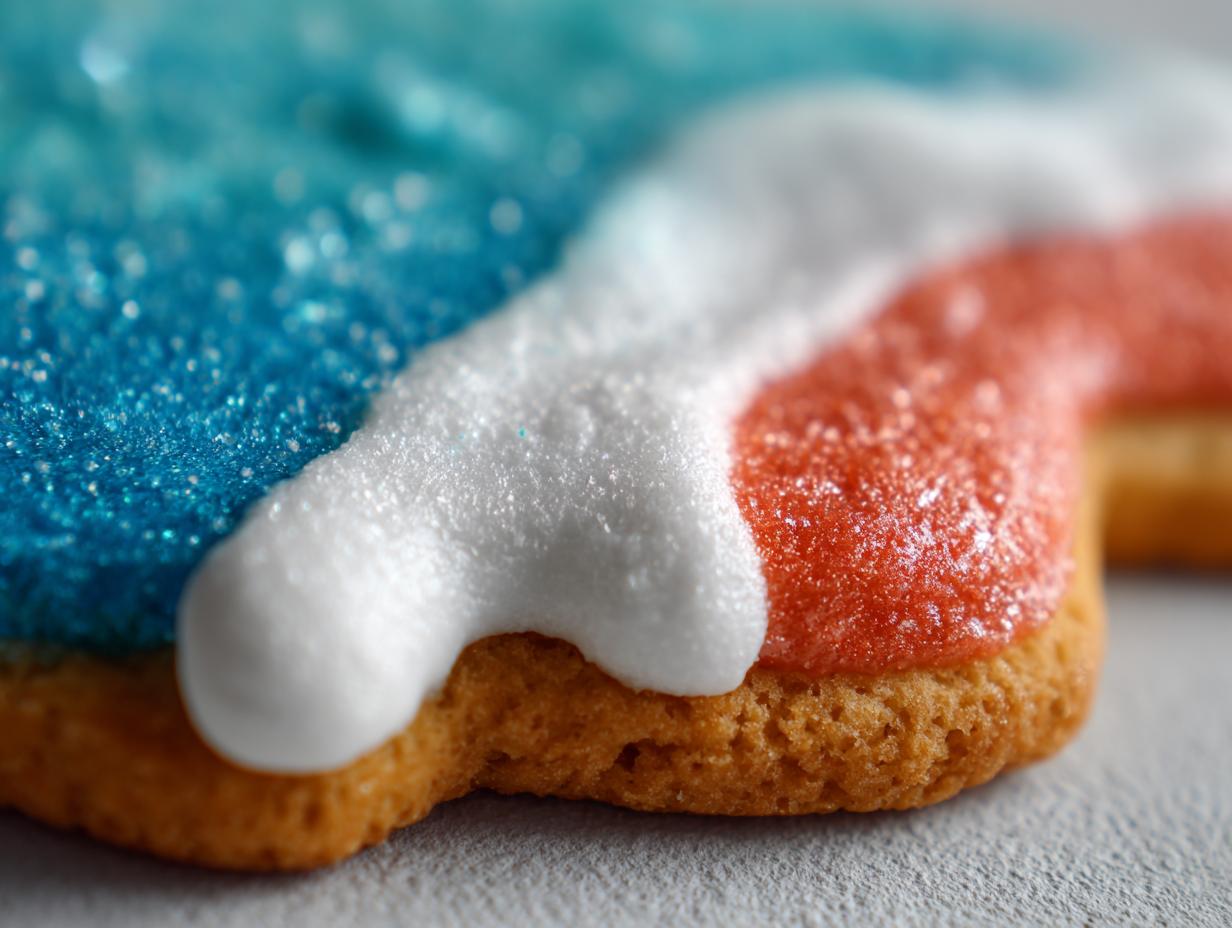
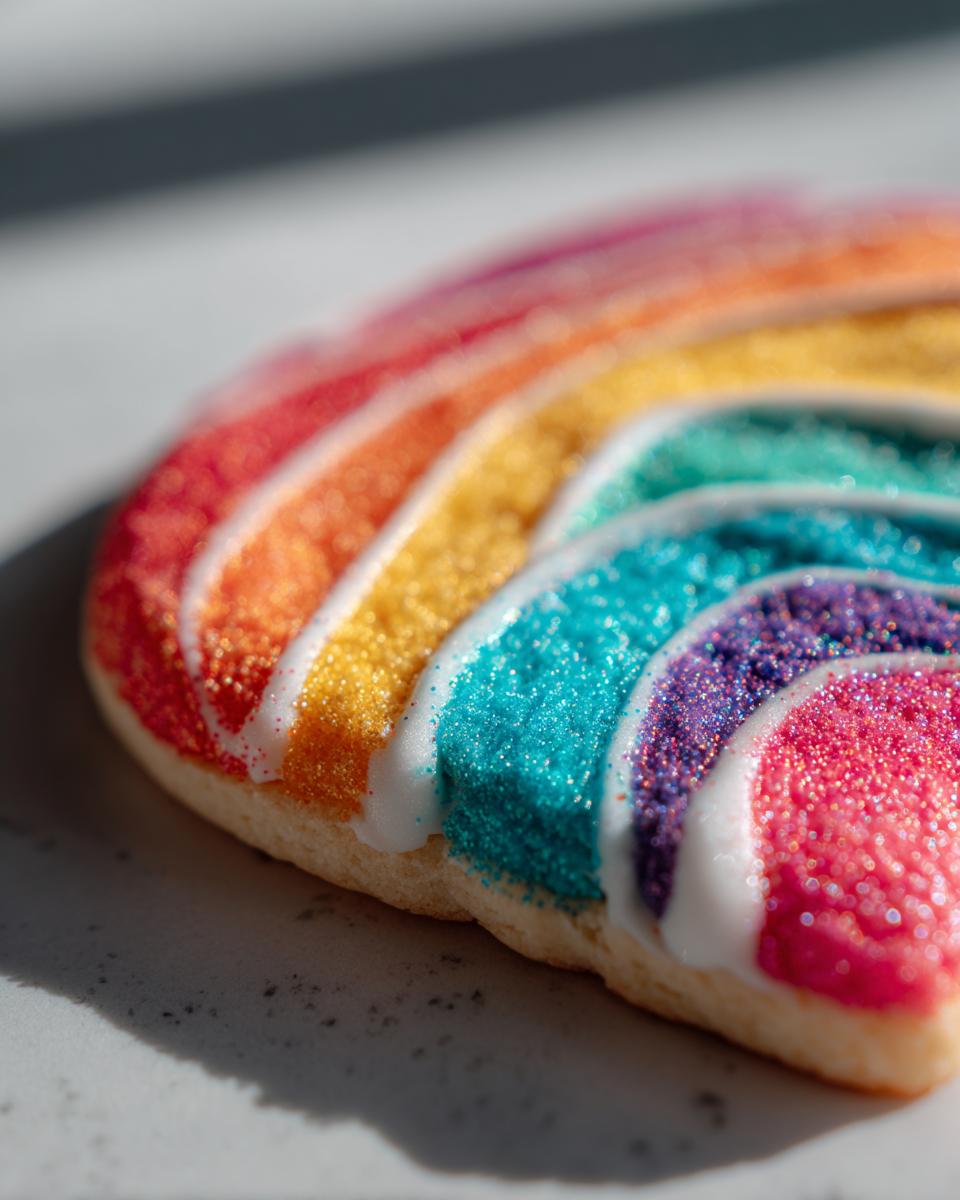
One of the best parts of decorating is making that beautiful, creamy icing pop with color! When it comes to coloring this Professional Cookie Icing, I strongly recommend sticking to gel food coloring. The liquid kind will throw off your whole consistency because you have to add so much of it to get a deep shade, which ruins that perfect structure we worked so hard to achieve. Just dip a clean toothpick into your gel color and tap it into the separated icing batch—a little goes a long way!
The absolute critical thing here is speed. Royal icing hates air exposure; it dries fast, hard, and crusty! As soon as you’ve added your color, mix it gently but thoroughly, and immediately cover that bowl tightly with plastic wrap, making sure the wrap actually touches the surface of the icing. This simple step is essential to preserving the beautiful texture of this Best Royal Icing Formula. If you see your leftover white icing forming a skin, you know you should have covered it better! For other colorful ideas, take a peek at how I handle coloring my red velvet cupcakes; the coloring advice is surprisingly similar.
Tips for Success with Your Royal Icing Recipe
I’ve learned a few tricks over the years that take the guesswork out of batch two, three, and ten. Even with the best royal icing recipe, things like weather can throw you for a loop, especially because this icing is so sensitive. My first big tip for any Beginner Royal Icing baker is to pay attention to the humidity!
If it’s a rainy day, you might need to add just a tiny splash more water when thinning to a flood consistency, because the moisture in the air is already making the sugar a bit looser. Conversely, if it’s bone dry, you might need that extra dusting of powdered sugar to bring a runny batch back to life.
Secondly, never try to fix a thin batch by adding sugar once it’s coloring time—color it first, then adjust the thickness. If you end up needing to thicken a pile of flood icing, add sugar slowly. If you accidentally thin a batch meant for piping, don’t throw it out! Just move it to a separate bowl, stir in a tablespoon of extra sifted sugar, and you’ve instantly created a perfect batch of border icing!
I always make sure my base cookies are completely cool before decorating; warm cookies melt the icing, and nobody wants that runny disaster. For the best base cookie texture to go with this icing, you have to try my best sugar cookie recipe recipe.
Storage and Reheating Instructions for This Royal Icing Recipe
One of the huge benefits of using a Meringue Powder Icing like this is how well it keeps! You absolutely do not need to refrigerate this icing. Just make sure you cover every bowl tightly—I mean plastic wrap pressed right down onto the surface—and store it airtight at room temperature for up to two weeks, sometimes longer. It’s amazing, right?
If you pull it out later and it seems a little thick or stiff, don’t panic or automatically reach for more sugar. You just need to revive it! Add water in tiny amounts—literally drops at a time—and mix gently until it relaxes back to the consistency you need. You can even give it a quick whisk with a fork if it looks a bit gloppy. This simple storage trick saves so much time when you’re planning big holiday cookie projects!
Frequently Asked Questions About Royal Icing for Sugar Cookies
I know how many questions pop up when you venture into royal icing for the first time! It’s tough balancing the need for it to be thin enough to flood but thick enough to pipe pretty borders. Below are the things I hear most often about this royal icing recipe. We want to make sure your cookie decorating icing experience is wonderful!
How long does this royal icing recipe take to dry completely?
This is a big one! Because this recipe creates that super stiff, professional icing, it dries hard relatively quickly compared to simple powdered sugar glazes. For a thin flood layer, I usually give it about 4 to 6 hours at room temperature, assuming low humidity. If you did thick piping or layers, you might need to wait overnight. The key thing is that once it’s dry, it’s *done* drying—it becomes that hard, durable shell perfect for stacking!
Can I use this meringue powder icing on cakes instead of cookies?
Yes, you absolutely can use this for piping little details on cakes, like small flowers or borders, especially when you need a crisp, non-squishy finish that holds its shape perfectly. However, you should know that this icing is primarily known for use on sugar cookies because it dries so completely hard. If you want to cover a whole cake, I almost always recommend sticking to a good homemade buttercream or Swiss meringue for the main coverage; royal icing can sometimes crack when the cake shifts.
Remember, if you’re looking for a lightning-fast version that’s great for simple tasks, check out my tips for the easiest royal icing ever, though this main recipe offers the best result for sugar cookies!
Estimated Nutritional Data for Vanilla Royal Icing
Now, I know some of you are like me—you look at a beautiful batch of decorated cookies and immediately wonder what kind of sugar rush you’re preparing for! While royal icing isn’t exactly a health food (it’s mostly sugar and air, bless its heart!), it’s good to have a general idea of what you are working with.
The following nutritional breakdown is based on the measurements in this Vanilla Royal Icing recipe, calculated per serving size of 1/4 cup. Since this recipe makes quite a large batch—enough to cover maybe three dozen cookies—a single serving covers a fair bit of decorating!
- Serving Size: 1/4 cup
- Calories: 180
- Sugar: 45g
- Sodium: 5mg
- Fat: 0g
- Protein: 1g
- Carbohydrates: 45g
I have to give you a gentle heads-up on these numbers, though. Remember, these nutrition facts are just estimates based on the ingredients listed right here! The final counts can shift a bit depending on the brand of powdered sugar you grab or exactly how much water you ultimately need to hit that perfect consistency. Think of this as a good guideline, not gospel science for your Baking Basics Icing!
Share Your Royal Icing Creations
Now that you have this incredible, foolproof Best Royal Icing Formula, I just can’t wait to see what you create! Please, take a snapshot of those beautifully decorated cookies and share them online—make sure to tag us so I can see your stunning work. If you loved this recipe, leaving a quick star rating and a comment below means the world to me and helps other bakers find reliable guides like this one. Happy decorating, friends! Don’t forget to look at my recipe for the easy hollandaise sauce next time you need a reliable recipe!
PrintFoolproof Royal Icing Recipe for Perfect Cookie Decorating

Make smooth, professional-quality royal icing that dries hard using this easy recipe with meringue powder. This formula is perfect for flooding and piping sugar cookies.
- Prep Time: 10 min
- Cook Time: 0 min
- Total Time: 10 min
- Yield: Enough to cover 3 dozen cookies
- Category: Baking
- Method: Mixing
- Cuisine: American
- Diet: Vegetarian
Ingredients
- 4 tablespoons meringue powder
- 6 cups powdered sugar, sifted
- 1 teaspoon vanilla extract
- 1/2 cup warm water (approximately)
Instructions
- In a large bowl, combine the meringue powder and sifted powdered sugar.
- Add the vanilla extract and half of the warm water. Start mixing on low speed with an electric mixer until the ingredients are just combined.
- Increase the mixer speed to medium-high and beat for 5 to 7 minutes until the icing is very stiff, white, and holds firm peaks. This incorporates air for a strong finish.
- Check the consistency. If the icing is too thick for piping or flooding, add the remaining water, one teaspoon at a time, mixing well after each addition until you reach the desired texture.
- To achieve flooding consistency, add 1 to 2 teaspoons of water until the icing flows smoothly off the mixer beater and levels out in the bowl within 10 seconds.
- To achieve stiff consistency for piping details, use the icing as is or add just a few drops of water if needed.
- Separate the icing into bowls for coloring, if desired. Cover all unused icing with a damp cloth or plastic wrap touching the surface to prevent drying.
Notes
- For a glossy cookie icing finish, avoid over-mixing once the desired consistency is reached.
- If you do not have meringue powder, you can substitute it with 2 large, fresh egg whites, but the icing will have a shorter shelf life.
- This icing dries hard, making it ideal for stackable holiday cookie icing projects.
- If the icing seems too thin for piping, add more sifted powdered sugar, one tablespoon at a time.
Nutrition
- Serving Size: 1/4 cup
- Calories: 180
- Sugar: 45g
- Sodium: 5mg
- Fat: 0g
- Saturated Fat: 0g
- Unsaturated Fat: 0g
- Trans Fat: 0g
- Carbohydrates: 45g
- Fiber: 0g
- Protein: 1g
- Cholesterol: 0mg