
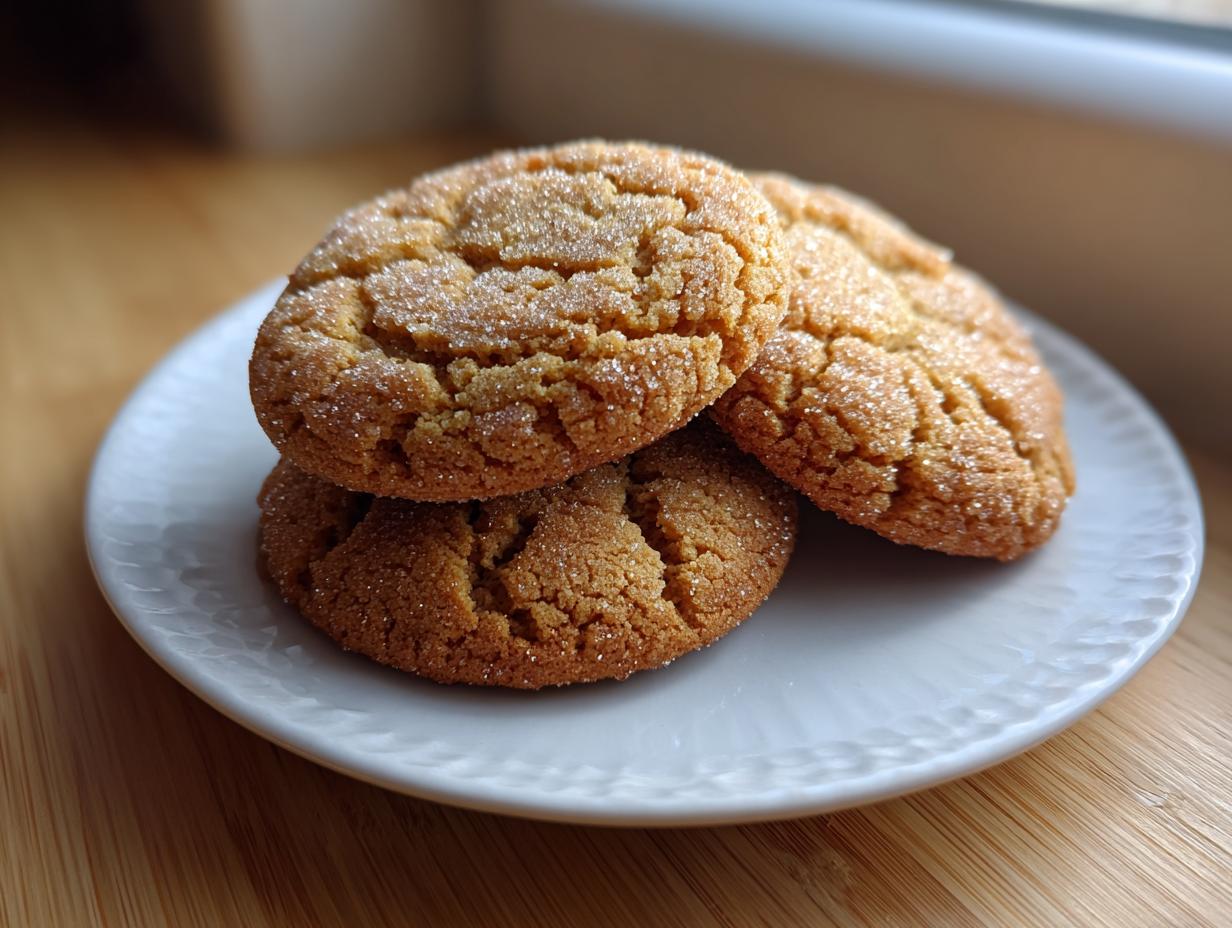
If you think you know sugar cookies, well, hold onto your mixing bowls because I’m here to share an upgrade that will completely change your baking life! We are taking that simple, beloved classic and turning it into something truly gourmet with one magical step: browning the butter. I’m talking about **brown butter sugar cookies** that taste richer, deeper, and just slightly nutty, like something you’d find at the fanciest bakery downtown. Here at Cookin’ Corner, Sarah Jane Thompson built this place on reliable, honest American home cooking, and these cookies prove you don’t need complicated steps to achieve incredible flavor. If you love the soft texture of a classic cutout, you have to see how good they are with this nutty flavor base; you can check out my base recipe perfect for decorating here: best sugar cookie recipe soft cutout. Trust me, this simple step creates the best sugar cookie upgrade you’ll ever taste.
- Why These Brown Butter Sugar Cookies Are the Best Sugar Cookie Upgrade
- Essential Ingredients for Brown Butter Sugar Cookies
- The Secret: How to Master Browning Butter for Brown Butter Cookies
- Step-by-Step Instructions for Brown Butter Sugar Cookies
- Tips for Perfect Brown Butter Sugar Cookies Every Time
- Storage and Reheating for Your Brown Butter Sugar Cookies
- Serving Suggestions for These Gourmet Sugar Cookies
- Frequently Asked Questions About Brown Butter Cookies
- Nutrition Snapshot for Your From Scratch Cookies
- Nutrition Snapshot for Your From Scratch Cookies
Why These Brown Butter Sugar Cookies Are the Best Sugar Cookie Upgrade
This recipe isn’t just another holiday cookie; it’s a serious flavor upgrade! Standard sugar cookies are great, sure, but when you whisk in that deeply flavored brown butter, you instantly turn them into rich, nutty sugar cookies. It adds this cozy, almost toasted note that makes them feel instantly gourmet. Honestly, it turns a simple treat into something you want to save for special occasions, even though they’re incredibly easy to make. If you love the classic melt-in-your-mouth texture, these are just as satisfying, but with way more depth. You can see a standard butter cookie recipe I love here for comparison: classic melt-in-your-mouth butter cookie recipe.
Achieving That Perfect Chewy Sugar Cookies Recipe Texture
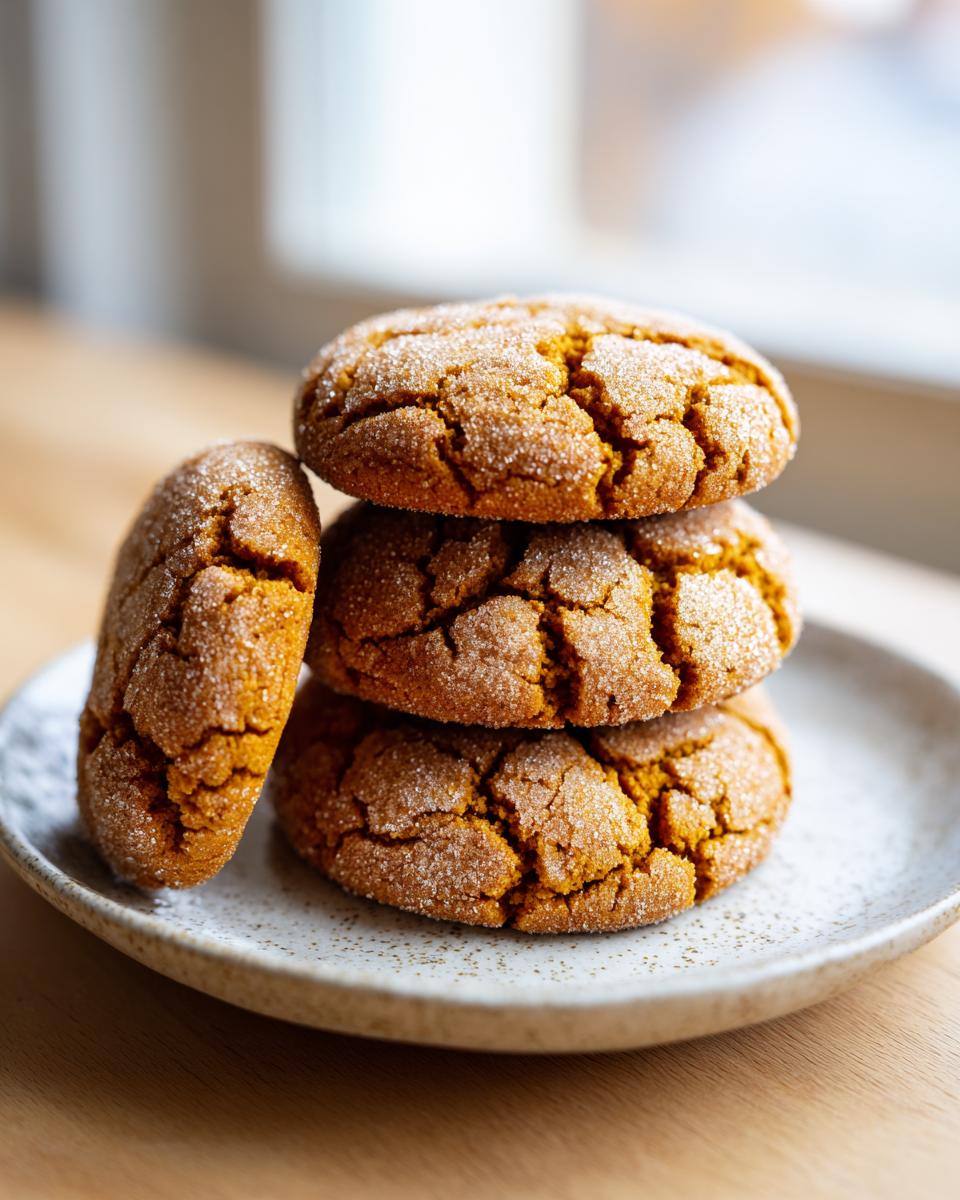
This is where the magic happens, friends! We’re aiming for the ideal texture contrast: those delightfully crispy edges that shatter just a little when you bite down, followed by a center that stays soft and chewy. This texture payoff relies heavily on how you handle that browned butter. You absolutely must let it cool completely until it’s solidified again before adding it to the creamed sugar. If you skip that cooling step, the cookies spread too much and end up thin and snappy all the way through. We want chew, and that starts with letting the butter chill out!
Essential Ingredients for Brown Butter Sugar Cookies
When you’re upgrading a classic, every ingredient has to pull its weight, and here, quality really matters for those rich butter cookies. Since we’re making these from scratch, I need you to grab these things before you even think about reaching for the stove. Remember, these measurements are for about 20 beautiful cookies, so adjust if you’re baking for a huge crowd!
You’ll need two sticks of unsalted butter, but we are using it in two different ways—half for browning and half softened. For the dry side, grab 1 1/2 cups of all-purpose flour, 1 teaspoon of baking soda, and just 1/2 teaspoon of salt to balance everything out. The sugar situation is important: we need 1 cup of granulated sugar mixed into the dough, but don’t forget that extra 1/2 cup of granulated sugar set aside for rolling the dough balls in later! Finally, toss in one large egg and 1 teaspoon of vanilla extract.
If you’re looking for ways to incorporate more flavorful spreads later on, check out my recipe for that amazing cinnamon butter spread—it’s divine on leftover cookies! You can see it here: cinnamon butter recipe copycat spread.
Ingredient Notes and Substitutions for Rich Butter Cookies
Let’s talk specifics because this is where we maintain that gourmet quality. First, the butter MUST be unsalted. Unsalted gives me total control over the salt content later on. Also, I strongly recommend using regular granulated sugar for rolling the dough balls. While brown sugar is amazing in the dough (thanks to the brown butter!), rolling in white sugar creates that crisp, sparkling crust we are aiming for. It’s those little textural details!
Now, can you substitute margarine? Please don’t! If you do, you lose all that incredible nutty depth that the milk solids provide when they toast during the browning process. Stick to real butter for the best results here. Also, use pure vanilla extract, not imitation. Imitation vanilla tastes synthetic and it clashes with the deep, toasted flavor of the brown butter. Quality ingredients lead to the best, most reliable results when you’re baking from scratch.
The Secret: How to Master Browning Butter for Brown Butter Cookies
Alright, listen up, because this step is the entire reason we call these brown butter cookies! Browning butter isn’t hard, but you have to pay attention—it goes from perfect nutty goodness to burnt black flakes in about three seconds flat. Seriously, watch it like a hawk!
Take that half stick of butter and toss it into a light-colored pan—I highly recommend light so you can actually see those nice brown milk solids forming on the bottom. You’ll watch it melt, then it’s going to foam up like crazy. Don’t panic! Once the foaming calms down and you see those little dark specks at the bottom and smell that incredible toasted, nutty aroma? That’s it. Take it off the heat right away and immediately pour it into a separate heatproof bowl. If you leave it in the hot pan, it keeps cooking, and bam—you’re starting over. This is the key to getting that wonderfully deep, caramelized butter cookies flavor we’re after.
If you want to see a simpler, non-browned butter cookie recipe, check out my easy melt-in-your-mouth butter cookie recipe, but trust me, the brown butter version is worth this extra minute!
Cooling the Caramelized Butter Cookies Base
Now, here’s the big texture secret, and you can’t skip this! You cannot—I repeat, *cannot*—mix this hot liquid butter into your sugar and softened butter mixture. It will instantly melt everything, and your cookies will spread into greasy puddles. We need the brown butter to return to a soft, but solid state—just like room-temperature butter, but with all that deep flavor locked in.
Simply let the browned butter cool on the counter for about 30 minutes. If you’re impatient (which I often am!), pop that bowl in the fridge for about 15 minutes until it’s firm but still scoopable, like soft caramel. Once it’s cooled and set, you can add it to the creamed softened butter and sugar later. This cooling step ensures the final dough has enough structure to stay thick instead of spreading out too much when baked.
Step-by-Step Instructions for Brown Butter Sugar Cookies
Alright, now that we have our cooled, solid brown butter—our beautiful secret weapon—we can put this whole from scratch cookies masterpiece together! First things first, we need that dry mixture ready to go. Whisk your flour, baking soda, and salt together in a medium bowl. Just a quick whisk will do the trick to combine everything evenly.
In your main mixing bowl, you should have already creamed that remaining 1/2 cup of softened butter with the 1 cup of granulated sugar until it’s light and fluffy. Now, beat in your egg and vanilla until it’s just blended in. Next, add that cooled, solidified brown butter we worked so hard on earlier, and mix until it’s completely incorporated. Don’t worry if it looks a little strange or slightly curdled; that’s totally normal when adding the re-solidified butter!
Slowly add the dry ingredients to the wet, mixing on low speed just until you see everything come together. You do *not* want to overmix this dough or those gorgeous chewy centers we talked about will disappear! Once it’s just combined, move on to the rolling phase. This recipe is fantastic because it’s one of those quick ones—perfect for easy brown butter baking. If you want more tips on simple ways to use this flavor base, check out my guide on easy brown butter baking!
Pour that remaining 1/2 cup of sugar into a shallow dish. Scoop out balls of dough, about a tablespoon and a half each, and roll them really generously in that sugar coating. Place them two inches apart on your parchment-lined sheets. Now, this is important for getting the right shape: use the bottom of a glass to gently press each ball down just a tiny bit. You don’t want them totally flat, just gently flattened. If you want to make no-bake treats later, you can check out my cookie truffle recipe sugar cookie truffles easy no bake recipe, but these baked ones are worth the time!
Baking Tips for Crispy Edge Cookies
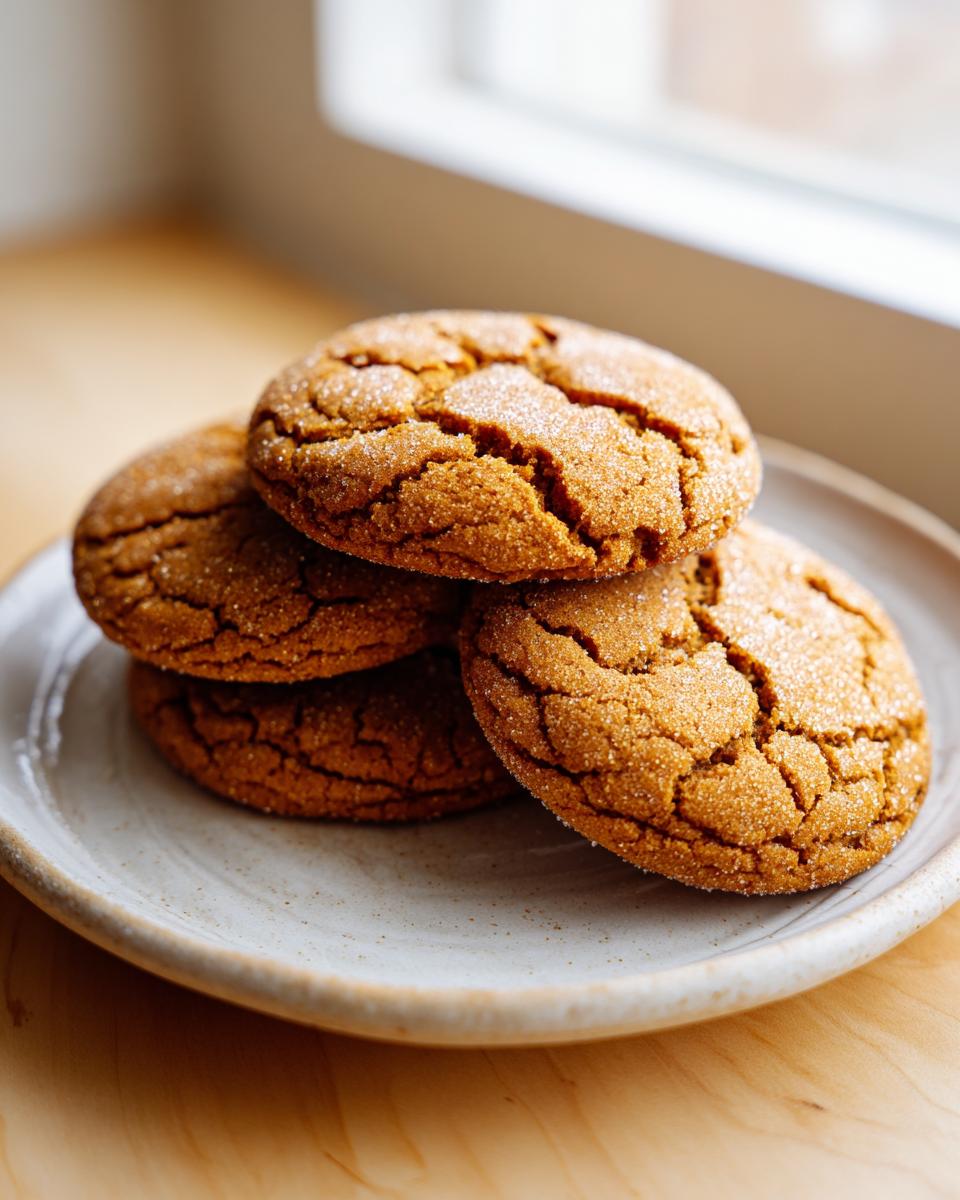
Bake these beauties at 350°F (175°C) for about 9 to 11 minutes. When you pull them out, the edges should look set—a little golden is fine—but the very center should still look slightly soft and maybe even a tiny bit underbaked. Resist the urge to bake them longer! That soft center is your insurance policy for chewiness. The cookies will continue to bake on the hot pan for those first five minutes after they leave the oven. That residual heat finishes the center perfectly without drying it out, giving you that amazing contrast between the **crispy edge cookies** and the soft middle. Let them rest on the pan for five minutes before moving them to the rack so they don’t break apart!
Tips for Perfect Brown Butter Sugar Cookies Every Time
Okay, we’ve covered the main recipe, but sometimes home baking needs a little extra nudge, right? These tips are the little tricks I picked up over the years to make sure these **brown butter sugar cookies** turn out flawless every single time. It’s all about control, especially when dealing with that browned butter.
First and foremost, let’s talk about burning the butter again because it’s so important. You need a light-colored, heavy-bottomed saucepan. If you use a dark pan, the bottom heats up too fast, and you won’t see those beautiful golden-brown bits forming—you’ll just see black! If you’re ever unsure, you can check out how I approach deep flavor in my chocolate chip cookies, which relies on proper creaming techniques, available here: bakery-style chocolate chip cookies thick chewy. The philosophy is the same: watch your heat!
My absolute biggest pitfall when I first started making these was overmixing after adding the flour. Seriously, stop the mixer or put down the spoon as soon as you see no more white streaks. Overmixing develops the gluten in the flour, and that is the fastest route to tough, cakey cookies instead of our desired chewy centers. When in doubt, under-mix slightly; those tiny pockets of unincorporated flour will vanish during baking.
Another thing that ruins the texture we worked so hard for is skipping the cooling step for the brown butter. Remember, it has to be solidified! If you try to mix that warm liquid butter in, the cookie dough is too warm, and the cookies will just flatten out into thin, crispy discs—no chew! If you are struggling with the texture or want another proven recipe, you can see a great salty variation online for comparison: brown butter sugar cookies simple delicious recipe.
Finally, don’t skip that final sugar roll! Rolling the dough balls liberally in the dry sugar before pressing them down helps create that signature shiny, crackled top and gives you those perfect, slightly crisp edges we aim for. It’s a small effort for a huge payoff in texture!
Storage and Reheating for Your Brown Butter Sugar Cookies
Handling your finished cookies right is almost as important as the baking itself, especially when you’ve worked hard to get that perfect chewy middle! Luckily, these **brown butter sugar cookies** store beautifully, though honestly, mine rarely last long enough to need long-term storage!
Once the cookies have cooled completely on the wire rack—and I mean totally cooled, or they’ll steam and get soggy—transfer them to an airtight container. They do great sitting on the counter at room temperature for about three to four days. If you stack them, put a piece of parchment paper between the layers so they don’t stick together, though the slightly crispy edge usually helps!
If you need to keep them longer, freezing is your best friend. You have two options here. You can freeze the baked cookies, which is great for grab-and-go snacks. Place them on a tray until they’re solid, then move them to a freezer-safe bag or container for up to three months. To reheat, just let them sit on the counter for about 15 minutes. They come back to that perfectly soft texture!
Alternatively, and this is my favorite trick for holiday baking, you can freeze the dough balls! Roll them, coat them in sugar, and place them on a sheet pan in the freezer. Once they are rock hard, move them to a bag. You can bake these right from frozen—just add about 2 or 3 extra minutes to the baking time. It’s like having fresh, warm **rich butter cookies** ready whenever a craving strikes!

Serving Suggestions for These Gourmet Sugar Cookies
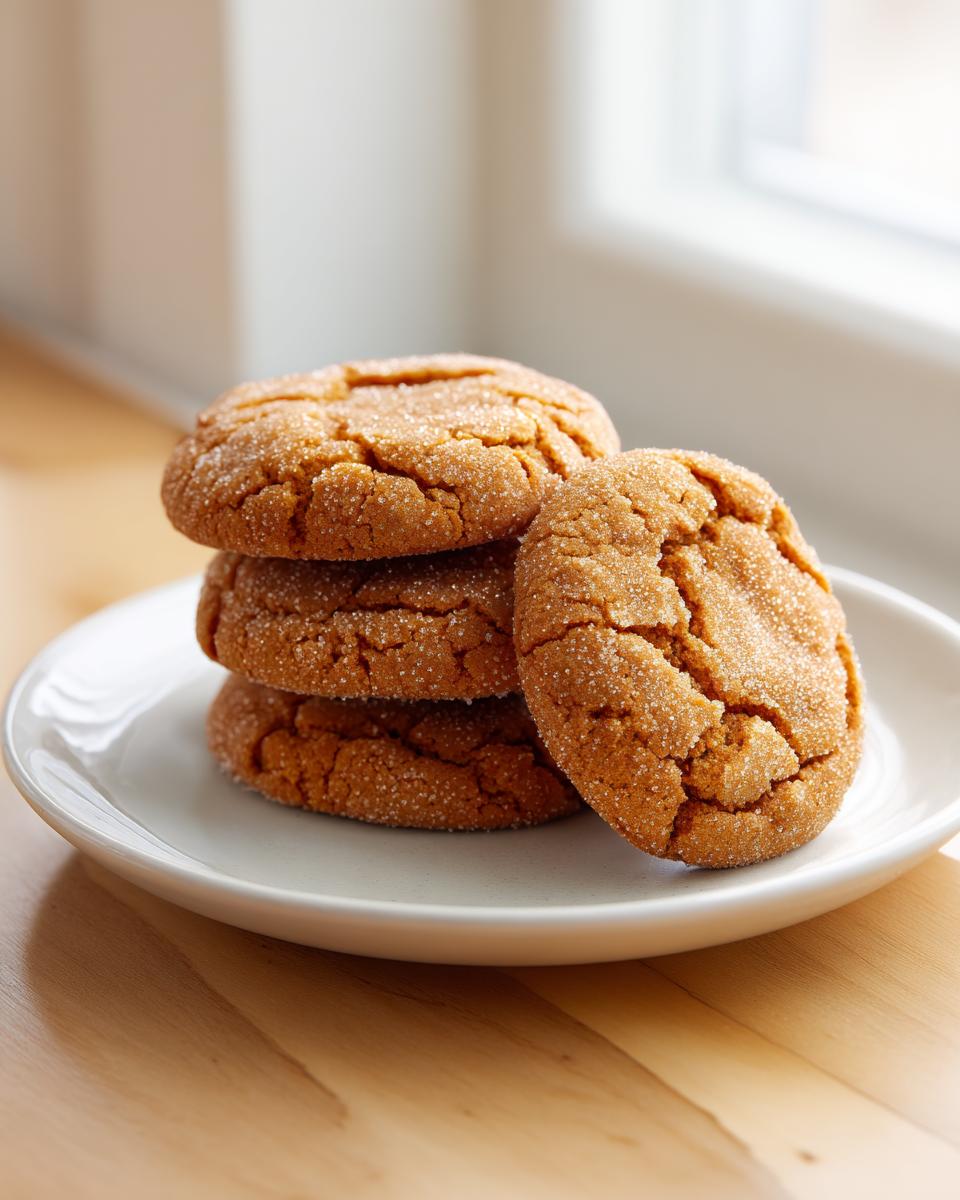
Now that you have these gorgeous, deeply flavored **gourmet sugar cookies**, you really need to serve them right! Because the brown butter gives them such a fantastic nutty, almost toffee-like depth, they pair wonderfully with drinks that can stand up to that flavor. Forget plain water; these deserve a proper accompaniment!
First up, everyone knows a perfect cookie needs milk, but try warming your milk up just slightly—it brings out the caramel notes in the brown butter surprisingly well. If you’re having these after dinner, a big mug of strong black coffee is fantastic. The slight bitterness of the coffee cuts through the richness of the cookie beautifully.
For a real seasonal treat, especially if you’re baking these in the fall, these cookies are the absolute perfect partner for a scoop of vanilla bean ice cream, or even better, served alongside a warm slice of baked apple dessert. I always make a big batch of my baked apple crisp when I bake these cookies because the cinnamon and apple just sing with that nutty butter flavor. It’s comforting, it’s nostalgic, and it’s absolutely delicious. You can find my recipe for that easy cinnamon oats baked apple recipe right here!
Honestly, though, the best way to serve them is simply piled high on a platter with a few extra sprinkled with sea salt. That little bit of crunch and subsequent salty hit really sets off the sweetness and the nutty flavor of the butter. Enjoy every crumb!
Frequently Asked Questions About Brown Butter Cookies
I know you’ve probably got questions swirling around, especially since browning butter feels like a major step up from just softening it! That’s okay! These kinds of questions are what let me know you care about making the absolute best **brown butter cookies**, and I’m happy to clear up any confusion so you can nail that perfect texture.
Can I make No Chill Brown Butter Cookies?
That’s a smart question! While we call this recipe **no chill brown butter cookies** in the sense that you don’t need to chill the *dough balls* for hours like some cutout recipes, there is one critical cooling step you absolutely cannot skip. You have to cool the hot, browned butter until it’s solid again before mixing it with the creamed sugar and softened butter. If you dump that hot liquid butter in, it melts everything, and your cookies will spread into flat, greasy pancakes. So, no, you can’t skip cooling the butter, but you *can* skip chilling the final dough balls, which definitely saves time!
Why did my brown butter turn black?
Oh, honey, I’ve been there! That moment of panic when you see black instead of nutty brown is heartbreaking. If your butter turns black too fast, it means your heat was too high. Browning butter is a delicate dance between melting and burning. You need medium heat, and you need to swirl the pan constantly. The goal isn’t to burn the milk solids, but to toast them until they smell like hazelnuts. If you burn them, you have to toss that batch and start over—sadly, there’s no coming back from burnt butter flavor!
My cookies are too soft in the middle even when cooled. What went wrong?
If they are too soft, it usually means one of two things happened. Either you skipped flattening them slightly with the bottom of a glass before baking, or you pulled them out *too* early. Remember, for that perfect **chewy sugar cookies recipe** texture, the center must look slightly underdone when you pull the pan out. If they look completely set in the middle when you take them out, they will be fully set and drier once they cool down completely. For the next batch, try baking for one minute less and trust the residual heat to finish the job!
Are these better than regular cookies?
If you ask me, yes, absolutely! Regular cookies are great for flooding with royal icing or using cookie cutters, but these **brown butter sugar cookies** are superior purely based on flavor complexity. That nutty, toasted flavor acts like a natural caramel note, making them taste a million times richer than if you just used regular melted or softened butter. If you want other spice variations to try next time, check out my applesauce cookies—they are surprisingly chewy! Find that recipe here: applesauce cookies soft chewy spice recipe. Plus, someone asked a great question about making them less fluffy over on Daily Cooksy, which touches on this enrichment: brown butter sugar cookies daily cooksy.
Nutrition Snapshot for Your From Scratch Cookies
I always tell folks baking from scratch that it’s best not to look too closely at the nutritional panel, but just in case you’re curious about what goes into these delicious, chewy treats, here’s the rundown! Please remember these are just estimates based on the ingredients listed above, and your actual numbers will vary slightly depending on your brand choices.
- Serving Size: 1 cookie
- Calories: 185
- Sugar: 15g
- Sodium: 75mg
- Fat: 10g
- Saturated Fat: 6g
- Unsaturated Fat: 4g
- Trans Fat: 0g
- Carbohydrates: 23g
- Fiber: 0g
- Protein: 2g
- Cholesterol: 35mg
This breakdown shows you that these **from scratch cookies** are definitely a treat, loaded with that wonderful butter flavor we worked so hard to create! If you’re looking for a lighter baked good option next time, you might want to try my easy pumpkin pie recipe: easy pumpkin pie recipe.
PrintBrown Butter Sugar Cookies: Chewy Centers and Crispy Edges
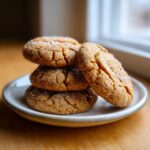
Upgrade your classic sugar cookie with the rich, nutty depth of browned butter. This recipe delivers bakery-style cookies that are soft and chewy inside with perfectly crisp edges.
- Prep Time: 20 min
- Cook Time: 11 min
- Total Time: 66 min
- Yield: 20 cookies 1x
- Category: Dessert
- Method: Baking
- Cuisine: American
- Diet: Vegetarian
Ingredients
- 1 cup (2 sticks) unsalted butter, divided
- 1 1/2 cups all-purpose flour
- 1 teaspoon baking soda
- 1/2 teaspoon salt
- 1 cup granulated sugar, plus 1/2 cup for rolling
- 1 large egg
- 1 teaspoon vanilla extract
Instructions
- Place 1/2 cup of the butter in a light-colored saucepan over medium heat. Cook the butter, swirling the pan often, until it melts, foams, and then brown bits form at the bottom and the butter smells nutty. This takes about 5 to 8 minutes. Immediately pour the brown butter into a heatproof bowl to stop cooking. Let it cool until it is solid but still soft, about 30 minutes at room temperature, or 15 minutes in the refrigerator.
- In a medium bowl, whisk together the flour, baking soda, and salt. Set aside.
- In a large bowl, beat the remaining 1/2 cup of softened butter with the 1 cup of granulated sugar until light and fluffy, about 3 minutes.
- Beat in the egg and vanilla extract until just combined.
- Add the cooled, solidified brown butter to the wet ingredients and beat until fully incorporated. The mixture may look slightly curdled; this is fine.
- Gradually add the dry ingredients to the wet ingredients, mixing on low speed until just combined. Do not overmix.
- Place the remaining 1/2 cup of granulated sugar in a shallow dish.
- Scoop the dough into balls, about 1.5 tablespoons each. Roll each ball in the sugar until fully coated.
- Place the dough balls 2 inches apart on baking sheets lined with parchment paper. Gently press down on each ball with the bottom of a glass to flatten slightly.
- Bake at 350°F (175°C) for 9 to 11 minutes. The edges should look set and lightly golden, but the centers should still look slightly soft.
- Let the cookies cool on the baking sheet for 5 minutes before transferring them to a wire rack to cool completely. The centers will set as they cool, giving you that perfect chewy texture.
Notes
- Browning the butter is the key step; watch closely to avoid burning the milk solids.
- For extra crisp edges, roll the dough balls generously in the coating sugar.
- If you prefer a softer cookie, slightly underbake them by 1 minute.
Nutrition
- Serving Size: 1 cookie
- Calories: 185
- Sugar: 15
- Sodium: 75
- Fat: 10
- Saturated Fat: 6
- Unsaturated Fat: 4
- Trans Fat: 0
- Carbohydrates: 23
- Fiber: 0
- Protein: 2
- Cholesterol: 35