
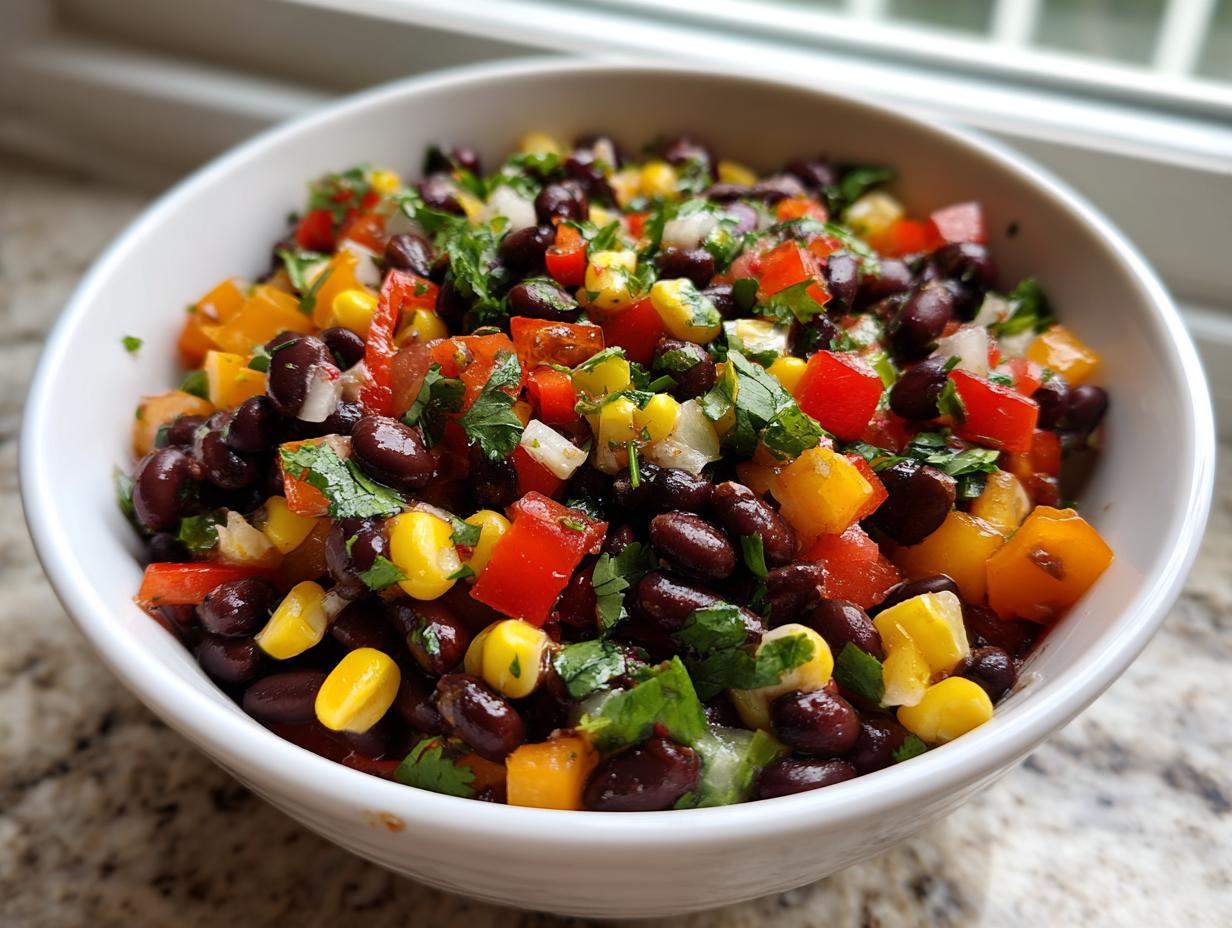
If you are anything like me, when company is due or game day rolls around, I panic about coming up with something that feels special but doesn’t require me spending the whole afternoon over the stove. That’s why I lean hard on recipes that are vibrant, fresh, and come together in a snap. I’m talking about my tried-and-true, absolute favorite dip: the cowboy caviar. It’s become one of my go-to easy dinner ideas when I need something quick!
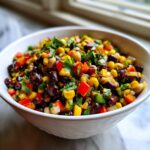
This isn’t some heavy, gloppy dip, folks; this is pure, colorful joy in a bowl. While my family roots are strongly in Midwest comfort food, I found that using simple, fresh ingredients—like tons of colorful peppers and a punchy lime dressing—is just as much a part of that home-cooked tradition. Honestly, this recipe is likely the Best Cowboy Caviar you’ll ever taste because it relies on crisp, uncooked goodness. When you need a crowd-pleaser that tastes like summer but takes less than twenty minutes to assemble, this is the one you reach for!
- Why This Easy Cowboy Caviar Recipe Is a Crowd Pleaser Appetizer
- Gathering the Ingredients for Your Cowboy Caviar
- Step-by-Step Instructions for the Best Cowboy Caviar
- Chilling and Serving Your Cowboy Caviar
- Make Ahead Dip Tips for Effortless Entertaining
- Equipment Needed for This Simple Snack Recipe
- Storage and Reheating Instructions
- Frequently Asked Questions About Texas Caviar Recipe
- Sharing Your Cookin’ Corner Success
Why This Easy Cowboy Caviar Recipe Is a Crowd Pleaser Appetizer
I always need recipes that look like I spent hours on them when I’m throwing a gathering, but secretly, I didn’t. That’s the pure genius of this appetizer. It’s packed with so much fresh flavor and the dressing just sings! Because it’s so versatile, it covers all the bases for a great party food. You can check out some of my other quick and easy recipes if you need more time-savers, but this one stays at the top.
Ready in Minutes: Quick Party Appetizer
Truly, this is the ultimate quick party appetizer. If you get your cutting done efficiently, you are staring down 15 minutes total prep time before it hits the fridge to chill. There is zero cooking involved, which is a miracle during the summer when I don’t want to turn on the oven. It comes together before the guests even finish parking!
Healthy Potluck Dish Benefits
What I love most is that this is a genuinely wholesome dish. It is a fantastic healthy potluck dish because it’s loaded with beans and fresh vegetables, so your friends know they are getting protein and fiber, not just empty calories. Plus, it is naturally a great option for folks who are avoiding gluten—it hits all the marks for those tricky gluten free dip ideas without tasting like a compromise. It’s bright, fresh, and never heavy.
Gathering the Ingredients for Your Cowboy Caviar
Okey dokey, let’s talk about what goes into making this spectacular Texas Caviar Recipe. Remember how I always say that good cooking starts with good ingredients? It’s true here, especially since nothing gets cooked! I’ve listed everything you need in the official recipe card below, but I want to give you a quick heads-up on a few things I look for to ensure this batch is perfect.
Trust me, using the right things makes all the difference in how this comes together as a crisp, vibrant salad.

Ingredient Notes and Substitutions for Cowboy Caviar
When you grab your beans—black beans for this recipe—you absolutely must rinse them well! We want that starchy film gone so our dressing stays light and bright. If you are using frozen corn, just make sure it’s fully thawed and drained well, too. Now, for the star flavor driver: the lime juice. Please, please reach for actual fresh limes! Bottled juice just doesn’t have that sharp, zesty punch that makes our zesty lime dressing recipe shine in this cowboy caviar. If you want to kick up the heat level, finely dice up a jalapeño and toss it right in with the peppers—it’s fantastic!
Step-by-Step Instructions for the Best Cowboy Caviar
Okay, time to put it all together! Don’t let all those ingredients intimidate you; this is where the magic happens, and honestly, it’s just one big happy mixing session. Once you’ve got your veggies chopped, you just combine them, pour the dressing over, and let time do the rest of the work. Making this version of cowboy caviar is mostly about assembly! For the very best result, remember to check out my guide on other healthy recipes once you master this one.
Mixing the Fresh Vegetable Dip Base
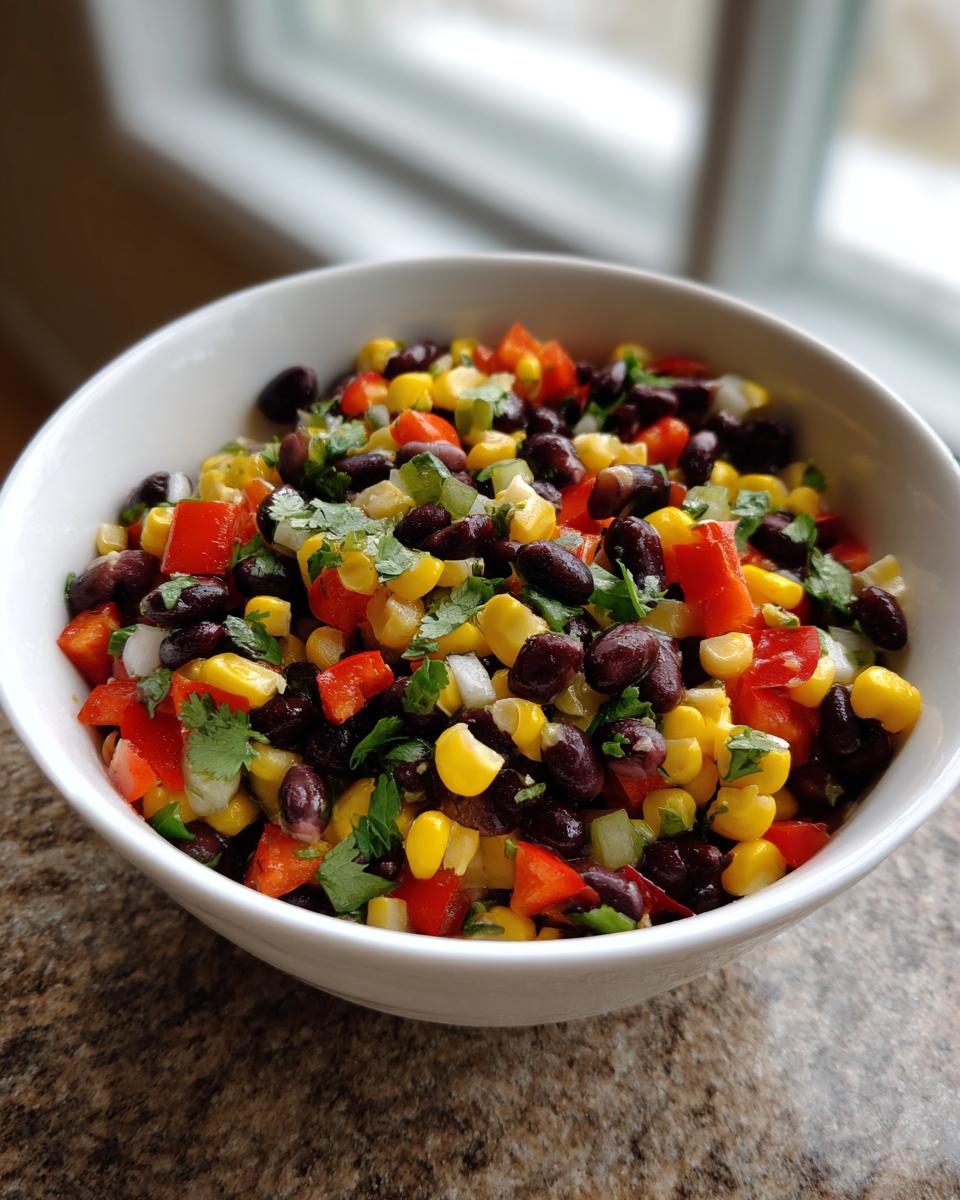
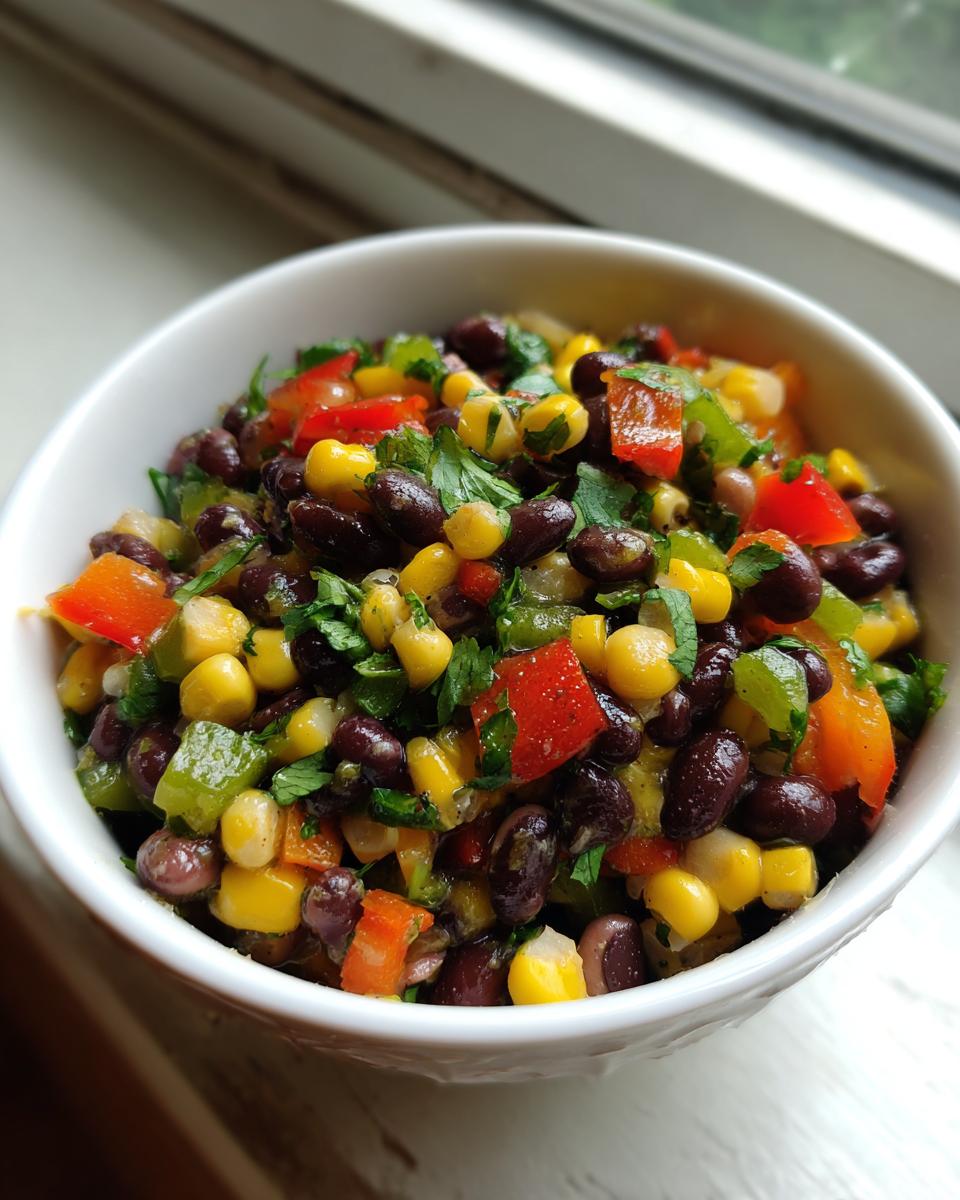
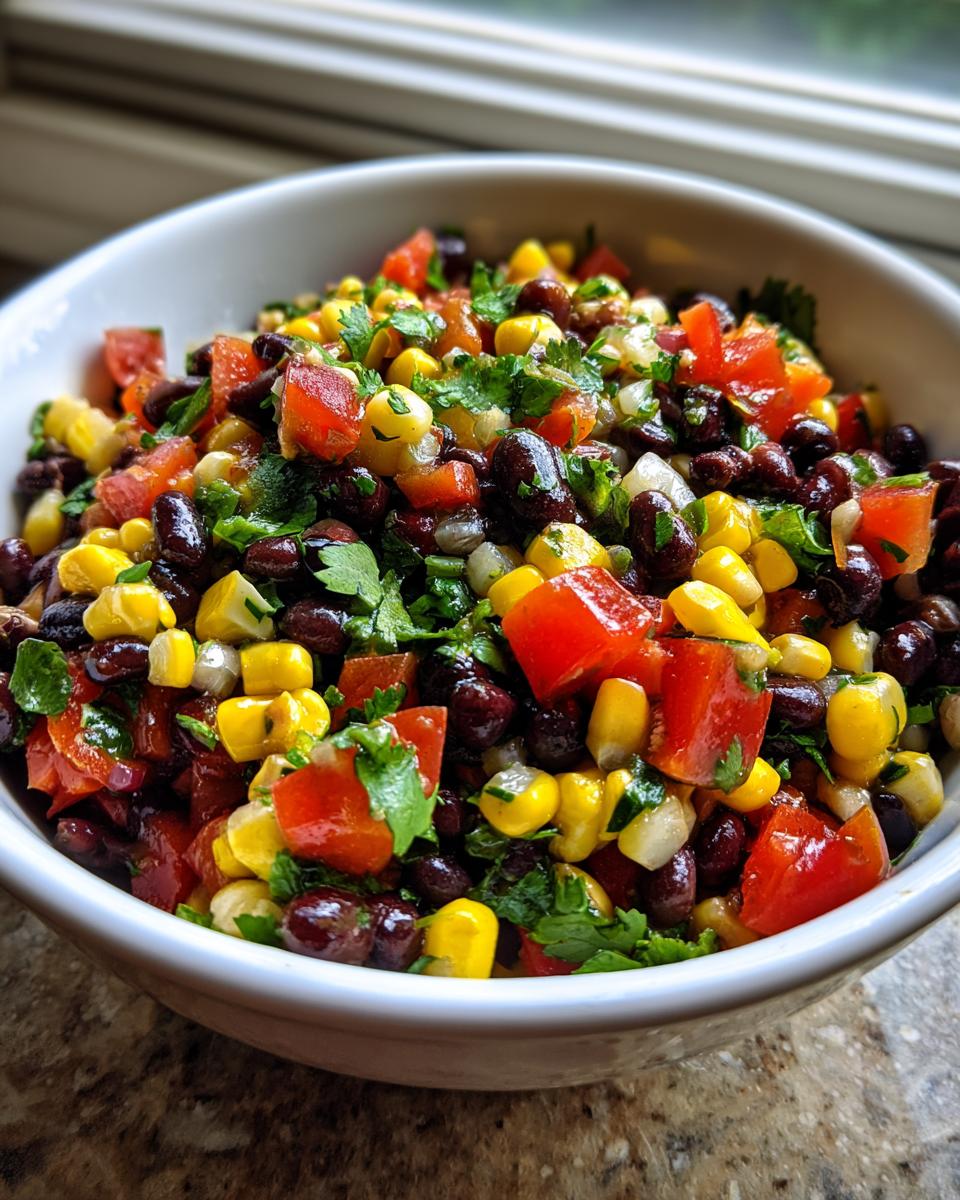
First up, get your main players—the black beans (well rinsed!), the corn, the peppers, the tomatoes, and the cilantro—all nestled together in your biggest mixing bowl. When I say chopped, I mean chop them to a similar size. You want every scoop of this fresh vegetable dip to feel balanced, where you get a bit of that crunchy pepper along with the give of the beans and corn. Make sure everything is drained perfectly first, or you’ll end up with too much liquid at the bottom later.
Creating the Zesty Lime Dressing Recipe
Next, let’s whip up that beautiful dressing. Grab a smaller bowl—no need to dirty up another large one!—and whisk together your oil, that essential fresh lime juice, vinegar, and all those wonderful spices like cumin and chili powder. Whisk it hard for about 30 seconds until everything looks happy and slightly combined. This is what elevates this from a bean salad to the stellar flavor bomb that is the zesty lime dressing recipe you’ll never forget!
Once the dressing is ready, just pour that golden liquid right over your bean mixture. Now, this is important: use a rubber spatula and toss everything *gently*. We’re mixing, not mashing! We want to keep those veggies crisp, not mushy.
Chilling and Serving Your Cowboy Caviar
Here’s the part that tests my patience, but trust me, you must wait for it! Once everything is tossed, you have to cover the bowl and put this cowboy caviar in the fridge for at least thirty minutes. That resting time is where the lime juice gets to know the cumin and the fresh onion really mellows out. It’s crucial for flavor melding!
If you’re looking for ideas on what to serve with it, feel free to check out my favorite easy creamy tortilla soup recipe—it’s great for dipping too!
Serving Suggestions: Appetizer with Tortilla Chips or Side
This is fantastic as a dip, of course, especially with sturdy, thick tortilla chips that can handle the weight of all those beans! But don’t stop there. I often serve this as a colorful side dish at summer BBQs. It looks so beautiful right next to grilled chicken or burgers. You can even spoon it over lettuce for a quick, light lunch. It’s truly the perfect appetizer with tortilla chips or more!
Make Ahead Dip Tips for Effortless Entertaining
This is my secret weapon when I know I have a busy weekend coming up. One of the best things about this awesome cowboy caviar is that it’s absolutely a perfect make ahead dip. Seriously, don’t even worry about trying to rush this right before guests arrive!
You can whip up the entire batch, dressing and all, up to 24 hours ahead of time. I think it actually *tastes* better on day two. Why? Because giving all those little ingredients—the onions, the peppers, the spices—a full night to hang out in that zesty lime dressing really lets those robust flavors develop and deepen. When you pull it out of the fridge the next day, it’s just perfectly married.
Just a quick thought: since this is a make-ahead superstar, make sure you keep it covered tightly in the refrigerator. It’s the best assurance that you’ll have an incredible easy party appetizer ready to go when everyone shows up. Zero last-minute stress!
Equipment Needed for This Simple Snack Recipe
You don’t need fancy gadgets for this—that’s the beauty of it! Since we aren’t cooking anything, the tool list is super short, which means less cleanup later. Keep it simple; that’s my motto for weeknight snacks.
You’ll definitely need a good cutting board and a sharp knife for getting those veggies chopped up just right. You’ll also want a nice, big mixing bowl to toss everything together without it spilling over the sides.
And finally, grab a small bowl and a whisk for making that zesty dressing. That’s it! Clean up is usually done before my cowboy caviar even finishes chilling.
Storage and Reheating Instructions
Because this is such a fresh preparation, we don’t want to run it through any heat—reheating it would just turn those lovely crisp peppers soft and sad. So, skip the microwave entirely!
For leftovers, the best thing you can do is scoop your cowboy caviar into an airtight container and pop it right into the fridge. It’s usually good for about three or four days. If it looks a tiny bit dull the next day, don’t worry! Just give it a quick stir and splash in a little extra fresh lime juice. That instantly wakes up all those great flavors again!
Frequently Asked Questions About Texas Caviar Recipe
I always get so many questions when folks try this recipe for the first time because it’s just slightly different from what they might expect in a traditional dip! Here are the ones I hear the most about making the Texas Caviar Recipe work perfectly at home.
Can I use black-eyed peas instead of black beans in this recipe?
Oh, absolutely! In fact, if you look up the history of this dish, it was originally made with black-eyed peas, which is why it’s often called Texas Caviar. I use black beans because they tend to hold their shape a little better when I’m bringing this to a party, but swapping them out for black-eyed peas is totally traditional and delicious. Just make sure whatever you use is rinsed and drained very well before mixing!
How long does this vibrant bean salad stay fresh?
The beauty of this dish is that it keeps so well, especially since it’s already been chilling in that zesty dressing! As a summer salad recipe, it’s wonderful for leftovers. You can confidently store this vibrant bean salad in an airtight container in the fridge for about three to four days total. It still tastes so fresh even on day three, though sometimes I’ll add a fresh squeeze of lime juice right before serving just to brighten it up again! You can even check out my tips for making a great copycat olive garden salad dressing if you enjoy tangy vinaigrettes!
Sharing Your Cookin’ Corner Success
Now that you’ve got the secret to the best cowboy caviar—a dish that sings with fresh flavor and requires almost no work—I would absolutely love to hear about it! The heart of Cookin’ Corner is built on sharing delicious discoveries, and your feedback truly matters to me as Sarah Jane Thompson.
Did you serve this as a robust meal topper, or did it disappear first with a big bowl of tortilla chips? Tell me which of those wonderful secondary keywords fits your use case! Did it make an appearance at the last big gathering? Let me know what you thought in the comments below. If you rate this recipe, it helps other home cooks find tried-and-true classics like this one.
Happy cooking, friends! I hope this zesty dip brings as much joy and ease to your kitchen as it does to mine. You can always read a bit more about my own cooking journey over on my About page!
Warmly,
Sarah Jane Thompson
PrintThe BEST Easy Cowboy Caviar Recipe (Texas Caviar)
Make this vibrant, fresh Cowboy Caviar, also known as Texas Caviar. It is a protein-packed, gluten-free dip loaded with beans, corn, and fresh vegetables, tossed in a zesty lime dressing. It is a perfect, quick party appetizer.
- Prep Time: 15 min
- Cook Time: 0 min
- Total Time: 45 min
- Yield: 8 servings 1x
- Category: Appetizer
- Method: Mixing
- Cuisine: American
- Diet: Gluten Free
Ingredients
- 1 (15 ounce) can black beans, rinsed and drained
- 1 (15 ounce) can corn, drained (or 1 1/2 cups frozen corn, thawed)
- 1 cup chopped red onion
- 1 cup chopped green bell pepper
- 1 cup chopped red bell pepper
- 1 cup chopped fresh tomatoes (or 1 (10 ounce) can Rotel, drained)
- 1/2 cup chopped fresh cilantro
- 1/4 cup olive oil
- 1/4 cup fresh lime juice (about 2 limes)
- 1 tablespoon apple cider vinegar
- 1 teaspoon ground cumin
- 1/2 teaspoon salt
- 1/4 teaspoon black pepper
- 1/4 teaspoon chili powder
Instructions
- Prepare the vegetables: Chop the red onion, green bell pepper, red bell pepper, and tomatoes. Chop the cilantro.
- Combine the main ingredients: In a large bowl, mix the rinsed black beans, drained corn, chopped onion, bell peppers, tomatoes, and cilantro.
- Make the zesty lime dressing: In a small bowl, whisk together the olive oil, lime juice, apple cider vinegar, ground cumin, salt, black pepper, and chili powder until well combined.
- Dress the caviar: Pour the dressing over the bean and vegetable mixture. Gently toss everything together until all ingredients are evenly coated.
- Chill and serve: Cover the bowl and refrigerate for at least 30 minutes before serving to allow the flavors to meld. This makes the best Cowboy Caviar when chilled.
- Serve as a dip with tortilla chips or as a healthy side dish.
Notes
- This recipe tastes even better when made ahead of time. You can prepare this make ahead dip up to 24 hours in advance.
- For a spicier kick, add one finely diced jalapeño to the vegetable mix.
- If you do not have fresh lime juice, you can substitute with bottled lime juice, but fresh provides the best zesty flavor.
- This is a naturally gluten free dip, making it safe for many guests.
Nutrition
- Serving Size: 1/2 cup
- Calories: 185
- Sugar: 4
- Sodium: 280
- Fat: 8
- Saturated Fat: 1
- Unsaturated Fat: 7
- Trans Fat: 0
- Carbohydrates: 25
- Fiber: 7
- Protein: 8
- Cholesterol: 0