
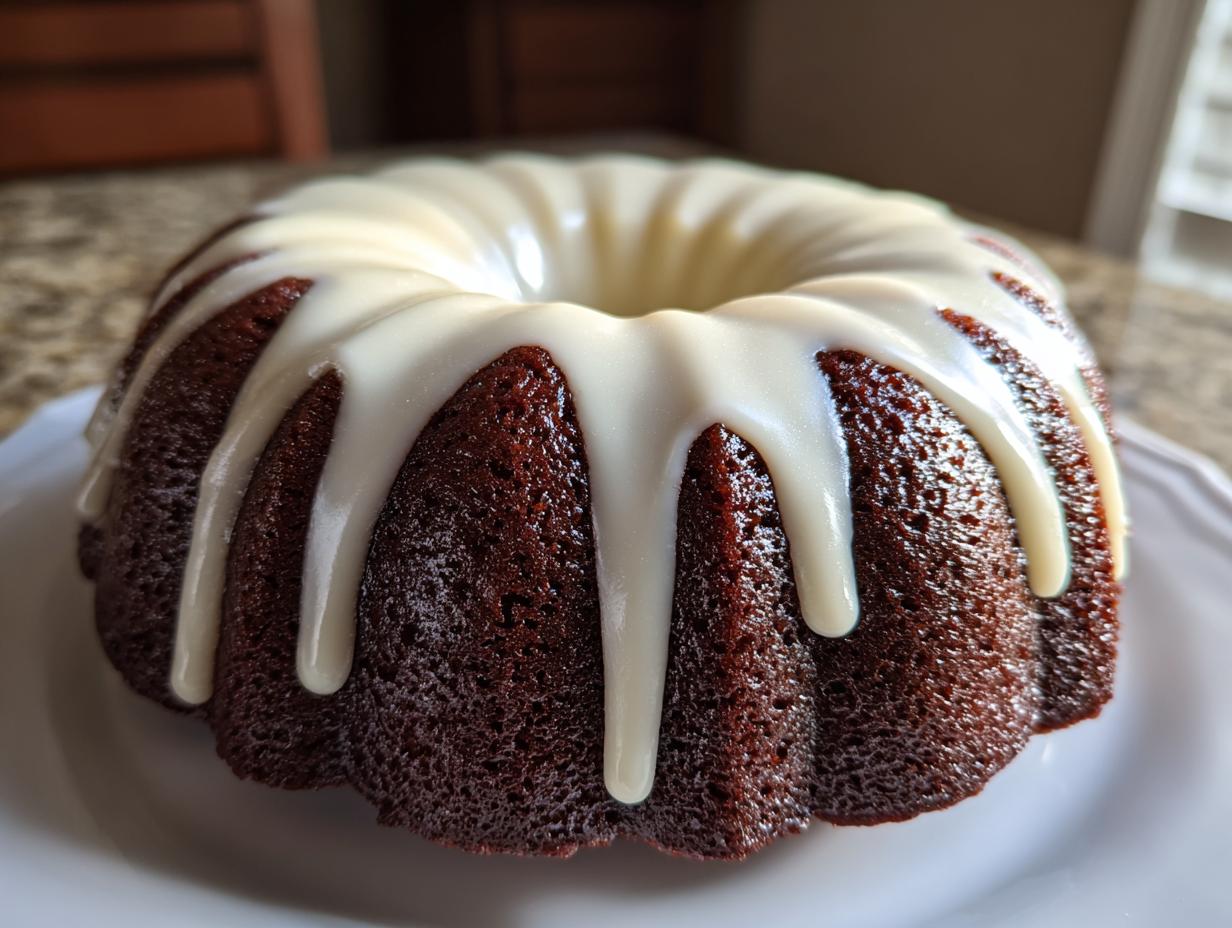
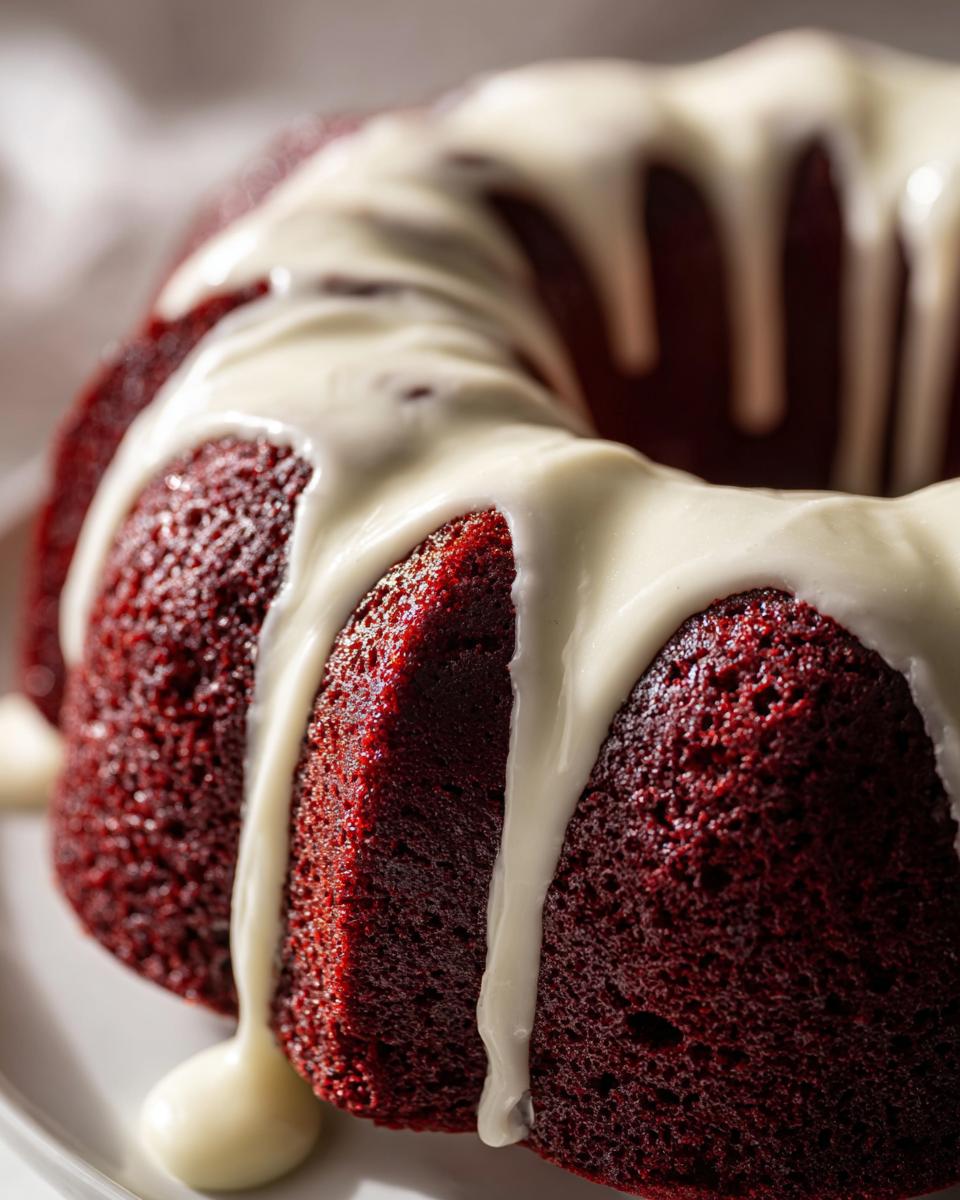
When you need a dessert that stops conversation the moment it hits the table, you can’t just grab a box mix. Some cakes demand attention, and that’s exactly what this Moist Red Velvet Bundt Cake delivers! Here at Cookin’ Corner, Sarah Jane built this site on the simple idea that home baking should produce memorable results, and this recipe proves it. We worked hard to refine this red velvet cake from scratch so it has that incredibly tender crumb you dream about, paired with that signature, slightly tangy cream cheese glaze.
Forget those dry, crumbly versions you’ve tried elsewhere. This beauty is designed to be a true showstopper for any party or holiday gathering, just like the tried-and-true recipes that defined home cooking for generations. This isn’t fancy restaurant food; this is dependable, heartwarming baking made easy. If you’ve had trouble getting that perfect texture before, trust me, we’ve figured out the secret here. You’ll want to save this one! For another reliably gorgeous, moist cake, you must check out our secrets for the lemon pound cake with moist zesty glaze, too.
- Why This is the Best red velvet bundt cake Recipe You Will Make
- Ingredients for a Showstopper red velvet bundt cake
- Step-by-Step Instructions for the red velvet bundt cake
- Tips for Tender Red Velvet Baking Success
- Variations on Your red velvet bundt cake
- Storage and Reheating Instructions for red velvet bundt cake
- Serving Suggestions for This Festive Red Velvet Baking
- Frequently Asked Questions About Making a red velvet bundt cake
- Nutritional Estimate for Your red velvet bundt cake
Why This is the Best red velvet bundt cake Recipe You Will Make
Honestly, if you’re going to make a red velvet bundt cake, you want it to be memorable. That’s what this recipe guarantees! We took all the things that can go wrong with tender red velvet baking—dryness, weak color, runny icing—and we fixed them. My way delivers unbelievably results every single time, perfect for when you need a stunning dessert for parties.
Why should you trust this version? Because it focuses on what matters most. Here’s what you get when you bake this:
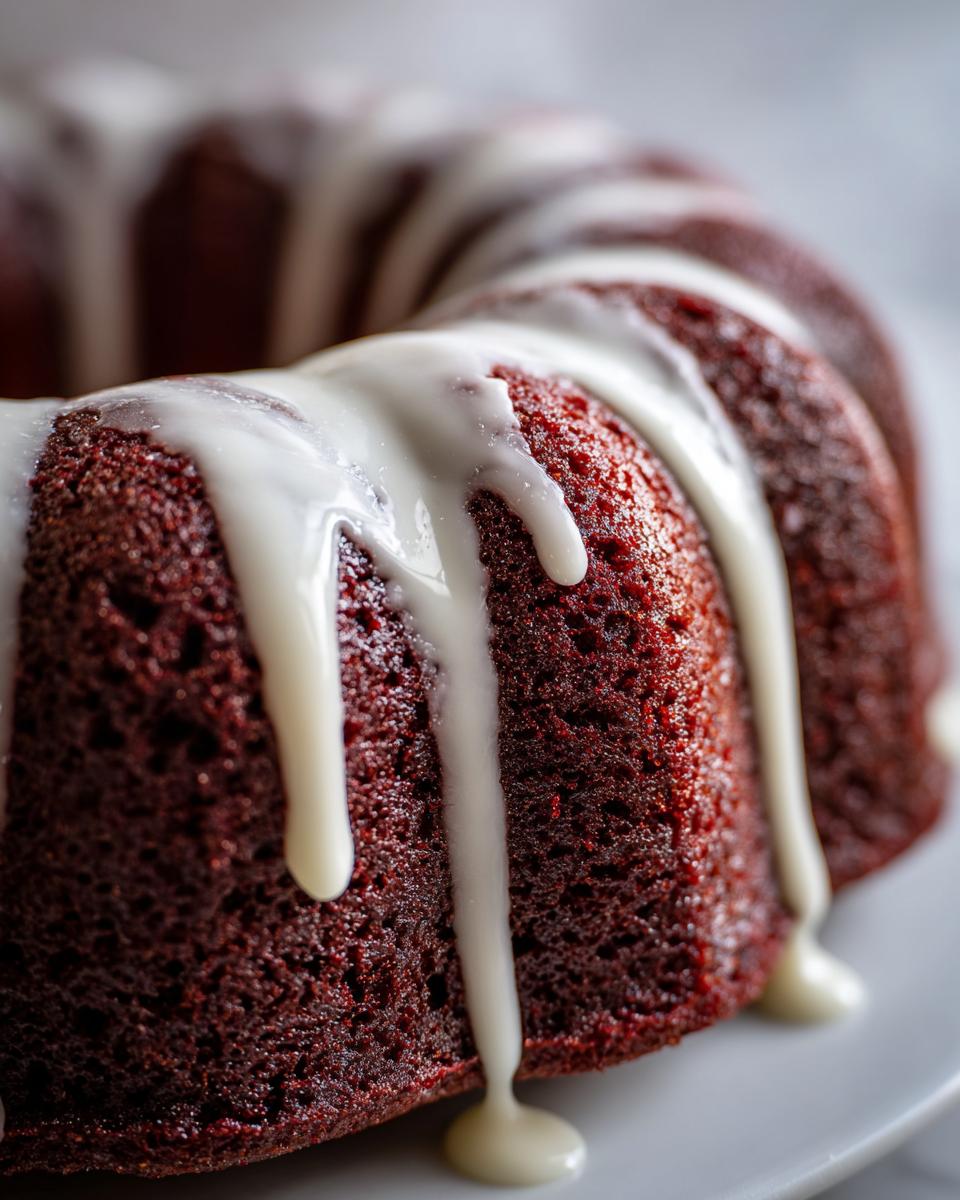
- The absolute best Moist Red Velvet Bundt Cake texture, thanks to my secret fat ratio.
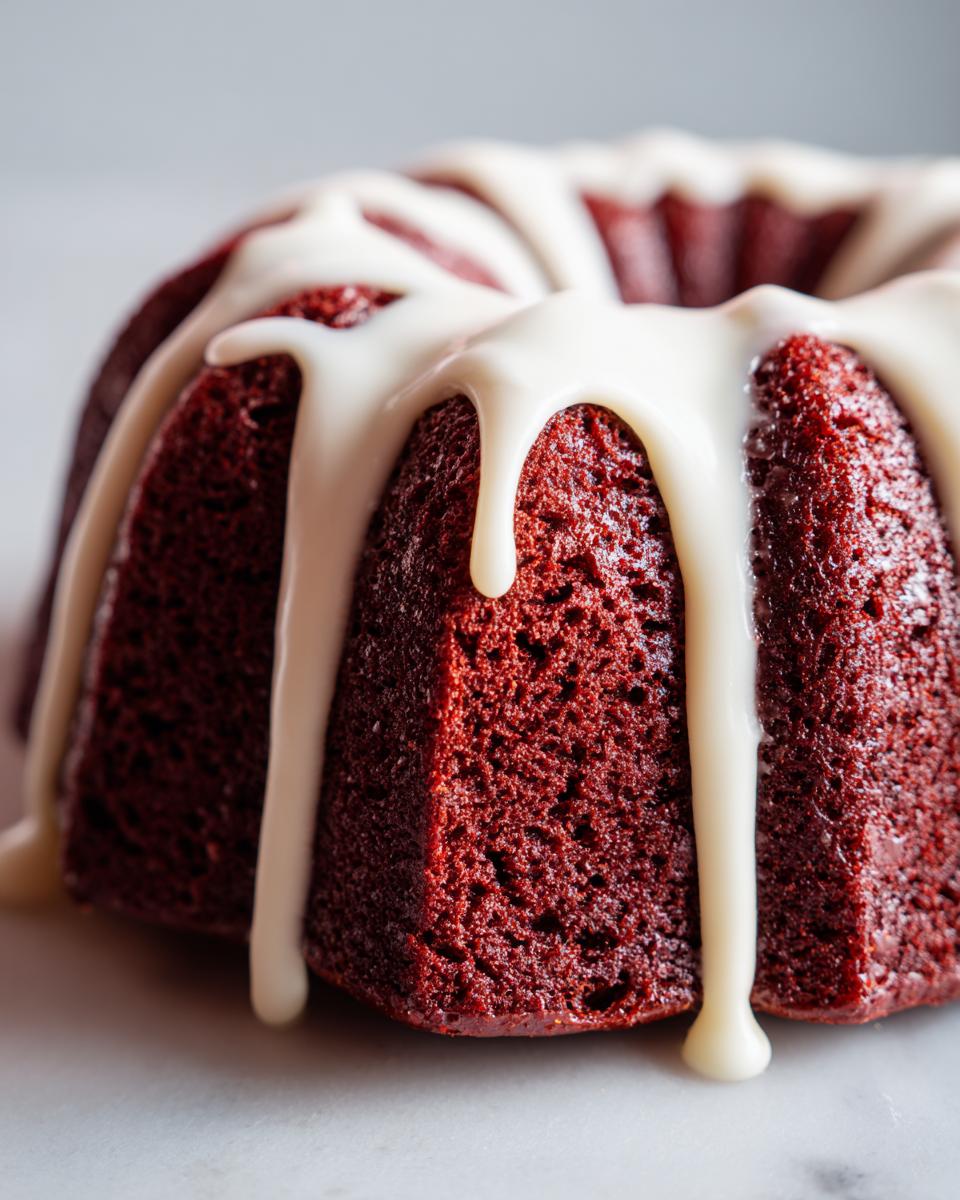
- A rich, warm cocoa flavor bundt cake hint that lets the velvet character shine through.
- A foolproof method for achieving great height and definition in your bundt pan presentation.
- My signature tangy cream cheese glaze that pools perfectly into every swirl, making it a true showstopper!
If you love the comforting flavors in our classic apple spice cake, you’ll appreciate the depth we achieved here. It’s home baking, perfected.
Ingredients for a Showstopper red velvet bundt cake
Okay, listen up! You can’t make a showstopper dessert if your ingredients aren’t top-notch and treated right. This list looks long, but don’t panic—these are all pantry staples! The key here is making sure your cold ingredients, like the buttermilk, are actually at room temperature. It makes blending so much smoother and keeps that crumb tender! This recipe relies on oil, not butter, for that incredible moisture, which helps keep it soft even when it needs to travel to a party. If you love rich, satisfying cakes, you’ll recognize the quality ingredients we use in my cream cheese pound cake too.
For the Ultra-Moist Cake Batter
Make sure you have these ready to go before you even think about turning on the mixer, especially that buttermilk!
- 1 1/2 cups vegetable oil (This is what keeps it moist for days!)
- 2 cups granulated sugar
- 2 large eggs
- 1 teaspoon vanilla extract
- 1 tablespoon red food coloring (Go for a good quality liquid or gel—it makes a difference in the final stunning color.)
- 1 teaspoon white vinegar
- 1 cup buttermilk, make sure it’s at room temperature, please!
- 2 1/2 cups all-purpose flour
- 1 teaspoon baking soda
- 1 teaspoon salt
- 1 tablespoon unsweetened cocoa powder (This gives it that classic, subtle chocolate depth!)
For the Tangy Cream Cheese Glaze
This glaze is gorgeous just sitting on top, but remember: the amount of milk or cream you add controls whether it’s a thick frosting or a thin, drippy glaze that settles into those bundt grooves. Check the notes later for how to adjust that!
- 1 (8 ounce) package cream cheese, softened completely
- 1/2 cup unsalted butter, softened completely
- 3 cups powdered sugar, make sure you sift this first!
- 1 teaspoon vanilla extract
- 2 tablespoons milk or heavy cream (Use less for thick, use more for thin!)
Step-by-Step Instructions for the red velvet bundt cake
This is where the magic happens, transforming those beautiful ingredients into the red velvet bundt cake of your dreams! Don’t rush these steps, especially the mixing part; that’s the secret handshake for achieving that soft, tender texture we talked about. It takes a little patience, but the results are worth it. We’re aiming for a cake so perfect it looks like it came from a fancy bakery!
Preparing the Pan and Oven
First things first: preheat your oven to 350°F (175°C). Now, about that bundt pan—you simply cannot be shy here! Since we want those crisp edges and perfect swirls for our showstopper bundt cakes presentation, you need to grease and flour that pan until it shines. I usually use unsalted butter rubbed into every single crevice, followed by a good dusting of flour shaken all around before tapping out the excess. Or, use some homemade cake goop if you have it! A sticky cake is the absolute worst disaster.
Mixing the red velvet bundt cake Batter
In one large bowl, whisk together all the wet loveliness: oil, sugar, eggs, and vanilla. Then, take your buttermilk and carefully mix in that red coloring and vinegar—watch it bloom! In a separate bowl, whisk your dry crew: flour, soda, salt, and cocoa powder. Now, the tricky bit: You are going to add the dry mixture to the wet mixture in three additions, alternating with the buttermilk in two additions. Always start and end with the dry ingredients. Mix on low speed, or just stir gently by hand, until you see *just* combined. Seriously, stop mixing the second you don’t see streaks of flour anymore. Overmixing kills tenderness!
Baking and Cooling
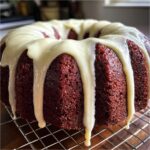
Pour that gorgeous red batter evenly into your prepared pan. Slide it into the hot oven and let it bake for about 45 to 55 minutes. You’ll know it’s done when a wooden skewer stuck right into the center comes out clean, with maybe just a few moist crumbs attached. Don’t pull it out too early! Once it looks done, let it sit right there in the pan on a wire rack for 15 minutes. Not 10, not 20—exactly 15. Then, carefully invert it onto the rack to cool completely. You absolutely cannot drizzle that beautiful glaze on a warm cake, or it will just melt right off and disappear!
Making and Applying the Best Cream Cheese Glaze for Bundt Cake
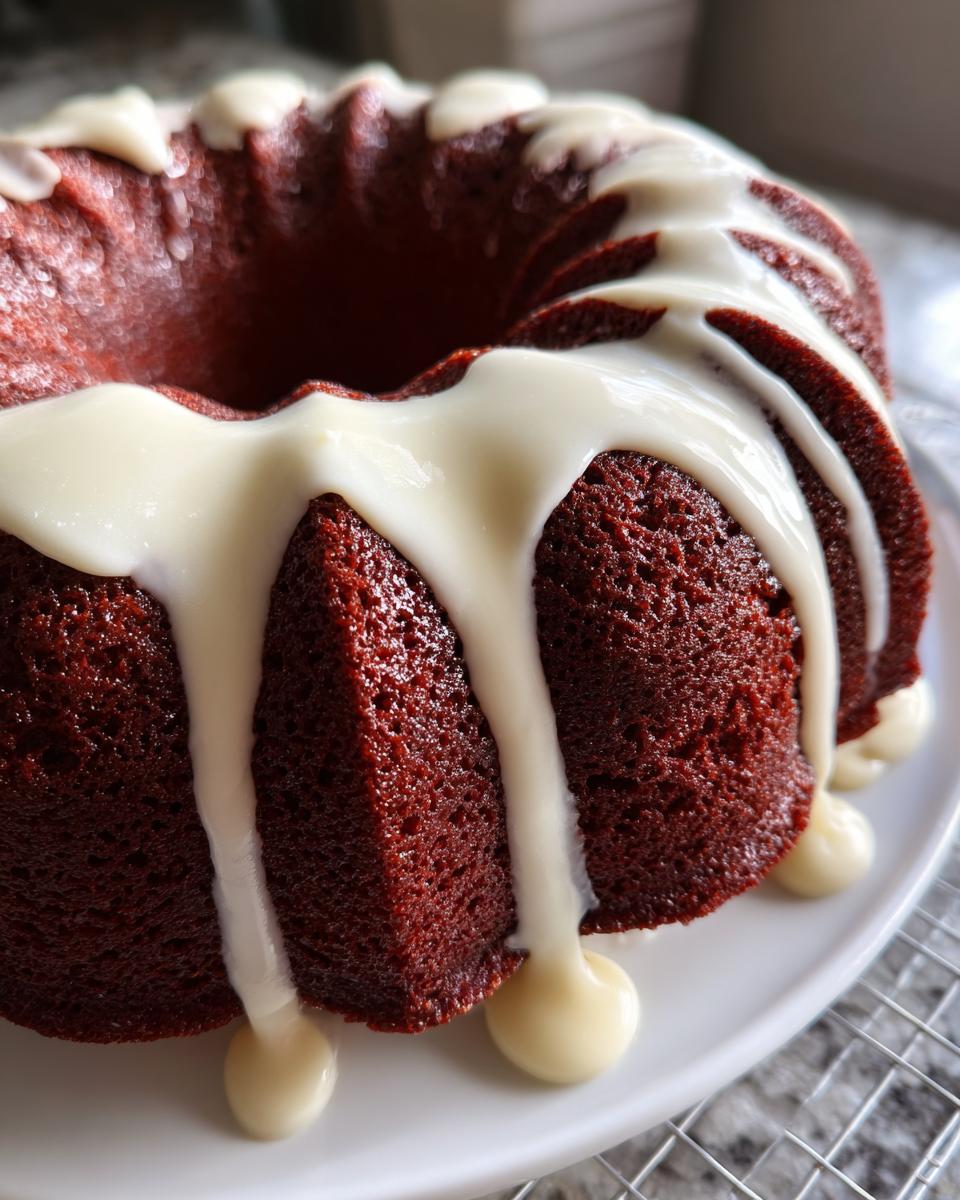
While the cake cools down totally, whip up that glorious topping! Beat your softened cream cheese and butter until they are light and fluffy—no lumps allowed for that perfect, smooth look. Then, stream in your sifted powdered sugar slowly. This is where you adjust for consistency: add the vanilla and then drizzle in the milk or cream, just a little bit at a time, until the glaze is perfectly smooth and pourable enough to drizzle artfully over the cooled cake. Drizzle it slowly so it pools just right in the crevices!
If you’re looking for more inspiration on rich, layered flavors, you should see how I tackle my decadent German chocolate cake recipe next time!
Tips for Tender Red Velvet Baking Success
Okay, friends, this red velvet bundt cake is amazing, but achieving that gorgeous color and ultra-tender crumb takes a couple of insider secrets. Remember, we aren’t just aiming for ‘good’; we are aiming for that perfect, showstopping look!
First, let’s talk color. If you want that deep, vibrant red hue, you absolutely must use a high-quality gel food coloring. The liquid stuff just doesn’t pack the punch needed to stand up to the cocoa. Also, make sure your buttermilk is truly at room temperature before you add it—this helps everything emulsify better, leading to that tender red velvet baking we love so much.
Here’s one of my personal rules: always sniff your cocoa powder! If it smells dusty or weak, toss it. Fresh, potent cocoa powder is crucial for that lovely, subtle Cocoa Flavor Bundt Cake richness. It shouldn’t taste like chocolate cake, it should taste like red velvet!
Want even more reliable home-baked goodness that locks in moisture? You have to try my recipe for mini banana bread loaves next time you’re in the mood for baking!
Variations on Your red velvet bundt cake
Sometimes you want to play around with a classic, and this red velvet bundt cake is such a great canvas! The core recipe is already amazing, but a little tweak can make it perfect for your specific celebration. If you’re tired of the traditional glaze look, try making a thicker cream cheese frosting instead of thinning it out with milk. It lets you pipe swirls or dollops on top for a real professional flourish.
For texture and a little crunch, I love folding in about a half-cup of finely chopped pecans right after I finish mixing the batter. They toast up beautifully in the oven and give you something extra to chew on. Also, if you want to deepen that subtle cocoa notes and make it taste almost like a rich Chocolate Red Velvet Cake, swap out the 2 tablespoons of milk in the glaze for strong, cooled coffee. Trust me, that coffee deepens the flavor without making it taste like coffee!
If you’re ready for another impressive chocolate moment after this one, save my chocolate raspberry cake recipe for later. It’s stunning!
Storage and Reheating Instructions for red velvet bundt cake
Because this amazing red velvet bundt cake wears that gorgeous cream cheese glaze, keeping it fresh is super important. You absolutely must store any leftovers in the refrigerator. Cover it tightly with plastic wrap or put it in an airtight container. It stays fresh and moist like this for about three to four days. Don’t just slice it straight from the fridge, though!
For the absolute best flavor and that tender crumb experience, always let your slices sit out on the counter for about 30 minutes before serving. Bringing it back to room temperature lets the fats in the cake and glaze soften up again, tasting just as good as the day you baked it. Enjoy those cozy flavors!
If you’re looking for another recipe that stores beautifully, you have to try my easy slow-cooker apple butter recipe later this fall!
Serving Suggestions for This Festive Red Velvet Baking
Presenting this red velvet bundt cake is half the fun because it just looks so stunning on its own! When serving up this rich dessert at parties or gatherings, you don’t need much else fuss. A simple, strong cup of black coffee is fantastic because that bitterness balances the sweetness of the cake and the tangy glaze perfectly.
If you’re serving this during the holidays, you absolutely have to pair it with one of my other favorite easy recipes: a cup of hot chocolate! You must see my recipe for French hot chocolate recipe—it’s velvety and rich. For a lighter touch, a small bowl of tart, fresh raspberries or sliced strawberries on the side cuts right through that cream cheese richness. It always looks so elegant too!
Frequently Asked Questions About Making a red velvet bundt cake
I get so many questions about this cake, and that’s fair! When you want that perfect presentation, a few little details can make a huge difference. Don’t worry if you’re new to baking from scratch; we’ll make sure you get that beautiful result every time. Being able to troubleshoot is key to an Easy Red Velvet Bundt Recipe!
Can I use sour cream instead of buttermilk in this red velvet bundt cake?
Oh, you certainly can, and sometimes you just have to work with what’s in the fridge! Buttermilk is my absolute favorite because of its fat content and tang, but if you only have sour cream, just cut it with a little milk in a 1-to-1 ratio. So, if the recipe calls for one cup of buttermilk, use half a cup of sour cream and half a cup of milk. The most important thing, though, is still room temperature! Cold dairy will shock the batter, and we want soft, tender baking, not a dense brick.
How do I get the deep red color without using too much food coloring?
That’s the $64,000 question! Red velvet gets its color from the chemical reaction between the cocoa and the acid (vinegar/buttermilk), but most bakers today need a little help to make it pop. My tip is to skip the standard grocery store liquid coloring and invest in a good quality gel food coloring. You use so much less of it because it is concentrated, and it won’t thin out your batter. Remember, the cocoa powder we use naturally darkens the batter a bit, so you need that intense color base to shine through.
What makes this recipe better than a Copycat Red Velvet Bundt Recipe?
That’s a fun question! Those store versions are quick, but you’re trading quality for convenience. The biggest difference is the scratch quality. We use oil, which keeps this Moist Red Velvet Bundt Cake tender for days longer than shortening-based recipes do. Also, because we control every ingredient, the balance of cocoa flavor to acidity is just spot-on. My glaze has a specific amount of cream cheese that gives it a beautiful, sharp tang that cuts through the sweetness—it’s much more balanced than that sugary icing heap usually found on a Copycat Red Velvet Bundt Recipe.
If you’re hanging out in the kitchen and want a little more classic reference material, you can always check out my About page to see where all these tried-and-true methods come from!
Nutritional Estimate for Your red velvet bundt cake
I always want to give you a heads-up on what you’re serving up, although I have to be totally honest—I’m a baker, not a nutritionist! These numbers are just my best guess based on the specific ingredients I listed, so they are an estimate. When you make a red velvet bundt cake from scratch, the exact amounts can shift based on the brand of flour or how thick your glaze ends up being.
This is a rich cake, so keep that in mind when slicing! If you need more quick ideas that are lighter on prep time, check out my collection of quick and easy recipes later this week.
Here is the breakdown for one slice:
- Serving Size: 1 slice
- Calories: 450
- Fat: 24g
- Saturated Fat: 8g
- Carbohydrates: 58g
- Sugar: 55g
- Protein: 4g
- Cholesterol: 55mg
Just remember, these are just starting points—a guide, not gospel! The real nutrition is in the joy it brings to the table!
PrintMoist Red Velvet Bundt Cake with Signature Cream Cheese Glaze
Bake a stunning, moist red velvet bundt cake from scratch. This recipe delivers rich cocoa flavor and is topped with a tangy, creamy cream cheese glaze, making it a showstopper dessert for any occasion.
- Prep Time: 20 min
- Cook Time: 55 min
- Total Time: 75 min
- Yield: 12 servings 1x
- Category: Dessert
- Method: Baking
- Cuisine: American
- Diet: Vegetarian
Ingredients
- 1 1/2 cups vegetable oil
- 2 cups granulated sugar
- 2 large eggs
- 1 teaspoon vanilla extract
- 1 tablespoon red food coloring (high-quality liquid or gel)
- 1 teaspoon white vinegar
- 1 cup buttermilk, room temperature
- 2 1/2 cups all-purpose flour
- 1 teaspoon baking soda
- 1 teaspoon salt
- 1 tablespoon unsweetened cocoa powder
- 1 (8 ounce) package cream cheese, softened
- 1/2 cup unsalted butter, softened
- 3 cups powdered sugar, sifted
- 1 teaspoon vanilla extract
- 2 tablespoons milk or heavy cream (for thinning glaze)
Instructions
- Preheat your oven to 350°F (175°C). Grease and flour a 10-cup bundt pan thoroughly.
- In a large bowl, whisk together the vegetable oil, granulated sugar, eggs, and vanilla extract until combined.
- Mix the red food coloring and white vinegar into the buttermilk.
- In a separate medium bowl, whisk together the flour, baking soda, salt, and cocoa powder.
- Gradually add the dry ingredients to the wet ingredients, alternating with the buttermilk mixture, beginning and ending with the dry ingredients. Mix until just combined; do not overmix.
- Pour the batter evenly into the prepared bundt pan.
- Bake for 45 to 55 minutes, or until a wooden skewer inserted into the center comes out clean.
- Let the cake cool in the pan on a wire rack for 15 minutes before inverting it onto the rack to cool completely.
- Prepare the cream cheese glaze: Beat the softened cream cheese and butter together until smooth. Gradually add the powdered sugar, mixing until fully incorporated. Beat in the vanilla extract and milk until the glaze reaches a smooth, pourable consistency.
- Once the cake is completely cool, drizzle the cream cheese glaze generously over the top of the bundt cake.
Notes
- For the best red color, use a high-quality gel food coloring.
- Ensure your buttermilk is at room temperature for better mixing.
- If you prefer a thicker frosting instead of a glaze, reduce the milk to 1 tablespoon.
- This cake is excellent for holidays like Christmas or Valentine’s Day.
Nutrition
- Serving Size: 1 slice
- Calories: 450
- Sugar: 55g
- Sodium: 300mg
- Fat: 24g
- Saturated Fat: 8g
- Unsaturated Fat: 16g
- Trans Fat: 0g
- Carbohydrates: 58g
- Fiber: 1g
- Protein: 4g
- Cholesterol: 55mg