
There’s just nothing on earth that beats that first sip of thick, warm chocolate when the cold really sets in. It’s pure comfort, right? When I think of cozy winter beverages, I picture the steaming mugs my grandmother used to hand me back in our little Midwest kitchen. Forget those dusty little packets—trust me when I tell you, making real, decadent homemade hot cocoa from scratch is absolutely worth the extra five minutes. This recipe uses simple pantry items we all keep on hand, but the result is a truly rich and creamy homemade hot cocoa experience that will make you swear off the store-bought stuff forever. It just tastes like care.
- Why This Homemade Hot Cocoa Recipe is the Best Hot Chocolate From Scratch
- Ingredients for Rich and Creamy Homemade Hot Cocoa
- How to Prepare Your Stovetop Hot Chocolate
- Serving Suggestions for Your Gourmet Hot Cocoa
- Variations on Homemade Hot Cocoa: Flavor Additions
- How to Make Homemade Hot Cocoa Mix (Giftable & Shelf-Stable)
- Storage & Reheating Instructions for Homemade Hot Cocoa
- Frequently Asked Questions About Homemade Hot Cocoa
- Sharing Your Decadent Hot Chocolate Creations
Why This Homemade Hot Cocoa Recipe is the Best Hot Chocolate From Scratch
I get it; sometimes you need that instant hit of cozy, but there’s a massive difference between powder dissolved in hot water and what you make when you take the time for the best hot chocolate from scratch. Store-bought mixes often rely on fillers and artificial flavors, giving you something thin, not truly satisfying. Our stovetop method guarantees you get that dense, deep chocolate flavor because we use good cocoa powder AND melted chocolate! That’s the secret to the signature rich and creamy hot cocoa texture.
My goal here at Cookin’ Corner is to show you that authentic, gourmet hot cocoa isn’t complicated. We aren’t asking you to temper chocolate or take hours on the stove. I promise, the payoff for this minimal effort is huge. You get a drink so much better than anything in a shelf-stable box. If you’re looking for other creamy options, check out some ideas on whipped hot chocolate recipes too!
Quick Hot Cocoa Ready in Minutes
Seriously, don’t let the richness fool you into thinking this takes all afternoon. Including setting up your ingredients and whisking everything together, you have a perfectly finished, comforting beverage in about 15 minutes total. That’s faster than running to the store for a specialty drink, and way cheaper, too! Quick doesn’t have to mean low quality when you start with the right ingredients. See why others love starting their winter mornings with this fast method over on this source for inspiration!
Ingredients for Rich and Creamy Homemade Hot Cocoa
When you’re aiming for that luxurious feel, the ingredients list is where we build our foundation. Don’t substitute the whole milk unless you absolutely must! We’re making the real deal here, the kind of decadent hot chocolate that sticks to your ribs just a little bit. If you want to learn more about using excellent cocoa powder, you can check out my tips on making wonderful chocolate milk.
- 4 cups whole milk
- 1/2 cup unsweetened cocoa powder
- 1/2 cup granulated sugar
- 1/4 cup packed brown sugar (Yes, the packed kind!)
- 1/4 teaspoon salt (Don’t skip the salt; it helps the chocolate pop!)
- 1 teaspoon vanilla extract
- 4 ounces semi-sweet chocolate, chopped (This is my secret for that *extra* velvety finish)
How to Prepare Your Stovetop Hot Chocolate
Making truly satisfying stovetop hot chocolate just takes a little patience and focused attention over the burner. We’re going to treat this gently so it turns out smooth as velvet. First up, grab your medium saucepan and toss in the milk, the cocoa powder, both sugars, and that crucial pinch of salt.
Set the heat to medium. Now, here’s the key part: You need to whisk constantly until everything is totally smooth and the sugars have vanished. You’ll see the milk start steaming, but listen to me—do not, under any circumstances, let this mixture boil! Boiling ruins the creamy mouthfeel we worked so hard for. If you’re using that chopped semi-sweet chocolate, add it once you see steam and keep going until it’s completely melted into the liquid. Once it’s piping hot, pull it straight off the heat and stir in that vanilla extract. You can find great advice on replicating this kind of quick, rich flavor profile elsewhere, like this guide on making it scratch.
Expert Tip for Perfect Homemade Hot Cocoa Consistency
When you are whisking those dry ingredients into the cold milk at the beginning, make sure you dedicate a good minute just to that initial incorporation. If you dump the cocoa powder in and start heating immediately, you’ll end up with those stubborn little chocolate pills stuck together—and they are nearly impossible to break up once the liquid gets hot! Whisk them into a smooth slurry first. While you’re heating, think about my recipe for creamy chocolate pudding; the principle of smoothing the starches/cocoa first is the same for achieving ultimate smoothness!
Serving Suggestions for Your Gourmet Hot Cocoa
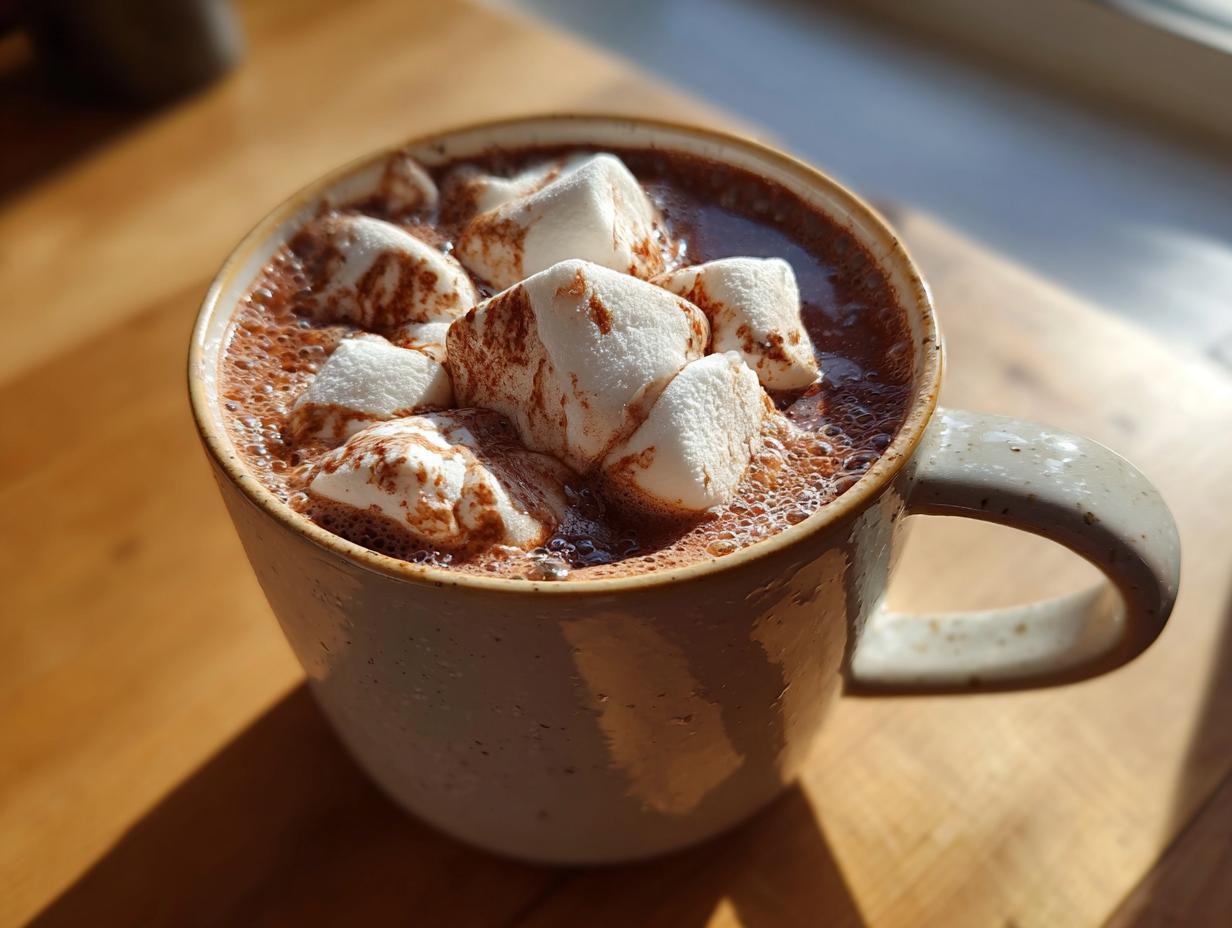
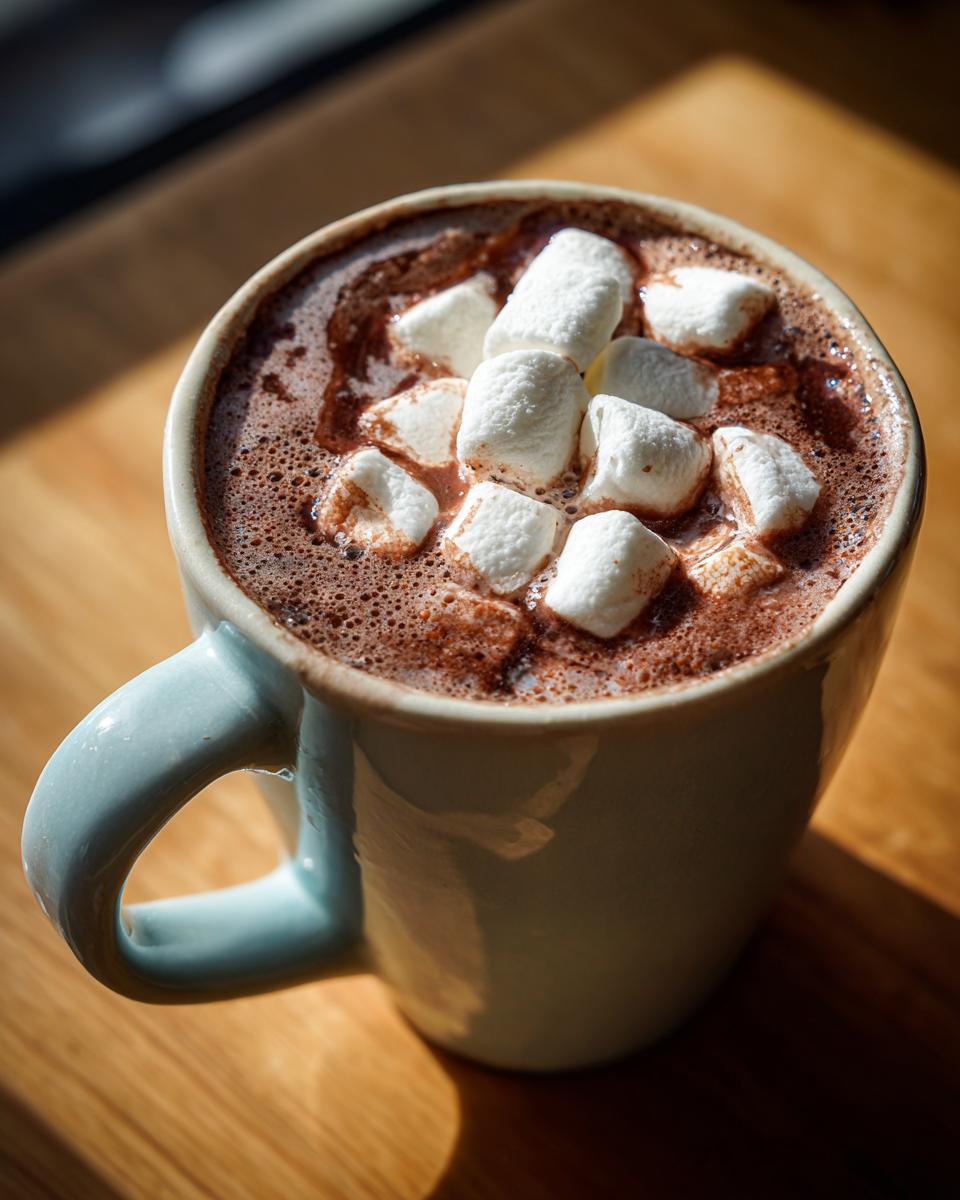
Now that you have perfectly rich and decadent hot chocolate in your mug, the fun part is making it yours! If you want that classic, cozy feel, you can’t skip the toppings. A generous handful of mini marshmallows, or a big dollop of freshly whipped cream, melts down beautifully into that creamy base we worked for—that’s how you get the perfect marshmallow topped cocoa experience.
But this is gourmet hot cocoa, so let’s elevate it a bit! For a little extra flair, try a light shower of shaved dark chocolate right on top of your whipped cream. A simple sprinkle of cinnamon or even a tiny dash of nutmeg really wakes up the chocolate flavor, too. If you want something fancy to dip, I often bake a batch of my famous coffee cake cookies to serve alongside. Whatever you choose, make that mug feel special!
Variations on Homemade Hot Cocoa: Flavor Additions
One of the best things about making your homemade hot cocoa right on the stove is how ridiculously easy it is to customize! Once you have that rich, creamy base, you can turn it into almost any flavor combination you can dream up. Think of this as your blank canvas for cozy winter beverages.
For a holiday twist, pull out your peppermint extract. Just a half teaspoon stirred in right at the end—after you take it off the heat—gives you that wonderful candy cane flavor. Or, if you’re feeling zestier, a tiny bit of fresh orange zest blended in with the milk and sugar brings a beautiful, bright note that cuts through the richness perfectly.
And of course, if you’re anything like me and love a little kick, you absolutely have to try making it Mexican-style! That little bit of heat balances the sweet chocolate so wonderfully. If you want the full breakdown on how I do that version, check out my full recipe for Mexican hot chocolate.
How to Make Homemade Hot Cocoa Mix (Giftable & Shelf-Stable)
Okay, I know we just made the best fresh stuff, but sometimes life is chaotic, and you need that instant magic for a quick cup or, even better, a lovely gift! Making your own hot cocoa mix recipe is unbelievably satisfying. It’s cheaper, healthier, and you control every speck of sugar that goes in. This dry powder is perfect for keeping in a jar in the pantry for when a sudden snow flurry hits.
The ratio is simple for a big batch, though you can easily scale it up or down. For every cup of dry mix, use 1 cup of powdered sugar (sometimes called confectioners’ sugar), 1/2 cup of good unsweetened cocoa powder, and just a tiny dash—about 1/4 teaspoon—of salt. That’s the base! You whisk these three things together until they are perfectly uniform—no white streaks allowed in your beautiful DIY hot chocolate powder!
When packaging this for a thoughtful gift, layer the ingredients right into a cute mason jar. I love tying a little tag on it that instructs the recipient to just add 3 tablespoons of the mix to one cup of hot milk—not water! Using milk makes this pantry staple much more decadent. If you want a detailed guide on getting this mix perfect every time, my recipe for easy homemade hot cocoa mix walks you through jar layering, too. You can also see some fantastic gift packaging ideas, like the ones featured on this site!
Storage & Reheating Instructions for Homemade Hot Cocoa
Once you’ve made this beautiful, rich beverage, the biggest question is, “Can I save the leftovers?” Yes, you absolutely can! If you have extra liquid homemade hot cocoa, just let it cool slightly, pour it into an airtight container, and slip it into the fridge. It should keep nicely for about three or four days. I always find the texture is best enjoyed within the first two days, though!
When you’re ready to reheat those leftovers, treat it gently. Never microwave it on high power or try to boil it on the stove again. Medium-low heat on the stovetop is perfect. You must whisk it pretty consistently while it warms up. Because the rich ingredients—especially if you added that optional chopped chocolate—can separate or want to settle at the bottom, whisking ensures you get back that smooth, velvety texture without scorching a layer onto your nice saucepan.
Now, about that big batch of beautiful dry mix we made previously? That’s your pantry workhorse! Keep that hot cocoa mix sealed up totally airtight—a good seal on a mason jar is ideal. If you keep it dry and out of direct sunlight, that mix will stay perfect for up to a year, ready whenever you need a quick cup of cozy. It’s so reliable; it’s honestly like having a little bit of winter comfort stored away for a rainy day—kind of like how my banana zucchini bread stays good for quick snacks!
Frequently Asked Questions About Homemade Hot Cocoa
I know you might have a few lingering questions before you grab your mugs! Everyone has slightly different needs when it comes to their perfect cup of cocoa. I get asked all the time about substitutions for dairy or how to handle different types of chocolate. Here are some of the most common things readers ask when they are perfecting their homemade hot chocolate.
P.S. If you love making big batches of things you can keep on hand, you might think about putting this recipe into your slow cooker next time; I have some tips for crockpot cooking—the principle of low and slow heat is similar!
Can I use Dutch-processed cocoa powder in this homemade hot cocoa recipe?
That’s a great question about flavor depth! This recipe works best with natural, unsweetened cocoa powder because it has a higher acidity that reacts nicely with the sugars we use, giving you that familiar, slightly sharp chocolate taste. Dutch-processed cocoa powder is neutralized, which makes for a smoother, darker chocolate—and it certainly isn’t bad! If you use Dutch-processed, know that the final drink will taste a little mellower and less intensely chocolatey. Feel free to use it if it’s what you have, but you might want to increase the cocoa powder by about 10% to compensate.
What is the best milk substitute for rich and creamy hot cocoa?
If you need to skip the whole milk for dietary reasons, don’t worry; you can still achieve a wonderful, rich and creamy hot cocoa. In the recipe notes, I mentioned using oat milk or soy milk, and those are my top recommendations! They both have higher natural fat and protein content than almond milk, which helps mimic the body you get from whole dairy milk. Skim milk tends to make the drink feel a little thin, so if that’s all you have, consider adding just an extra ounce or two of that chopped semi-sweet chocolate to bump up the decadence!
Sharing Your Decadent Hot Chocolate Creations
Whew! Now you have the blueprint for the best hot chocolate from scratch. I truly hope you try this recipe soon and make those beautiful mugs of cozy winter beverages a tradition in your own home. When you do, snap a picture and tag me! I absolutely love seeing how you enjoy these homemade hot cocoa treats. If you need more ideas for seasonal sips, check out my whole collection of cozy winter beverages!
PrintThe Ultimate Rich and Creamy Homemade Hot Cocoa (Stovetop)

Forget instant packets. Make the best hot chocolate from scratch using simple ingredients for a rich, creamy, and decadent winter warm drink right on your stovetop.
- Prep Time: 5 min
- Cook Time: 10 min
- Total Time: 15 min
- Yield: 4 servings 1x
- Category: Beverage
- Method: Stovetop
- Cuisine: American
- Diet: Vegetarian
Ingredients
- 4 cups whole milk
- 1/2 cup unsweetened cocoa powder
- 1/2 cup granulated sugar
- 1/4 cup packed brown sugar
- 1/4 teaspoon salt
- 1 teaspoon vanilla extract
- 4 ounces semi-sweet chocolate, chopped (optional, for extra richness)
Instructions
- Combine the milk, cocoa powder, granulated sugar, brown sugar, and salt in a medium saucepan.
- Whisk the mixture constantly over medium heat until the sugars dissolve and the mixture is smooth. Do not let it boil.
- If using chopped chocolate, add it now and continue whisking until the chocolate is completely melted and incorporated.
- Heat until the mixture is steaming hot, about 5 to 7 minutes. Adjust heat as needed to prevent scorching the bottom.
- Remove the saucepan from the heat and stir in the vanilla extract.
- Pour your gourmet hot cocoa immediately into mugs. Top with marshmallows or whipped cream if desired.
Notes
- For a quicker, easier version, skip the chopped chocolate and increase the cocoa powder to 3/4 cup.
- To make this a dairy-free hot chocolate, substitute the whole milk with oat milk or soy milk for the creamiest texture.
- For a large batch, consider using a slow cooker hot chocolate method; simply combine ingredients and cook on low for 2 hours, stirring occasionally.
Nutrition
- Serving Size: 1 cup
- Calories: 320
- Sugar: 40g
- Sodium: 150mg
- Fat: 11g
- Saturated Fat: 7g
- Unsaturated Fat: 4g
- Trans Fat: 0g
- Carbohydrates: 50g
- Fiber: 4g
- Protein: 8g
- Cholesterol: 25mg