
There’s nothing quite like wrapping your hands around a steaming mug of hot chocolate when winter winds start blowing. It’s instant comfort, right? But honestly, those packets you buy? They just don’t measure up to the real deal. I’m Sarah Jane Thompson, and here at Cookin’ Corner, we believe the best flavors come from simple, reliable recipes made right in your own kitchen. That’s why I perfected this hot cocoa mix. It’s so easy, shelf-stable, and tastes unbelievably rich and creamy—miles better than anything you can grab off the shelf. If you’re looking for other cozy drinks, you should check out how I make my whipped hot chocolate sometimes too! This little recipe is a testament to that Midwest kitchen spirit: taking a few pantry staples and turning them into pure, warm-hearted joy.
- Why This Homemade Hot Cocoa Mix is Your New Winter Staple
- Ingredients for the Best Cocoa Mix Recipe
- How to Make Your Own Hot Cocoa from Scratch
- Preparing a Perfect Cup of Hot Cocoa Mix
- Tips for Perfect Shelf Stable Hot Chocolate Mix
- Packaging Your Hot Cocoa Mix in a Jar for Gifting
- Variations for Your DIY Hot Chocolate Mix
- Common Questions About Making Hot Cocoa Mix
- Nutritional Estimate for Homemade Hot Cocoa Mix
Why This Homemade Hot Cocoa Mix is Your New Winter Staple
Let’s be real—when you need a cozy mug, you need it fast. That’s the beauty of this hot cocoa mix; it comes together in about five minutes flat! You literally just whisk things together. That speed, combined with its amazing Shelf Stable Hot Chocolate Mix quality, means you always have gourmet chocolate on hand. Forget running to the store when a craving hits!
Quick Preparation Time for Your Easy Hot Cocoa Mix
Five minutes! Can you believe it? That’s faster than finding your favorite mug sometimes! Seriously, dumping and whisking is all it takes to make a big batch of this mix. It’s perfect for those sudden cold snaps when you need an instant fix. This is truly the easiest way to get your chocolate fix without any fuss.
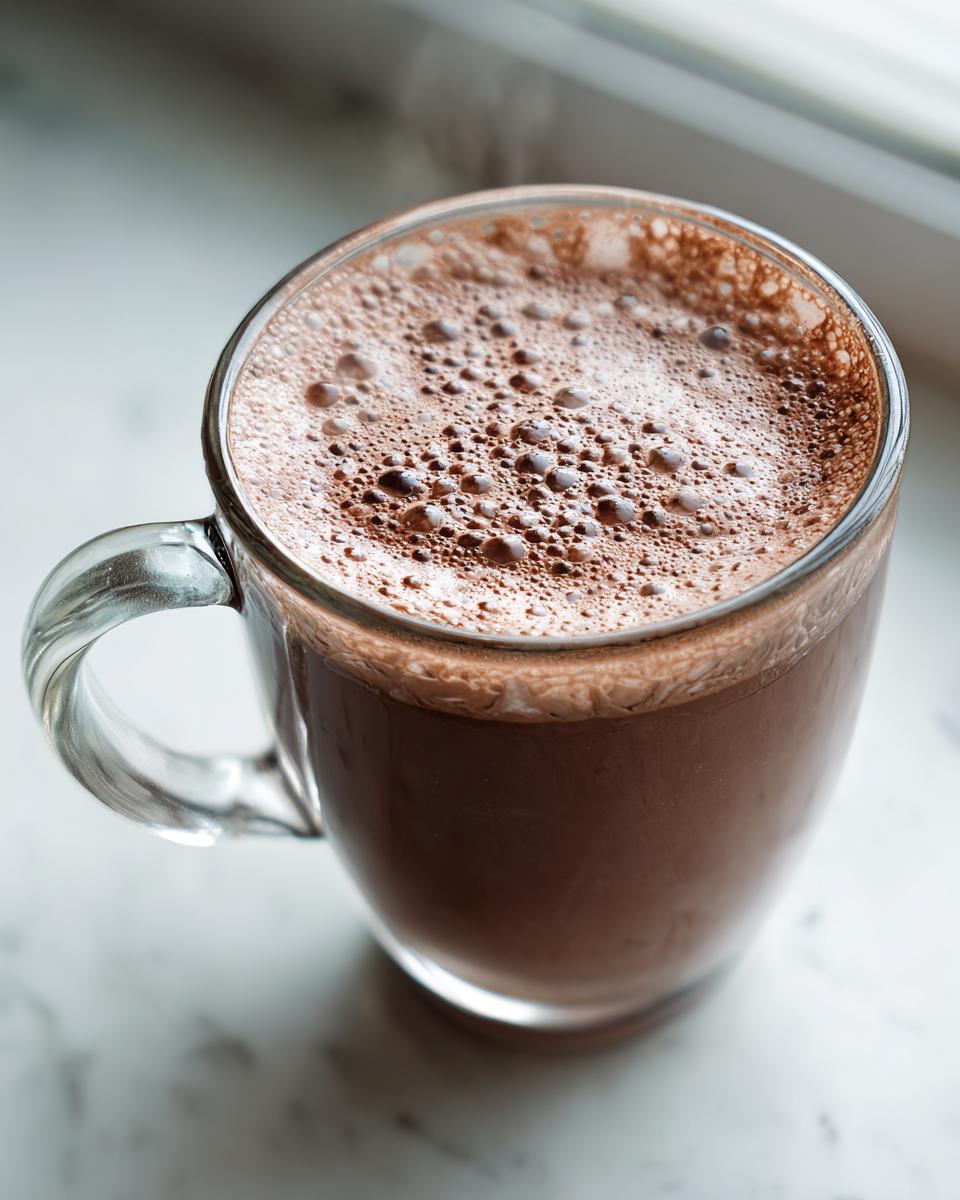
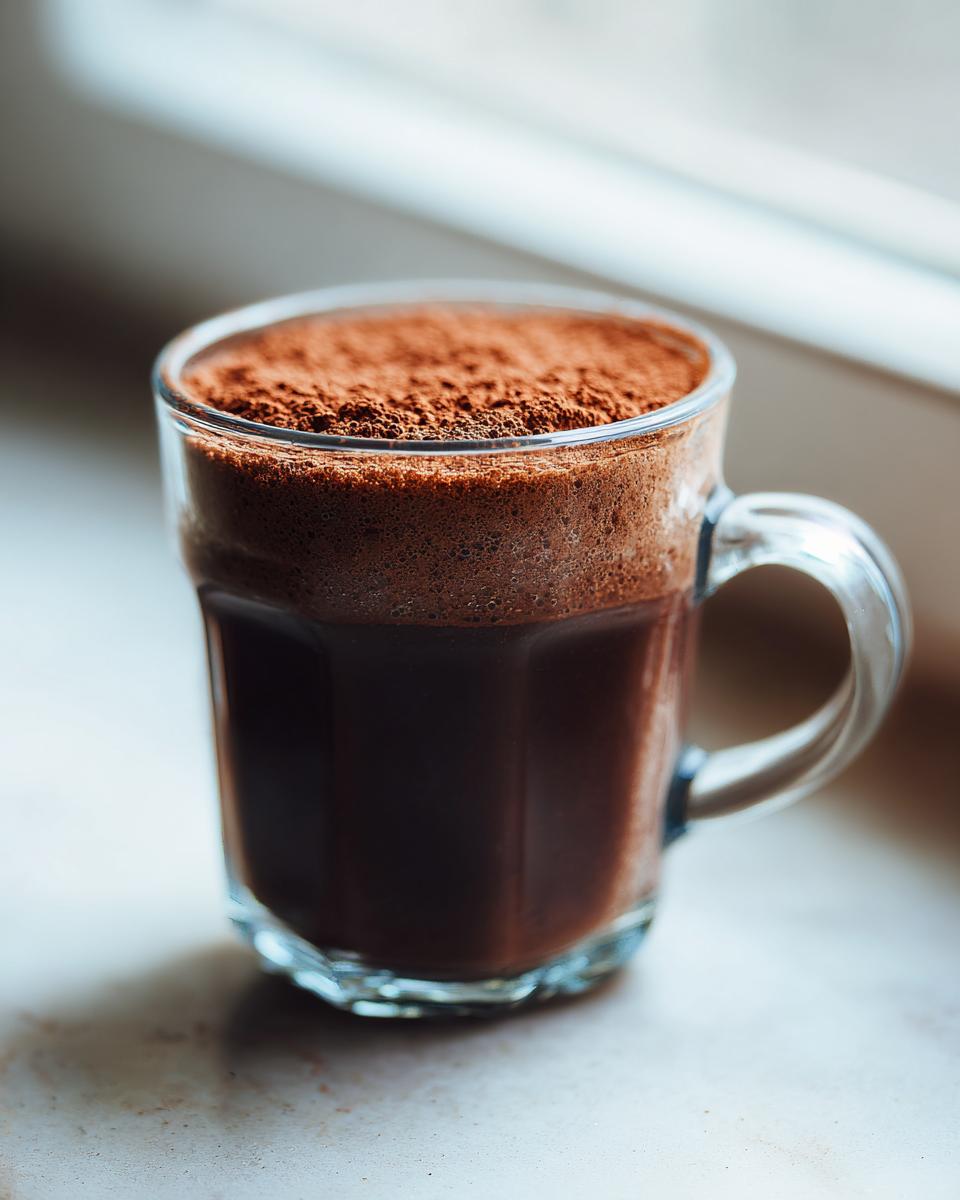
The Secret to a Rich and Creamy Hot Cocoa
Everyone wants that luxurious mouthfeel, right? We’re aiming for truly Rich and Creamy Hot Cocoa here. The secret isn’t complicated, though. It comes down to two things: using good quality cocoa powder and, if you want that thick texture even when using water, adding in just a little bit of non-dairy creamer or powdered milk. But even if you skip that, just make sure you use warm milk instead of water when you drink it, and you’ll be amazed!
Ingredients for the Best Cocoa Mix Recipe
When I put this recipe together, I wanted it to use things you already have. No exotic stuff needed here! These measurements make a big batch, so you’re set for loads of cozy mugs. Remember, precision matters when you’re making a dry mix, so grab your measuring cups!
- 2 cups powdered sugar
- 3/4 cup unsweetened cocoa powder
- 1/2 teaspoon salt
- 1/4 cup non-dairy creamer or powdered milk (this is optional, trust me!)
Ingredient Clarity and Notes
That small amount of salt is non-negotiable; it really wakes up the chocolate flavor, so don’t skip it! Now, about the creamer—if you’re trying to keep this a true Hot Chocolate Dry Mix with just the absolute basics, you can absolutely leave that out. If you do skip it, though, make sure you use hot milk when you mix up your cup later, not just water. That milk replaces the richness the powdered creamer would have given you for that perfect creamy end result.
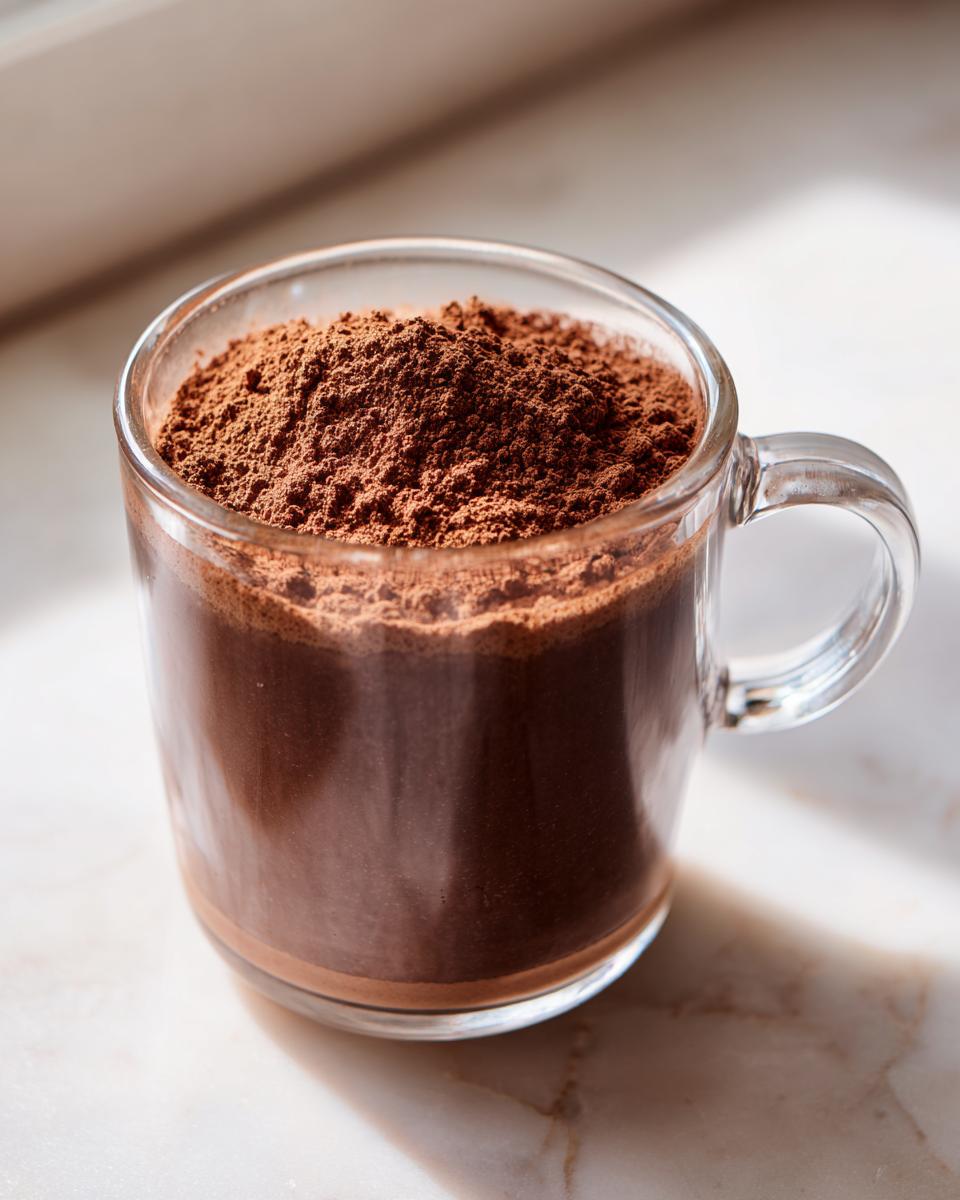
How to Make Your Own Hot Cocoa from Scratch
Making your own hot cocoa mix is frankly zero work, which is why I love it so much for busy days! We are making a big batch here, so you need space for everything to mingle nicely. The most important part of this whole process is ensuring that everything gets totally combined before you jar it up. If you don’t whisk well now, you’ll end up with clumps when you try to stir it into hot water later, and nobody wants a big powder island floating on top of their drink!
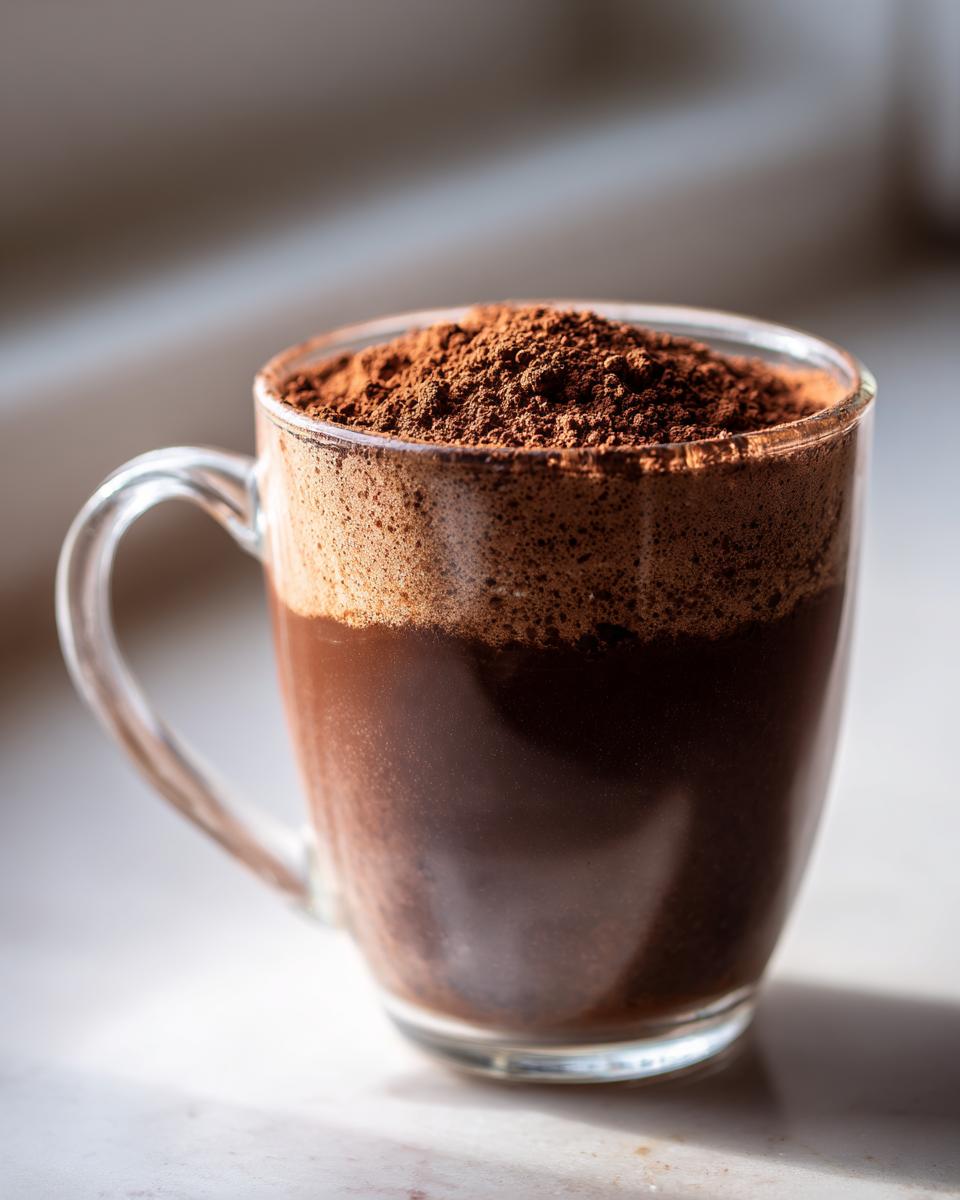
Mixing and Combining Your Hot Cocoa Dry Mix
Grab your biggest mixing bowl, friends. We start by adding all the dry stuff—the powdered sugar, the cocoa, the salt, and that optional creamer if you’re using it. Layering them in is fine, but then you really need to commit to the whisking! I usually whisk for a good minute or two, making sure I scrape the bottom and sides of the bowl. If you see any streaks of white sugar or dark cocoa powder anywhere, keep going! I know someone who uses her immersion blender on the lowest setting, but I prefer a big balloon whisk for this. Have you ever tried making chocolate milk using homemade cocoa powder? It’s a similar whisking commitment!
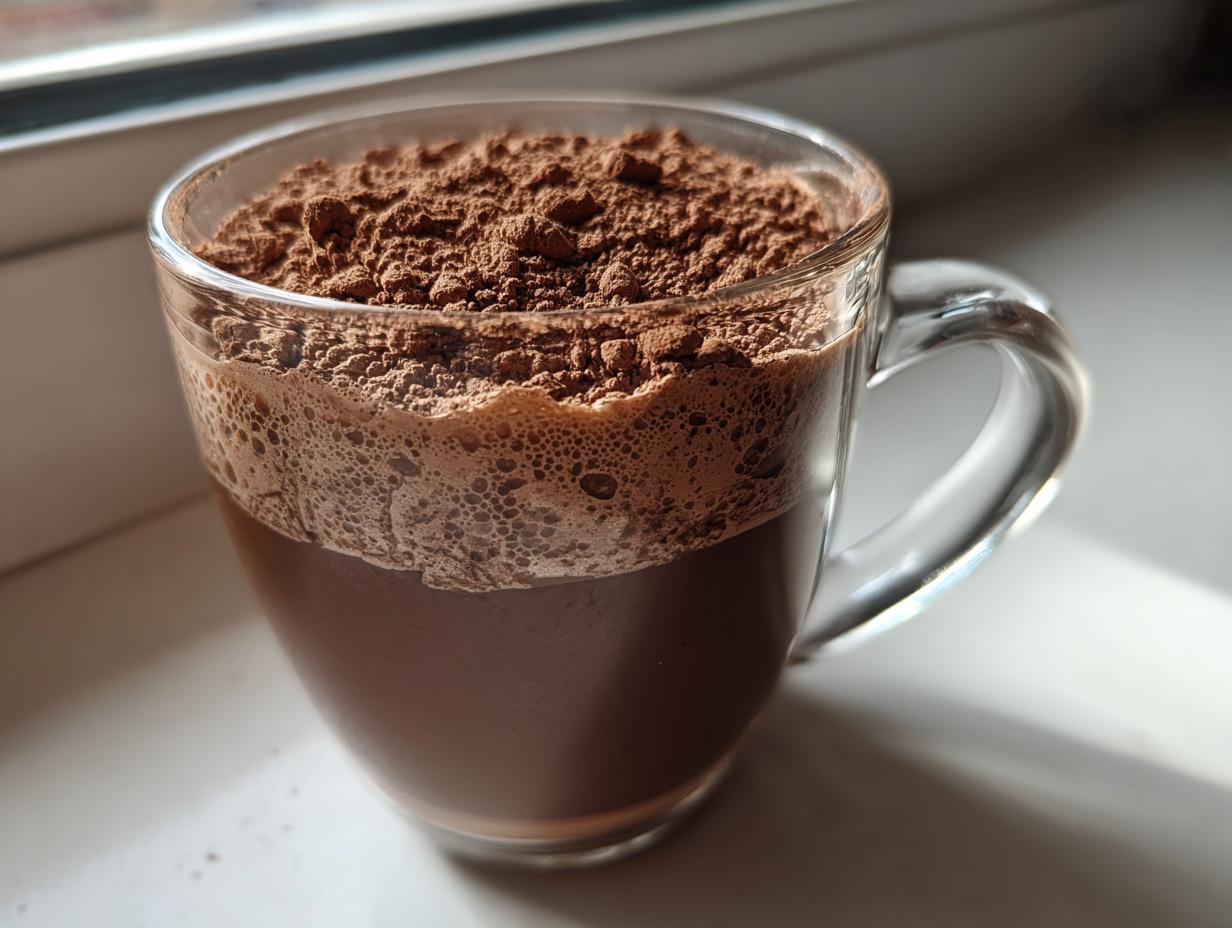
Preparing a Perfect Cup of Hot Cocoa Mix
Okay, you’ve got your incredible hot cocoa mix sealed up tight, now for the best part: drinking it! For one perfect mug of something that makes you feel instantly cozy, take about 3 tablespoons of the dry mix. If you used the optional powdered milk, mixing this with 1 cup of piping hot water works just fine. But listen to Sarah Jane: if you skipped the creamer, you absolutely need to use hot milk instead!
Using hot milk creates that truly decadent, satisfying texture we all crave for our favorite Cozy Drinks for Winter. Stir it really well until all that lovely chocolate powder dissolves. If you want to peek at other great chocolate recipes, you can always check out what the folks at Recipes Sweets are mixing up!
Tips for Perfect Shelf Stable Hot Chocolate Mix
Since this hot cocoa mix is designed to live in your pantry for months (or even up to a year!), storage is just as important as the mixing! My number one tip is to make sure all your ingredients, especially the powdered sugar and cocoa powder, are absolutely fresh before you start. Old ingredients can introduce moisture, which is the enemy of a good dry mix.
You need an airtight container, full stop. Glass mason jars are my go-to because I can see how much I have left, and they seal so nicely. Make sure the jar is completely dry before you funnel the mix in. I won’t even bother transferring it if I see *any* condensation inside the jar. Keep that jar tucked away in a cool, dark spot in your pantry. Sunshine and heat break down those lovely chocolate flavors, so we want to keep our Shelf Stable Hot Chocolate Mix protected!
Packaging Your Hot Cocoa Mix in a Jar for Gifting
When you make a big batch of this lovely hot cocoa mix, it’s almost too good to keep just for yourself, isn’t it? This is where the wonderful tradition of giving food comes into play! Honestly, nothing says “I care about you” like a thoughtful, homemade gift that promises warmth on a cold night. A standard mason jar is the perfect way to package this up for friends or neighbors.
Since this is a dry mix—all powder and sugar—there’s no mess with liquids, which makes storing it in glass so simple. If you’re looking for great Holiday Food Gift Ideas, this is high on my list every single year. I highly recommend checking out how to make some fantastic chewy cookie bars for another great gift basket filler. If you want to see how others package their treats, the folks at Upstate Ramblings have some adorable ideas for a beautiful Hot Cocoa Mix in a Jar presentation.
Making Homemade Gifts with Your Cocoa Mix
The real charm in this gift is the effort you put in, even though the actual mixing took only five minutes! We pour the wonderful dry mix right into a clean jar—make sure you don’t pack it down too hard, or it might settle strangely. Then, tie a simple ribbon around the lid. You can even print out a little tag that tells them exactly how many tablespoons to use and what kind of milk (or water!) to add. It’s such a fantastic, heartfelt Holiday Gift Food Idea that everyone appreciates during the colder months.
Variations for Your DIY Hot Chocolate Mix
This basic recipe for hot cocoa mix is wonderful all on its own, but honestly, I love playing around with it, especially when I’m making a big batch of this Hot Chocolate Dry Mix. After all, once you nail the core ingredients, customization is your reward! A little something extra can turn a cozy mug into a real treat.
If you want a little zing, whisk in about a teaspoon of ground cinnamon. It warms up the flavor perfectly for those chilly evenings. For a real kick—and oh boy, do I love this—try adding just a tiny pinch of cayenne pepper. It mimics that wonderful spicy flavor found in Mexican hot chocolate. And if you need an adult kick in the morning, a couple of tablespoons of instant espresso powder works like magic, turning it into a mocha mix!
Common Questions About Making Hot Cocoa Mix
I know when you dive into making something from scratch, you start thinking about all the little “what ifs.” Don’t worry about that! Since this is such a straightforward recipe, most of the questions folks have center around substitutions or storage. We want you to feel confident serving this up all winter long!
Can I make this Easy Hot Cocoa Mix without powdered milk?
Yes, absolutely! If you look back at the ingredients, that powdered milk or creamer is listed as totally optional. If you skip it, your easy hot cocoa mix becomes even simpler, relying only on sugar, cocoa, and salt. Just remember what I said earlier: if you skip the powder, you must use hot milk—not water—when you prepare your cup. That milk is doing the heavy lifting for creaminess when the creamer isn’t there!
How long is the shelf life of this Pantry Staple Recipe?
This is why making a big batch of your own hot cocoa mix is so brilliant! Since we aren’t adding any moisture-sensitive ingredients other than the dry powders, this mix is very stable. Stored correctly in an airtight container in a cool, dark cabinet, this pantry staple recipe should stay fantastic for up to a whole year. I try to use mine within 10 to 12 months just to be safe, but the flavor should hold up beautifully!
Another question I get asked a lot is about the cocoa. I highly recommend using Dutch-processed cocoa if you can find it; it gives you that super dark, smooth chocolate punch that makes the final drink taste so rich. If you can’t find it, regular unsweetened cocoa works just fine for a cozy drink, but the color might be lighter.
Nutritional Estimate for Homemade Hot Cocoa Mix
Now, since this is a homemade mix using ingredients you control, the final nutrition depends on what you add when you mix it up—water versus milk makes a huge difference! But just to give you a baseline for the dry mix itself, here is what I calculated for one serving size (which is about 3 tablespoons of this mix). This is just a starting point, of course, but it shows you that keeping the mix simple keeps the sugar somewhat in check!
- Serving Size: 3 tbsp mix
- Calories: 110
- Sugar: 18g
- Sodium: 35mg
- Fat: 1g
- Saturated Fat: 0.5g
- Unsaturated Fat: 0.5g
- Trans Fat: 0g
- Carbohydrates: 25g
- Fiber: 2g
- Protein: 1g
- Cholesterol: 0mg
Just remember, if you swap the water for whole milk when you make your final cup, those numbers are going to jump up slightly, mostly in the fat and protein categories, which is probably what you want when you’re craving something truly indulgent anyway!
PrintEasy Homemade Hot Cocoa Mix Recipe (Shelf Stable)
Make your own rich and creamy hot cocoa mix using simple pantry staples. This recipe is quick to prepare, stores well for gifting, and tastes better than store-bought versions.
- Prep Time: 5 min
- Cook Time: 0 min
- Total Time: 5 min
- Yield: About 12 servings 1x
- Category: Dessert
- Method: Mixing
- Cuisine: American
- Diet: Vegetarian
Ingredients
- 2 cups powdered sugar
- 3/4 cup unsweetened cocoa powder
- 1/2 teaspoon salt
- 1/4 cup non-dairy creamer or powdered milk (optional, for extra creaminess)
Instructions
- Measure the powdered sugar, cocoa powder, and salt into a large bowl.
- If you are using non-dairy creamer or powdered milk, add it to the bowl now.
- Whisk all dry ingredients together thoroughly until the mixture is uniform in color and texture. This step is important to prevent lumps when mixing later.
- Transfer the finished hot cocoa mix to an airtight container for storage.
- To prepare one serving, mix 3 tablespoons of the dry mix with 1 cup of hot water or hot milk. Stir until completely dissolved.
Notes
- For a richer flavor, use Dutch-processed cocoa powder.
- This mix stores well in an airtight container at room temperature for up to one year.
- Package this mix in mason jars for thoughtful holiday food gifts.
- If you skip the powdered milk/creamer, you will need to use hot milk instead of water for a creamy result.
Nutrition
- Serving Size: 3 tbsp mix
- Calories: 110
- Sugar: 18g
- Sodium: 35mg
- Fat: 1g
- Saturated Fat: 0.5g
- Unsaturated Fat: 0.5g
- Trans Fat: 0g
- Carbohydrates: 25g
- Fiber: 2g
- Protein: 1g
- Cholesterol: 0mg