
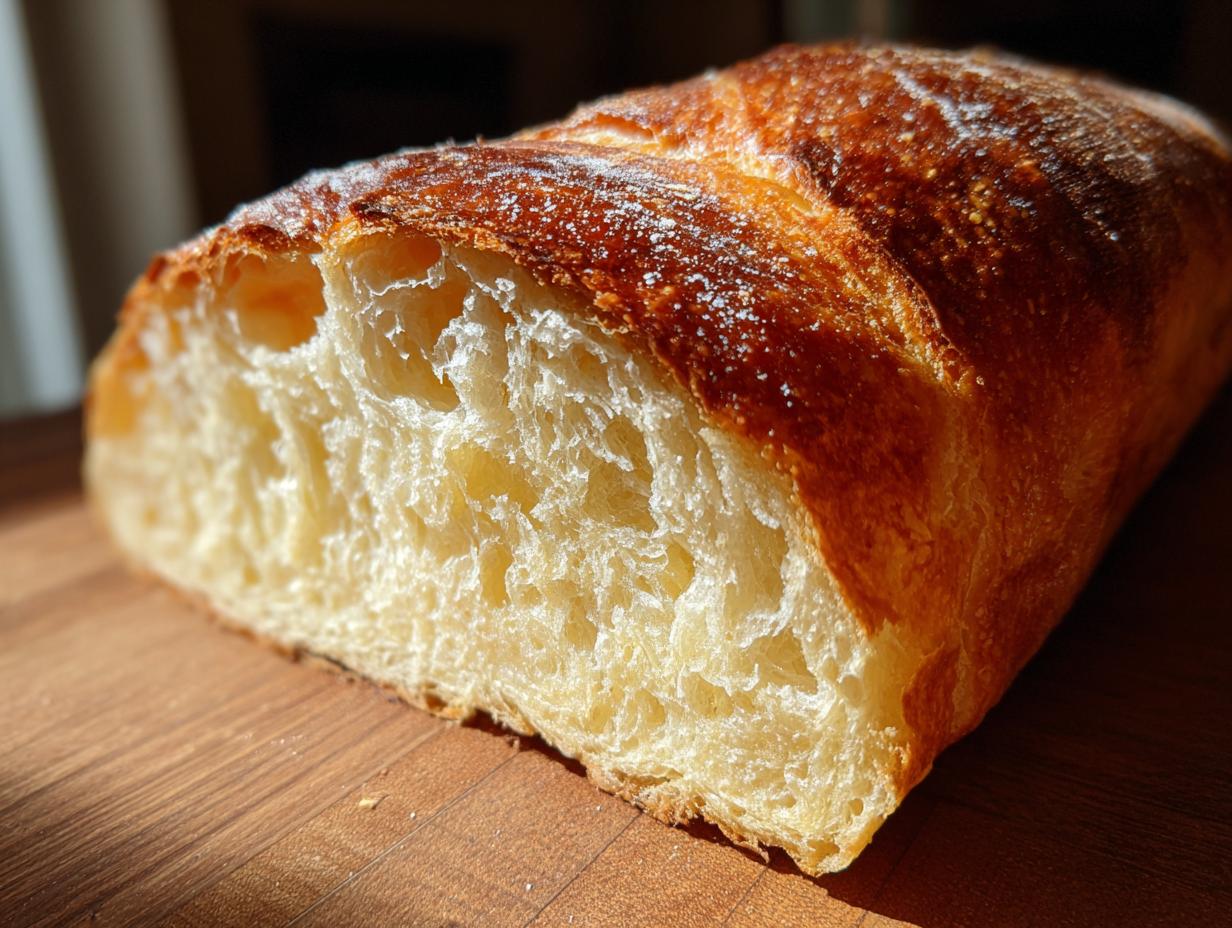
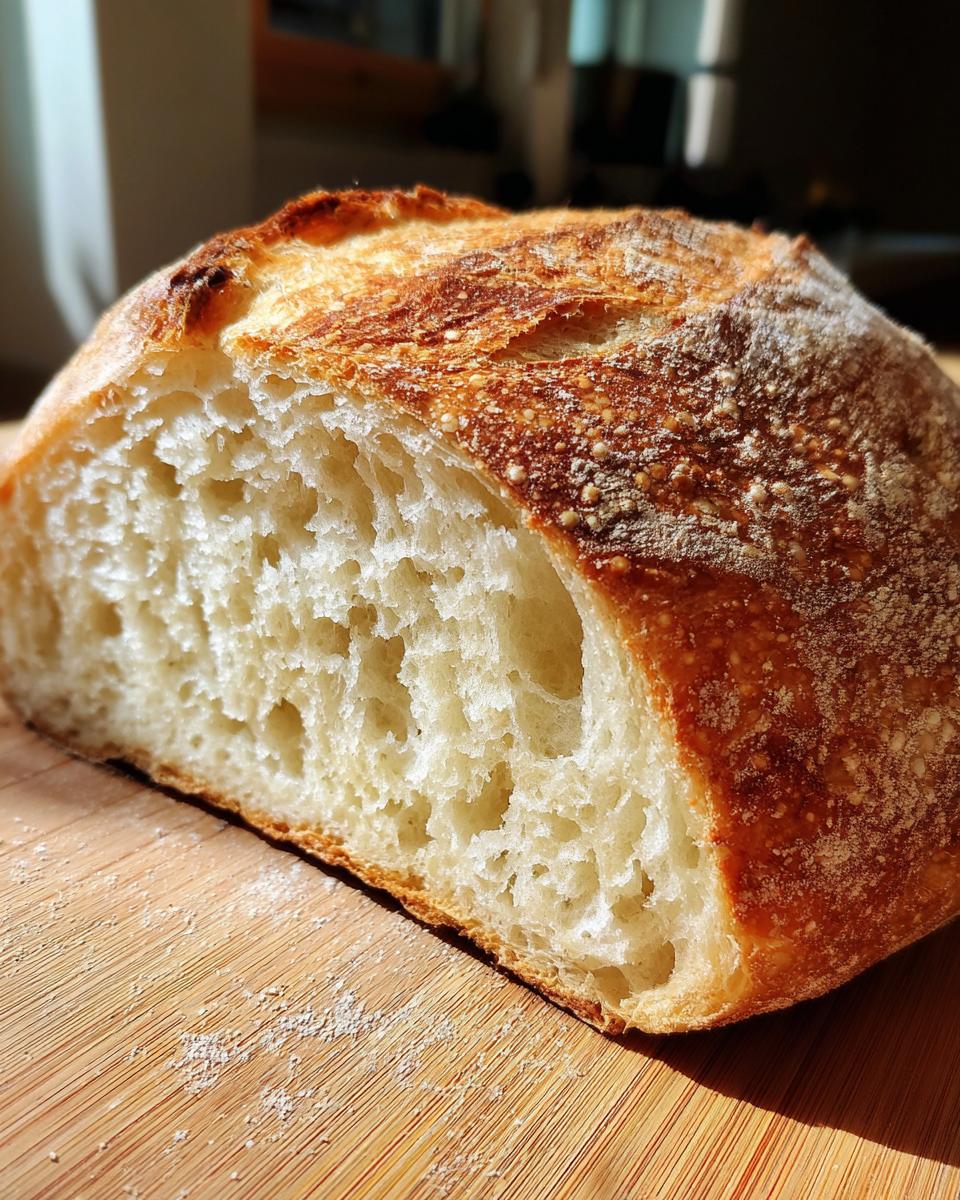
Oh, if you could only smell my kitchen right now! That yeasty, warm aroma is the absolute best sign that something wonderful is coming out of the oven. Making french bread at home feels like mastering a little bit of magic, doesn’t it? Forget those sad, squishy loaves from the store bakery; using this recipe, you get that fantastic, crackly crust that shatters just a little when you tap it, paired with an unbelievably soft and tender inside. It’s exactly what Sarah Jane always believed about home cooking: simple ingredients combined with care create moments of pure joy. Trust me, this baking method is reliable, and we’re going to get you that bakery-style loaf! If you love simple yeast work, you should also check out my recipe for easy garlic naan bread, but first, let’s conquer this crusty classic!
- Why This Homemade French Bread Recipe Works for Beginners
- Ingredients for Classic French Loaf
- Step-by-Step Instructions for Your French Bread
- Tips for Success When Making Artisan Bread at Home
- Serving Suggestions for Your Fresh French Bread
- Storage and Reheating Instructions for Homemade French Bread
- Frequently Asked Questions About This Crusty Bread Recipe
- Estimated Nutritional Data for French Bread
- Share Your Bakery Style Bread Creations
Why This Homemade French Bread Recipe Works for Beginners
I know baking artisan bread can look scarier than it is, but this Easy French Bread recipe trims away all the complicated nonsense. This isn’t some fussy, all-day process; we are aiming for quick results without sacrificing that amazing texture. Like everything here at Cookin’ Corner, this recipe is tested and totally dependable; it delivers a beautiful crackly crust and a melt-in-your-mouth interior every single time. If you love reliable results, you have to try my easy Italian bread recipe next!
Achieving the Perfect Crusty Bread Recipe Texture
That shatteringly crisp exterior—the one you usually only get at a real bakery? That comes down to one simple trick we do right before it goes in the oven: steam! Adding that initial burst of moist, hot air helps the dough expand quickly and caramelizes the exterior just right, giving you that satisfying crunch in every bite of your crusty bread recipe.
Tips for Soft Fluffy Bread Interior in Your French Bread
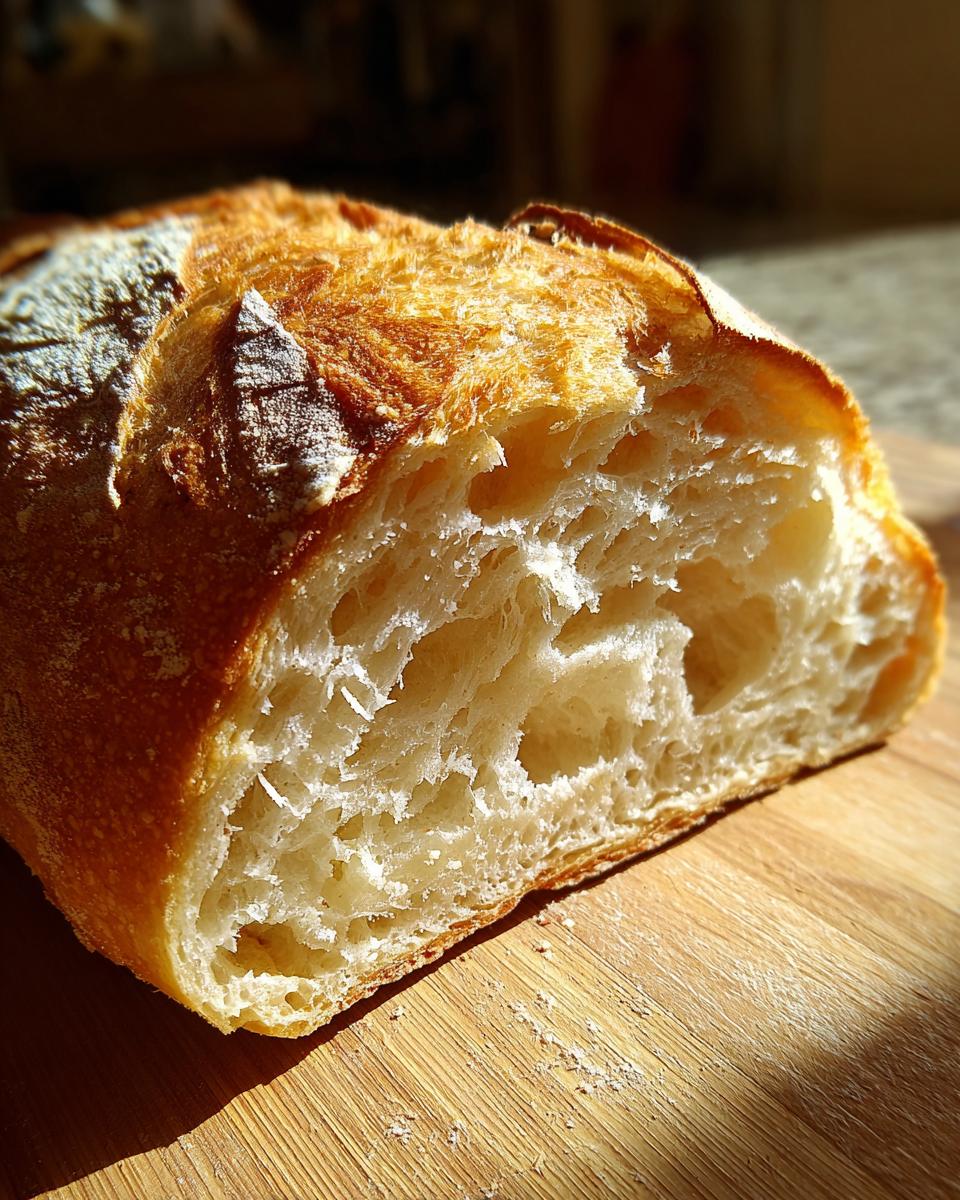
For the inside to be that wonderfully soft fluffy bread you dream about, you have to be gentle after the dry ingredients meet the water. The instructions tell you to stop mixing when it’s just a shaggy dough. That’s so important! If you start kneading this french bread dough too much, you develop too much gluten, and you end up with something tough instead of tender. Keep it light!
Ingredients for Classic French Loaf
Wow, gathering your ingredients is always the easiest, most satisfying part, isn’t it? You’ll be amazed at how far these pantry staples will take you. This recipe, my friends, makes two beautiful loaves of French bread—perfect for a big family dinner or freezing one for later! When measuring your ingredients for this Classic French Loaf, precision really matters, especially with the water and the yeast.
Here’s exactly what you need on your counter before you even think about mixing anything:
- All-Purpose Flour: You’ll need three cups. Nice, plain flour works perfectly here; don’t worry about needing fancy bread flour for this one!
- Instant Yeast: Just one teaspoon is all it takes to get that wonderful rise we are looking for.
- Salt: One and a half teaspoons of good old salt balances all the flavor.
- Warm Water: This is crucial! Use 1 1/4 cups, and make sure that water is warm to the touch, usually between 105°F and 115°F. If it’s too hot, you’ll kill your yeast, and if it’s too cold, they just won’t wake up.
- Olive Oil: We only need a single tablespoon of olive oil, just to lightly grease the bowl for the first rise so the dough doesn’t stick when it balloons up.
That’s it! See? Just five things! It’s proof that you don’t need a dozen obscure items to make incredible bread. If you’re looking for more easy dough recipes, you must check out my guide for soft fluffy dinner rolls—they use a similar base but bake up differently!
Step-by-Step Instructions for Your French Bread
Okay, here we go! This is where the real baking magic happens, but I promise it’s just following a few simple steps. Pay close attention to the timing, because that’s what pushes this out of the ‘okay’ zone and into that perfect, bakery style bread territory. Remember how I mentioned we don’t knead much? That’s the key to keeping the crumb delicate. Overmixing creates gluten strings that make the inside tough, and we want a soft inside for this french bread, not a chew toy!
Mixing and First Rise for Authentic French Bread
First things first, tackle those dry ingredients—flour, yeast, and salt—in your big mixing bowl. Give that a quick whisk just to get them acquainted. Then, pour in the warm water. You’re just mixing this with a wooden spoon until it all comes together into what the recipe calls a “shaggy dough.” That’s kitchen code for ‘stop touching it!’ Look, if you’re new to this, this is a great starter spot for Yeast Bread Recipes because you aren’t even using a stand mixer yet. Lightly oil your clean bowl, plop your shaggy dough in, cover it tight with plastic wrap, and let it sit somewhere warm for about 1 to 1.5 hours. It needs to look nicely doubled.
Shaping and Second Rest for the French Bread Loaves
Once it’s puffed up, go ahead and gently punch it down—it’s very satisfying! Turn the dough out onto a lightly floured counter and divide it evenly. Now, shape each piece into a nice, long cylinder, maybe 12 to 14 inches. And I mean gently! Don’t squeeze or pound it; we are just coaxing it into shape to keep those air bubbles intact. Place those shaped loaves onto your parchment-lined baking sheet, cover them loosely with a towel, and let them rest again for 30 minutes. They’ll look puffier after this second short rest.
Creating Steam for a Bakery Style Bread Crust
This is my absolute favorite trick for that incredible crust. About 20 minutes before that second rest is up, turn your oven way up to 450°F. Crucially, put a shallow metal pan on the very bottom rack while it preheats. When the oven is hot and you’re ready to bake your french bread, quickly slash the tops of your loaves three times diagonally with a very sharp knife. Then, CAREFULLY pour about a cup of hot water into that hot pan on the bottom rack—watch out for the steam blast! Immediately slide your bread into the oven. We have more tips on elevating this simple bake to an artisan bread at home experience just ahead!
Tips for Success When Making Artisan Bread at Home
Now that you’ve seen the main steps for this Easy French Bread, let me give you a few secrets I’ve picked up over the years. These little additions are what bridge the gap between a decent loaf and something you’d be proud to call Artisan Bread at Home. It’s all about control, my friend! If you’re looking for another simple dough recipe that still packs a punch, you should check out my sourdough discard pizza dough—it’s ridiculously simple.
Adjusting the Crust: Soft vs. Crispy French Bread
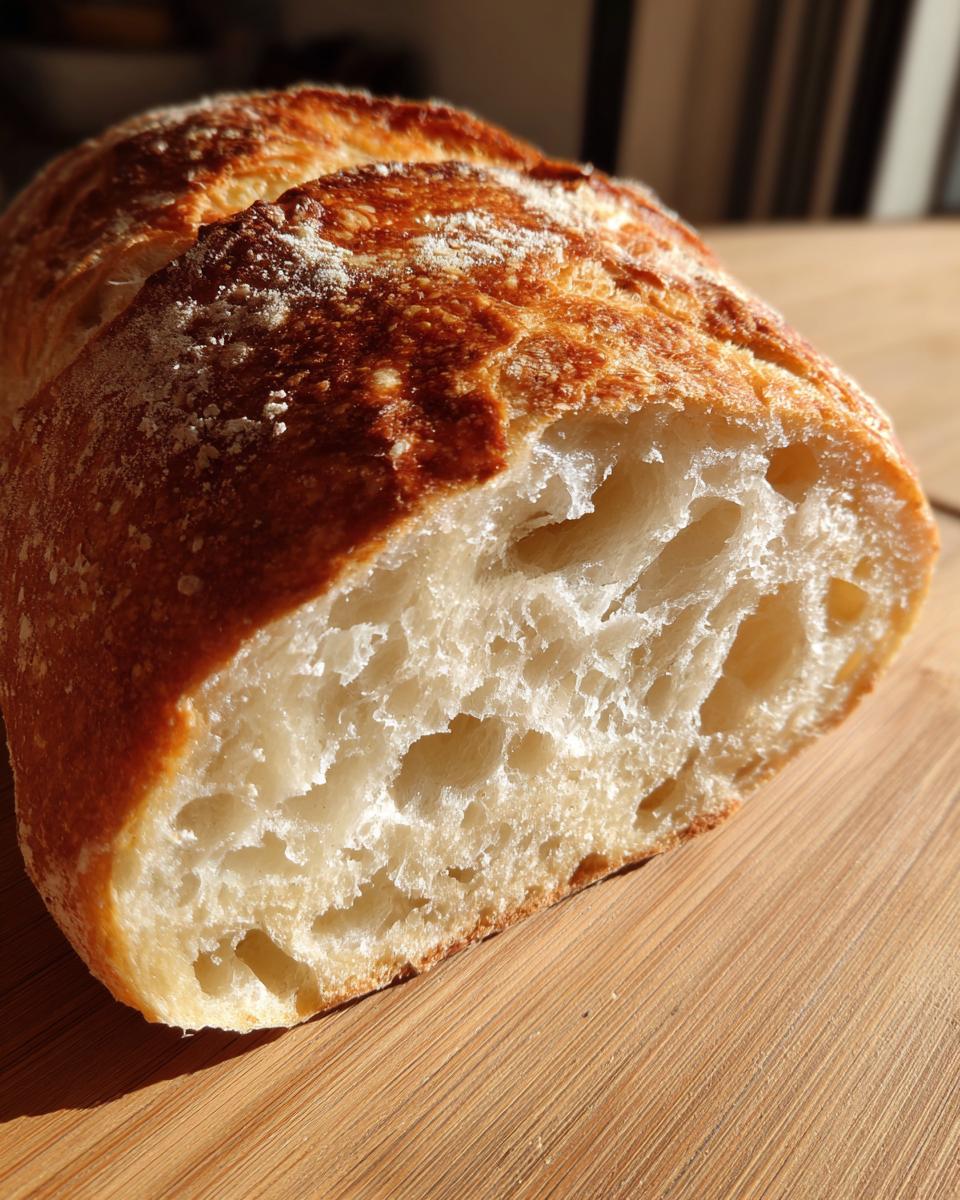
We talked about steam making for that beautiful, crackly crust, but maybe you’re making sandwiches for the kids later and want a crust that’s softer, easier for little teeth to manage. Good news: you have total control! If you skip the step where we pour hot water into the pan to create steam, your crust will naturally emerge much softer and chewier. It’s a lovely texture for dipping into soup, too! The bread still comes out delicious, it’s just less aggressive on the outside when it cools. So, steam for crunch, no steam for soft—simple as that!
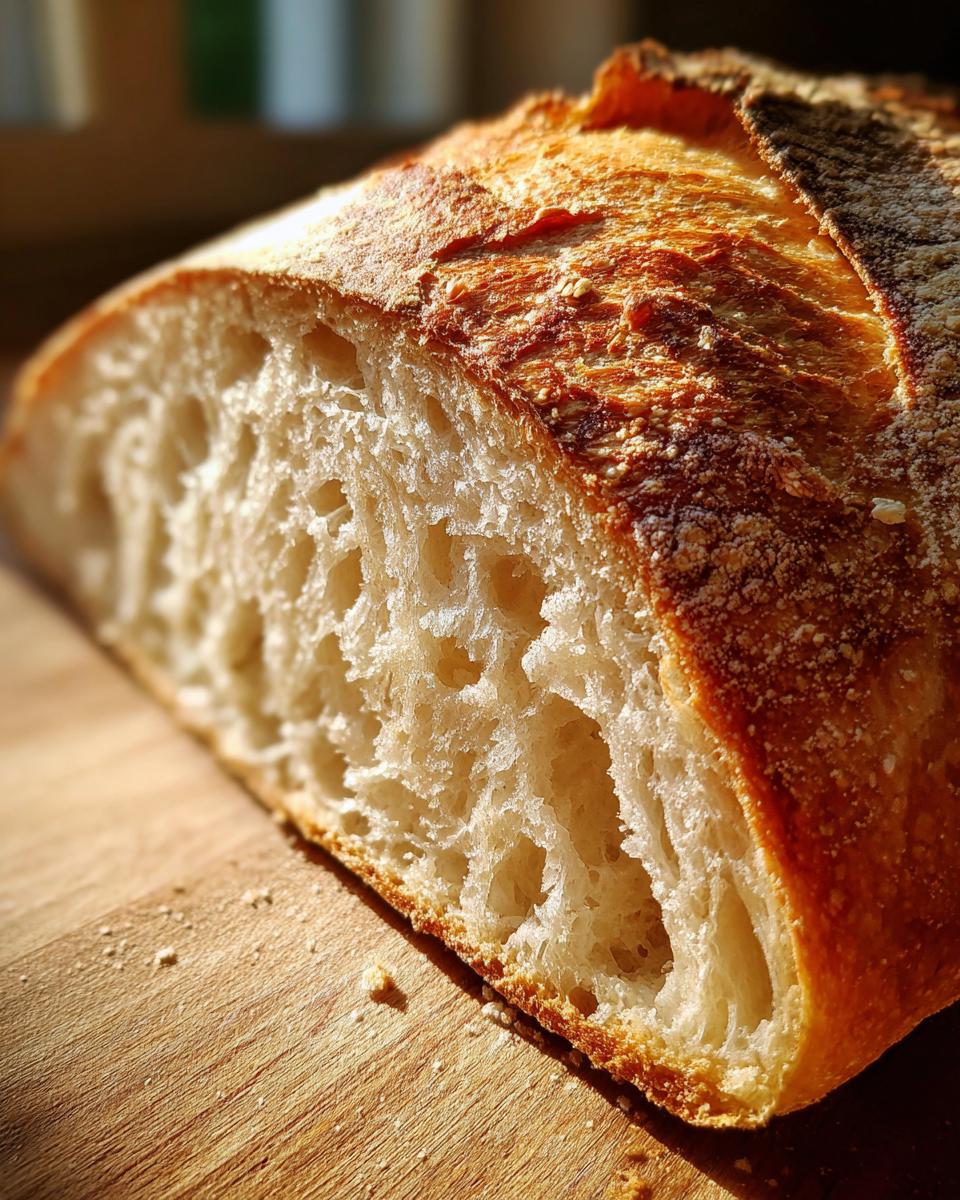
But for that ultimate crunch, ditching the steam pan isn’t enough. If you really want that show-stopping texture, try this: once your loaves are in the oven with the steam pan going, quickly open the door after about two minutes and spray the insides of the oven walls—not the bread, the walls!—with a little water from a clean spray bottle. Close the door fast! Do this one more time a minute later. That extra burst of moisture really sets that perfect, truly crusty finish we are aiming for on your french bread.
Serving Suggestions for Your Fresh French Bread
Seriously, what’s better than taking a fresh, warm loaf of this french bread, letting it cool just enough so you don’t burn the roof of your mouth off, and immediately tearing into it? Not much! But if you manage to save some for more than ten minutes, this loaf is incredibly versatile. It’s the perfect cornerstone for any comforting meal.
If you’re making a big pot of stew or chili, you need bread ready to dive right in and soak up every last drop. This crusty loaf is fantastic alongside my famous chicken gnocchi soup recipe. The steam in the oven basically pre-seasons the outside to be the best soup-dipping vehicle on the planet.
But don’t stop there! If you’re having a casual lunch or a heavier dinner like spaghetti, you absolutely need a side salad. My absolute favorite pairing is tearing off a hunk of this warm bread to sop up the dressing from my copycat Olive Garden salad dressing. It’s a tradition in our house!
For simple snacking—which, let’s be honest, is my preferred way to eat it—just slice it on the diagonal and serve it warm with a small bowl of good quality olive oil mixed with some cracked black pepper and maybe a splash of balsamic vinegar. Even though this recipe makes two full loaves instead of smaller dinner rolls and loaves, it disappears just as fast when the kids smell it baking!
Storage and Reheating Instructions for Homemade French Bread
So, what happens if you actually manage to have leftovers of this amazing french bread? If you wrap it tightly in foil or a clean paper bag—never plastic, plastic makes the crust soggy—it should stay pretty good at room temperature for a couple of days. The crust won’t be *quite* as snappy by day two, but it’ll still be good!
To bring that crust back to life? Don’t even bother with the microwave! Pop the whole loaf or slices into a pretty warm oven, maybe 350°F, for just about five to seven minutes. That blast of dry heat reactivates the outer shell, making it crispy again while the inside gets nicely fluffy. It’ll smell like you just pulled it out of the oven!
Frequently Asked Questions About This Crusty Bread Recipe
I get so many lovely emails asking for little tweaks or clarifications on technique, and that’s wonderful! Baking is all about learning and adapting. Here are a few things folks ask me all the time about perfecting their crusty bread recipe.
Can I use active dry yeast instead of instant yeast in this french bread?
Yes, you absolutely can! This is a common question when people are digging through their pantry for ingredients. Since you can’t just toss active dry yeast straight into the dry ingredients like we do with instant yeast, you need to wake it up first. Take your required amount of active dry yeast and mix it into the warm water (the 105°F to 115°F water is perfect for this). Let it sit for about five to ten minutes until it gets foamy and bubbly on top. Once it’s foamy, treat it exactly like the warm water in the recipe, and you’re good to go! It just adds a few extra minutes to this yeast bread recipe before the first mix.
What is the best way to score my french bread before baking?
Scoring—that’s what we call slashing the top of the loaf—is major for getting that gorgeous oven spring and preventing the bread from bursting oddly. You want to use a really sharp blade, like a razor blade or a lame if you have one, but a very sharp kitchen knife works in a pinch. Hold the blade at about a 30-degree angle, almost parallel to the top of the dough, not straight down like you’re chopping. You only want to slash about a half-inch deep. This creates a weak spot where the dough can expand gracefully instead of tearing open randomly. It really helps achieve that professional look for your classic French loaf.
Can I make a quick french bread recipe using only one rise?
This is where we talk about balancing speed and quality. While some recipes promise a quick french bread in under an hour with just one rise, I strongly advise against skipping the second rest for this particular recipe. That first long rise develops the flavor, but that second 30-minute rest helps the dough relax after you shape it. If you skip it, you might get a dense, tight loaf that doesn’t expand nicely in the oven, and you certainly won’t get the soft, fluffy texture we are aiming for. Stick with both rises if you want that truly *bakery style bread* result!
If you’re looking for other ways to use simple doughs, you might enjoy my recipe for easy creamy white chicken enchiladas—sometimes you just need a break from baking!
Estimated Nutritional Data for French Bread
I always feel like this part is a little bit like baking by science, but I know lots of you like to see the general rundown for your favorite easy creamy white chicken enchiladas pairings or just for general tracking! Remember, this is just an estimate based on the ingredients listed, and actual counts can change depending on the brands you use and exactly how thick you slice your loaf.
Think of these numbers as a helpful guide for this french bread recipe, which yields two loaves. We are basing this on one slice serving size:
- Calories: About 150
- Sugar: Just 1 gram
- Sodium: Around 300mg
- Fat Total: About 1 gram
- Carbohydrates: 31 grams
- Protein: 4 grams
Since this is such a simple recipe—mostly flour and water—the numbers stay pretty straightforward. It’s a great, light bread option for dipping!
Share Your Bakery Style Bread Creations
I truly love hearing from you all when you try one of my recipes! Getting feedback and seeing your beautiful bakes in action is honestly the highlight of my week. You worked hard shaping those loaves and managing that steam, and now you deserve the applause!
If this Homemade French Bread recipe made your kitchen smell amazing and gave you that beautiful, crackly crust you’ve always wanted, please do me a favor and come back here to leave a rating. Knowing that this recipe works reliably for you, just like it does for me, helps other home cooks feel confident trying it out. Did you manage an incredible crust? Did you serve it with dinner or slice it for sandwiches?
If you snapped a picture—and knowing you all, you totally did!—please tag me on social media! Seeing your results is the best encouragement. It proves that anyone can create Bakery Style Bread right on their own counter. I’d love to see how you’re enjoying your loaves!
And hey, if you enjoyed mastering this yeast recipe, you might want to try my recipe for best sugar cookies (soft & chewy cutout) next time you need a change of pace. Happy baking, everyone!
P.S. If you’re looking for more inspiration on achieving that perfect crusty exterior, check out this wonderful resource on truly crusty homemade French bread!
PrintEasy Homemade French Bread with a Crusty Exterior
Bake bakery-style French bread at home. This recipe balances a crispy, crackly crust with a soft, tender interior, perfect for serving with soup or making sandwiches.
- Prep Time: 20 min
- Cook Time: 25 min
- Total Time: 2 hours 15 min
- Yield: 2 loaves 1x
- Category: Baking
- Method: Baking
- Cuisine: French
- Diet: Vegetarian
Ingredients
- 3 cups all-purpose flour
- 1 teaspoon instant yeast
- 1 1/2 teaspoons salt
- 1 1/4 cups warm water (about 105-115°F)
- 1 tablespoon olive oil (for the bowl)
Instructions
- Mix the flour, yeast, and salt together in a large bowl.
- Add the warm water and mix with a wooden spoon until a shaggy dough forms. Do not overmix.
- Lightly grease a clean bowl with olive oil. Place the dough in the bowl and turn it over to coat.
- Cover the bowl tightly with plastic wrap and let the dough rise in a warm place for 1 to 1.5 hours, or until doubled in size.
- Gently punch down the dough. Turn it out onto a lightly floured surface. Divide the dough into two equal pieces.
- Shape each piece into a long, narrow loaf, about 12 to 14 inches long. Do not knead or overwork the dough.
- Place the shaped loaves on a baking sheet lined with parchment paper, leaving space between them. Cover loosely with a clean kitchen towel. Let them rest for 30 minutes.
- Preheat your oven to 450°F (232°C) about 20 minutes before the end of the second rise. Place a shallow pan on the bottom rack for steam.
- Just before baking, use a sharp knife or razor blade to make three diagonal slashes, about 1/2 inch deep, across the top of each loaf.
- Carefully pour 1 cup of hot water into the shallow pan on the bottom rack to create steam. Immediately place the baking sheet with the bread into the oven.
- Bake for 20 to 25 minutes, rotating the pans halfway through, until the crust is deep golden brown.
- Remove the bread from the oven and cool on a wire rack before slicing.
Notes
- For an extra crispy crust, spray the inside walls of the oven with water twice during the first 5 minutes of baking.
- This bread is excellent served warm with butter or used for sandwiches.
- If you prefer a softer crust, omit the steam step in the oven.
Nutrition
- Serving Size: 1 slice
- Calories: 150
- Sugar: 1
- Sodium: 300
- Fat: 1
- Saturated Fat: 0
- Unsaturated Fat: 1
- Trans Fat: 0
- Carbohydrates: 31
- Fiber: 1
- Protein: 4
- Cholesterol: 0