
Oh, the smell! There is nothing that says ‘home’ quite like the powerful, comforting aroma of homemade italian bread baking in the oven. Forget those sad, squishy grocery store loaves, friends! I’m sharing my absolute favorite way to get that classic, bakery-style crackly crust and soft, chewy interior right here in your kitchen. This recipe is one of our most reliable classics, painstakingly refined for the modern American home cook who needs results that work *every time*. Trust me, if you’re looking for dependable comfort food, you’re in the right place, which you can read a bit more about over on our About Page!
- Why This Homemade Italian Bread Recipe Works for You
- Ingredients for Your Bakery Style Italian Loaf
- Essential Equipment for Making Italian Bread
- Step-by-Step Instructions for Easy Crusty Italian Bread
- Tips for Success When Baking Homemade Italian Bread
- Serving Suggestions for Your Fresh Baked Bread Aromas
- Storage and Reheating Instructions for Italian Bread
- Frequently Asked Questions About This Italian Bread Recipe
- Estimated Nutritional Data for This Italian Bread
Why This Homemade Italian Bread Recipe Works for You
If you’ve ever been nervous about tackling bread, stop right now! This recipe is my go-to for anyone feeling like a beginner bread maker. We focus on basics because that’s where the magic is, ensuring you get that stunning golden result without any fuss. It’s the perfect entry point for Easy Crusty Bread Baking!
- It uses simple pantry staples—nothing fancy required.
- The technique guarantees that sought-after contrast: crunchy outside, soft, airy inside.
- It’s remarkably forgiving, even with the rising times!
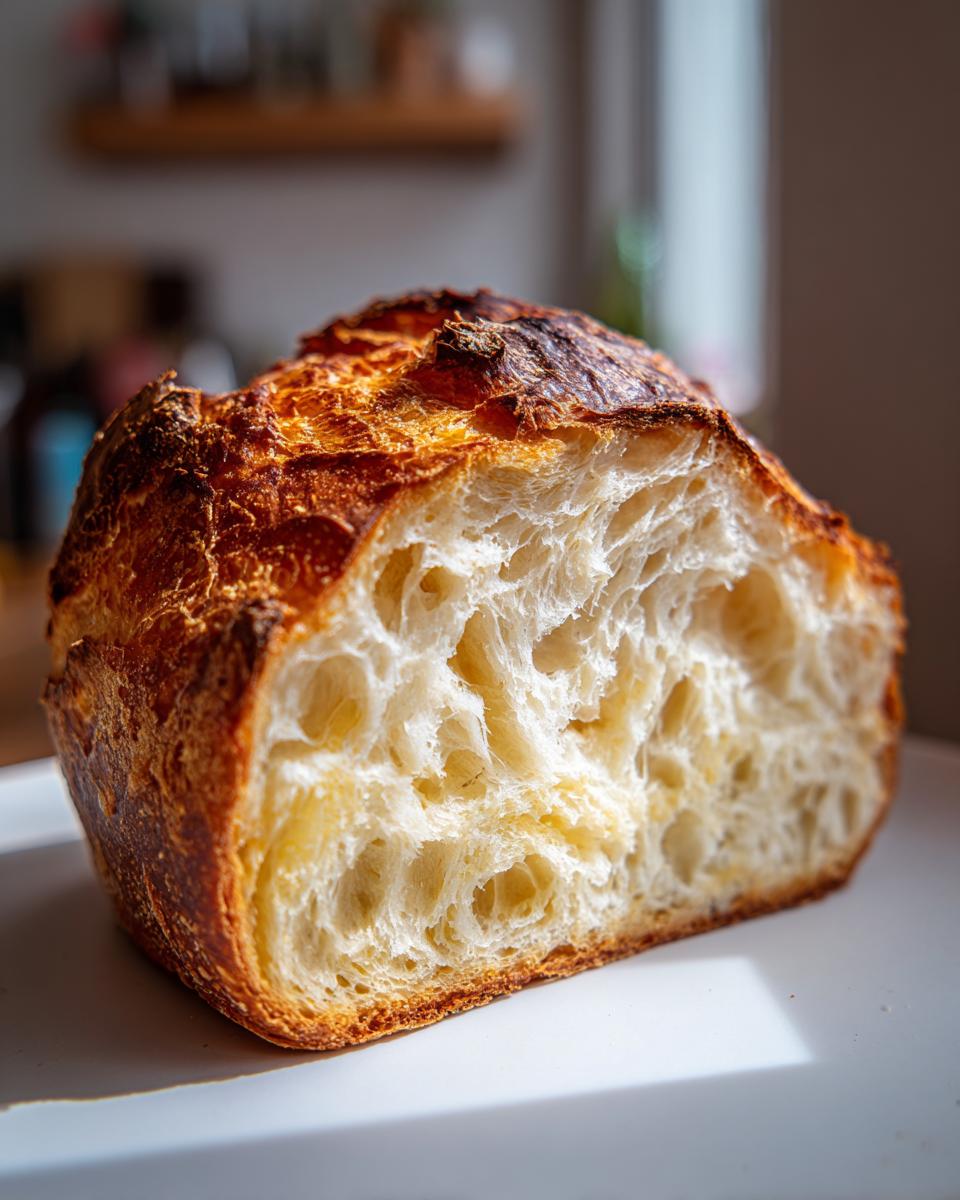
Attaining the Perfect Golden Brown Crust Bread
The secret weapon for that amazing crackly crust? Steam! I know, it sounds like a fancy trick, but setting up a small pan of hot water in the oven while baking creates a humid environment. This keeps the outside dough soft just long enough to expand fully before hardening into a truly gorgeous, deep golden brown finish.
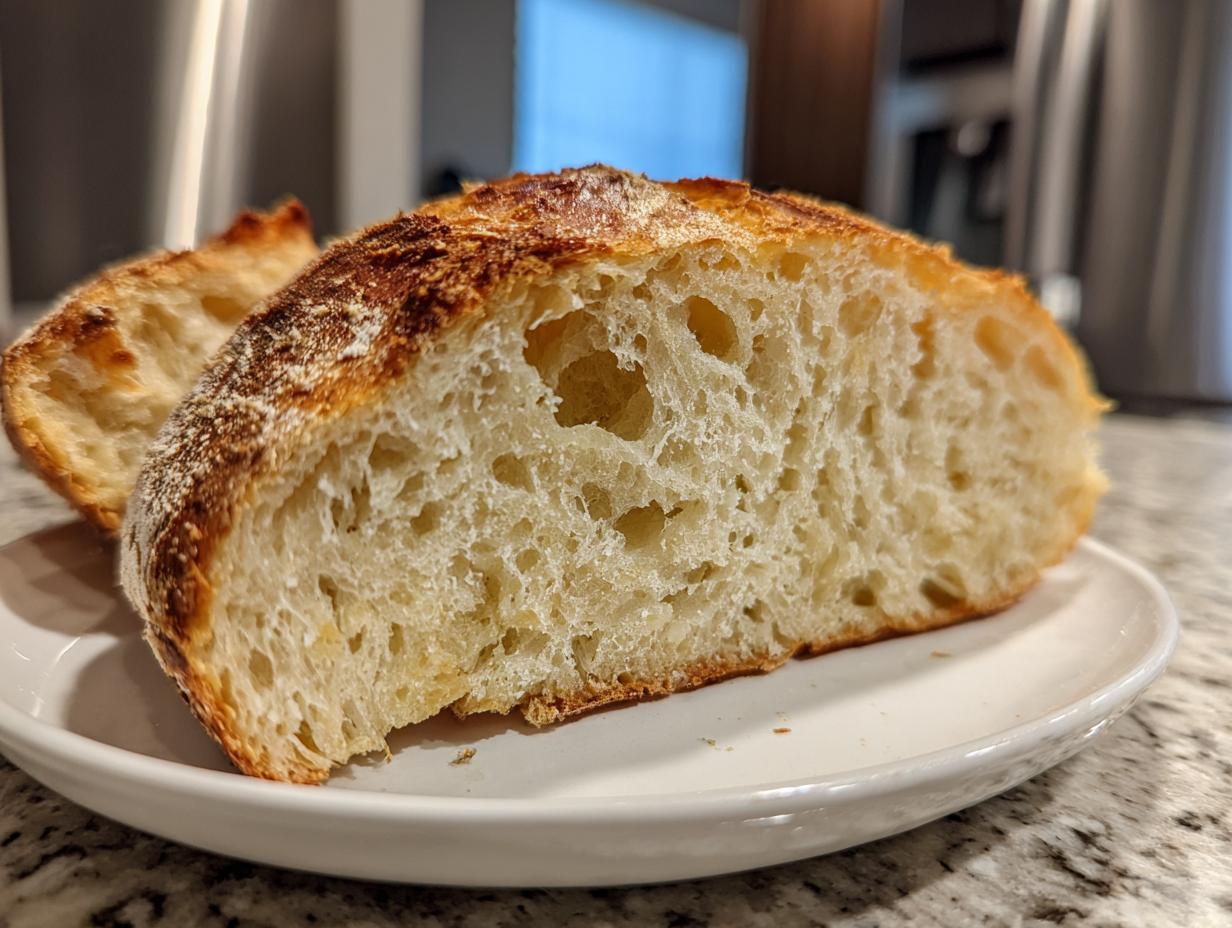
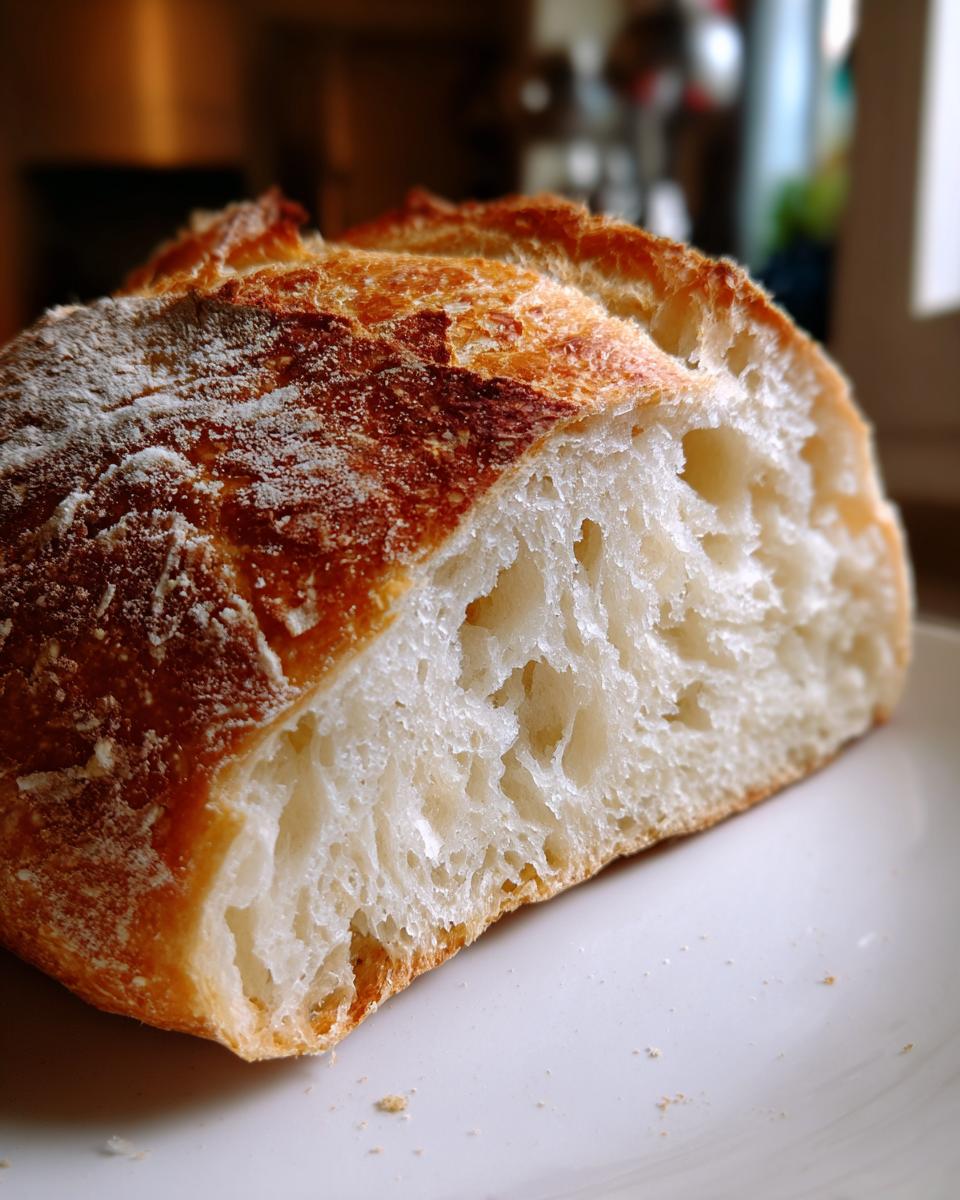
Soft Inside Crusty Outside Bread Texture Guaranteed
For that soft, chewy center, you absolutely must respect the kneading time. When you knead this dough until it feels smooth and elastic, you’re developing the gluten structure necessary. This structure traps those gases during baking, preventing the loaf from collapsing into a dense brick and giving you that satisfying, airy chew.
Ingredients for Your Bakery Style Italian Loaf
Listen, keeping it simple is key to making wonderful Italian bread. We aren’t hunting down exotic flours here—just good stuff you likely already have! I found this list over on Forecipes, and I swear by every measurement here. You need absolute precision with the water temp, though, so grab a basic thermometer!
Here is exactly what you gather:
- Three and a half cups of all-purpose flour. No need to sift unless you’re feeling overly ambitious!
- One and a half teaspoons of salt. Table salt is fine, just measure it accurately.
- One teaspoon of granulated sugar. This just wakes up the yeast buddies!
- Two and a quarter teaspoons of active dry yeast—that’s one standard packet. Make sure it isn’t ancient!
- One and a half cups of warm water. This is critical: aim for 105 to 115 degrees Fahrenheit. Too hot and you kill the yeast; too cold and it sleeps!
- One tablespoon of olive oil, plus a little extra for greasing the bowl later.
Mixing these basic ingredients is what sets up that lovely bakery style Italian loaf texture we are aiming for.
Essential Equipment for Making Italian Bread
So, you don’t need a giant stand mixer or a professional Dutch oven for this! Honestly, keeping the equipment list short makes this Italian bread recipe so accessible. You basically just need a big bowl for mixing and rising. Grab your largest mixing bowl, a sturdy baking sheet, and the essential parchment paper—that stuff is a lifesaver!
If you have a thermometer to test that water temperature, great! If not, just test it with your little finger; it should feel quite warm but not scalding hot. That’s all we need to get started on this simple sandwich bread!
Step-by-Step Instructions for Easy Crusty Italian Bread
Okay, let’s get our hands dusty! This is where we turn simple flour and water into a magnificent loaf of italian bread. My method here really focuses on making sure beginners don’t overthink it, but I have added a personal touch or two based on watching my own loaf misshape over the years! It’s important to follow these directions carefully, just like we follow our site’s Terms of Use, for the best outcome.
Mixing the Dough and First Rise for Italian Bread
First, you want to combine all your dry stuff—flour, salt, sugar—in that big bowl. Now for the yeast! This is my personal rule: make sure that water is between 105 and 115 degrees Fahrenheit. If you’re off, the yeast won’t wake up, and your bread stays flat. Mix that yeast into the warm water and let it get foamy, which means it’s alive! Then, stir the yeast water and that tablespoon of olive oil right into your dry ingredients until it gets shaggy. Cover it up and let it hang out in a warm spot for about an hour and a half until it’s doubled. You’ll see the bowl looking puffy and happy!
Shaping and Second Proofing
Once it has puffed up its chest, gently punch that yeast down—don’t beat the life out of it! You want to treat your dough kindly here. Knead it for those full 5 to 7 minutes until it feels smooth, like soft leather. Then, gently shape it into a round loaf or an oblong shape, depending on what you need. Pop it on its piece of parchment paper, cover it loosely, and let it rest again for about 30 to 45 minutes. This second rest is calmer, letting the structure relax before the big bake.
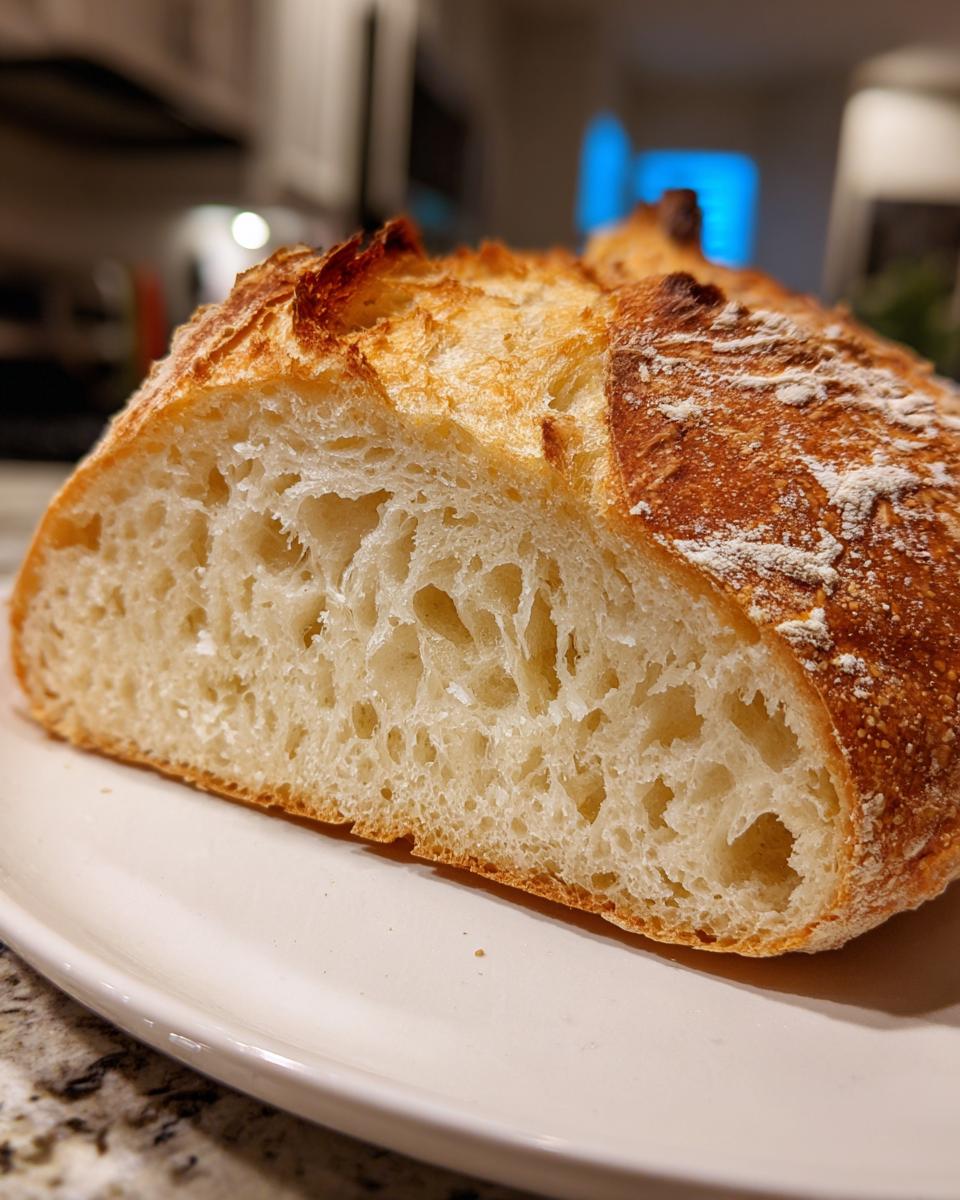
Baking Your Golden Brown Crust Bread with Steam
Preheat that oven to 400°F—and make sure you put a shallow pan on that bottom rack *before* it heats up! When the loaf looks nice and puffy, brush it with water. This helps that golden brown crust bread color happen evenly. I always make a few little shallow slashes across the top with a very sharp knife right before it goes in; this encourages *oven spring* so the loaf opens nicely instead of bursting randomly. Slide the bread in, then quickly pour half a cup of hot water into that bottom pan and shut the door fast! Bake it for 30 to 35 minutes until it’s deeply colored. You can find a great visual on scoring at Naya Baker’s site! Cool it completely before slicing, or you’ll mess up that beautiful, airy crumb.
Tips for Success When Baking Homemade Italian Bread
Baking your first Homemade Italian Bread Recipe can feel intimidating, but honestly, you’ve got this! Since this is a guide for the everyday cook, let’s talk about overcoming the few little hiccups that can happen. Trust me, I’ve made my share of bricks before I nailed this method. Following these little pointers will solidify your success as a beginner bread making enthusiast.
My number one piece of advice? Don’t skimp on the oven steam! If you skip that water pan trick, your crust will be pale and tough, not golden and crunchy. Also, if your loaf looks kinda sad and flat after the second rise, it might have proofed a little too long, so next time, set a timer! Learning how to read your dough is half the fun, and you can look at some great examples of perfected crusts over at Ben’s Recipes.
Troubleshooting Common Italian Bread Issues
If your chewy italian loaf ends up lacking that deep color people rave about, it’s almost always that steam step! Add that hot water right at the beginning of the bake. If your dough won’t hold its shape when you move it to the sheet, it probably needs a few more minutes of kneading next time to build up that strength. A little patience goes a long way!
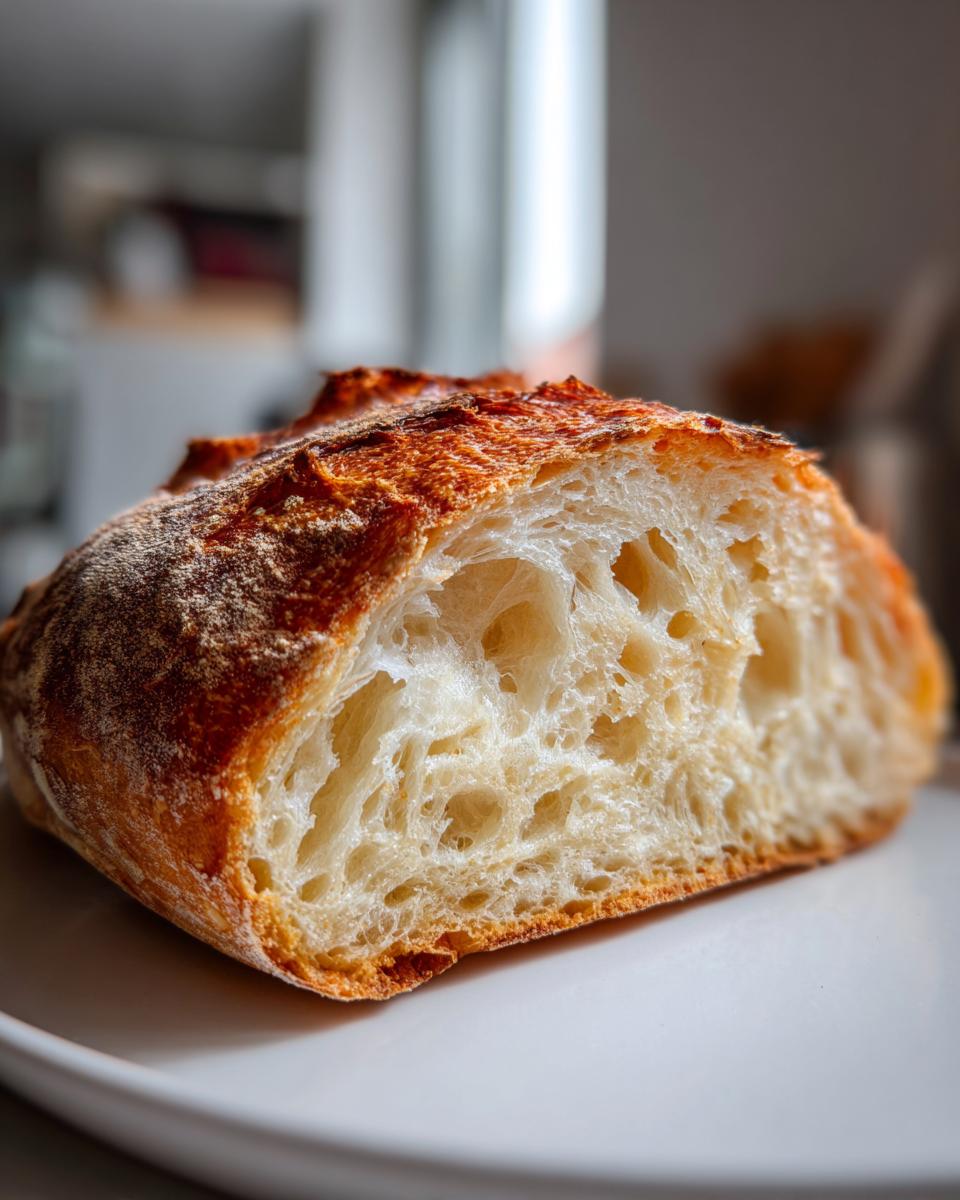
Serving Suggestions for Your Fresh Baked Bread Aromas
Now that your kitchen smells like heaven, it’s time to eat! This golden loaf is hardly just for looks, honey. It’s perfect for tearing apart and using as one of the best dipping bread recipes out there—slather it with good olive oil and maybe some cracked black pepper. Seriously, dipping bread is an art form, and this is your canvas.
But don’t stop there! This is the Ultimate Dinner Side Bread Recipes, too. Use those satisfying slices to mop up every last bit of sauce from your spaghetti night. And, of course, once it cools down enough not to shred when you slice it, it makes the most incredible, sturdy base for hearty Italian sandwiches. You nailed the crust, so let’s use it!
You can see some fantastic ways folks serve up their bread over at Savoring Moments—get inspired!
Storage and Reheating Instructions for Italian Bread
You made a beautiful loaf! Now, don’t let that amazing crust go soft overnight. The key here is airflow. Once the bread is totally cool, stash it cut-side down in a brown paper bag—not plastic! Plastic traps moisture and that lovely crunch vanishes instantly. Seriously, ditch the Ziploc bags for this crusty loaf.
If the crust does go a little soft the next day, don’t panic. Just give the whole loaf a quick 5-minute spritz with water and pop it directly onto the oven rack at 350°F. That little blast of heat and steam revives that perfect, crunchy texture like magic!
Frequently Asked Questions About This Italian Bread Recipe
I always get so many questions once people smell this baking at home! Honestly, I’m happy to chat technique anytime. If you’ve got more specific questions about the process, feel free to send a note through our Contact Page. Here are the ones I hear most often about mastering this loaf.
Can I make this a No Knead Italian Bread recipe?
You technically *can*, but this specific recipe benefits greatly from kneading. Kneading builds the strength needed for that chewy, airy structure inside, which is hard to achieve without any work at all. If you skip kneading, you might end up with a denser texture than the classic homemade Italian bread. It’s worth the 7 minutes!
How can I speed up the Quick Italian Bread Tutorial rising time?
If you’re in a rush, you need a warm, draft-free spot! I often turn my oven on to its lowest setting for about two minutes, turn it OFF completely, and then place the covered dough bowl inside. That gentle residual warmth really encourages the yeast to get going faster than sitting on the counter.
Another great resource for learning tricky steps is Liya’s step-by-step guide—she shows great visuals for the proofing stage!
Estimated Nutritional Data for This Italian Bread
Okay, so while this italian bread is absolutely divine, it’s real food, not diet food! We always measure things by taste ’round here, but for those of you who like to keep track, I’ve pulled the general estimated numbers from our base recipe calculations below. Remember, these figures are estimates based on the standard ingredients and portion sizes; if you use a different flour or add a whole lotta olive oil, things change!
We should always keep our privacy in mind when looking at data, so rest assured our tracking follows our Privacy Policy strictly!
Here’s the quick rundown per one slice:
- Calories: About 150 (Perfect for dipping!)
- Total Fat: Roughly 2 grams
- Carbohydrates: Around 30 grams
- Protein: About 5 grams
It clocks in pretty low on the sugar and cholesterol, which I love. It just proves that simple ingredients, treated with care, make for honest, delicious food!
PrintEasy Crusty Homemade Italian Bread
Bake a bakery-style Italian loaf at home with this simple recipe. You get a golden, crunchy crust and a soft, chewy interior using basic pantry ingredients.
- Prep Time: 20 min
- Cook Time: 35 min
- Total Time: 2 hours 5 minutes
- Yield: 1 large loaf 1x
- Category: Baking
- Method: Baking
- Cuisine: Italian
- Diet: Vegetarian
Ingredients
- 3 1/2 cups all-purpose flour
- 1 1/2 teaspoons salt
- 1 teaspoon granulated sugar
- 2 1/4 teaspoons active dry yeast (1 packet)
- 1 1/2 cups warm water (about 105-115°F)
- 1 tablespoon olive oil, plus more for greasing
Instructions
- Combine the flour, salt, and sugar in a large bowl.
- In a separate small bowl, dissolve the yeast in the warm water. Let it sit for 5 minutes until foamy.
- Pour the yeast mixture and the olive oil into the dry ingredients. Mix with a wooden spoon until a shaggy dough forms.
- Turn the dough out onto a lightly floured surface. Knead for 5 to 7 minutes until the dough is smooth and elastic.
- Lightly grease a large bowl with olive oil. Place the dough in the bowl, turning to coat. Cover the bowl with plastic wrap or a clean kitchen towel.
- Let the dough rise in a warm place for 1 to 1.5 hours, or until it has doubled in size.
- Gently punch down the dough. Shape it into a long, round loaf.
- Place the loaf on a baking sheet lined with parchment paper or in a prepared loaf pan. Cover loosely and let it rise for a second time for 30 to 45 minutes, or until puffy.
- Preheat your oven to 400°F (200°C). Place a shallow pan on the bottom rack to create steam later.
- Before baking, lightly brush the top of the loaf with water. If desired, score the top with a sharp knife.
- Place the loaf in the oven. Pour about 1/2 cup of hot water into the shallow pan on the bottom rack to create steam, then quickly close the oven door.
- Bake for 30 to 35 minutes, or until the crust is deep golden brown and the internal temperature reaches 200°F (93°C).
- Remove the bread from the oven and let it cool completely on a wire rack before slicing.
Notes
- For an extra crispy crust, spray the oven walls with water a few times during the first 10 minutes of baking.
- If you want a chewier interior, let the dough rise longer during the first proofing stage.
- This bread is excellent for dipping in olive oil or serving with pasta dishes.
Nutrition
- Serving Size: 1 slice
- Calories: 150
- Sugar: 0.5
- Sodium: 250
- Fat: 2
- Saturated Fat: 0.3
- Unsaturated Fat: 1.7
- Trans Fat: 0
- Carbohydrates: 30
- Fiber: 1.5
- Protein: 5
- Cholesterol: 0