
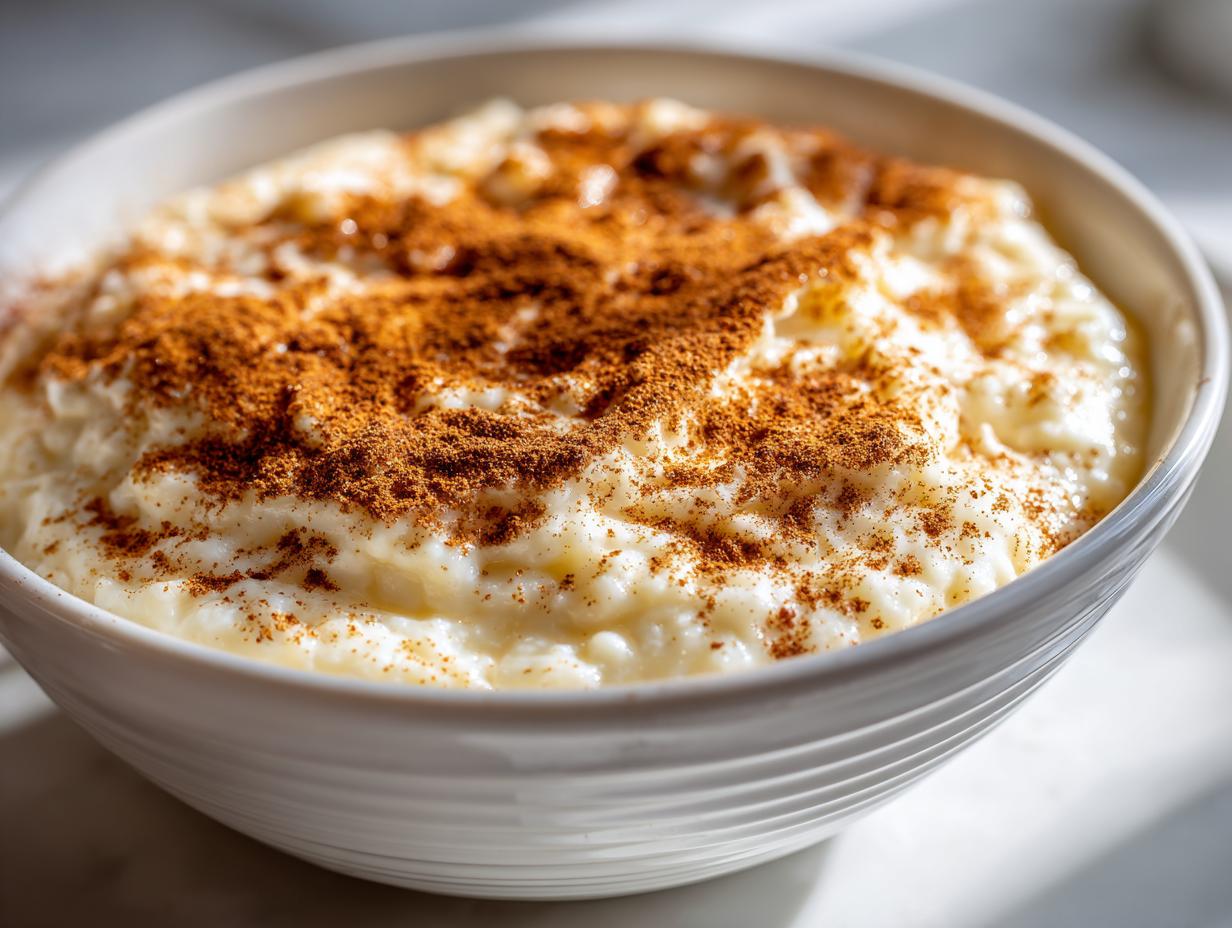
There are some desserts that just smell like home, aren’t there? For me, that rich, warm scent is always my old fashioned rice pudding simmering gently on the stove. It’s the ultimate comfort food, taking you right back to those cozy childhood kitchens. Here at Cookin’ Corner, we believe the best recipes are the ones you can trust year after year, and that standard is exactly why this creamy rice pudding recipe is so special. Sarah Jane Thompson bases this method on the classics she learned growing up—simple ingredients, reliable technique, and absolutely no fuss. Trust me, this stovetop version delivers that rich, thick, luxurious texture we all crave without needing hours in the oven. If you want a truly authentic, no-fail experience, you’ve come to the right place. You can find more of these timeless treats in our main dessert recipes collection!
- Why This Old Fashioned Rice Pudding Recipe is a Family Favorite
- Gathering Ingredients for Creamy Rice Pudding Recipe
- Step-by-Step Instructions for Easy Stovetop Rice Pudding
- Making Your Rice Pudding a Nostalgic Dessert Recipe
- Tips for Perfect Old Fashioned Rice Pudding Every Time
- Serving Suggestions for Your Homemade Creamy Dessert
- Storage and Reheating Instructions for Leftover Rice Pudding
- Frequently Asked Questions About Classic Dessert Recipes
- Share Your Perfect Rice Pudding Experience
- Share Your Perfect Rice Pudding Experience
Why This Old Fashioned Rice Pudding Recipe is a Family Favorite
When Sarah Jane talks about her childhood, this is the dessert that always comes up. It’s pure nostalgia in a bowl! We all love those rich, heavy baked puddings, but honestly, they can be unpredictable, right? That’s why we stick to the easy stovetop pudding method here. It guarantees that dreamy, thick, creamy rice pudding recipe consistency every single time. This isn’t just a sweet treat; it’s one of those foundational comfort food desserts that just feels right on a cool evening.
It’s what we call our true family favorite pudding because it’s so wonderfully straightforward. Sarah Jane says the constant, gentle stirring on the stovetop coaxing the starch out of the rice creates a velvetiness that you just can’t fake in a baking dish. If you enjoy that creamy cinnamon experience, you definitely need to check out the filling in our Snickerdoodle Cheesecake, too!
Gathering Ingredients for Creamy Rice Pudding Recipe
Okay, grabbing your ingredients is where the magic of this creamy rice pudding recipe really begins. Because we aren’t using any fancy thickeners here—it’s all about the rice doing the work—the quality of what you pull out of the pantry matters quite a bit! This recipe is one of those wonderful simple dessert recipes where just a few things shine, so let’s make sure we have them ready to go.
Here is what you need to gather for four perfect servings:
- 1 cup short-grain white rice
- 4 cups whole milk
- 1/2 cup granulated sugar
- 1/4 teaspoon salt
- 1 teaspoon vanilla extract
- 1/4 teaspoon ground cinnamon (this is just for topping at the end!)
Ingredient Notes and Substitutions for Perfect Rice Pudding
I know sometimes we have to make do with what we have, but if you want that ultra-creamy texture that really makes this old fashioned rice pudding sing, please try to stick to short-grain rice. Arborio works great too! That starch release is crucial; it’s what thickens everything up beautifully, unlike long-grain which stays too separate. Don’t skip the salt; it just helps balance out that sweetness!
Now, if you’re feeling extra decadent—maybe it’s a cold winter night for some true warm winter desserts—I definitely recommend taking the substitution note to heart. Swapping out one cup of the whole milk for heavy cream will instantly turn this into an unbelievably rich and almost custardy experience. It’s a lovely little secret weapon for making your homemade creamy dessert truly stand out.
Step-by-Step Instructions for Easy Stovetop Rice Pudding
This is where we put in the time, but honestly, most of that time is just letting the stove do the heavy lifting! We are making this classic dessert recipe the simple stovetop way, which means we need patience, not frantic whisking. Get yourself a large, heavy-bottomed saucepan; that’s important for even heating!
First things first: toss your rice, the whole milk, the sugar, and that little pinch of salt right into the pan. Give it a good stir to get everything mixed up before the heat comes on. Now, put that pan over medium heat.
You need to keep stirring it frequently right at the beginning, especially as it warms up, just to make sure that rice doesn’t decide to stick and scorch on the bottom—and nobody wants burnt rice pudding, trust me! Once you see it just starting to bubble and simmer gently, that’s your cue. Immediately drop that heat down to low.
Now, we slow it down. Let it cook uncovered for a good 45 to 60 minutes. Remember that stirring rule? Stir every 5 to 10 minutes. This continuous, gentle stirring is technically what develops the starch we need for that incredible thickness. You’ll notice the liquid reducing, the rice softening, and the whole mixture turning into something that looks remarkably like thick, delicious oatmeal. That’s how you know you’re doing it right!

If you’re looking for more straightforward stovetop goodness, be sure to check out my guide on easy stovetop pudding techniques!
Achieving the Best Texture in Your Rice Pudding
How do you know when that hour is up and your old fashioned rice pudding is truly done? A toothpick test isn’t quite the move here. You are looking for visual and feel cues. When the liquid has reduced significantly and the rice grains are totally soft—no hard, crunchy centers left, please—you’re almost there.
The pudding should look thick, almost too thick, like a very heavy oatmeal. Don’t panic if it seems a bit looser than you expect when you take it off the heat! This is the key to making it the best rice pudding ever: it thickens up dramatically as it cools down.
So, once you pull that pot off the burner, just let it hang out for ten minutes. If you want it firm enough to scoop cleanly later, letting it cool down almost completely before chilling will give you that perfect, sliceable texture—just like those popular store-bought cups!
Making Your Rice Pudding a Nostalgic Dessert Recipe
We’re in the home stretch now! This is where we transform that perfectly cooked, thick base into the heartwarming dish everyone remembers. The final steps are so simple, but they truly lock in that classic, homey flavor profile. We are aiming for maximum comfort here, turning this into the ideal vanilla cinnamon pudding experience.
Remember how I told you to watch the pot closely toward the end? Once you take the saucepan completely off the heat—and I mean off the burner, not just turned down—that’s the moment for the vanilla extract. Adding the vanilla when the pudding is scalding hot can sometimes mute its beautiful fragrance, but taking it off the heat lets that pure, rich flavor shine through in every spoonful of your homemade creamy dessert.
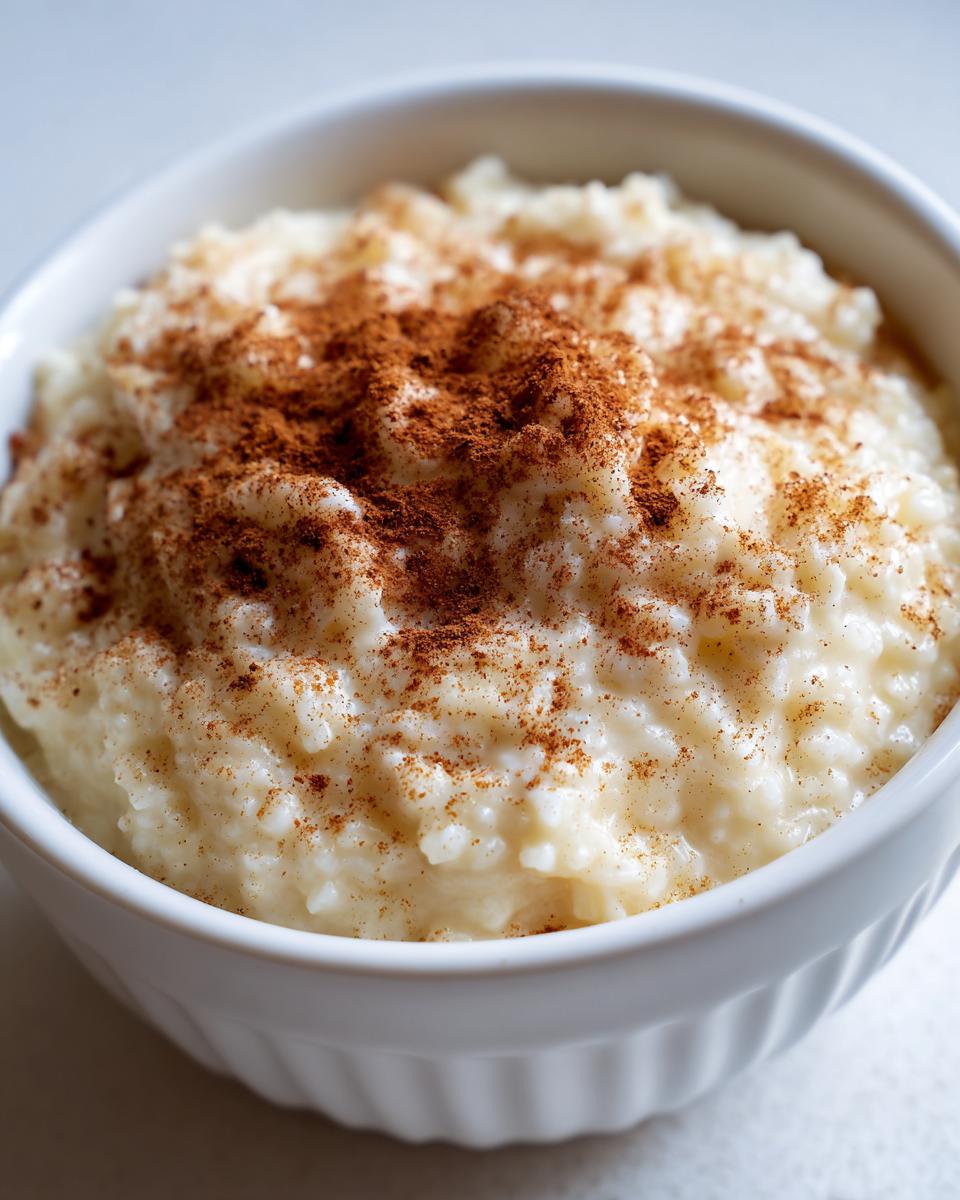
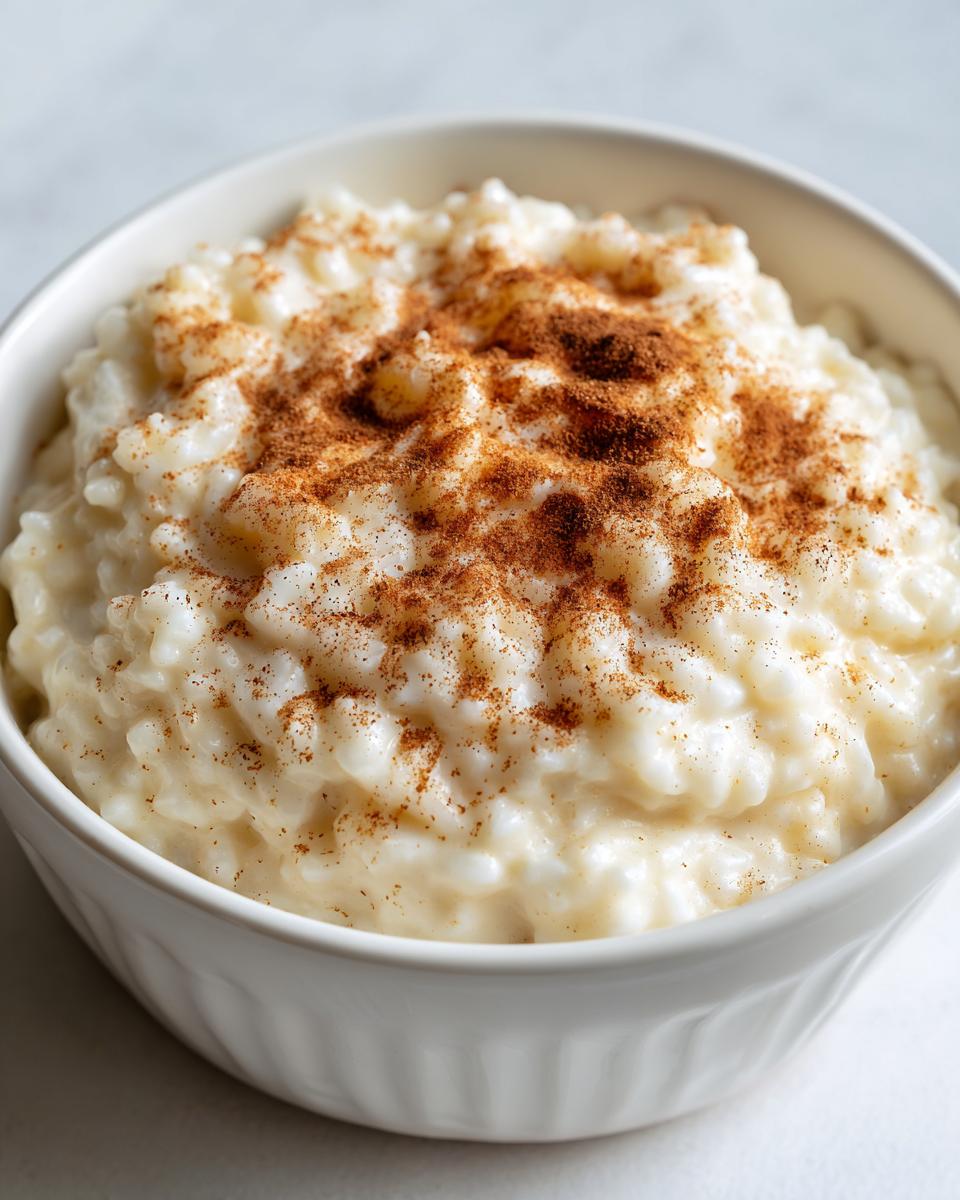
Next, we focus on the topping. This recipe skips the raisins, keeping it clean and focused, but we absolutely must talk about the cinnamon! While some folks go for nutmeg, I always gravitate toward a generous dusting of ground cinnamon right before serving. It adds that warm, sweet perfume that screams nostalgic dessert recipes. It’s the final flourish!
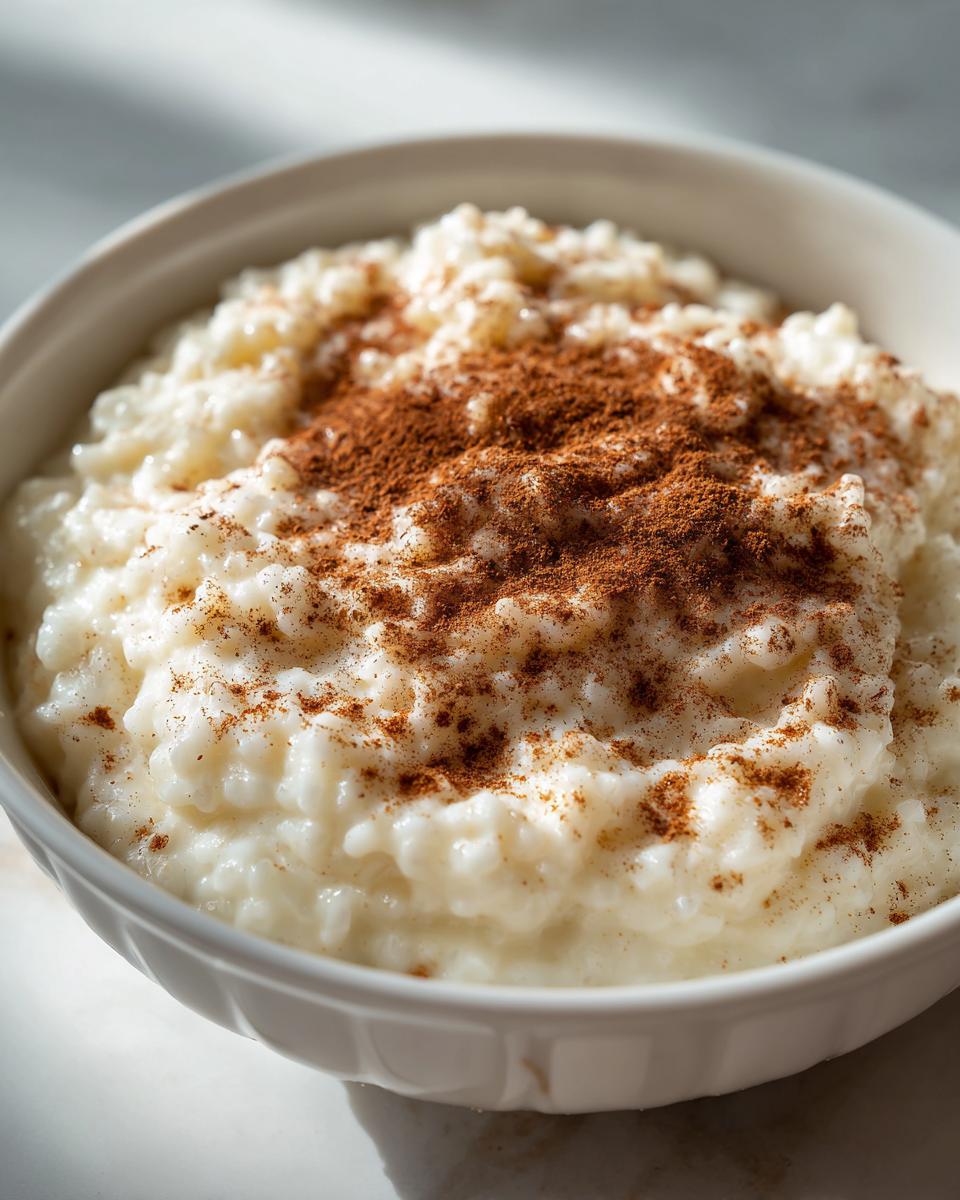
I often look at that little sprinkle of cinnamon and think about my grandmother. She never measured the spice for the topping; she just dusted it lovingly over the top, like shaking glitter onto a gift. It really completes the look and smell of this amazing classic dessert recipe. If you enjoy these warm spice notes, you might also want to try out the spice blend in my soft and chewy applesauce cookies recipe next!
Tips for Perfect Old Fashioned Rice Pudding Every Time
Even though this stovetop method is pretty straightforward, I always have a few little tricks up my sleeve to make sure this old fashioned rice pudding turns out absolutely flawless. Consistency is everything when we are talking about comfort food desserts, and a few easy checks will save you a lot of heartache!
First, let’s revisit that richness factor. If you found the pudding just a touch too light for your liking, remember that little hidden note I included? Don’t be shy about boosting the richness! Swapping out one cup of the whole milk for heavy cream won’t change the cooking time much, but wow, does it make a difference in making this a truly decadent homemade creamy dessert. It makes the whole thing feel a bit more luxurious.
Now, I know some of you are bakers at heart, and I promised I’d share the oven variation! If you’d prefer those lovely, golden edges you get from baking—a method that sometimes rivals the best rice pudding ever—you can easily transition right from the stove to the oven. After you cook the pudding on the stovetop for about 30 minutes, stop stirring, pour that mixture right into a greased baking dish. You can even dust the top with a little nutmeg before it goes in the oven.
Here are the **baked rice pudding instructions** for the last phase: pop it into a 350°F (175°C) oven for about 30 minutes, or until it looks beautifully set on top. It thickens up differently than the stovetop version, often getting a slightly drier top layer, which some folks actually prefer! It’s a great way to handle a bigger batch for holidays, too.
For those of you craving that super classic crisp topping you see on some pies, sometimes I’ll quickly mix a tablespoon of sugar and a touch of nutmeg and sprinkle that over the top for the last five minutes of baking. That little crunch is just heavenly against the creamy base. If you’re working with other baked goods like crisps, you absolutely must check out my guide to my best old fashioned apple crisp recipe for more nostalgic baking tips!
Serving Suggestions for Your Homemade Creamy Dessert
Now that you’ve stirred for an hour and created this absolutely perfect homemade creamy dessert, the big question is: when do we eat it? Honestly, there’s no wrong answer here, but serving it warm versus chilled changes the whole experience!
When it’s served warm, right after you stir in that vanilla, the pudding is soft, pillowy, and incredibly soothing. It’s the perfect thing to grab after dinner when you want something that feels cozy and instantly satisfying. Just a light dusting of that ground cinnamon we talked about, and you are good to go. It really leans into that warm winter desserts vibe.
But if you let it chill—and I mean chill completely, maybe even overnight—the starches set up even more. It becomes much firmer, almost like a thick custard you can scoop neatly, which I actually prefer sometimes for a quick breakfast treat the next day! If you chill it and serve it cold, that sprinkle of cinnamon is still lovely, but I also love adding a tiny bit of grated nutmeg on top. It gives a nod to that richer baked version we discussed earlier without all the fuss.
For something truly special, if you happen to have some homemade salted caramel sauce lying around—maybe from making my Salted Caramel Cheesecake—a thin drizzle over the chilled pudding is unbelievably luxurious. If you don’t have caramel, even a small dollop of homemade whipped cream makes this simple pudding feel like a five-star event. It just proves that a few simple touches can elevate the most basic, classic dessert recipe!
Storage and Reheating Instructions for Leftover Rice Pudding
Oh, lucky you if you have leftovers! That’s the beauty of a truly old fashioned rice pudding; it often tastes even better the next day once all those lovely vanilla and cinnamon flavors have really married together. Don’t worry about this stuff going bad quickly; thanks to the milk and the simple ingredients, it’s generally quite stable, but you should absolutely treat it like any dairy-based item.
I always suggest storing any remaining creamy rice pudding recipe leftovers in an airtight container. You want to keep it in the refrigerator, and it should be delicious for up to four days. If you’ve made a huge batch, pop it straight into the fridge as soon as it cools down a little bit after serving—don’t leave it sitting on the counter for hours, especially in the summer. This ensures it stays fresh and safe for those bonus weekday breakfasts or late-night snack attacks!
Now, the trickiest part of having leftover pudding is reheating it. Stovetop versions, because they are already so thick, can sometimes get a little gluey or start to separate when you blast them with heat again. Soggy pudding is a tragedy, and we won’t have it!
The solution to getting that wonderful, smooth texture back is to go low and slow, and you absolutely must loosen it up first. Before putting the pudding into a small saucepan on the stove, stir in a splash—maybe a tablespoon or two—of extra whole milk for every cup of pudding you are reheating. This splash of liquid gives the rice something to absorb as it warms, preventing it from getting stiff or drying out while it heats up.
Heat it gently over low heat, stirring constantly, until it reaches your desired warm temperature. Don’t let it boil! If you prefer the microwave, use 30-second bursts, stirring well between each one, again, always with that little bit of added milk. This simple technique keeps your easy stovetop pudding tasting just as good as the first time you scooped it. If you ever have leftovers from other dishes, like my guide on how to handle your turkey soup leftovers, the principle is the same: add moisture before reheating!
Frequently Asked Questions About Classic Dessert Recipes
I always get so many questions flooding in after people try this recipe because it’s just so wonderfully classic! Since this is such an old fashioned rice pudding recipe, people often wonder how it compares to store-bought versions or what swaps they can make. Don’t worry, I’m here to help you nail this beautiful, classic dessert recipe every single time!
Can I use a different type of rice besides short-grain?
You certainly *can*, but I really urge you to stick with short-grain white rice, or maybe Arborio if that’s what you have. The starch content of those specific rices is what creates that deeply satisfying, thick, creamy rice pudding recipe texture we are after. Long-grain rice, like Basmati or Jasmine, just doesn’t release enough starch, and you end up with rice swimming in thin milk, not that comforting, cohesive porridge. It’s the secret to a truly homemade creamy dessert!
What if I want to use less sugar or skip it entirely?
That’s totally fair! Since this is a traditional recipe, the sugar is there not just for sweetness, but it also helps tenderize the rice just a bit while cooking. If you want to reduce it, I think you can safely drop it down to 1/3 cup without ruining the texture, especially if you plan on topping it with something sweet later. But skipping it entirely? That might make your vanilla cinnamon pudding taste a little flat, honestly. I’d recommend trying it as written first, or maybe swapping a bit of the sugar out for honey or maple syrup next time, as those add depth.
Is this recipe similar to Kozy Shack Rice Pudding?
That’s a fun question! People bring up the Kozy Shack copycat recipe idea a lot because we are aiming for that thick, scoopable, chilled consistency. What I can tell you is that this recipe is purely based on simple, scratch ingredients—milk, rice, a little sugar, vanilla. Kozy Shack has stabilizers and other ingredients to keep that texture perfect for months, which we don’t use here. But, if you follow my cooling and chilling instructions perfectly, you absolutely nail that *vibe* of rich, creamy comfort that makes it a phenomenal comfort food dessert!
Can I really leave out the raisins? I hate raisins!
YES! You absolutely can leave them out! We made this version focusing on those simple, true classic flavors, and for many of us, that means rice pudding without raisins is the only way to go. If you love spice, though, feel free to bump up the cinnamon slightly or try adding a pinch of nutmeg during the cooking process to replace any flavor complexity you might lose from dried fruit. It’s your bowl, make it exactly how you love it!
If you’re looking for more foolproof treats that work every time, check out our full list of simple dessert recipes!
Share Your Perfect Rice Pudding Experience
I just get so thrilled when I hear from readers who made this creamy rice pudding recipe and it brought back memories for them! That’s what Cookin’ Corner is all about—creating those little moments of delicious nostalgia right in your own kitchen.
Did you try the stovetop method? How long did it take you to get that perfect, thick texture? Did you enjoy it warm with cinnamon, or did you chill it down to get that firm, scoopable scoop?
I would absolutely love it if you took a minute to leave a quick rating right down below. If you have any little tweaks or tricks you used that worked wonders for you—maybe a favorite topping idea beyond cinnamon—please share it in the comments! Your feedback helps future cooks feel confident making this their new favorite best rice pudding ever. And if you took a beautiful photo of your steaming bowl, I’d love to see it! Feel free to send any pictures or questions over via our contact page!
PrintOld Fashioned Stovetop Creamy Rice Pudding

Make this old fashioned rice pudding on the stovetop for a creamy, comforting dessert. This classic recipe uses simple ingredients to create a nostalgic treat perfect for family gatherings.
- Prep Time: 5 min
- Cook Time: 60 min
- Total Time: 65 min
- Yield: 4 servings 1x
- Category: Dessert
- Method: Stovetop
- Cuisine: American
- Diet: Vegetarian
Ingredients
- 1 cup short-grain white rice
- 4 cups whole milk
- 1/2 cup granulated sugar
- 1/4 teaspoon salt
- 1 teaspoon vanilla extract
- 1/4 teaspoon ground cinnamon (for topping)
Instructions
- Combine the rice, whole milk, sugar, and salt in a large, heavy-bottomed saucepan.
- Place the saucepan over medium heat. Stir frequently to prevent the rice from sticking to the bottom.
- Bring the mixture to a gentle simmer. Reduce the heat to low once simmering.
- Cook uncovered for 45 to 60 minutes, stirring every 5 to 10 minutes. The pudding thickens as the liquid reduces and the rice softens. You want a thick, creamy texture, similar to a thick oatmeal.
- Remove the saucepan from the heat. Stir in the vanilla extract.
- If you prefer a thicker pudding, allow it to cool slightly; it will continue to thicken as it cools.
- Serve warm, sprinkled with ground cinnamon, or chill completely for a firmer texture.
Notes
- For a richer, more decadent pudding, substitute 1 cup of the whole milk with heavy cream.
- If you want a baked rice pudding variation, transfer the mixture to a baking dish after 30 minutes of stovetop cooking, sprinkle with nutmeg, and bake at 350°F (175°C) for 30 minutes until set.
- This recipe does not include raisins, keeping it simple and classic.
Nutrition
- Serving Size: 1 serving
- Calories: 350
- Sugar: 25
- Sodium: 150
- Fat: 8
- Saturated Fat: 4
- Unsaturated Fat: 4
- Trans Fat: 0
- Carbohydrates: 60
- Fiber: 1
- Protein: 10
- Cholesterol: 30