
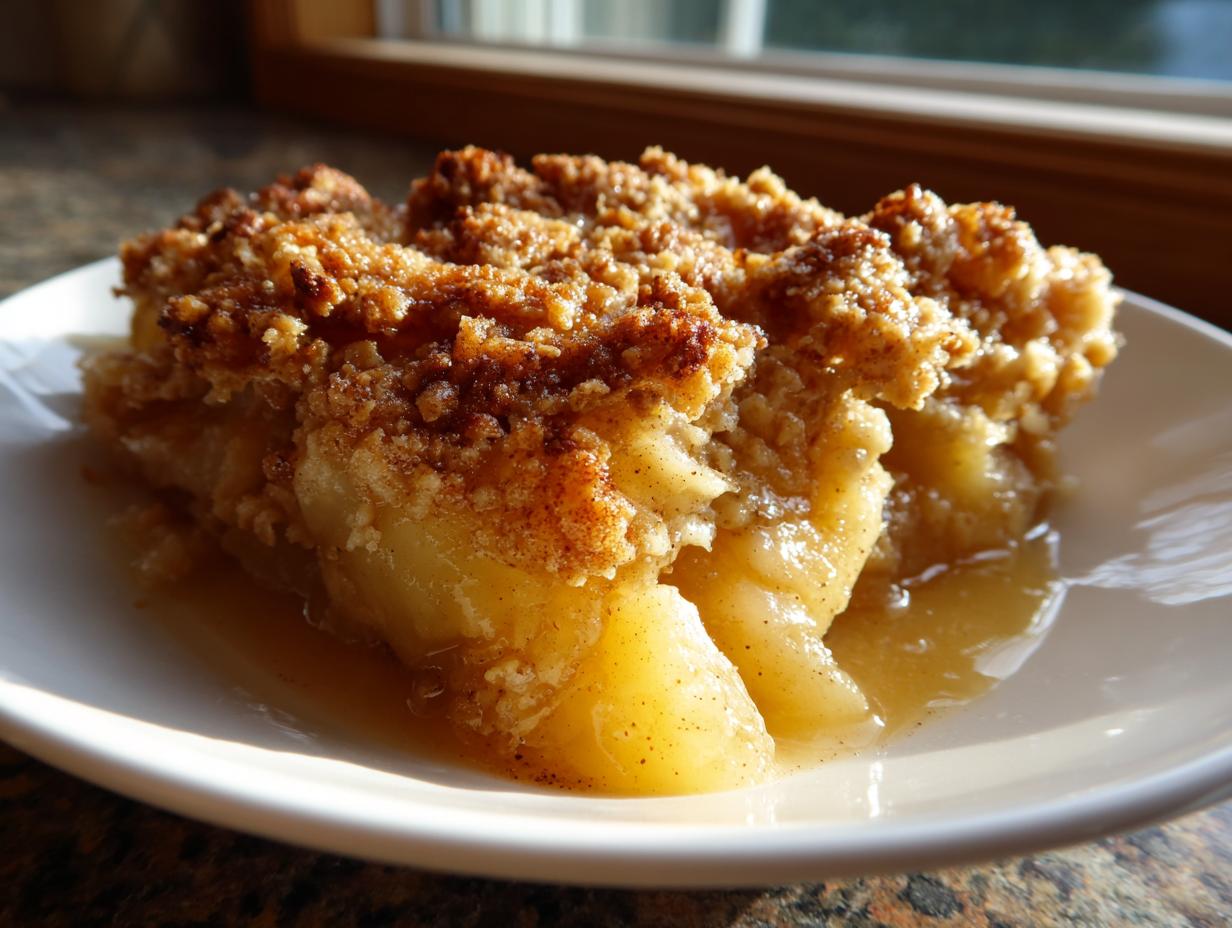
Some flavors just smell like coming home, don’t they? In my kitchen, especially when the air starts getting that crisp edge, nothing beats the aroma of a bubbling, warm apple crisp. It’s the ultimate cozy autumn treat! This isn’t some fussy pie you fuss over; this is simplicity perfected. We’re talking about deeply tender, cinnamon-spiced apples hiding beneath the most glorious, buttery, crunchy oat topping you can imagine. For me, recipes like this—the tried-and-true classics—are the very language of memory. Passing this down from my Midwestern kitchen to yours means keeping that warmth alive. Trust me, this is the heritage dessert you’ll want every single week.
- Why This Old-Fashioned apple crisp Recipe Works Every Time
- Gathering Ingredients for Your Homemade apple crisp
- Simple Steps to Make an easy apple crisp
- Tips for the Crispiest Topping Dessert Success
- Serving Suggestions for Your warm dessert recipe
- Storage and Reheating Instructions for leftover apple crisp
- Frequently Asked Questions about apple crisp
- Nutritional Estimate for This apple crisp
- Share Your Experience Making This apple crisp
Why This Old-Fashioned apple crisp Recipe Works Every Time
I’ve tweaked my Grandma’s original notes over the years, but the core structure of this dessert remains untouchable. It’s what makes this the best apple crisp recipe you’ll ever need! It skips the fancy stuff that just gets in the way of pure comfort. We want warmth, we want speed, and we want that satisfying textural contrast.
- It’s genuinely quick! You can have the apples prepped and the topping scattered in under 30 minutes, which is a lifesaver on a busy weeknight.
- The balance between the tart apples and the sweet topping is just perfect—no overly mushy or watery filling here.
- It delivers that rustic, old-fashioned feel that tastes like autumn itself.
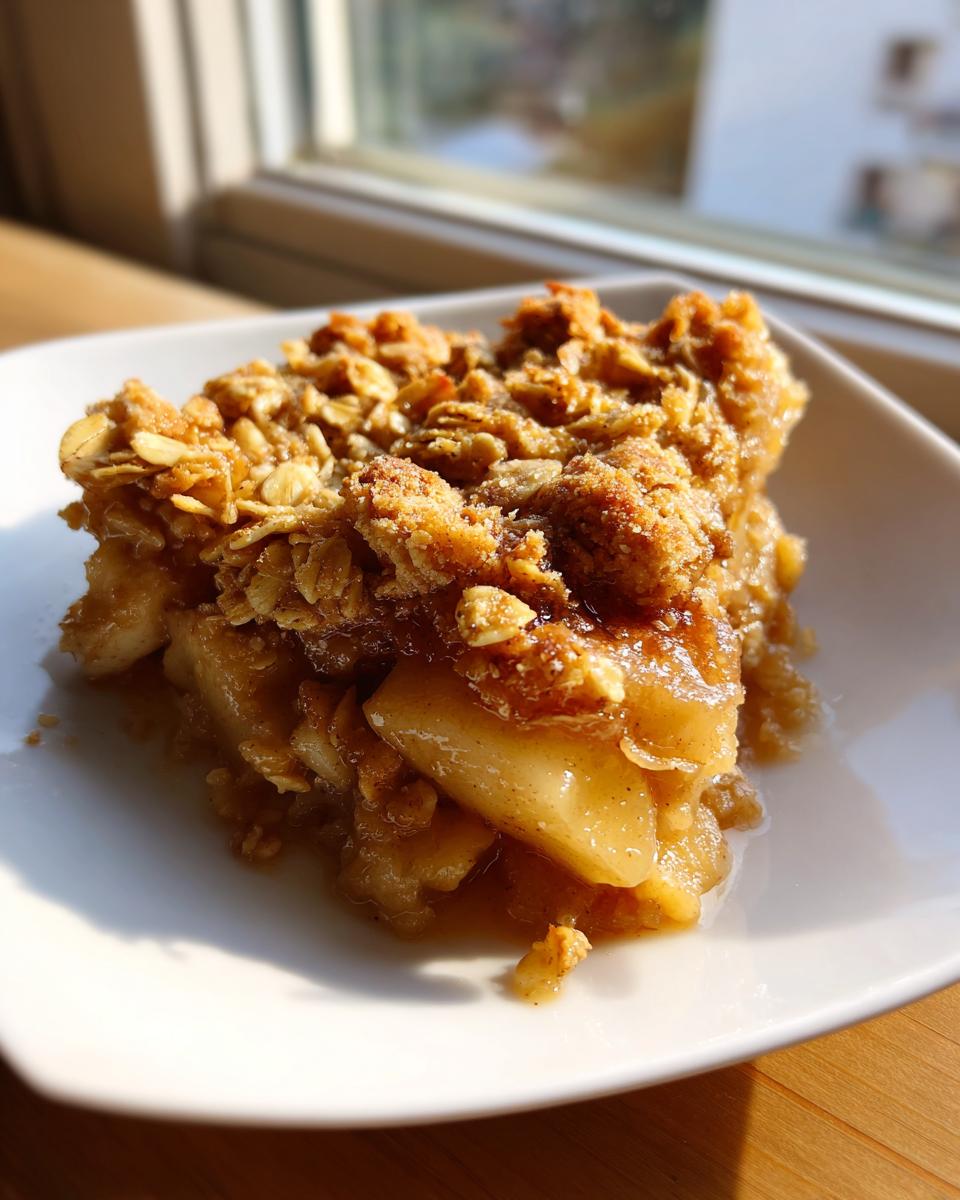
Achieving the Perfect Crispy Topping Dessert Texture
This is where most people go wrong with a buttery buttery apple crumble! You absolutely must use cold, cubed butter. When you cut that butter into your dry topping ingredients, you are creating little pockets of fat. As the crisp bakes, those pockets melt and toast up, giving you that signature crunch. If your butter is soft, it just blends into a paste. Don’t blend it until it’s sandy—we want those pea-sized clumps!
Gathering Ingredients for Your Homemade apple crisp
To make sure this is truly the best apple crisp, treating your ingredients right at the start makes all the difference. I’ve listed out exactly what I use. Don’t be tempted to swap out the apples for anything too soft; we need structure for that gorgeous filling!
- 6 large baking apples (Granny Smith or Honeycrisp are my top picks—they hold their shape beautifully!)
- 1/4 cup granulated sugar
- 1 tablespoon all-purpose flour
- 1 teaspoon ground cinnamon
- 1/4 teaspoon ground nutmeg
- 1 tablespoon lemon juice
- 1/2 cup all-purpose flour (for topping)
- 1/2 cup packed light brown sugar (for topping)
- 1/2 cup old-fashioned rolled oats (this is important!)
- 1/4 teaspoon ground cinnamon (for topping)
- 1/4 teaspoon salt
- 1/2 cup (1 stick) cold unsalted butter, cut into small cubes
Before we get to the mixing, just make sure you peel, core, and slice those apples evenly—about 1/4 inch thick is perfect. That consistency ensures everything cooks down at the same rate. You can use my guide on apple spice cake recipe if you need tips on checking apples for firmness!
Ingredient Notes and Substitutions for apple crisp
Listen, I’m all about flexibility, but there are a couple of non-negotiables here for the ultimate texture. You have to use old-fashioned rolled oats for the topping. The instant kind dissolves and just vanishes on you! For the spices, that hint of nutmeg really rounds out the cinnamon flavor in this cinnamon apple dessert, so don’t skip it. If you don’t have lemon juice, a tiny splash of white vinegar works in a pinch, but the lemon brightens up the apples perfectly.
Simple Steps to Make an easy apple crisp
Okay, now for the fun part! Making this easy apple crisp is genuinely straightforward, which is why it’s one of my go-to fall dessert recipes when company shows up unexpectedly. First thing first, get your oven preheated to 375 degrees Fahrenheit and grease up your 8×8 dish. Don’t forget that step, or you’ll be scraping later!
Next, handle the fruit. Dump your coated apples into that prepared baking dish—make sure they are spread out evenly. Now, focus on the topping. In a completely separate bowl, whisk your topping dry ingredients together first. This prevents clumps of brown sugar or salt in your final crumble. Then, and this is important, cut in that cold butter. Work quickly with your fingertips or a pastry blender until you get those beautiful, coarse crumbs. Sprinkle that golden mixture right over the apples. Don’t press it down! Let it lay there loosely, ready to crisp up.

Baking Times and Checking for Tenderness in the apple crisp
Pop that dish into the preheated oven for about 40 to 50 minutes. You are looking for an undeniable bubble erupting around the edges, and that topping better be deep golden brown. If you notice the topping getting too dark before the apples feel tender when pierced with a fork, just grab some foil and loosely drape it over the top for the last 10 or 15 minutes. That keeps the topping perfect while the inside finishes cooking through.
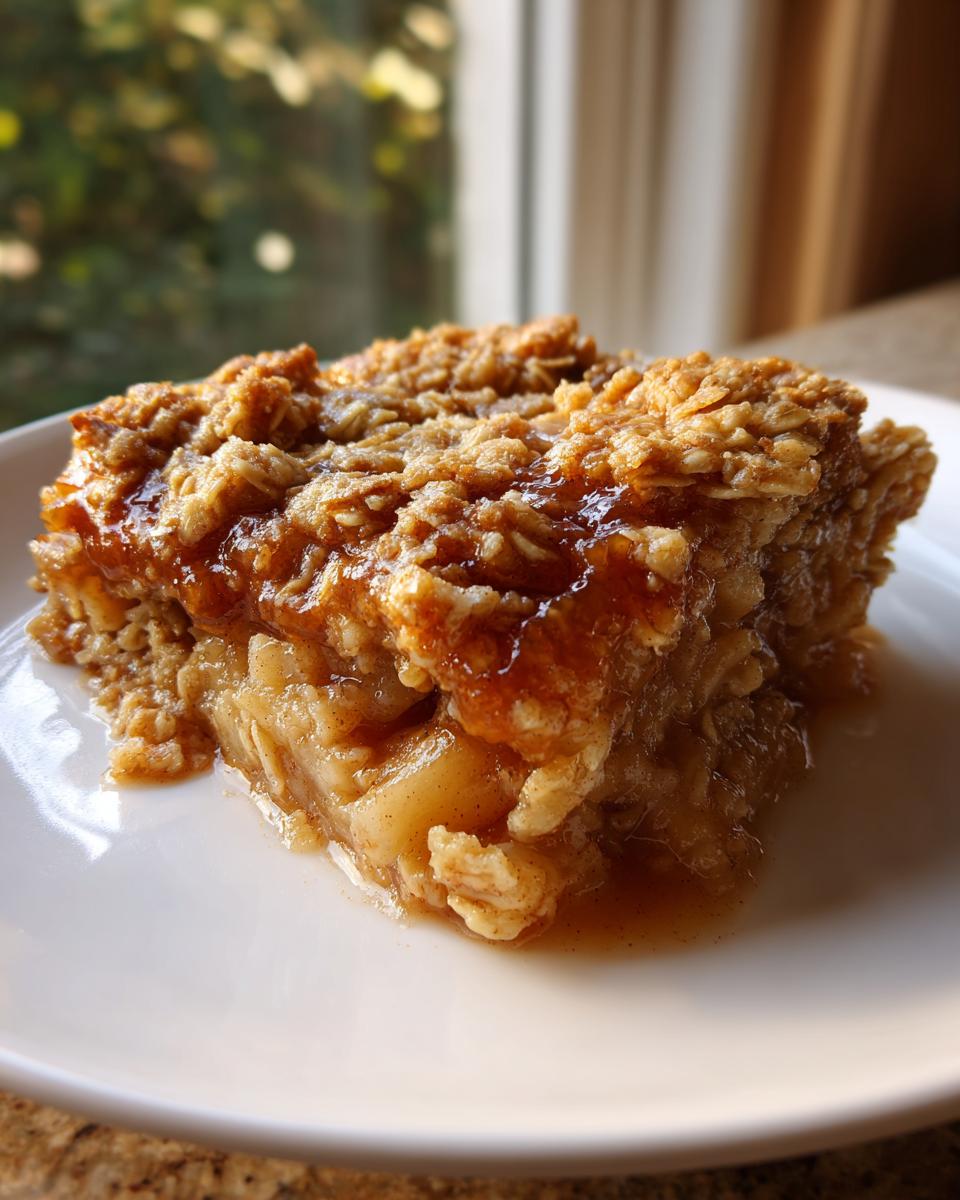
Tips for the Crispiest Topping Dessert Success
Getting that fantastic texture is the single most important part of any crispy topping dessert. Over the years, I’ve developed a few little tricks to ensure that sugary oat layer isn’t soggy underneath. These simple tweaks separate a good crisp from the absolute best!
- Keep It Cold: I cannot stress this enough—the butter needs to be rock hard, straight from the fridge when cutting it into the flour and oats. Cold fat means steam pockets, and steam pockets mean crispiness!
- Don’t Touch the Topping: Once you’ve sprinkled the buttery crumble over those spiced apples, step away from the dish! Don’t press it down, smooth it out, or poke it. Leave it loose so the edges can bake up golden and crunchy.
- High Heat Finish: If the apples look soft but the topping hasn’t quite hit that deep golden-brown color yet, slide the rack up for the last five minutes so the topping gets direct heat. It toasts up beautifully fast.
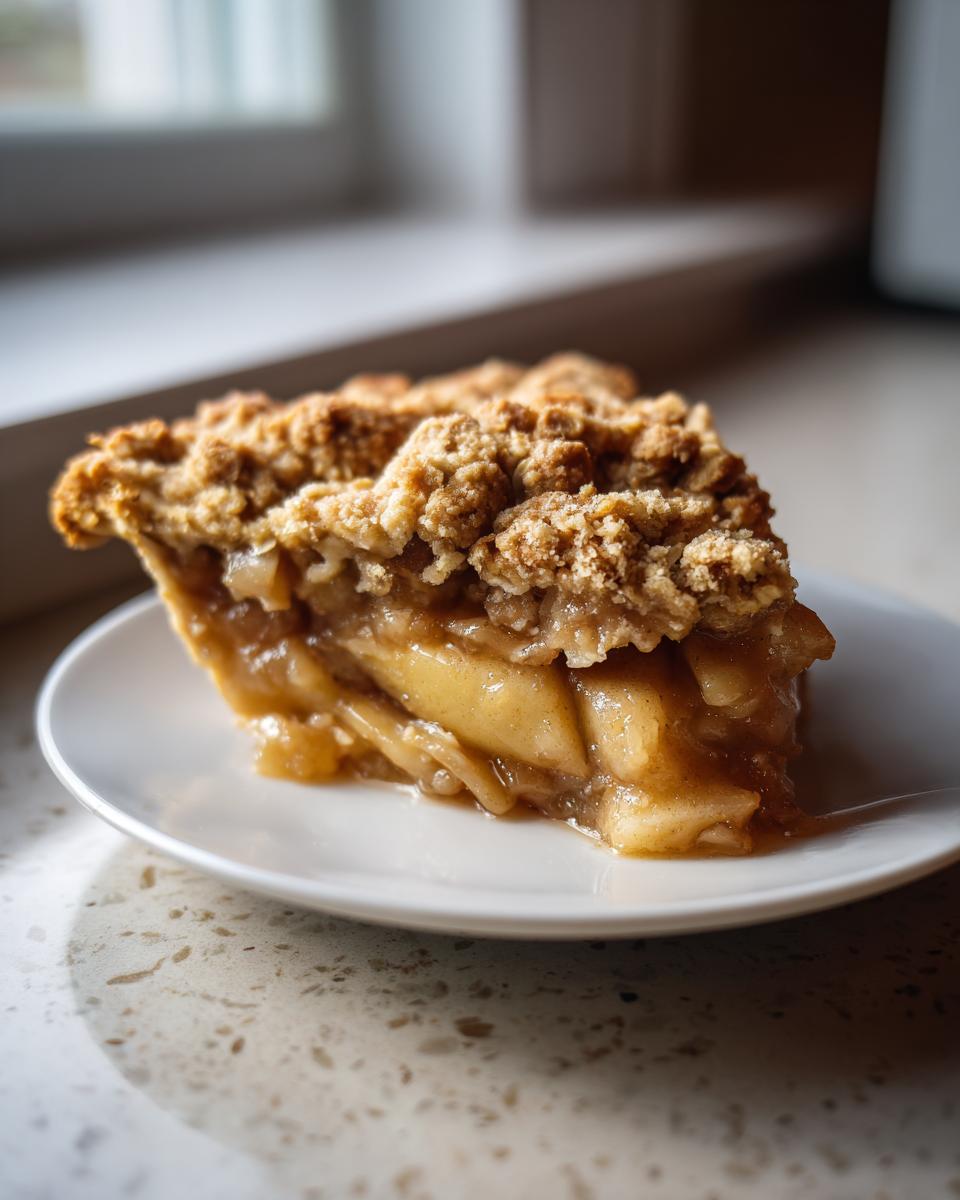
Serving Suggestions for Your warm dessert recipe
Honestly, you can eat this apple crisp standing over the sink with a fork, and I wouldn’t judge! But for maximum enjoyment, especially if you are making this glorious warm dessert recipe for guests, serving temperature matters. Immediately after that short cooling period, it’s begging for a massive scoop of good vanilla ice cream. Melted ice cream mingling with those sweet, spiced apples? That’s peak comfort right there.
If you’re feeling fancy, a dollop of freshly whipped cream dusted with a little extra cinnamon is divine. But if you really want to pull out an old-fashioned trick, try placing a thin slice of sharp cheddar cheese right on top. It sounds wild until you try it—the salty tang cuts through the sweetness perfectly! Check out this amazing recipe from The Meal Journal for more inspiration on enjoying your apple dessert with ice cream.
Storage and Reheating Instructions for leftover apple crisp
If you manage to have any leftover apple crisp (good luck!), storing it is easy. Keep it covered tightly at room temperature for up to a day if your kitchen isn’t too warm. For longer storage, definitely put it in the fridge for up to four days.
Now, the reheating challenge! To bring back that beautiful crunch, skip the microwave. Heat individual servings briefly in a toaster oven or bake the whole dish at 350 degrees for about 10 minutes until bubbly again. That little bit of dry heat wakes up the oat topping beautifully!
Frequently Asked Questions about apple crisp
I always get a flood of questions after posting this recipe for the apple crisp because everyone wants that perfect texture! Here are some of the most common things folks ask when they are getting ready to bake this cozy classic.
What apples are best for apple crisp? I really recommend using apples that hold up well when baked. Granny Smith is my longtime favorite because they are tart and firm, which balances the sweetness of the topping. If you like something sweeter, Honeycrisp works wonderfully too! Stay away from McIntosh if you can; they turn to sauce way too fast in the oven.
Can I make this ahead of time? Yes, you absolutely can! This is a wonderful thing about this homemade apple crisp. You can assemble the whole thing—apples in the dish, topping spread on top—cover it, and keep it in the fridge for up to 24 hours. Just add about 10 minutes to the baking time if you are baking straight from the fridge.
How do I prevent a soggy bottom on my apple crisp? Ah, the dreaded soggy bottom! That happens when the apple juices bubble up too much and steam the oats from below. My trick is to ensure I toss my apples with that little bit of flour—it helps thicken the juices while they bake. Also, make sure you let it cool for that 15 minutes mentioned in the instructions before serving. Sitting on the rack lets the juices settle a bit, firming up the bottom layer nicely.
Can I substitute the oats in this apple crisp recipe?
You can *technically* swap them, but the result won’t be the same classic oat topping crisp texture we are aiming for here. If you have an oat allergy or just don’t have them, you *can* use finely chopped pecans or walnuts, or even skip the oats and add an extra 1/4 cup of flour and brown sugar for a more traditional crumble. But for that quintessential apple crisp flavor, stick to those wonderful old-fashioned rolled oats!
Is this considered one of the best thanksgiving apple dessert options?
Oh, 100%, yes! This apple crisp is probably my most requested dessert when the holidays roll around. It’s simple enough that you’re not slaving over it when you have 12 other things to cook, but it tastes rich and comforting—perfect for those major fall dessert recipes spreads. It pairs beautifully with pumpkin pie!
Nutritional Estimate for This apple crisp
When we’re making recipes like this that are pure comfort, sometimes we just want to enjoy them without getting too bogged down in numbers! But since I believe in transparency here at Cookin’ Corner, I pulled together a quick estimate for you based on what goes into this apple crisp. Remember, these figures are based on my specific ingredient measurements and serving six people generously, so your results might look a little different!
- Serving Size: 1 serving
- Calories: 380
- Total Fat: 19g (Watch that butter, but oh boy, is it worth it!)
- Saturated Fat: 11g
- Trans Fat: 0.5g
- Carbohydrates: 52g
- Fiber: 5g
- Protein: 4g
- Sugar: 35g (Mostly from the apples and brown sugar, naturally!)
- Cholesterol: 45mg
Think of this as a lovely, hearty home treat, not a light snack! If you are counting things differently, you can check out my post on general healthy recipes for base guidance, but for this classic, enjoy the richness. It’s meant to be satisfying!
Share Your Experience Making This apple crisp
That’s it! You’ve made the best old-fashioned apple crisp, and now it’s sitting on your counter, smelling like pure bliss. But the story doesn’t end there! I honestly live to hear how these heritage recipes turn out in your kitchens. Did you nail that crunchy topping? Did your family ask if you were hiding giant bowls of ice cream nearby? Please, won’t you take a moment and let me know?
Head down to the comments below and give this recipe a star rating. I really want to know if you achieved that perfect, buttery crumble we were aiming for. Your feedback helps other home cooks decide to try it next time they need a truly quick apple crisp!
And if you made it, I absolutely need to see it! Snap a picture after you top it with that cold vanilla ice cream and tag me on social media. Sharing these sweet moments around food is truly why I started Cookin’ Corner. Let’s keep these wonderful, comforting traditions going strong, from my corner to yours!
PrintThe Best Old-Fashioned Apple Crisp with a Buttery, Crunchy Oat Topping

This is the tried-and-true recipe for a classic, comforting apple crisp. You get tender, cinnamon-spiced apples beneath a perfectly buttery and crunchy oat topping. It is simple to make and ideal for serving warm with vanilla ice cream.
- Prep Time: 15 min
- Cook Time: 50 min
- Total Time: 65 min
- Yield: 6 servings 1x
- Category: Dessert
- Method: Baking
- Cuisine: American
- Diet: Vegetarian
Ingredients
- 6 large baking apples (like Granny Smith or Honeycrisp), peeled, cored, and sliced about 1/4 inch thick
- 1/4 cup granulated sugar
- 1 tablespoon all-purpose flour
- 1 teaspoon ground cinnamon
- 1/4 teaspoon ground nutmeg
- 1 tablespoon lemon juice
- 1/2 cup all-purpose flour (for topping)
- 1/2 cup packed light brown sugar (for topping)
- 1/2 cup old-fashioned rolled oats (not instant)
- 1/4 teaspoon ground cinnamon (for topping)
- 1/4 teaspoon salt
- 1/2 cup (1 stick) cold unsalted butter, cut into small cubes
Instructions
- Preheat your oven to 375 degrees Fahrenheit. Lightly grease an 8×8 inch baking dish or a similar sized pie plate.
- In a large bowl, combine the sliced apples, granulated sugar, 1 tablespoon flour, 1 teaspoon cinnamon, nutmeg, and lemon juice. Toss gently until the apples are evenly coated.
- Spread the apple mixture evenly into the prepared baking dish.
- In a separate medium bowl, prepare the topping. Whisk together the 1/2 cup flour, brown sugar, rolled oats, 1/4 teaspoon cinnamon, and salt.
- Cut in the cold butter cubes using a pastry blender or your fingertips until the mixture resembles coarse crumbs with some pea-sized pieces of butter remaining. Do not overmix.
- Sprinkle the oat topping evenly over the apple mixture in the baking dish. Press lightly, but do not pack it down.
- Bake for 40 to 50 minutes, or until the topping is golden brown and the apple filling is bubbly and tender when pierced with a fork.
- Let the apple crisp cool on a wire rack for at least 15 minutes before serving. This allows the filling to set slightly.
- Serve warm, ideally with a scoop of vanilla ice cream.
Notes
- For the best texture, use firm, slightly tart apples like Granny Smith. They hold their shape well during baking.
- If your topping starts browning too quickly before the apples are tender, loosely cover the dish with aluminum foil for the last 10 to 15 minutes of baking.
- You can substitute half of the all-purpose flour in the topping with whole wheat flour for a slightly nuttier flavor.
Nutrition
- Serving Size: 1 serving
- Calories: 380
- Sugar: 35g
- Sodium: 120mg
- Fat: 19g
- Saturated Fat: 11g
- Unsaturated Fat: 8g
- Trans Fat: 0.5g
- Carbohydrates: 52g
- Fiber: 5g
- Protein: 4g
- Cholesterol: 45mg