
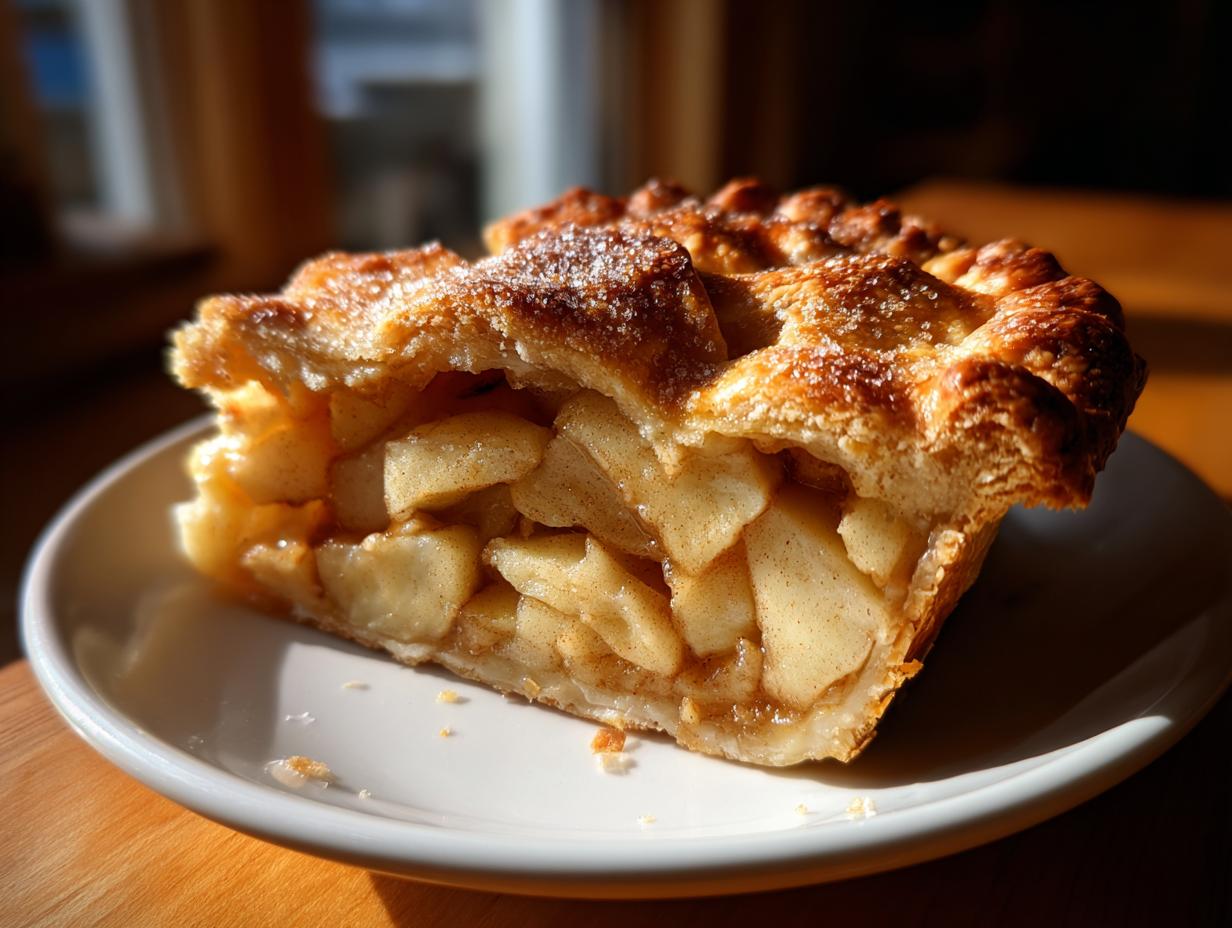
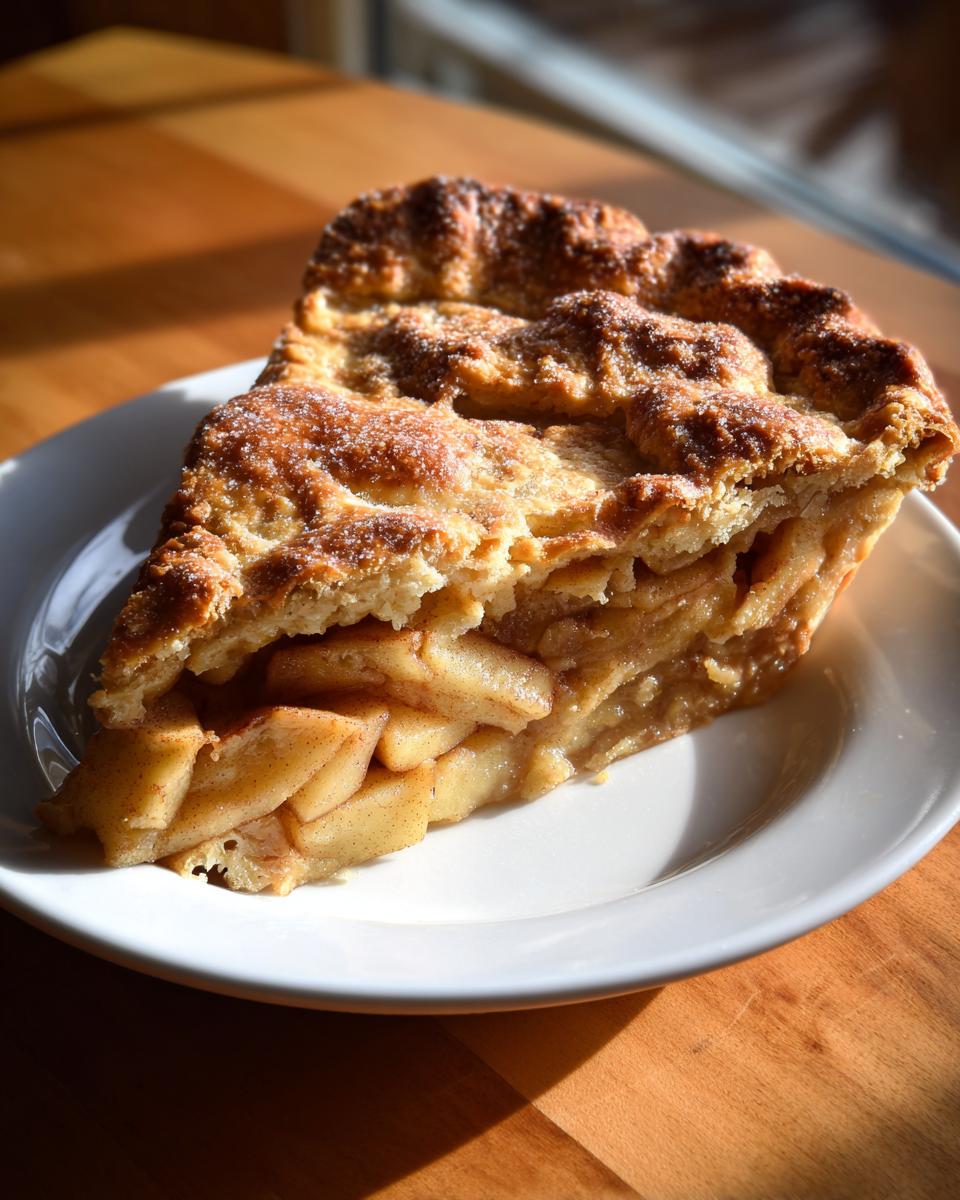
Sometimes, you just need a hug in a pie dish, don’t you? That warm, comforting aroma of cinnamon and baked apples is pure nostalgia for me. It instantly takes me back to watching my grandmother work her magic; that’s where I learned that the secret to any great American home cooking is always, always, putting a little extra care into the crust. Trust me when I say this isn’t just any dessert; this is the best classic homemade apple pie recipe you’ll ever try. We nail the flaky, buttery double crust and make sure the filling is perfectly spiced and tender—never mushy—just like tradition demands.
- Why This Apple Pie Recipe Stands Above the Rest (E-E-A-T Focus)
- Gathering Ingredients for Your Classic Apple Pie Recipe
- Step-by-Step Instructions for the **Best Apple Pie Recipe**
- Tips for Success When Making Apple Pie From Scratch
- Serving Suggestions for Your Perfect Apple Pie
- Storage and Reheating Instructions for Leftover Apple Pie
- Frequently Asked Questions About Making Apple Pie
- Estimated Nutritional Data for This Apple Dessert Recipe
- Share Your Apple Pie Creations
Why This Apple Pie Recipe Stands Above the Rest (E-E-A-T Focus)
What makes my family’s approach to the American classic different? Honestly, it comes down to tackling the two big problems everyone faces when making an apple pie from scratch. You either end up with a crust that’s tough as leather or a filling that turns into watery apple soup! That’s just unacceptable for a dessert this important. I learned early that you have to treat the crust and the filling like two separate projects that just happen to meet in the middle for baking. This approach is why people call this the best apple pie recipe—it respects geometry and texture! If you love a great holiday bake, you need to check out how we handle classic pumpkin pie recipe inspiration too.
Achieving the Perfect Flaky Pie Crust Recipe
The foundation of a great pie is making sure your butter stays icy cold, which is non-negotiable for that beautiful, shattery flakiness. I insist on using the coldest butter I can get, cutting it down into tiny, pea-sized chunks, and using barely enough ice water to bring the dough together. You want to see flakes of butter in the raw dough! When those cold pieces hit the hot oven, they create little pockets of steam, which is exactly what gives you that light, airy, flaky pie crust recipe everyone raves about. Don’t touch it unless absolutely necessary!
The Secret to a Non-Mushy Apple Pie Filling Recipe
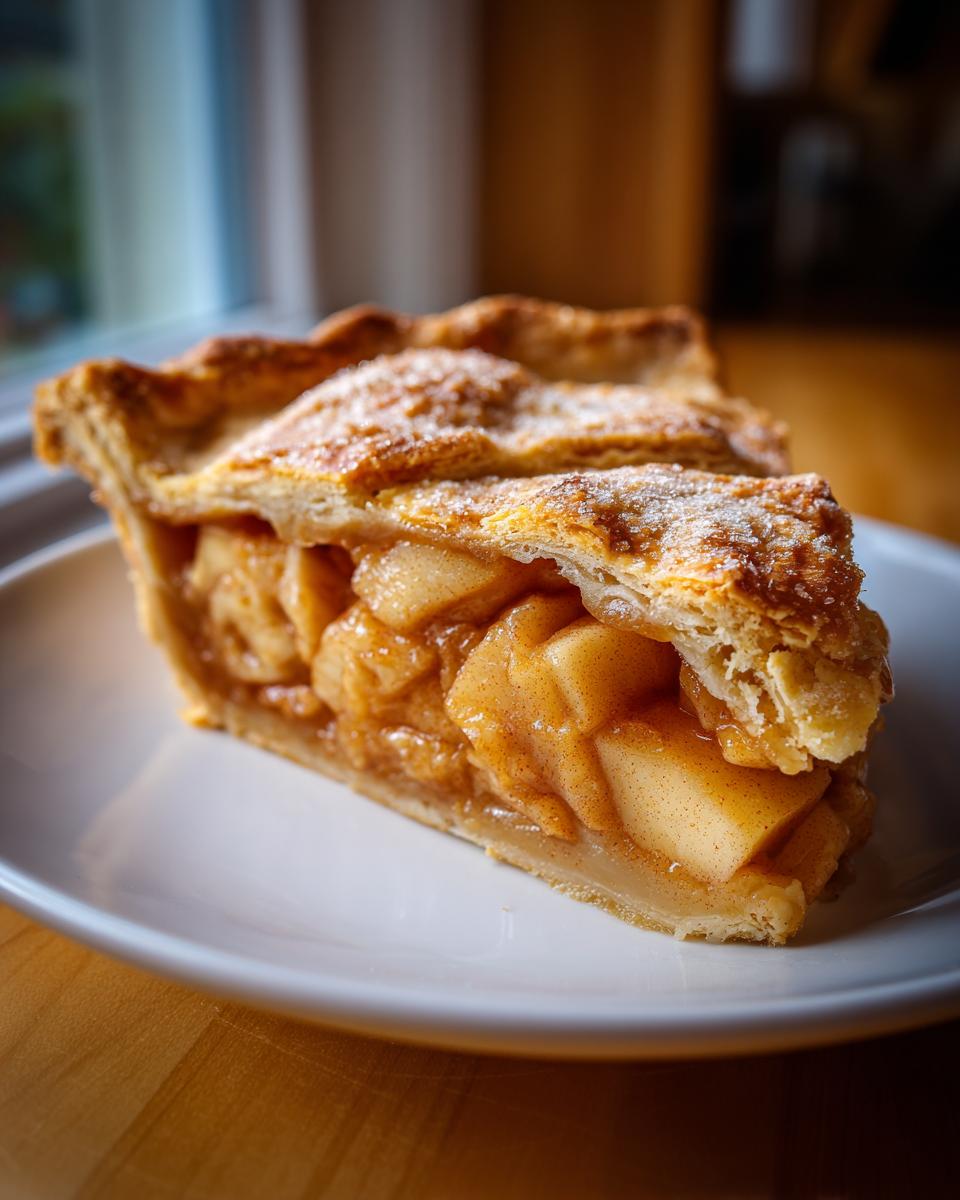
If you’re tired of soupy pies, this is for you. My trick for the best apple pie filling isn’t just about picking the right apples—though using both tart Granny Smiths and sweeter Macintosh is key—it’s about giving the apples a little head start before they ever see the oven. We actually pre-cook the filling gently on the stovetop. This step evaporates most of the excess moisture while softening the fruit just enough. When you put that slightly cooked, thickened filling into the raw crust, you get tender apples that actually hold their shape beautifully after the long bake. It is a game-changer!
Gathering Ingredients for Your Classic Apple Pie Recipe
Okay, now that we know *why* this works, let’s get down to the actual supplies you need! For the best texture, you absolutely need to follow how these measurements look, especially when it comes to what goes into the pastry versus what coats the apples. If you end up with spare apples, try making my apple spice cake recipe later; it’s divine! This classic apple pie recipe uses specific apples, so make sure you grab those!
Ingredients for the Buttery Double Crust Apple Pie
- 2 1/2 cups all-purpose flour
- 1 teaspoon salt
- 1 cup (2 sticks) cold unsalted butter, cut into cubes
- 1/2 cup ice water (plus more if needed)
Ingredients for the Spiced Apple Pie Filling Recipe
- 6 large Granny Smith apples, peeled, cored, and sliced 1/4-inch thick
- 2 large Macintosh apples, peeled, cored, and sliced 1/4-inch thick
- 3/4 cup granulated sugar
- 1/4 cup packed light brown sugar
- 1/4 cup all-purpose flour
- 1 teaspoon ground cinnamon
- 1/4 teaspoon ground nutmeg
- 1/8 teaspoon ground allspice
- 1 tablespoon lemon juice
- 2 tablespoons unsalted butter, cut into small pieces
Oh, and don’t forget the finishing touches that make the top look gorgeous! We need one large egg beaten with 1 teaspoon water for the egg wash, plus 1 tablespoon of coarse sugar just sprinkled on top before it hits the oven. That little bit of coarse sugar gives the crust the perfect crunch!
Step-by-Step Instructions for the **Best Apple Pie Recipe**
These instructions look long, but really, it’s just muscle memory once you do it once or twice. Remember, this is the full process for the best apple pie recipe—the one that guarantees beautiful texture from the crust to the very center of the fruit. We follow the steps laid out specifically to ensure those apples don’t swim around in liquid later on. Before you even touch the rolling pin, make sure you have your tools ready, especially your baking sheet to catch those buttery drips!
Making and Chilling the Flaky Pie Dough
First things first, we have to get the dough resting. Grab your flour and salt, whisk them up, and then you work that butter in until it looks like coarse crumbs with some actual pea-sized pieces still hanging around—don’t mash them all flat! Slowly drizzle in that ice water, just enough so that when you gently press the dough, it holds together. Don’t knead it or try to make it pretty! Divide it into two flat disks, stick them in plastic wrap, and for goodness sake, let them chill for at least an hour. This slow cool-down period is crucial for a happy crust.
Preparing and Setting the **Spiced Apple Pie** Filling
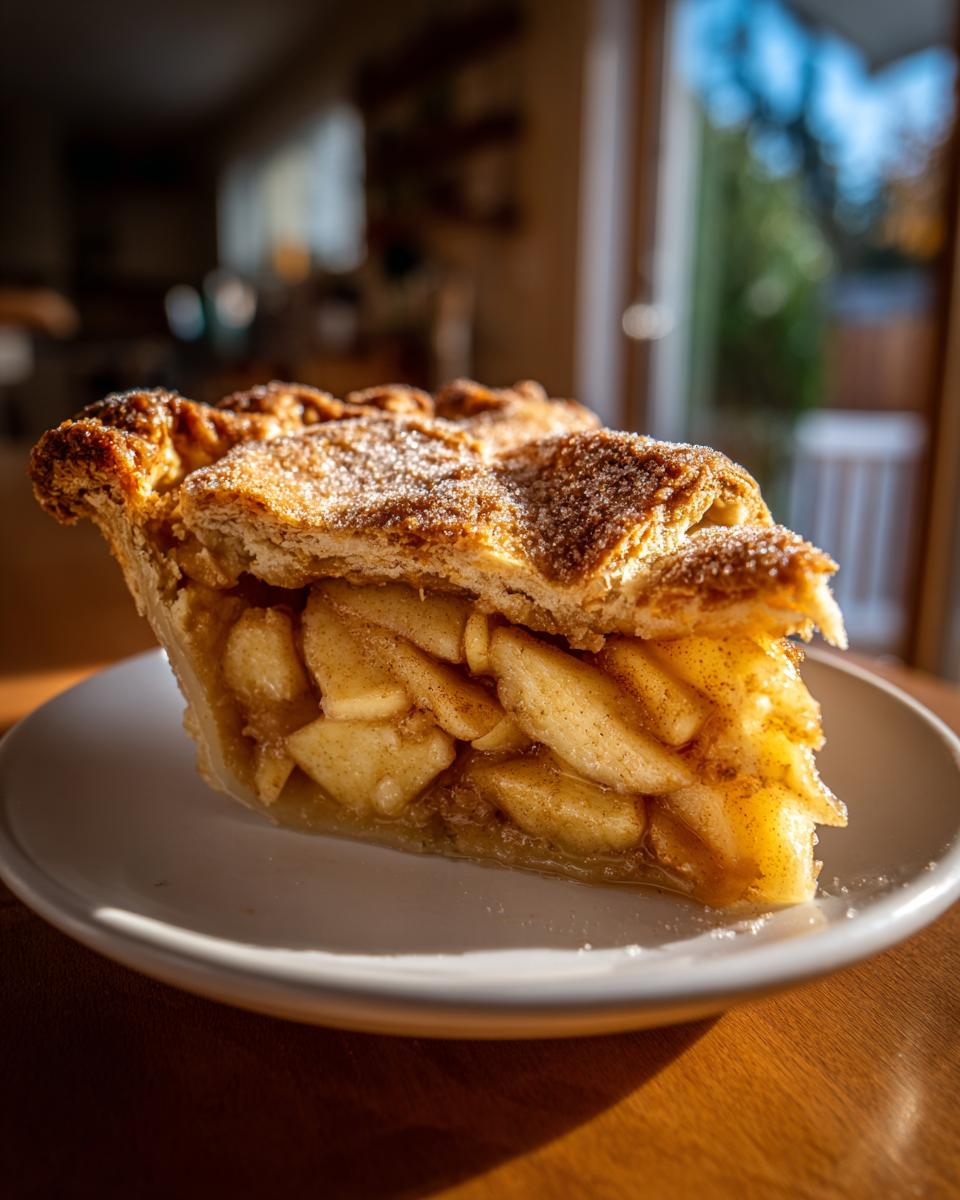
While the dough is chilling, get your apples coated. Toss those apple slices with both sugars, the little bit of flour, all those lovely spices—cinnamon, nutmeg, allspice—and that splash of lemon juice. Now for the part that sets this recipe apart for a perfect apple pie: the pre-cook! Transfer the mixture to a saucepan and cook it down for about 8 to 10 minutes until the juices look a little thick, not watery. Pull it off the heat and stir in the last two tablespoons of butter. Let this cool down nicely. This step stops your spiced apple pie from shrinking into a puddle once it’s baking!
Assembling and Baking Your **Apple Pie**
Oven time! Heat your oven up to 425 degrees F first. Roll out one disk for the bottom crust and fit it into your pie plate, letting that one-inch overhang hang over the edge for sealing later. Pour in your cooled filling and dot it with any extra bits of butter left in the pan. Now, roll out the top crust, lay it over, trim it, and seal those edges up tight—crimp them however your grandma taught you! Make sure you cut steam vents on top. Start baking at 425 degrees F for 15 minutes, then drop the heat way down to 375 degrees F for the remaining 40 to 50 minutes. If the edges look too dark, just loosely cover them with foil. We don’t want burnt edges!
Don’t forget to brush the top with that egg wash and sprinkle that coarse sugar on for shine! If you want to see a fantastic rustic version for inspiration, check out this rustic apple pie look. And for even more home baking projects, I have a great easy homemade apple cobbler recipe too!
Tips for Success When Making Apple Pie From Scratch
Baking a perfect pie requires a little patience at the end, just as much as it did at the beginning. We’ve nailed the crust and tamed the filling, but now comes the hard part: waiting! Following these final steps will ensure your crust stays crisp and your filling is sliceable, giving you that truly old fashioned apple pie experience we are aiming for. If you want to see how another wonderful baker tackles their classic, take a peek at this lovely apple pie recipe for comparison.
The Crucial Cooling Period for Your Apple Pie
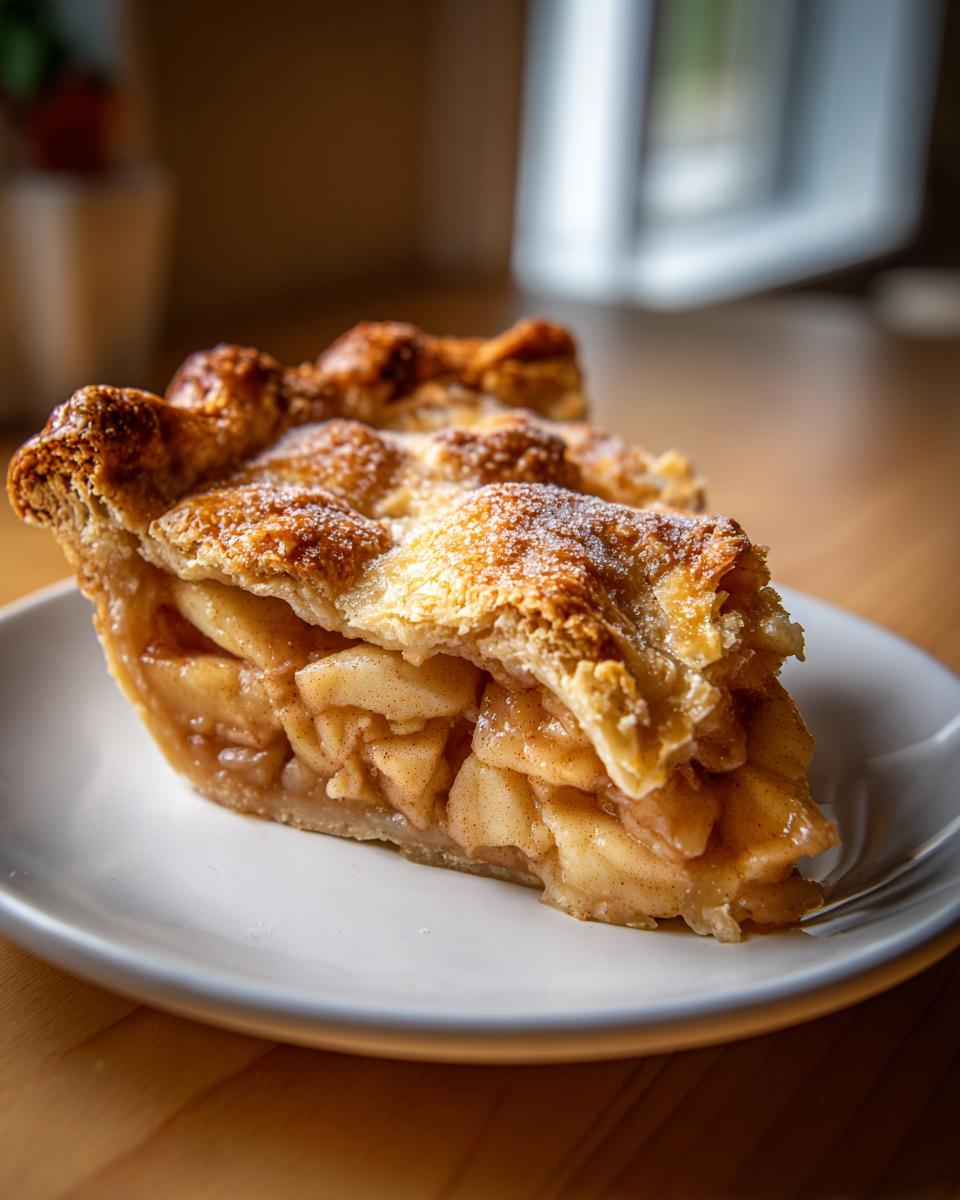
I know, I know—the smell of hot, spiced apples right out of the oven is torture, but you absolutely cannot cut into this pie hot! I let mine cool on the rack for a minimum of three to four hours. Think of it this way: the filling, even after pre-cooking, is still super liquidy when it comes out of the oven. Those hours are when the sugars and starches set up, thickening everything into that beautiful, cohesive slice you expect. If you cut it early, everything just runs out onto the plate. Patience makes for perfect slices!
Variations: Creating a Dutch Apple Pie Recipe Alternative
Sometimes you just want that crunchy topping without fussing over a full second crust, right? If you’re in the mood for a change, skip rolling out that second top layer. Instead, use what I wrote in the notes to build an amazing crumb topping. You just mix flour, sugars, cinnamon, and cold butter until it’s crumbly, and pile that right over the filling. It bakes up golden, crunchy, and buttery, giving you a fantastic Dutch apple pie recipe vibe instead. It’s so easy, and it pairs wonderfully with my easy pear butter recipe if you’re making extra fruit preserves!
Serving Suggestions for Your Perfect Apple Pie
Now that you’ve mastered the crust and the filling, the best part is deciding how to serve it up! This apple pie sings greatest when paired with simple, creamy, comforting sides. Forget anything fancy; this is classic American dessert at its heart. My go-to move, especially when it’s a chilly evening, is a slightly melted scoop of good vanilla bean ice cream. The hot, spiced filling against that cold, creamy vanilla is just heaven. If you’re doing a big holiday spread, instead of ice cream, sometimes I serve it with a dollop of freshly whipped cream dusted with some cinnamon, which complements the spices perfectly. Believe me, you want to have some creamy baked mashed potatoes recipe on the table earlier in the day to make room for this pie!
Storage and Reheating Instructions for Leftover Apple Pie
Nobody wants leftover pie to go to waste, but unlike that leftover roast, you can’t just leave this sitting on the counter for days! Because we used the pre-cooking method for the filling, this apple pie is a little more susceptible to drying out if you store it wrong. If you have company staying over, the pie will actually keep just fine on the counter, loosely tented with foil, for about a day. I find the crust starts losing its crunch after that, though.
For longer storage—like saving slices for next week’s dessert—you absolutely need the fridge. Wrap the cut slices tightly in plastic wrap, or better yet, place them in an airtight container and pop them in the refrigerator. It stays really good for about four or five days this way. Don’t fret if the crust seems a bit soft after refrigeration; that’s just the humidity talking!
When you want to eat a cold slice, you can totally grab it straight from the fridge, but I highly recommend reheating it just for a moment. Microwaves are fast, I know, but they turn that beautiful flaky crust into something chewy and sad, so I try to avoid them if I can here in my kitchen. The absolute best way to bring that crust back to life is to reheat individual slices in a 350-degree oven or even an air fryer for five to seven minutes. It gets the filling warm again and crisps up the pastry edges beautifully. It tastes almost as good as when it first came out of the oven!
Frequently Asked Questions About Making Apple Pie
I get so many questions about this recipe, and honestly, that’s the best kind of problem to have! It just shows how important a good, solid apple pie is for holidays and cozy evenings. I’ve collected the most common things people ask me when they are getting ready to bake their own version, especially if they are prepping for big events like Thanksgiving pie recipes.
Can I make this apple pie using store-bought crust?
Oh, honey, yes, you absolutely can! I know I preach about the homemade flaky crust, but sometimes life is busy, and that’s okay! If you need an apple pie with store bought crust, just make sure you use a high-quality refrigerated dough. Roll it out slightly larger so you have enough edge to crimp neatly. Using canned dough is perfectly fine for an easy homemade dessert; just make sure you still pre-cook the filling so everything bakes evenly!
Which apples are truly the best combination?
For the absolute best flavor and texture balance, you need a mix of tartness and sweetness, and you need apples that hold their shape. I always recommend using Granny Smith for that necessary tartness and structure, paired with something sweeter like Macintosh or Honeycrisp. If you want just the filling recipe to practice first, check out this lovely guide from Savory Nothings here: Homemade Apple Pie Filling Recipe. Please don’t use Red Delicious; they dissolve into applesauce!
Can I freeze this pie before or after baking?
Yes, you can definitely freeze this apple pie! For freezing *before* baking, assemble the whole thing (bottom crust, filling, top crust), but skip the egg wash. Wrap it super tight in plastic wrap and foil, and freeze it flat. When you bake it straight from frozen, add about 20 minutes to the baking time and start at the lower 375-degree temperature. If you have leftover soup instead of pie, I have a wonderful classic chicken noodle soup recipe you can freeze too!
Why does some of the filling leak out during baking?
That usually happens for two reasons, so let’s fix it next time! First, make sure you are cooling the filling down significantly after you pre-cook it; if you pour piping hot apples into cold dough, the butter melts instantly, and your seals won’t hold. Second, make sure your venting slits on the top crust are generous—at least four good slits across the center—to let that steam escape without blowing the sides open!
Estimated Nutritional Data for This Apple Dessert Recipe
Now, I try not to obsess over numbers when I’m baking something this nostalgic, because honestly, who cares when you have Grandma’s apple pie sitting in front of you? But for those of you who track things, or maybe you’re serving this at a big event and need basic estimates, I pulled the data based on the recipe yields. Remember, this is just an estimate based on the ingredients used, so take it all with a grain of salt!
This dish is definitely a treat and not a weeknight staple, primarily due to that rich, buttery crust that makes this apple dessert recipe so unforgettable. If you’re looking for something a little lighter but still perfectly seasonal—and maybe a nice side for your next gathering—you should really try my fall harvest salad with maple vinaigrette.
Here is the breakdown for one generous slice of that incredible, flaky-crusted pie:
- Serving Size: 1 slice
- Calories: 450
- Sugar: 35g
- Fat: 25g (And yes, most of that is delicious butter!)
- Saturated Fat: 15g
- Unsaturated Fat: 10g
- Trans Fat: 0g
- Carbohydrates: 58g
- Fiber: 3g
- Protein: 5g
- Cholesterol: 60mg
Don’t forget, the exact numbers can change depending on the exact variety of apples you choose since their sugar content varies. But hopefully, seeing these numbers helps you plan out your perfect cozy fall menu!
Share Your Apple Pie Creations
This is the part of the process where I love hearing from you all! Making an apple pie from scratch feels like such a personal accomplishment. Once you’ve let yours cool—and trust me, waiting those few hours is worth it—I really want to know how it turned out. Did that flaky crust shatter just the way you hoped? Was your filling perfectly set?
I always ask everyone, especially the first-timers, to leave a star rating right below this post so other home cooks can feel confident trying this recipe out next!
But more than the stars, I’m dying to know about the technique. Tell me in the comments: Did you take the leap and pre-cook your apple filling like I suggested? I promise I won’t judge if you stuck to the traditional raw method, but I’m always curious to see who embraced that texture secret! Hearing about your baking adventures helps me keep these recipes honest and true to that home-style feel we all cherish here at Cookin’ Corner.
If you’re already planning your weeknight meals after all that baking, I have some fantastic easy dinner ideas that require way less effort than a double-crust pie!
PrintThe Best Classic Homemade Apple Pie with Flaky Double Crust
Make the best homemade apple pie from scratch with this recipe. It features a buttery, flaky double crust and a perfectly spiced, tender apple filling that avoids being mushy. This is the classic comfort food dessert you need for holidays or any cozy night.
- Prep Time: 45 min
- Cook Time: 65 min
- Total Time: 110 min
- Yield: 8 servings 1x
- Category: Dessert
- Method: Baking
- Cuisine: American
- Diet: Vegetarian
Ingredients
- 2 1/2 cups all-purpose flour
- 1 teaspoon salt
- 1 cup (2 sticks) cold unsalted butter, cut into cubes
- 1/2 cup ice water (plus more if needed)
- 6 large Granny Smith apples, peeled, cored, and sliced 1/4-inch thick
- 2 large Macintosh apples, peeled, cored, and sliced 1/4-inch thick
- 3/4 cup granulated sugar
- 1/4 cup packed light brown sugar
- 1/4 cup all-purpose flour
- 1 teaspoon ground cinnamon
- 1/4 teaspoon ground nutmeg
- 1/8 teaspoon ground allspice
- 1 tablespoon lemon juice
- 2 tablespoons unsalted butter, cut into small pieces
- 1 large egg, beaten with 1 teaspoon water (for egg wash)
- 1 tablespoon coarse sugar for sprinkling
Instructions
- Prepare the Flaky Pie Crust: In a large bowl, whisk together the 2 1/2 cups flour and 1 teaspoon salt. Cut in the cold butter using a pastry blender or your fingers until the mixture resembles coarse crumbs with some pea-sized pieces of butter remaining. Gradually add the ice water, 1 tablespoon at a time, mixing until the dough just comes together. Do not overmix. Divide the dough in half, flatten each half into a disk, wrap in plastic wrap, and chill for at least 1 hour.
- Prepare the Apple Pie Filling: In a large bowl, combine the sliced apples, granulated sugar, brown sugar, 1/4 cup flour, cinnamon, nutmeg, allspice, and lemon juice. Toss gently until the apples are evenly coated. Let the mixture sit for 15 minutes while you roll out the bottom crust.
- Pre-cook the Filling (Optional but Recommended for Texture): Transfer the apple mixture to a large saucepan. Cook over medium heat, stirring occasionally, for about 8 to 10 minutes, until the apples have softened slightly and the juices have thickened. Remove from heat and stir in the 2 tablespoons of butter pieces. Let the filling cool slightly.
- Assemble the Pie: Preheat your oven to 425 degrees F (220 degrees C). On a lightly floured surface, roll out one disk of dough into a 12-inch circle. Carefully transfer the dough to a 9-inch pie plate. Trim the edges, leaving a 1-inch overhang.
- Fill the Crust: Pour the cooled apple filling into the bottom crust, mounding the apples slightly in the center. Dot the top of the filling with any remaining butter pieces from the saucepan.
- Top the Pie: Roll out the second disk of dough into an 11-inch circle. Place it over the filling. Trim the top crust overhang to match the bottom. Crimp the edges together to seal. Cut several slits in the top crust to allow steam to escape.
- Bake: Brush the top crust evenly with the egg wash and sprinkle with coarse sugar. Place the pie on a baking sheet to catch any drips. Bake at 425 degrees F (220 degrees C) for 15 minutes. Then, reduce the oven temperature to 375 degrees F (190 degrees C) and continue baking for another 40 to 50 minutes, or until the crust is golden brown and the filling is bubbly. If the edges brown too quickly, cover them loosely with foil.
- Cool: Let the **classic apple pie recipe** cool on a wire rack for at least 3 to 4 hours before slicing. This allows the filling to set properly.
Notes
- For the flakiest crust, keep all your ingredients, especially the butter and water, very cold.
- If you prefer a Dutch Apple Pie, skip the top crust and instead make a crumb topping using 1 cup flour, 1/2 cup brown sugar, 1/2 cup granulated sugar, 1/2 teaspoon cinnamon, and 1/2 cup cold butter mixed until crumbly. Sprinkle this over the filling before baking.
- Use a mix of tart and sweet apples, like Granny Smith and Honeycrisp, for the best flavor balance in your **apple pie filling recipe**.
Nutrition
- Serving Size: 1 slice
- Calories: 450
- Sugar: 35g
- Sodium: 250mg
- Fat: 25g
- Saturated Fat: 15g
- Unsaturated Fat: 10g
- Trans Fat: 0g
- Carbohydrates: 58g
- Fiber: 3g
- Protein: 5g
- Cholesterol: 60mg