
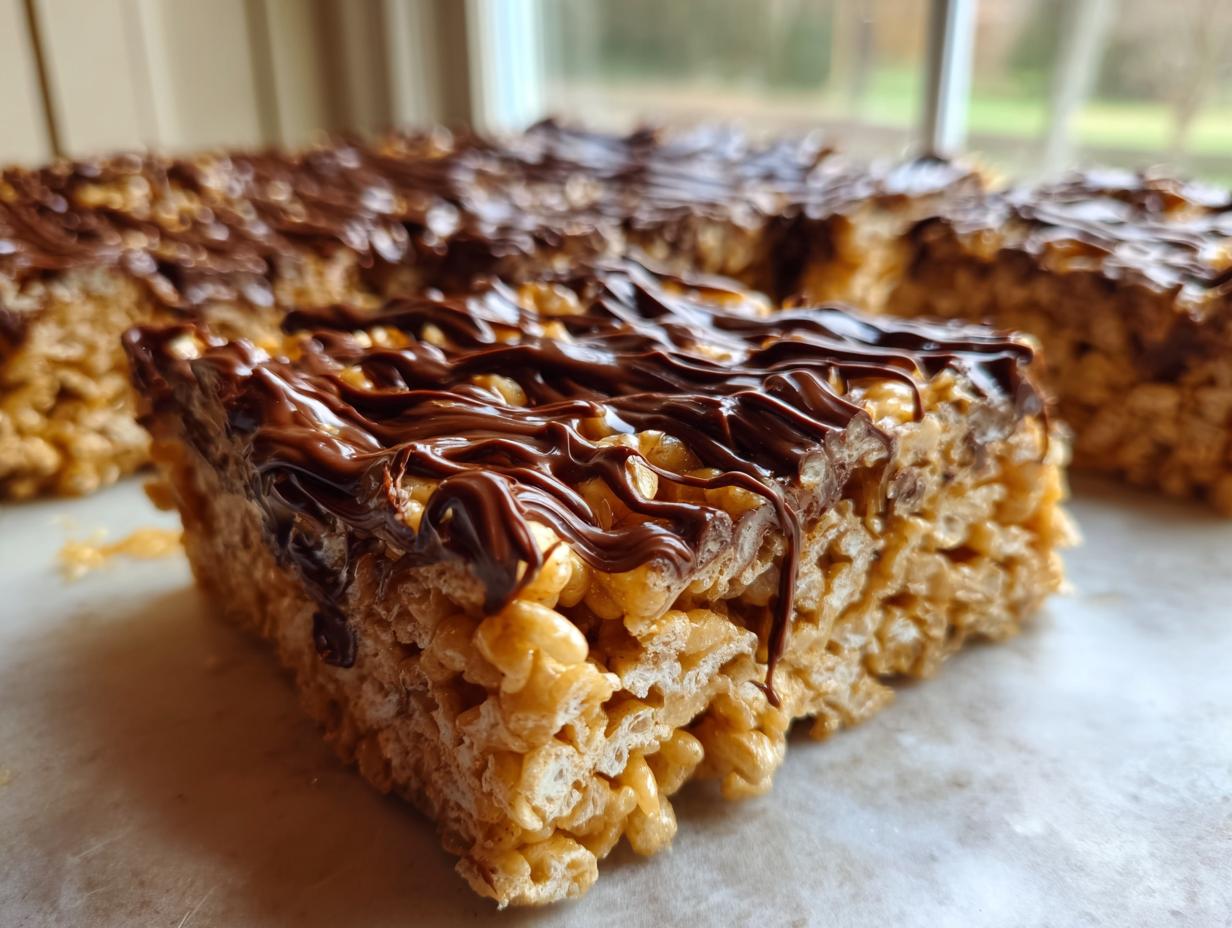
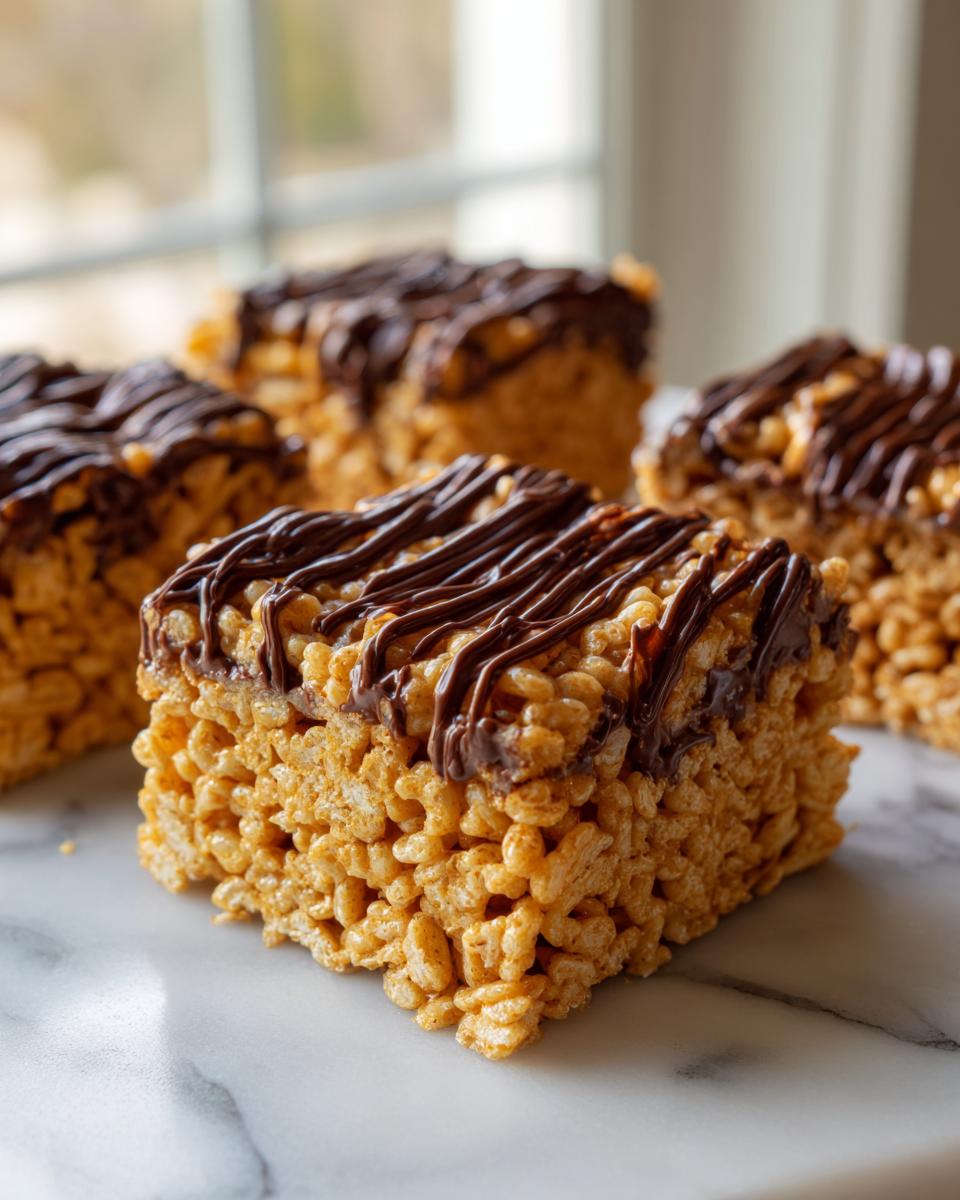
If you’re anything like me, some flavors just pull you right back to childhood. Forget complicated baking; sometimes you just need something sweet, salty, and incredibly easy—that’s why I’m sharing my recipe for the ultimate chewy peanut butter rice krispie treats! We aren’t stopping at the classic square, though. Sarah Jane Thompson and the Cookin’ Corner philosophy are all about perfecting those nostalgic American classics, and that means adding a glorious, rich swirl of chocolate on top. Trust me, these no-bake squares come together in minutes, but their flavor lasts forever in your memory. If you’re looking for more fantastic sweet and salty snacks, you absolutely have to check out my recipe for the no-bake peanut butter pie!
- Why You Will Make The Best peanut butter rice krispie treats
- Gathering Ingredients for Ultimate peanut butter rice krispie treats
- Step-by-Step Guide to Making Chewy peanut butter rice krispie treats
- Tips for Achieving Perfect Chewy peanut butter rice krispie treats
- Variations on Classic peanut butter rice krispie treats
- Storing and Serving your peanut butter rice krispie treats
- Frequently Asked Questions about peanut butter rice krispie treats
- Nutritional Estimates for these peanut butter rice krispie treats
- Share Your Homemade peanut butter rice krispie treats
Why You Will Make The Best peanut butter rice krispie treats
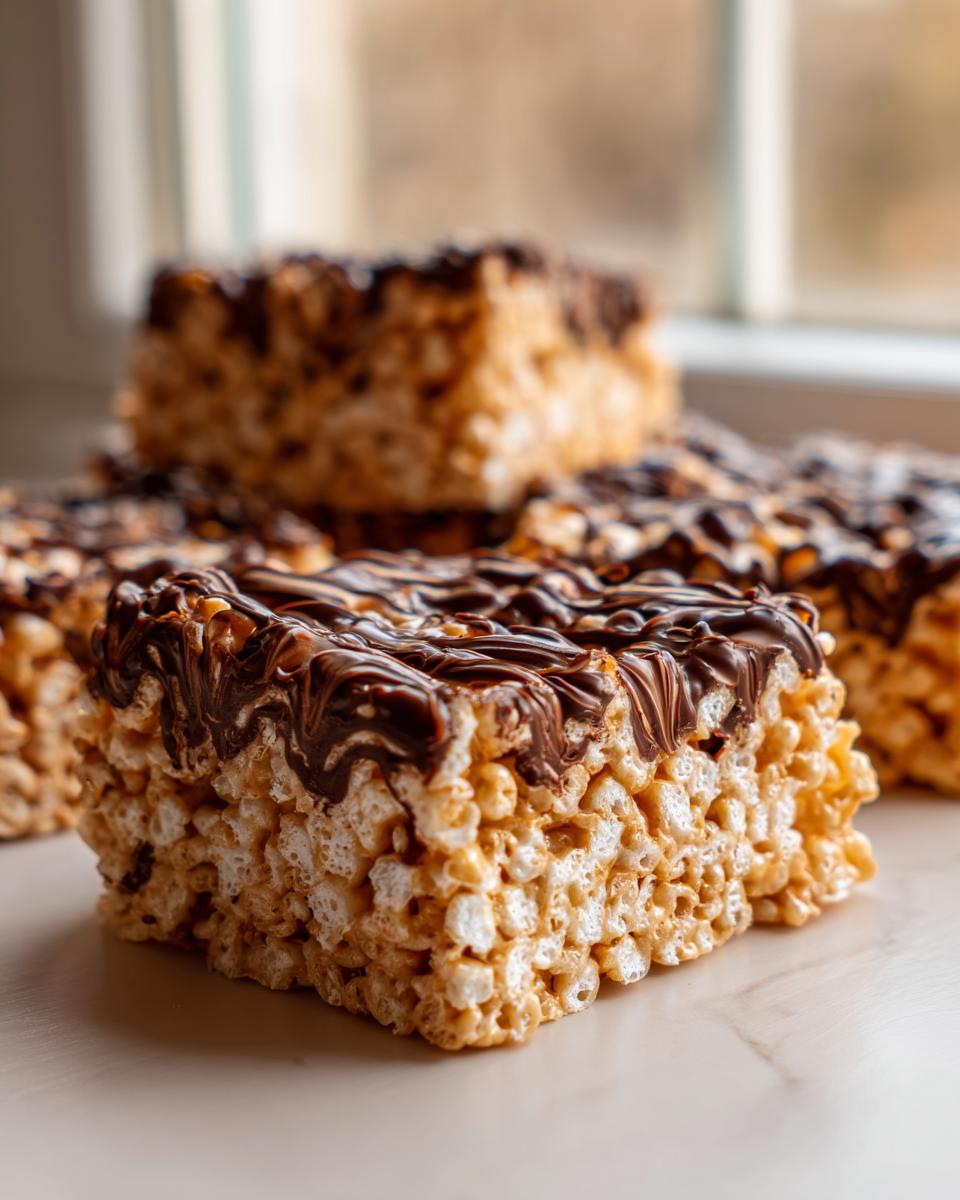
I know there are a million versions of these marshmallow cereal bars out there, but ours stand above the rest. That’s just how it is when you follow tried-and-true methods! These aren’t the hard, crumbly bars you might have made as a kid; these are gooey goodness.
- They are totally no bake—seriously, minimal effort for maximum payoff.
- We nailed the ratio for that perfectly chewy texture that sticks just right to your teeth!
- That little bit of chocolate layered on top just transforms them into next-level peanut butter desserts.
If you love this kind of sweet and salty goodness, you really should grab my recipe for the peanut butter cup cookies next!
Gathering Ingredients for Ultimate peanut butter rice krispie treats
The beauty of these little squares is that they require such simple pantry staples. You probably have most things sitting around right now! Remember my rule about care? Well, here it applies to your marshmallows. If you can, grab a fresh bag. Stale marshmallows are the enemy of gooey treats, plain and simple!
We break the ingredients into two easy groups: the base that gets melted together, and the decadent topping that sets the flavor profile.
Ingredients for the peanut butter rice krispie treats Base
- 6 tablespoons unsalted butter (no cheating on the butter here, folks!)
- 1 cup creamy peanut butter—the smooth kind makes it melt better.
- 1 (10 ounce) package miniature marshmallows (fresh is best!)
- 6 cups crispy rice cereal
Ingredients for the Chocolate Topping
This is where we elevate these from good to totally irresistible. You’ll just need two things right at the end.
- 1 cup semi-sweet chocolate chips
- 1 tablespoon butter (this helps the chocolate stay nice and glossy on top)
Step-by-Step Guide to Making Chewy peanut butter rice krispie treats
Okay, deep breath! This is where the magic happens, but please promise me you won’t rush it. We need patience to get that perfect gooey texture. Remember, this whole thing comes together faster than you can order takeout, but finesse is everything when we’re working with melted marshmallows!
Preparation and Melting the Peanut Butter Base
First things first, get your 9×13 inch pan ready. I always grease mine and then line it with parchment paper that hangs over the sides—it makes lifting these sticky treats out so much easier later! Don’t skip that step.
Next, grab a big saucepan and set it over truly low heat. We are melting, not browning, so keep it gentle! Add your 6 tablespoons of butter and let it relax completely. Once melted, stir in the peanut butter until it’s one gorgeous, smooth stream of nutty goodness. Now, toss in the miniature marshmallows. You have to stir constantly now, I mean it! Keep stirring until every single marshmallow is completely dissolved and your mixture looks shiny and smooth. If you see any browning starting, pull it right off the heat immediately!
Mixing Cereal and Pressing the peanut butter rice krispie treats
Once you’ve removed the pan from the heat—and this has to be done fast!—dump in all 6 cups of your crispy rice cereal. Mix gently, folks! We want to coat those crispy bits evenly, but we don’t want to crush them into dust. Remember, we are aiming for a crunch, not powder.
Now for the best part of achieving the chew: pressing! Scrape that coated mixture into your prepared pan. Don’t just smash it down with your hands; you’ll end up with rock-hard treats! Instead, use a piece of wax paper or a spatula that you’ve lightly buttered. Press down firmly and use gentle, even pressure all over. This ensures a dense final bar, which is exactly what makes these the best peanut butter rice krispie treats!
Adding the Chocolate Layer and Setting the peanut butter rice krispie treats
While your cereal base is setting up, let’s tackle that chocolate swirl. Put your chocolate chips and the extra tablespoon of butter into a microwave-safe bowl. Zap it in 30-second intervals, stirring really well after each one, until it’s perfectly melted and drizzly. Seriously, scrape down those sides so it’s uniform!
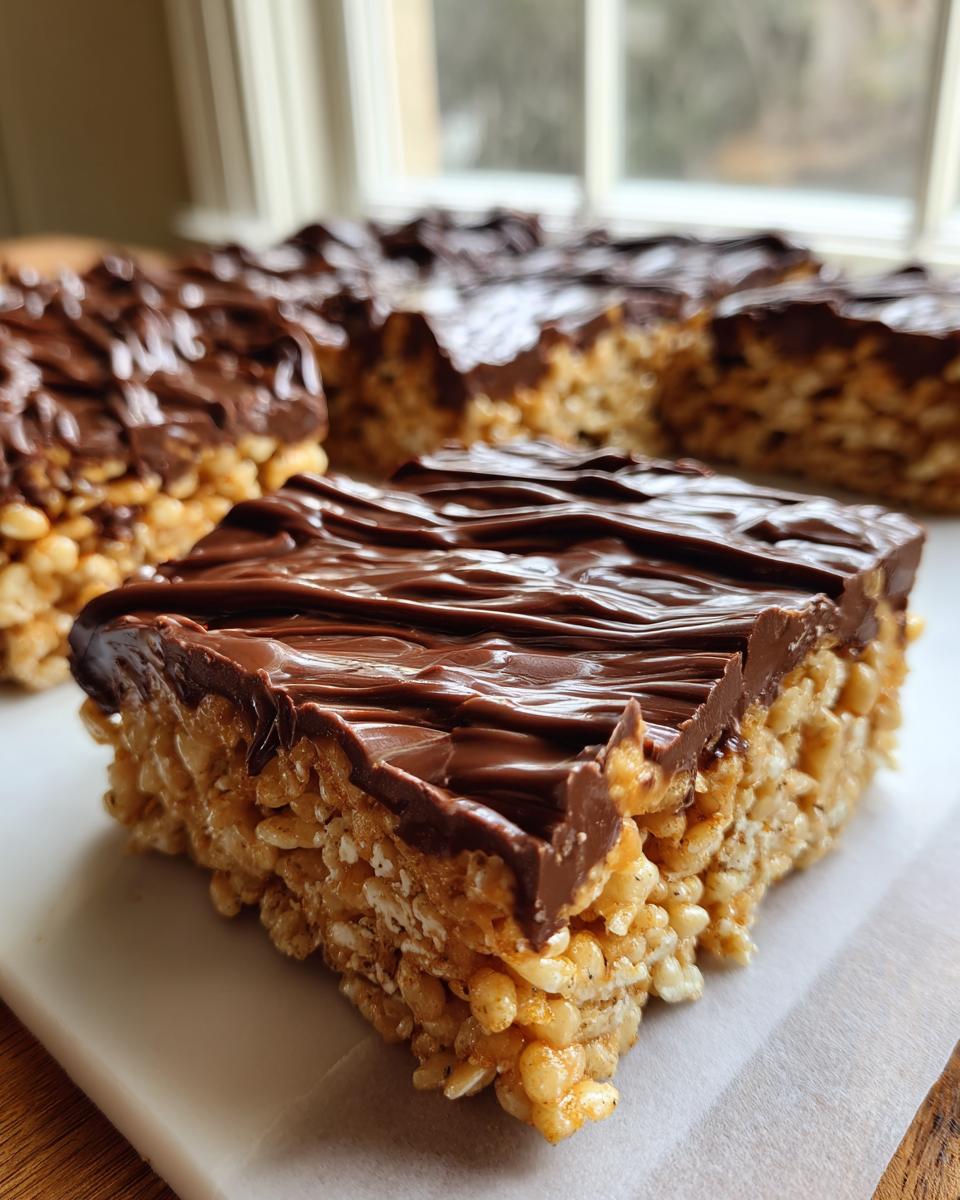
Pour that melted chocolate right over the cereal base. If you want my favorite look, just use a knife and gently swirl it through the top layer. You don’t want to mix it into the peanut butter layer, just peek it through the top! Let these sit on the counter for about an hour, or pop them in the fridge for 30 minutes if you’re impatient (I won’t judge!). Once the chocolate is firm, use that parchment paper overhang to lift the whole thing out, and slice into squares.
If you want a totally different no-bake dessert, you should look at the recipe for my easy no-bake ice cream pie!
Tips for Achieving Perfect Chewy peanut butter rice krispie treats
Getting that ideal gooey texture isn’t luck; it’s about following a couple of rules that make all the difference when we’re making these delicious marshmallow cereal bars. My goal is always those sweet and salty snacks that just melt in your mouth!
Rule number one: Freshness matters! When my marshmallows get old, the treats come out hard as a rock. I remember one time I used an old bag and they were inedible—I tried soaking them in warm water to revive them, but honestly, it just made the whole thing soggy. Waste of good peanut butter, let me tell you!
The second big tip deals with pressing them into the pan. You want them dense, sure, but if you press too hard, you squash all that lovely air out. I always use a piece of wax paper between my hand and the sticky mixture so I can apply firm, even pressure without fighting the gluey mess. Just press gently until it’s uniform, and the texture will be spot on. If you are looking for other wonderful treats, don’t forget to check out my recipe for thick and chewy chocolate chip cookies; they share that same dedication to texture!
Oh, and just a quick reminder: these will stay fresh for about three days stored nicely in an airtight container at room temperature. They don’t usually last that long in my house, though!
Variations on Classic peanut butter rice krispie treats
Just because this recipe is the absolute best way to make peanut butter rice krispie treats doesn’t mean we can’t play around a little bit! We know you are always looking for those quick dessert ideas, and sometimes that means throwing in an extra handful of something delicious or changing the shape entirely.
Since we already have that amazing chocolate swirl going on, let’s talk about things you can incorporate right into the base mix before you press it into the pan. This is a fun way to customize your sweet and salty snacks!
Adding Texture and Flavor Boosts
If you want a bit more texture running through the whole bar, you have a couple of easy options. Mini chocolate chips are always a winner here. They melt just enough to get gooey but keep their little chip shape, adding bursts of chocolate throughout the peanut butter. Just fold about a half cup in right when you stir the cereal.
Also, don’t be afraid to swap out that creamy peanut butter for crunchy! It changes the overall mouthfeel completely. You’ll get more texture from the nuts themselves, which is great if you normally love chunkier things. For another chocolate fix, you should seriously look at my recipe for the ultimate chocolate peanut butter cake—it’s divine!
Shaping peanut butter rice krispie treats into Balls or Cups
Sometimes, you just don’t feel like making squares! If you’re prepping these for a party or maybe want to dole out easier kid-friendly snacks, shaping them a bit differently is fun. You can totally make peanut butter balls instead of bars.
The trick is cooling the mixture slightly after adding the cereal so it’s easier to handle. If you scoop the mixture out with a cookie scoop or even just use lightly oiled hands, you can roll them right into balls. If you want little individual portions, use a mini muffin tin lined with paper liners, press the mixture in gently, and you’ve got perfect peanut butter rice krispie cups!
Storing and Serving your peanut butter rice krispie treats
The best part about these simple, no-bake treats is they are incredibly sturdy! They hold up so well, which makes them perfect for taking to potlucks or packing up for lunchbox treats.
Since we used butter and no ingredients that really spoil quickly, the storage is wonderfully simple. You don’t need to worry about keeping these in the fridge either, which is handy when counter space is tight during a big party!
Here are the quick guidelines for making sure they stay fresh for the grandkids:
- Keep them stored in an airtight container. Seriously, pop a lid on it!
- Room temperature is the best spot—no need to chill them once they are set.
- They are best eaten within three days. Honestly, they usually disappear before day two!
When it comes to serving these yummy marshmallow cereal bars, think about where you’d want a quick burst of salty-sweet energy. They are fantastic cut into small, bite-sized pieces as part of a big dessert spread for a party. If you’re giving them to the little ones, cutting them into fun shapes after the chocolate sets is always a huge hit!
If you’re looking for other quick meals to feed a crowd after you’ve made these lovely snacks, have a peek at my recipe for easy leftover turkey soup—it’s the ultimate comfort food!
Frequently Asked Questions about peanut butter rice krispie treats
I know you might have a few quick questions floating around before you dive in, because these classic childhood snacks deserve to be made perfectly the first time! I’ve put together the things people ask me most often about getting these marshmallow cereal bars just right. And hey, if you’re looking for another easy dessert for your parties, these crescent roll apple dumplings are just as simple!
How do I make sure my peanut butter rice krispie treats are gooey and not hard?
This is the million-dollar question for all no bake treats! The secret is two-fold. First, always use fresh marshmallows; stale ones just won’t melt right. Second, heat control! When you’re melting the butter, peanut butter, and marshmallows, keep that stove on low heat. You want them totally dissolved and smooth, but if you let it brown or get too hot, it burns the sugar and guarantees a hard bar later. Finally, when pressing the mixture into the pan, don’t press like you’re trying to win a weightlifting contest. Press just firmly enough to pack it, that’s it. It should still feel slightly pliable.
Can I substitute crunchy peanut butter in this recipe?
Oh, absolutely! While I prefer creamy peanut butter for these particular peanut butter rice krispie treats because it melts down smoother and bonds better with the marshmallow—giving you that uniform gooey texture—crunchy works just fine! Just know that when you use crunchy peanut butter, you are introducing a different texture element. Instead of a completely smooth peanut butter core, you’ll get little nutty pockets throughout. It’s a delicious change if you happen to love the texture contrast!
Are these considered healthy no bake treats?
Well, honey, let’s be real. These are marshmallow, butter, and cereal bars, so we aren’t fooling anyone into thinking they are kale salad! They are definitely an indulgence, not a health food. But look at it this way: because they are so quick, come together with simple ingredients, and require no oven time, they beat standing in line at the store for processed snacks. They are the perfect quick dessert idea when you need a satisfying sweet-and-salty treat made right at home.
Nutritional Estimates for these peanut butter rice krispie treats
Now, I know some of you wonderful home cooks out there like to keep track of the numbers, and that’s totally fine! But when you’re making something as fun and classic as these peanut butter rice krispie treats, sometimes you just have to enjoy it for what it is: a glorious, chewy treat.
Because every brand of cereal, every type of peanut butter, and even the size of your marshmallows can shift things just a bit, I can’t give you an exact blueprint. What I can tell you is that these nutritional values are estimates, purely based on the standard ingredients listed. They will vary depending on exactly what you’ve got in your pantry!
Think of these as a delicious, homemade indulgence perfect for parties, celebrations, or just satisfying that deep peanut butter craving. Focus on the homemade love rather than the fine print!
Share Your Homemade peanut butter rice krispie treats
I just adore hearing from you all! Sharing your triumphs in the kitchen is the best part of my job here at Cookin’ Corner. It makes all the testing and perfecting worth it to know that these treats are showing up at your family gatherings and satisfying those sudden cravings!
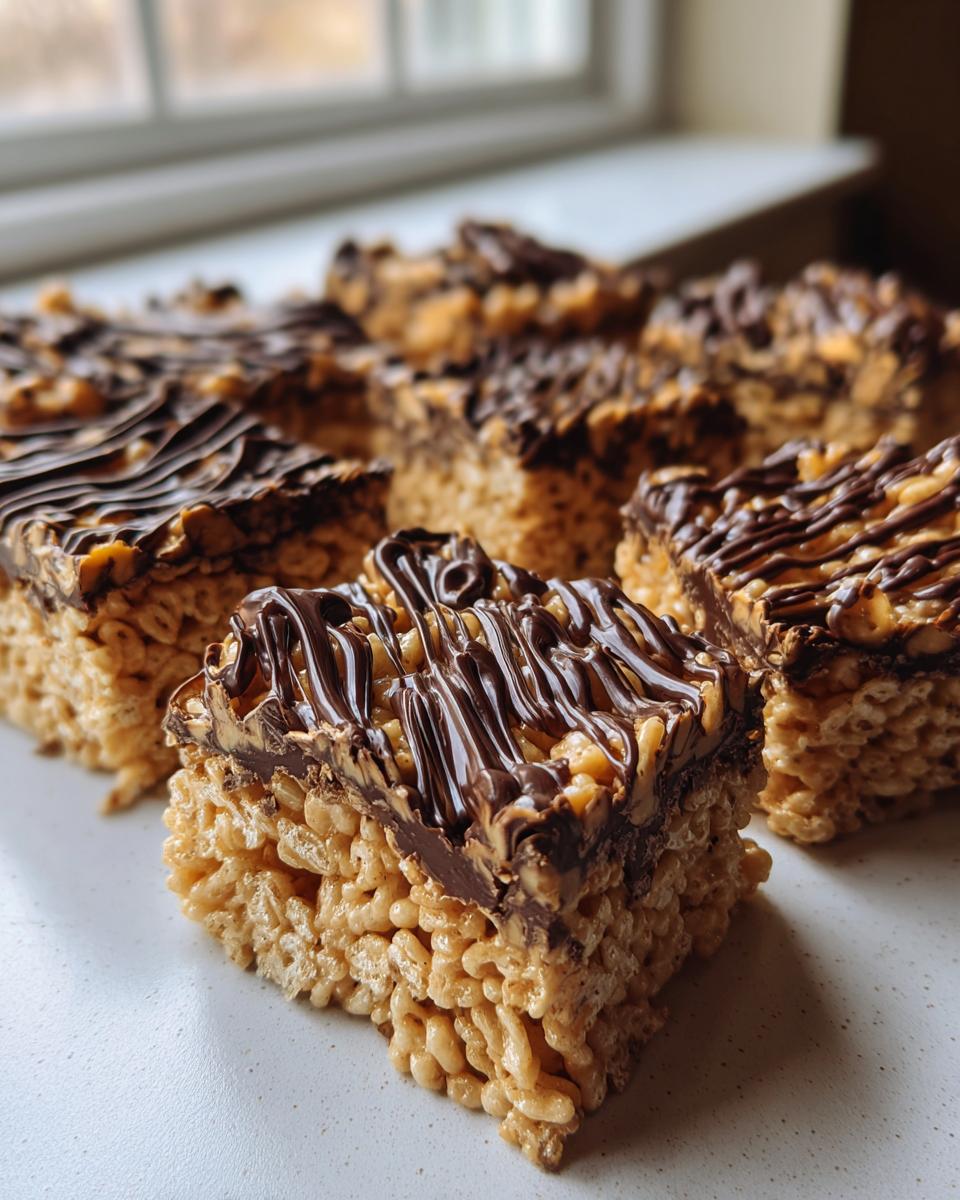
Since these are supposed to be the *ultimate* chewy bars, I really want to know how they turned out for you. Did you get that perfect set with the chocolate swirl? Do you feel like you made every one of those 18 squares perfectly dense? Don’t be shy—drop a rating below!
Also, were you the kind of cook who stuck strictly to the recipe, or did you try one of the variations we talked about? Maybe you added extra salty pretzels, or perhaps you shaped them into balls for a kid-friendly snack. I’m always looking for new spins on these wonderful no bake treats!
If you snapped a picture of your finished tray—maybe they’re chilling on a platter or being mercilessly inhaled by your family—please share it! Tag us on social media. Seeing your delicious results brings that cozy, home-cooked feeling right back to my kitchen. If you have any questions or just want to send a quick note, you can always reach out through the contact page!
PrintUltimate Chewy Peanut Butter Rice Krispie Treats with Chocolate Swirl
Make the ultimate chewy Peanut Butter Rice Krispie Treats. This no-bake dessert combines creamy peanut butter, sweet marshmallows, and crispy cereal, finished with a rich chocolate swirl for a classic, nostalgic snack.
- Prep Time: 15 min
- Cook Time: 5 min
- Total Time: 20 min
- Yield: 18 squares 1x
- Category: Dessert
- Method: No Bake
- Cuisine: American
- Diet: Vegetarian
Ingredients
- 6 tablespoons unsalted butter
- 1 cup creamy peanut butter
- 1 (10 ounce) package miniature marshmallows
- 6 cups crispy rice cereal
- 1 cup semi-sweet chocolate chips
- 1 tablespoon butter (for topping)
Instructions
- Lightly grease a 9×13 inch baking pan or line it with parchment paper, leaving an overhang for easy removal.
- In a large saucepan, melt the 6 tablespoons of butter over low heat.
- Add the peanut butter to the melted butter and stir until fully combined and smooth.
- Add the miniature marshmallows to the saucepan. Stir constantly over low heat until the marshmallows are completely melted and smooth. Do not let the mixture brown.
- Remove the saucepan from the heat. Immediately add the crispy rice cereal and stir gently until the cereal is evenly coated with the marshmallow mixture.
- Press the mixture evenly into the prepared baking pan. Use a piece of wax paper or lightly buttered spatula to press down firmly to achieve a dense, chewy texture.
- In a microwave-safe bowl, combine the chocolate chips and the remaining 1 tablespoon of butter. Microwave in 30-second intervals, stirring well after each interval, until the chocolate is smooth and fully melted.
- Pour or drizzle the melted chocolate mixture over the top of the cereal bars. Use a knife or offset spatula to spread it evenly or create a swirl pattern.
- Let the treats cool completely at room temperature, about 1 hour, or chill in the refrigerator for 30 minutes until the chocolate is set.
- Lift the treats out of the pan using the parchment paper overhang. Cut into squares.
Notes
- For the chewiest treats, use fresh marshmallows. Stale marshmallows result in a harder bar.
- Press the mixture into the pan gently. Over-pressing can make the final treats too hard.
- If you prefer a solid chocolate layer instead of a swirl, spread all the melted chocolate evenly over the bars before chilling.
- Store leftovers in an airtight container at room temperature for up to three days.
Nutrition
- Serving Size: 1 square
- Calories: 210
- Sugar: 18g
- Sodium: 110mg
- Fat: 11g
- Saturated Fat: 4g
- Unsaturated Fat: 7g
- Trans Fat: 0g
- Carbohydrates: 27g
- Fiber: 1g
- Protein: 4g
- Cholesterol: 5mg