
Oh, I know the feeling! You grab that bottle of store-bought syrup, ready to pour it over hot fudge sundaes or mix up some late-night chocolate milk, and what happens? It’s thin, it tastes strangely artificial, and honestly, it just flops. It’s such a letdown when you’re craving that deep, decadent, chocolatey comfort. Well, trust me when I say we aren’t doing that anymore! Here at Cookin’ Corner, Sarah Jane Thompson built this whole site on the idea that the best flavors come from simple, honest ingredients handled with care. That’s why this chocolate syrup recipe is my absolute favorite pantry staple. We’re talking silky smooth, incredibly rich, and ready to go in under ten minutes! If you love that deep chocolate flavor, you should definitely check out my recipe for homemade hot cocoa while you’re here, too!
- Why This Homemade Chocolate Syrup Recipe is Better Than Store-Bought
- Gathering Ingredients for Your Chocolate Syrup From Cocoa Powder
- How to Prepare Your Easy Chocolate Sauce on the Stovetop
- Using Your Rich Chocolate Topping: Serving Suggestions
- Storage and Shelf Life for Your Homemade Chocolate Syrup
- Making Your Own Chocolate Syrup Gift Idea
- Tips for Success When You **Make Your Own Chocolate Syrup**
- Frequently Asked Questions About This Chocolate Syrup Recipe
- Nutritional Estimates for Homemade Chocolate Syrup
Why This Homemade Chocolate Syrup Recipe is Better Than Store-Bought
I’m telling you, ditching the grocery store bottle for this homemade version is a game-changer. This recipe isn’t just marginally better; it’s a completely different chocolate experience! We focus on what matters most to real bakers: amazing texture, speed, and clean ingredients. No more watery thin stuff here.
- It whips up in just 10 minutes flat—truly!
- The flavor is intensely rich because we skip the fillers like high-fructose corn syrup.
- It yields that luxurious, velvety, silky smooth chocolate topping finish that coats everything perfectly.
Achieving That Silky Smooth Chocolate Topping Texture
The secret to that incredible, heavy texture isn’t corn starch, nope! It happens right at the beginning when we whisk the sugar and the cocoa powder together first. That initial mix lets some of the air out of the cocoa and almost ‘blooms’ it slightly before the water hits. This prevents those awful little lumps and sets up the chemical structure perfectly so it turns into that gorgeous, uniform, rich chocolate topping when it cooks down.
Gathering Ingredients for Your Chocolate Syrup From Cocoa Powder
Okay, the best part about this recipe is what you don’t need. We aren’t running to the pantry for specialized thickeners or corn syrup! You probably have everything gathered up already. For about 1.5 cups of this amazing stuff, you’ll need one cup of regular granulated sugar and exactly three-quarters of a cup of unsweetened cocoa powder—make sure it’s unsweetened for that deep flavor!
Then we add one full cup of water, which dissolves everything beautifully. Don’t skip the little things, either; a teaspoon of vanilla extract for aroma and just a tiny pinch of salt balances out all that rich sweetness. See? Pantry staples! If you’re looking for other amazing homemade desserts using simple components, you absolutely have to check out my recipe for homemade chocolate pudding; it uses a similar base!
Ingredient Notes and Substitutions for Your Chocolate Syrup
For the best results, stick to granulated white sugar here since it dissolves perfectly when we heat it up. If you’re aiming for a vegan chocolate syrup, this recipe is naturally dairy-free, but you might look into sourcing your sugar ethically if that matters to you. Use a good quality, standard unsweetened cocoa powder—the better the cocoa, the deeper your chocolate flavor gets. Please don’t swap out the vanilla; it really wakes up the chocolate notes!
How to Prepare Your Easy Chocolate Sauce on the Stovetop
This is where the magic happens, and honestly, it’s so fast you might burn the kettle waiting for water to boil! The first thing you must do—and I learned this the hard way when I first tried to make my own chocolate syrup—is combine all your dry stuff: sugar, salt, and the cocoa powder, right in the saucepan. Whisk it until it looks like one uniform dusty mountain. If you skip this, you get clumps, and clumps are the enemy of a silky smooth chocolate topping!
Next, pour in your water and whisk well until you don’t see any dry pockets hiding at the bottom. Then, set the heat to medium. Keep stirring gently, but continuously, until you see it just start to bubble up aggressively—that means it’s boiling! Once that happens, drop the heat way down low and let it simmer for just 60 seconds. That one minute cooks out any chalky taste from the cocoa. When I first made this, I actually boiled it for five minutes because I was busy humming—and oh boy, did that make it pudding-like later! Keep an eye on that timer!
After that minute is up, yank it right off the heat and stir in the vanilla extract. Your house is about to smell incredible! Ready for the next step? You’ll love how quickly you can whip up a batch of this easy chocolate dip recipe later if you have leftover sauce, too!
The Critical Cooling Step for Perfect Chocolate Syrup Consistency
Listen to me: you cannot judge this syrup when it’s hot! It will pour out thin, like water, and you’ll panic, thinking you messed up. Don’t touch that extra water bottle yet! This homemade chocolate syrup recipe gets its thickness from cooling down. Once it hits room temperature, it firms up beautifully. If, after it’s completely cool, it’s still too thick for your liking—maybe you want it runnier for your coffee—just whisk in a tablespoon or two of extra water until you reach perfection. Patience pays off here!
Using Your Rich Chocolate Topping: Serving Suggestions
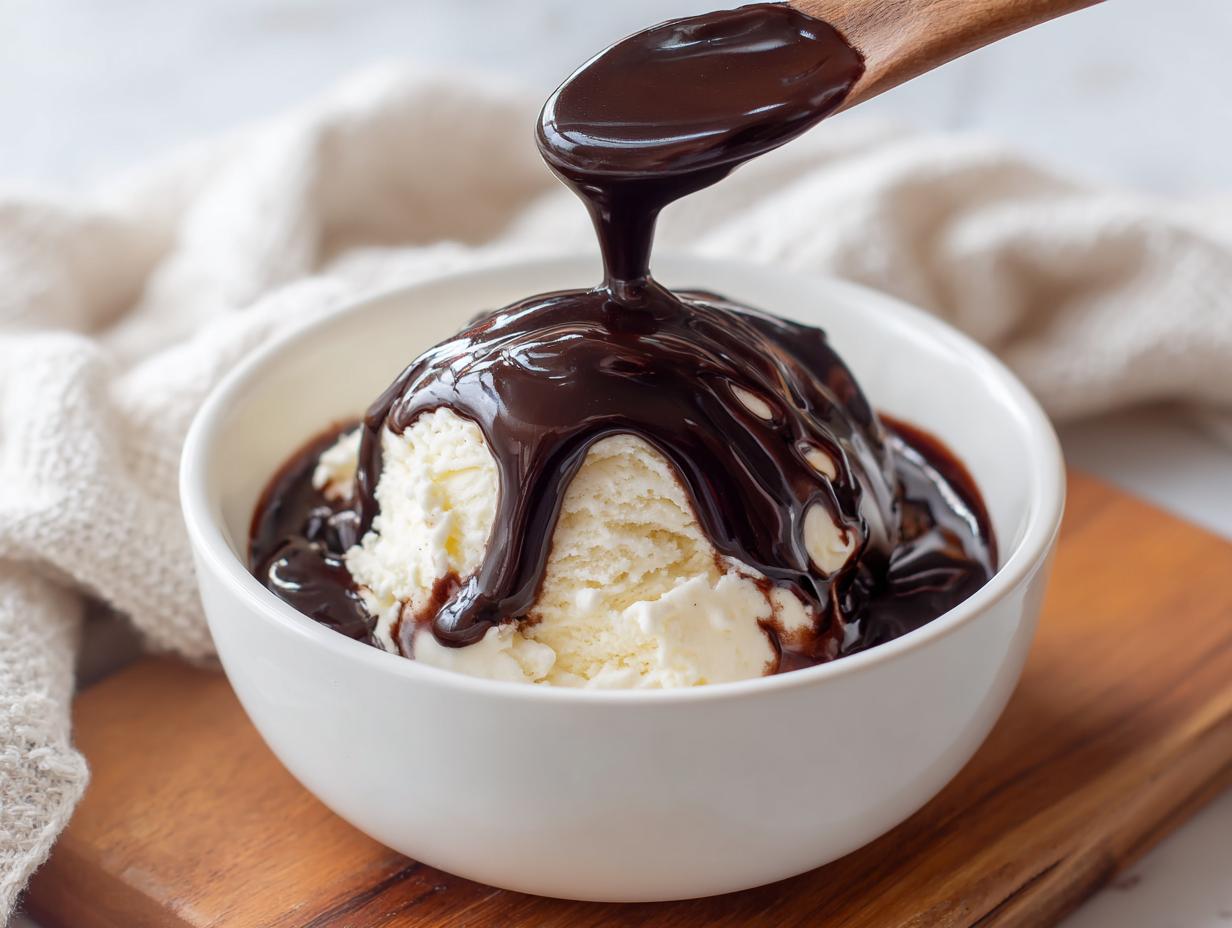
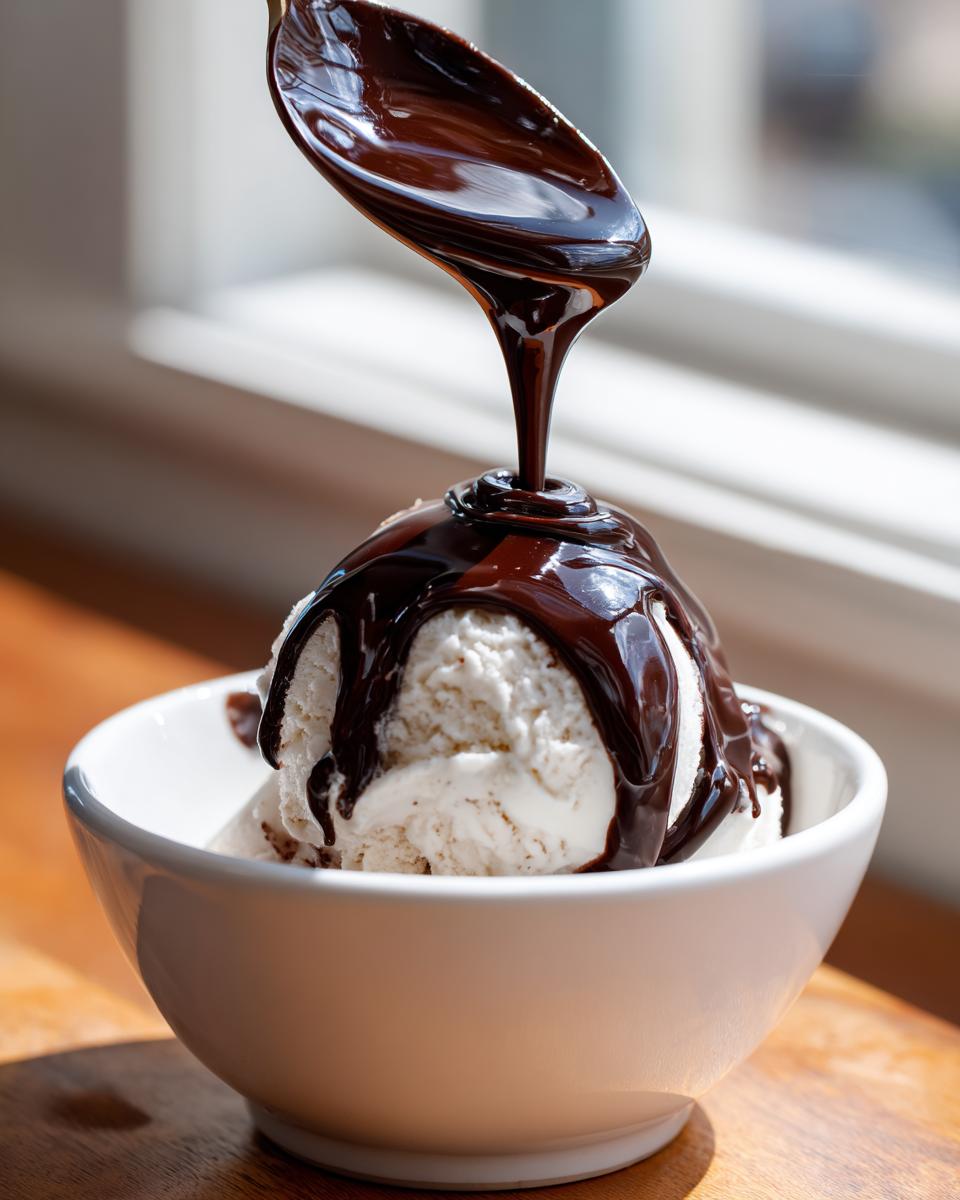
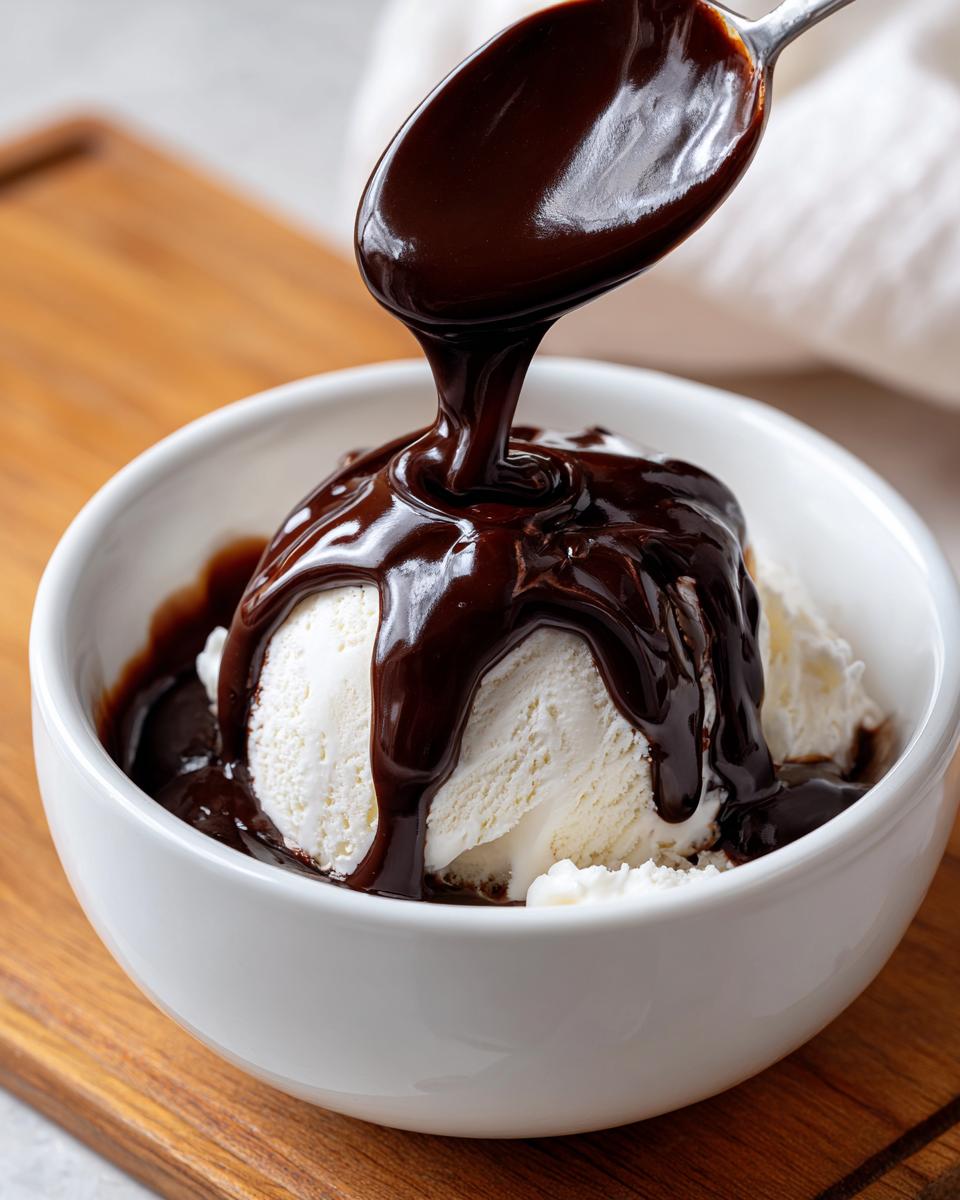
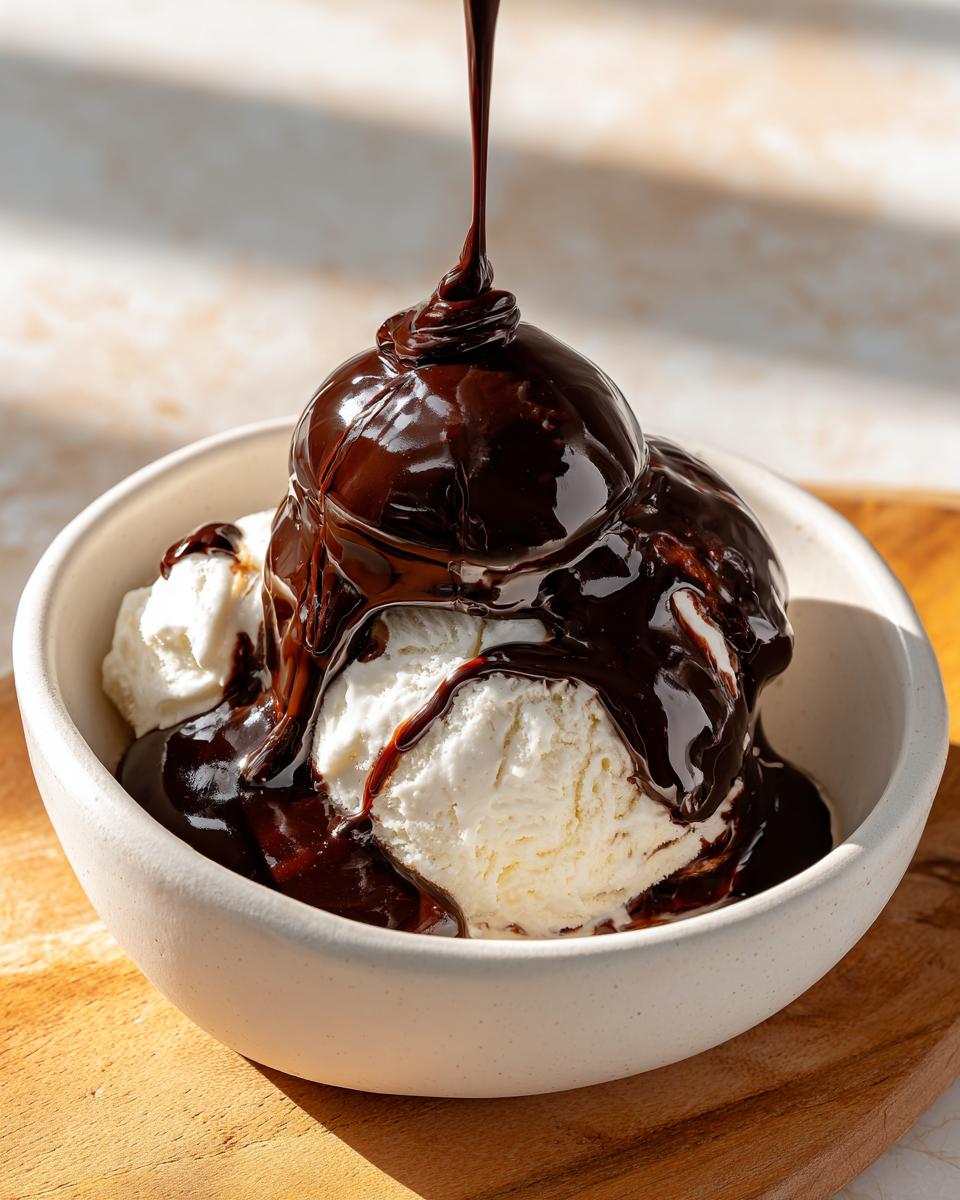
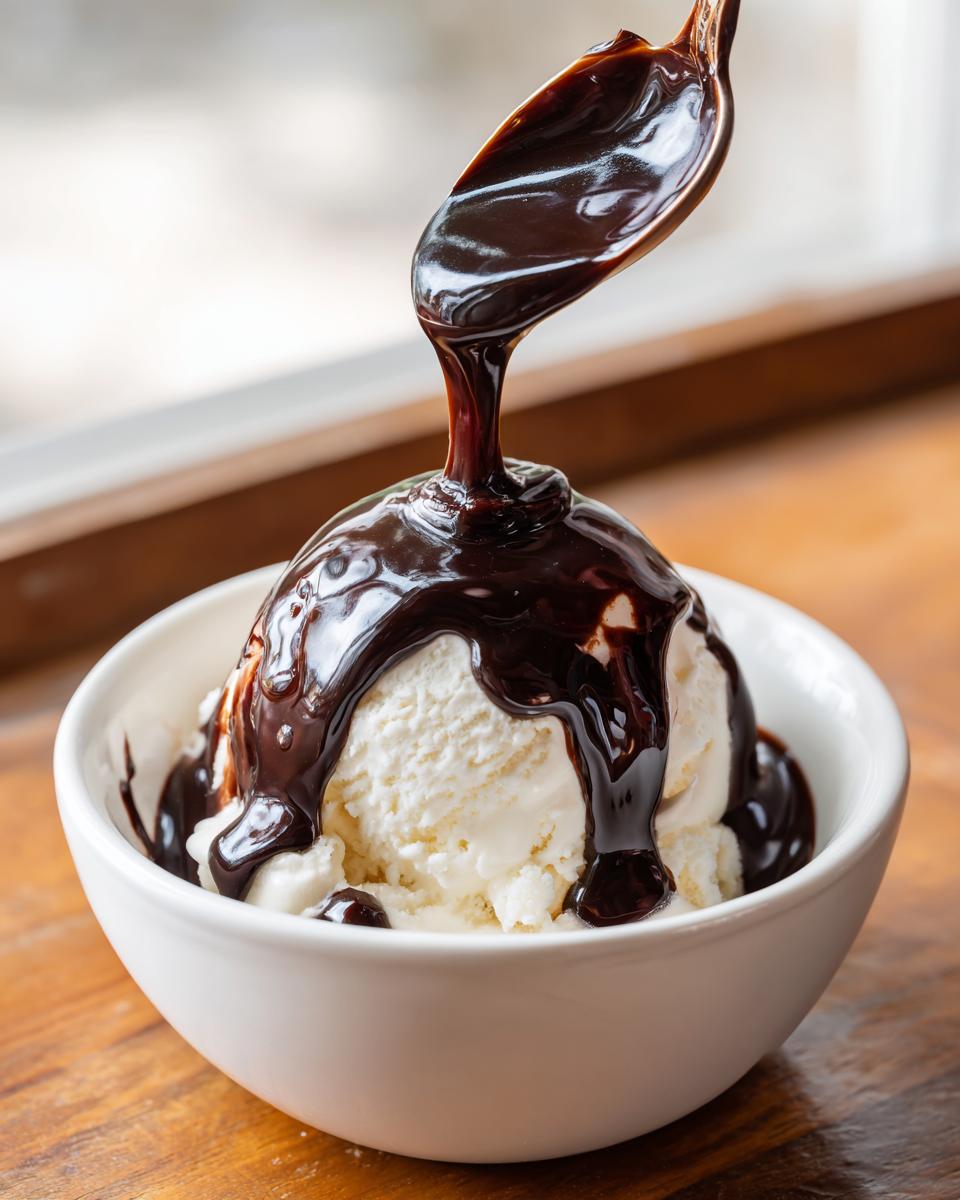
Now that you have this beautiful, rich chocolate topping, the real fun begins! You have to resist the urge to just eat it with a spoon, I promise! This syrup is fantastic, of course, drizzled generously over a bowl of vanilla ice cream—that’s the classic for a reason. But don’t stop there! Think about turning your morning coffee into a treat. A good dollop in your coffee base makes a dreamy mocha, just like the ones you pay too much for at the café. If you need a great coffee recipe to pour it into, check out my guide for the homemade pumpkin spice latte!
It’s also amazing on top of pancakes or waffles instead of maple syrup. Try adding a squirt to a cold brew when the weather heats up—my pumpkin cream cold brew needs a nice chocolate kick sometimes!
Making Homemade Chocolate Milk Mix with This Syrup
Forget those powdery mixes; this is how real chocolate milk is made! The balance is key here. For one average glass of cold milk, start with about two tablespoons of this thick syrup. Whisk it into about a quarter cup of warm milk first, just to help it dissolve completely, then top off the rest of the cold milk. Adjust up or down based on how intense you like your chocolate flavor. It dissolves way better than the stuff in the can, and you get that pure, chocolate syrup goodness!
Storage and Shelf Life for Your Homemade Chocolate Syrup
Since this is pure goodness with no weird preservatives, storage is super simple. Pop your cooled chocolate syrup into a clean, airtight jar—a Mason jar works perfectly! Keep it tucked away in the refrigerator, and it should stay fresh and delicious for about two solid weeks. That’s plenty of time, but trust me, you won’t have any leftovers.
Now, here’s my expert tip for trust: As it chills, the syrup is going to seize up and get quite thick, even stiff. Don’t panic and think you ruined it! If it’s too firm to pour for your morning coffee, just scoop out what you need and leave it on the counter for 15 minutes, or stir in a sneaky tablespoon of warm water right in the jar. It melts right back into that perfect, pourable consistency!
Making Your Own Chocolate Syrup Gift Idea
You know, this is such a fantastic idea for presents! A really thoughtful, homemade chocolate syrup gift idea beats anything you can find wrapped up in the store. Since this recipe is so easy and uses such simple pantry staples, it makes for an impressive but affordable culinary gift. All you need is a nice, clean glass bottle, maybe one of those swing-top ones—they look so charming!
Make a double batch and pour it into two separate jars. Tie a little tag around the neck with some twine that explains it’s homemade and might need a quick stir after chilling. They look lovely next to homemade hot cocoa mixes, which reminds me, if you’re looking for other canned gifts to pair this with, I have a great recipe for Christmas jam that would be perfect!
Tips for Success When You **Make Your Own Chocolate Syrup**
Even though this recipe is unbelievably fast, a little bit of knowledge goes a long way to making it consistently perfect every single time. My biggest piece of advice centers around heat management. Since we have sugar in here, scorching is a real risk if you walk away for even a second!
Always remember that initial thorough whisking of the dry ingredients we talked about earlier. If you see any powdery streaks after adding the water, keep whisking until the liquid is uniformly dark brown before it even touches the stove burner. Also, once it starts to simmer, really keep that heat low. This isn’t a rolling boil recipe; it’s a gentle bath for the cocoa.
If you try this with other sauces, like my easy hollandaise sauce, you notice temperature is key there too. Treat this syrup with gentle heat, and you’re guaranteed that **better than store-bought syrup** quality!
Frequently Asked Questions About This Chocolate Syrup Recipe
I always get questions when people switch from store-bought to making their own, and that’s wonderful! Getting a few details right ensures you get the absolute **best homemade syrup** possible every time. Here are the main things folks ask when they try to whip up this easy chocolate sauce!
Can I make a Sugar Free Chocolate Syrup using this method?
That’s a fair question! Because we are relying on sugar to help create that perfect silky structure when it heats up, swapping it out entirely can be tricky if you’re expecting the store-bought texture. If you really want to try a sugar free chocolate syrup variation, you might experiment with a two-to-one blend of erythritol and monk fruit sweetener—those tend to behave better when heated than pure stevia. Just remember, the final consistency might be different, and you might need a little extra simmering time!
Is this recipe considered a Vegan Chocolate Syrup?
Yes, absolutely! This recipe is naturally dairy-free since we aren’t using any butter or cream—it’s just sugar, cocoa, water, and vanilla. So, if you’re looking for that quick, easy treat to use in your latte or over your dessert that fits a vegan lifestyle, you’re set! The only small thing I always mention is to make sure the granulated sugar you buy is bone-char free, just to keep the whole thing completely vegan-friendly.
For anyone looking for dairy-free icing recipes to go along with whatever you drizzle this on, I have a great guide on sugar cookie icing that dries hard!
Do I need cornstarch or any thickener like Hershey’s uses?
Nope! That’s one of the main reasons people love this homemade chocolate syrup recipe. We skip the cornstarch entirely. The thickness comes naturally from the controlled boiling and simmering process combined with the high ratio of sugar dissolving into the water. As it cools, it thickens up all on its own into that perfect texture you want for an **easy chocolate sauce**!
How does this compare flavor-wise to commercial brands?
Oh, it’s miles ahead! Think about it: commercial brands are designed to sit on a shelf for a year and usually have some stabilizers. Ours is pure, vibrant chocolate flavor from the cocoa powder, enhanced by that vanilla and salt—it tastes fresh, less artificial, and far more intense. It’s truly the definition of better than store-bought syrup!
Nutritional Estimates for Homemade Chocolate Syrup
Since we’re using simple ingredients but a fair bit of sugar in this recipe, I always like to give everyone a heads-up on the nutrition—it helps with planning, right? Because this is a homemade recipe, these numbers are estimates only, based on the recipe yielding about 1.5 cups total. Keep in mind that you’re using just a small amount per serving, which is great!
Here’s a quick snapshot per serving size (which we figure is about 2 tablespoons of the finished syrup):
- Calories: 105
- Sugar: 25g (This is primarily the granulated sugar we use for structure!)
- Fat: Looks tiny at 0.5g per serving, mostly saturated fat from the cocoa.
- Carbohydrates: 27g
- Protein: Less than half a gram
- Cholesterol: 0mg
It’s definitely a treat when you use it, but knowing exactly what’s in your homemade chocolate syrup gives you peace of mind compared to those mystery ingredients in the bottles!
PrintSilky Homemade Chocolate Syrup: Better Than Store-Bought in 10 Minutes
Make rich, silky homemade chocolate syrup using simple pantry staples like cocoa powder. This quick recipe is ready in 10 minutes and makes the best topping for ice cream, milk, or coffee.
- Prep Time: 5 min
- Cook Time: 5 min
- Total Time: 10 min
- Yield: About 1.5 cups 1x
- Category: Dessert Topping
- Method: Stovetop Cooking
- Cuisine: American
- Diet: Vegetarian
Ingredients
- 1 cup granulated sugar
- 3/4 cup unsweetened cocoa powder
- 1 cup water
- 1 teaspoon vanilla extract
- Pinch of salt
Instructions
- Combine the sugar, cocoa powder, and salt in a medium saucepan. Whisk these dry ingredients together until fully mixed.
- Pour in the water and whisk until the mixture is smooth and no lumps remain.
- Place the saucepan over medium heat. Stir constantly until the mixture just begins to boil.
- Once boiling, reduce the heat to low and let it simmer for 1 minute, stirring occasionally. Do not overcook.
- Remove the saucepan from the heat and stir in the vanilla extract.
- Pour the chocolate syrup into a clean jar or container. Let it cool completely to room temperature before using. The syrup will thicken as it cools.
Notes
- This syrup thickens significantly as it cools. If you prefer a thinner consistency for drinks, add 1-2 tablespoons of extra water after it has cooled.
- Store your homemade chocolate syrup in an airtight container in the refrigerator for up to 2 weeks.
- For a vegan chocolate syrup, confirm your sugar source is bone-char free, though this recipe is naturally dairy-free.
Nutrition
- Serving Size: 2 Tablespoons
- Calories: 105
- Sugar: 25g
- Sodium: 2mg
- Fat: 0.5g
- Saturated Fat: 0.3g
- Unsaturated Fat: 0.2g
- Trans Fat: 0g
- Carbohydrates: 27g
- Fiber: 1g
- Protein: 0.5g
- Cholesterol: 0mg