
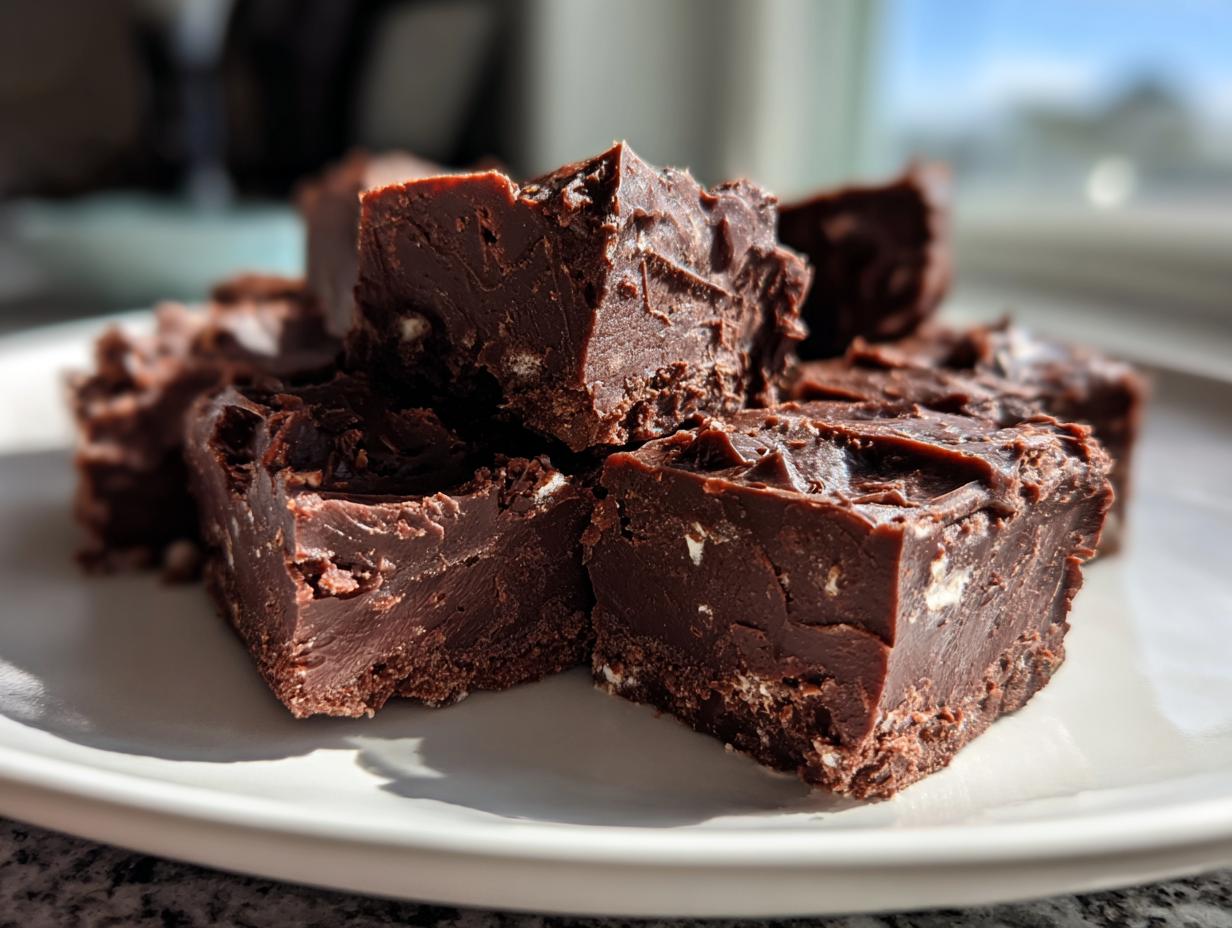
Some things just scream comfort, don’t they? A rich slice of chocolate layered with nostalgia—that’s what homemade sweets bring to the table. If you’ve ever looked at a fancy fudge recipe and thought, “Nope, too much work,” then darling, I have found our new kitchen secret. This is truly the ultimate easy fudge recipe you’ve been waiting for. We’re talking three ingredients, no baking required, and done faster than you can find your favorite serving dish!
Here at Cookin’ Corner, we keep things real, just like my grandma taught me. We stick to recipes that deliver show-stopping results without the fuss. This particular fudge method is so dependable; it feels like cheating! It captures that classic, melt-in-your-mouth decadence we all crave, proving you don’t need a candy thermometer to make truly sensational homemade fudge.
- Why This Easy Fudge Recipe Works So Well
- Ingredients for Your 3 Ingredient Fudge
- Simple Fudge Technique: How to Prepare This Fudge
- Tips for the Best Homemade Fudge Results
- Variations on This Classic American Candy Fudge
- Storage and Gifting Your Decadent Sweets Fudge
- Frequently Asked Questions About Making Fudge
- Nutritional Estimate for This Fudge
- Share Your Homemade Fudge Creations
Why This Easy Fudge Recipe Works So Well
If you’ve ever sworn off making fudge because of scary sugar crystallization or the need for fancy candy gear, listen up! This recipe skips all that drama. It’s designed for people who want instant gratification—that rich, decadent experience without the hour-long stirring process. We focus on making sure you get that perfect, smooth bite every single time.
I love this recipe because it ticks all the boxes for a reliable weeknight treat or a last-minute gift. Plus, it delivers that glorious, melt in your mouth dessert quality that makes people ask for the recipe! It’s a staple whenever I need something truly dependable.
Achieving Creamy Chocolate Fudge Texture Without a Thermometer
The magic here is in the marriage of ingredients, trust me. We don’t boil sugar to a specific, nerve-wracking temperature! The secret sauce is using sweetened condensed milk—it provides the sugar and milk solids needed for structure without needing a candy thermometer. When you stir in the marshmallow fluff, it stabilizes everything perfectly. That’s how we guarantee a smooth, creamy chocolate fudge that’s completely free of graininess. It’s the ultimate fudge without candy thermometer method, and I’m totally here for it!
The Perfect Quick Dessert Ideas for Any Occasion
Need something amazing right now? This is your go-to. Because it’s a no-bake situation, it shines as one of the best quick dessert ideas around. It’s perfect for unexpected guests or when you realize you forgot a hostess gift. Seriously, who doesn’t love a batch of homemade holiday candy recipes made in about ten minutes of actual work? It’s ready for your holiday platter with minimal effort.
Ingredients for Your 3 Ingredient Fudge
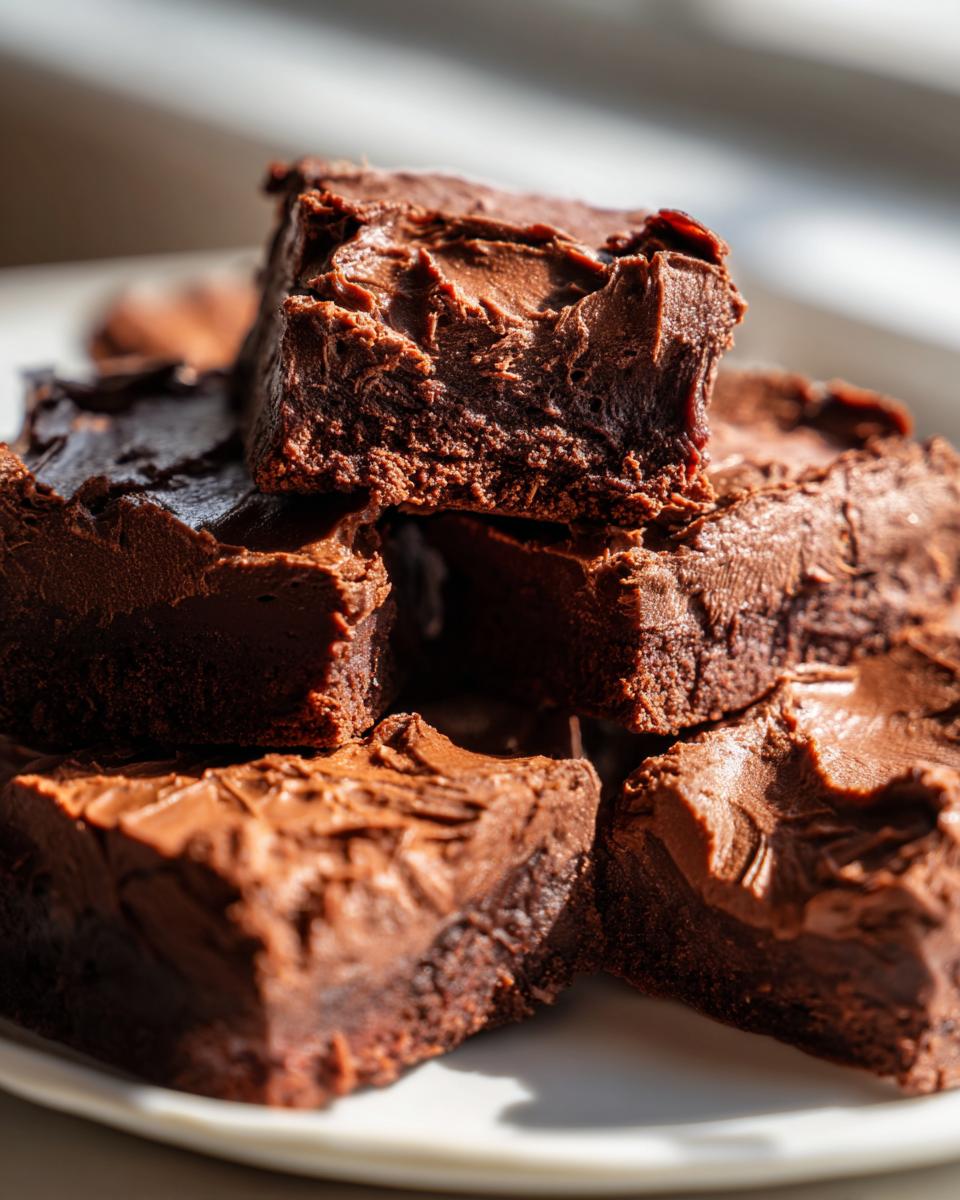
You guys know I love keeping things simple, and this is the definition of a 3 ingredient dessert! Seriously, you only need these three powerhouse items to create rich, decadent squares. It’s impressive how much flavor we get from so little. Make sure you have your measurements right, and you’re halfway to fudge heaven.
- One 14-ounce can of sweetened condensed milk—this is your backbone!
- One 12-ounce package of semi-sweet chocolate chips—milk chocolate works too if you like it sweeter.
- One 7-ounce jar of marshmallow fluff—don’t skip this, it’s pure magic!
Simple Fudge Technique: How to Prepare This Fudge
Okay, this is where the “no bake” part really shines. If you are looking for a foolproof beginner fudge recipe, this is it! We’re treating the stovetop like a historical relic for this batch. It’s all about gentle heat and careful stirring to get that super smooth texture. Follow these steps exactly, and you’ll have beautiful fudge ready for the fridge in minutes.
Preparing the Pan and Melting the Chocolate Base
First things first: save yourself a massive headache later by lining your 8×8 pan with parchment paper, making sure you leave an overhang—that’s your handle for lifting the whole slab out! Now for the chocolate. Combine the condensed milk and chocolate chips in a microwave-safe bowl. You absolutely must use 50% power! Microwave for 60 seconds, stir really well, and keep going in 30-second bursts until *everything* is glossy and smooth. Don’t rush this; we’re applying the simple fudge technique here, which means low and slow for melting.
Combining Ingredients for Rich Dessert Squares
Once that chocolate base is perfectly melted and smooth, take it off the heat right away. Now, gently fold in that jar of marshmallow fluff. I mean *gently*. You are just combining the two mixtures until you see no more white streaks. If you start mixing vigorously, you deflate all the air and end up with something tough instead of those lovely, soft rich dessert squares. Just a few figure-eight folds, and that’s all you need!

Setting and Cutting Your Homemade Fudge
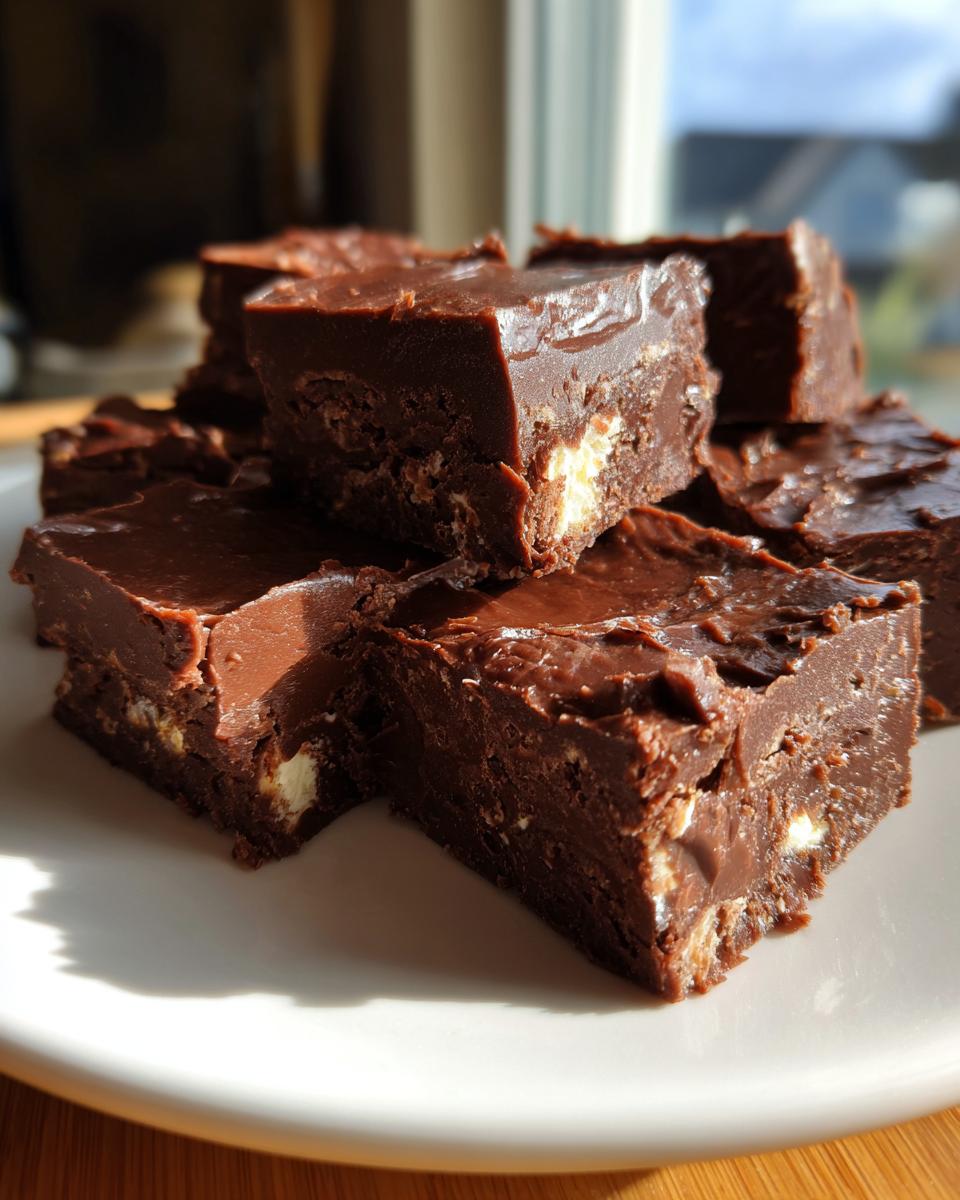
Pour that beautiful, thick mixture into your prepared pan and smooth the top out evenly. Don’t press it down; just level it out. Then, it’s nap time! This fudge needs at least two hours in the refrigerator to firm up enough to cut cleanly. When it’s chilled and solid, use those parchment paper handles to lift it onto a cutting board. Slice it into small squares—this fudge is rich, so smaller pieces go a long way! Now you have perfect little blocks ready for fudge for gifting!
Tips for the Best Homemade Fudge Results
If you want to elevate this from good to truly the best homemade fudge you’ve ever made, pay attention to the chocolate quality. I stick to semi-sweet chips because they balance the sugar in the condensed milk perfectly. However, if you really want a deeper, more adult flavor profile, swapping those out for good quality dark chocolate chips is a fantastic trick!
Also, don’t be shy about texture additions! We are keeping this base recipe simple, but it just begs for something extra. If you want a little crunch, stir in about half a cup of chopped pecans or walnuts right when you fold in that marshmallow fluff. They get perfectly nestled in the soft fudge as it sets. It’s a tiny inclusion that makes these decadent sweets even more appealing when you slice into them!
Variations on This Classic American Candy Fudge
While this three-ingredient chocolate fudge is absolutely divine on its own, I love having a few ways to switch things up, especially when I’m making a big batch for the holidays. It’s nice to have variety in the candy tin, right?
If peanut butter is your weakness, you’re in luck! You can easily turn this into an incredible peanut butter fudge. Just swap out the semi-sweet chocolate chips entirely for an equal amount of peanut butter chips. Make sure you melt those peanut butter chips gently with the condensed milk—they can sometimes feel a little stiffer than the chocolate!
For a lighter, sweeter twist that feels bright and festive, try using white chocolate chips instead. Pair those chips with some chopped macadamia nuts for a luxe texture—you can see how I paired those flavors in my white chocolate macadamia nut cookies recipe, too! It gives you that rich, creamy result we love, but with a completely different flavor profile than the standard dark chocolate version. Think of this base as your launchpad for all kinds of *classic American candy* fun!
Storage and Gifting Your Decadent Sweets Fudge
Now that you’ve made your batch of gorgeous, decadent sweets, you need to know how to keep them perfect! Since this fudge is so rich, a little goes a long way. You can store tightly wrapped squares at room temperature for about a week, though they are best kept in the fridge if you want them firmer for slicing.
If you’re planning ahead for the holidays or need good fudge for gifting, wrap individual pieces tightly in wax paper or cellophane bags before placing them in an airtight container. That little bit of wrapping stops them from sticking together and keeps that soft texture locked in!
Frequently Asked Questions About Making Fudge
When you’re whipping up something this easy and delicious, you always end up with a few questions! That’s totally normal, especially when trying a new sweet treat. I’ve gathered the most common worries folks have about perfecting this quick chocolate fudge and have the straightforward answers right here. We want your batch to come out perfect!
Can I substitute the marshmallow fluff in this fudge recipe?
Oh, I know it’s tempting to swap things out if you don’t have fluff on hand, but for this specific marshmallow fluff fudge method, I really advise against cutting it! The fluff isn’t just for sweetness here; it’s doing heavy lifting by stabilizing the mixture when it cools down. It’s what chemically locks in the smooth, soft chewiness. If you try to substitute it with just plain marshmallows or something else, you’re going to drastically change the texture of your amazing no-bake fudge.
How do I prevent my chocolate fudge from becoming grainy?
This is everyone’s biggest fear when making homemade fudge, but with this recipe, we’ve already removed the biggest culprit—boiling sugar! To keep your fudge wonderfully smooth, just remember the microwave rule: low power (50%) and stir frequently. If you crank the heat, you risk scorching the condensed milk or seizing the chocolate, which creates graininess. Gentle melting equals gorgeous, creamy chocolate fudge! Also, make sure you fold in the fluff gently at the end; no heavy beating!
Is this considered a true Old Fashioned Fudge?
That’s a great question about authenticity! Technically, the traditional old fashioned fudge relies on cooking sugar, corn syrup, and milk to a precise soft-ball stage—you know, using that candy thermometer we love to avoid! This recipe is what I call ‘Modern Nostalgia.’ It uses sweetened condensed milk and fluff to *mimic* that incredible, melt-in-your-mouth texture you remember from Grandma’s kitchen, but in about a tenth of the time. It’s just as delicious, but it skips the fussy candy-making part!
Nutritional Estimate for This Fudge
I always like to give you guys a heads-up about what we are diving into here! Remember, since this is a super quick, no-fuss recipe, these numbers are estimates based on using standard-sized cans and bags of chips. If you add nuts or use dark chocolate, things will shift a little bit, just keep that in mind!
But generally speaking, for one of these rich squares, here is the approximate breakdown based on the standard recipe yield:
- Serving Size: 1 square
- Calories: 145
- Sugar: 19g (Hey, it’s candy, right? Worth every bit!)
- Sodium: 35mg
- Fat: 7g
- Saturated Fat: 4g
- Carbohydrates: 21g
- Protein: 2g
See? It’s all about balance! If you’re looking for lighter dessert options, you might want to check out some of the treats over on my healthy recipes page, but honestly, for a truly decadent, easy chocolate fudge, these numbers are pretty great for a rich treat.
Share Your Homemade Fudge Creations
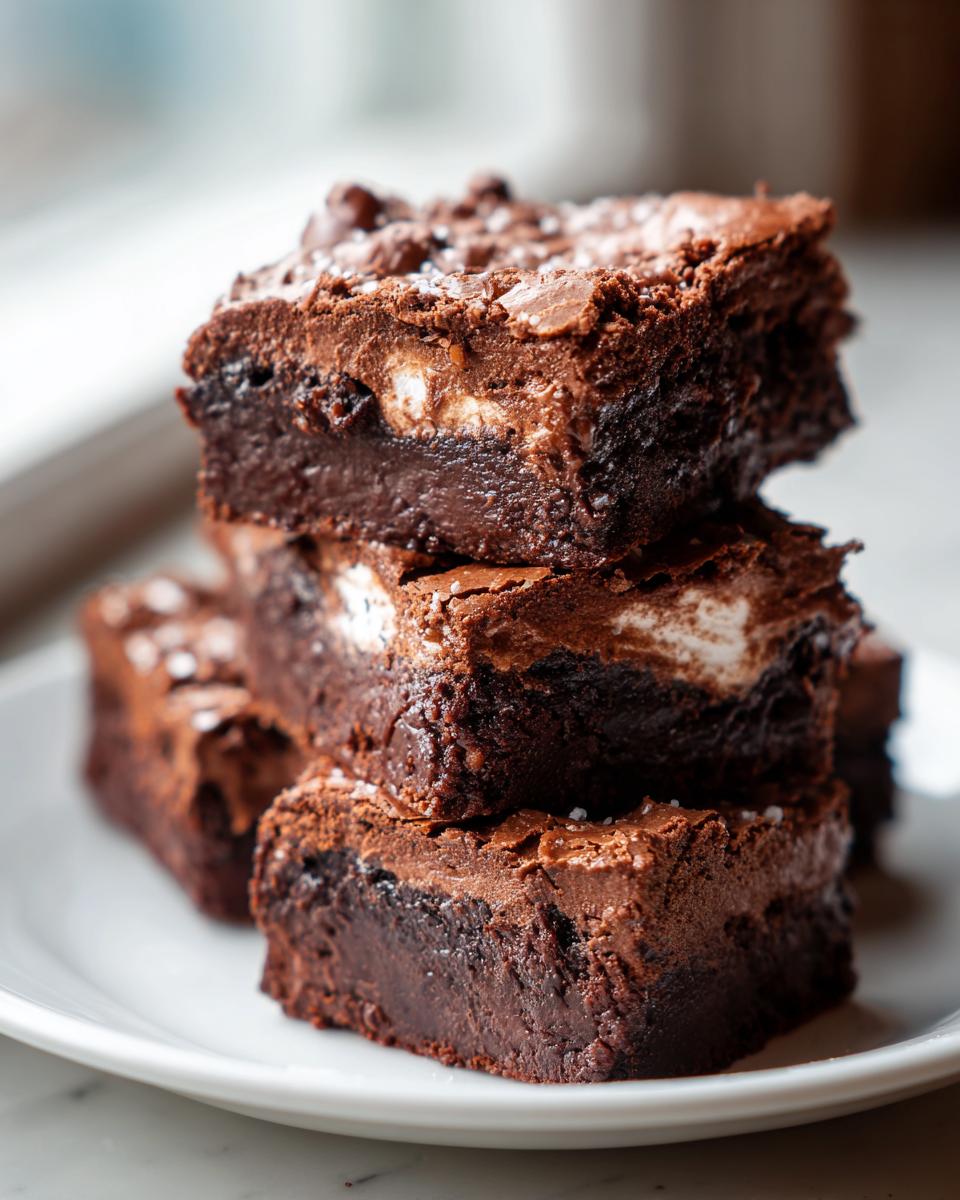
And there you have it—the easiest, creamiest, most foolproof chocolate fudge you’ll ever make! I truly hope this recipe brings that taste of comfort and nostalgia right into your kitchen. Making treats shouldn’t be stressful; it should be fun, and this easy fudge recipe is pure fun!
Now that you’ve got your slice of heaven ready, I want to hear all about it! Did you add nuts? Did you try the dark chocolate variation? Drop a comment below and let me know how your batch turned out. Seeing your kitchen successes is honestly my favorite part of running Cookin’ Corner.
If you snap a picture of your perfectly smooth, gorgeous squares—especially if you’re making them for gifting—please tag me on social media! I absolutely love seeing these dessert recipes come to life in your homes. Happy dipping, stirring, and most importantly, happy eating!
PrintEasy 3-Ingredient Marshmallow Fluff Chocolate Fudge
Make rich, creamy chocolate fudge using only three simple ingredients. This no-bake recipe delivers a decadent, melt-in-your-mouth texture perfect for quick desserts or holiday candy.
- Prep Time: 10 min
- Cook Time: 5 min
- Total Time: 130 min
- Yield: 36 squares 1x
- Category: Dessert
- Method: No Bake
- Cuisine: American
- Diet: Vegetarian
Ingredients
- 1 (14 ounce) can sweetened condensed milk
- 1 (12 ounce) package semi-sweet chocolate chips
- 1 (7 ounce) jar marshmallow fluff
Instructions
- Line an 8×8 inch baking pan with parchment paper, leaving an overhang on the sides for easy removal. Lightly grease the paper.
- In a medium, microwave-safe bowl, combine the sweetened condensed milk and chocolate chips.
- Microwave on 50% power for 60 seconds. Stir well. Continue microwaving in 30-second intervals, stirring after each, until the chocolate is completely melted and the mixture is smooth. This usually takes about 2 to 3 minutes total.
- Remove the bowl from the microwave and gently fold in the marshmallow fluff until just combined. Do not overmix.
- Pour the fudge mixture into the prepared pan and spread evenly.
- Refrigerate for at least 2 hours, or until firm enough to cut.
- Lift the fudge out of the pan using the parchment overhang. Cut into small squares for serving.
Notes
- For a richer flavor, use dark chocolate chips instead of semi-sweet.
- If you want to add nuts, stir in 1/2 cup of chopped pecans or walnuts with the marshmallow fluff.
- This fudge sets best when chilled, so plan for at least two hours of cooling time before slicing.
Nutrition
- Serving Size: 1 square
- Calories: 145
- Sugar: 19g
- Sodium: 35mg
- Fat: 7g
- Saturated Fat: 4g
- Unsaturated Fat: 3g
- Trans Fat: 0g
- Carbohydrates: 21g
- Fiber: 1g
- Protein: 2g
- Cholesterol: 10mg