
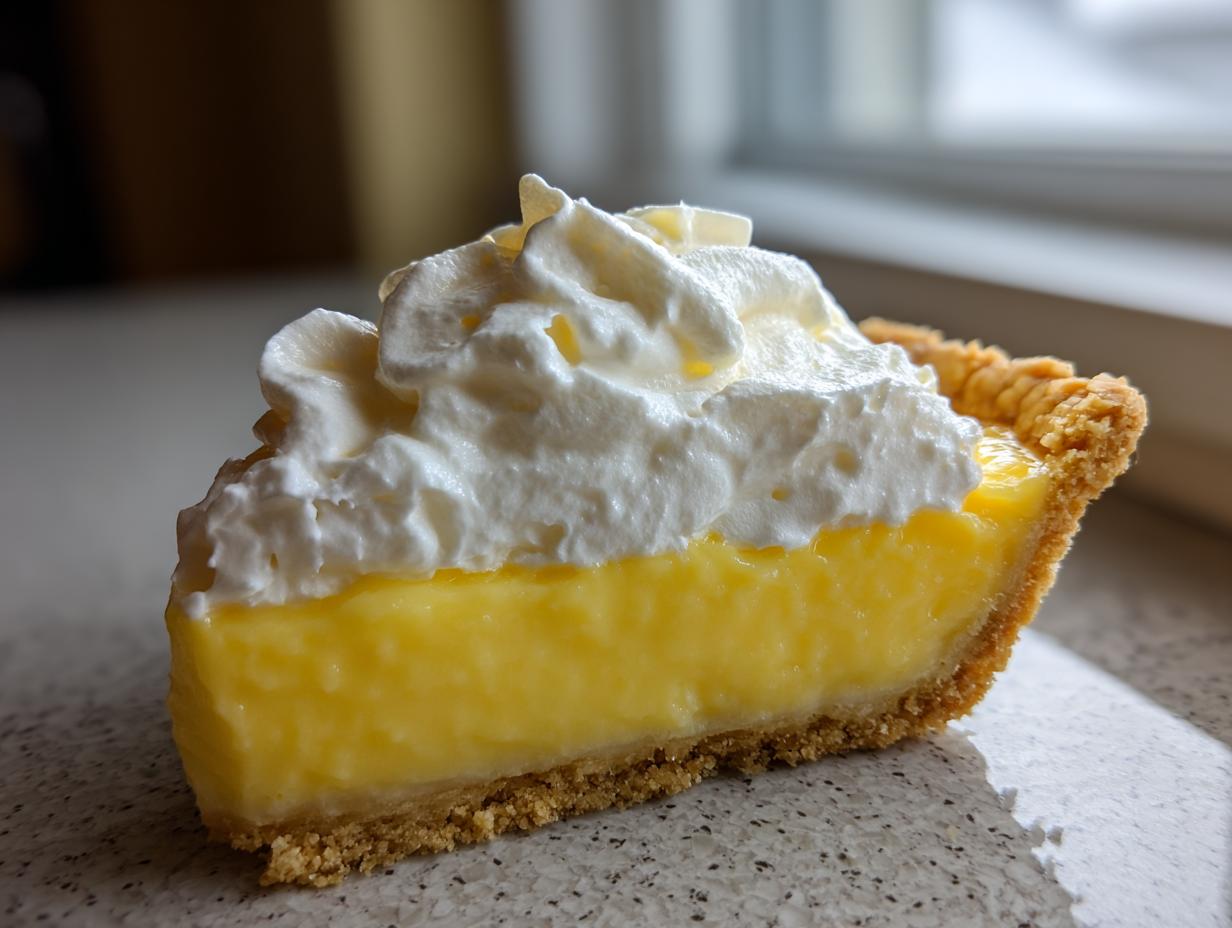
Oh, there is just nothing on earth that shouts sunshine and happiness quite like a bright, zesty citrus dessert. When the craving hits for something both incredibly tangy and perfectly sweet, you know you need a real showstopper. That’s why I’m so thrilled to share what I consider the ultimate classic, the Creamy Lemon Pie you see popping up everywhere online. This isn’t some fussy, complicated pastry, trust me. It’s the kind of lemon pie that comes together so easily, satisfying that huge demand for an easy lemon pie you can count on. If you’ve ever made one of our famously moist cakes, like that wonderful lemon pound cake, you already know the quality we strive for. Here at Cookin’ Corner, Sarah Jane Thompson is committed to reliable, home-tested classics learned right from her Midwest kitchen heritage, and this recipe is proof of that—it’s absolutely foolproof!
- Why This Creamy Lemon Pie Is The Best Lemon Pie Recipe You Will Make
- Gathering Ingredients for Your Creamy Lemon Pie
- How to Prepare This Easy Lemon Pie Step-by-Step
- Finishing Touches: Whipped Cream Topping for Your Lemon Pie
- Tips for the Perfect Zesty Lemon Pie Success
- Variations: From Lemon Icebox Pie to Southern Lemon Pie
- Storage and Serving Suggestions for This Citrus Pie Recipe
- Frequently Asked Questions About Making Lemon Pie
- Sharing Your Homemade Lemon Pie Experience
Why This Creamy Lemon Pie Is The Best Lemon Pie Recipe You Will Make
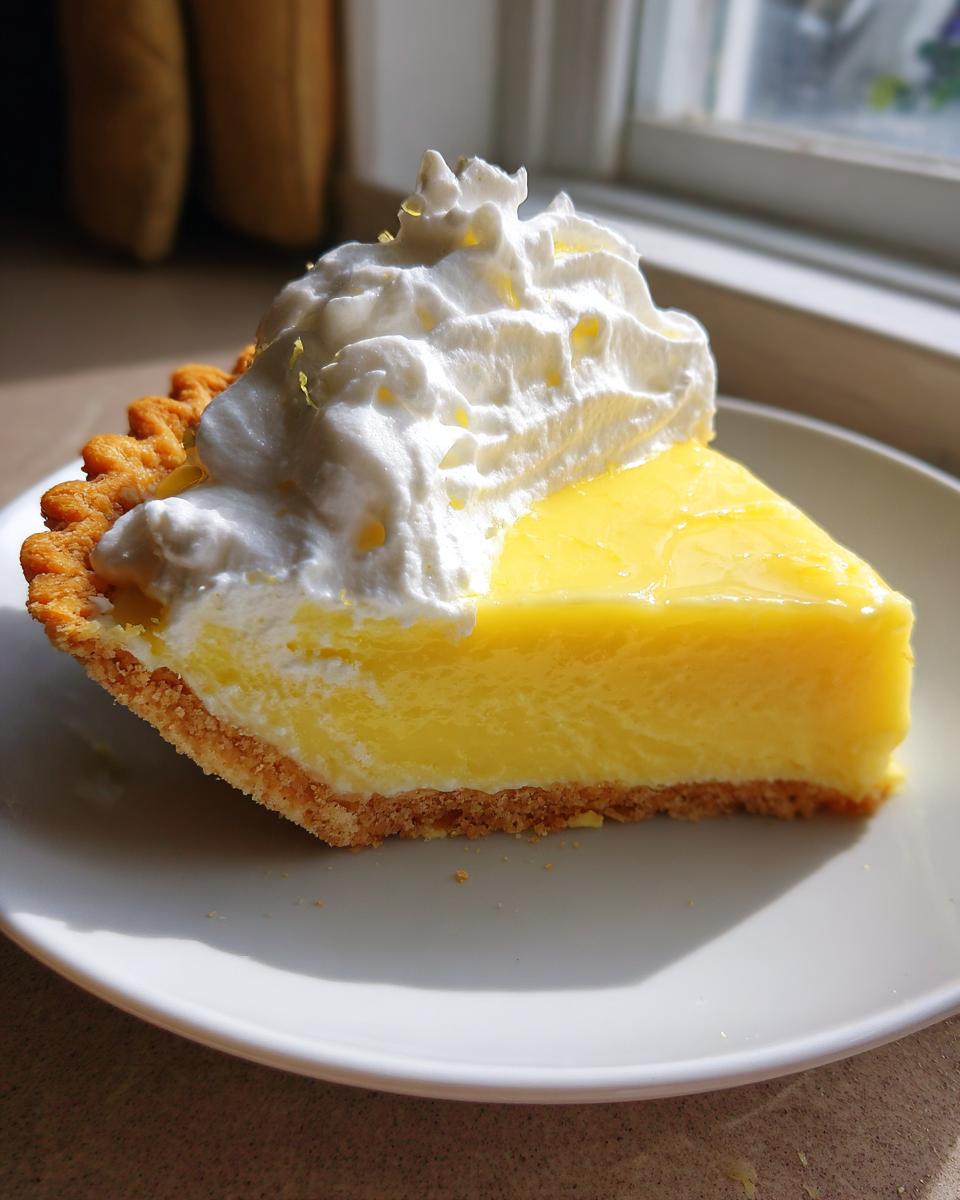
If you’re hunting for the absolute best lemon pie recipe out there, stop right here. What makes this one a winner? Hands down, it’s the texture. It’s unbelievably rich—a true creamy lemon pie that just melts in your mouth. We worked on this filling for ages, baking and tweaking it until it set perfectly hard in the fridge but still held that lovely, dense richness—you’ll never worry about a soup in a crust again! You get that gorgeous sweet and tart pie balance that makes your mouth pucker just right, without being overwhelmingly sour. I feel like linking out to our sugar cookie recipe works perfectly as a side note, just in case you want another sweet treat!
Quick Lemon Dessert Ready in Minutes
Seriously, the hands-on time is practically nothing. If you’re in a hurry, this is your answer. You whisk the milks together, pour in the citrus, and stir in the yolks—that’s it for the filling! It’s so fast that you’ll think you forgot a step, but you haven’t. We made sure that even on a hectic weeknight, you can have this ready for the oven in under twenty minutes. It’s the ultimate easy lemon pie when you need something impressive fast. If you wanted to try making homemade lemon cookies instead, this filling recipe is too good!
A Zesty Lemon Pie Perfect for Summer Lemon Dessert
When the weather heats up, nothing beats this bright, vibrant flavor. This isn’t a muted, boring lemon flavor; this is the real deal here. The fresh zest makes sure every single bite of this zesty lemon pie sings! It’s the ultimate cooling treat, especially when topped with cool homemade whipped cream. It’s such a refreshing summer lemon dessert that everyone asks for the recipe, especially after a heavy meal.
Gathering Ingredients for Your Creamy Lemon Pie
Okay, now that you’re convinced this is the best lemon pie recipe, let’s talk about what you need to grab from the pantry. Making this sweet and tart creation successful relies on having the right components ready to go. I’ve laid out a super simple list below, but trust me, it’s not the time to try and substitute things out. Especially when it comes to that bright citrus punch! Because this is a make ahead lemon pie, you want everything prepped before you start mixing. I’ve also linked out to our recipe for oatmeal base just in case you decide to try a different texture sometime!
Crust Options for Your Lemon Pie
The foundation! You have two great paths here. You can use a standard 9-inch pre-made pie crust that you’ve already baked until golden brown—that’s the ultimate shortcut. Or, you can go with the classic graham cracker crust pie. If you choose the graham cracker route, you’ll need to mix your crumbs with some melted butter and maybe a spoonful of sugar to hold it all together before pressing it into the pan, even though the recipe focuses on filling. A good crust just seals the deal on a perfect lemon pie!
Achieving the Perfect Tangy Lemon Dessert Filling
This is where we meet the flavor requirements for the ultimate tangy lemon dessert. You need fresh lemon juice—and I mean fresh, squeezed right from the fruit! Bottled juice just doesn’t have the same sharp, aromatic oil, and it can sometimes mess with how the filling thickens, leading toward a less stable result. Don’t skimp on the zest either; that little bit of zest is pure magic and boosts that signature tartness right into the stratosphere. It’s non-negotiable for that true, bright flavor!
How to Prepare This Easy Lemon Pie Step-by-Step
Now for the fun part! Baking this delicious lemon pie is honestly easier than you think, but the order of operations matters so much for that creamy texture we love. Take your time on the cooling stage, especially for the crust, because if it’s even a little warm, you’re going to regret pouring that beautiful filling in too soon! I’ve broken down the process using the exact steps that guarantee success, just like we learned from watching our elders in the kitchen.
Mixing the Creamy Lemon Filling
First things first: grab your cooled pie crust. In a medium bowl, you start by whisking the sweetened condensed milk and the evaporated milk together until they look completely unified—no streaks, please! Then, slowly whisk in your fresh lemon juice. You’ll notice it starts thickening up right away because of the acid reacting with the milk proteins. That’s a good sign! In a separate, smaller bowl, whisk those four egg yolks with the lemon zest and the optional sugar. Here is the expert tip, the one that prevents that disastrous scrambled egg texture: you must temper the eggs. Slowly stream about a cup of that milk mixture into the eggs while whisking constantly. Once that egg mixture is warmed up, gently pour it all back into the main bowl and whisk until everything looks smooth and happy. This technique is vital for a stable, creamy result!
Baking and Setting Your Lemon Pie
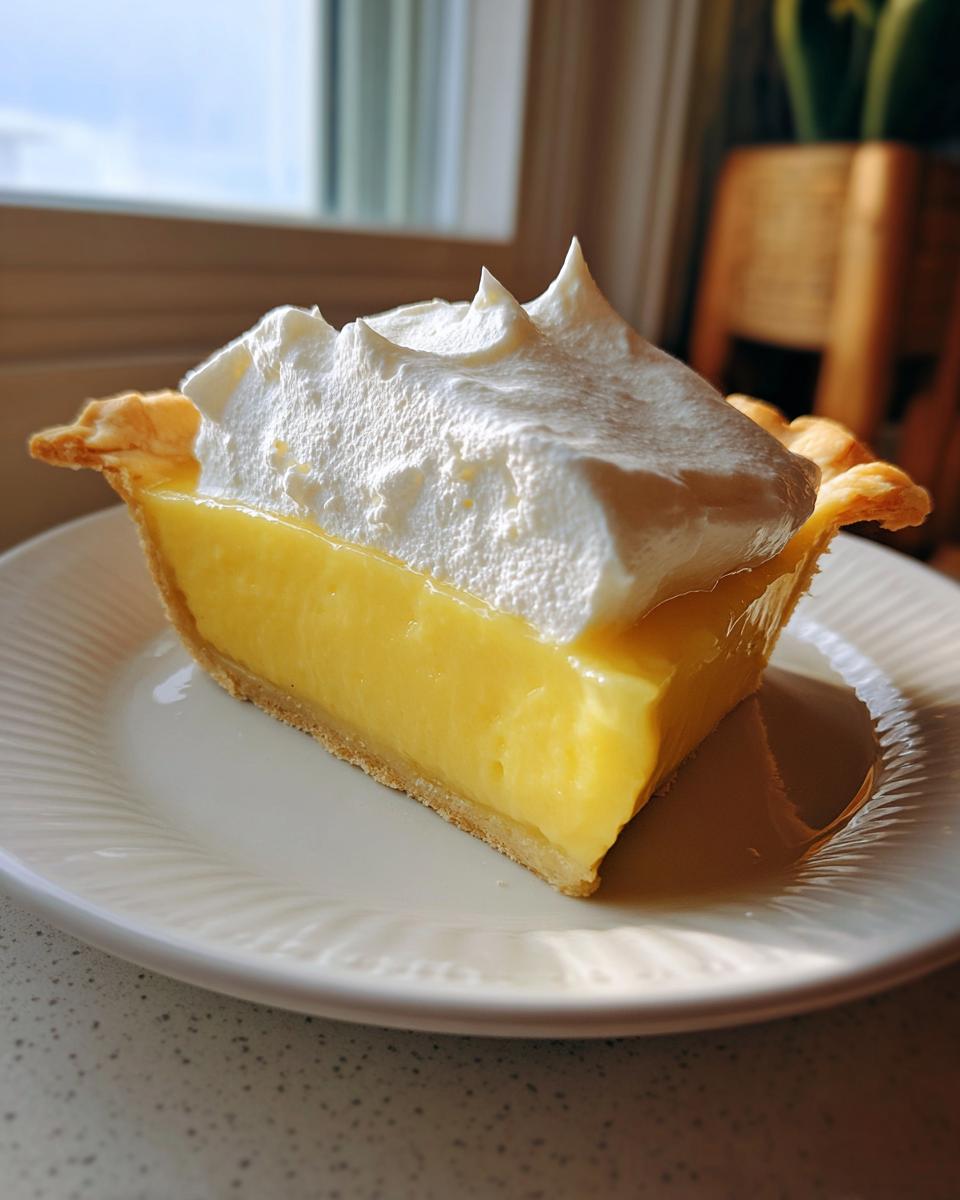
Pour that gorgeous, smooth filling into your waiting crust. You’ll bake it at 350 degrees for just about 15 to 20 minutes. Now, don’t walk away! You are looking for the edges to look set, almost firm, but I need you to watch the center closely. It should still have a tiny, delicate jiggle—it shouldn’t look like liquid, but it shouldn’t be completely firm either. Overbaking is the enemy of the creamy texture! Once you pull it out, let it cool completely on a rack. Then, you absolutely must plan ahead: this pie needs a minimum of four hours in the fridge, but honestly, making it the day before, just like a proper make ahead lemon pie, lets those flavors marry perfectly and ensures it’s super firm when slicing.
Don’t forget to check out my tips for making creamy mashed potatoes—timing is everything in baking, and that rule carries over to the savory side of things, too!
Finishing Touches: Whipped Cream Topping for Your Lemon Pie
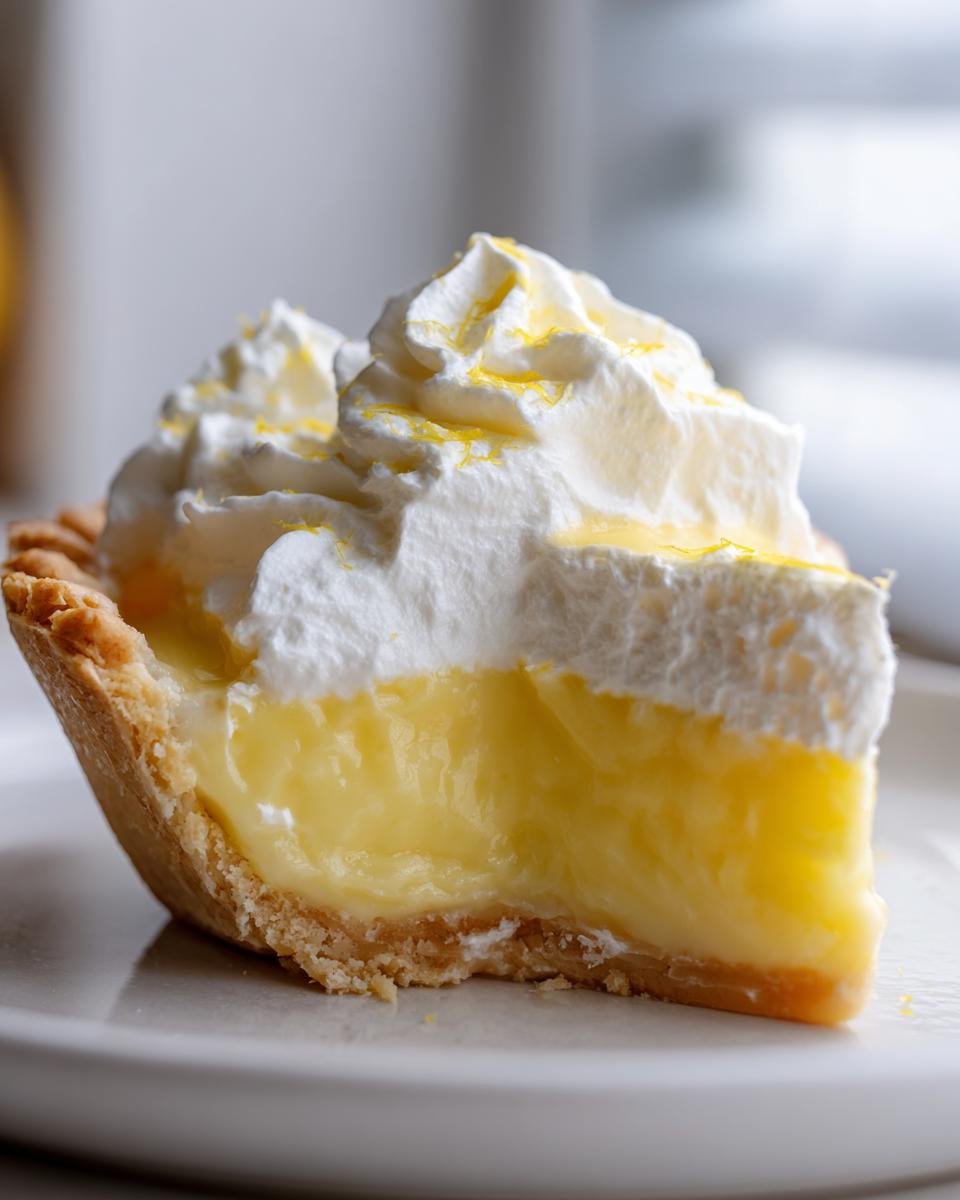
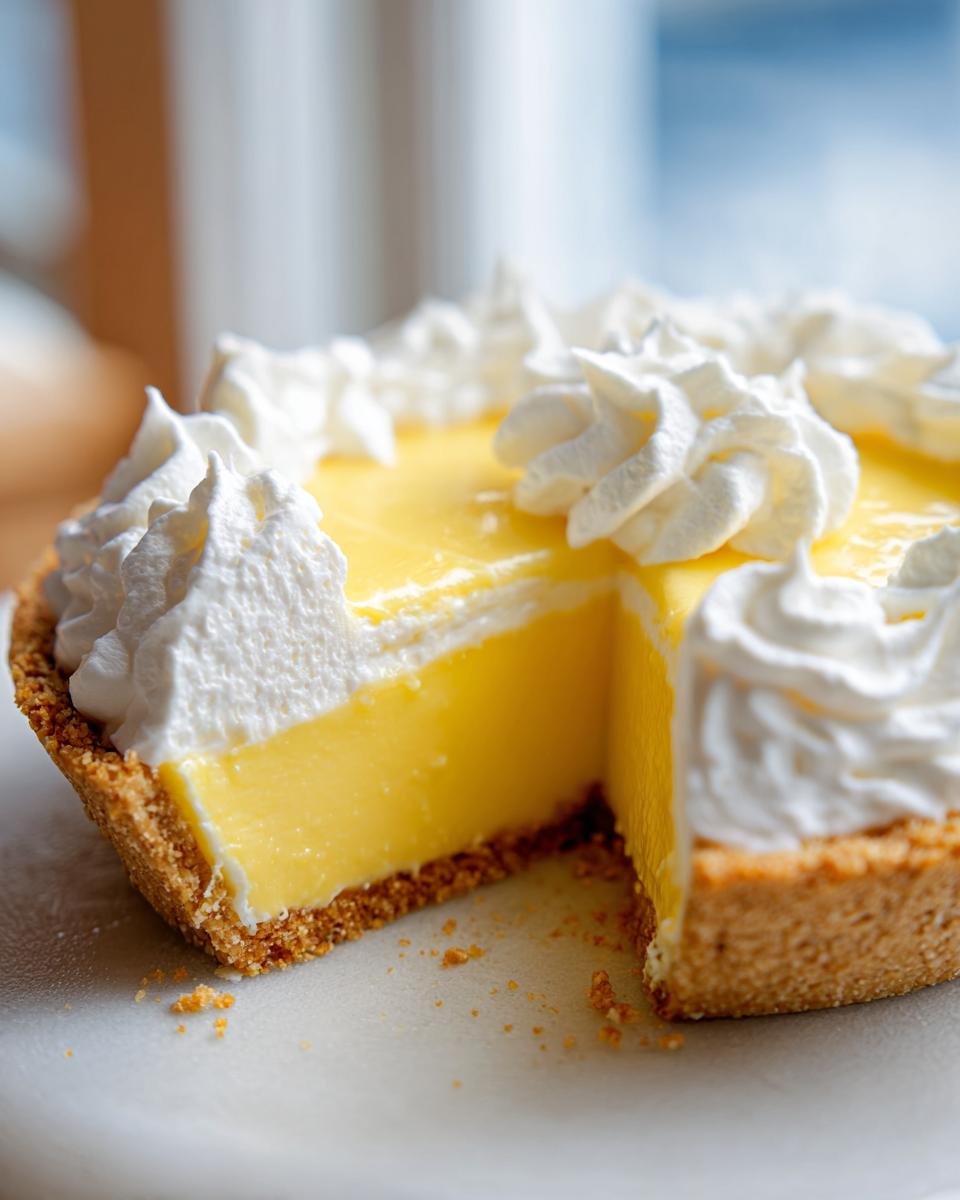
We’ve made the incredible filling, and it’s perfectly chilled, making this the dreamiest creamy lemon pie imaginable. Now, let’s talk about the crowning glory! While some folks go for meringue, I find that soft, cloud-like whipped cream is the perfect cool contrast to that sharp, zesty filling. It’s so simple to make, though. Just grab a cup of heavy whipping cream, beat it with a couple tablespoons of powdered sugar and a splash of vanilla until you get those firm, beautiful stiff peaks. Don’t over-beat it, or you’ll end up with butter, oops! Spread that sweet topping generously over your chilled pie. It adds such a lovely visual contrast against that bright yellow filling. If you’re looking for another fluffy treat, check out my great angel food cake recipe!
Tips for the Perfect Zesty Lemon Pie Success
You’ve made the mix, you’ve baked it, and now it’s chilling—but a few little tricks can take this from a great pie to the absolute best zesty lemon pie you’ve ever had. Achieving that perfect texture isn’t just luck; it’s about respecting the ingredients we used! If you love bright, tangy flavors, these final checks will make sure your hard work pays off, just like in my lemon scone recipe where quality ingredients truly shine.
Make Ahead Lemon Pie Chilling Guide
I cannot stress this enough: you really need to let this pie chill. Four hours is the minimum required to get a clean slice where everything holds together beautifully. But here’s the secret I learned from making this a true make ahead lemon pie: chill it overnight! Seriously, the flavors deepen overnight. The sweet and tart elements meld into something much more complex and sophisticated when they have a full night in the fridge to settle down. It comes out firm, cold, and ready to stun everyone.
Alternative Topping: Meringue for Your Lemon Pie
While I usually go for the whipped cream topping because it’s so quick, I know some of you are die-hard fans of that fluffy, toasted look. If you’re craving a classic presentation, you can certainly substitute homemade meringue for the whipped cream. If you decide to go that route for your lemon pie, remember that meringue requires a different finish—it needs a quick bake right on top of the filling until it’s beautifully browned. You’ll need to look up a specific guide for a stable baked meringue if you choose that path!
Variations: From Lemon Icebox Pie to Southern Lemon Pie
One of the great things about a versatile filling like this is that it plays nicely with different preparation methods! While this baked version is absolutely divine, I know a lot of you are looking for that quick-fix no bake lemon pie, especially when summer hits. Luckily, converting this recipe into a true lemon icebox pie is ridiculously simple. You just skip the baking step entirely! Once you whisk the filling together, pour it right into your cooled crust and let it chill for a minimum of six hours, or preferably overnight, following the steps in the notes section. It sets up beautifully firm, just lighter than the baked version would be.
Now, if you’ve ever tasted a true southern lemon pie, you know it’s often about that incredibly rich, almost pudding-like consistency. This recipe leans right into that creamy territory, especially when made ahead of time like we discussed. So whether you need a light, chilled treat or a slightly firmer baked slice of lemon pie, this recipe gives you the foundation. If you are diving into holiday baking soon, check out my favorite pumpkin pie recipe for a totally different flavor profile!
Storage and Serving Suggestions for This Citrus Pie Recipe
Since this citrus pie recipe is built on lovely dairy and fresh eggs, we need to treat the leftovers right! First things first: this pie absolutely must be stored in the refrigerator. Cover it loosely with plastic wrap—try not to let the wrap touch that beautiful whipped cream topping if you used it. It keeps perfectly well for about three to four days, tasting just as bright on day four as it did on day one!
When it comes time to serve, don’t try to warm this pie up at all; it loses all its structural integrity and frankly, it just tastes better perfectly chilled. Serve it straight from the fridge. To really elevate the experience, try pairing a slice with some crisp, buttery vanilla shortbread cookies—the crumbly texture is a fantastic stand-in for a crust! Or, if you need a little fresh counterpoint to the rich filling, a small bowl of fresh raspberries or blueberries on the side is just heavenly. We sometimes drizzle a tiny bit of slow cooker apple butter around the plate for contrast!
Frequently Asked Questions About Making Lemon Pie
It’s totally normal to have questions when you bake something new, especially when you want that perfect result! I’ve rounded up a few things people often ask me about this recipe. Getting the chemistry right is key to avoiding lumps or a runny center, so let’s make sure your pie is top-notch. When in doubt, remember that the best recipes, like the ones Sarah Jane shares, are built on solid science!
Why Did My Lemon Pie Filling Not Set Properly?
Oh, the sad, sunken center! If your filling didn’t set, nine times out of ten, it’s because you either under-baked it slightly or you rushed the chilling time. Remember when we talked about the center still needing a little jiggle when it comes out? That’s because it firms up *outside* the oven as it cools. If it’s still too liquidy after cooling on the counter, it needs more fridge time! Be patient—the 4-hour minimum chill is non-negotiable for a sliceable, perfect easy lemon pie. If you follow those baking cues exactly, your filling will be wonderfully firm!
Can I use a Graham Cracker Crust for this Lemon Pie Recipe?
Absolutely, yes! I love spreading the word that you can definitely use a graham cracker crust pie instead of a pre-baked pastry crust. In fact, if you skip the initial baking step entirely and go straight to chilling the filling, this transforms into a fantastic refrigerated pie recipe. A graham cracker crust holds up beautifully to the richness of the creamy filling while baking, and it sets up just fine when chilled if you opt for the no-bake route. It just adds another layer of buttery sweetness!
Is Fresh Lemon Juice Truly Necessary for this Tangy Lemon Dessert?
If you want that intense, mouth-watering, tangy lemon dessert flavor that screams ‘fresh summer dessert,’ then yes, fresh juice is required. Bottled lemon juice just doesn’t have the same bright essential oils, and trust me, it can sometimes throw off the precise chemical reaction happening between the dairy and the acid in the filling, leading to texture issues. For the best results—and the best flavor—squeeze those lemons! It makes all the difference in achieving that authentic, zesty kick.
For any other confusing points about temperature or measuring, check out my guide on troubleshooting gravy recipes; mastering timing in the kitchen helps everywhere!
Sharing Your Homemade Lemon Pie Experience
Now that you’ve got this incredibly zesty lemon pie chilling perfectly in the fridge, I just have to know how it turned out! Honestly, seeing your creations is my favorite part of running Cookin’ Corner. If you made this recipe—especially if you decided to try that easy no bake lemon pie variation—please leave me a quick rating below. Five stars if it was the best pie you’ve ever made!
Don’t be shy about leaving comments! Tell me what crust you used, whether you stuck with the whipped cream or added meringue, or if you topped it with fresh berries. We built this space based on sharing recipes that work, and your feedback helps everyone else who comes here looking for that perfect slice.
Sarah Jane Thompson always looks forward to seeing photos of your success! Feel free to reach out to us through the contact page if you have any questions while plating it up. Happy baking, friends—I bet your kitchen smells amazing right now!
PrintThe Best Creamy Lemon Pie Recipe

Make this sweet and tart creamy lemon pie. It is an easy make-ahead dessert bursting with bright citrus flavor. You can whip up the filling quickly and bake it in a flaky crust for the easiest lemon pie.
- Prep Time: 20 min
- Cook Time: 20 min
- Total Time: 4 hours 40 min
- Yield: 8 servings 1x
- Category: Dessert
- Method: Baking
- Cuisine: American
- Diet: Vegetarian
Ingredients
- 1 (9 inch) pre-made pie crust, baked or graham cracker crust
- 1 (14 ounce) can sweetened condensed milk
- 1 (12 ounce) can evaporated milk
- 1 cup fresh lemon juice
- 4 large egg yolks, lightly beaten
- 1 teaspoon lemon zest
- 1/4 cup granulated sugar (optional, for extra sweetness)
- For Topping: 1 cup heavy whipping cream, 2 tablespoons powdered sugar, 1/2 teaspoon vanilla extract
Instructions
- Prepare your pie crust according to package directions or bake your graham cracker crust until lightly golden. Let the crust cool completely.
- In a medium bowl, whisk together the sweetened condensed milk and evaporated milk until fully combined.
- Slowly whisk in the fresh lemon juice. The mixture will start to thicken slightly.
- In a separate small bowl, whisk the egg yolks, lemon zest, and optional granulated sugar until smooth.
- Temper the egg mixture by slowly whisking about one cup of the milk mixture into the egg yolks. This prevents the eggs from scrambling.
- Pour the tempered egg mixture back into the main bowl with the remaining milk mixture. Whisk until everything is smooth and well combined.
- Pour the creamy lemon filling into the cooled pie crust.
- Bake at 350 degrees Fahrenheit for 15 to 20 minutes, or until the edges are set but the center still has a slight jiggle. Do not overbake.
- Remove the pie from the oven and let it cool completely on a wire rack.
- Once cool, chill the pie in the refrigerator for at least 4 hours, or preferably overnight, to allow the filling to set fully.
- Before serving, prepare the topping: Beat the heavy whipping cream, powdered sugar, and vanilla extract until stiff peaks form.
- Spread or pipe the whipped cream topping over the chilled pie. Garnish with extra lemon zest if desired.
Notes
- For a no-bake lemon icebox pie variation, skip the baking step. Chill the filling for 6 hours or until firm.
- Use fresh lemon juice for the best tangy flavor; bottled juice changes the texture and taste.
- This pie is excellent made a day ahead, allowing the flavors to deepen.
- If you prefer a meringue topping, follow a standard recipe for baked lemon meringue pie topping instead of the whipped cream.
Nutrition
- Serving Size: 1 slice
- Calories: 380
- Sugar: 35
- Sodium: 180
- Fat: 18
- Saturated Fat: 10
- Unsaturated Fat: 8
- Trans Fat: 0.5
- Carbohydrates: 50
- Fiber: 1
- Protein: 8
- Cholesterol: 75