
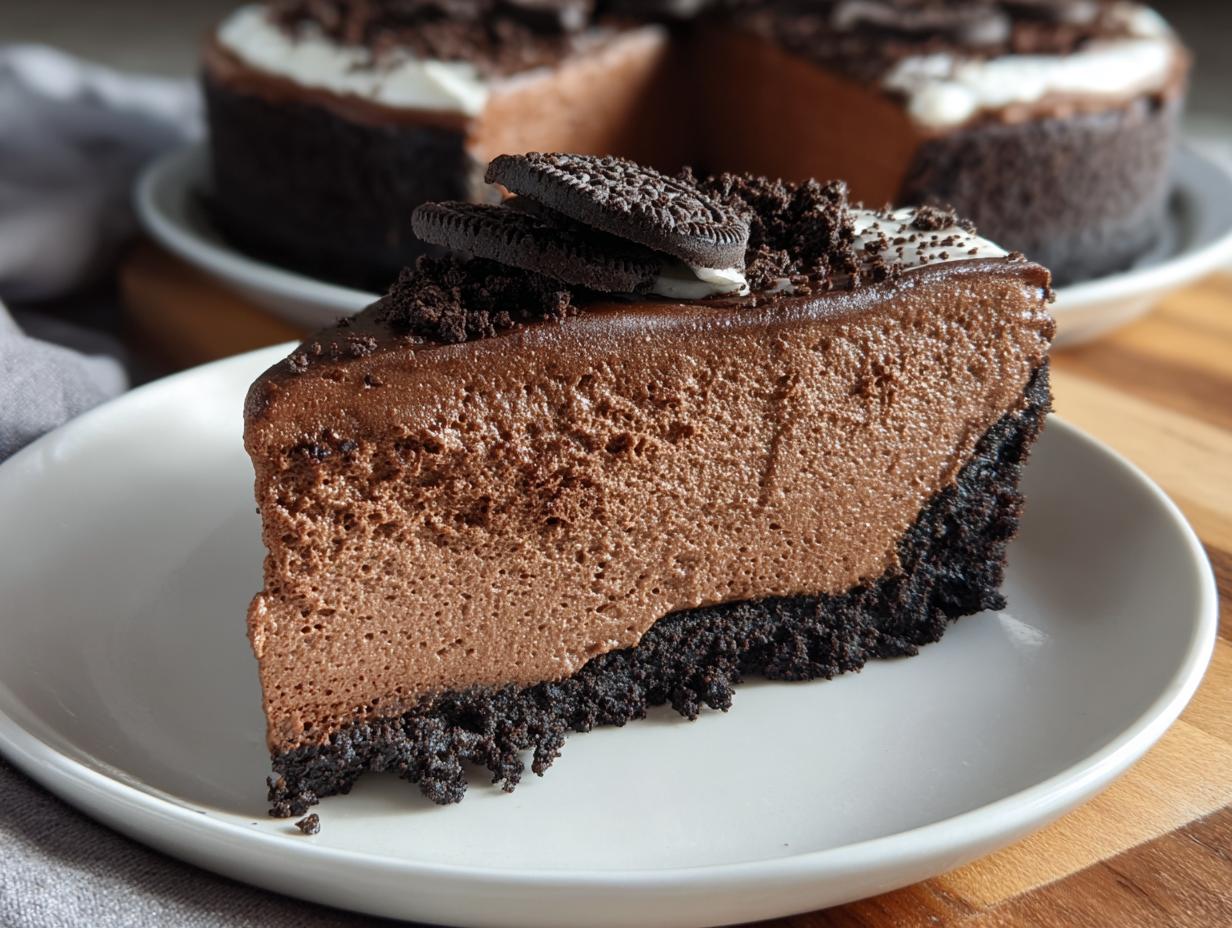
Oh, you know that moment, right? When nothing but pure, unadulterated chocolate will do? It’s not just a craving; it’s a mission! I remember standing on a stool in my grandmother’s kitchen, dreaming up desserts, and she always said the best ones shouldn’t require breaking a sweat. That’s exactly where this recipe came from—a desire for the ultimate, decadent **chocolate mousse pie** that required zero oven time. This isn’t some fussy restaurant dessert; this is Cookin’ Corner at its core: reliable, comforting recipes that work every single time. We’ve poured love and testing into this ultra-creamy, no-bake version, and I honestly think this Easy No-Bake Chocolate Mousse Pie is going to become one of your special occasion staples, just like it did for me. If you love easy no-bake ice cream pie recipes, you are going to flip for this one!
- Why This Easy No-Bake Chocolate Mousse Pie is Your New Favorite
- Gathering Ingredients for Your Chocolate Mousse Pie
- Step-by-Step Instructions for the No-Bake Chocolate Mousse Pie
- Tips for the Perfect Chocolate Mousse Pie Success
- Serving Suggestions for This Elegant Chocolate Dessert
- Storage and Reheating Instructions for Your Chocolate Mousse Pie
- Frequently Asked Questions About Chocolate Mousse Pie
- Estimated Nutritional Data for This Creamy Chocolate Pie
- Share Your Ultimate Chocolate Indulgence
Why This Easy No-Bake Chocolate Mousse Pie is Your New Favorite
I get it—sometimes you need a showstopper without turning on the oven, especially when summer hits or you’re rushing to get dinner made. That’s the real beauty here. This isn’t just any pie; it’s one of those fantastic no bake desserts that tricks people into thinking you spent hours on it.
- Zero Oven Time Required: Seriously, put the oven mitts away! This pie comes together on the stovetop and in the fridge. It’s perfect for hot days when you don’t want to heat up the house, and it’s honestly one of my favorite make ahead desserts.
- The Ultimate Creamy Chocolate Pie Texture: The filling is where the magic lives. It’s light, airy—almost cloud-like—but still intensely rich. That blend of cream cheese and instant pudding creates a silky texture that blows away complicated baked recipes. It’s my go-to simple chocolate pie for instant gratification.
When you get a slice of this, you realize you’ve hit the jackpot for decadent chocolate treats without any fuss. It just works!
Zero Oven Time Required
You heard me! No baking means less mess and zero stress. You blend your crust, mix your filling, then let the refrigerator do the heavy lifting. It’s the ultimate weeknight dessert hero, or the easiest thing to have ready when company drops by!
The Ultimate Creamy Chocolate Pie Texture
If you’re chasing that elusive, velvety mouthfeel, this is it. The mousse isn’t dense; it’s light enough to float, yet the richness from the melted chocolate keeps it firmly in the category of an ultimate chocolate indulgence. It’s the perfect marriage of fluffy and decadent, making for the best creamy chocolate pie you’ll ever slice.
Gathering Ingredients for Your Chocolate Mousse Pie
Okay, let’s talk about what you need to bring this dream to life! Since this is a no-bake recipe, preparation is key, which is why I’m so specific about the ingredients below. Don’t skip the soft cream cheese; it needs to be truly soft so it blends beautifully without any lumps sneaking into your chocolate milk recipe inspiration we use for richness!
For the Oreo Crust Pie Base
- 1 3/4 cups crushed Oreo cookies (that’s about 24 cookies, give or take a few for quality control!)
- 6 tablespoons unsalted butter, melted (make sure it’s truly melted, not just warm!)
For the Rich Mousse Filling
- 8 ounces cream cheese, softened to room temperature—this is vital for a smooth base!
- 1 cup powdered sugar
- 1 teaspoon vanilla extract
- 1/2 cup cold milk (use whole milk if you have it!)
- 1 package (3.4 ounces) instant chocolate pudding mix
- 4 ounces semi-sweet chocolate, melted and cooled slightly—this cooling step keeps the mousse light!
For the Whipped Cream Topping
- 1 container (8 ounces) frozen whipped topping (like Cool Whip), thawed, with about two-thirds used in the filling and the rest saved for the top.
Step-by-Step Instructions for the No-Bake Chocolate Mousse Pie
This is where the magic happens, and trust me, it’s so much easier than it looks! Remember, since we aren’t baking, our goal is gentle mixing and lots of chilling time. Follow these steps closely so you get that famously easy, creamy, sliceable **chocolate mousse pie**.
Preparing the Oreo Crust Pie
First things first, we need a sturdy home for that gorgeous filling. Take your crushed Oreos and mix them right in a bowl with that melted butter. You want it to look evenly moistened—like wet sand, almost. Press that mixture *firmly* into the bottom and up the sides of a 9-inch pie plate. I use the bottom of a glass jar to really pack it down snuggly. Then, pop that crust into the freezer for about 15 minutes while you tackle the filling. Getting this base set creates the perfect oreo crust pie foundation!
Creating the Creamy Chocolate Pie Filling
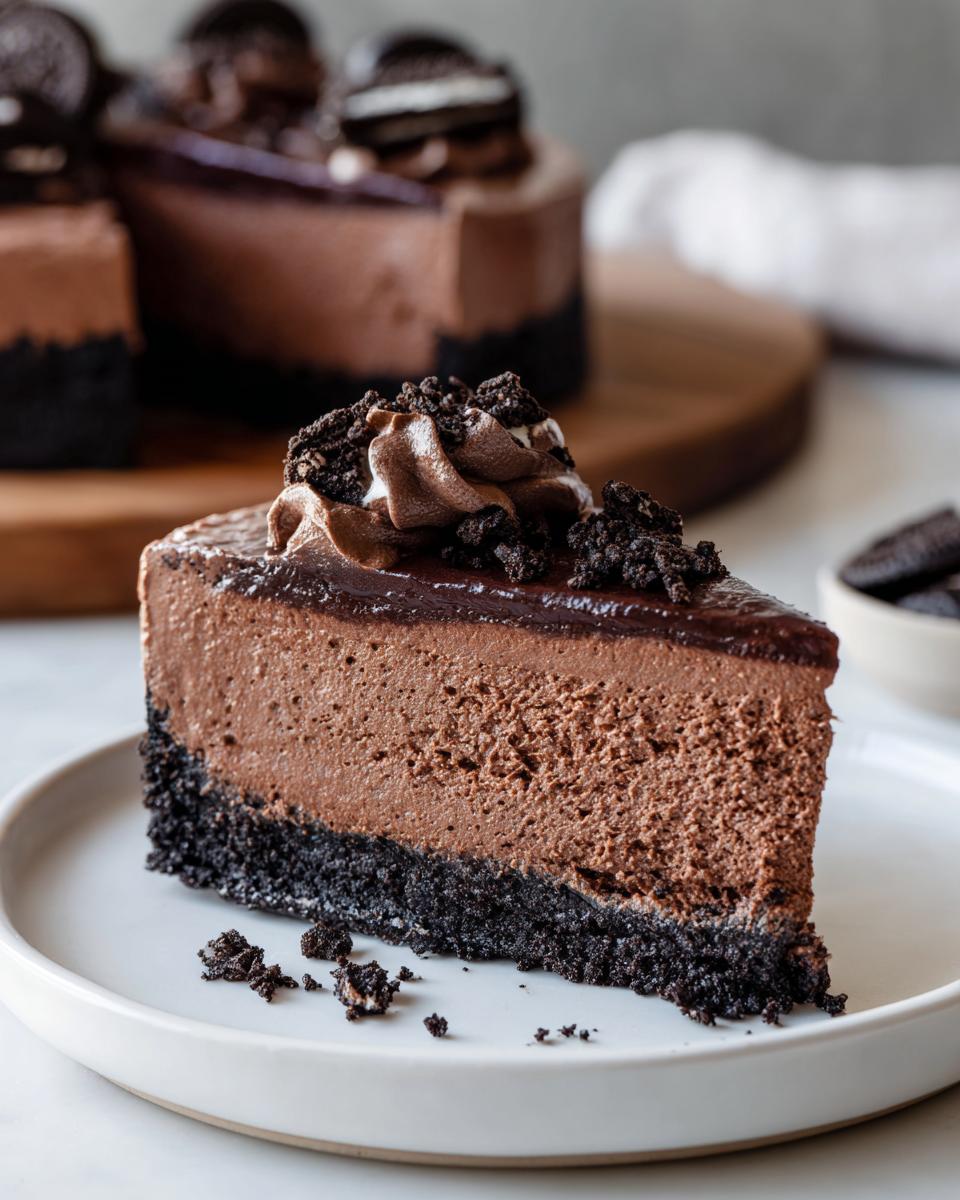
Now for the layers! Start by creaming your softened cream cheese with the powdered sugar and vanilla until it’s fluffy and smooth—no grainy bits allowed! In a separate bowl, whisk the cold milk and the instant chocolate pudding mix together until it starts getting thick, maybe about two good minutes, then let it sit for exactly five minutes. Once that pudding has just set up, gently fold it into your cream cheese base. Next, fold in your slightly cooled, melted chocolate until you have a uniform color. The final, most important move here is folding in about two-thirds of your thawed whipped topping. Seriously, be gentle! We want to keep all that air in there for that light, rich mousse filling.
Chilling and Finishing the Chocolate Mousse Pie
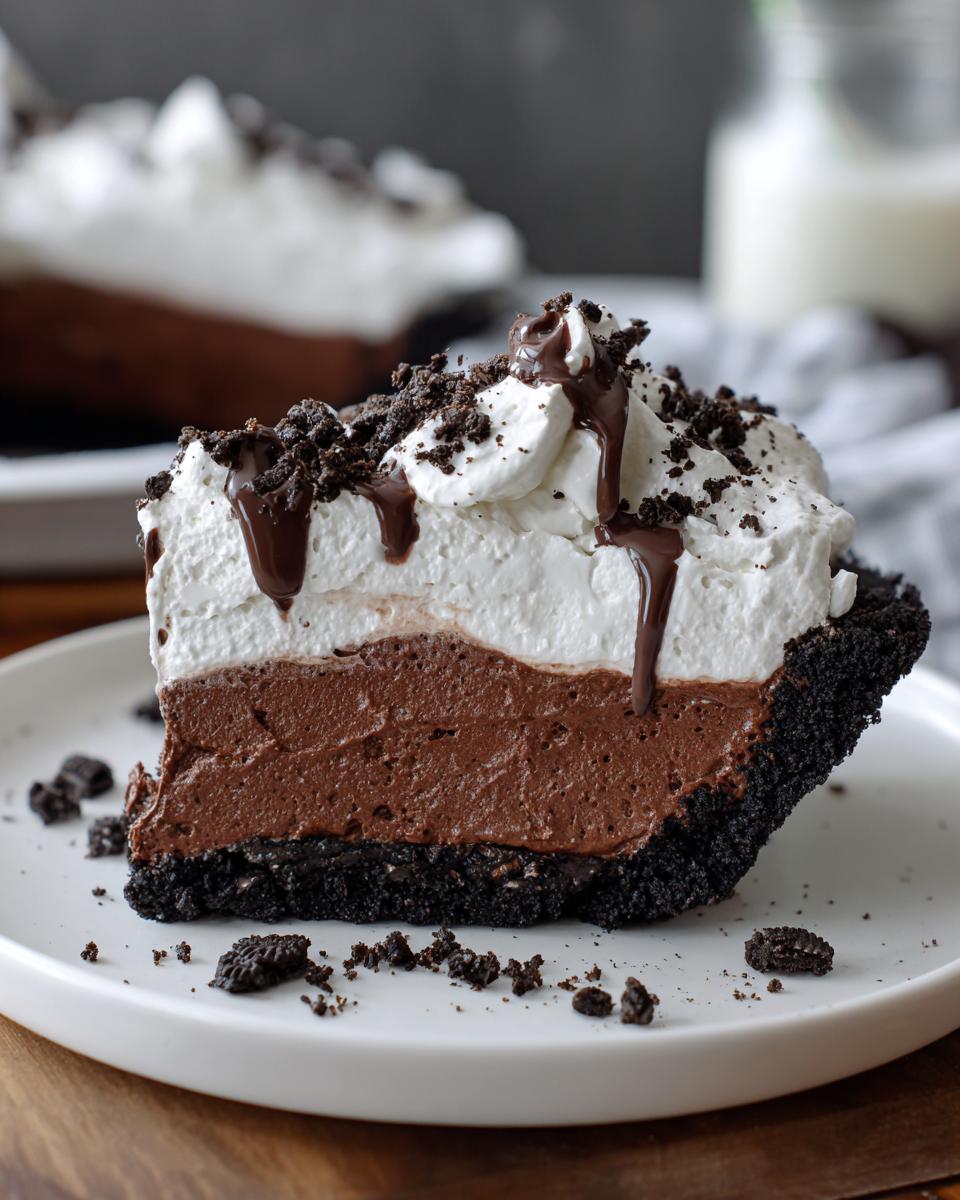
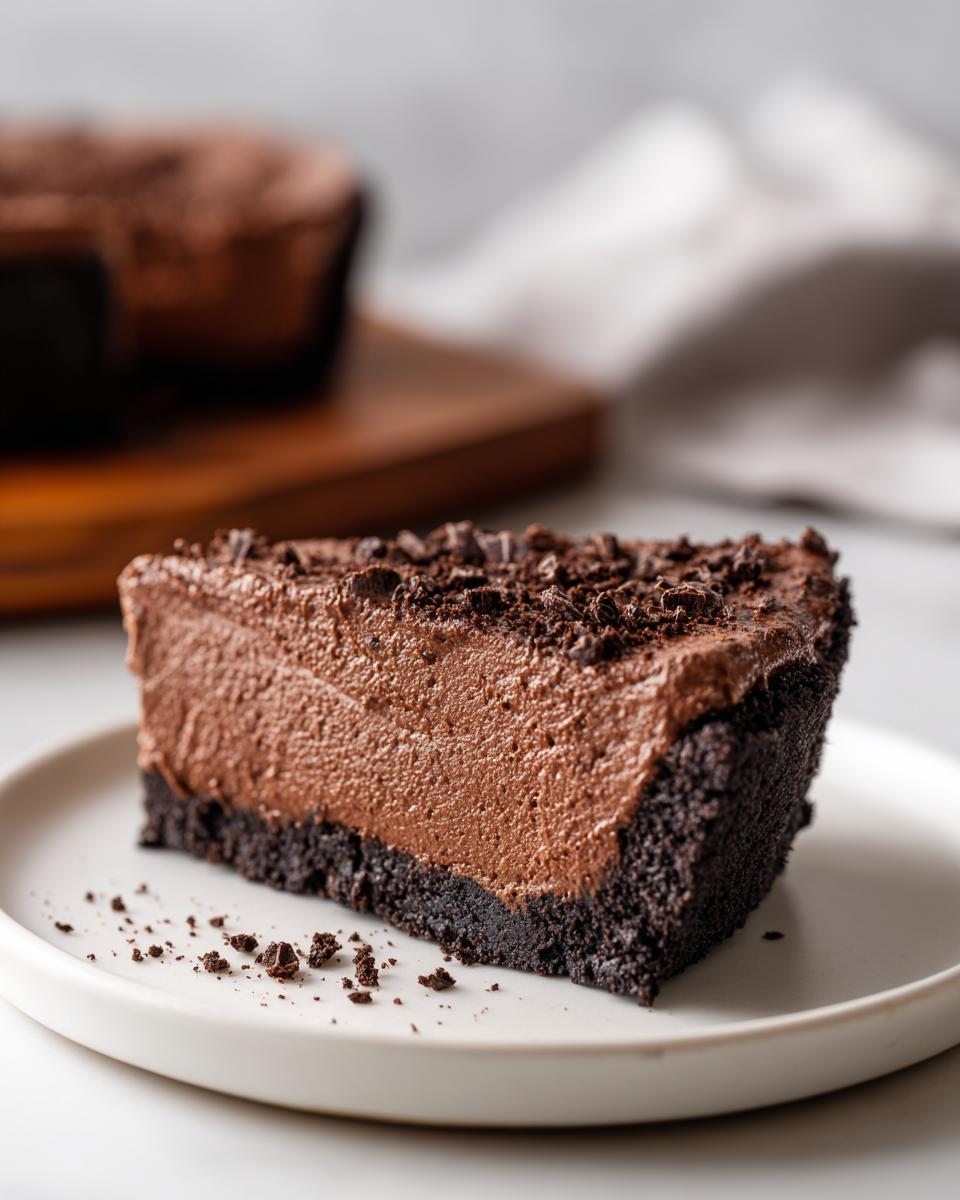
Spoon all that gorgeous, airy filling right into your chilled crust, making sure to keep the top as flat as you can. Now comes the hardest part: patience! You absolutely must cover this pie loosely with plastic wrap and let it chill. I mean it—six hours minimum, but if you can let it go overnight, you’re set! This long chill is what turns it from pudding into that firm, sliceable treat that screams oreo dirt cake perfection. Once it’s completely firm, spread the remaining whipped topping over the top. Garnish with chocolate shavings if you’re feeling fancy. That simple topping transforms it into the ultimate chocolate indulgence!
Tips for the Perfect Chocolate Mousse Pie Success
You want that filling to be silk, not sludge, right? Achieving that perfect texture really comes down to temperature management. Since we’re relying on chilling time rather than baking, every step counts toward making this a successful make ahead dessert.
Ingredient Temperature and Mixing
I cannot stress this enough: your cream cheese needs to be truly soft when you start creaming it. If it’s cold, you’ll end up with tiny, frustrating lumps in your mousse that refuse to blend out later. For the chocolate, while it needs to be fully melted, let it cool for five minutes before you fold it in. If it’s too hot, it can melt the whipped topping right out of the mousse, and then your pie won’t set up nicely.
Crust Substitution Options
If you happen to be out of Oreos, don’t panic! This recipe is very forgiving. You can absolutely substitute the cream filling with a crushed graham cracker crust desserts base. Just use the same amount of mail/butter ratio. It gives the pie a slightly warmer, almost brown-sugar note that contrasts beautifully with the dark chocolate. It’s a great way to keep those last-minute dessert emergencies under control!
Serving Suggestions for This Elegant Chocolate Dessert
Even though this **chocolate mousse pie** is so easy, we want it to look like you slaved away for hours, right? Presentation is everything! Once that top layer of whipped cream is spread on, you have a beautiful canvas. My favorite way to finish it off is to take a vegetable peeler and create some lovely, delicate curls from a good quality dark chocolate bar—scatter those right over the top.
If you’re serving it for a holiday gathering, try adding a light dusting of unsweetened cocoa powder instead of the fresh shavings. For pairings, you don’t need much, because it’s so rich! A few fresh raspberries on the side cut through the richness perfectly. Or, if you want a cozy finish, try pairing a slice with a small cup of my wonderfully whipped hot chocolate recipe when it’s served!
Storage and Reheating Instructions for Your Chocolate Mousse Pie
Because this is a glorious, no-bake beauty, we treat it like its cousin, the cheesecake—it absolutely must stay cold! Keep any leftover **chocolate mousse pie** covered tightly with plastic wrap in the refrigerator. It’s one of the best make ahead desserts because it actually tastes better after resting overnight. That long chill helps the pudding and cream cheese meld perfectly.
Now, here’s the one thing you can’t do: Do not try to reheat this pie! It needs to be served cold or slightly chilled. Warming it up will turn that fantastic, airy mousse into a soupy, soupy mess, and we absolutely can’t have that disappointment. Store it cold, serve it cold, and enjoy every creamy bite!
Frequently Asked Questions About Chocolate Mousse Pie
Whenever I share this recipe, people always have the same few questions pop up! That’s totally normal when you’re dealing with a rich, creamy dessert like this. I’m happy to clear up any confusion so you can move right onto making this stunning pie. We want this to be one of the best dessert recipes you’ve ever tried!
Can I use a different crust besides Oreos for this chocolate mousse pie?
Yes, absolutely! While those Oreo crumbs make for a fantastic, slightly salty, crunchy contrast—and it’s a favorite for those looking for oreo crust pie recipes—you have options. If you don’t have Oreos on hand, a standard graham cracker crust works beautifully! Just follow the same process: 1 and 3/4 cups of crumbs mixed with 6 tablespoons of melted butter. It gives you a totally different vibe, leaning into those classic graham cracker crust desserts, but it’s just as reliable.
What if my mousse filling won’t set properly?
Oh, that’s the big fear with any no-bake treat! Usually, if your **chocolate mousse pie** filling is still runny after the minimum chilling time, it comes down to two things. First, did you whisk your instant pudding mix with the milk for the full two minutes and let it sit for the five minutes? That process is what activates the thickening agents. Second, did you fold in the melted chocolate too quickly? If you pour hot chocolate into cold whipped topping, it can seize the gelatin and prevent a good set. Give everything time to cool down slightly, and be gentle with your folding!
Is this recipe similar to a French silk pie variation?
That’s a great question, especially since they both fall under the category of incredibly rich, chilled chocolate pies! This recipe is definitely simpler than a classic French silk pie variation. Traditional French silk usually involves eggs cooked on the stovetop and a lot more heavy whipping of butter and sugar. While mine is undeniably decadent, it relies more on the pudding mix and cream cheese structure for its fluffiness, which makes it quicker and easier. You get that dreamy, airy texture without all the fuss of tempering eggs!
Estimated Nutritional Data for This Creamy Chocolate Pie
When you’re digging into something this wonderful, you probably aren’t checking labels, but I like to keep things transparent! This nutritional breakdown is just an estimate based on my standard pantry ingredients for one slice of this glorious **creamy chocolate pie**. Don’t use this for medicinal purposes, okay? It’s just a guide!
- Serving Size: 1 slice
- Calories: 450
- Sugar: 35g
- Fat: 30g
Remember, these numbers can shift slightly depending on the brand of Oreos or the type of chocolate you use, but this gives you a solid ballpark idea for your tracking!
Share Your Ultimate Chocolate Indulgence
Well, friend, that’s all there is to it! You now have the blueprint for what I consider the best **chocolate mousse pie** recipe in my book—creamy, simple, and so satisfying. I truly hope this recipe brings as much joy and comfort to your kitchen table as it has to mine.
Once you’ve chilled yours until it’s perfectly set—and trust me, resist the urge to peek early!—I would absolutely love to hear about it. Did you use the Oreo crust or go for the graham cracker variation? Did you garnish it with chocolate shavings or fresh berries?
Don’t be shy! Head over to the comments section below and tell me how your pie turned out. If you snapped a picture, I’d be thrilled if you tagged me or reached out through my contact page. Sharing food is sharing love, and I can’t wait to see your incredible results!
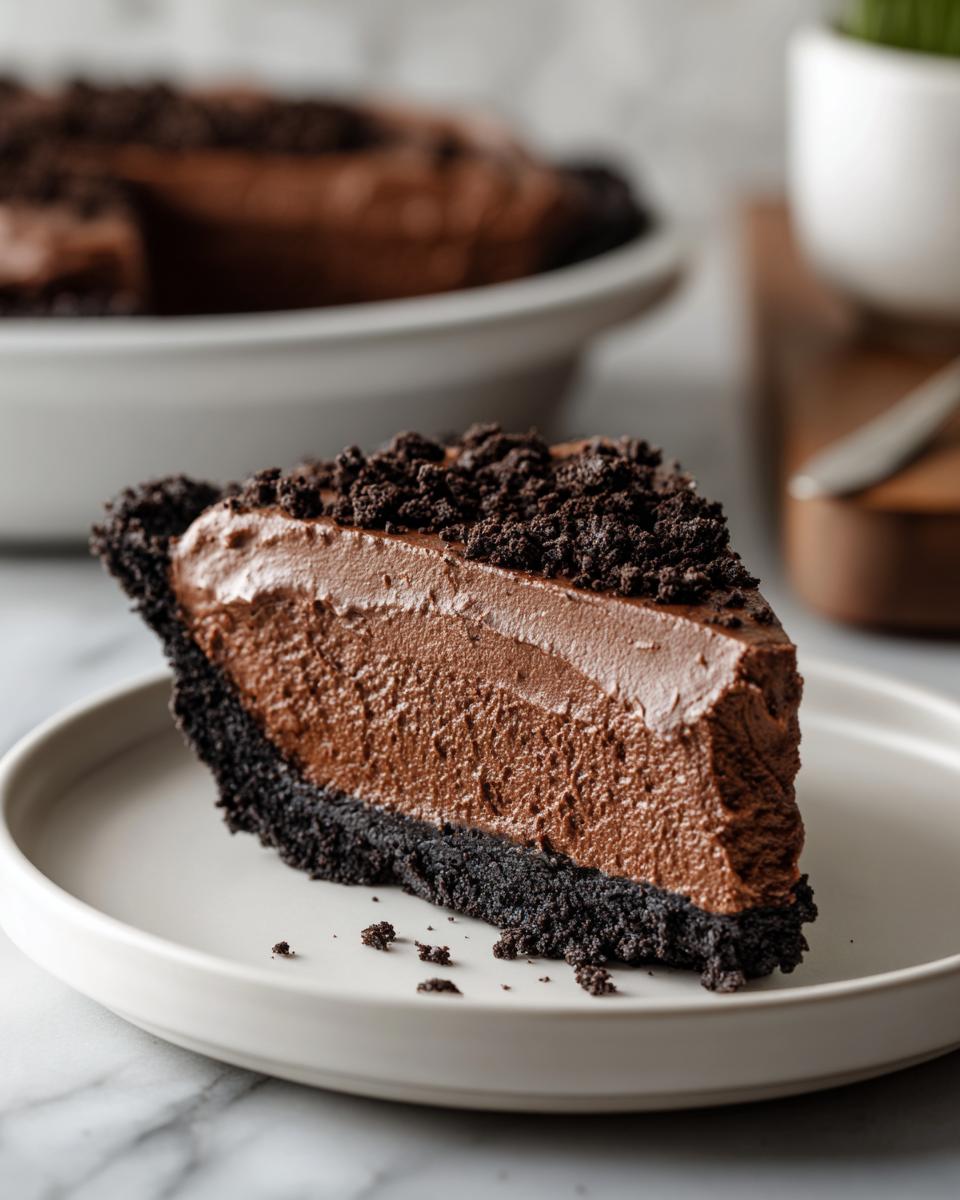
PrintEasy No-Bake Chocolate Mousse Pie with Oreo Crust

This recipe gives you a rich, creamy, and decadent chocolate mousse pie that requires no oven time. It features a simple Oreo cookie crust and a light, airy chocolate filling, making it a perfect make-ahead dessert for any occasion.
- Prep Time: 20 min
- Cook Time: 0 min
- Total Time: 6 hr 20 min
- Yield: 8 servings 1x
- Category: Dessert
- Method: No-Bake
- Cuisine: American
- Diet: Vegetarian
Ingredients
- 1 3/4 cups crushed Oreo cookies (about 24 cookies)
- 6 tablespoons unsalted butter, melted
- 1 package (8 ounces) cream cheese, softened
- 1 cup powdered sugar
- 1 teaspoon vanilla extract
- 1/2 cup cold milk
- 1 package (3.4 ounces) instant chocolate pudding mix
- 1 container (8 ounces) frozen whipped topping (like Cool Whip), thawed, divided
- 4 ounces semi-sweet chocolate, melted and cooled slightly
Instructions
- Prepare the crust: Mix the crushed Oreo cookies and melted butter in a medium bowl until the crumbs are evenly moistened. Press the mixture firmly into the bottom and up the sides of a 9-inch pie plate. Place the crust in the freezer while you prepare the filling.
- Make the cream cheese layer: In a large bowl, beat the softened cream cheese, powdered sugar, and vanilla extract with an electric mixer until smooth.
- Prepare the mousse base: In a separate bowl, whisk together the cold milk and instant chocolate pudding mix for two minutes until it starts to thicken. Let it sit for five minutes.
- Combine the fillings: Gently fold the thickened pudding mixture into the cream cheese mixture until just combined.
- Add the chocolate: Fold in the slightly cooled melted semi-sweet chocolate until the mixture is uniform in color.
- Fold in whipped topping: Gently fold in about two-thirds of the thawed whipped topping until no white streaks remain. Do not overmix.
- Fill the pie: Spoon the chocolate mousse filling into the chilled Oreo crust, spreading it evenly.
- Chill: Cover the pie loosely with plastic wrap and refrigerate for at least 6 hours, or preferably overnight, until the filling is completely set.
- Top and serve: Before serving, spread the remaining one-third of the whipped topping over the set mousse. You can garnish with extra cookie crumbs or chocolate shavings if desired. Slice and serve cold.
Notes
- For an even richer flavor, substitute the milk with heavy cream when making the pudding layer.
- If you do not have Oreos, you can use graham crackers for a classic graham cracker crust dessert base.
- This is an excellent make-ahead dessert; it tastes best when chilled for a full 12 hours.
Nutrition
- Serving Size: 1 slice
- Calories: 450
- Sugar: 35g
- Sodium: 320mg
- Fat: 30g
- Saturated Fat: 16g
- Unsaturated Fat: 14g
- Trans Fat: 0.5g
- Carbohydrates: 42g
- Fiber: 2g
- Protein: 5g
- Cholesterol: 45mg