
Some flavors just take you right back home, don’t they? For me, that incredible, slightly goofy chocolate taste that screams childhood parties is the famous **oreo dirt cake**. Forget the oven; we’re doing this the easy way! I promise you, this is hands-down the quickest, no-bake **oreo dirt cake** recipe you will ever lay eyes on. Growing up in the Midwest, my grandma taught me that the best food is always made with care, and I really channeled that spirit when developing this recipe over at Cookin’ Corner. It’s ultra-creamy, so simple, and always steals the show at any gathering. We’ll whip this up in about 20 minutes flat, and you’ll have a dessert that tastes like pure nostalgia.
- Why This Classic Oreo Dirt Cake is Your New Favorite No Bake Oreo Dessert
- Gathering Supplies for Your Oreo Dirt Cake
- Ingredients for the Ultimate Oreo Dirt Cake
- Step-by-Step Instructions for This Creamy Oreo Treat
- Tips for the Best Dirt Pudding Recipe Presentation
- Ingredient Substitutions for Your No Bake Chocolate Delight
- Storing and Making Ahead This Make Ahead Dessert
- Frequently Asked Questions About Oreo Dirt Cake
- Nutritional Snapshot of This Chocolate Cream Cheese Dessert
Why This Classic Oreo Dirt Cake is Your New Favorite No Bake Oreo Dessert
I know what you’re thinking—another dirt cake recipe? Hold on, because this one is built for speed and maximum flavor payoff. My goal was to make the ultimate no bake Oreo dessert that works even when you’ve got company showing up in an hour. It’s reliable, which is what truly matters in the kitchen!
This recipe is a winner because:
- We are talking about less than 20 minutes of active prep time. Seriously!
- Zero baking required. It’s perfect for those hot summer evenings.
- It’s the quintessential party dessert recipe—everyone recognizes it and loves digging in.
- The texture balance is just *chef’s kiss* creamy yet crunchy.
Key Features of Our Easy Dirt Cake Recipe
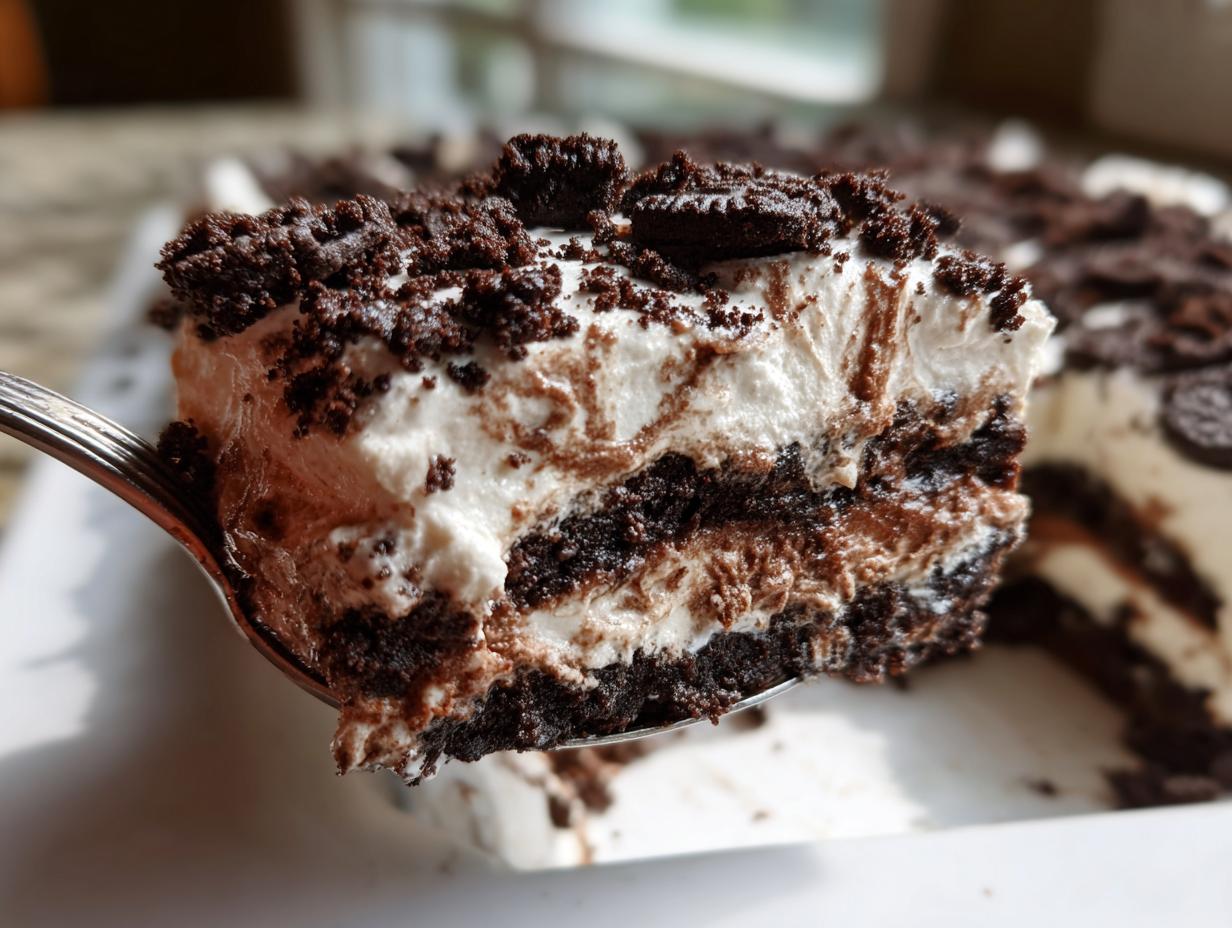
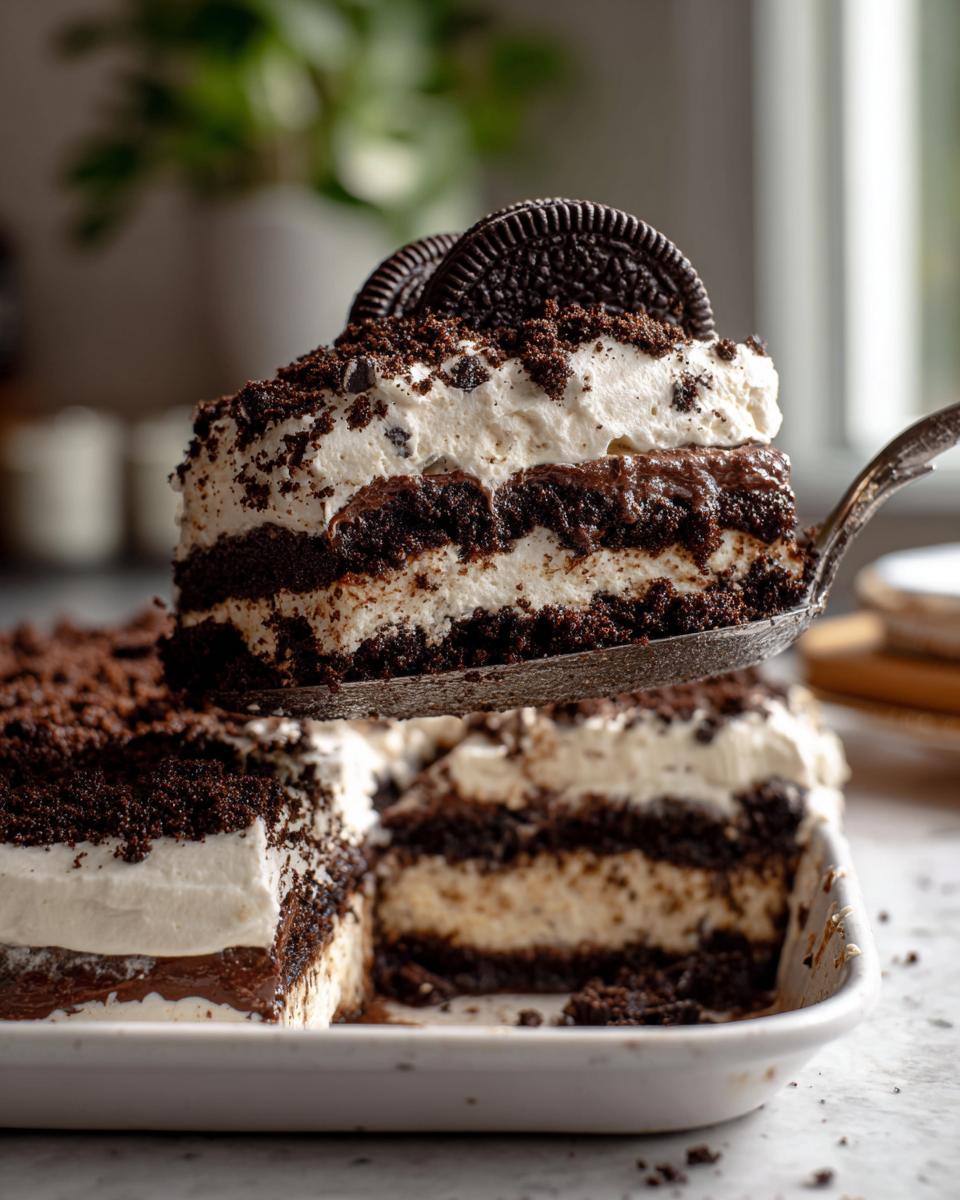
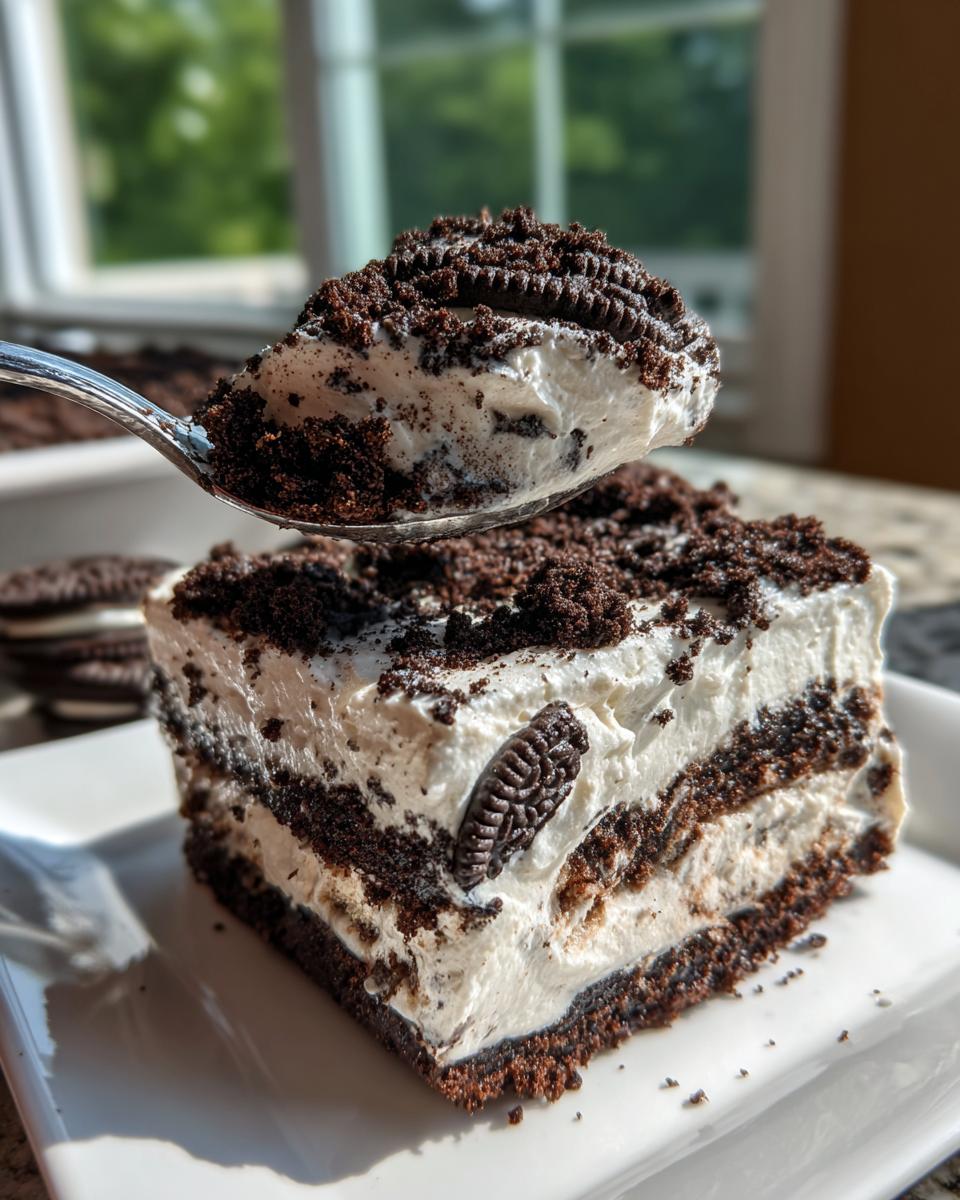
What sets this apart is that fantastic textural contrast. You get that impossibly smooth, rich chocolate layer—thanks to the cream cheese sneaking in there—right next to those dark, crunchy cookie crumbs that look exactly like, well, dirt! It’s such a fun presentation, and trust me, it’s the ultimate kid friendly dessert. They get a kick out of eating something that looks a little mischievous!
Gathering Supplies for Your Oreo Dirt Cake
Before you even think about grabbing the pudding mix, let’s get your tools ready. This is crucial, especially for getting those perfect cookie crumbs! You absolutely need an electric mixer—a hand mixer works fine, but if you have a stand mixer like I do, use it! You’ll also need a large mixing bowl for the creamy layers.
For the cookies, a food processor is a lifesaver because it makes the finest dirt, but honestly, if you don’t have one, just use a heavy zip-top bag and a rolling pin—that works great too! Finally, grab a 9×13 inch baking dish. If you want to show off those beautiful layers, a large trifle bowl is even better for this no bake Oreo dessert.
Ingredients for the Ultimate Oreo Dirt Cake
Okay, let’s talk supplies! Getting the measurements exactly right keeps this from turning into soup, right? Since this is a straightforward assembly job, clarity is key. Don’t substitute room-temperature cream cheese unless you want lumps—it *has* to be softened! And please make sure your whipped topping is thawed out completely before you even think about starting. We want this creamy, not clumpy!
For the Creamy Chocolate Pudding Dessert Base
This is the heart of our **creamy Oreo treat**. You need:
- 1 big package (that’s 14.3 ounces!) of Oreo cookies. We use most of these, so set about one cup of crumbs aside for the very top later.
- 1 standard package (3.9 ounces) of instant chocolate pudding mix. Remember, instant! No cooking here.
- 3 cups of nice, cold milk.
- One standard 8-ounce package of cream cheese, softened until it gives easily.
- 1 cup of powdered sugar for that light sweetness.
- One 8-ounce tub of frozen whipped topping (like Cool Whip), fully thawed.
Optional Second Layer Ingredients
If you’re making this in a big 9×13 dish, you might want that extra height! For a lusher **layer pudding dessert**, you’ll repeat the rich mixture using:
- Another 8 ounces of cream cheese, softened.
- Another 1 cup of powdered sugar.
- Another 8-ounce container of thawed whipped topping.
It might seem like a lot of the creamy stuff, but trust me, this is what makes this the **best dirt cake recipe**!
Step-by-Step Instructions for This Creamy Oreo Treat
We need to move fast here because this entire process, minus the chill time, clocks in at only about 20 minutes! Don’t rush the steps, though; patience during the mixing parts is how we keep this **creamy Oreo treat** wonderfully light. Always remember to check our terms of use before referencing recipes you use in public!
Preparing the Crushed Cookie Dessert Layers
First things first, let’s deal with the cookies. You need to separate those wafers from the cream filling. Save the cream-filled ones for the actual filling, but take all the plain wafers—and maybe a few with cream still stuck to them—and crush them up! If you’re using a processor, pulse until it looks like nice, dark soil. Crucially, pull out about one cup of the finest crumbs you can make and set that aside. That’s our finishing touch for the top layer of the **crushed cookie dessert**.
Mixing the Pudding and Cream Cheese Filling
Now for the magic! In a big bowl, you need to whisk the instant chocolate pudding mix with the cold milk until it thickens up nicely—this usually takes about two minutes. Let that sit for just five minutes to fully set up. While it’s resting, beat your softened cream cheese and powdered sugar until it’s completely smooth. Then and only then, gently fold the thawed whipped topping into that cream cheese mixture, followed by folding in the thickened pudding. Do not overmix, seriously! You want to keep the air in there.
Assembling and Chilling the Oreo Dirt Cake
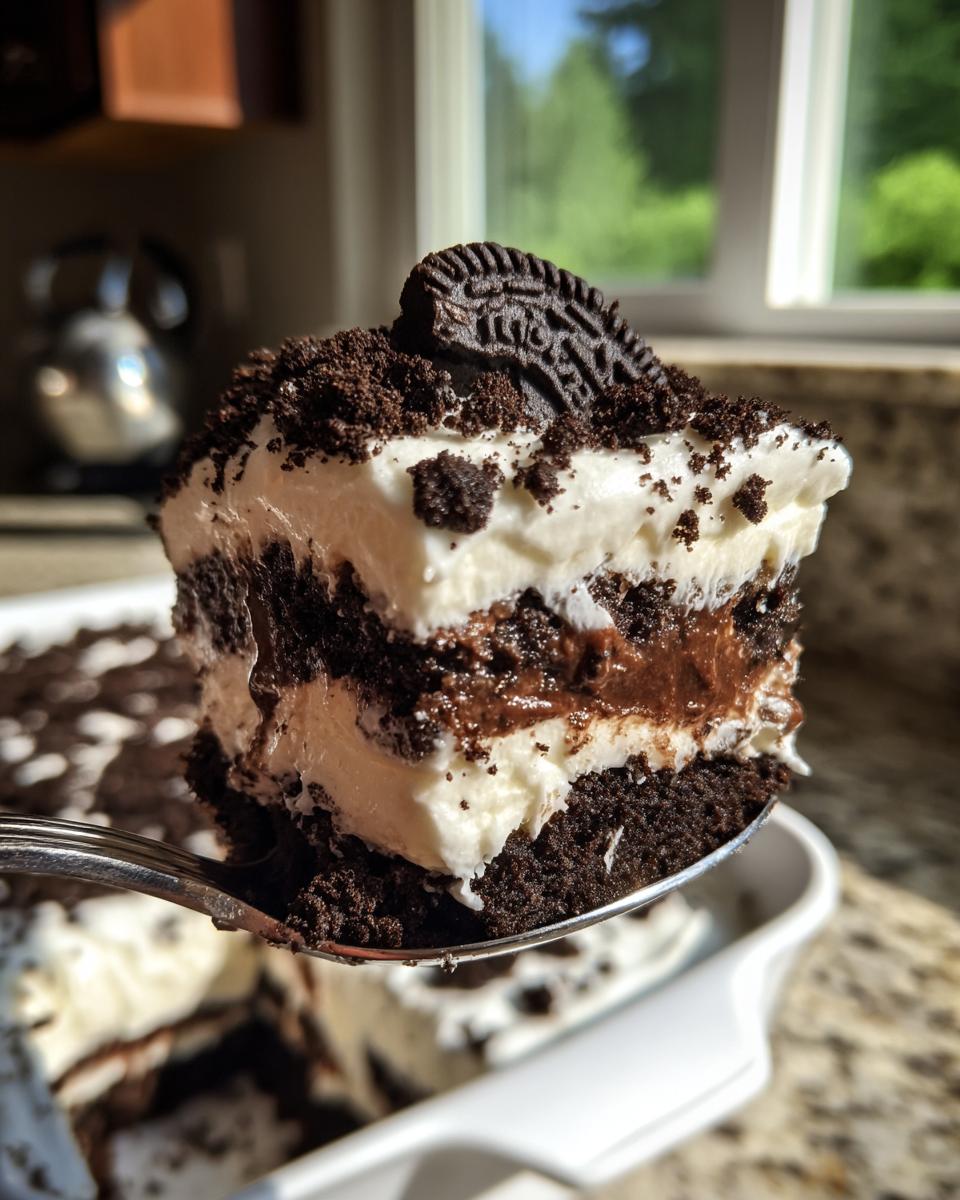
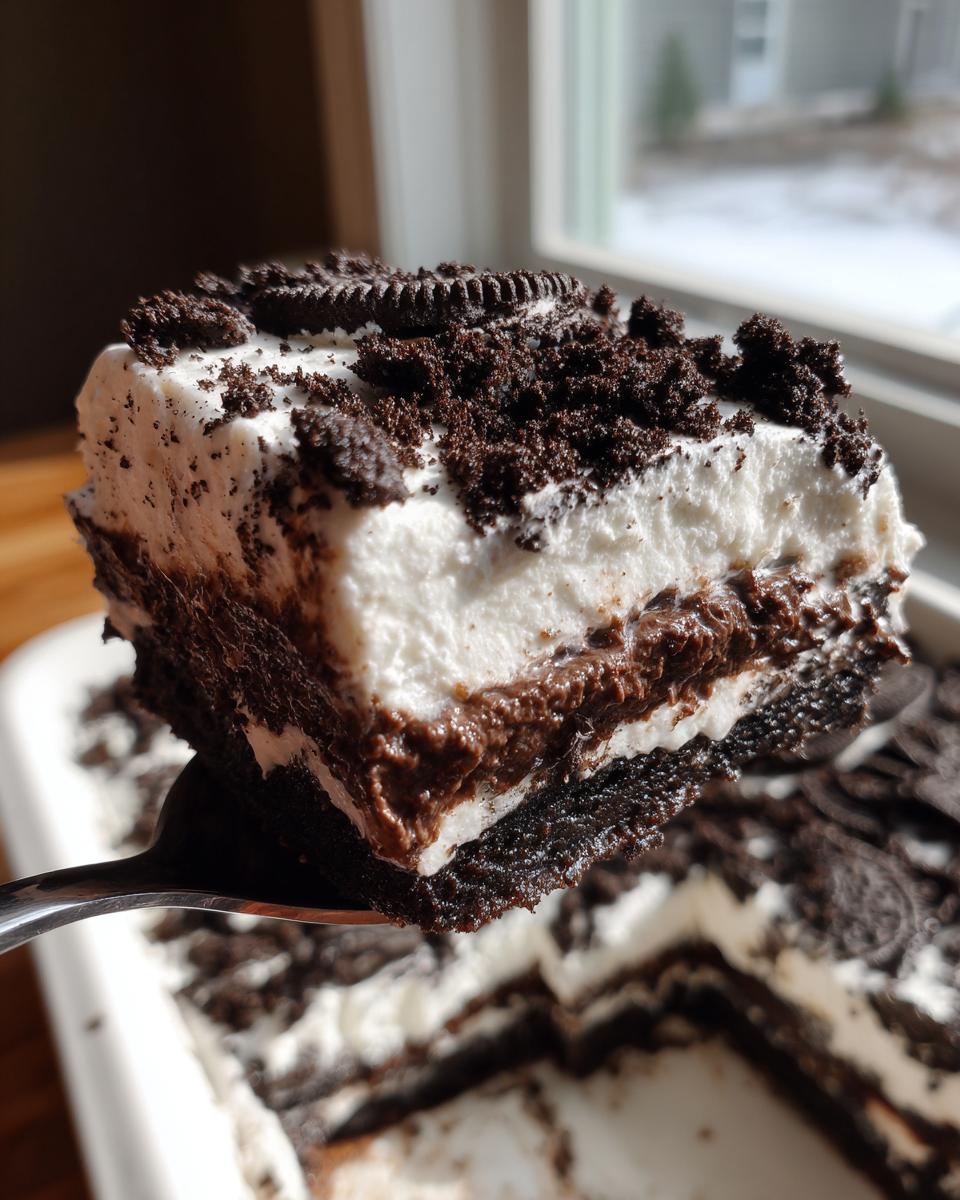
If you are doing two layers, spread half of that gorgeous chunky filling into your dish. Sprinkle half of those saved plain cookie crumbs over that layer. Then, if you made the optional second layer, spread that right on top before finishing the surface with the rest of the reserved crumbs. It all needs a good rest now. Cover it up tight and stick it in the fridge for at least 4 hours, but honestly, if you can wait until the next day (and resist digging in!), this **dirt pudding recipe** tastes a hundred times better when the flavors have really settled.
Tips for the Best Dirt Pudding Recipe Presentation
Listen, this is a **no bake chocolate delight**, so we have to make it look fun! Since the top layer is just crushed Oreos, presentation is everything. If you want maximum wow factor, skip the big pan! I love using individual clear cups—you can really show off those creamy layers underneath the ‘dirt.’ That way, everyone gets a perfect ratio of filling to crunch in every single scoop, which is why this is such an easy scoop dessert.
For the ultimate novelty, try lining a clean, new flower pot with plastic wrap and serving it right out of that! Just push those reserved crumbs right into the top surface so it looks deeply earthy. It always gets gasps when I bring it out for a summer barbecue!
Ingredient Substitutions for Your No Bake Chocolate Delight
I get it; sometimes the pantry doesn’t cooperate, right? That’s okay! This is a flexible recipe, though I stand by my original ingredients! If you are out of the frozen whipped topping—which is key for that airy lift—you can absolutely make your own whipped cream. Just whip two cups of heavy cream with about a quarter cup of powdered sugar until you have stiff peaks. Gently fold that in instead, but know it might not hold up quite as reliably over a long period sitting out.
As for the pudding, my favorite is always chocolate, of course, but I have successfully substituted half of the chocolate pudding mix with instant vanilla pudding mix. It keeps the cake light in color but doesn’t give you quite that deep, rich chocolate vibe. If you go that route, it becomes a lovely chocolate-vanilla marble swirl—a totally different, but equally delicious, no bake dessert! Don’t use cook-and-serve pudding, though; that changes the whole game!
Storing and Making Ahead This Make Ahead Dessert
This is one of my favorite secrets for planning big meals: this **oreo dirt cake** is designed to be a **make ahead dessert**! You absolutely have to chill it for at least four hours—overnight is better—because that time lets the pudding layer firm up perfectly against the cookie crunch. You need that structure for a good, clean scoop. Store it tightly covered in the fridge. It stays fantastic for about three days.
After day three, the cookie crumbs start getting just a *tiny* bit soft, but honestly, that just makes it a super creamy, easy texture, which is perfect for serving up as the ultimate potluck dessert idea! Just make sure that plastic wrap isn’t touching the top layer, or the ‘dirt’ will stick to it.
Frequently Asked Questions About Oreo Dirt Cake
I always get questions when I bring this dessert to neighborhood events! It’s such a classic, but people always want to know the little secrets to make sure their **no bake chocolate delight** turns out perfect. Here are the most common things folks ask about making this **layer pudding dessert**.
Can I use a different cookie instead of Oreos in this easy scoop dessert?
That’s a fair question! You certainly *can*, but I strongly recommend sticking with the classic chocolate wafer cookies, like Oreos, for the best results. The dark color is what sells the whole ‘dirt’ presentation, which is half the fun of an **oreo dirt cake**! If you tried something like vanilla wafers, your dessert would look more like light brown sand. If you must swap, look for another dark chocolate sandwich cookie, but make sure you crush them finely so they integrate well into that creamy filling layer!
How long does the oreo dirt cake stay fresh in the refrigerator?
For the absolute best texture—that perfect contrast between the slightly crisp crumbs and the firm, chilled filling—you want to eat this within 48 hours. If you chill it overnight, it’s heavenly! It will last up to four days in the fridge, covered tightly. If it goes past day four, the cookie layer tends to absorb too much moisture and gets a little mushy, which turns it into more of a pudding than a layered **creamy Oreo treat**. Don’t worry, though; it still tastes amazing, just different!
If you ever check our privacy policy, you’ll know we keep sharing honest tips, and that includes telling you when things start to lose their crunch!
Nutritional Snapshot of This Chocolate Cream Cheese Dessert
I always feel a little bad when I tell people how few calories are in this **chocolate cream cheese dessert**, because it tastes like totally decadent, high-effort baking! But since we are keeping things honest here at Cookin’ Corner, here’s the rundown based on my standard recipe estimations. Remember, since we aren’t actually baking anything, there aren’t any crazy ingredient changes, but these numbers are always approximate based on the specific brands of pudding and whipped topping you might use. Feel free to check out our contact page if you have specific questions about ingredient sourcing!
- Calories: About 350 per serving
- Fat: 18g
- Carbs: 45g
- Protein: A small boost at 4g
Basically, it’s a rich experience, but because it makes so many servings, it works out nicely for an indulgent **party dessert recipe** serving!
PrintClassic No-Bake Oreo Dirt Cake

Make this easy, creamy Oreo Dirt Cake. It uses simple layers of crushed cookies, chocolate pudding, and whipped topping for a nostalgic, crowd-pleasing dessert.
- Prep Time: 20 min
- Cook Time: 0 min
- Total Time: 4 hr 20 min
- Yield: 12 servings 1x
- Category: Dessert
- Method: No-Bake
- Cuisine: American
- Diet: Vegetarian
Ingredients
- 1 package (14.3 oz) Oreo cookies, divided
- 1 package (3.9 oz) instant chocolate pudding mix
- 3 cups cold milk
- 8 oz cream cheese, softened
- 1 cup powdered sugar
- 1 container (8 oz) frozen whipped topping, thawed
- 1 package (8 oz) cream cheese, softened (for optional second layer)
- 1 cup powdered sugar (for optional second layer)
- 1 container (8 oz) frozen whipped topping, thawed (for optional second layer)
Instructions
- Separate the Oreo cookies. Place the cream-filled cookies aside for the filling. Place the plain cookie wafers into a food processor or large zip-top bag and crush them until they resemble fine dirt. Set aside about 1 cup of the crushed cookies for the top layer.
- In a large bowl, whisk together the instant chocolate pudding mix and cold milk for about 2 minutes until the mixture thickens. Let it stand for 5 minutes.
- In a separate bowl, beat the softened cream cheese and 1 cup of powdered sugar until smooth. Gently fold the thawed whipped topping into the cream cheese mixture until just combined.
- Fold the thickened chocolate pudding mixture into the cream cheese/whipped topping mixture until smooth.
- Gently fold in the remaining crushed Oreos (excluding the reserved topping amount) into the creamy mixture.
- Spread half of the mixture into the bottom of a 9×13 inch dish or trifle bowl. Sprinkle with half of the reserved crushed Oreos.
- If making a second layer, repeat the process: Mix the second block of cream cheese, 1 cup powdered sugar, and second container of whipped topping. Spread this layer over the first layer.
- Top the entire dessert with the remaining reserved crushed Oreos to resemble dirt.
- Cover the dish and chill in the refrigerator for at least 4 hours, or preferably overnight, before serving to allow the layers to set.
Notes
- For a fun presentation, serve this dessert in individual clear plastic cups or a clean, new flower pot (line the pot with plastic wrap first).
- You can substitute vanilla pudding for half of the chocolate pudding for a lighter color layer.
- If you do not have a food processor, place cookies in a sturdy bag and crush them using a rolling pin.
Nutrition
- Serving Size: 1 serving
- Calories: 350
- Sugar: 35
- Sodium: 320
- Fat: 18
- Saturated Fat: 10
- Unsaturated Fat: 8
- Trans Fat: 0.5
- Carbohydrates: 45
- Fiber: 1
- Protein: 4
- Cholesterol: 35