
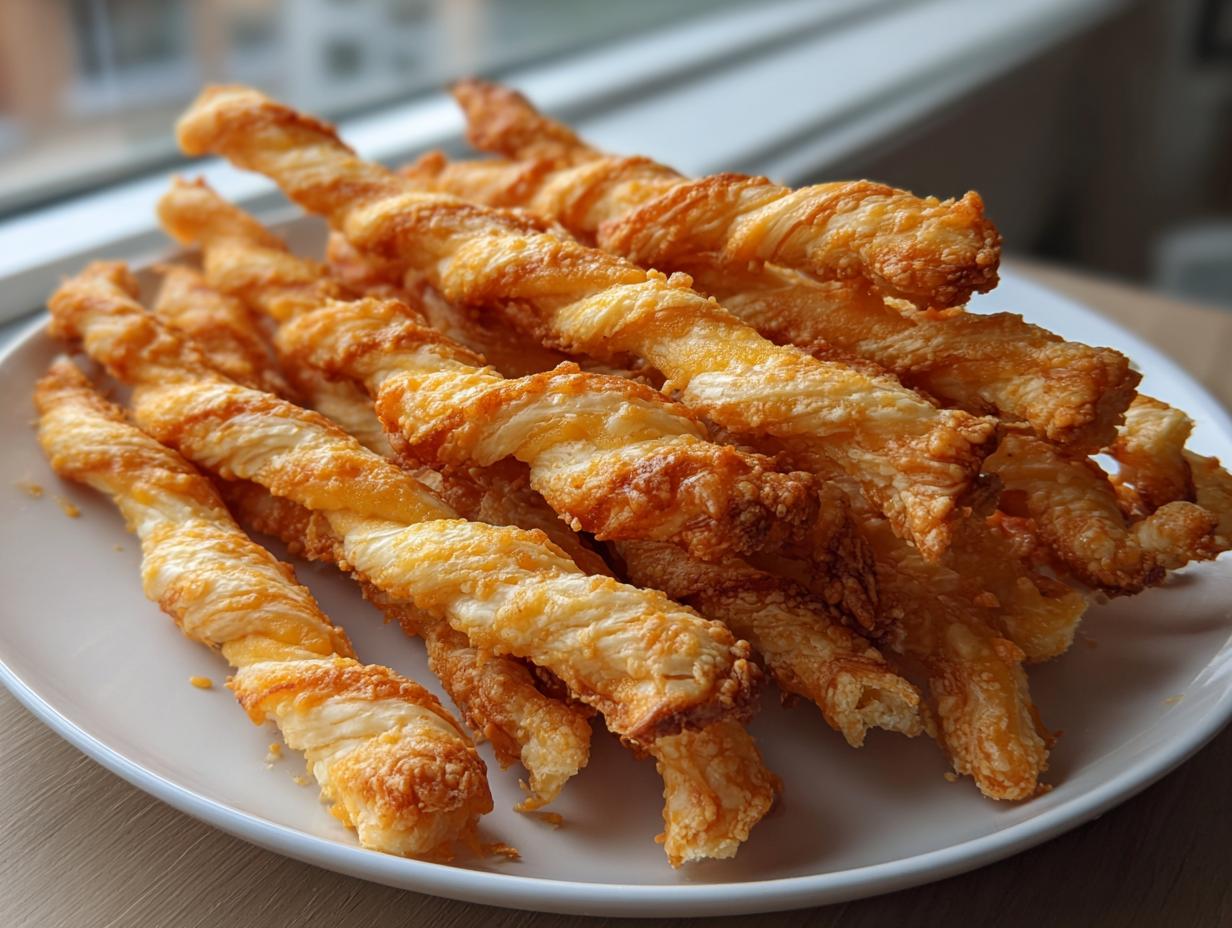
When I think about real Southern hospitality, I don’t picture fancy canapés; I picture a plate piled high with these golden, savory bites that disappear the second they hit the coffee table. Seriously, nothing says ‘welcome home’ like the smell of baking cheddar! For years, people have asked for my secret, and I’m finally sharing the definitive, crispy, sharp cheddar cheese straws recipe right here on Cookin’ Corner. My grandmother insisted that the spice mix had to be just right, and that we had to use *real* sharp cheese—no substitutions allowed! Learning how to work that dough by hand taught me more about patience than any fancy cooking class ever could. If you love savory snacks, you simply have to try making this easy cheesy pepperoni pizza dip recipe sometime too, but these straws are truly something special. Trust me, once you bake these buttery delights, you’ll never buy the boxed kind again.
- Why This Classic Crispy Southern Cheese Straws Recipe Works (E-E-A-T)
- Gathering Ingredients for Your Cheese Straws Recipe
- Step-by-Step Instructions for the Best Cheese Straw Recipe
- Tips for Success with Your Southern Cheese Straws Recipe
- Making This Cheese Straws Recipe for Party Food Ideas
- Storage and Reheating Instructions for Homemade Savory Snacks
- Variations on the Classic Cheese Straws Recipe
- Frequently Asked Questions About This Cheese Straws Recipe
- Nutritional Estimate for Your Cheese Straws Recipe
Why This Classic Crispy Southern Cheese Straws Recipe Works (E-E-A-T)
What makes these little snacks such a hit year after year? It comes down to texture and flavor purity. So many recipes out there end up tasting more like soft crackers, but that’s not what we’re after! These are truly crispy appetizers built on tradition. They are incredibly satisfying homemade savory snacks that don’t need complicated steps, just reliable technique. When you follow my approach, you get that perfect snap every single time.
Achieving the Perfect Flaky Texture
Flakiness is all about temperature management, just like with a good pie crust. You have to keep that butter relatively cool when you start mixing. We aren’t aiming for soft, spreadable butter here; we want it slightly yielding so it cuts into the flour later. That separation creates the necessary pockets for flakiness when they bake. Don’t overmix once the flour goes in, or you’ll shock the structure right out of them!
The Secret to Intense Flavor in Your Cheddar Cheese Straws
The biggest flavor difference maker is right in the name: Sharp! You simply have to use sharp cheddar cheese. Mild cheddar just melts away and tastes… well, mild. Sharp cheddar holds its flavor punch even after baking, cutting beautifully through the richness of the butter. These Cheddar Cheese Straws deliver that intense, bold, savory hit we all crave from the classic Southern style.
Gathering Ingredients for Your Cheese Straws Recipe
Okay, let’s get our pantry straight. This simple list is why this recipe moves so fast—it’s mostly pantry staples, thank goodness! You’ll want one cup of unsalted butter, but make sure it’s softened up nicely before you start creaming it.
Next up, you need two cups of all-purpose flour, and pay close attention here: the key to the sharp flavor is two cups of *finely shredded* sharp cheddar cheese. Don’t even think about buying the bag of pre-shredded stuff; those have powders that mess with the texture!
For the seasoning magic, we’re using just a teaspoon of salt, half a teaspoon of cayenne pepper (this gives you warmth, not fire!), and just a quarter teaspoon of paprika for color. Finally, grab one large egg white, and make sure you just lightly beat it—that’s just for painting the tops!
If you’re looking for another quick win in the kitchen, you absolutely have to check out my cinnamon roll muffins quick easy recipe next time you need something sweet!
Step-by-Step Instructions for the Best Cheese Straw Recipe
Alright, let’s get baking! This might look like a lot of steps, but honestly, it flies by. First things first: preheat your oven to 350°F (175°C). While that’s heating up, line two baking sheets with parchment paper. Trust me, parchment paper is your best friend when making anything that bakes up delicate like this. We want clean handling later!
If you’re curious about making creamy comforting meals next, I highly recommend my easy gnocchi soup recipe, creamy chicken version!
Mixing the Dough for Easy Cheese Straws
Start by creaming that softened butter until it’s nice and smooth—no lumps allowed! While your butter is whipping, whisk together your flour, salt, cayenne, and paprika in a separate bowl. Now, add those dry ingredients to the butter bit by bit, mixing only until they come together. The absolute key step for these Easy Cheese Straws is adding all two cups of that sharp cheddar last and stirring only until it’s generally mixed in. If you keep mixing once the cheese is in, you risk developing the gluten too much, and suddenly you have tough little sticks instead of light ones!
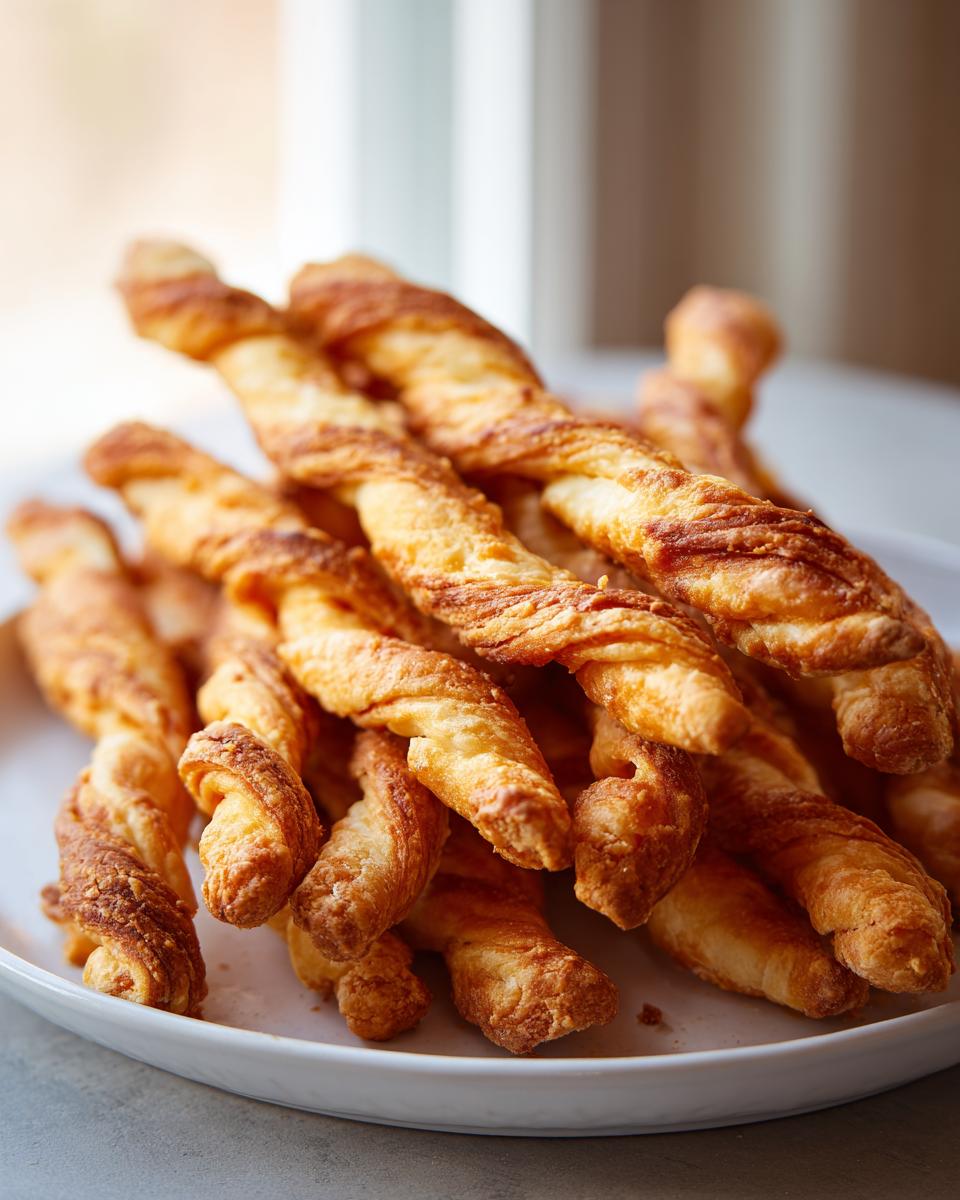
Cutting and Twisting Your Flaky Cheese Twists
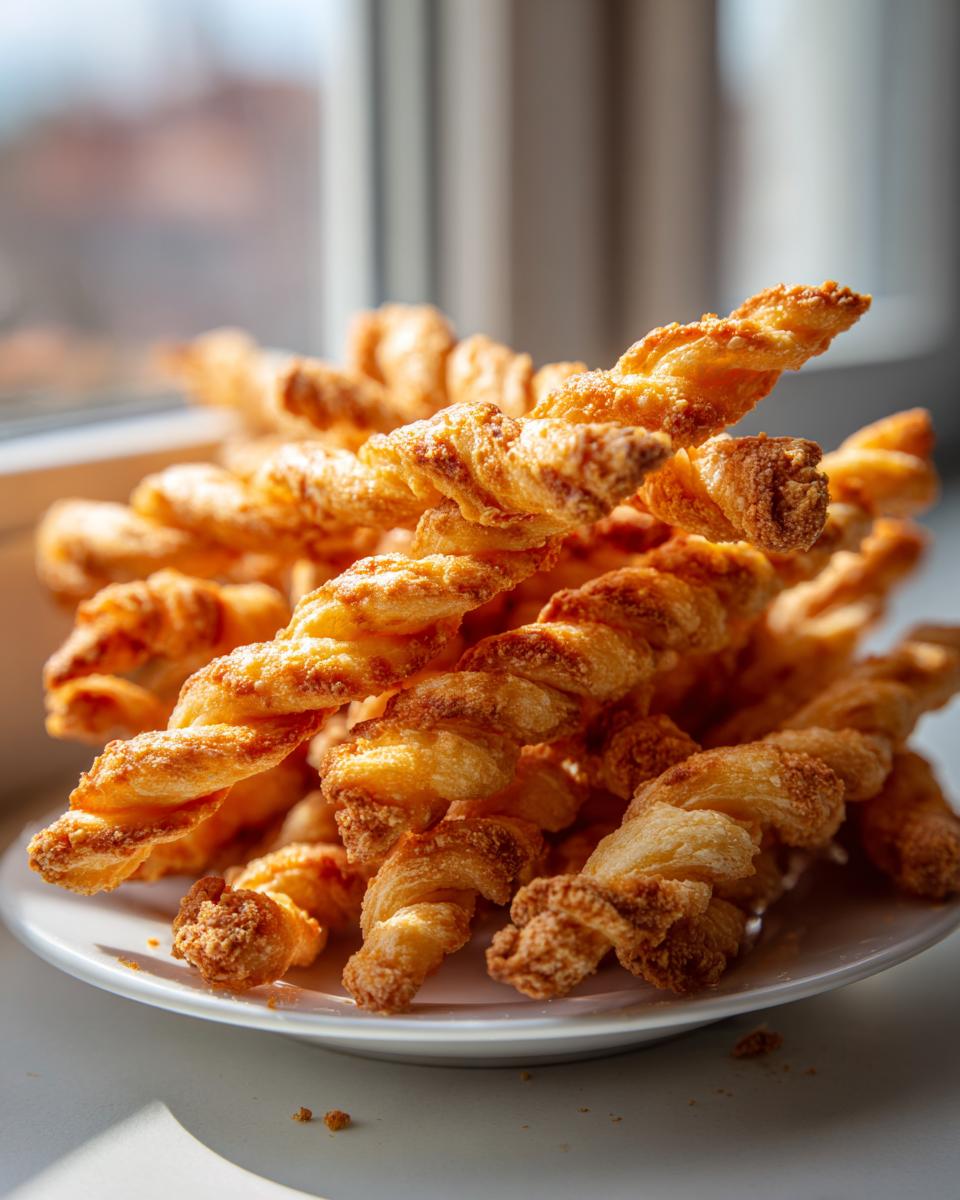
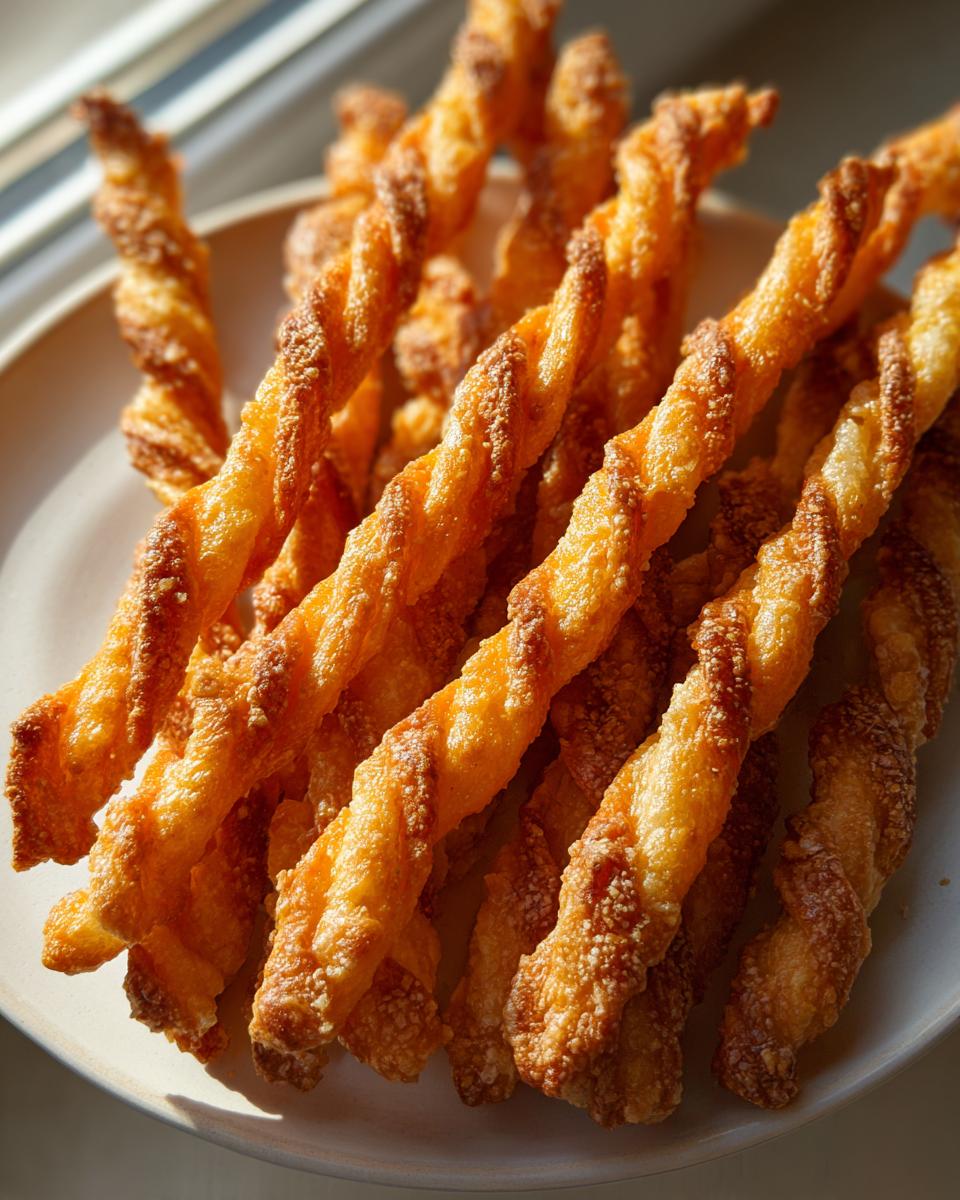
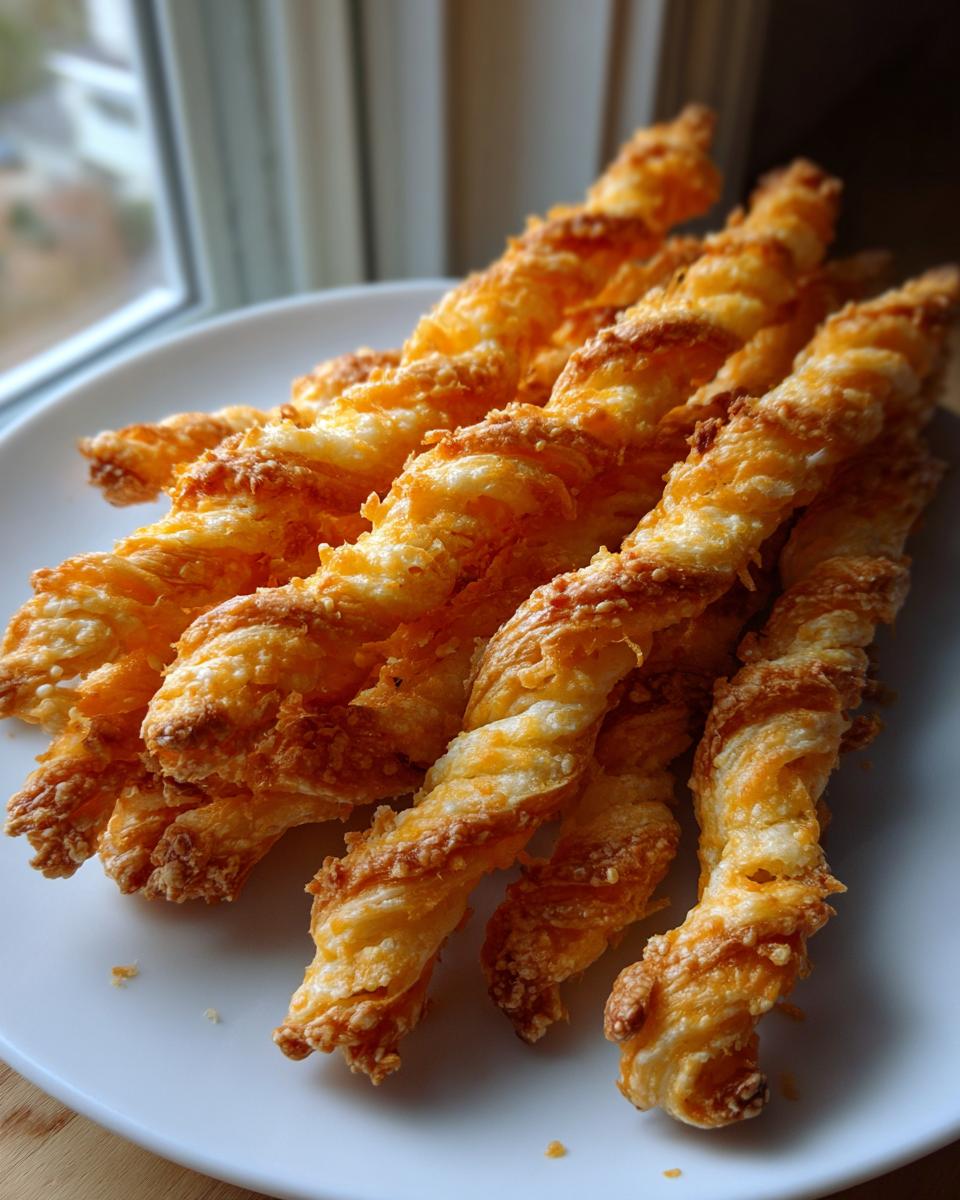
Time to roll! Lightly flour your surface because this dough loves to stick. Roll it out thin—we are going for about 1/8-inch thickness. If it’s too thick, they won’t get that signature crispiness we want. Once rolled, use a pizza cutter or a sharp knife to slice strips about a half-inch wide and 4 or 5 inches long. Now for the fun part: gently pick up each strip and give it a single little twist. These become your beautiful Flaky Cheese Twists! Lay them on the parchment and then give them a light brush with that beaten egg white for that shiny golden finish.
Don’t forget to check out House of Nash Eats for more Southern inspiration!
Tips for Success with Your Southern Cheese Straws Recipe
Making these authentic Southern Cheese Straws is easy, but a few little tricks ensure they turn out postcard-perfect every time. If you find your dough is just too soft or sticky to handle after mixing—which happens a lot when the kitchen is warm!—don’t panic. Just wrap it up tight and pop it into the fridge for about 30 minutes. That short chill time firms up the butter just enough so you can roll and cut cleanly without all the pieces merging back together on you.
When you’re cooling them, remember this: they aren’t truly done being crispy until they’ve completely cooled on the tray. Don’t get tempted to snack on them right out of the oven; they firm up beautifully on the counter. And if you’re trying my absolute favorite non-cheddar swap, you’ll want to try adding Parmigiano-Reggiano along with the cheddar; it just deepens that wonderful savory flavor. If you loved this, you have to try my best old-fashioned apple crisp recipe next!
Ingredient Notes and Substitution Ideas
See that note about using Parmesan? If you swap out even half of your sharp cheddar for Parmesan, you get this incredible salty depth. It just sings! For a slightly milder, smoother straw texture, you can substitute Monterey Jack for some of the sharp cheddar. It melts a little softer but still gives great body. If you are looking for flavor inspiration outside of cheddar, check out how Sara Flavors handles herbs on their cheddar and herb cheese straws recipe!
Making This Cheese Straws Recipe for Party Food Ideas
Honestly, these straws are the hero of any gathering, whether it’s a big holiday bash or just a casual Sunday football watch. They work so well because they are sturdy—they don’t wilt or get soggy like some appetizers do! That crispiness holds up beautifully, even if they sit out for a while. The best part is stacking them high on a little platter; they look so inviting!
If you’re looking for more amazing things to serve alongside these for your next event, you absolutely must save my recipe for the Neiman Marcus dip, million dollar recipe! These Party Food Ideas are guaranteed to keep people happy, and you can find similar quick, satisfying finger foods over at Emily’s Cook for more inspiration.
Storage and Reheating Instructions for Homemade Savory Snacks
The wonderful thing about these straws is they’re almost better the next day! Just like fresh cookies, they need time to set up completely, so make sure they are totally cooled before storing. Keep your Homemade Savory Snacks in an airtight container on the counter—no need for the fridge here, that actually makes them go soft!
They stay fantastic for a whole week this way. If they somehow lose a little snap after a few days, you can gently refresh them by placing them on a baking sheet back in a 300°F oven for just three or four minutes. Pop over and check out my recipe for easy leftover turkey soup recipe while you’re storing these—perfect for dipping if you save any straws!
Variations on the Classic Cheese Straws Recipe
While our Sharp Cheddar version is truly perfection, sometimes you need a little nudge in a different direction, right? It’s so easy to customize these basic building blocks for whatever you feel like nibbling on! If you feel like experimenting, I’ve got two super easy twists you’ll love.
For something wonderfully fragrant, try adding a teaspoon of dried rosemary right into the dry ingredients along with the flour and spices. That combination with the cheddar is just heavenly and makes them feel extra fancy for party food ideas. Another fantastic change is to kick up the heat! If cayenne isn’t doing it for you, try adding just a *tiny* pinch of smoked paprika and a dash of black pepper. It gives them a richer, deeper warmth.
And speaking of elevated flavors, if you’ve never tried adding Parmesan like they do over at Rosemary Parmesan Cheese Straws, you are missing out on a salty kick! It changes the whole profile in the best way possible.
If you need something sweet after all this savory snacking, run over and try my red velvet bundt cake, moist recipe!
Frequently Asked Questions About This Cheese Straws Recipe
I know you’re going to fall in love with these as soon as you try them! But before you jump in, there are always a few little bits of confusion that pop up when readers try baking this for the first time. Here are the things I hear most often!
Can I use pre-shredded cheese in this cheese straws recipe?
Oh, heavens no, dear! I strongly suggest you grate your own sharp cheddar fresh. Those pre-shredded bags have cornstarch or potato starch mixed in to keep them from clumping in the bag. That starch messes up the texture, and we need every bit of buttery goodness for those crispy results!
How do I make extra crispy appetizers using this method?
It’s a two-part secret! First, make sure you paint every single straw with that thin layer of egg white—that helps them hold their twist and brown perfectly. Second, and this is critical: you *must* let them cool completely on the baking sheet before you even think about touching them. That cooling time is what finishes off the crisping process for your crispy appetizers!
If you’re moving on to something sweet after all this savory snacking, check out my easy moist plum cake recipe!
Nutritional Estimate for Your Cheese Straws Recipe
Now, I always tell folks not to sweat the numbers too much when you’re making something this wonderful for a party—they are meant to be enjoyed! But for those of you who like to keep track, I’ve put together a basic estimate based on the ingredients in this classic version. Remember, because we’re using quality sharp cheddar and pure butter, these are rich little bites!
This chart reflects the data for one serving, which is about four straws. If you have a tiny little nibbler, they might only eat one, so you know!
- Serving Size: 4 straws
- Calories: 95
- Fat: 7g
- Saturated Fat: 4.5g
- Protein: 3g
- Carbohydrates: 1g
- Sodium: 110mg
- Sugar: 0.1g
This estimate is based strictly on the recipe amounts listed above, assuming you used standard pantry staples. If you end up adding extra herbs or swapping cheeses, those numbers will shift a little bit, so just keep that in mind when you’re calculating! If you’re looking for something incredibly easy and sweet next, you have to save my easy pumpkin pie recipe for the holidays!
PrintClassic Crispy Southern Cheese Straws Recipe

Make these classic Southern cheese straws using sharp cheddar for a flaky, buttery, and crispy savory snack perfect for parties or entertaining.
- Prep Time: 20 min
- Cook Time: 15 min
- Total Time: 35 min
- Yield: About 4 dozen 1x
- Category: Appetizer
- Method: Baking
- Cuisine: American
- Diet: Vegetarian
Ingredients
- 1 cup unsalted butter, softened
- 2 cups all-purpose flour
- 1 teaspoon salt
- 1/2 teaspoon cayenne pepper
- 1/4 teaspoon paprika
- 2 cups sharp cheddar cheese, finely shredded
- 1 large egg white, lightly beaten
Instructions
- Preheat your oven to 350°F (175°C). Line two baking sheets with parchment paper.
- In a large bowl, cream together the softened butter until smooth.
- In a separate bowl, whisk together the flour, salt, cayenne pepper, and paprika.
- Gradually add the dry ingredients to the butter mixture, mixing until just combined.
- Stir in the shredded sharp cheddar cheese until evenly distributed throughout the dough.
- On a lightly floured surface, roll the dough out to about 1/8-inch thickness.
- Use a pizza cutter or knife to cut the dough into thin strips, about 1/2-inch wide and 4 to 5 inches long.
- Gently twist each strip once or twice to form a straw shape. Place the straws onto the prepared baking sheets, leaving a small space between them.
- Brush the tops of the cheese straws lightly with the beaten egg white.
- Bake for 12 to 15 minutes, or until the straws are golden brown and crisp.
- Let the cheese straws cool completely on the baking sheets before serving. They become crispier as they cool.
Notes
- For extra flavor, use a mix of sharp cheddar and Parmesan cheese.
- You can chill the dough for 30 minutes before cutting if it is too soft to handle easily.
- These homemade savory snacks store well in an airtight container at room temperature for up to one week.
Nutrition
- Serving Size: 4 straws
- Calories: 95
- Sugar: 0.1
- Sodium: 110
- Fat: 7
- Saturated Fat: 4.5
- Unsaturated Fat: 2.5
- Trans Fat: 0.1
- Carbohydrates: 1
- Fiber: 0.1
- Protein: 3
- Cholesterol: 18