
Oh, that glorious, slightly sweet, perfectly sticky rice! If you’ve ever tried to make sushi at home only to end up with a clumpy, sad mess, trust me, I’ve been there. That creamy, restaurant-quality texture seems impossible to capture, but I promise you, it all comes down to technique, not magic. Getting the foundational **sushi rice** right is the absolute key; it’s the canvas everything else is painted on. For any truly authentic Japanese dish—from a simple roll to a beautiful poke bowl base—you have to treat the rice with respect. My grandmother always said simple staples show the true heart of a cook, and this guide is the definitive method I’ve honed over years to get that fluffy, sticky result every single time. Don’t worry, we’ll cover everything, even how to get that perfect sheen, using our simple fluffy rice recipe techniques as a starting point!
- Why Mastering Your Homemade Sushi Rice Recipe Matters
- Selecting the Best Short Grain Rice for Sushi
- Essential Preparation Steps for Perfect Sushi Rice
- Cooking Methods: How to Cook Sushi Rice (Stovetop and Instant Pot)
- Seasoning Sushi Rice Vinegar Mixture Ratios
- The Final Fold: Mixing and Cooling Authentic Japanese Rice Recipe
- Tips for Using Your Finished Rice
- Storage and Reheating Instructions
- Common Questions About Making Sushi Rice
- Nutritional Snapshot of Perfectly Seasoned Rice
- Share Your Perfect Rice Creations
Why Mastering Your Homemade Sushi Rice Recipe Matters
Listen, if you think the fish is what makes sushi amazing, you’re only halfway there! The rice, my friend—that’s where the real skill lies. A poorly cooked batch can ruin the whole experience, turning your elegant roll into something you can barely pick up. That’s why learning the correct **homemade sushi rice recipe** technique is so important for me. We aren’t just cooking rice here; we are crafting the backbone of the meal!
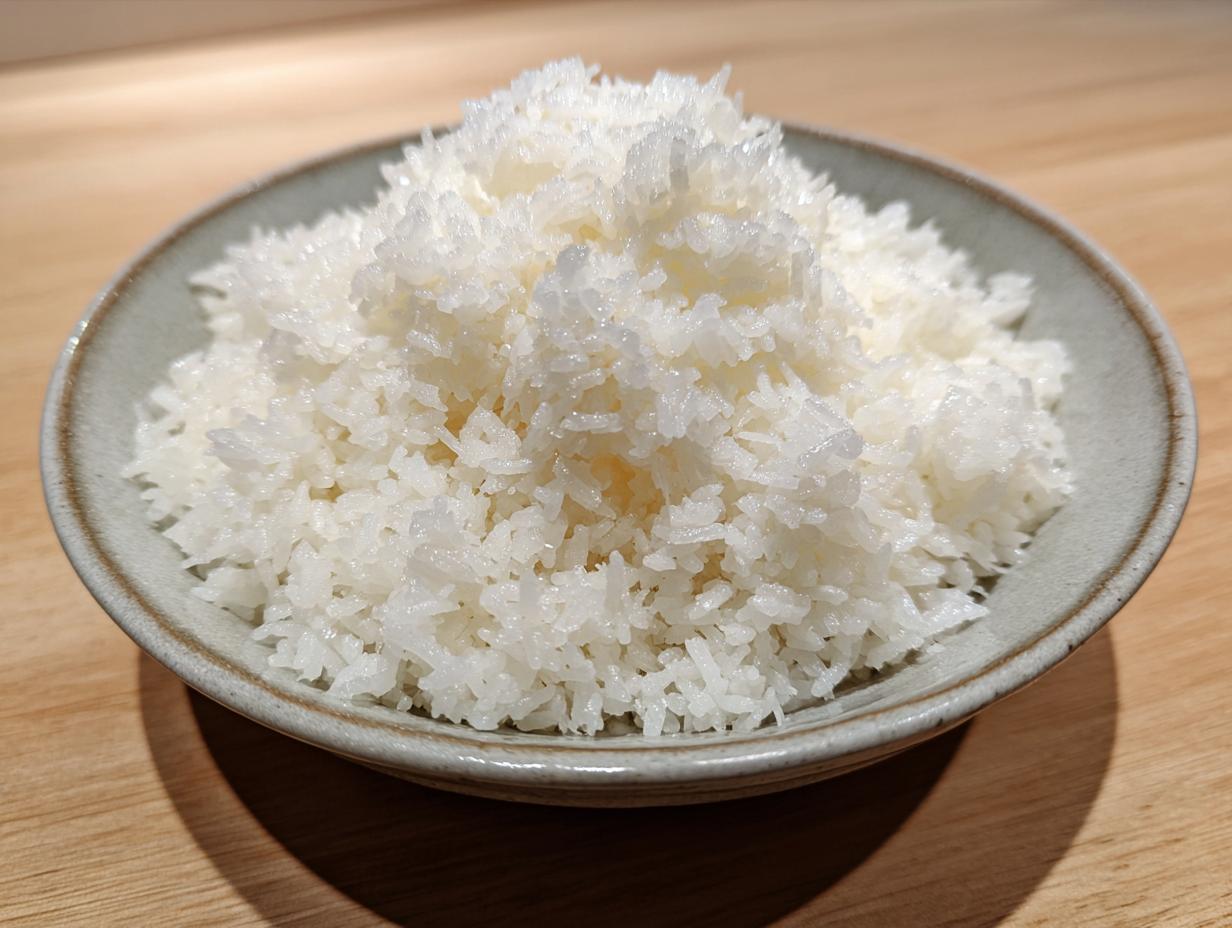
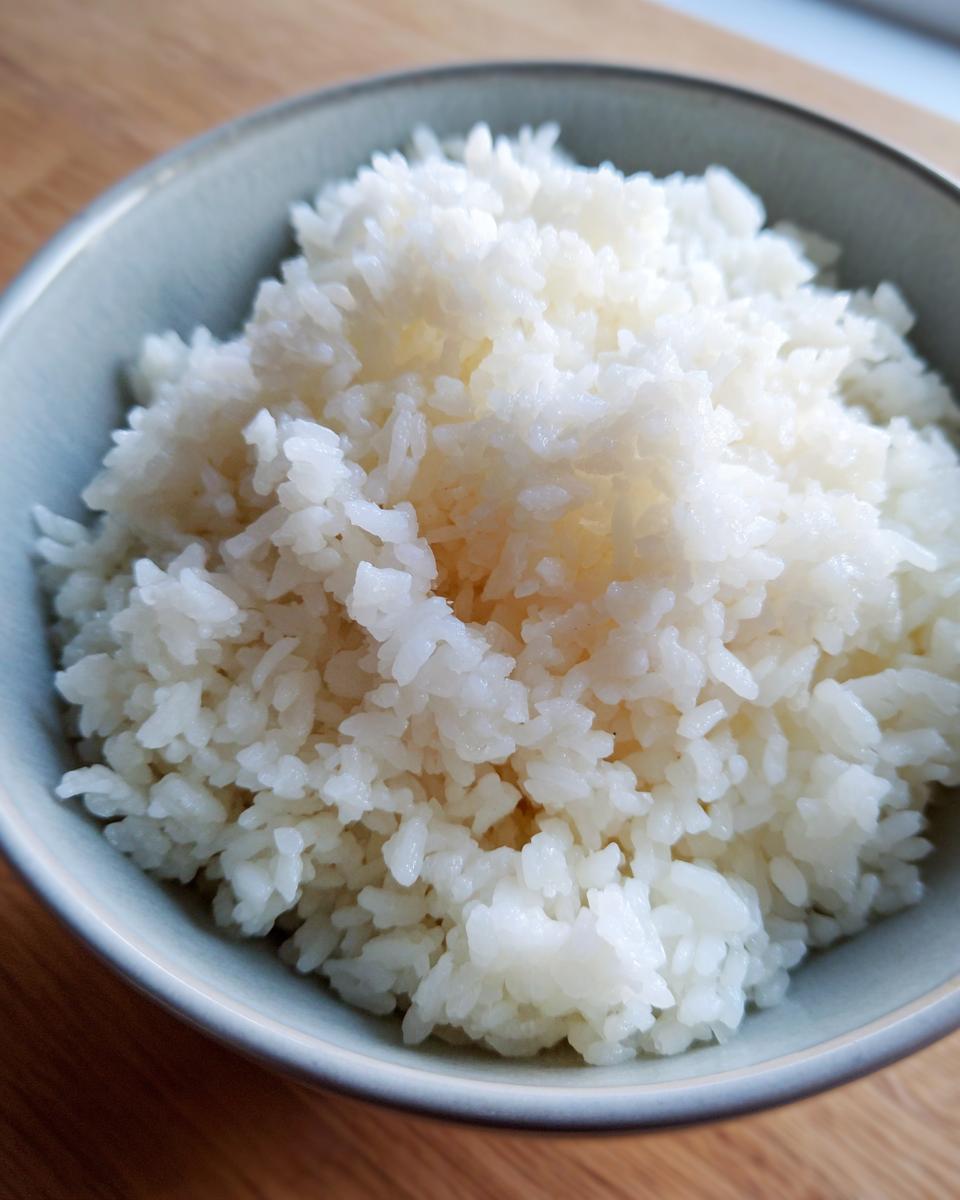
What you’re aiming for is perfectly seasoned rice that maintains its structural integrity. It needs to be sticky enough to hold its shape but loose enough that it doesn’t feel like you’re eating paste. It’s a delicate dance, but once you nail it, you’ll be amazed at the difference it makes. Once you have the texture down, getting that **perfectly seasoned rice** flavor is the next step to restaurant quality!
The Secret to Non Mushy Sushi Rice
If your rice turns out gloopy, 99% of the time it’s because the initial washing or cooking was rushed. You absolutely cannot skip or skimp on washing the rice until the water runs nearly clear. Think of it like cleaning off all that excess starch clinging to the grains. That starch is the enemy when you want **non mushy sushi rice**.
My personal tip? After rinsing, you have to let those grains rest and soak before they ever see the heat. This allows every single grain to hydrate evenly from the inside out. If you cook dry, starchy rice, it bursts unevenly, and boom—you’ve got mush on the outside and chalky centers. Don’t let that happen!
Selecting the Best Short Grain Rice for Sushi
You know, I once tried to cheat this step. I thought, “It’s just rice, right? I’ll use the long-grain basmati in the pantry.” Big mistake. A huge culinary blunder that resulted in rice that absolutely refused to stick together! Please, learn from my early kitchen oopsies. For this recipe to work as intended, you must use what the Japanese call Japonica style rice. This means looking specifically for bags labeled “sushi rice” or, if you’re feeling adventurous, brands that explicitly state short-grain rice.
The difference lies in the starch content, specifically the amylopectin. Short-grain rice is naturally higher in this gummy starch, which is exactly what gives you that wonderful, cohesive texture when cooked and seasoned. It’s what makes the rice the perfect base for your sushi roll—it clings beautifully without being gluey.
If you use something like Arborio or, heaven forbid, a long-grain like Jasmine or Basmati, you’ll get results that are too firm or too dry. They simply don’t have the right makeup to absorb the vinegar perfectly and hold up to rolling or being pressed for nigiri. Trust me on this; investing in the **best short grain rice for sushi** is half the battle won!
Essential Preparation Steps for Perfect Sushi Rice
Now we get into the nitty-gritty, the steps that truly separate the amateurs from the folks who can whip up restaurant-quality rolls at home. I remember the first time I made sushi; I just dumped the rice in the rice cooker with water, full of excitement. It came out like a thick, starchy pudding! My husband was too kind to say it looked like wallpaper paste, but I could tell. I learned quickly that the key to success starts long before the heat turns on. This phase determines if you get that glorious texture needed for a proper sticky rice for sushi tutorial.
How to Wash Sushi Rice Properly
This is non-negotiable, folks! Take your measured rice and put it in a big bowl. Cover it with cold water and start swirling it around gently with your hand. You’ll see the water turn milky white almost instantly—that’s starch runoff. You need to drain that cloudiness and repeat the whole process. I mean it, repeat it until the water you drain off is almost completely clear. I usually count about five or six rinses before I feel satisfied. Remember to be gentle; we want to rinse the starch off, not smash the delicate grains into tiny pieces!
The Importance of Soaking the Grains
Once you have that crystal-clear water, drain the rice completely in a fine-mesh sieve. Now, here is where the magic starts: you let it sit. Thirty minutes minimum! Seriously, don’t even think about skipping this part. Soaking allows the moisture to work its way deep inside each grain. This is the secret sauce for achieving that perfectly uniform, sticky consistency we want for the sticky rice for sushi tutorial. When the grains soak evenly, they cook evenly, and that is your best defense against soft spots and clumps!
Cooking Methods: How to Cook Sushi Rice (Stovetop and Instant Pot)
Okay, we’ve washed, we’ve soaked—now it’s time for heat! This is where folks often get nervous, especially since the secret to great **sushi rice** is keeping the lid firmly shut. I’m going to give you two super reliable ways to cook this rice perfectly. If you prefer the classic route, I’ve got a tried-and-true **making sushi rice on stovetop** method. If you’re like me and sometimes need the push-button magic, the Instant Pot is fantastic for this recipe!
Both methods rely on getting the liquid ratio spot-on and then letting the steam do the rest of the hard work. Since you’ve already soaked the rice beautifully, we can be a little less generous with the water than usual. This is the secret to that lovely, firm texture!
Making Sushi Rice on Stovetop
For the stovetop version, grab your heaviest pot—the lid needs to seal TIGHTLY. Put your drained rice and exactly two cups of cold water in there. If you want, splash in a tiny bit (a tablespoon) of neutral oil to help prevent sticking, though it’s optional. Get the heat up medium-high until it hits a full, rolling boil. The second you see that boil, you need to drop the heat immediately to the absolute lowest setting your stove offers. Cover it up and set your timer for fifteen minutes. The most important directive I can give you when **making sushi rice on stovetop** is this: Do. Not. Lift. The. Lid! Ever!
When that timer buzzes, kill the heat completely and let that pot sit, still covered, for a full ten minutes of rest time. Trust me, this steaming phase is just as important as the actual boil.
Instant Pot Sushi Rice Guide
If you’re using the pressure cooker, you’re in luck! This method is fantastic for consistency. Toss the drained rice and the two cups of water right into the liner. Secure the lid and make sure the vent is set to sealing. We are going to cook this on High Pressure for exactly ten minutes. Once those ten minutes are up, you need to let the pressure drop all on its own—that’s the natural release—for another ten minutes. Only after that natural release should you flip the valve to manually vent any remaining steam. This gentle process is the foundation of a great instant pot sushi rice guide. Once done, take it off the heat and let it stand, covered, for that final ten-minute rest just like the stovetop method. It yields such fantastic results!
No matter which road you take, that steam trapped inside is crucial for that perfect, chewy interior that complements everything on your sushi platter.
Seasoning Sushi Rice Vinegar Mixture Ratios
The rice is cooked, steaming beautifully in its bowl, and now we move to the make-or-break part: the seasoning! Honestly, if you measure this wrong, it can taste flat or, worse, overwhelmingly sour. This is where we nail those precise **sushi seasoning mix ratios** that give that signature tang.
You’ll need about half a cup of rice vinegar, three full tablespoons of granulated sugar, and just one teaspoon of salt for two cups of uncooked rice. Remember, we talked about gentle handling earlier? Well, this seasoning needs gentle heating too. Don’t boil it!
I take those three simple ingredients—vinegar, sugar, salt—and put them into a tiny saucepan over low heat. You just want to stir it until everything dissolves completely into a clear liquid. This gentle warming helps the sugar melt perfectly into the **seasoning sushi rice vinegar** mixture, so you don’t end up with gritty bits later. This step is really what separates a good attempt from a fantastic, authentic flavor. It’s a quick warm-up, maybe three minutes total, and then you set it aside to cool slightly before we dress the rice. I love making something like this extra flavorful, just like my recipe for incredible garlic noodles, where the sauce is everything!
Pro tip before moving on: If you want a slightly richer flavor profile, some folks online, like those at Simply Scrumptious Eats, sometimes add a small strip of kombu to the heating mixture, but I stick to the classic vinegar, sugar, and salt balance for pure flavor.
The Final Fold: Mixing and Cooling Authentic Japanese Rice Recipe
Alright, we’ve got our beautifully cooked rice and our warm, perfectly balanced vinegar mixture. Now, take a deep breath because this mixing is where artistry comes in! You absolutely must use a wide, shallow, non-metallic bowl for this step—a wooden *hangiri* is the traditional choice, but a large thick glass or even a sturdy plastic bowl works just fine. Metal bowls can react with the vinegar, and honestly, we’re trying to protect the integrity of this **sushi rice**!
Pour that seasoning mixture slowly and evenly over the hot rice. Don’t just dump it in one spot! Now, grab your rice paddle—wood is best here—and you use a cutting or sweeping motion. You are not stirring, okay? Stirring will mash and break those lovely grains we worked so hard to rinse properly. Think about slicing down through the rice and then gently turning it over. We want to incorporate the seasoning without crushing the structure. This careful folding is key to achieving that **authentic japanese rice recipe** flavor profile.
As you are doing this gentle folding—which should take just a couple of minutes—start fanning the rice. If you don’t have a traditional fan, just use a magazine or a stiff piece of cardboard and wave it back and forth over the bowl. Why fan? This cools the rice down rapidly! Rapid cooling stops the cooking process immediately, and it dries the exterior of the grains just enough so they don’t stick together like cement, giving them that gorgeous shine and perfect chewy texture.
Keep folding and fanning until the rice cools down to around body temperature. It should feel slightly warm, not hot, when you touch it. Once it reaches that temperature, cover it with a damp (not soaking wet!) cloth until you’re ready to use it for your rolls or gorgeous rice bowls. If you’re not using it right away, don’t put it in the fridge hot either! That heat traps steam and makes it hard later. Patience in this last step guarantees a result that’s truly restaurant-worthy!
Tips for Using Your Finished Rice
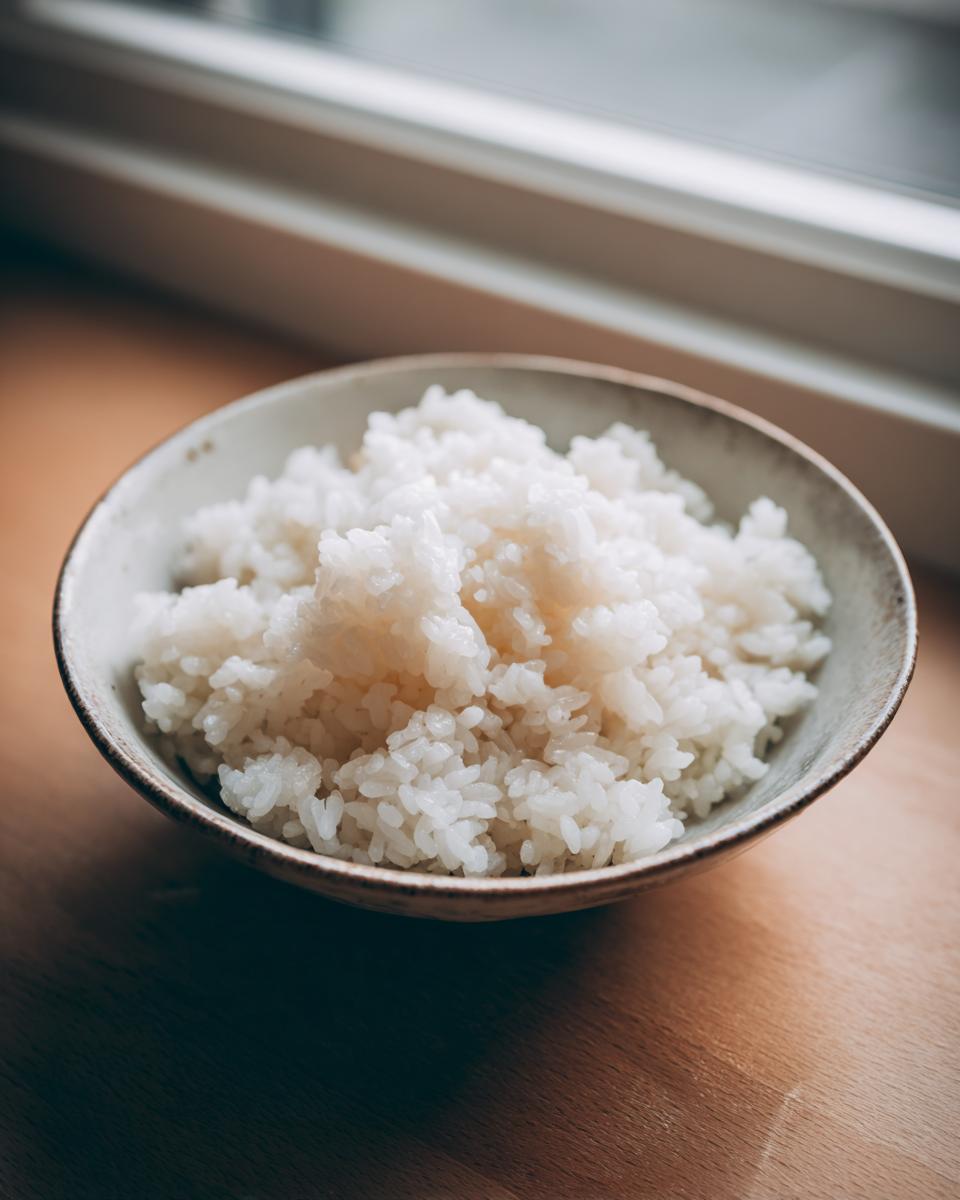
The moment of truth! Your rice has cooled perfectly, it’s glossy, and it smells heavenly because of that vinegar mixture. This rice is versatile, my friends. I know many people only think of rolling gorgeous sushi with it, but this expertly seasoned rice works just as well as a base for so many other things. Don’t let it go to waste!
The best temperature for using it is body temperature—slightly warm rather than piping hot or fridge-cold. If it’s too hot, it can wilt your avocado or fish when making rolls. If it gets cold, the texture tightens up a bit too much, and while it can be revived gently, using it right after it cools down is ideal. Think about serving this over a vibrant salad instead of plain white rice next time for a fantastic sushi rice bowl base!
Assembling Maki Rolls
When you’re ready to start rolling your maki, remember that less is actually more when adding the rice. You want a thin, even layer spread over your sheet of nori. I use my hands, slightly dampened with water to keep things from sticking, and press the rice gently across about two-thirds of the seaweed. You need to leave a clean margin—maybe an inch or so—at the top edge of the nori. That bare strip is what you use to moisten and seal your roll shut. Overloading the rice is a common mistake in the maki roll rice preparation phase, so keep it light and even!
Storage and Reheating Instructions
So, you made a perfect batch, and you have leftovers—hooray! Now, how do we store this delicate creation without turning it into hard little pebbles or mush? This is key because, unlike plain steamed rice, seasoned rice doesn’t hold up well to rough handling.
If you plan to use the rice within the same day, leaving it covered with a damp cloth at room temperature, out of direct sunlight, is perfectly fine. I wouldn’t leave it sitting out for more than about four hours total, just to be safe. But if you need to keep it for sushi night the next day, pop it into an airtight container.
If you use the fridge, I have a strong word of caution: it will firm up. That’s just science when the vinegar hits the starch in the cold. You want to avoid the microwave at all costs! Microwaving tends to cook the rice unevenly in bursts, making some spots hard and others steamy and soft. It ruins that beautiful texture we worked so hard for.
The best way to revive refrigerated rice is to sprinkle a few tiny droplets of water over the amount you plan to use and steam it gently for about five minutes. If you don’t have a steamer, just put the rice in a microwave-safe bowl, sprinkle with water, cover it with a damp paper towel, and zap it in low-to-medium bursts (about 15 seconds at a time) until it softens up again. You’re looking for steam to rehydrate those grains, not direct heat to cook them further. It takes a little effort, but it’s how you keep your leftover rice tasting almost as good as fresh!
Common Questions About Making Sushi Rice
I get so many questions about this recipe, and that’s wonderful because it means you all are trying this at home! Making **sushi rice** can feel like a small puzzle when you first start, but once you understand the *why* behind the steps, it just clicks. Let’s tackle some of those frequently asked things about mastering that perfect batch.
Can I make this recipe in a standard rice cooker?
Oh, absolutely, you can! While I personally love the strict control the stovetop or the Instant Pot gives me with the water ratio, a standard rice cooker is definitely an option for making **perfectly seasoned rice**. The main thing you’ll want to watch out for is the water. Since our washing and soaking process is so thorough, the rice absorbs a lot of internal moisture already. If you use your cooker’s normal marking lines, you might end up with something a little too wet because the cooker adds extra steam.
My advice when **how to cook sushi rice** in a standard machine is to reduce the water slightly from the 1:1 ratio we used earlier. Maybe try 1 cup of water for every 1 cup of *uncooked* rice, testing carefully the first time. You still follow the same cook cycle, but that slight reduction in added water usually keeps things firm enough for a great base for your dishes!
What is the best substitute for rice vinegar?
This is a tough one if you’re chasing that true, authentic flavor. Rice vinegar has a mild, slightly sweet tang that is irreplaceable if we’re being honest. When you’re going for an **authentic japanese rice recipe**, you really want the real deal.
That said, if you are in a pinch and have absolutely zero rice vinegar left, you can try to mimic the flavor profile. You would need to mix a weak acid with sugar and salt. I’d suggest taking about three tablespoons of mild white wine vinegar, dissolving just a little more sugar (maybe an extra half teaspoon) and salt into it than the standard recipe calls for, and using that. It won’t have the exact same light finish as proper rice vinegar, but it keeps the essential sweet/sour balance that you need for texture and taste. Just don’t rely on it every time, okay?
How long does homemade sushi rice last?
This is where you have to be realistic. The magic, the glorious stickiness and shine that makes this **homemade sushi rice recipe** so successful, is fleeting—it’s best enjoyed the day it’s made. Once it cools down to room temperature, enjoy it within about four to six hours.
If you must store it, use an airtight container and keep it at cool room temperature—not the fridge—for that same amount of time. If you put it in the refrigerator, the vinegar starts interacting with the cold, and the rice can become painfully hard and dry very quickly. If you must refrigerate it overnight, remember my reheating advice: sprinkle just a tiny bit of water over it and steam gently! Texture degrades pretty fast after 24 hours, so I always try to calculate my batch size to avoid leftovers that have gone stiff.
Nutritional Snapshot of Perfectly Seasoned Rice
I always get asked about the numbers behind the food we love to make, and while I’m certainly no nutritionist, I believe in being open about what goes into the dishes that bring us all together. Since this recipe is so foundational, it’s good to have a general idea of what you’re getting when you enjoy a bowl of this fantastic **sushi rice**!
The figures below are estimates for one standard serving—that’s about one cup of cooked, seasoned rice. Remember, this is based on the specific ingredients listed in the recipe, meaning the sugar and salt we add for that perfect flavor. If you’re using less seasoning, your numbers will obviously change!
- Serving Size: 1 cup cooked
- Calories: Approximately 205
- Carbohydrates: Around 45 grams
- Protein: About 4 grams
- Fat: Very low, about 0.3 grams total
- Sugar: Roughly 7 grams (this comes mostly from the added seasoning mixture, not the rice itself!)
- Sodium: Around 180 mg (again, mostly added salt)
- Cholesterol: 0 mg
See? It’s a fantastic base for your homemade sushi! It’s naturally low in fat and cholesterol, giving you a clean energy boost from the carbs needed to fuel those fun sushi-making sessions. This isn’t meant to replace a detailed nutritional breakdown, of course, but it gives you a great general idea showing why this **perfectly seasoned rice** makes an excellent component for a balanced meal, whether you’re making rolls or simply building a delicious sushi rice bowl base!
Share Your Perfect Rice Creations
Well, there you have it! You’ve tamed the starch monster, you’ve measured the vinegar like a pro, and you’ve folded that rice with the care it deserves. Honestly, watching the grains turn glossy right before your eyes after that final fan-cool? That’s my favorite part of cooking. It feels like a real accomplishment because you’ve mastered something that trips up so many home cooks!
Nowcomes the fun part: actually eating it! I truly, deeply want to see what you create with this staple. Did you roll up some amazing salmon and avocado maki? Did you layer this perfect rice into a vibrant poke bowl? Please, don’t be shy! Snap a picture and tag me on social media. I absolutely love seeing your kitchen victories that start right here with perfecting the basic **sushi rice**.
And if you felt like this guide helped you finally unlock that sticky, fluffy texture you’ve been chasing, please take a moment to leave a star rating right down below. Those ratings help new readers trust these classic techniques, ensuring that the tradition of good home cooking—even for things as specific as perfect rice—keeps going strong. It means the world to me that you’re taking these recipes from my corner into yours. If you want to learn more about how we approach all our heritage recipes here at Cookin’ Corner, you can always check out our About page!
PrintHow to Make Perfect Sushi Rice: Fluffy, Sticky, and Restaurant Quality
Learn the simple steps to make authentic, non-mushy sushi rice at home using short-grain rice. This guide covers washing, cooking (stovetop and Instant Pot), and proper seasoning for the best flavor.
- Prep Time: 40 min
- Cook Time: 25 min
- Total Time: 65 min
- Yield: 4 servings 1x
- Category: Side Dish
- Method: Stovetop/Pressure Cooking
- Cuisine: Japanese
- Diet: Vegetarian
Ingredients
- 2 cups Japanese short-grain rice (sushi rice)
- 2 cups cold water (for cooking)
- 1/2 cup rice vinegar
- 3 tablespoons granulated sugar
- 1 teaspoon salt
- Optional: 1 tablespoon neutral oil (for stovetop method)
Instructions
- Wash the rice: Place the rice in a large bowl. Cover with cold water and swirl the rice gently with your hand. Drain the cloudy water. Repeat this washing process 5 to 7 times until the water runs mostly clear. This step is essential for non-mushy sushi rice.
- Soak the rice: Drain the washed rice completely and let it sit in a fine-mesh sieve for 30 minutes. This allows the grains to absorb moisture evenly.
- Cook the rice (Stovetop Method): Combine the drained rice and 2 cups of cold water in a heavy-bottomed pot with a tight-fitting lid. If using, stir in 1 tablespoon of neutral oil. Bring the water to a boil over medium-high heat. Once boiling, immediately reduce the heat to the lowest setting, cover the pot, and simmer for 15 minutes. Do not lift the lid.
- Cook the rice (Instant Pot Method): Combine the drained rice and 2 cups of cold water in the Instant Pot liner. Secure the lid and set the vent to sealing. Cook on High Pressure for 10 minutes. Allow the pressure to release naturally for 10 minutes, then manually release any remaining pressure.
- Rest the rice: After cooking by either method, let the rice stand, covered, for 10 minutes off the heat. Do not lift the lid during this rest period.
- Prepare the seasoning mix: While the rice rests, combine the rice vinegar, sugar, and salt in a small saucepan. Heat gently over low heat, stirring until the sugar and salt completely dissolve. Do not boil the mixture. Let the seasoning cool slightly.
- Season the rice: Transfer the hot cooked rice to a large, shallow, non-metallic bowl (a wooden hangiri is traditional, but glass or plastic works). Pour the seasoning mixture evenly over the rice.
- Mix and cool: Using a cutting motion with a rice paddle or wooden spoon, gently fold the seasoning into the rice. Avoid stirring or mashing the grains. Fan the rice while mixing to help it cool quickly to body temperature. This process gives you that perfectly sticky texture.
- Use immediately for homemade sushi rolls or serve as a base for poke bowls.
Notes
- Use only short-grain Japanese rice labeled as sushi rice for the best results. Do not substitute long-grain rice.
- The ratio of rice to water is critical; stick to 1:1 for most modern short-grain varieties after washing and soaking.
- Cooling the rice quickly with fanning helps the grains retain their structure and shine, preventing mushiness.
Nutrition
- Serving Size: 1 cup cooked
- Calories: 205
- Sugar: 7
- Sodium: 180
- Fat: 0.3
- Saturated Fat: 0.1
- Unsaturated Fat: 0.2
- Trans Fat: 0
- Carbohydrates: 45
- Fiber: 0.5
- Protein: 4
- Cholesterol: 0