
Oh, that feeling when the world turns silent and everything outside is covered in fresh, clean white! Those snow days as a kid were pure gold, weren’t they? Back then, the magic wasn’t just about building forts; it was about what we could whip up in the kitchen using Mother Nature’s supplies. That’s where we get to the best winter tradition: making snow ice cream. Honestly, if you’re looking for the quickest, easiest homemade frozen dessert, forget the machine—this is it! It’s a total throwback, and here at Cookin’ Corner, Sarah Jane Thompson always believed that food should link us back to happy memories. This recipe does exactly that; it turns falling snow into instant, sweet joy. It’s unbelievably simple, and trust me, it works every single time!
- Why This Easy Snow Ice Cream Recipe Works for Snow Day Treats
- Gathering Ingredients for Perfect Snow Ice Cream
- How to Prepare Your Creamy Snow Ice Cream
- Tips for Success When Making Homemade Snow Ice Cream
- Flavor Variations for Your Snow Ice Cream Recipe
- Storage and Enjoying Leftover Snow Ice Cream
- Frequently Asked Questions About Snow Ice Cream
- Nutritional Estimates for Classic Snow Ice Cream
- Share Your Snow Day Treats Experience
Why This Easy Snow Ice Cream Recipe Works for Snow Day Treats
When the snow starts falling, nobody wants a complicated baking project, right? That’s why I adore this recipe; it truly shines as one of the best snow day treats you can whip up. It takes less than five minutes of actual work. Seriously, we’re talking about a no churn dessert that feels like magic because you’re using the very element that brought everyone inside!
The Quickest Homemade Frozen Dessert
This isn’t just fast; it’s instantaneous gratification! Total prep time is about five minutes. As soon as you decide you need a sweet fix, you can be eating this soft, sweet ice cream before your cocoa even cools. Because there’s no churning involved, it’s totally foolproof.
Nostalgic Winter Recipes for the Whole Family
For me, this is the ultimate of all kid friendly desserts because it makes the weather part of the recipe. I remember standing at the window with my grandmother, waiting for the perfect flakes to fall so we could start mixing. It grounds you in the season and gives you a wonderful shared activity. It’s pure nostalgia in a bowl, making wonderful new memories while honoring old traditions.
Gathering Ingredients for Perfect Snow Ice Cream
Okay, the ingredients list is short, which is part of the fun! But don’t let that simplicity fool you; every item plays a big role in making this homemade snow ice cream deliciously creamy. For the classic version, you just need 4 cups of fresh, clean snow, 1 cup of heavy cream or whole milk, about 1/2 cup of regular granulated sugar, and 1 teaspoon of pure vanilla extract. That’s it! Just a quick trip to the pantry, really.
It’s a great example of how a wonderful winter dessert can come from humble components. If you check out how others make it, you’ll see lots of tips out there, like this one from CakeWhiz regarding snow ice cream recipes, but the foundation is always the same: snow plus sweetness!
The Crucial Step: Sourcing Clean Snow for Snow Ice Cream
Now, listen up, because this is the most important thing I can tell you about making snow ice cream safely. If the snow isn’t clean, the whole treat is ruined, and that’s just not worth it! You absolutely must avoid snow that has fallen near roads, driveways, or anywhere cars have been driving, as that grit and pollution will ruin the flavor—and your tummy! I always go for the fluffiest, whitest drifts in the backyard. Seriously, when in doubt, grab a tiny pinch and test taste it first to make sure it’s pure.
Making Snow Ice Cream with 3 Ingredient Ice Cream Simplicity
Sometimes, you need it even faster, or maybe you just prefer that extra rich mouthfeel. If you want the most stripped-down version, you can aim for a 3 ingredient ice cream experience. Instead of using the milk/cream and the separate sugar, just swap those out for 1 cup of sweetened condensed milk and the vanilla. It makes a much richer, almost slushy-like consistency, but it saves you a mixing step!
How to Prepare Your Creamy Snow Ice Cream
You’ve got your clean snow measured out—four cups in a big bowl, please—and now it’s time for the sweet stuff. This is where we move fast, because nobody wants lukewarm, soupy snow. This whole process moves quickly, which is exactly what makes it awesome for a spontaneous snow day treat. The key to getting that perfect, soft texture in your homemade snow ice cream is making sure your liquid part is perfectly dissolved *before* it meets the cold snow.
Mixing the Sweet Base for Snow Ice Cream
Grab a smaller bowl, because we aren’t mixing directly into the snow yet. We need the sugar dissolved! Pour in your cup of heavy cream (or whole milk, but heavy cream is my secret for that extra thick feel!) and your vanilla extract. Then, dump in that half-cup of sugar. Now, take a whisk or a fork and stir it like you mean it. You want to stir until you can no longer feel those sugar granules grating against the bottom of the bowl. If the sugar isn’t dissolved, you’ll end up with icy, gritty spots instead of smooth, creamy snow ice cream. It’s a quick job, but pay attention to it!
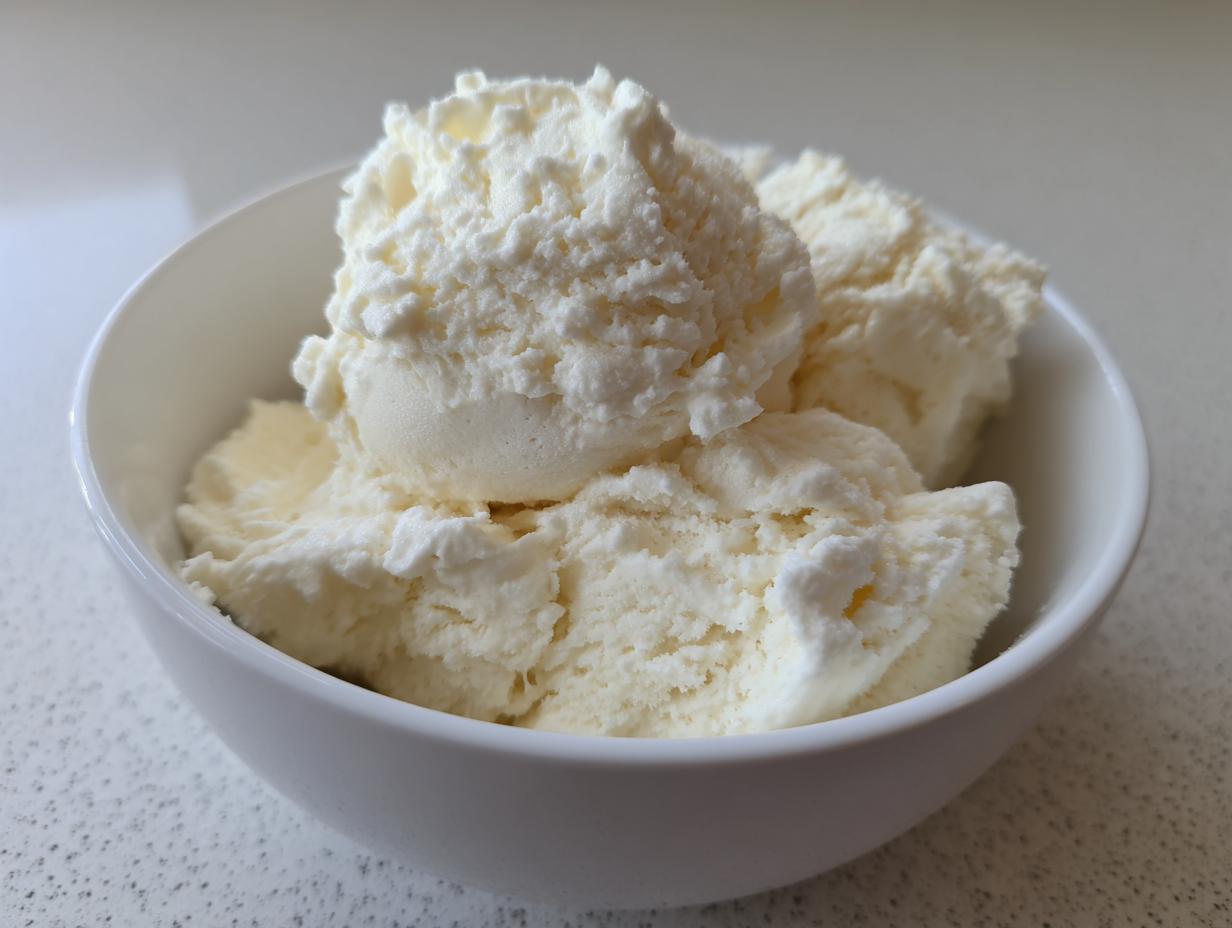
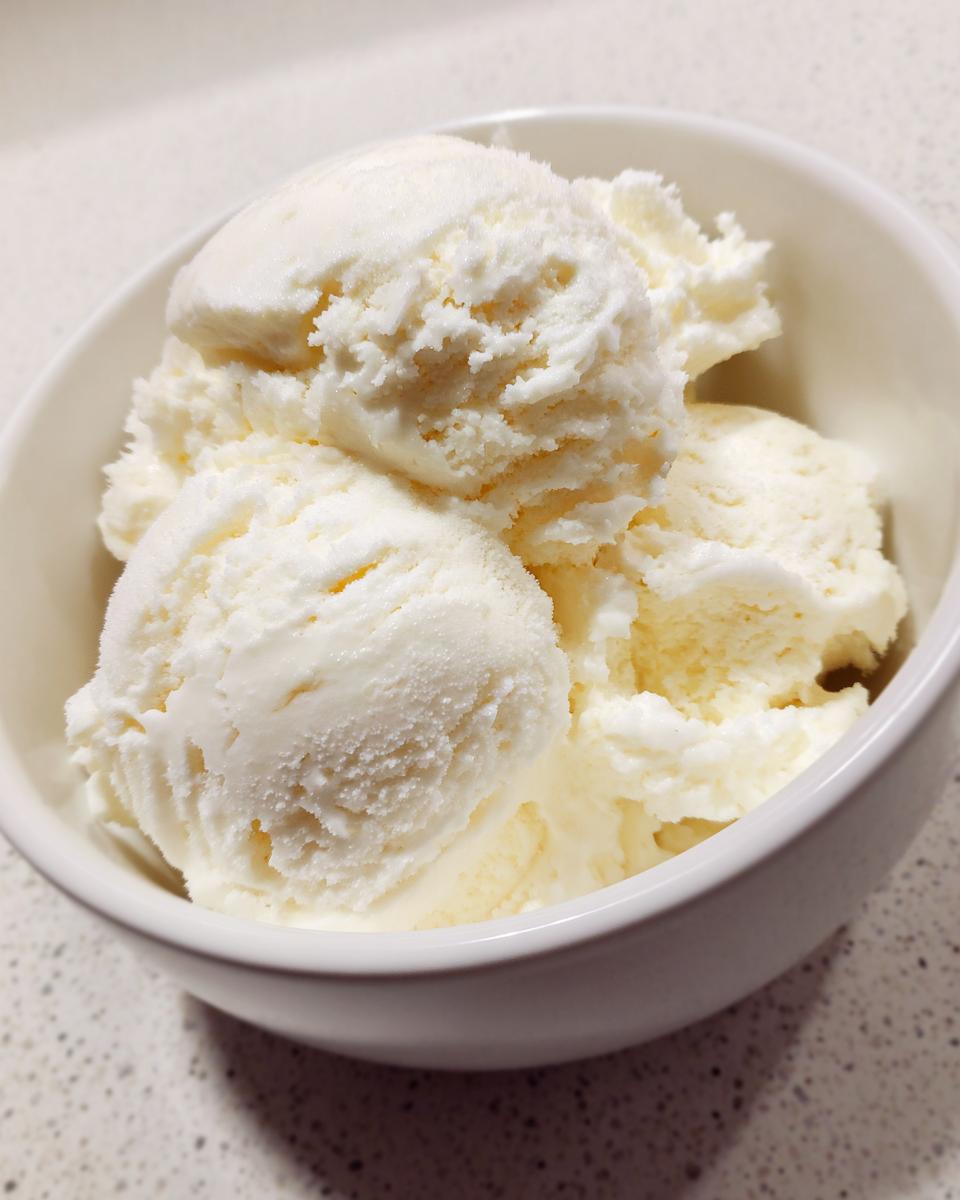
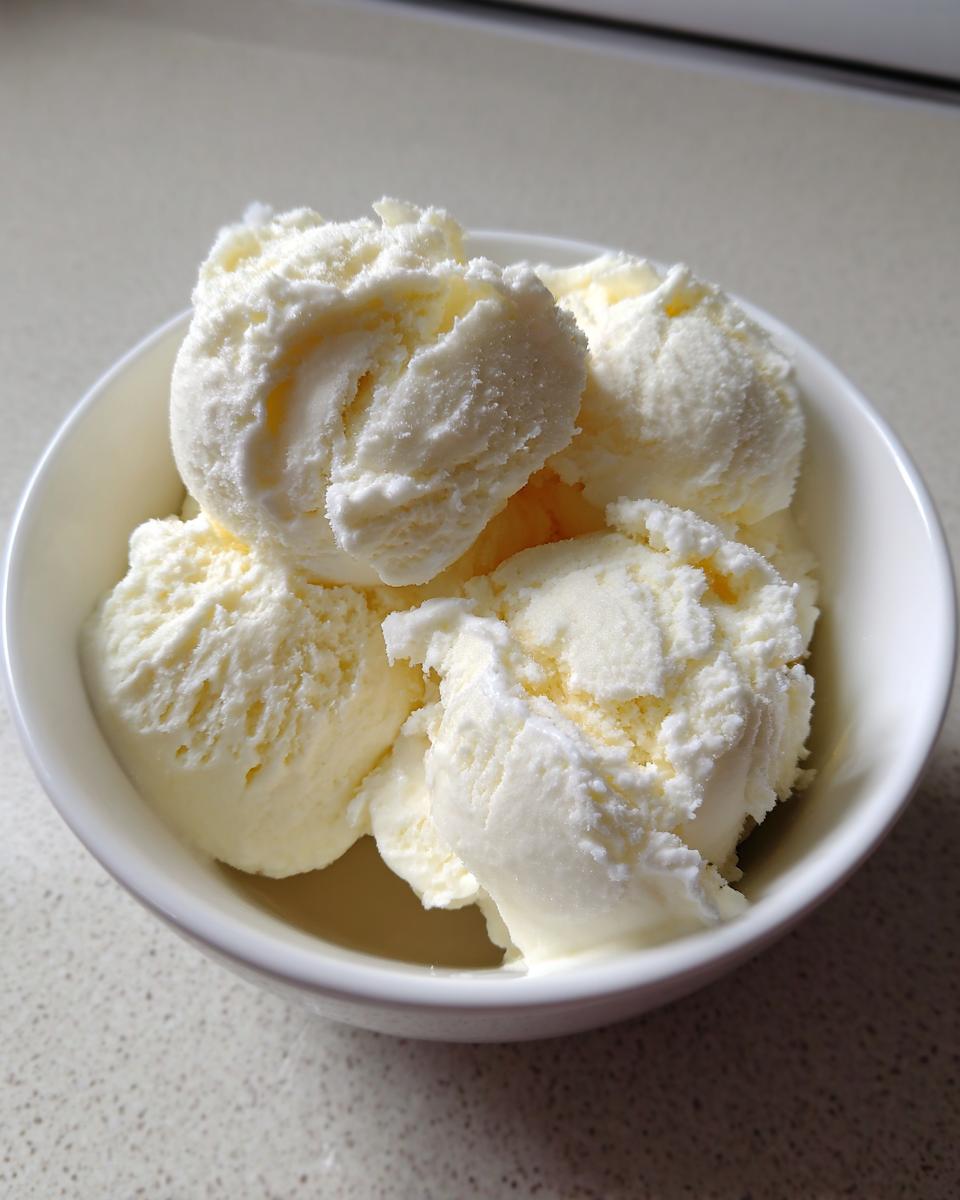
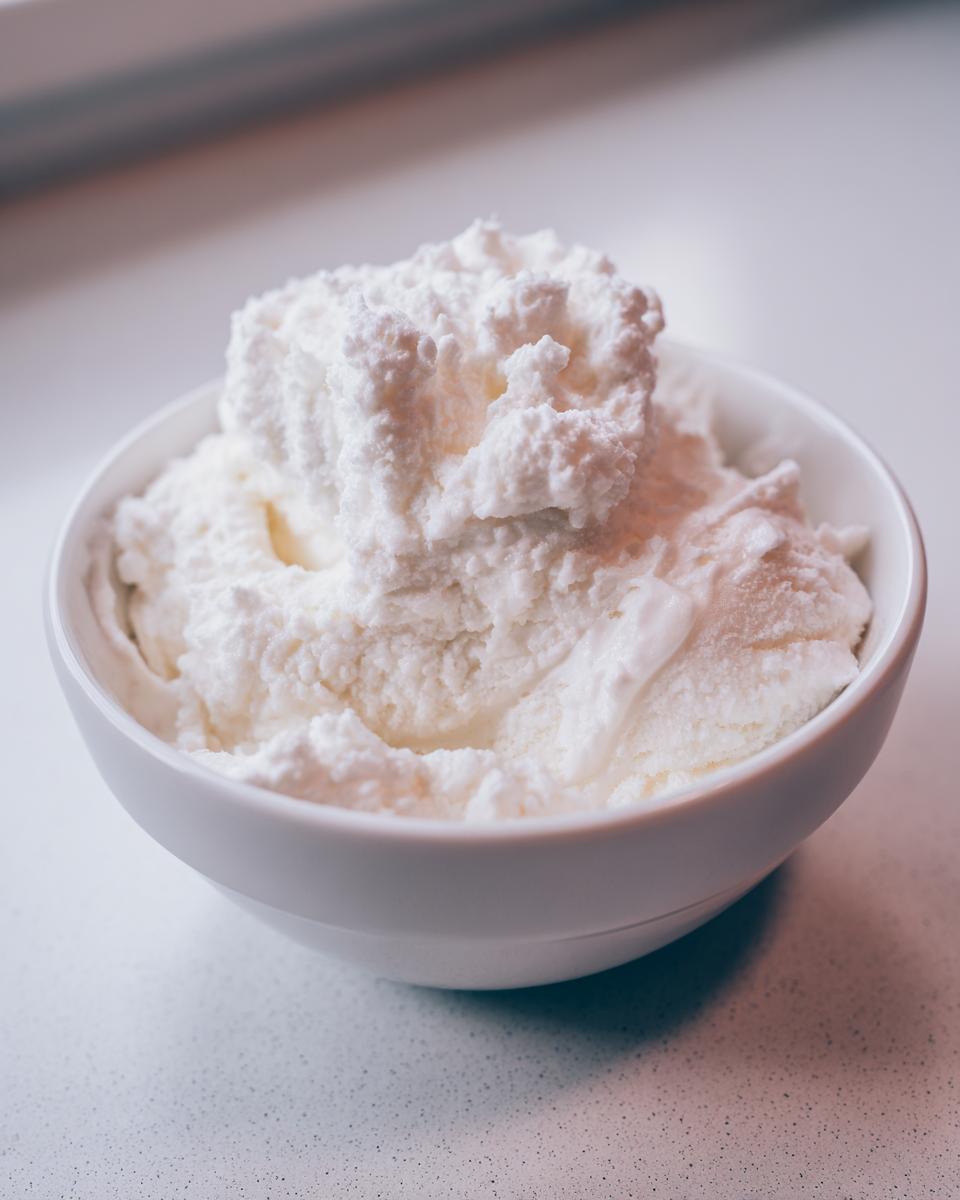
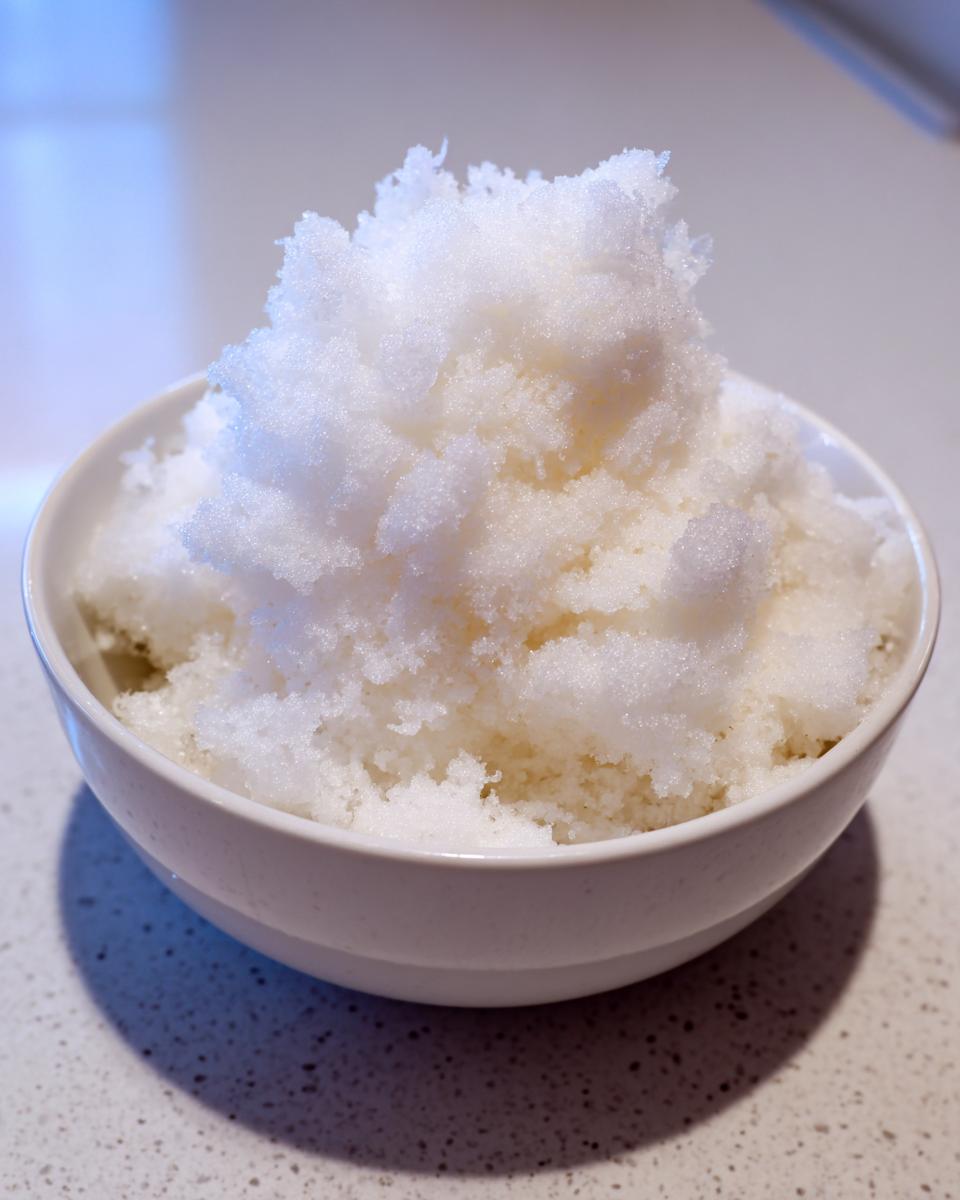
Combining and Achieving the Right Snow Ice Cream Texture
This is the critical moment! Once your sweet mixture is ready, you need to move with purpose. Pour that creamy liquid right over the mountain of snow you set aside. Now, grab a sturdy spatula or a big spoon. You must stir quickly and consistently! Don’t just gently fold; you need to churn it a bit with the spoon as you mix it all together. You’re basically stirring hard enough to incorporate the liquid without making the snow melt into water right away. The mixture will thicken up almost instantly, transforming into this fluffy, light texture. You’re looking for something that scoops like a soft-serve ice cream—it should hold its shape but still feel light and airy. If it starts looking like slush, you took too long! Hurry and scoop it into bowls immediately, or it’ll disappear before you can enjoy your easy snow ice cream! Check out some great topping ideas here, but honestly, it’s great plain, too. If you like making pudding from scratch, you’ll appreciate how fast this comes together, just like my recipe for creamy chocolate pudding!
Tips for Success When Making Homemade Snow Ice Cream
I’ve made batches of this sweet snow ice cream more times than I can count, especially when the grandkids visit. Over the years, I’ve picked up a few little tricks that take this from a fun mess to truly delightful homemade frozen dessert. The main thing to remember is that because we aren’t using a machine, texture management is everything!
It’s all about paying attention to the details, just like I learned doing my grandmother’s classic cookie recipes that required such care. For more traditional baking triumphs, you should definitely check out my tips for soft and chewy oatmeal cookies, because the same principle of quality matters here too!
Achieving Creamy Snow Cream Texture
If you want your snow ice cream to live up to its potential and be genuinely creamy snow cream, do yourself a huge favor and always reach for the heavy cream instead of whole milk if you have it. Heavy cream has a higher fat content, and that fat refuses to fully freeze when mixed with the snow and sugar. What that means for you is instantly richer, smoother results that mimic real ice cream much better. If you only have milk, it’s still great, but it will be a bit icier—still wonderful, but cream is the winner!
Quick Serving of Snow Ice Cream
Here is a tip that saves so much stress: preparation is everything when you’re working against melting! Before you even walk outside to scoop the snow, make sure everyone has their bowl and spoon waiting on the counter. Have your cream mixture ready to go. The moment that liquid hits the snow, the clock starts ticking! By having everything staged inside, you can pour, stir rapidly, and serve before your gorgeous, fluffy snow ice cream turns into sweet water. If you’re looking for more inspiration later, sometimes I check out great ideas on where to serve these treats over at Taste Itinerary.
Flavor Variations for Your Snow Ice Cream Recipe
While the classic vanilla version is pure heaven, one of the most joyful parts of making this snow ice cream recipe is how easily you can jazz it up! Since this is such a lightning-fast, no churn dessert, you can easily make a few small bowls with different flavors on the fly. This is really great if you have a group of kids—everyone wants something different, and you can satisfy them all!
The basic recipe I shared is incredibly adaptable. It’s all about waiting until the very last second to add your extras, right before that final stir that turns it into the perfect frozen treat for snow days. Don’t wait until they are in the bowl, though; add flavorings to the liquid base, or fold them in right as the snow hits the cream!
Chocolate Snow Ice Cream Twist
If you have a chocolate lover in the house, this is your move. Right when you go to pour your creamy base into the bowl of snow, add a few big dollops of chocolate syrup directly into the cream mixture. Stir it quickly until it’s a nice, uniform brown color. Then pour it over the snow and mix fast. You end up with this amazing chocolate snow ice cream that tastes decadent but took zero effort. You can also use melted chocolate chips if you let them cool slightly first, or just toss chocolate sprinkles or even crushed Oreos on top right before serving!
You know, if you love those warm, cozy flavors, you should check out my recipe for homemade hot cocoa mix, because the flavors pair perfectly with this chilly snack. Sometimes I even add a swirl of that cocoa mix right into the liquid base before it hits the snow! For more soulful, simple ideas, you can always find inspiration over at Bake With Soul.
Storage and Enjoying Leftover Snow Ice Cream
Here is where we have to be real with each other: this is, almost literally, an instant dessert. You really, truly need to eat your snow ice cream right away. Once you mix the cold, fluffy snow with the liquid base, you’re racing the clock! If you try to store leftovers in the freezer, it gets really icy because the snow crystals melt a little bit during the mixing.
When you pull it out later, it won’t have that soft, light texture we worked so hard to achieve. It becomes more like a sugary flavored ice block. Honestly, the best way to enjoy this homemade frozen dessert is to only make as much as you can eat in one sitting. If you somehow have leftovers, you might consider melting it down entirely and using it as a base for a fun, frosty treat like my frozen hot chocolate base instead of trying to save it as ice cream!
Frequently Asked Questions About Snow Ice Cream
I get so many questions every time it snows! It’s wonderful that so many of you want to try these old-fashioned winter dessert recipes. Since this method seems unusual if you’ve never tried it before, I gathered the most common things folks ask when they first try to figure out how to make snow cream.
Is it safe to eat snow ice cream?
This is the first and most important question, and I want to be crystal clear: Safety first, always! Yes, it is perfectly safe to eat, *provided* you use clean, fresh snow. Remember what I said back in the ingredient section? You absolutely must avoid any snow that’s been near roads, driveways, or anything that might have exhaust fumes or dirt on it. We need pristine, white flakes! If you’re nervous, just take a tiny taste of the snow before you bring it inside to mix. If it tastes clean, you’re good to go!
Can I make snow ice cream without condensed milk?
Oh yes, absolutely you can! That’s the beauty of this dish; it bends to what you have on hand. The main recipe I gave you uses regular heavy cream or milk plus granulated sugar, which works fantastic and keeps it light. The condensed milk version is just one choice for a richer texture. So please don’t worry if your pantry doesn’t have that can—the non-condensed milk recipe is just as delicious and easy for creating homemade snow ice cream!
What is the best way to serve this homemade frozen dessert?
I can’t stress this enough: serve it immediately! This isn’t like scooping store-bought ice cream that’s been hardened in the basement freezer. Your homemade frozen dessert is meant to be eaten right away, while it has that light, airy, soft-serve consistency. If you let it sit for even five minutes, it starts going downhill fast. Get those bowls ready! I love serving it in little glass cups with a drizzle of melted chocolate syrup or a handful of colorful sprinkles mixed in right at the end for extra fun.
If you’re looking for other fun things to try when the weather keeps you indoors, you should check out my collection of all my quick and easy recipes for inspiration!
Nutritional Estimates for Classic Snow Ice Cream
I always get curious emails asking about the calories or sugar, and I want to be as honest as possible here. Because this recipe relies so heavily on what you have in your fridge—whether you use whole milk or heavy cream, or how much sugar you decide to stir in—it’s really tough to give you one single, solid number for a serving size.
The beauty of this little treat is that it reflects your household! If you swap out the sugar for a natural sweetener, or if you use skim milk versus heavy cream, the numbers change completely. So, consider this a fun, simple snack rather than something you’re tracking heavily. The nutritional data is an estimate at best, changing wildly based on the exact ratio of cream/milk and sugar you use in your own batch of snow ice cream. Just know that it’s a light, fun indulgence, perfect for a cold day!
Share Your Snow Day Treats Experience
Now that you know the secret to getting that perfect, fluffy snow ice cream texture, the ball is in your court! I truly hope you get a chance to try this out the very next time we get a good blanket of white outside. There is just something restorative about making a homemade frozen dessert straight from nature; it takes all the stress out of dessert making, doesn’t it?
I would absolutely *love* to hear what you thought! Did you stick to the classic vanilla, or did you try adding sprinkles or a little chocolate swirl? When you make a batch, please leave a comment down below and let us know how it went. Give this recipe a big five stars if it brought a smile to your face! And if you have friends or family who seem like they need a little dose of snowy nostalgia in their lives, please share this recipe with them. Let’s keep this wonderful, easy tradition going across all our kitchens!
If you’re already planning your next simple favorite treat, you should browse through all my other fun ideas in my collection of dessert recipes. Happy scooping!
PrintEasy Snow Ice Cream Recipe: A Nostalgic Winter Treat

Make this easy snow ice cream, also called snow cream, using fresh snow and simple ingredients. This quick, no-churn dessert captures the fun of a snow day.
- Prep Time: 5 min
- Cook Time: 0 min
- Total Time: 5 min
- Yield: 4 servings 1x
- Category: Dessert
- Method: No Churn
- Cuisine: American
- Diet: Vegetarian
Ingredients
- 4 cups fresh, clean snow
- 1 cup heavy cream or whole milk
- 1/2 cup granulated sugar
- 1 teaspoon vanilla extract
Instructions
- Gather four cups of fresh, clean snow. Avoid snow near roads or areas where it might have collected dirt or pollutants. Place the snow in a large bowl.
- In a separate bowl, mix the heavy cream (or milk), sugar, and vanilla extract until the sugar dissolves.
- Pour the cream mixture over the snow.
- Stir everything together quickly using a spoon or spatula until the mixture thickens into a soft, creamy ice cream consistency. Work fast so the snow does not melt completely.
- Serve the snow ice cream immediately.
Notes
- For a richer, creamier snow ice cream, substitute the cream and sugar with 1 cup of sweetened condensed milk and 1 teaspoon of vanilla extract.
- Add flavor variations by mixing in chocolate syrup, a few drops of food coloring, or sprinkles before serving.
- Taste a small amount of the snow first to confirm it is clean and safe for consumption.
Nutrition
- Serving Size: 1/2 cup
- Calories: 220
- Sugar: 25g
- Sodium: 20mg
- Fat: 12g
- Saturated Fat: 7g
- Unsaturated Fat: 5g
- Trans Fat: 0g
- Carbohydrates: 28g
- Fiber: 0g
- Protein: 3g
- Cholesterol: 40mg