
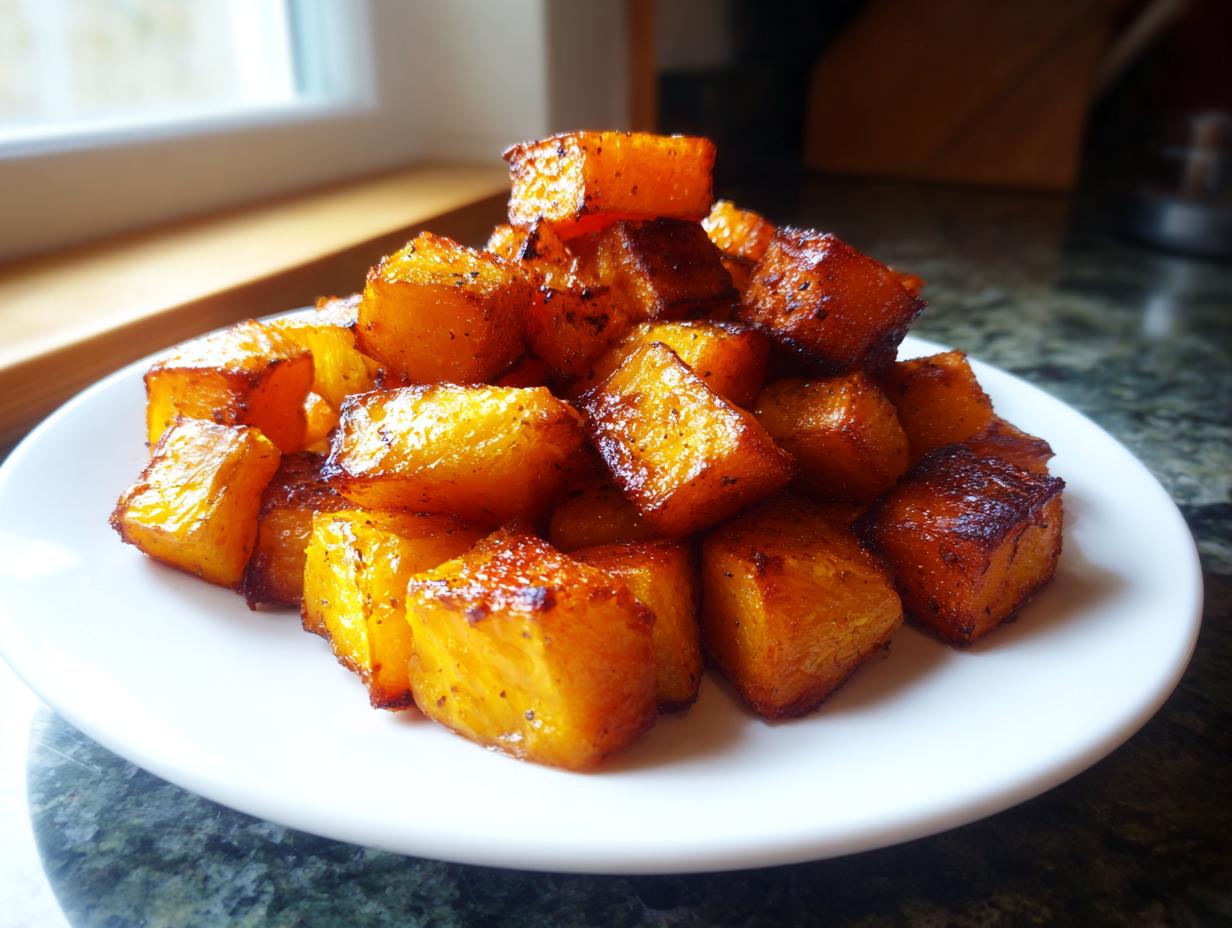
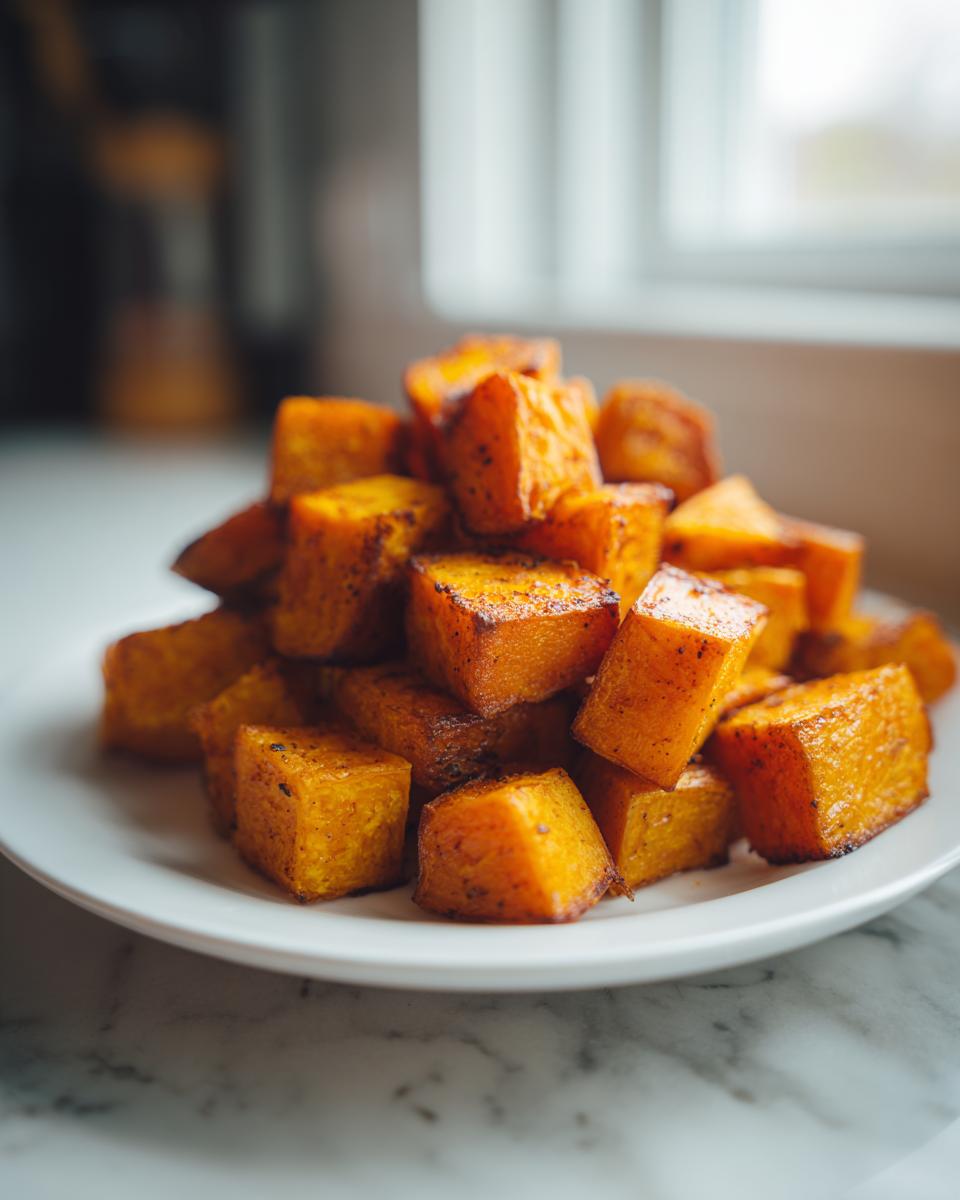
Oh, you know how I feel about fall flavors. There’s just nothing better than that moment the oven kicks on and that sweet, earthy scent starts filling the house, right? It just screams cozy comfort to me, just like my grandma’s kitchen always did. Well, I finally nailed the absolute *perfect* way to take advantage of this amazing harvest squash. Forget mushy center-of-the-pan veggies! This method locks in that tender, creamy inside while giving you those glorious, crispy, caramelized edges.
This is my tried-and-true recipe for roasted butternut squash—the one I rely on whether I’m whipping up something fast on a Tuesday or need a show-stopping side for the holidays. It’s simple, uses only a few ingredients, and delivers that exact sweet and savory balance that makes you go back for seconds. If you’re looking for reliability and flavor, you found it! Need fast side dish ideas? This is a winner for easy dinner ideas, too!
- Why This Is The Best Roasted Butternut Squash Recipe
- Gathering Ingredients for Perfect Roasted Butternut Squash
- How to Roast Butternut Squash in Oven: Step-by-Step Instructions
- Tips for the Best Roasted Squash Method
- Serving Suggestions for this Easy Butternut Squash Side Dish
- Storage and Reheating Instructions for Roasted Butternut Squash
- Frequently Asked Questions About Roasted Butternut Squash
- Nutritional Estimates for Oven Baked Squash Cubes
- Share Your Sweet and Savory Squash Creations
Why This Is The Best Roasted Butternut Squash Recipe
Look, I’ve tried every trick in the book for making roasted vegetables, and I’m telling you, this method for roasted butternut squash is the winner. It’s all about creating texture contrast. We want those satisfying chewable edges but none of that raw, hard center. It’s incredibly versatile, which is what I always look for in a dependable side dish.
- It’s surprisingly quick—we’re talking under 45 minutes total!
- The seasoning hits that perfect sweet and savory spot.
- It’s tough enough to handle weeknight chaos but fancy enough for company.
If you’re hunting for quick and easy recipes, this definitely fits the bill!
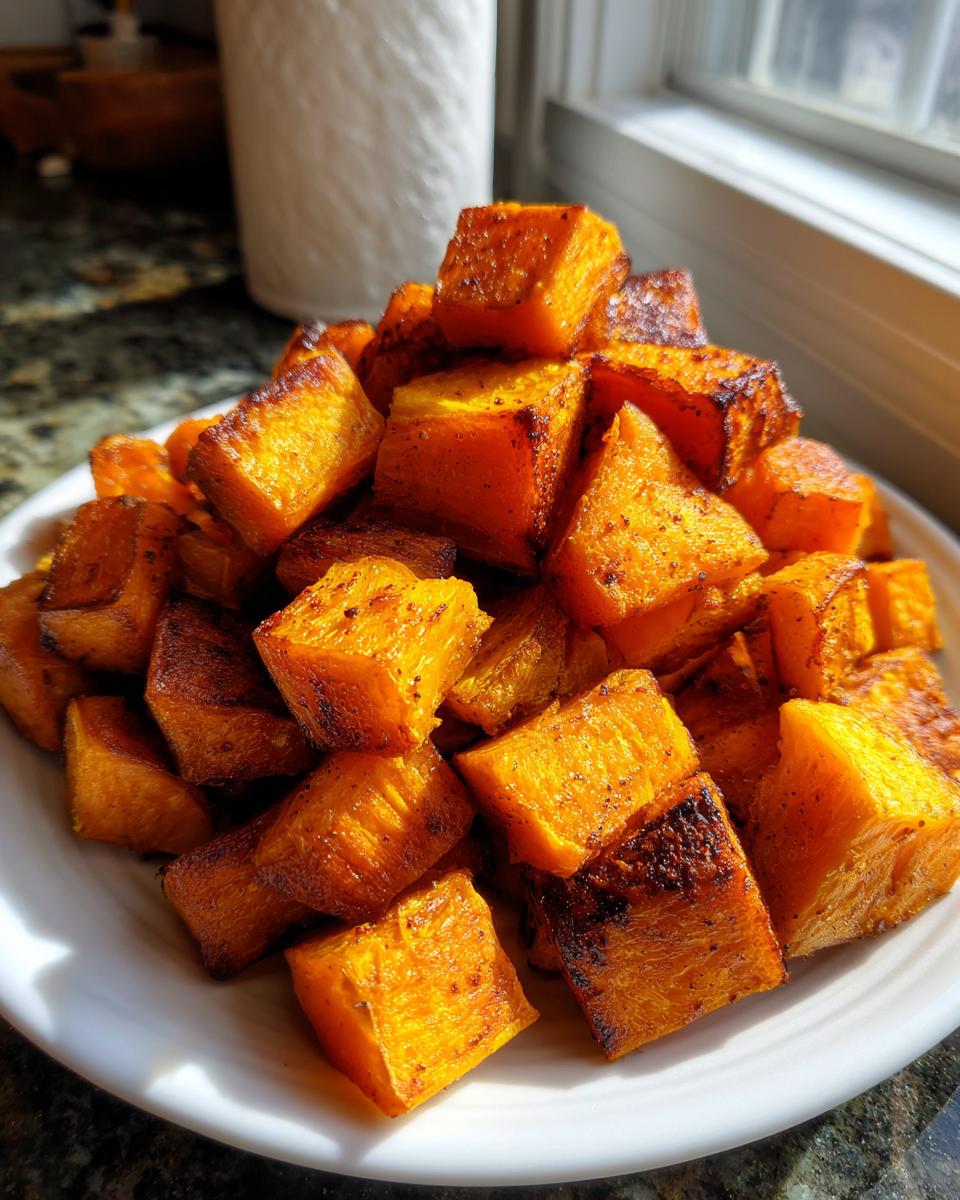
Achieving Caramelized Butternut Squash Texture
The secret to the best texture isn’t magic, it’s physics! We crank the oven up high, usually 400 degrees. This high heat blasts the natural sugars in the squash until they start to brown and deepen, giving us that gorgeous caramelized butternut squash flavor. Crucially, you have to let the cubes breathe! If you pile them up, they steam, and steam equals soggy. We want crisp edges, honey, not boiled squash!
Gathering Ingredients for Perfect Roasted Butternut Squash
When we talk about making the roasted butternut squash taste amazing, it really starts right here, with the ingredients. I’ve kept this list super short because the squash flavor should shine! But pay attention to the amount of oil and the size of the cubes—those details matter more than you think for getting that perfect roast.
Here is exactly what you’ll need for four good servings:
- 1 medium butternut squash (aim for about 3 pounds)
- 2 tablespoons olive oil
- 1 teaspoon kosher salt
- 1/2 teaspoon black pepper
- 1/2 teaspoon garlic powder
- 1/4 teaspoon ground cinnamon (this is optional, but trust me on the flavor!)
Ingredient Notes and Simple Seasoning Squash Swaps
That little bit of cinnamon I mentioned? That’s what kicks the sweetness up without adding more sugar. It works so well with the natural sugars to create that balanced, sweet and savory squash profile we’re after. If you aren’t feeling the spice blend, you can easily swap the cinnamon for dried thyme or rosemary for a strictly savory note.
And okay, a little secret for extra crispy bits: If you toss those cubes with just 1 teaspoon of maple syrup along with the olive oil before you season them, you get next-level caramelization. It adds richness without turning it into a dessert, keeping it the perfect side for any meal.
How to Roast Butternut Squash in Oven: Step-by-Step Instructions
Alright, this is where the real cooking happens! Knowing how to roast butternut squash in the oven effectively is key to getting those crispy edges and that beautiful, creamy middle. Think of this like setting up your stage before the main event. Everything has to be ready to go sharply when it hits that heat, so preheating your oven to 400 degrees Fahrenheit is step one, no excuses! I always line my baking sheet with parchment paper—Trust me, cleanup is a dream, and it saves scrubbing off sticky caramelized bits later. You can find my favorite non-stick tools over here if you need some inspiration for the best roasting pans!
Prepping the Butternut Squash Cubes
Prepping the squash is probably the hardest part, so take your time here. First, you need to peel it. I use a heavy-duty vegetable peeler and just try to get all that tough green skin off. Slice off both ends—the neck and the base—so you have flat surfaces to work with. Carefully cut the squash in half lengthwise. Now, grab a sturdy spoon and scoop out all those messy seeds and stringy bits—it’s kind of gross, but you have to get it all out! Safety first: lay the halves cut-side down for stability before you start slicing. We are aiming for roughly 1-inch cubes. Uniformity is crucial here because if you have tiny pieces mixed with huge chunks, they won’t all cook at the same speed. That’s how you get that disappointing mix of over-browned and still-hard squash!
The Roasting Time for Tender Butternut Squash Recipe Results
Once those perfectly seasoned cubes are spread out in a single layer—and I mean single layer, don’t crowd the pan!—they go in for about 25 to 35 minutes. You’ll want to set a timer for 15 minutes, and when it rings, pull that sheet out and flip those babies over with a spatula. This flipping action is what ensures we get robust browning on all sides!
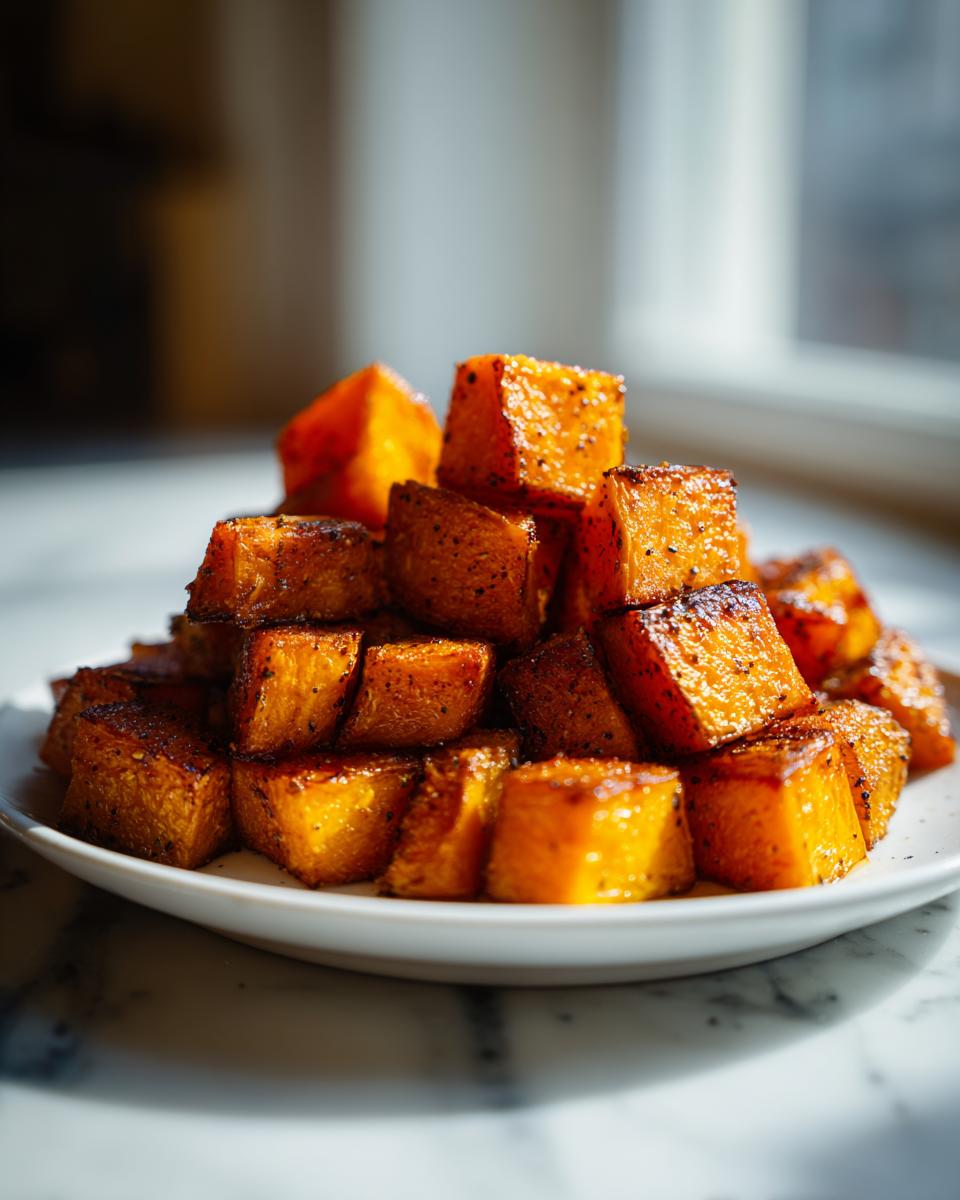
How do you know they’re done? You are looking for two things that make for the tender butternut squash recipe result: First, the edges should look dark golden, almost burnt in little spots—that’s the caramelization doing its job. Second, poke one with a fork. If that fork slides in with zero resistance, it’s done! If you need more guidance on cooking times, you can check out some great tips on how to roast butternut squash in the oven over on this site, too: this guide here.
Tips for the Best Roasted Squash Method
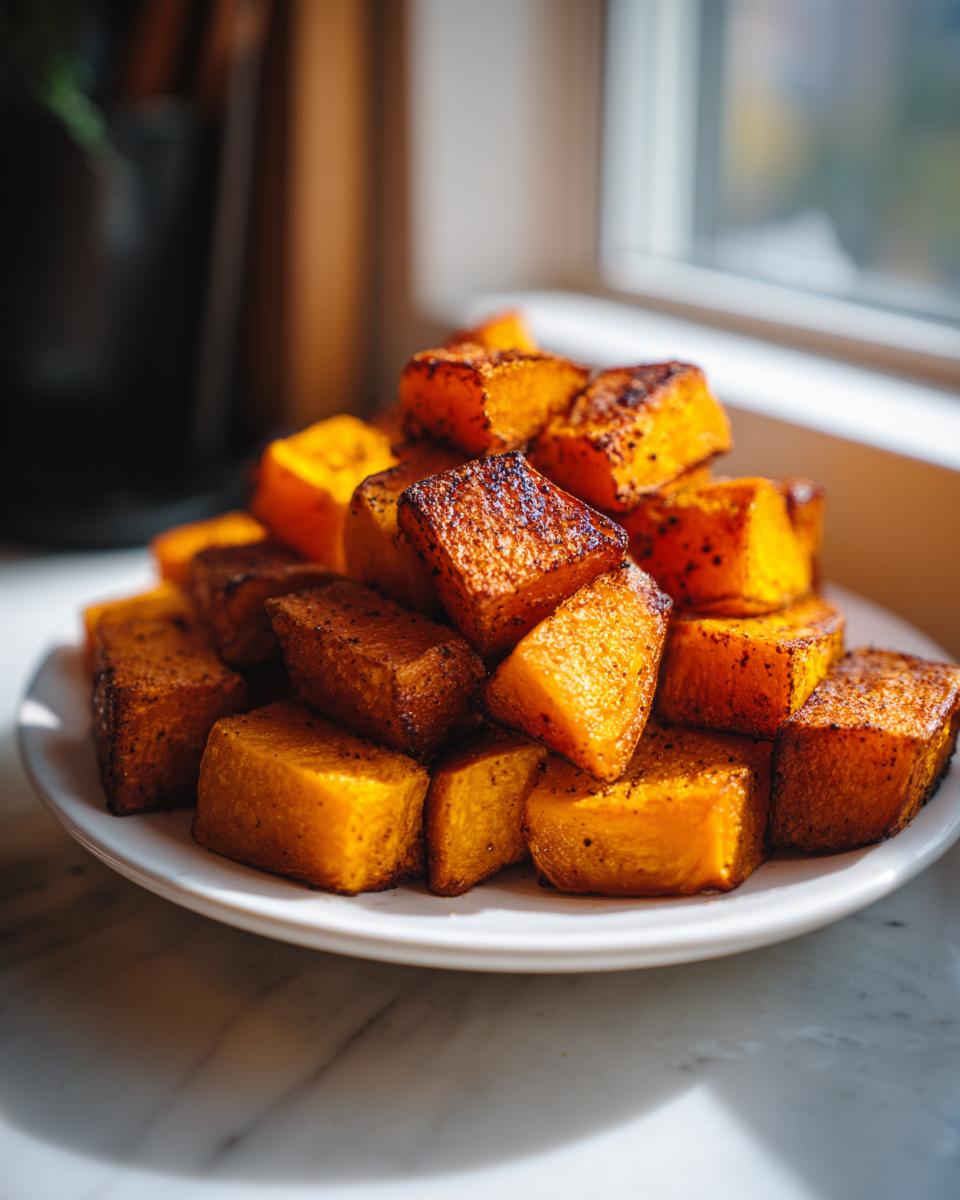
Okay, if you take away only one piece of advice from me today for perfect roasted butternut squash, let it be this: Don’t overcrowd the pan! Seriously, this is the number one reason people end up with steamed, sad vegetables instead of crispy ones. If you have to use two baking sheets to keep everything in a single layer, please, use two sheets. That space allows the hot air to circulate and actually roast the squash instead of just letting it sit in its own moisture.
Also, make sure your oven is fully preheated before those seasoned cubes even think about going in. A 400-degree oven needs time to stabilize that temperature. If you wait until you put the pan in to start the timer, you’re already losing precious time where the caramelization should start immediately. For extra crispy edges, you can try tossing the squash with a tiny bit more oil—just a thin sheen—right before it goes into the oven. It really helps draw out that moisture and gives you that amazing texture every time. For more crunchy vegetable secrets, check out my guide on getting crispy roasted sweet potatoes!
Serving Suggestions for this Easy Butternut Squash Side Dish
This roasted butternut squash is such a kitchen workhorse! Since it takes less than 45 minutes from start to finish, it’s totally built for busy nights, but honestly, the flavor is so cozy and rich that it absolutely holds its own on the Thanksgiving table. It complements just about anything savory. I love serving it alongside simple baked chicken or flaky white fish when I need a fantastic, easy butternut squash side dish without fuss.
Roasted Butternut Squash as a Quick Weeknight Squash Recipe
When I’m slammed on a Tuesday, this recipe saves me. Because it requires such minimal hands-on time, it transitions perfectly into a quick weeknight squash recipe. If you’re roasting chicken breasts or searing up some salmon fillets, just toss the squash in the oven. The sweet and savory bits pair beautifully with lighter proteins, and it feels much more special than plain steamed veggies. Plus, since it’s a healthy choice, I always make sure to check out other great tips over at our healthy recipes section!
Storage and Reheating Instructions for Roasted Butternut Squash
One of the best things about this roasted butternut squash is how it handles leftovers! No one wants sad, floppy squash the next day, so keeping that little bit of crispness we worked so hard for is important. You can absolutely make a big batch because they store really well.
When it comes to keeping them, make sure the squash has cooled down completely if you’re planning on storing it for later. Pop those cubes into an airtight container—I prefer glass containers for veggies. They should stay fresh and delicious in the fridge for about four to five days. Honestly, they still taste great even on day five, but the texture starts to soften just a bit.
Now, reheating is where we need to be smart! Definitely skip the microwave if you can. Microwaving squash will bring back that soft, steamed texture we tried so hard to avoid. If you have an air fryer? Bless you! Toss the cooled leftovers in the air fryer for about 5 minutes at 375 degrees. It brings back a lot of that beautiful crispy edge.
If you don’t have an air fryer, the oven is your next best bet. Spread the cubes back out in a single layer on a baking sheet—don’t overlap them! Pop them back into that 375-degree oven for about 8 to 10 minutes. That gentle heat will warm them through while allowing any residual moisture to bake off, crisping up those edges again beautifully.
Frequently Asked Questions About Roasted Butternut Squash
I get so many notes after people try this recipe, and I love hearing what you all are up to in the kitchen! Here are a few popular questions I hear often about making the roasted butternut squash perfectly every time. If you have a question that isn’t covered here, please reach out via my contact page—I’m always happy to help!
Can I use frozen butternut squash for this roasted butternut squash recipe?
Oh, please, don’t do this to yourself! The answer is a firm no, sweetie. Frozen squash is usually partially cooked and packed with tons of water. If you put that on a hot pan, it’s just going to weep out all that liquid and steam the squash instead of roasting it. We are striving for those crispy edges and a tender center, and you simply can’t get that texture with frozen product. Stick to fresh for the best outcome!
What is the best simple seasoning squash mix?
If you didn’t see it in the recipe card above, the secret to a great simple seasoning squash profile is keeping it clean so the squash flavor pops! My go-to mix—and the one I highly recommend you stick with—is just kosher salt, black pepper, and garlic powder. If you want that hint of autumnal warmth, that optional quarter teaspoon of cinnamon is all you need. It’s simple, but it works wonders for making this an easy butternut squash side dish.
Can I use other vegetables with this recipe?
That’s a great question! Absolutely, you can turn this into a larger batch of simple roasted vegetables! But here’s the catch: root vegetables like sweet potatoes roast similarly, but onions or broccoli take less time, and hard carrots might take longer. If you mix them, you have to stagger the roasting times. For this recipe, I highly recommend sticking to just the squash, or only adding sweet potatoes if you want that perfect 30-minute cooking window.
Nutritional Estimates for Oven Baked Squash Cubes
I always try to keep track of what we’re eating, even when it’s just a simple side dish like this oven baked squash cubes recipe. It’s really helpful to know what you are putting on the table! Remember, these numbers are estimates based on using the exact amounts listed in the recipe—your oil usage or added maple syrup might shift things slightly. It’s a fantastic, healthy fall vegetable side, packed with fiber!
- Serving Size: 1 cup cooked
- Calories: 180
- Fat: 7g
- Carbohydrates: 28g
- Protein: 3g
Keep in mind that these are just ballpark figures based on the core recipe ingredients; they don’t account for any extra toppings or syrups you might incorporate!
Share Your Sweet and Savory Squash Creations
Now it’s your turn! I genuinely hope this recipe for roasted butternut squash brings that same warm, comforting feeling to your table as it does mine. Did you try the cinnamon trick? Let me know in the comments below how it turned out, especially if you made it for a holiday dinner!
If you loved this easy side dish, please consider leaving a rating! Seeing your photos of your sweet and savory roasted veggies—maybe next to your Thanksgiving turkey or just an easy weeknight chicken—always makes my day. I love connecting with you all and hearing how these classics find a new home in your kitchens. You can read more about our cooking philosophy over at the Cookin’ Corner!
PrintThe Ultimate Easy Roasted Butternut Squash: Crispy Edges, Sweet & Savory Seasoning
This recipe delivers perfectly roasted butternut squash with crispy, caramelized edges and a tender, creamy interior. It uses simple seasoning to achieve a satisfying sweet and savory balance, making it an ideal, quick weeknight squash side dish for any meal.
- Prep Time: 15 min
- Cook Time: 30 min
- Total Time: 45 min
- Yield: 4 servings 1x
- Category: Side Dish
- Method: Oven Roasting
- Cuisine: American
- Diet: Vegetarian
Ingredients
- 1 medium butternut squash (about 3 pounds)
- 2 tablespoons olive oil
- 1 teaspoon kosher salt
- 1/2 teaspoon black pepper
- 1/2 teaspoon garlic powder
- 1/4 teaspoon ground cinnamon (optional, for sweetness)
Instructions
- Preheat your oven to 400 degrees Fahrenheit (200 degrees Celsius). Prepare a large baking sheet by lining it with parchment paper for easy cleanup.
- Peel the butternut squash. Cut off the ends, then carefully slice the squash in half lengthwise. Scoop out the seeds and stringy pulp using a spoon.
- Place the squash halves cut-side down on a cutting board. Slice the squash into uniform 1-inch cubes. Uniform size helps the squash roast evenly.
- Place the squash cubes in a large bowl. Drizzle with the olive oil. Toss until all pieces are lightly coated.
- In a small bowl, mix together the kosher salt, black pepper, garlic powder, and ground cinnamon (if using). Sprinkle this seasoning mix over the oiled squash cubes. Toss again until the seasoning is evenly distributed.
- Spread the seasoned squash cubes in a single layer on the prepared baking sheet. Do not overcrowd the pan; use two sheets if necessary to promote crisping.
- Roast for 25 to 35 minutes. Halfway through the cooking time (around 15 minutes), use a spatula to flip the cubes so they brown on all sides. The squash is done when the edges are golden brown and caramelized, and the interior is fork-tender.
- Remove from the oven and serve immediately as a healthy fall vegetable side or vegetarian side dish.
Notes
- For extra caramelization, you can toss the cubes with 1 teaspoon of maple syrup along with the oil before seasoning.
- If you prefer a more savory profile, omit the cinnamon and add 1/2 teaspoon of dried thyme or rosemary to the spice mix.
- This oven baked squash cubes recipe works well for holiday gatherings like Thanksgiving.
Nutrition
- Serving Size: 1 cup cooked
- Calories: 180
- Sugar: 8
- Sodium: 350
- Fat: 7
- Saturated Fat: 1
- Unsaturated Fat: 6
- Trans Fat: 0
- Carbohydrates: 28
- Fiber: 6
- Protein: 3
- Cholesterol: 0