
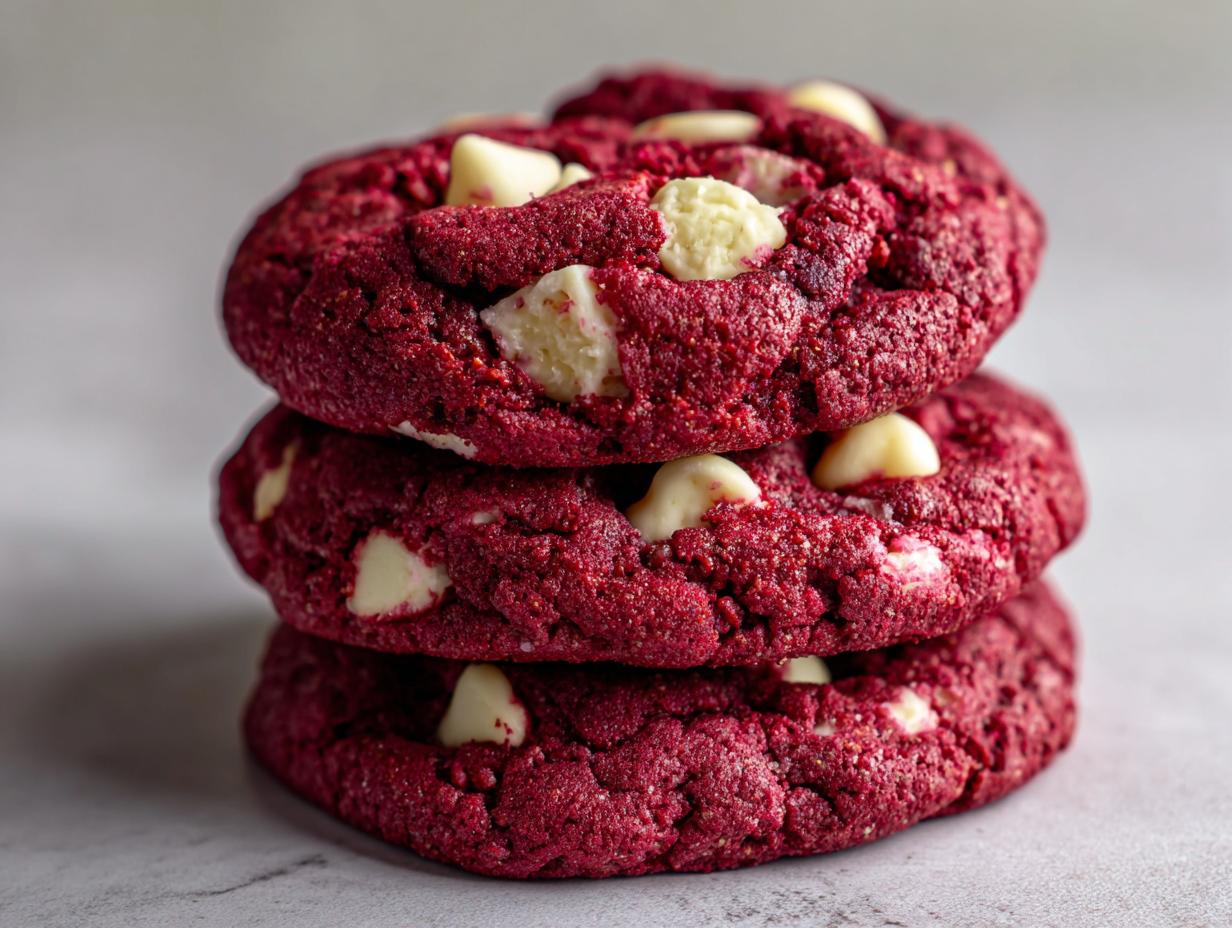
Sometimes, you just crave that signature, velvety tang mixed with deep cocoa—but you want it in the perfect handheld form. That’s where these soft and chewy white chocolate red velvet cookies come in! Forget dry, cakey flops; these beauties deliver that intensely festive red color and melt-in-your-mouth texture that we all adore in a cookie format. As I learned cooking back home, the best treats are often the easiest to manage, and this straightforward process makes these the ultimate red velvet cookies for any holiday or random Tuesday craving.
When I bake these, I immediately think of the excitement before a big gathering back in the Midwest. They just scream celebration! Trust me, once you pull these bright red beauties from the oven, you’ll understand why they instantly become a family favorite. It’s pure, delicious nostalgia in every bite, and it’s so simple to whip up a huge batch if you need a quick recipe boost. You might even want to check out my recipe for soft gingerbread cookies if you’re planning a holiday platter!
- Why These Are the Best Soft and Chewy red velvet cookies
- Gathering Ingredients for Perfect red velvet cookies
- Step-by-Step Instructions for Easy red velvet cookies
- Tips for Making Bakery Style red velvet cookies
- Variations on the Classic red velvet cookies
- Storage and Making Ahead with red velvet cookies
- Frequently Asked Questions about red velvet cookies
- Nutritional Estimates for these red velvet cookies
- Share Your Festive red velvet cookies Creations
Why These Are the Best Soft and Chewy red velvet cookies
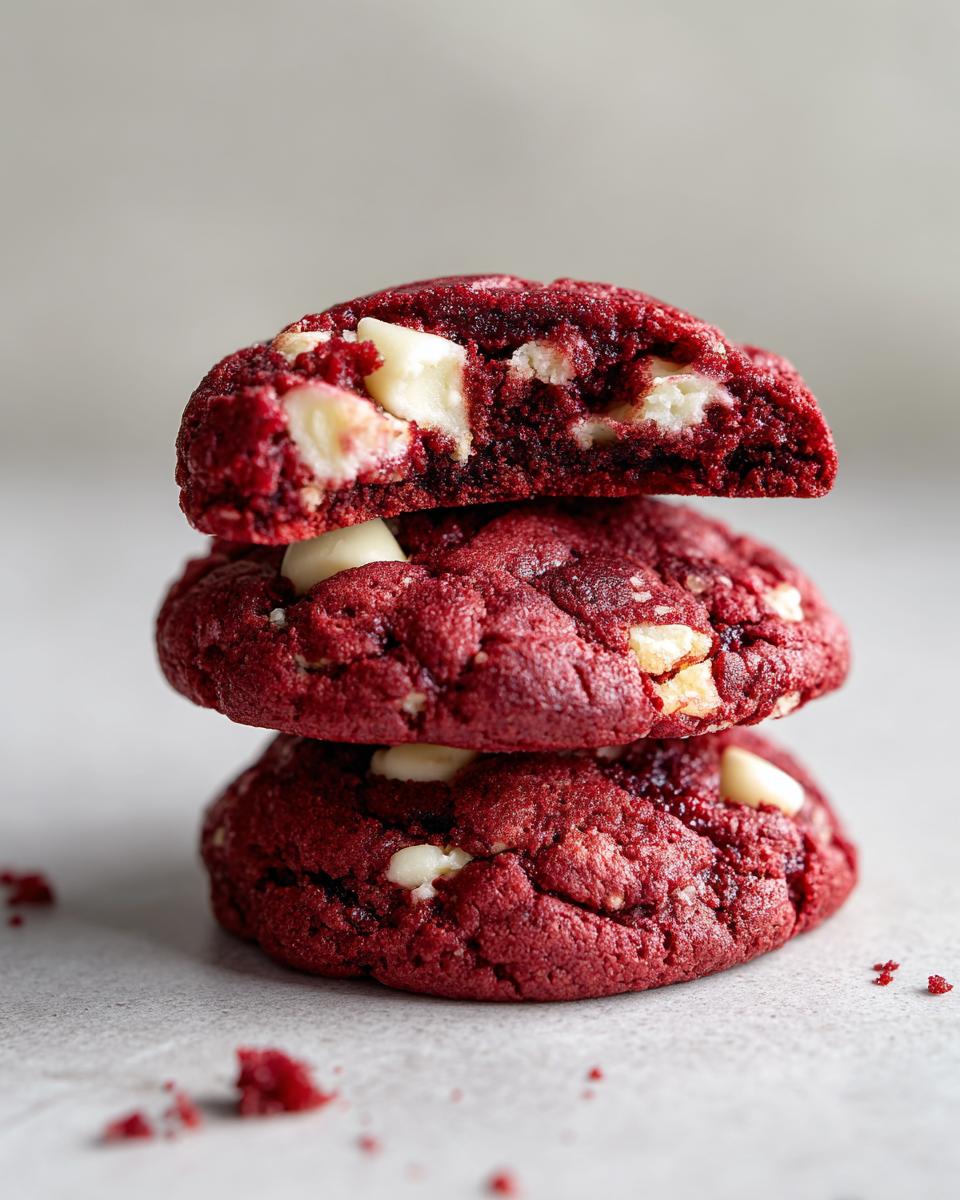
We are talking seriously decadent texture here, folks. My goal when perfecting these red velvet cookies was to capture that glorious moment between a soft cake and a dense brownie, which is why I’m so proud of how these turned out. If you’re looking for soft homemade red velvet cookies that don’t crumble apart, this is your ticket. They are incredibly rich thanks to the small amount of cocoa powder we use, balanced perfectly by those sweet white chocolate chips.
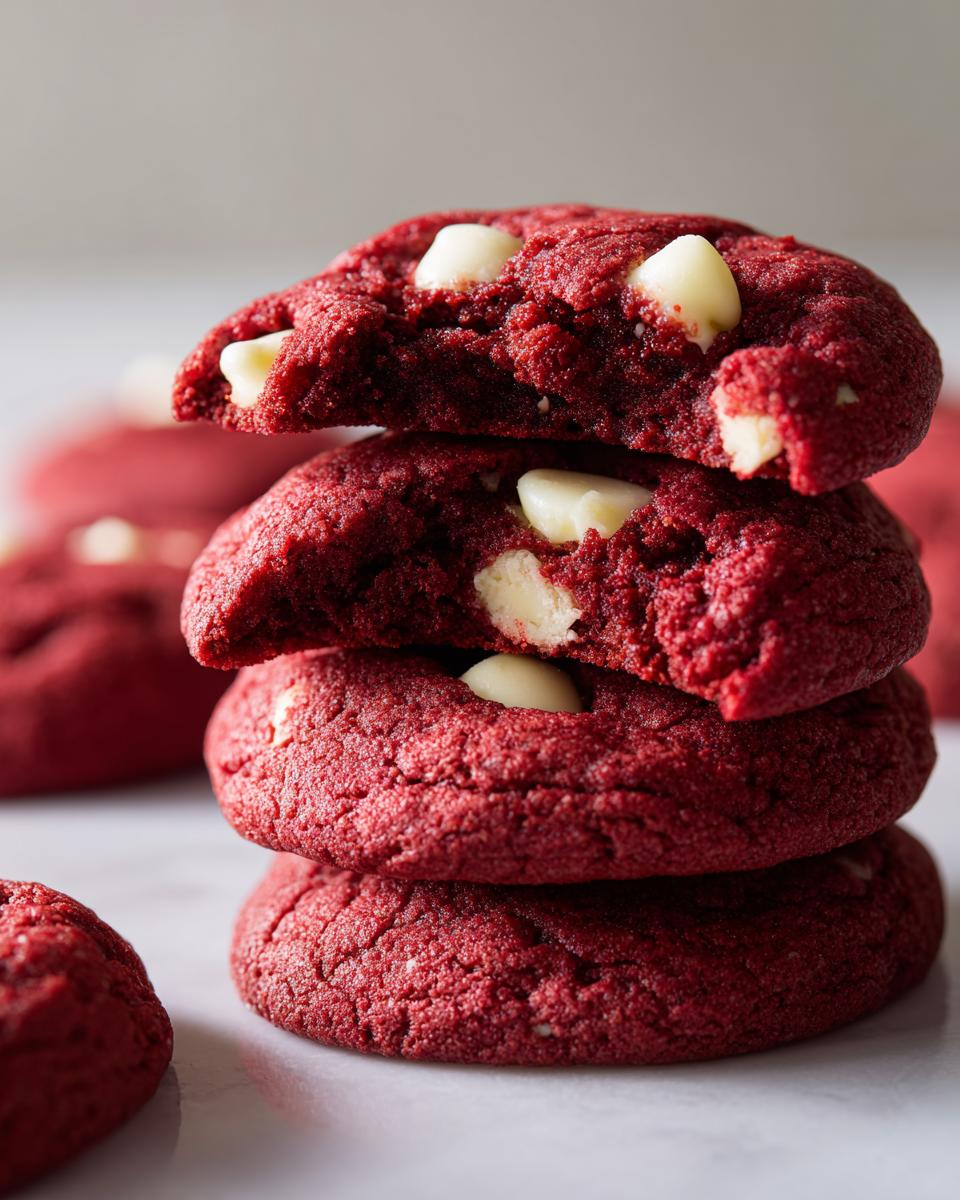
These aren’t the flat, crispy ones; these are delightfully substantial. They hold their shape beautifully while remaining delightfully soft inside—the hallmark of truly great chewy red velvet cookies. If you love the crisp edges but crave a gooey middle, start saving this one now. It pairs so nicely with my recipe for soft cutout sugar cookies if you need variety on your platter!
Texture Achieved: Soft Centers and Set Edges
The secret to that perfect texture isn’t magic, it’s just a little chemistry magic we learned in home ec class! The little bit of white vinegar we add reacts with the baking soda, giving us lift without making the cookie cakey. This reaction helps achieve those set edges while keeping the middle plush.
Honestly, I probably tested the bake time seven or eight times before I was happy. You want to pull them when the edges look done but the very center still looks just *barely* soft to the touch. Don’t overbake them by even a minute, or you lose that essential chewiness we are aiming for!
Festive Color and White Chocolate Pairing
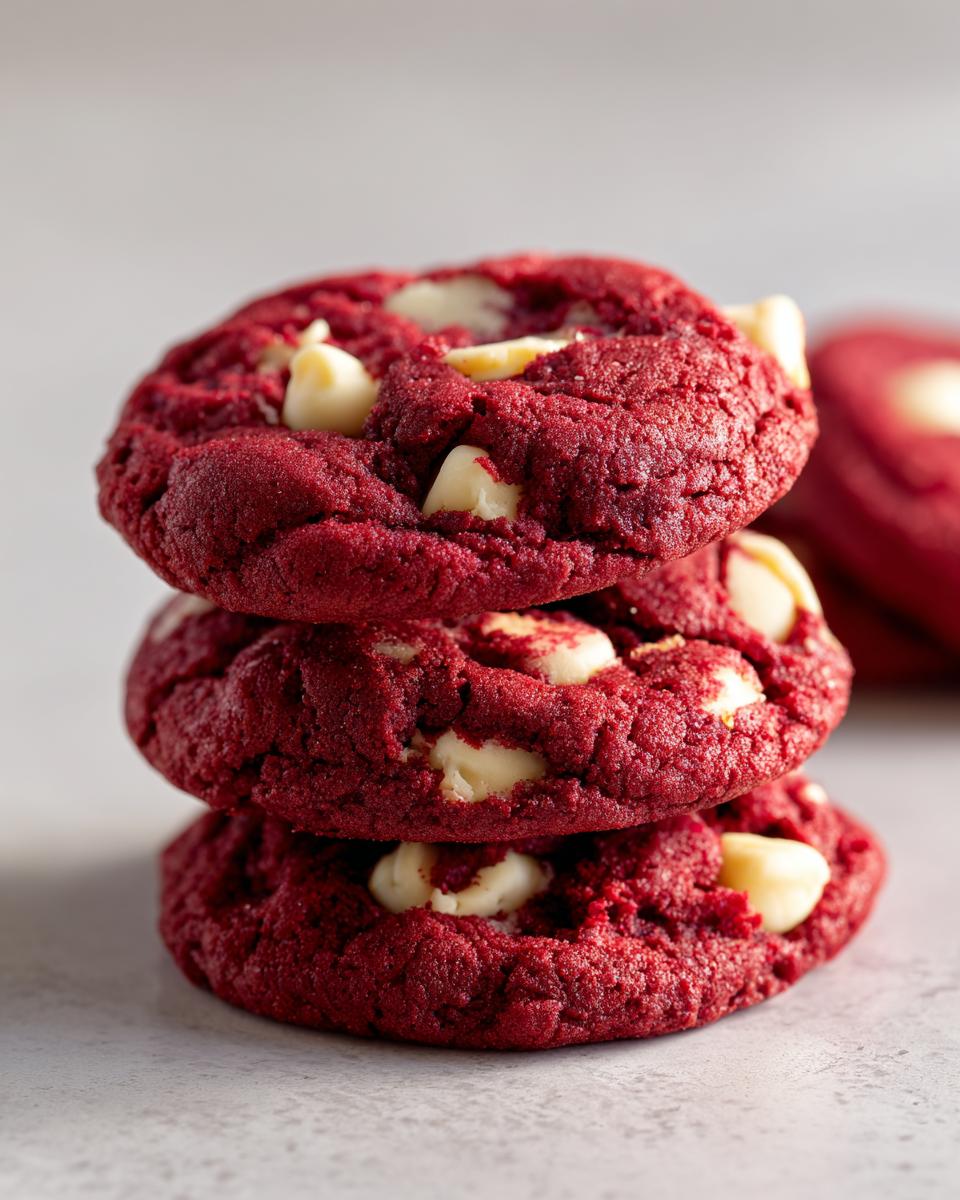
Who doesn’t love a cookie that looks like it belongs on a fancy holiday platter? The deep red color makes these perfect for Valentine’s Day desserts or as showstoppers on your Christmas cookie recipes tray. It truly pops!
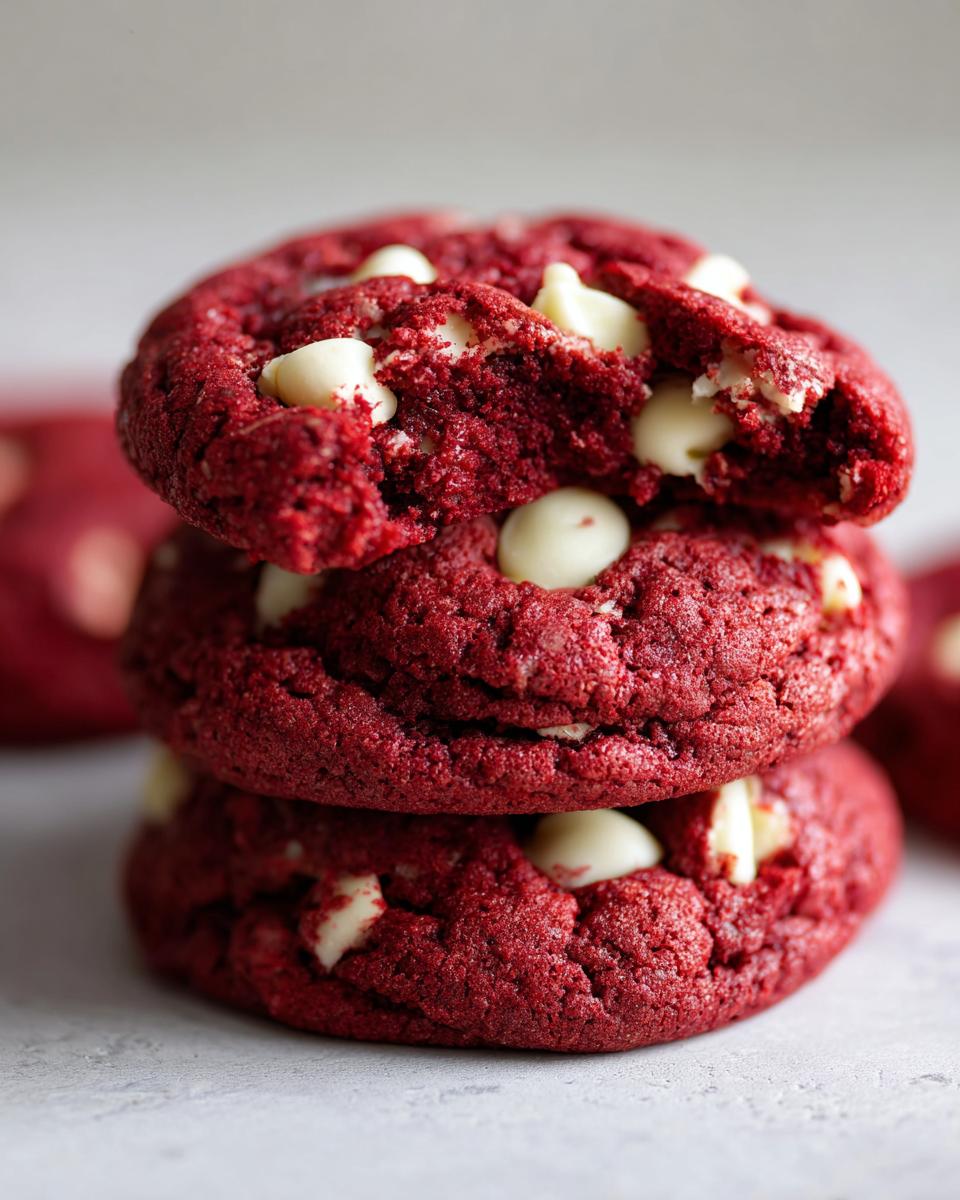
And let’s talk about the chips. While some people love cream cheese frosting, I prefer keeping the tanginess subtle within the cookie itself. Mixing in high-quality white chocolate chips gives us pockets of creamy sweetness that contrast beautifully with that subtle cocoa background. It keeps the cookie looking sharp and tasting rich.
Gathering Ingredients for Perfect red velvet cookies
Before we get whipping up this amazing batter, let’s make sure our mise en place is perfect. Getting the right ingredients ready is half the battle when you want these red velvet cookies to turn out perfectly soft and chewy, just like the recipe promises. We aren’t using any boxed mixes here, which means we have control over that gorgeous color and deep cocoa flavor. This list looks pretty standard for a drop cookie, but I promise every measurement counts!
You’ll need just 10 items to make this happen, plus the white chocolate chips. Don’t forget to use room temperature butter—it creams up so much better! If you’re looking for other reliably delicious flavor bases, you must try my ultimate chewy lemon cookie recipe sometime soon.
- 1 cup unsalted butter, softened
- 1 1/2 cups granulated sugar
- 1 large egg
- 1 teaspoon vanilla extract
- 1 teaspoon white vinegar
- 1 teaspoon red food coloring (gel preferred)
- 1 3/4 cups all-purpose flour
- 1/2 cup unsweetened cocoa powder
- 1 teaspoon baking soda
- 1/2 teaspoon salt
- 1 cup white chocolate chips
Ingredient Notes and Substitutions for red velvet cookies
A couple of quick notes on making sure your ingredients behave the way we want them to. First, that red food coloring—please reach for the gel kind if you can! Liquid drops can thin out your dough just enough to cause spreading, and we want gorgeous, thick cookies. Using gel ensures we get that striking, deep red color without altering the texture. That tiny amount of white vinegar we add is important too; it helps boost the leavening reaction and gives a slight tang, which mimics that classic cake flavor.
Now, you might be wondering where the cream cheese filling is, since that’s common with cream cheese red velvet cookies. For this specific recipe, I designed the butter and sugar base to capture the richness without adding actual cream cheese to the dough itself. That way, you get a cleaner, chewier cookie structure that bakes up more reliably. If you want that tangy topping, we’ll talk about frosting later!
Step-by-Step Instructions for Easy red velvet cookies
Okay, now that we have all our wonderful ingredients ready, let’s get these beauties mixed! This process is so fast, which is why I love calling these easy red velvet cookies. Before we touch the mixer, make sure your oven is preheated to 350°F (175°C). I also highly recommend lining your baking sheets with parchment paper. It saves so much cleanup, and trust me, you don’t want these gorgeous cookies sticking!
If your kitchen is running warm, or if you just want extra thick cookies, take a moment right here to pop that dough into the fridge for about 30 minutes. That little chill helps keep them from spreading too thin, ensuring we get those nice, puffy results. If you need more quick cookie recipes for busy nights, remember this dough resting trick!
Mixing the Wet and Dry Components of red velvet cookies
Grab your big bowl for the creaming stage. We need to beat that softened butter with the sugar until it gets nice and fluffy—you’re looking for a major color lightenting here. Once that looks good, beat in your egg, vanilla, and that critical teaspoon of white vinegar. Then comes the fun part: adding the coloring! Mix until that batter is a uniform, vibrant red. You want it even, so take your time on this step!
Next, whisk your dry ingredients—flour, cocoa, baking soda, and salt—in a separate bowl. Now, slowly add the dry mix to the red wet mix, but listen close: mix only on low speed until it *just* comes together. Stop mixing before it’s totally smooth! Overmixing ruins the chewiness, I promise you. Finally, fold in those glorious white chocolate chips with a spatula until they are just dispersed.
Baking and Cooling for Chewy red velvet cookies
Scoop out rounded tablespoons of the dough and drop them onto your prepared sheets, leaving about two inches between them so they have room to breathe. Pop them into the oven for 9 to 11 minutes. This timing is crucial for that perfect texture we talked about.
When you pull them out, don’t rush them onto the cooling rack! Let them sit right there on the hot baking sheet for a full five minutes. This resting period is what sets the edges while locking in the moisture in the center, guaranteeing you get those wonderfully chewy red velvet cookies. Only then should you carefully move them to a wire rack to finish cooling completely.
Tips for Making Bakery Style red velvet cookies
If you’re chasing that perfect, massive, almost underbaked look that you see from those amazing national cookie shops, there are a few little tricks you can use right here at home to push these red velvet cookies into that “bakery style” territory. It’s all about treating the dough gently but using big portions!
First, stop pulling those tiny teaspoon-sized balls of dough! For that big, fluffy, chewy result, you absolutely need a proper ice cream scoop—the medium size works wonderfully here. We want thick cookies that bake slightly unevenly, giving us those gorgeous set edges and gooey interiors. Remember, we are aiming for that perfect bite that makes you close your eyes!
Also, if you want to look up a fantastic technique for spreading cookies to that perfect bakery disc shape, you should check out the pan-banging method described by Sarah Kieffer over at The Vanilla Bean Blog! It’s a little dramatic, but wow, does it work for texture. If you’re interested in more techniques for making cookies look professionally made, always refer back to my thoughts on handling soft and chewy sugar cookies too; the principles overlap a ton!
Variations on the Classic red velvet cookies
While I love this base recipe for the absolute best white chocolate red velvet cookies, I totally get that sometimes you want to shake things up! Baking is all about tweaking things to make them perfect for your own family’s tastes. Because this dough is so versatile and sturdy, it handles extra ingredients or toppings like a dream. You can easily transform these into something truly show-stopping for a party.
If you’re looking for that extra decadent touch, adding a filling or a topping takes these from great to “oh my goodness, what is this?” territory. If you want to get truly fancy, you could look up how to make stuffed red velvet cookies; I found a fantastic recipe for cheesecake stuffed red velvet cookies that looks divine if you’re ready for that next level!
Of course, for a simple upgrade without stuffing, a decadent frosting makes these true showpieces. A rich, tangy cream cheese frosting turns these into almost little cakes! Check out my recipe for red velvet brownies if you already love that cream cheese swirl because it’s the same wonderful tang.
Making red velvet crinkle cookies
Oh, the crinkle look! That dusting of powdered sugar makes the color pop so beautifully, and it gives the cookie a distinctively soft, almost marshmallowy surface. Making these into red velvet crinkle cookies is remarkably easy—it requires zero change to the dough itself! You just need to make sure you have plenty of powdered sugar on hand.
Right after you scoop your dough balls, give them a good, heavy roll in the powdered sugar. Make sure they look totally white! As they bake, the cookie spreads out, and the sugar coating cracks, creating that famous crinkle effect hiding the vibrant red underneath. It’s such a simple cheat for a high-impact treat!
Storage and Making Ahead with red velvet cookies
One of the best parts about these red velvet cookies is that they stay perfectly soft and chewy for days! Seriously, if you store them in an airtight container at room temperature, they taste just as fresh on Day Three as they did coming out of the oven. Don’t put them in the fridge, though; that always speeds up drying!
If you want to save some trouble later for more quick cookie recipes, go ahead and scoop the dough onto a parchment-lined tray and freeze those balls solid. Once they are rock-hard, toss them into a freezer bag. You can bake them straight from frozen—just add two or three minutes to the baking time. Easy peasy! For more storage ideas, you can always check out my guide for easy no-bake avalanche cookies, though these baked ones hold up beautifully!
Frequently Asked Questions about red velvet cookies
It’s natural to have a few questions when you’re trying out a new recipe, especially when you want that perfect texture! I’ve gathered the questions I get most often about making these red velvet cookies. I hope these authoritative tips help you nail them perfectly!
Can I use cake mix instead of flour for these red velvet cookies?
That’s a very common question, as those red velvet cake mix cookies can definitely be a huge time saver! I want to be clear: this specific recipe is developed completely from scratch using standard pantry staples like flour, butter, and cocoa powder. That’s how we achieve this specific, superior chewy texture we’re aiming for.
Now, if you are in a huge hurry and absolutely must use cake mix, you certainly can! But fair warning—those cookies tend to bake up lighter and more cake-like, instead of the dense, gooey bite you get here. If you want the absolute fastest way, I suggest looking up a dedicated red velvet cake mix cookies recipe for comparison, but I truly believe our from-scratch version is the best red velvet cookie ever.
Why are my red velvet cookies spreading too much?
Ugh, spreading is the worst! It happens when the butter gets too warm, or sometimes if the ratio of wet to dry ingredients gets slightly off. The number one issue is almost always the butter being too soft when you start creaming it, or the dough not being chilled before baking.
If you find your dough is spreading thinly across the pan, take whatever dough you have left and cover it up! Pop it into the refrigerator for at least 30 minutes, just like I mentioned in the notes. Chilling solidifies the fat in the butter, which prevents the cookie from melting too fast in the oven. Next time, make sure that butter is just softened, not greasy!
How do I get the most intense red color in my red velvet cookies?
Nobody wants a pale, pinkish cookie when they are expecting true red velvet drama! If you substitute liquid food coloring with the gel kind—which I highly recommend—you will get much deeper saturation without adding extra liquid, keeping your dough thick. That’s the real ticket!
For those times you want a really, really deep color, a tiny bump up in the cocoa powder can help mute yellow tones and deepen the overall appearance. But be careful! Too much cocoa powder changes the flavor profile away from that classic subtle red velvet tang. A little bit of extra gel color goes a long, long way to making these festive cookies pop!
If you’re looking for other great tips for getting your baked goods just right, feel free to check out my thoughts on easy crockpot potato soup—because sometimes you need a savory break between baking sessions!
Nutritional Estimates for these red velvet cookies
Now, I always tell folks that baking is an act of love, not usually an act of tracking calories! When you’re making something this delicious, you tend to want one, maybe two, and then you forget about counting. Right?
That said, I always try to provide folks with a good idea of what’s in the recipe, just in case you need it for planning or just general curiosity. Please remember that these figures are only estimates based on the ingredients listed directly in the recipe. If you use different brands of white chocolate chips or slightly different amounts of sugar, your numbers will vary, naturally!
- Serving Size: 1 cookie
- Calories: 210
- Sugar: 18g
- Sodium: 150mg
- Fat: 12g
- Saturated Fat: 7g
- Carbohydrates: 25g
- Protein: 2g
See? Not bad for such a festive treat! They are certainly better than store-bought, which is the main goal here at Cookin’ Corner. We made these with care, and that always counts for something!
Share Your Festive red velvet cookies Creations
Honestly, the greatest joy for me, Sarah Jane Thompson, is knowing one of my tried-and-true recipes has made its way into your kitchen and created a wonderful memory. These red velvet cookies are such a happy treat, and I’d absolutely love to see them shining on your holiday platters or surprise dessert tables!
If you give this recipe a try, please come back to the site and leave a rating and a comment. Tell me how they turned out for you! Did the kids spot them right away? Did they stay soft the next day? Hearing your successes helps me feel connected to all of you who are still keeping the traditions of home cooking alive.
If you happen to snap a picture that you’re proud of, feel free to send it right over through my contact page! I love seeing how you’ve brought these classic American flavors to life in your own home corner. Happy baking, everyone!
PrintSoft and Chewy White Chocolate Red Velvet Cookies
Make soft, chewy red velvet cookies loaded with white chocolate chips. This easy recipe delivers rich flavor perfect for holidays or any day you want a festive treat.
- Prep Time: 15 min
- Cook Time: 11 min
- Total Time: 26 min
- Yield: 20 cookies 1x
- Category: Dessert
- Method: Baking
- Cuisine: American
- Diet: Vegetarian
Ingredients
- 1 cup unsalted butter, softened
- 1 1/2 cups granulated sugar
- 1 large egg
- 1 teaspoon vanilla extract
- 1 teaspoon white vinegar
- 1 teaspoon red food coloring (gel preferred)
- 1 3/4 cups all-purpose flour
- 1/2 cup unsweetened cocoa powder
- 1 teaspoon baking soda
- 1/2 teaspoon salt
- 1 cup white chocolate chips
Instructions
- Preheat your oven to 350°F (175°C). Line baking sheets with parchment paper.
- In a large bowl, cream together the softened butter and granulated sugar until light and fluffy.
- Beat in the egg, vanilla extract, and white vinegar until combined.
- Add the red food coloring and mix until the batter reaches a uniform red color.
- In a separate medium bowl, whisk together the flour, cocoa powder, baking soda, and salt.
- Gradually add the dry ingredients to the wet ingredients, mixing on low speed until just combined. Do not overmix.
- Fold in the white chocolate chips using a spatula.
- Scoop rounded tablespoons of dough onto the prepared baking sheets, spacing them about 2 inches apart.
- Bake for 9 to 11 minutes. The edges should be set, but the centers should still look slightly soft for a chewy texture.
- Let the cookies cool on the baking sheet for 5 minutes before transferring them to a wire rack to cool completely.
Notes
- For a deeper red color, use a high-quality gel food coloring instead of liquid drops.
- If you prefer a slightly tangy flavor reminiscent of cake, add 2 tablespoons of buttermilk along with the wet ingredients.
- Chill the dough for 30 minutes before scooping if your kitchen is warm; this helps prevent spreading.
Nutrition
- Serving Size: 1 cookie
- Calories: 210
- Sugar: 18
- Sodium: 150
- Fat: 12
- Saturated Fat: 7
- Unsaturated Fat: 5
- Trans Fat: 0
- Carbohydrates: 25
- Fiber: 1
- Protein: 2
- Cholesterol: 30