
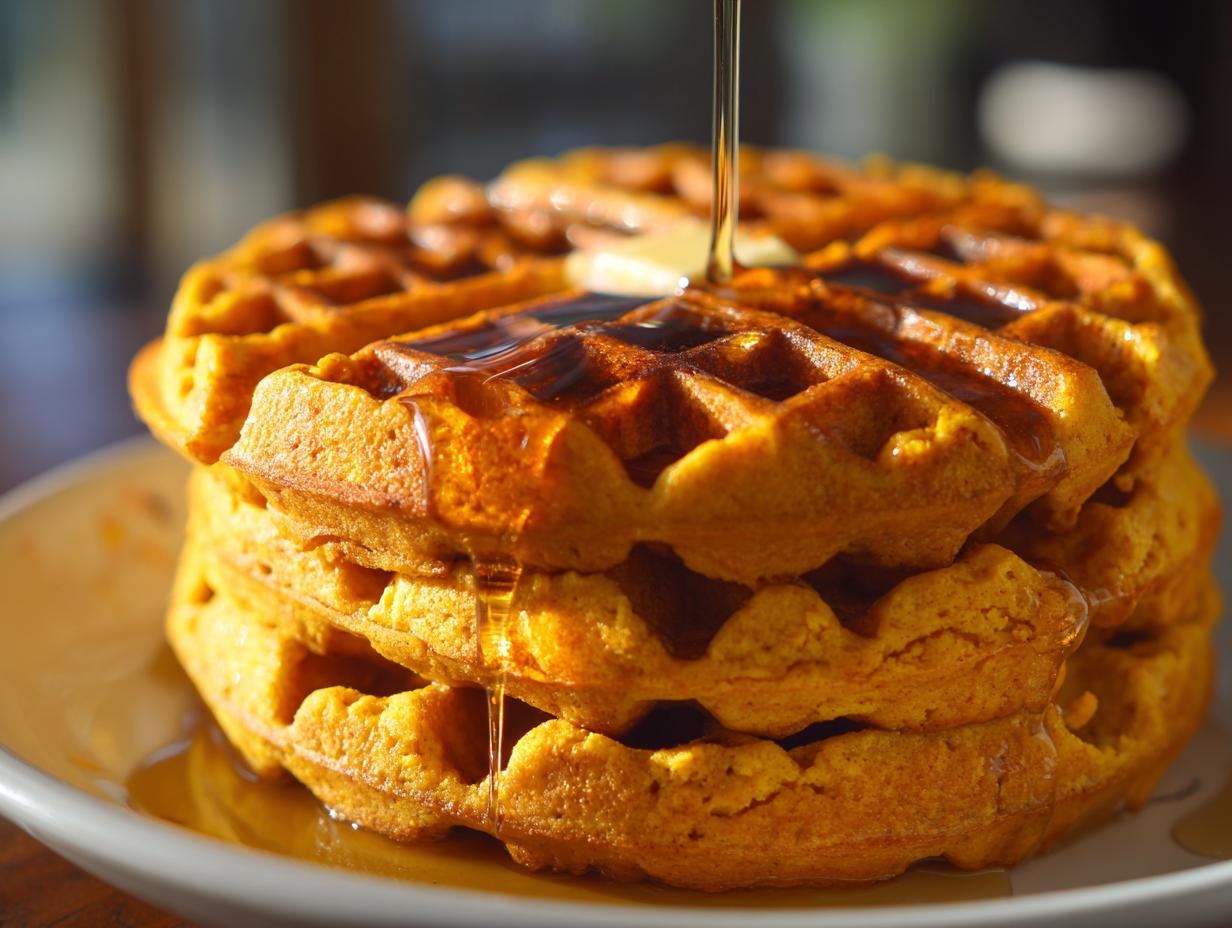
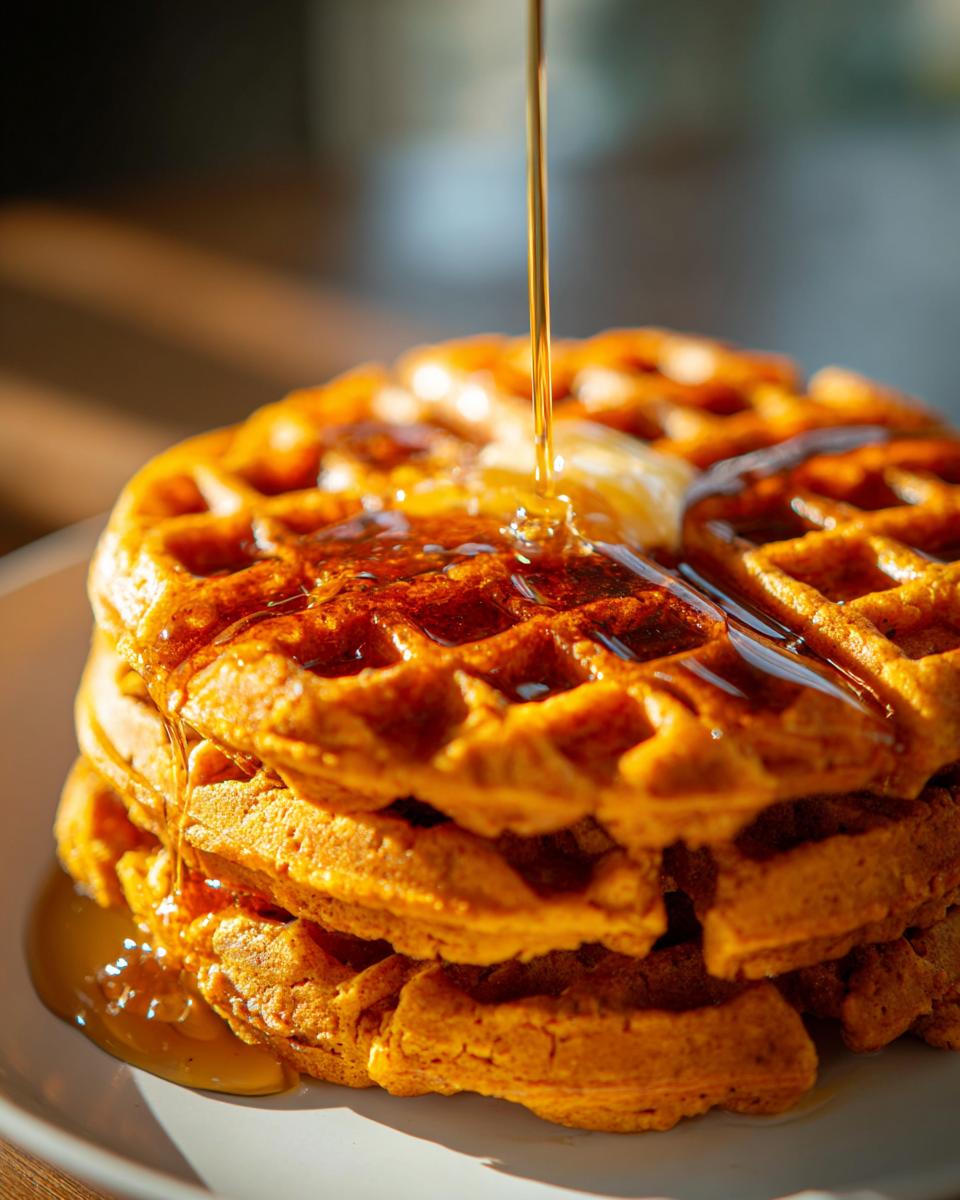
You know that feeling when the air turns crisp and suddenly all you want to do is stay inside under a warm blanket? That’s the official signal that it’s time for my ultimate pumpkin cream cold brew and, more importantly, hot waffles! Forget those soggy, dense morning disappointments; I’m sharing the absolute secret to making **pumpkin waffles** that are flawlessly crispy on the outside and wonderfully fluffy inside. This isn’t some fancy chef trick; it’s built on the same care my grandmother used in our Midwest kitchen. If you’re looking for the **best pumpkin waffles** to anchor your weekend brunch this season, you’ve come to the right corner. We make food here that tastes like home.
- Why These Are the Best Pumpkin Waffles You Will Make This Season
- Ingredients for Homemade Pumpkin Waffles
- How to Prepare Easy Pumpkin Waffles From Scratch
- Tips for the Crispiest Pumpkin Waffles
- Serving Suggestions for Your Pumpkin Waffles
- Storage and Reheating Instructions for Leftover Pumpkin Waffles
- Frequently Asked Questions About Pumpkin Waffles
- Nutritional Data for These Spiced Waffles
- Share Your Cozy Morning Recipes
Why These Are the Best Pumpkin Waffles You Will Make This Season
Honestly, I’ve tried every seasonal breakfast out there, but nothing beats the pure comfort of these spiced waffles when the leaves start turning. These aren’t just another holiday thing; they are the benchmark for all future **pumpkin spice breakfast** attempts! They satisfy that deep craving for nostalgia that only real fall baking can bring. We want warmth, we want spice, and we want texture!
- They deliver those incredible **crispy pumpkin waffles** you see in magazines, but you can actually achieve them at home!
- Inside, they are incredibly light—truly some of the best **fluffy pumpkin waffles** I have ever created.
- They are so easy, they actually qualify as one of my favorite **cozy morning recipes** that doesn’t keep you sweating over the stove all morning.
Achieving Ultimate Fluffiness and Crispness
The secret here, folks, isn’t some fancy ingredient; it’s the chemistry! We use both baking powder *and* baking soda, which gives us that huge lift we associate with truly **fluffy pumpkin waffles**. But what keeps them from deflating into sad pancakes? It’s the gentle mixing! Remember what I said earlier about not overmixing? That’s where the crispness lives. Keeping that gluten relaxed means your waffle stays light and airy, ready to crisp up perfectly on the iron.
Perfect for Weekend Brunch Recipes and Holiday Waffle Recipes
If you need something that feels special without being fussy, this is it. I pull these out for slow Saturday morning brunches, but they shine brightest when you need a reliable, crowd-pleasing option for a big breakfast spread. Trust me, these are destined to become a kitchen staple for your **holiday waffle recipes**. They smell amazing while baking, which really sets the mood for the whole day! Don’t forget to check out my homemade PSL recipe to go along with them!
Ingredients for Homemade Pumpkin Waffles
Gathering your ingredients is one of the most important steps for ensuring these **homemade pumpkin waffles** turn out perfectly. Don’t rush this part! A few small details here make all the difference between a decent waffle and the absolute best one you’ve ever had. I’ve learned the hard way that substituting certain items throws the whole texture off balance, so stick close to my list, especially when it comes to the pumpkin!
If you love working with pumpkin, you might want to save my recipe for pumpkin cream cheese bread while you’re at it!
Here’s what you need for about six big, beautiful waffles:
- 1 3/4 cups all-purpose flour: Make sure this is leveled properly; you want the right structure here for those **crispy pumpkin waffles**.
- 2 tablespoons brown sugar: Use the packed stuff, please! That molasses note is what separates these from plain waffles.
- 2 teaspoons baking powder: This is key for that lift! Don’t try to skip or reduce this if you want those **fluffy pumpkin waffles**.
- 1 teaspoon ground cinnamon: Use fresh spices if you can; the flavor is miles better.
- 1/2 teaspoon ground nutmeg: This is where the classic fall warmth really comes from.
- 1/4 teaspoon ground cloves: This is just a tiny bit, but it rounds out the spice blend beautifully.
- 1/4 teaspoon salt.
- 1 cup milk: Any kind works, but whole milk always gives a richer result.
- 1/2 cup pumpkin puree: **Crucial note:** This must be plain pumpkin puree, NOT pumpkin pie filling, which is already sweetened!
- 2 large eggs: Room temperature eggs mix in better, but if you forget, just don’t stress too much.
- 1/4 cup unsalted butter: It needs to be melted, but let it cool down slightly before adding it to the wet ingredients so it doesn’t scramble those eggs!
- 1 teaspoon vanilla extract.
That’s truly all you need for your **pumpkin waffle recipe** base. Now let’s get mixing—but gently!
How to Prepare Easy Pumpkin Waffles From Scratch
Alright, now that we have all our gorgeous ingredients ready, it’s time to bring this autumn dream to life! Making these **pumpkin waffles** from scratch is so straightforward, it almost feels like cheating, though I promise you, Sarah Jane Thompson approves of every simple, effective step here. We’re going to use the two-bowl method, which is my tried-and-true technique for capturing air and keeping things light. Just remember the mantra: Gentle hands equal fluffy goodness!
Mixing the Dry and Wet Components for Perfect Pumpkin Waffles
First things first, we need to create our two separate universes before they meet. Grab your biggest bowl—the one you use for all your best mixing—and whisk together everything dry. That’s the flour, the brown sugar, the baking powder, soda, and all those lovely spices—cinnamon, nutmeg, and cloves. Whisk it really well here because this ensures the leaveners are evenly distributed. If you miss a clump of baking powder, you’ll end up with a funky texture spot in your waffle, and we absolutely don’t want that!
In your second, medium-sized bowl, we tackle the wet stuff. Get that milk, the smooth pumpkin puree, the eggs, vanilla, and that melted, slightly cooled butter. Whisk this until it looks harmonious. Now comes the moment of truth for those light and airy **pumpkin waffles**. Pour the wet mix right into the dry. Use a spatula or a whisk, and mix just until the flour streaks mostly disappear. I mean it when I say *do not overmix*. If you beat this until it’s perfectly smooth, you activate too much gluten. That gluten is what makes bread chewy, and it’s the enemy of a light **pumpkin waffles** texture. A few stubborn lumps are actually a good sign here! Keep those lumps; they promise you those beautiful, airy pockets.
Waffle Iron Technique for Crispy Pumpkin Waffles
While you were mixing, you should have already set your waffle iron to preheat—make sure it’s fully hot before anything touches it! We are aiming for that golden crisp finish, so a hot surface is non-negotiable. If your iron sticks sometimes (and whose doesn’t?), give it a quick spritz of non-stick spray or brush it with a tiny bit of melted butter right before pouring in the batter for each batch. This extra bit of fat encourages that fantastic exterior crust on your **crispy pumpkin waffles**.
Spoon the batter onto the iron—don’t glob it over the sides! Close the lid and let it cook. Don’t peek too early! Most waffle makers take about 4 to 6 minutes to get that rich, brown color. Once they look done, carefully lift them out. If you’re making a big batch for brunch, don’t stack them hot! They’ll steam each other and get soft fast. Slide them onto a wire rack set inside a very low oven—around 200°F—and just let them rest there. They stay warm, they stay crisp, and you can focus on making that amazing brown butter syrup!
If you’re curious about making these without a waffle iron, check out my post on sourdough pancakes—sometimes you just need a griddle!
Tips for the Crispiest Pumpkin Waffles
We’ve perfected the batter, which gets us halfway there, but I want to talk serious texture now. You want these **pumpkin waffles** to scream ‘fall’ from the moment they leave the iron, right? That means getting them incredibly crisp, not just golden. My grandmother always said that texture is the difference between a good breakfast and a memorable one. These little expert touches turn this recipe into one of the true **best pumpkin waffles** around.
A huge part of the crispness comes from how you treat that iron (which we covered by keeping them warm on a rack), but the biggest game-changer for flavor and crisp exterior is actually what you drizzle on top. Brown butter isn’t just kitchen magic; it’s scientifically the best thing you can do to elevate maple syrup!
Making the Brown Butter Maple Syrup Topping
If you’ve never made brown butter, stop what you’re doing and pay attention. This is how we take these spiced waffles from simple breakfast heaven to an absolute culinary masterpiece. It adds a nutty, toasty depth that plain melted butter just can’t touch, and it complements the cinnamon and nutmeg perfectly. I use this same technique when I make my brown butter sugar cookies!
Here’s the easy procedure for your luscious maple topping:
- Grab a small, light-colored saucepan—this helps you watch the color change!
- Melt about 1/4 cup of good quality, unsalted butter over medium heat. Don’t walk away!
- As the butter melts, it will foam up. Keep stirring gently. You’ll see tiny brown specks start to form on the bottom of the pan. The kitchen is going to smell incredible here—nutty and rich!
- Once you see those flecks and smell that deep, toasty aroma, take it OFF the heat immediately so it doesn’t burn!
- Quickly whisk in about 1/2 cup of pure maple syrup and a tiny pinch of salt to balance everything out.
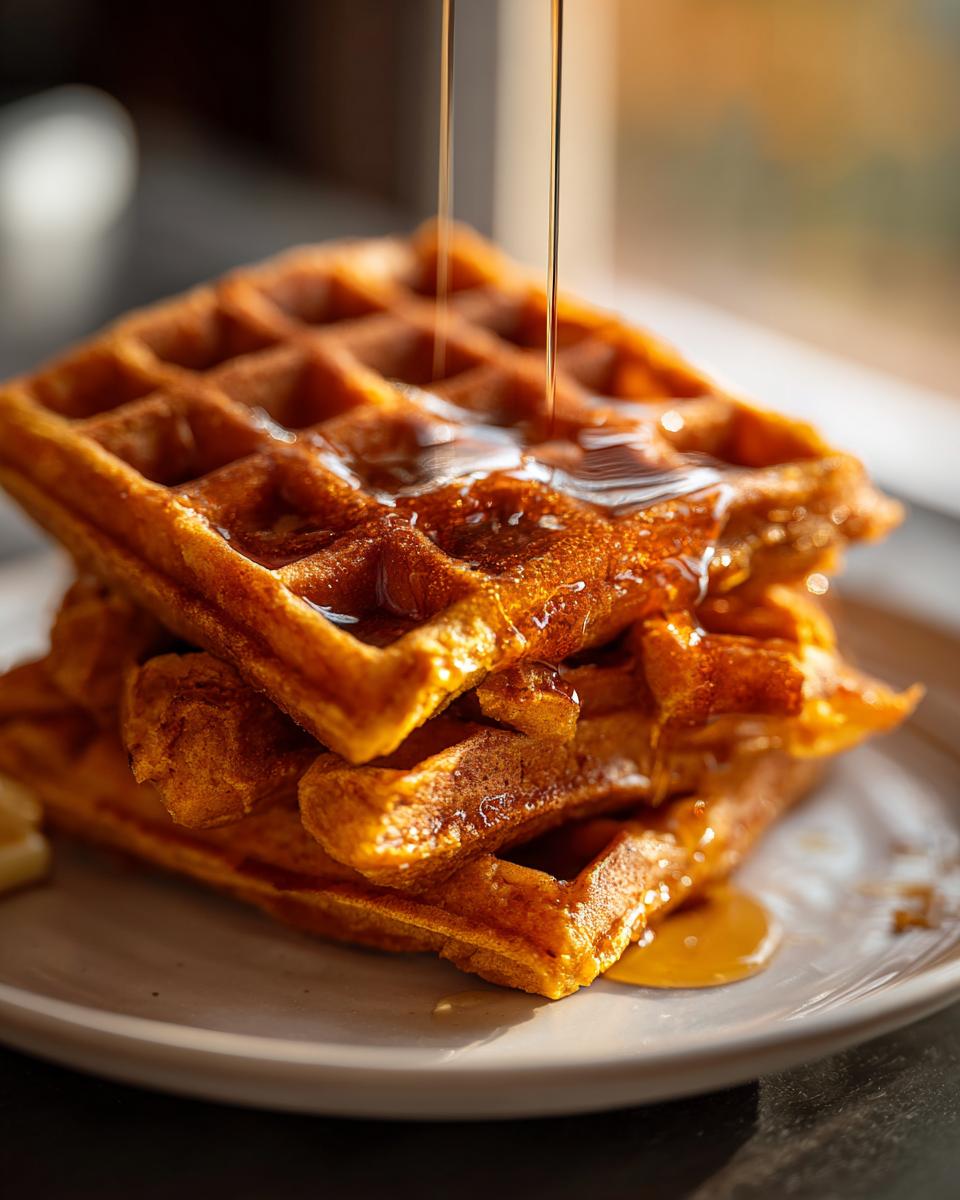
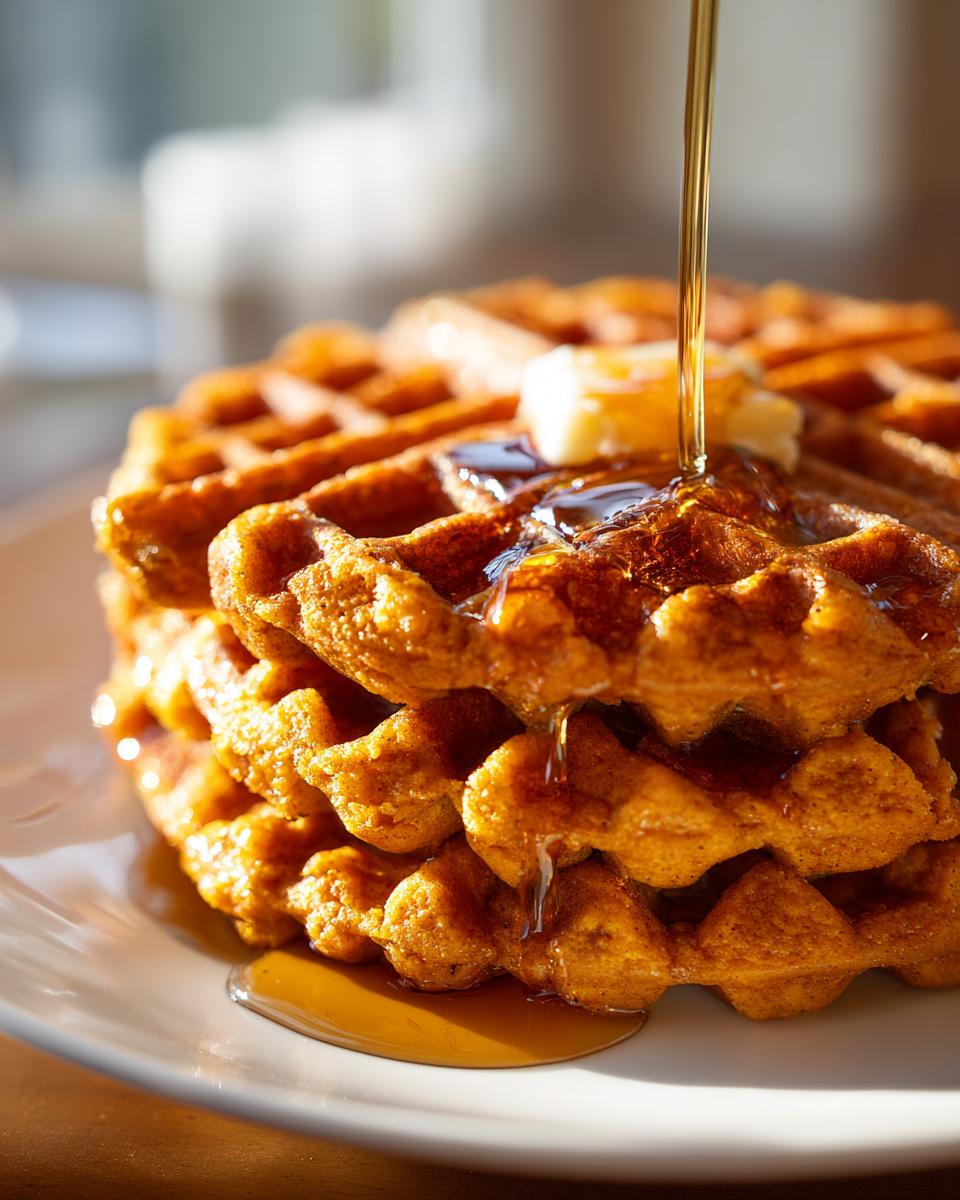
Drizzle this warm, rich sauce over your **crispy pumpkin waffles**, and tell me that doesn’t sound like the perfect start to a cozy morning. I promise you, once you try this brown butter maple syrup, you won’t go back to the plain stuff when making your **fall breakfast ideas**!
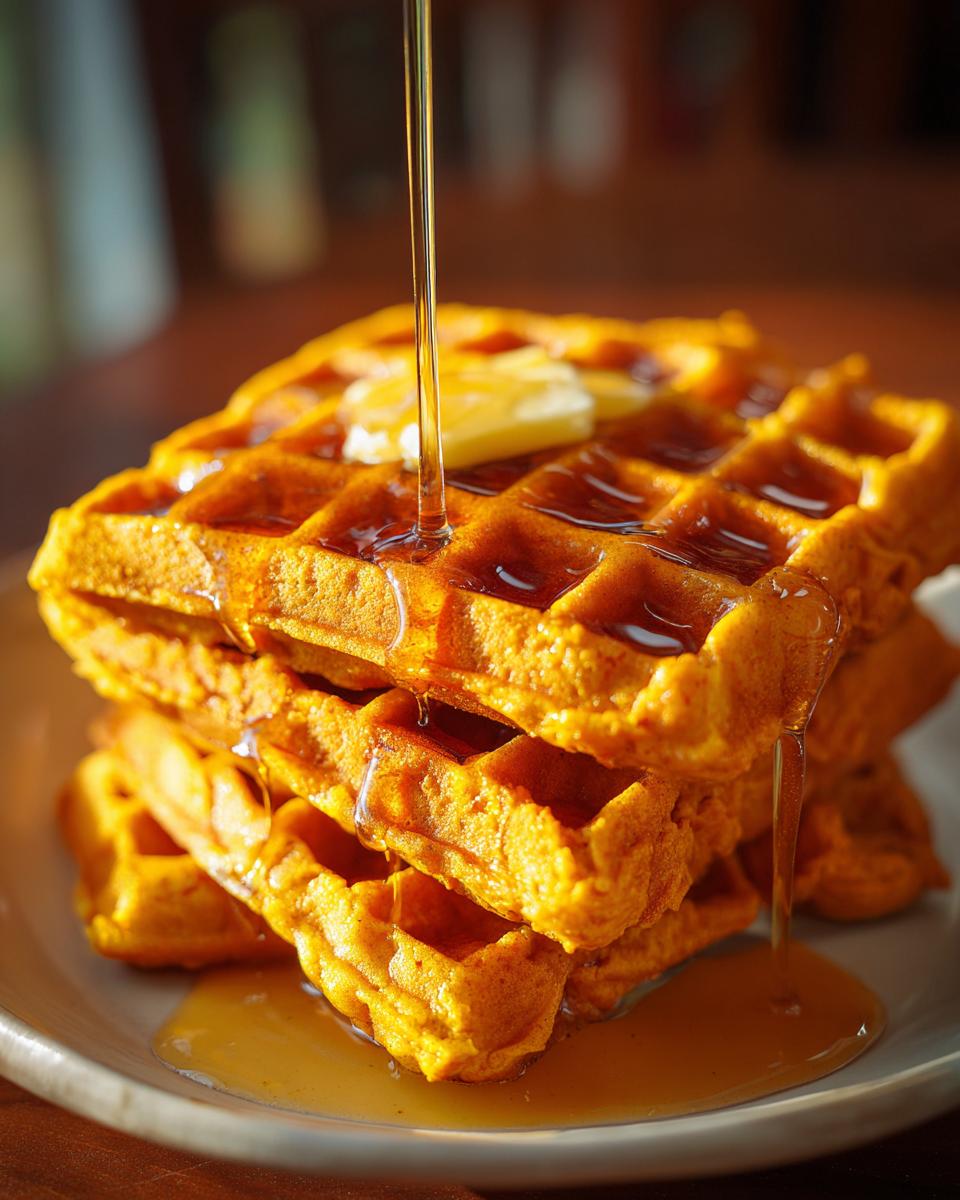
Serving Suggestions for Your Pumpkin Waffles
Now, listen, I adore my signature brown butter maple syrup topping—I truly do—but these **pumpkin waffles** are so flavorful and beautifully spiced that they can handle all sorts of amazing additions. They are perfect for any **weekend brunch recipes** menu because you can cater to everyone’s sweet tooth with varied toppings!
Don’t limit yourself just to syrup! Think about what complements that deep pumpkin spice profile: creaminess, crunch, and a little bright acidity work wonders. These ideas are perfect for decking out a holiday spread or just making a Tuesday morning feel like a celebration.
Here are some of my favorite **maple syrup toppings** alternatives and crunchy companions that take these **spiced waffles** over the top:
- Whipped Cream Dream: A dollop of freshly whipped cream is classic, but jazz it up! Whip your cream with a tiny splash of vanilla extract and a pinch of cinnamon sugar. So fluffy, so good.
- The Crunch Factor: You absolutely need texture against the soft interior. Try topping your waffles with my recipe for crunchy candied pecans, or simply use toasted walnuts or pepitas. That warm, salty-sweet crunch is addictive.
- Cream Cheese Swirl: Soften a little cream cheese and beat it with powdered sugar and a drop of vanilla until it’s runny enough to drizzle. It gives you that necessary tangy contrast, almost like a light frosting layer on your **autumn breakfast treats**.
- Fresh Fruit Brightness: Since pumpkin flavor is so rich, a little fresh fruit cuts through the richness perfectly. Thinly sliced apples sautéed quickly in butter, or even just fresh cranberries if you’re feeling festive, provide a wonderful pop of color and flavor.
- Spice Dusting: If you want to keep things simple but elevated, forget the pourable syrup altogether and just dust the tops heavily with a mix of powdered sugar and cinnamon just before serving. It looks elegant and tastes like pure comfort food breakfast!
Honestly, once you nail the waffle base—crisp and fluffy—the toppings are just the glorious accessories. Enjoy making your own perfect stack of **easy pumpkin waffles**!
Storage and Reheating Instructions for Leftover Pumpkin Waffles
Okay, let’s talk reality. Sometimes you make a huge batch because you just *had* to have that incredible **weekend brunch recipe**, and now you’re staring at a platter of perfection that won’t all fit in one morning. Good news! These aren’t the kind of **spiced waffles** you have to eat immediately. They actually freeze beautifully, making them one of my favorite **breakfast recipes for kids** because I can pull them out on a busy weekday.
Making things ahead is just smart cooking, and it shows you respect your own time—something I truly try to preach here at Cookin’ Corner! For these **easy pumpkin waffles**, the key to successful storage is making sure they chill down *before* they go into the freezer bag. If you stack them hot, they are going to steam each other, and the next morning you’ll pull out a soggy, sad sheet of pumpkin-flavored disappointment. Not happening today!
Here is the simple, trustworthy method for saving these beauties for later:
- Cool Them Completely: Lay your finished **pumpkin waffles** out in a single layer on a wire cooling rack. Let them sit on the counter for at least 30 minutes until they are totally room temperature. If you’re impatient, you can quick-cool them on a baking sheet in the fridge for 15 minutes, but make sure they aren’t warm anymore.
- Flash Freeze is Your Friend: Transfer the cooled waffles to a baking sheet lined with parchment paper, making sure none of them are touching. Pop that sheet into the freezer for about an hour. This flash freezing step is what separates the great freezer waffles from the sticky mess!
- Bag Them Up: Once they are solid enough to handle, you can transfer them to a heavy-duty freezer bag. If you want extra protection against freezer burn (especially if you plan to keep them past a month), you can place a small square of parchment paper between each waffle before bagging. They keep perfectly for up to three months.
Reheating for That Fresh-Off-the-Iron Feel
Reheating is just as important as freezing them correctly if you want to maintain that beautiful texture we worked so hard for! Don’t just toss them in the microwave; that’s a texture killer. If you want truly **crispy pumpkin waffles** on a Tuesday morning, you have two main options:
- The Toaster Method: This is the fastest way! Pop them straight into a standard pop-up toaster. Depending on how dark they were when you froze them, they usually take two or three rounds on a medium setting to get piping hot and crisp again.
- The Oven Method: For larger batches, or if you want to keep them soft inside while warming through, use the oven. Preheat your oven to 350°F. Lay the frozen waffles directly (no need to thaw!) on a baking sheet and warm them up for about 8 to 10 minutes. They come out wonderfully uniform this way.
Either way, serve them immediately after reheating, and don’t forget that final drizzle of your favorite **maple syrup toppings**. Enjoy having these amazing **waffle maker recipes** ready for any morning!
Frequently Asked Questions About Pumpkin Waffles
I know when I’m making a new recipe, especially one I want to be perfect like these **pumpkin waffles**, a few nagging questions pop into my head. That’s totally normal! As your guide here at Cookin’ Corner, I want to make sure you feel 100% confident before you even turn on the iron. I’ve gathered some of the most common things folks ask about making these **waffle maker recipes** shine. If you can master these quick fixes, you’re golden!
Can I substitute the pumpkin puree in this pumpkin waffle recipe?
This is a big one, and my answer has two parts! First, please, please, please do not use canned pumpkin pie filling by mistake. That filling is already loaded with sugar and spices, and it will throw off the balance of the wet and dry ingredients we worked so hard to measure precisely. Stick to 100% pure **pumpkin puree recipes**. If you run out of puree, you can substitute it cup-for-cup with mashed sweet potato puree—that would still give you that lovely autumnal color and moisture, though the flavor tilts a bit sweeter. Just remember, we are using pumpkin here for its specific moisture content!
What is the best way to keep pumpkin waffles warm for a crowd?
If you’re hosting a big family brunch, you can’t just let them pile up on a plate! As I mentioned in the instructions, the absolute best way to manage a crowd and keep your **crispy pumpkin waffles** gorgeous is the low-oven trick. You need a wire rack set inside a sheet pan—this allows the air to circulate all around the waffle, preventing the bottom from getting sweat-soaked. Set your oven to a gentle 200°F. As each batch comes off the iron, place it on that rack immediately. This acts like a holding station. If you have a massive crowd, set up a fun little topping bar right next to the oven so people can serve themselves hot waffles as they come out!
Speaking of serving ideas, if you’re looking for savory pairings that balance the sweetness of these **spiced waffles**, you might want to check out how I make my sweet potato skillet! It’s a great side dish for any **fall breakfast ideas** spread.
Nutritional Data for These Spiced Waffles
Now, I always tell folks that when you’re making homemade comfort food based on generational recipes, you shouldn’t worry too much about the numbers. When you’re cooking with real butter and fresh ingredients, you’re making food that nourishes the soul first! However, just because we believe in cooking with love doesn’t mean we can’t be transparent about what’s in that amazing stack of **pumpkin waffles** you’re about to enjoy. This gives you a better idea of what you’re serving up for your **weekend brunch recipes**!
Please keep in mind that these figures are just estimates, based on the exact ingredients listed in the recipe and how they break down into 6 servings. If you add a mountain of whipped cream or go heavy on the brown butter maple topping? Well, those add-ons will certainly change the totals, so consider this the baseline for one of my **easy pumpkin waffles**!
Here is the approximate nutritional breakdown per single waffle:
- Serving Size: 1 waffle
- Calories: 280
- Fat: 11g (Including 6g of saturated fat from that delicious butter!)
- Carbohydrates: 40g
- Protein: 7g
- Sugar: 10g (Mostly from the brown sugar and natural pumpkin sweetness)
- Fiber: 2g
- Cholesterol: 65mg
- Sodium: 350mg
This information is really just for reference, sweet friend. What really matters is the memory you make while enjoying these **homemade pumpkin waffles**! Use this data as a guide, but feel free to enjoy every single bite because these **fall breakfast ideas** deserve to be celebrated!
Share Your Cozy Morning Recipes
Well, my friend, that’s it! You now have the keys to the castle. You have the secret to making truly memorable, wonderfully textured **pumpkin waffles** that will make every weekend morning feel like a holiday morning. I truly hope you cherish this recipe as much as my family does.
But Cookin’ Corner isn’t just my story; it’s about all of us sharing those little slices of home we create in our kitchens. So, once you’ve made your first, perfectly **crispy pumpkin waffles** batch, I absolutely want to hear about it! Did you try the brown butter syrup? Did the kids devour them?
Please don’t be shy! Scroll down and drop a star rating so other home cooks know how much you loved this **easy pumpkin waffle recipe**. Even better, let me know in the comments what your absolute favorite topping is for these **fall breakfast ideas**—maybe you have a topping that beats my brown butter!
And if you snapped a picture of your beautiful, steaming stack of **fluffy pumpkin waffles**, tag us on social media! Seeing your creations come to life is the greatest compliment Sarah Jane and I could ever receive. It means we’re all keeping that tradition of real, heartfelt American cooking alive—one waffle at a time!
For even more comforting recipes perfect for slow mornings and brunch gatherings, take a look at my full collection of breakfast and brunch recipes. Happy cooking, and enjoy that cozy autumn feeling!
PrintThe Ultimate Fluffy & Crispy Pumpkin Spice Waffles
Make your fall mornings special with these homemade pumpkin waffles. This recipe delivers waffles that are crisp on the outside and perfectly fluffy inside, packed with warm pumpkin spice flavor. It is an easy recipe perfect for weekend brunch or holiday breakfast.
- Prep Time: 10 min
- Cook Time: 20 min
- Total Time: 30 min
- Yield: 6 large waffles 1x
- Category: Breakfast
- Method: Waffle Iron
- Cuisine: American
- Diet: Vegetarian
Ingredients
- 1 3/4 cups all-purpose flour
- 2 tablespoons brown sugar
- 2 teaspoons baking powder
- 1 teaspoon baking soda
- 1 teaspoon ground cinnamon
- 1/2 teaspoon ground nutmeg
- 1/4 teaspoon ground cloves
- 1/4 teaspoon salt
- 1 cup milk
- 1/2 cup pumpkin puree
- 2 large eggs
- 1/4 cup melted unsalted butter
- 1 teaspoon vanilla extract
Instructions
- In a large bowl, whisk together the flour, brown sugar, baking powder, baking soda, cinnamon, nutmeg, cloves, and salt. This is your dry mix.
- In a separate medium bowl, whisk together the milk, pumpkin puree, eggs, vanilla extract, and melted butter until combined. This is your wet mix.
- Pour the wet ingredients into the dry ingredients. Mix gently with a whisk or spatula until just combined. Do not overmix; a few small lumps are fine. Overmixing develops gluten and makes the waffles tough.
- Preheat your waffle iron according to the manufacturer’s directions. Lightly grease the iron if necessary.
- Pour the batter onto the hot waffle iron, using the amount recommended for your specific iron size.
- Cook until the waffle is golden brown and crisp, usually 4 to 6 minutes, depending on your machine.
- Carefully remove the waffle and serve immediately, or keep warm in a single layer on a wire rack in a 200°F oven while you cook the remaining batter.
- Serve your best pumpkin waffles topped with maple syrup or whipped cream.
Notes
- For extra crispiness, brush the inside of your hot waffle iron lightly with melted butter or cooking spray before pouring in the batter for each waffle.
- If you want to make a brown butter maple syrup topping, gently melt 1/4 cup of butter in a small saucepan over medium heat until it foams and brown bits form at the bottom, then stir in 1/2 cup of maple syrup and a pinch of salt.
- This easy pumpkin waffle recipe freezes well. Cool completely, then place waffles in a single layer on a baking sheet to freeze. Once frozen, transfer to a freezer bag for up to three months. Reheat in a toaster or oven.
Nutrition
- Serving Size: 1 waffle
- Calories: 280
- Sugar: 10g
- Sodium: 350mg
- Fat: 11g
- Saturated Fat: 6g
- Unsaturated Fat: 5g
- Trans Fat: 0g
- Carbohydrates: 40g
- Fiber: 2g
- Protein: 7g
- Cholesterol: 65mg