
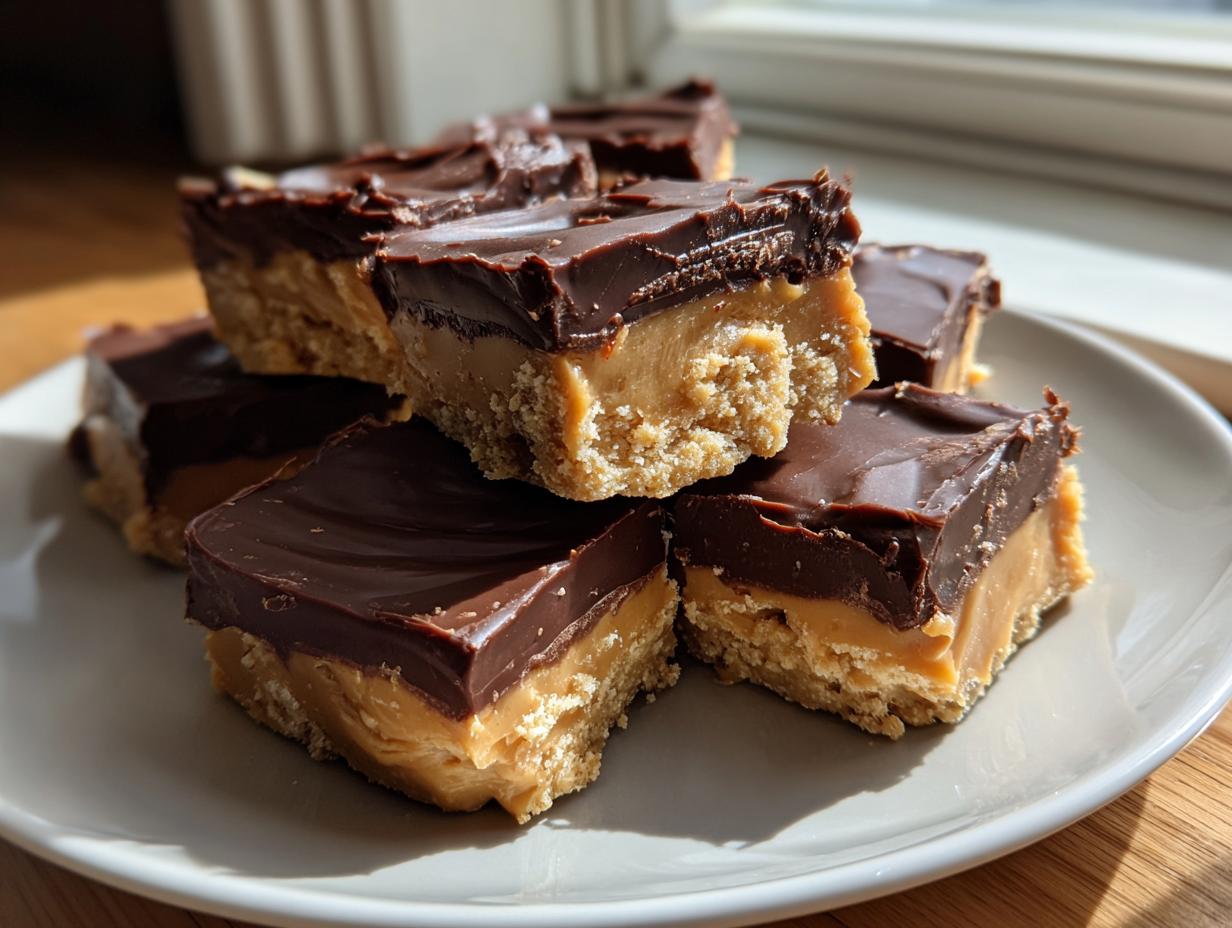
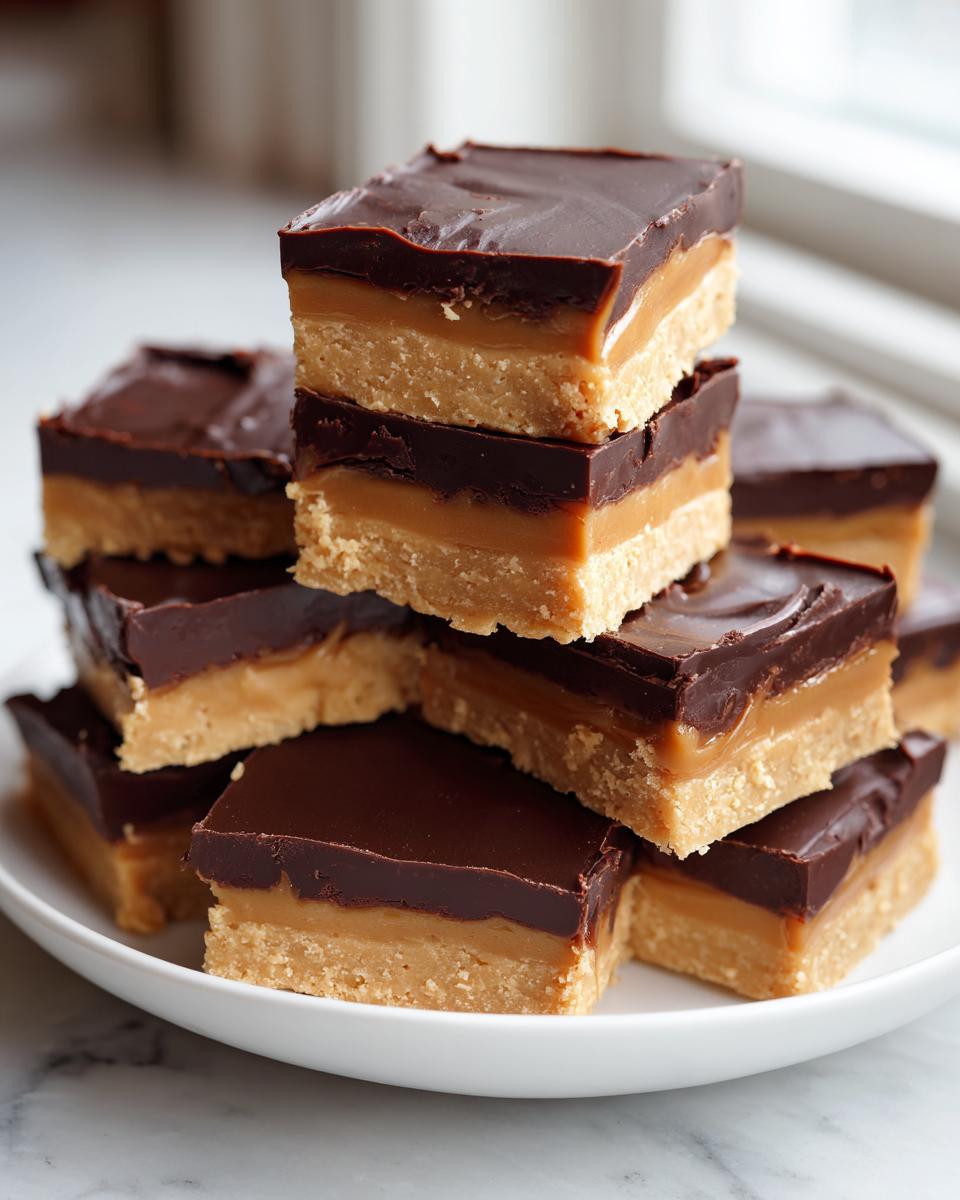
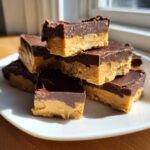
Oh, that combination! Is there anything more purely comforting in the American kitchen than the marriage of rich, dark chocolate and salty, creamy peanut butter? When that craving hits, you need something fast, something decadent, and something that tastes like the best homemade candy you’ve ever had. That is exactly what this recipe delivers: the ultimate buckeye fudge. I swear, growing up in the Midwest, these flavors were in everything we loved, and this fudge captures that exact Classic Buckeye Candy Flavor in an absolutely glorious, no-fuss square. It cuts down on the effort of dipping those traditional buckeyes but keeps all the melt-in-your-mouth magic Sarah Jane Thompson always strives for in her favorite treats. If you love this pairing, be sure to check out my recipe for Peanut Butter Cup Cookies too!
- Why This Creamy Buckeye Fudge Recipe Works Every Time
- Gathering Ingredients for Your Buckeye Fudge
- Step-by-Step Instructions for Easy Buckeye Fudge
- Tips for Perfect Buckeye Fudge Presentation and Texture
- Serving Suggestions for Your Homemade Candy Recipe
- Storage and Reheating Instructions for Buckeye Fudge
- Frequently Asked Questions About Buckeye Fudge Recipe
- Estimated Nutritional Data for Buckeye Fudge
- Share Your Homemade Candy Recipe Experience
Why This Creamy Buckeye Fudge Recipe Works Every Time
When you’re facing a serious craving, you don’t want complicated instructions—you want results that taste incredible without turning on the oven. This is why our **buckeye fudge** has become one of our go-to **quick fudge treats**. It’s wonderfully reliable, which is so important when you’re relying on a homemade candy recipe!
- This recipe guarantees that rich, melt-in-your-mouth sensation you want in a confection.
- It comes together so fast; honestly, the hardest part is waiting for it to chill!
- We rely on pantry staples, making it easy to whip up last minute. Check out my other Easy Homemade Candy guides for more quick wins!
Perfect Texture: Rich, Creamy, and Fudgy
Forget dry, crumbly fudge that fights you when you try to cut it. That layer on the bottom? It’s pure velvet. The secret to achieving that luxurious **creamy fudge dessert** texture is the powerhouse duo of softened butter and the sweetened condensed milk you use in the chocolate topping. It sets up beautifully but stays soft and fudgy when you take a bite.
The Ultimate No Bake Chocolate Peanut Butter Treat
If you’ve ever made traditional Buckeyes, you know it’s a whole process of rolling balls and dipping! This recipe cuts out all that tedious work, giving you the exact same wonderful taste in one pan. It’s the perfect **No Bake Chocolate Peanut Butter** solution for when you need that classic flavor profile without the fuss. Seriously, it’s a game-changer for busy holidays.
Gathering Ingredients for Your Buckeye Fudge
Okay, let’s get organized! Since this **buckeye fudge** is so straightforward, the most important step is having everything ready to go before you start mixing. Unlike baking where you have a little wiggle room, with fudge, you want to move quickly once the layers start coming together. This **Easy Peanut Butter Fudge** relies on a handful of items you probably already have, which is the beauty of it, right? Just make sure your butter is *softened*—and I mean truly soft, like it’s been sitting out for an hour—when you go to tackle that peanut butter layer. That softness is key! If you love this flavor pairing, you should run over and check out my Peanut Butter Cup Cookies after you finish reading!
Here is exactly what you’ll need for this fantastic dessert:
- 1 cup unsalted butter, softened
- 1 ½ cups creamy peanut butter
- 3 ½ cups powdered sugar, sifted
- 1 teaspoon vanilla extract
- 7 ounces sweetened condensed milk
- 1 ½ cups semi-sweet chocolate chips
- 2 tablespoons butter (for chocolate topping)
Ingredient Notes and Substitutions for Buckeye Fudge
Now, I know some folks like to swap things out, but for this recipe, especially when we are talking about that perfect, creamy base, stick close to the list! For the peanut butter layer, you absolutely need that classic, shelf-stable, creamy peanut butter—like Jif or Skippy. Please don’t try to use the natural, oily kind; it separates like crazy and your peanut butter layer will turn oily instead of thick and fudgy. Trust me on this one for the best results!
Also, sifting your powdered sugar is non-negotiable. Nobody wants little sugar lumps in their beautiful, smooth fudge! Finally, for the topping, semi-sweet chocolate chips melt beautifully, but if you want to be extra indulgent, feel free to use a mix of semi-sweet and milk chocolate. I always keep the recipe focused on semi-sweet because it balances the sweetness of the peanut butter layer so perfectly.
Step-by-Step Instructions for Easy Buckeye Fudge
Alright, this is where the magic happens! Since this is a no-bake recipe, precision in *sequence* is everything, not cooking time. I’ve broken down the process so you can move smoothly from measuring to chilling. The beauty of this layered approach means you can work on the base while you get the topping ready. It truly is one of the quickest **homemade candy recipes** you’ll ever tackle. If you want more quick wins like this, run over and see my guide on Sugar Cookie Truffles!
Preparing the Peanut Butter Base Layer
First things first, get your container ready! Line an 8×8 inch baking pan with parchment paper, making sure you leave that nice overhang on the sides. That overhang is your handle for lifting this beautiful fudge out later! In a big bowl, beat together your softened butter and the peanut butter until it’s smooth and looks happy. Next comes the powdered sugar and vanilla—add the sifted sugar gradually while mixing on low speed so you don’t create a sugar cloud in your kitchen! Keep going until it’s all combined and looks thick enough to handle. Once it’s ready, transfer it into your prepared pan. Use the back of a spatula or your fingers (lightly oiled helps!) to press that peanut butter layer down evenly across the bottom. It needs to be perfectly flat so the chocolate layer sits nicely on top. Once it’s pressed firm, just set the pan aside while we work on the topping.
Creating the Rich Chocolate Topping for Buckeye Fudge
This chocolate layer is what gives you that classic buckeye look, and we have to treat it gently! In a small saucepan, combine the sweetened condensed milk, the chocolate chips, and those extra two tablespoons of butter. We are doing this over low heat—and I mean *low*! You must stir constantly here. We are aiming for wonderfully glossy and smooth, not hot enough to boil or scald the milk. Keep stirring until every single chocolate chip has dissolved and the mixture looks like liquid silk. Once it’s perfectly smooth, pull it off the heat right away. Now gently pour that luscious chocolate mixture evenly over the peanut butter base you already set aside. Spread it out carefully so you don’t disturb the layer underneath. When it’s covered edge-to-edge, the hard work is done! Now, pop it into the fridge to chill undisturbed for at least three hours. You can find more fantastic easy homemade candy ideas on my main recipe index!
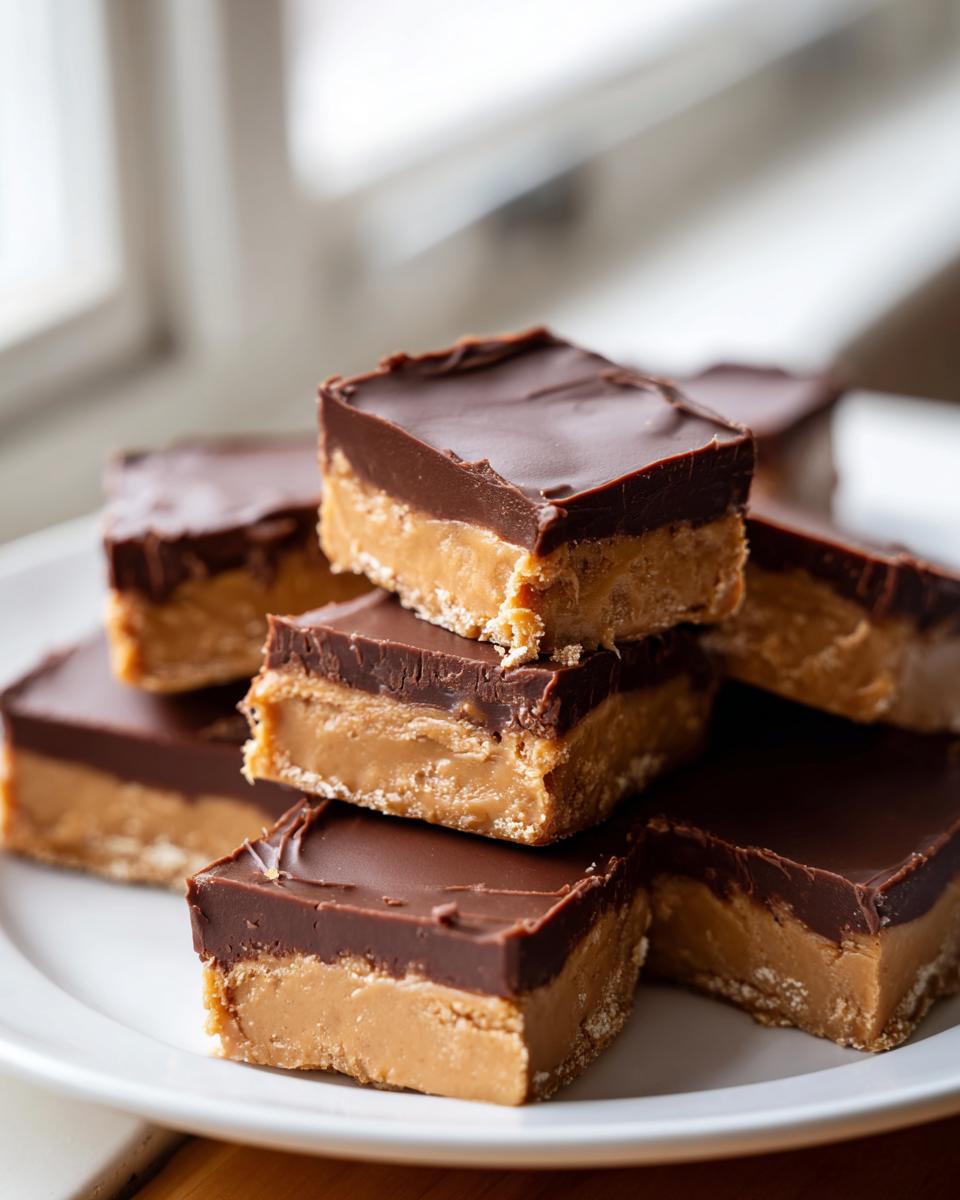
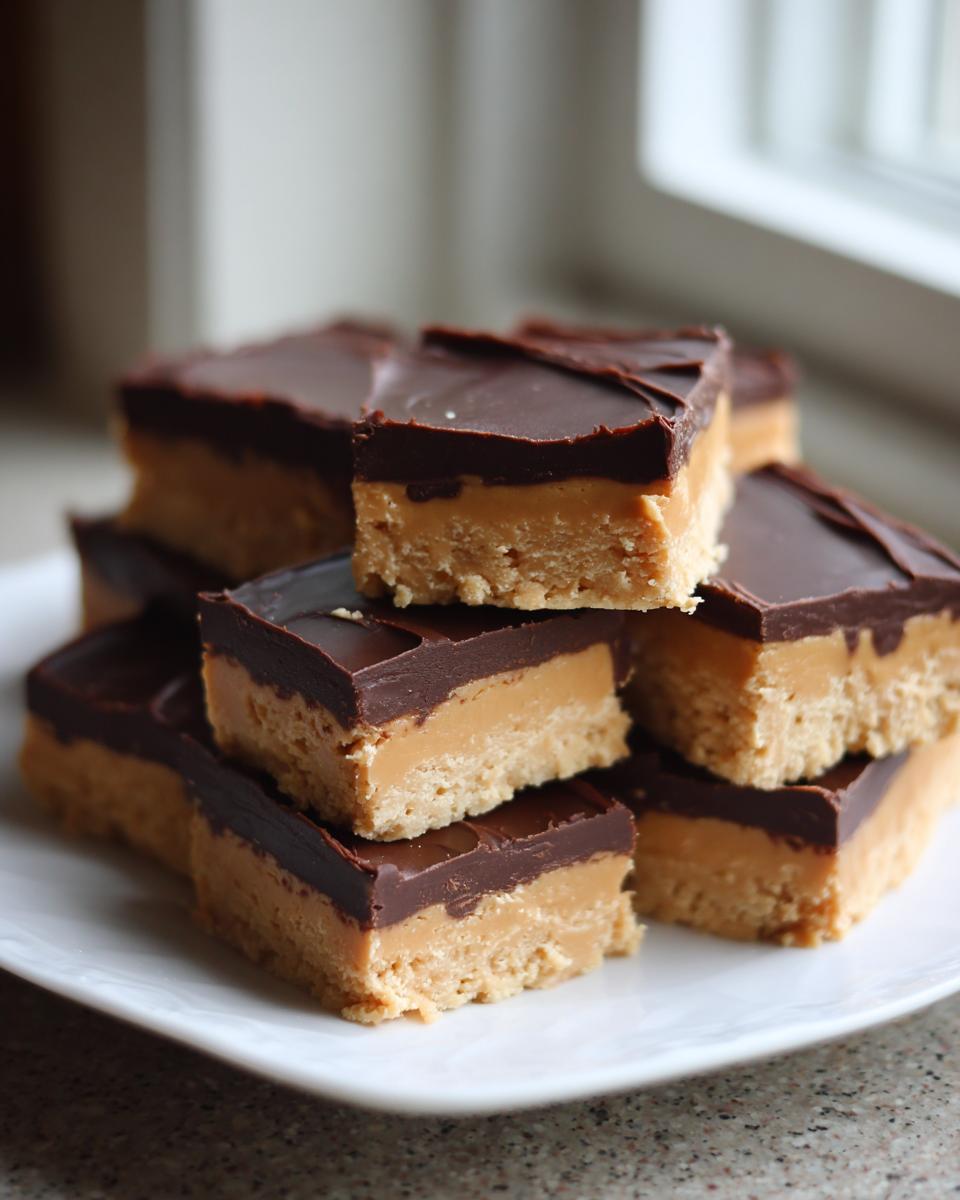
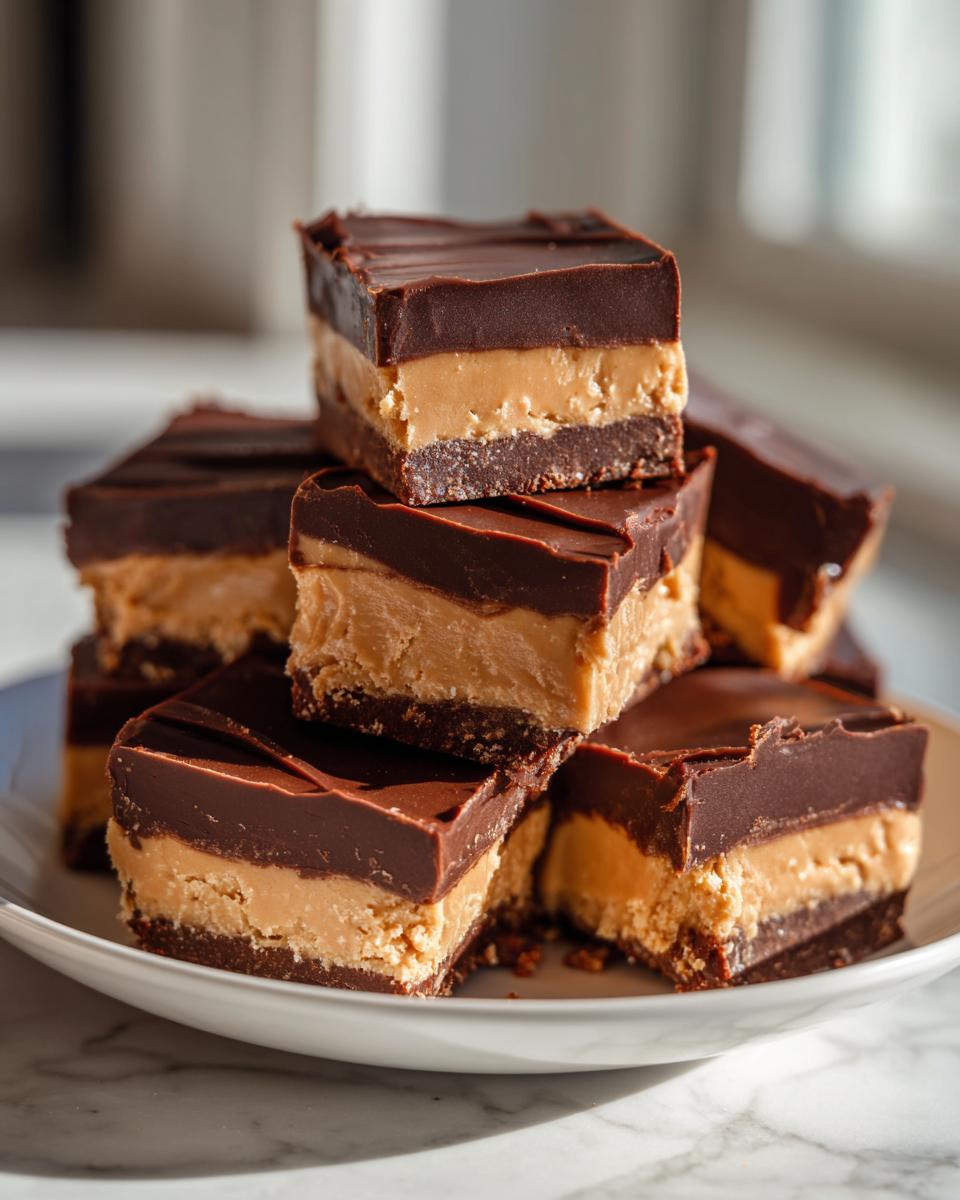
Tips for Perfect Buckeye Fudge Presentation and Texture
We’ve done the mixing, and the chilling is coming to an end—now we have to approach cutting this beauty like true professionals! We want those gorgeous, clean edges for our **Simple Fudge Squares** because presentation is half the fun, especially when showing off your **homemade candy recipe** skills. Achieving that perfect look takes just a couple of professional tricks that I learned the hard way!
Achieving Clean Cuts on Your Buckeye Fudge
Patience is truly a virtue when it comes to chilling this fudge. You *must* let it chill for at least three hours, maybe even four if your kitchen is warm. If you try to cut it too soon, you’ll end up just smooshing the layers together, and nobody wants that mess!
Once it’s firm, the real secret to sharp edges is a hot, clean knife. I run my sharp, long knife under very hot water for about 30 seconds—you want it hot, but dry the blade off thoroughly before you go near the fudge. Make your first cut, then immediately wipe the knife clean, run it under hot water again, dry it, and make your second cut. Repeating this process keeps the chocolate topping from dragging and ensures every piece looks professional. For more tips on getting those perfect chocolate finishes, check out my guide on Ultimate Fudgy Brownies with a Crackly Top!
Remember, you lift the entire block out using those parchment overhangs before you cut. This lets you get clean lines on all four sides of the block first before slicing it into smaller squares. It makes cutting so much easier and faster!
Serving Suggestions for Your Homemade Candy Recipe
Because this **buckeye fudge** is so unbelievably rich, a little bit goes a long way! This really shines when you are putting together a platter of **Fudge for Holidays**. It’s the ultimate companion to things like peanut butter cookies or chewy bars because the textures play off each other so nicely. Think about setting up a small dessert table during Christmas gatherings—you need something decadent that doesn’t require hours of fussy assembly, and this is it!
When it comes to pairing, I think this intense chocolate and peanut butter flavor needs something simple to cut through the richness. I always serve it alongside strong black coffee—the bitterness is just perfect against the sweet, creamy layers. For the kids (or for me, let’s be honest!), a tall glass of cold milk is mandatory. It balances out that sweet punch perfectly.
If you are getting into the spirit of **Holiday Candy Making**, this fudge is a wonderful anchor piece. It transports so well, too! If you’re looking for other show-stoppers that are just as easy to manage during the busy season, you must try my recipe for Caramel Ritz Cracker Cookies—they’re salty, sweet, and totally addictive.
And if you’re looking to fill out that cookie tray with other crowd-pleasers that also skip the oven, my Chewy M&M Cookie Bars pair delightfully well with the fudgy texture here. This fudge is proof that the best treats for sharing don’t have to be complicated!
Storage and Reheating Instructions for Buckeye Fudge
My favorite part about making **buckeye fudge** is that the cleanup is minimal, and the leftovers are practically nonexistent because they disappear so fast! But let’s say you managed to save a few squares (or you’re making candy for a holiday party), storage is super easy. Since this recipe is so rich and relies on butter rather than traditional baked ingredients, it needs to stay cool to maintain that perfect texture.
You want to keep your amazing fudge squares in an airtight container, and the absolute best place for them is the refrigerator. I’ve found that if they sit out on the counter for too long, especially if your kitchen is warm, the peanut butter layer starts to get a little too soft, and you lose that satisfying ‘fudgy’ resistance when you bite into it. In the fridge, this fudge stays perfectly firm yet creamy for up to a week—which is fantastic for making holiday treats ahead of time!
If you’re asking about freezing? Yes, you totally can! Wrap the cooled, cut squares tightly in plastic wrap first, and then pop them into a freezer-safe, rigid container. They should keep quite well for up to two months. When you want to enjoy one, just transfer the pieces to the refrigerator for a few hours to thaw slowly before serving. It’s a great way to keep a batch ready for unexpected guests. Speaking of saving food, if you ever have leftovers from dinner that need preserving, check out my Easy Leftover Turkey Soup Recipe for another great storage tip!
Frequently Asked Questions About Buckeye Fudge Recipe
It’s completely natural to have a few questions when you’re trying a new **homemade candy recipe**! I want to make sure your batch of **buckeye fudge** turns out absolutely perfect, tasting just like those sweet, comforting Ohio treats we all adore. Here are a few things I hear often about this **easy peanut butter fudge**.
Can I use natural peanut butter in this Buckeye Fudge?
Oh, I really wish you could, but for this recipe, absolutely not! You must stick with conventional, creamy peanut butter. If you use a natural peanut butter where the oil separates, that peanut butter layer won’t firm up correctly; it won’t hold its shape—we need that thick, uniform texture for the layering to work. Stick to the stuff that needs a good stir when you first open the jar, if you know what I mean!
Is this the same as traditional Buckeye Candy?
It’s the same flavor profile, but not the same structure! Traditional Buckeyes are those little peanut butter balls that you dip halfway in chocolate to look like a buckeye nut. This recipe gives you all the delightful chocolate and peanut butter taste in a much simpler, layered fudge square. It captures the essence without the dipping marathon. We call it the easy route to indulgence!
How long does this Easy Peanut Butter Fudge last?
This is a big plus for **Holiday Candy Making**! Since this is a no-bake treat, flavor and texture are best preserved when kept cool. If you store your cut squares in an airtight container in the refrigerator, they stay wonderfully **creamy fudge dessert** quality for up to one whole week. They freeze well too, if you manage to hide some from yourself! If you’re looking for more incredible treats, check out my full list of dessert recipes!
Estimated Nutritional Data for Buckeye Fudge
I always think it’s good practice to give you an idea of what’s in these amazing treats, even though they disappear so fast! Remember, because this **buckeye fudge** relies on simple pantry items, these numbers are estimates based on standard ingredient amounts. Fudge is definitely an indulgence—we aren’t hiding any vegetables in here!—but knowing what you’re enjoying is part of being a confident cook. Treat this information as a guideline for your **rich chocolate fudge**!
- Serving Size: 1 square
- Calories: 210
- Fat: 13g
- Saturated Fat: 6g
- Carbohydrates: 23g
- Sugar: 22g
- Protein: 4g
- Cholesterol: 25mg
With that much rich flavor packed into just one small square, that’s why these are perfect for serving at holiday gatherings where people are nibbling! They offer a huge payoff for just a little bit of effort.
Share Your Homemade Candy Recipe Experience
Now that you’ve had a chance to whip up this incredibly easy **buckeye fudge**, I absolutely have to know what you think! We’ve done the hard work together—the creaming, the careful melting, and the agonizing wait while it chills. This is where Sarah Jane Thompson loves to hear from you the most!
Did this recipe make your holiday platter shine? Was it your favorite **quick fudge treat**? Please don’t keep all that deliciousness to yourself! Head down to the comments section below and leave a star rating for the fudge. I’m always tweaking and perfecting my classic approach, and nothing helps me more than real feedback from fellow home cooks like you.
And if you took a picture of those gorgeous, creamy squares, I would love, love, love to see them! You can share your photos on social media and tag us—it honestly makes my day to see these recipes coming to life in your kitchens. If you’re looking for other places to share your sweet creations, I always appreciate seeing what others are making, like the fantastic creations at Easy Cook Today.
If you have questions about ingredients or need a little troubleshooting advice (maybe your chocolate topping got a little too warm!), drop those in the comments too. Just use the contact form here if you have a private question. Happy cooking, and thank you so much for letting this Midwest classic into your home!
PrintEasy No-Bake Buckeye Fudge Recipe
Make this rich, creamy Buckeye Fudge that captures the classic chocolate and peanut butter flavor combination. This simple, no-bake recipe is perfect for holiday treats or any time you need an indulgent sweet treat.
- Prep Time: 20 min
- Cook Time: 5 min
- Total Time: 3 hours 25 min
- Yield: 36 squares 1x
- Category: Dessert
- Method: No-Bake
- Cuisine: American
- Diet: Vegetarian
Ingredients
- 1 cup unsalted butter, softened
- 1 ½ cups creamy peanut butter
- 3 ½ cups powdered sugar, sifted
- 1 teaspoon vanilla extract
- 7 ounces sweetened condensed milk
- 1 ½ cups semi-sweet chocolate chips
- 2 tablespoons butter (for chocolate topping)
Instructions
- Line an 8×8 inch baking pan with parchment paper, leaving an overhang for easy removal.
- In a large bowl, beat the softened butter and peanut butter together until smooth.
- Gradually add the sifted powdered sugar and vanilla extract, mixing on low speed until fully combined and the mixture is thick.
- Press the peanut butter mixture evenly into the prepared pan. Set aside.
- In a small saucepan over low heat, combine the sweetened condensed milk, chocolate chips, and 2 tablespoons of butter. Stir constantly until the chocolate is completely melted and the mixture is smooth. Do not let it boil.
- Pour the melted chocolate mixture evenly over the peanut butter layer in the pan. Spread gently to cover the entire surface.
- Refrigerate the fudge for at least 3 hours, or until firm enough to cut.
- Lift the fudge out of the pan using the parchment paper overhang. Cut into small squares to serve.
Notes
- For the best texture, ensure your butter is truly softened, not melted, before mixing with the peanut butter.
- If you prefer a firmer fudge, chill it for longer, up to 4 hours.
- This fudge keeps well in an airtight container in the refrigerator for up to one week.
Nutrition
- Serving Size: 1 square
- Calories: 210
- Sugar: 22g
- Sodium: 95mg
- Fat: 13g
- Saturated Fat: 6g
- Unsaturated Fat: 7g
- Trans Fat: 0g
- Carbohydrates: 23g
- Fiber: 1g
- Protein: 4g
- Cholesterol: 25mg