
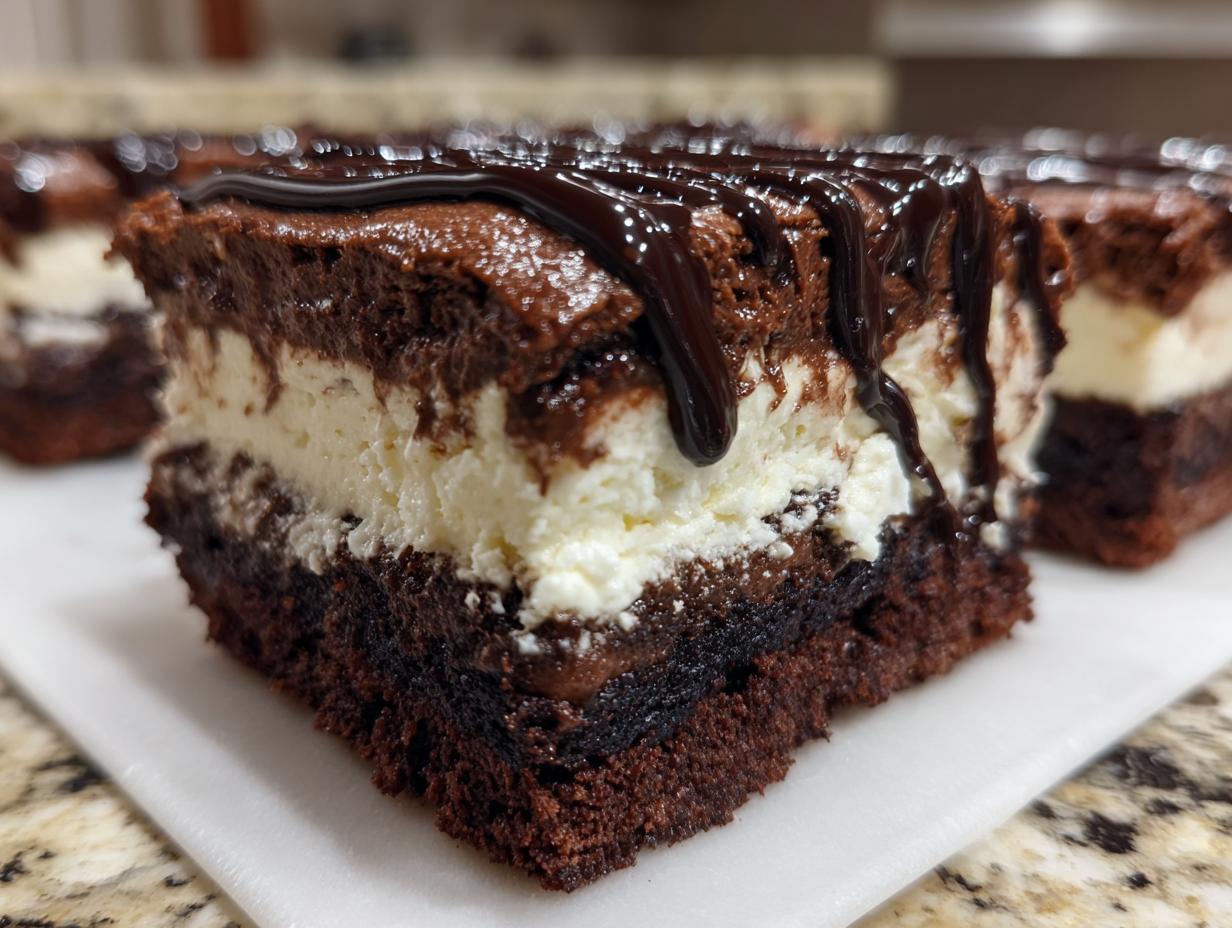
Sometimes, you just need pure, unadulterated chocolate decadence without the fuss of turning on the oven, right? When that craving hits, especially when you’re planning for a crowd, nothing beats the deep, cool satisfaction of a layered, chilled treat. That’s why, here at Cookin’ Corner, we swear by this brownie refrigerator cake. It takes that rich, fudgy flavor you love from a fresh-baked brownie and transforms it into a sturdy, creamy confection that practically makes itself while you’re busy. Like all the best dishes we share, this recipe is built on the foundation of reliable, comforting cooking that my grandmother always taught me—just good, honest ingredients layered with care. You can find tons more comforting sweets like this in our full collection of dessert recipes.
- Why This Brownie Refrigerator Cake is Your New Favorite Easy Layered Chocolate Cake
- Gathering Ingredients for Your Brownie Refrigerator Cake
- Step-by-Step Instructions for Perfect Brownie Refrigerator Cake
- Tips for Success with Your Brownie Refrigerator Cake
- Storage and Serving Suggestions for This Chilled Fudgy Dessert
- Frequently Asked Questions About the Brownie Refrigerator Cake
- Estimated Nutritional Data for This Decadent Chocolate Dessert
- Share Your Brownie Refrigerator Cake Creations
Why This Brownie Refrigerator Cake is Your New Favorite Easy Layered Chocolate Cake
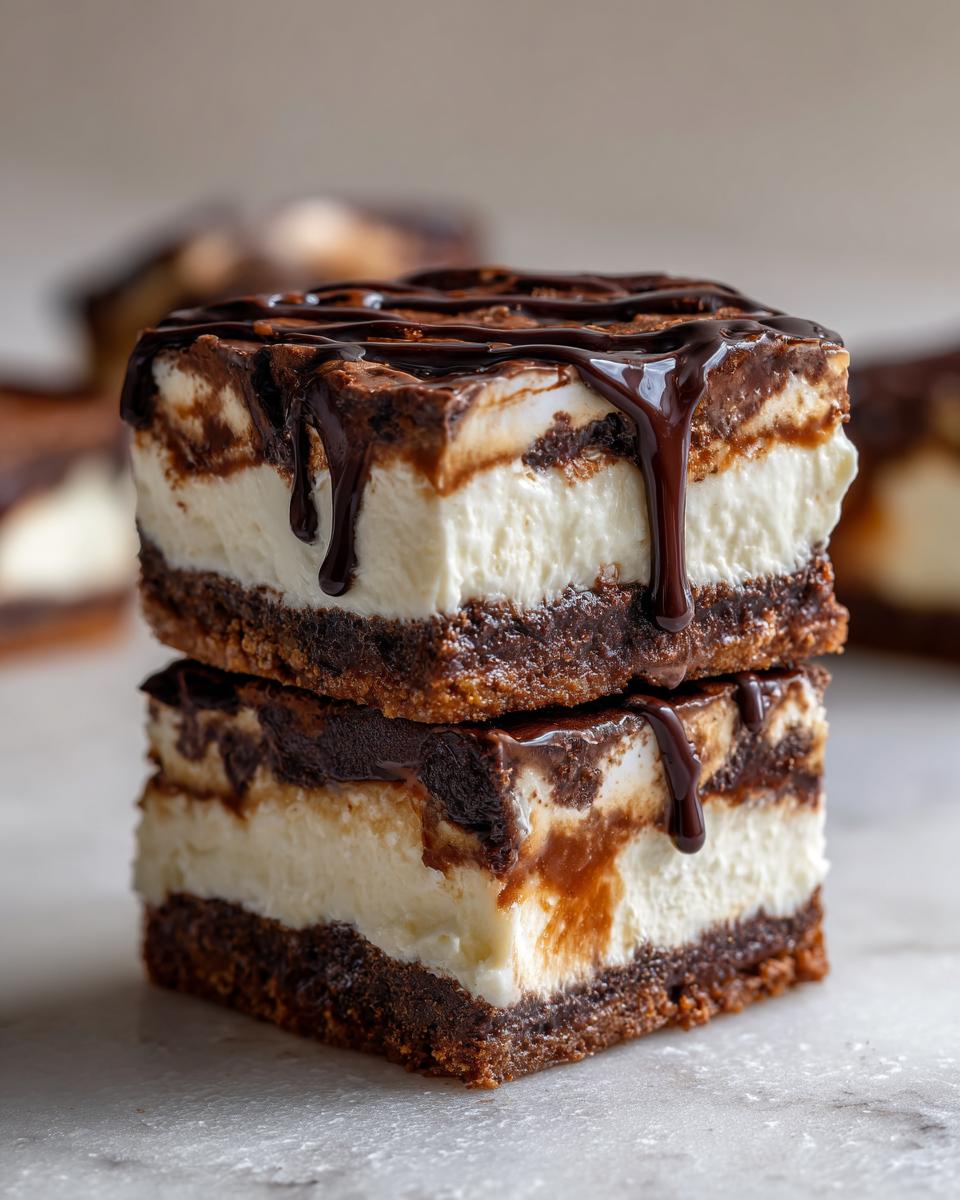
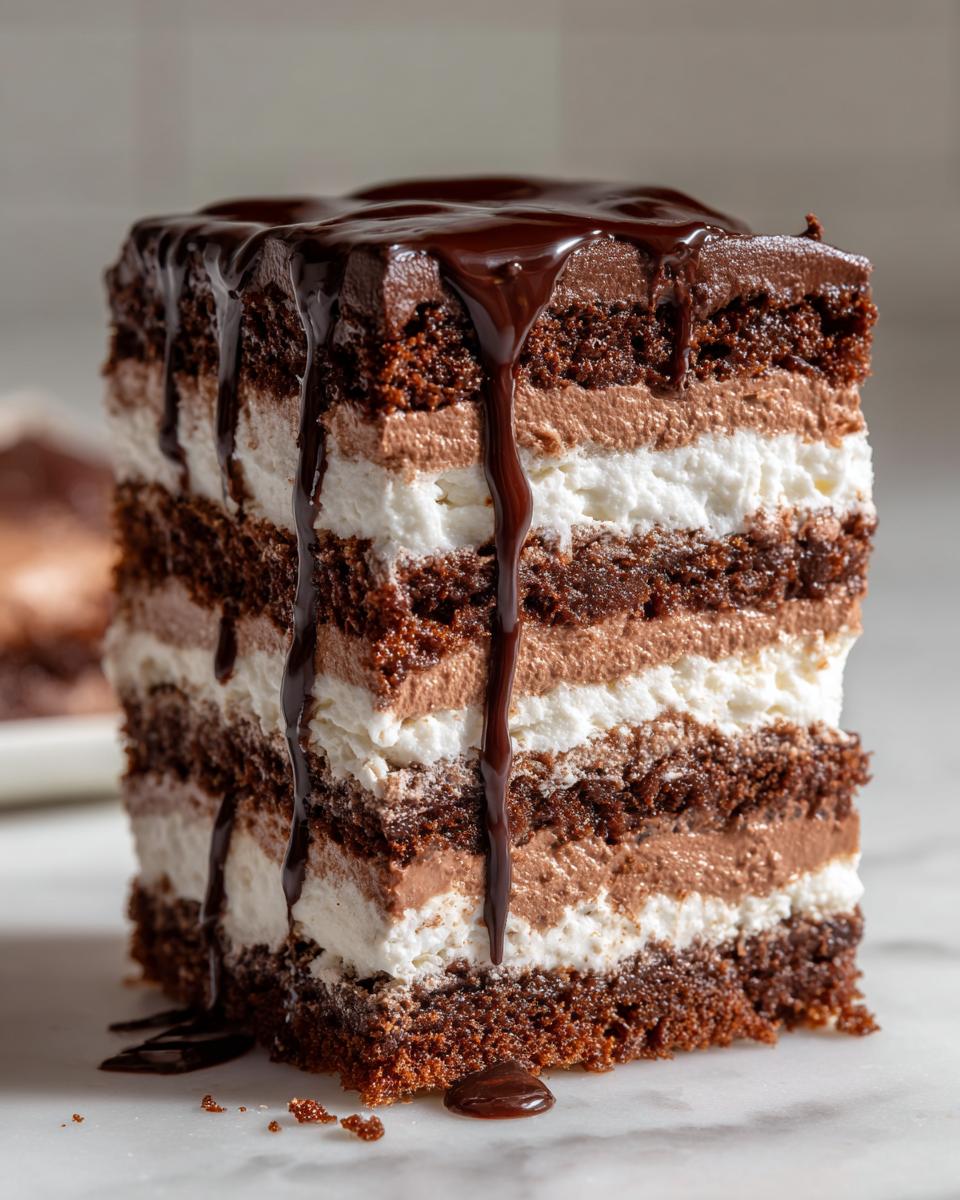
I’m telling you, this dessert changes everything when life gets busy! The beauty of this brownie refrigerator cake is that it delivers that rich, decadent texture we crave in a chocolate dessert without you ever having to hover over a hot oven during the final assembly. This has immediately become my go-to make ahead chocolate cake because you do all the work in the afternoon, and by evening, you have a showstopper ready to go. It stacks up so beautifully, making it look way fancier than it actually is—which is my favorite kind of recipe!
If you’re looking for more simple wins like this, check out our collection of quick and easy recipes.
The Magic of No Bake Brownie Dessert Assembly
The whole concept hinges on being a true no bake brownie dessert. You bake the required brownie layer once, let it cool until it’s sturdy, and the rest is just layering and chilling magic. We’re essentially building a gorgeous square icebox cake. This simple assembly is what makes the brownie refrigerator cake perfect for summer entertaining when you want a crowd-pleasing indulgence without the heat. Trust me, it’s foolproof!
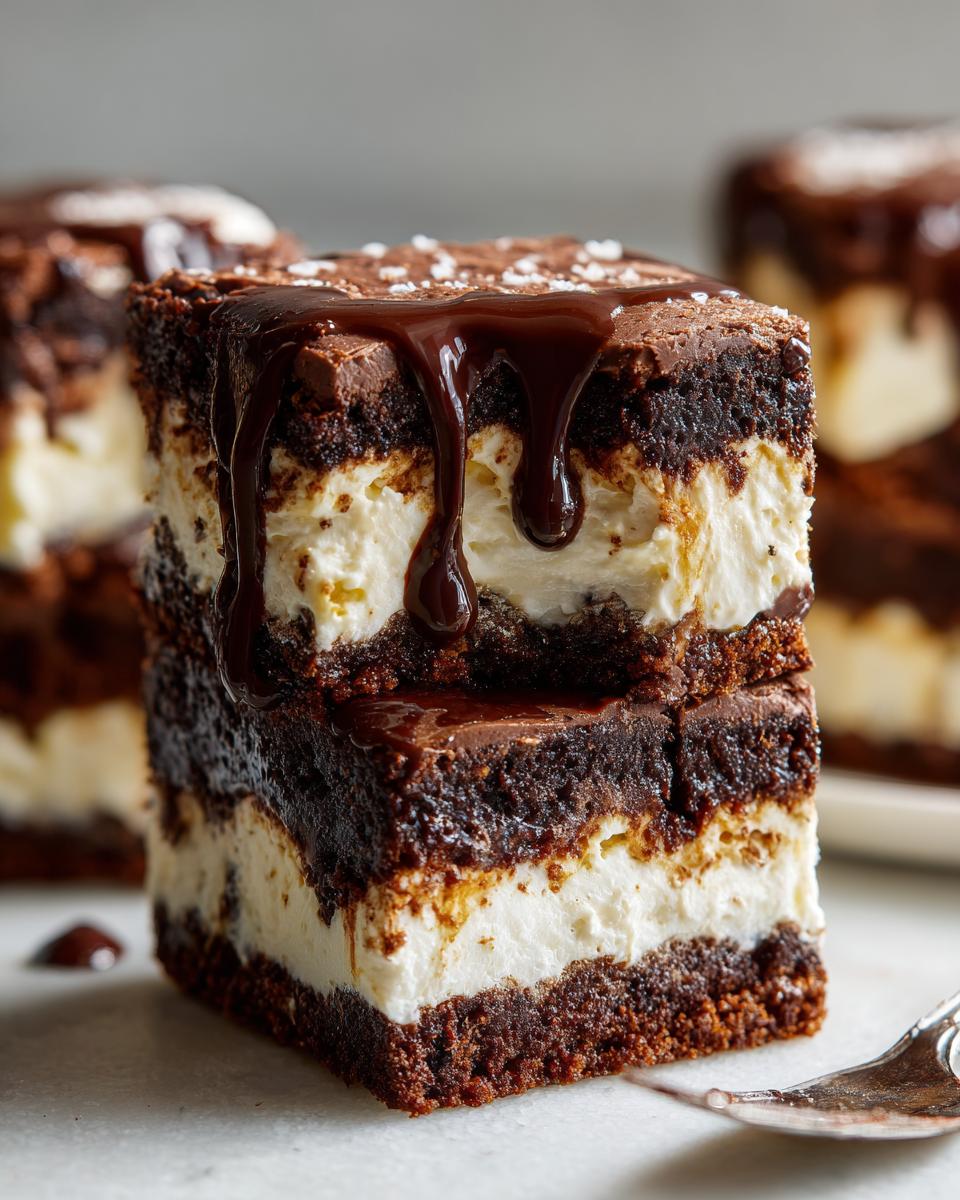
Creating the Creamy Brownie Dessert Recipe Layers
What really elevates this beyond just stacked brownies are those amazing middle layers. We aren’t just slapping things together; we are building flavor and moisture! The combination of tangy cream cheese and smooth, rich chocolate pudding creates the ultimate creamy brownie dessert recipe. When everything chills down, those layers meld together just enough to slice beautifully. It’s pure satisfaction in every cool, fudgy bite.
Gathering Ingredients for Your Brownie Refrigerator Cake
Before we even think about assembly, we need our cast of characters ready to go. This isn’t the time to start hunting through the pantry! Since the final step relies only on chilling, every component needs to be measured, mixed, or prepared right beforehand. Following recipe specifics—like making sure that cream cheese is truly softened—is non-negotiable here. It makes all the difference between smooth filling and lumpy disappointment, and we definitely want smooth!
Brownie Base and Pudding Components
For the structure of our brownie refrigerator cake, you’ll need the basics from a box, which saves so much time! Grab one 18.25 ounce box of your favorite fudge brownie mix, plus whatever the box tells you to add (usually eggs, oil, and water). Don’t forget the real star of the chilling process: one 3.9 ounce package of instant chocolate pudding mix, along with one cup of cold milk whisked up for that quick pudding layer.
The Tangy Cream Cheese and Whipped Topping Layer
This mix ensures our dessert doesn’t get too overwhelmingly sweet; that little bit of tang cuts right through the chocolate! You absolutely must make sure you have 8 ounces of cream cheese that is completely softened—I mean, squish-able soft! You’ll also need one cup of powdered sugar and one teaspoon of vanilla extract for that layer. Finally, grab one 8 ounce container of frozen whipped topping, fully thawed, and about 1/4 cup of chocolate syrup that we’ll use for a beautiful drizzle right at the end.
Step-by-Step Instructions for Perfect Brownie Refrigerator Cake
Okay, this is where the real fun begins! We are taking those few simple ingredients and turning them into the gorgeous, chilled spectacle that is the brownie refrigerator cake. Don’t rush any part of this, especially the cooling, or things will get messy fast. Remember, this part is all about patience; the fridge does all the heavy lifting later on!
Baking and Preparing the Brownie Layers
First things first, mix up that brownie package according to the instructions and bake it in your 9×13 inch pan. Once they are done—and smell heavenly, I might add—you have to let them cool completely in that pan. Seriously, don’t try to rush this part! Once they are totally cool, cut them into neat squares or rectangles. You want them to fit tightly together on the bottom of your serving dish—we’re aiming for a solid foundation for this wonderful dessert!
Making the Creamy Fillings: Pudding and Cream Cheese
While the brownies are cooling, whip up the fillings. For the chocolate pudding, just whisk the instant mix with cold milk until it thickens up—it only takes a couple of minutes, but let it sit for about five after that. For the cream cheese layer, use an electric mixer to beat your softened cream cheese, powdered sugar, and vanilla until it’s beautifully smooth. Then, gently fold in half of your thawed whipped topping. Don’t overmix once you add the topping; we want to keep some air in there!
The Brownie Dessert Assembly Process
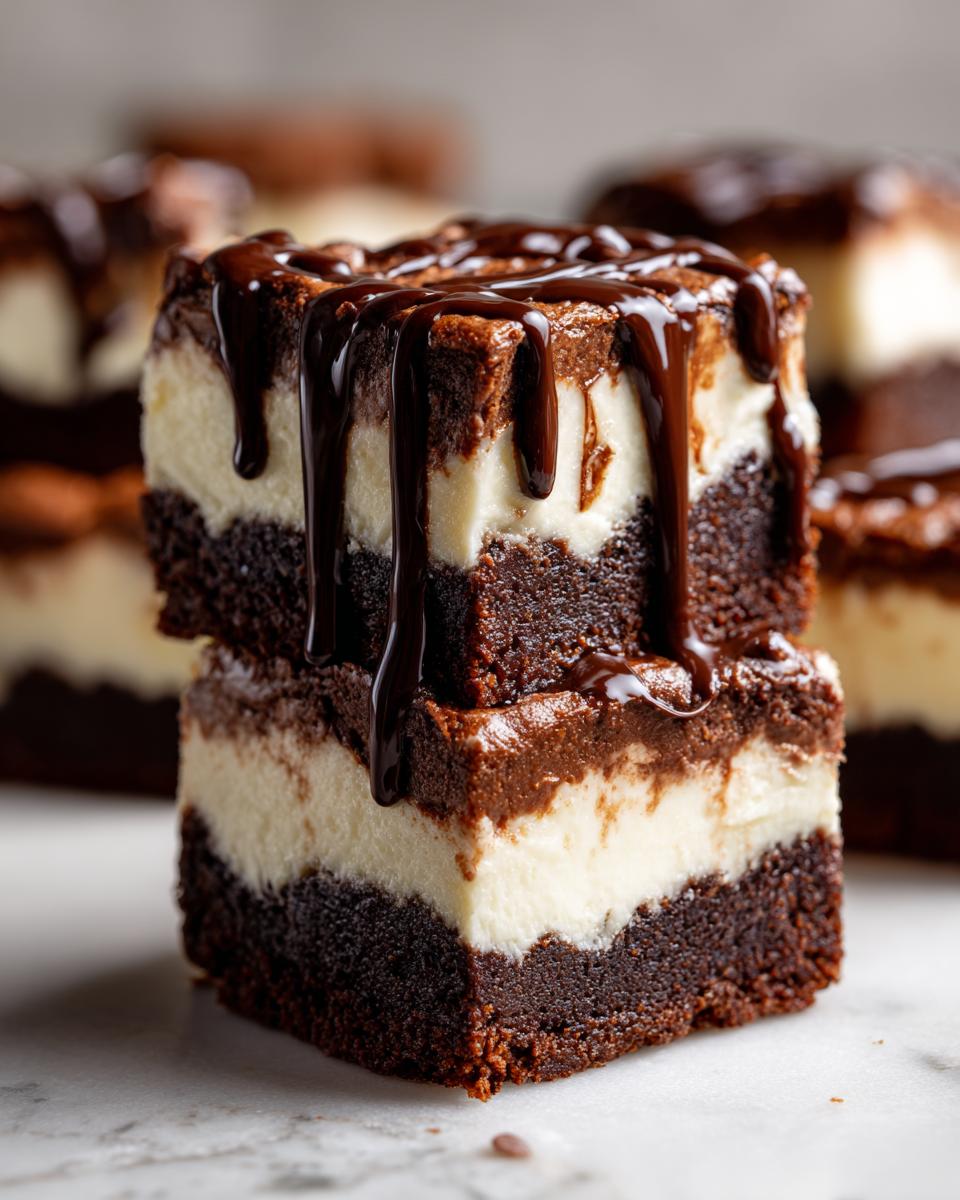
Time to stack! Lay your first layer of brownie pieces closely together in the bottom of the dish. Spread that lovely cream cheese mix right over the top. Next, spoon your chocolate pudding layer on top of that and spread it gently so you don’t disturb the cream cheese layer beneath. Now, take the rest of your thawed whipped topping and spread it over the pudding. Finally, arrange the last brownie pieces on top of that. Drizzle everything with chocolate syrup—make it look artful!
Chilling Time for the Quick Chilled Cake
This is the hardest part, I know! Once drizzled, cover the whole dish up tightly with plastic wrap. You absolutely must let this brownie refrigerator cake chill in the fridge for a minimum of four hours. But honestly? If you can leave it overnight, you’ll get a much firmer, cleaner slice that really lets those flavors meld together beautifully. It makes for the ultimate quick chilled cake!
If you’re interested in how to make layers that really hold up like this, you might enjoy my post on the ultimate no-bake chocolate cheesecake recipe; the techniques overlap surprisingly well.
Tips for Success with Your Brownie Refrigerator Cake
Perfection is achievable here, even if you want to switch things up a little! Since this brownie refrigerator cake relies on pre-baked brownies, you can totally use a high-quality store-bought brand if you’re short on time. My family insists on baking the mix though, just because that freshly baked fudgy texture really soaks up the filling layers better!
If you’re looking to step up the decadence factor—and why wouldn’t you?—swap out that thawed whipped topping for real heavy cream that you whip yourself. It takes an extra five minutes, but the texture holds up wonderfully. And for the very top drizzle? Forget the syrup sometimes and make a quick chocolate ganache instead. It becomes a truly decadent chocolate dessert that screams special occasion. For more deep chocolate ideas, check out my hot fudge brownie bread recipe!
Storage and Serving Suggestions for This Chilled Fudgy Dessert
Because this brownie refrigerator cake is so creamy, knowing how to store it correctly is key! Since it’s packed with dairy fillings like pudding and cream cheese, you’ll want to keep it covered tightly in the fridge. It honestly holds up beautifully for about three or four days, which is why it’s one of the best make ahead chocolate cakes out there.
When it comes to serving, this is a guaranteed hit at any potluck or gathering; it’s the absolute perfect potluck chocolate dessert! Slice it cold, right there from the dish. I usually serve mine with just a little extra dusting of powdered sugar on the plates, or maybe a side of fresh raspberries to cut through that rich chocolate flavor. You can find some other fantastic ideas for large groups over on my potluck chocolate dessert guide!
Frequently Asked Questions About the Brownie Refrigerator Cake
I always end up with a million questions bubbling up when I try a new layered dessert, so I figured I’d cover a few things you might be wondering about this amazing brownie refrigerator cake! Getting these chilled desserts right is all about handling the layers correctly, and I want to make sure your experience is as easy as mine!
Can I skip baking the brownies entirely for this brownie icebox cake?
That’s a great question, especially if you are aiming for something truly fuss-free! Yes, you absolutely can skip the initial baking step and use store-bought fudge brownies right out of the package. That’s one reason this fits right into the brownie icebox cake category. Just make sure the ones you buy are quite fudgy. If they are too cakey, they might crumble awkwardly when you try to fit them into the layers.
How long does the brownie refrigerator cake last in the fridge?
Because we are working with creamy fillings—that lovely pudding and cream cheese mixture—it needs refrigeration, just like any dairy-based filling. I find that this brownie refrigerator cake holds up really well for about three to four days. Any longer, and the bottom layer of brownies can start to soften up a bit too much from the moisture. It’s definitely one of the very best easy party desserts because you can make it completely the day before the party!
Is this considered a no oven chocolate cake?
For the assembly part? Absolutely, 100%! The final dessert is entirely chilled, which is what makes it such a wonderful no oven chocolate cake for summer. You do have to bake the first layer of brownies from the mix to start, but beyond that specific initial step, you won’t need your oven again, and that’s the real win here for ease and comfort!
If you grabbed this recipe looking for solutions for your next big get-together, don’t forget to check out some other quick fixes over on my guide to easy party desserts!
Estimated Nutritional Data for This Decadent Chocolate Dessert
Now, look, as much as I love baking with love, I have to be clear: I’m not a registered nutritionist! The data below is just an estimate based on standard ingredients from the box mix and the fillings we used to create this brownie refrigerator cake. If you make big substitutions, especially swapping the whipped topping for heavy cream, these numbers will certainly change. Keep this chart handy, but remember it’s just a helpful guide for a truly decadent serving!
- Serving Size: 1 square
- Calories: 380
- Sugar: 35g
- Sodium: 250mg
- Fat: 20g
For more reliable home-tested recipes, you can always browse my best homemade nacho cheese sauce recipe—though that’s savory!
Share Your Brownie Refrigerator Cake Creations
I put my heart and soul into making sure this brownie refrigerator cake comes out perfectly for you, and honestly, nothing makes me happier than hearing from you all once you’ve given it a try!
Did it set up nice and firm while chilling overnight? Were the cream cheese and pudding layers smooth and dreamy? Please take a moment to leave a star rating down below and tell me how it went in the comments. I genuinely read every single note you leave me, because that’s how we all learn and improve in the kitchen together.
And listen, if you took a picture of that rich, layered slice—especially if you were serving it at a big gathering—I would absolutely love to see it! You can always get in touch with me directly through the Cookin’ Corner contact page if you have detailed questions or just want to share a happy kitchen moment. Happy baking (and chilling)!
PrintUltimate No-Bake Brownie Refrigerator Cake with Cream Cheese and Chocolate Pudding Layers
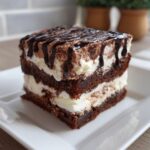
Make this decadent Brownie Refrigerator Cake for an easy, make-ahead dessert. It features rich, fudgy brownie layers alternating with creamy chocolate pudding and a tangy cream cheese filling, all set perfectly in the refrigerator.
- Prep Time: 25 min
- Cook Time: 35 min
- Total Time: 4 hours 60 min
- Yield: 12 servings 1x
- Category: Dessert
- Method: Chilling/No-Bake Assembly
- Cuisine: American
- Diet: Vegetarian
Ingredients
- 1 (18.25 ounce) box fudge brownie mix (plus ingredients listed on box for baking)
- 1 cup cold milk
- 1 (3.9 ounce) package instant chocolate pudding mix
- 8 ounces cream cheese, softened
- 1 cup powdered sugar
- 1 teaspoon vanilla extract
- 1 (8 ounce) container frozen whipped topping, thawed
- 1/4 cup chocolate syrup (for drizzling)
Instructions
- Prepare and bake the brownies according to the package directions using a 9×13 inch pan. Let the brownies cool completely in the pan.
- Once cool, cut the brownies into uniform squares or rectangles that will fit snugly in the bottom of your serving dish (a 9×13 inch dish works well for layering). Set aside.
- Prepare the chocolate pudding: Whisk the cold milk and instant chocolate pudding mix together in a bowl until thickened, about 2 minutes. Let it stand for 5 minutes.
- Prepare the cream cheese layer: In a separate bowl, beat the softened cream cheese, powdered sugar, and vanilla extract until smooth and creamy. Fold in half of the thawed whipped topping until just combined.
- Assemble the cake: Place a single layer of the cooled brownie pieces in the bottom of your serving dish, fitting them tightly together.
- Spread the cream cheese mixture evenly over the first brownie layer.
- Spoon the prepared chocolate pudding over the cream cheese layer and spread gently.
- Top the pudding layer with the remaining half of the whipped topping.
- Arrange the remaining brownie pieces on top of the whipped topping layer.
- Drizzle the top evenly with chocolate syrup.
- Cover the dish tightly with plastic wrap. Refrigerate for at least 4 hours, or preferably overnight, to allow the layers to set firmly.
- When ready to serve, cut into squares and serve cold. This is a perfect potluck chocolate dessert.
Notes
- You can use store-bought fudgy brownies to save time when assembling this no oven chocolate cake.
- For a richer flavor, use heavy cream and whip it yourself instead of using frozen whipped topping.
- If you want a more decadent chocolate dessert, use a chocolate ganache instead of chocolate syrup for the topping.
Nutrition
- Serving Size: 1 square
- Calories: 380
- Sugar: 35
- Sodium: 250
- Fat: 20
- Saturated Fat: 10
- Unsaturated Fat: 10
- Trans Fat: 0.5
- Carbohydrates: 48
- Fiber: 2
- Protein: 5
- Cholesterol: 35