
There’s just nothing that beats that first bite of homemade pizza, is there? Forget everything you thought about needing hours of fermentation for a real treat. Here at Cookin’ Corner, we believe in classics that work when you actually need them, which is why I’m sharing my ultimate, quick, chewy pizza dough recipe. This is the one that yields that satisfying, soft yet sturdy crust, and best of all, it’s ready for baking the very same day! We’ve tested this simple base hundreds of times to bring you reliable results, just like Grandma taught me.
- Why This is the Best Pizza Dough Recipe for Weeknights
- Essential Ingredients for Your Homemade Pizza Dough Recipe
- How to Make Pizza Dough: Simple Step-by-Step Instructions
- Tips for the Best Ever Pizza Dough Recipe Results
- Variations on This Simple Pizza Recipe Base
- Serving Suggestions for Your Homemade Pizza Dough
- Storage and Reheating Instructions for Pizza Dough Recipe
- Frequently Asked Questions About This Pizza Dough Recipe
- Nutritional Estimates for This Pizza Dough Recipe
- Share Your Homemade Pizza Night Creations
Why This is the Best Pizza Dough Recipe for Weeknights
You want pizza tonight, right? I totally get it. That’s why I perfected this specific pizza dough recipe. Many artisan doughs call for 48 hours in the fridge, and who has time for that on a Tuesday?
This formula is designed to give you that fantastic, slightly chewy texture without the waiting game. It’s truly one of the easiest ways to make an easy pizza crust recipe from scratch. I focused on making sure your quick pizza dough looked and tasted developed—not rushed—even though it only needs about an hour and a half to swell up beautifully. Trust me, we’ve put this through the wringer hundreds of times right here in my own kitchen to ensure it works perfectly every time you try it yourself!
If you’re looking for more meals that get dinner on the table without the fuss, check out all my other quick and easy recipes—they all follow the same ‘delicious fast’ philosophy!
Achieving Chewy Pizza Crust Texture Fast
The secret to that wonderful chewy pizza crust payoff without the long chill is all in the initial steps. Using perfectly warm water activates the yeast right away, giving you an instant lift. Then, the quick kneading—just enough to develop the gluten—ensures you get stretch and springiness. This gets you that satisfying mouthfeel that feels authentic without forcing you to wait until tomorrow to eat dinner!
Essential Ingredients for Your Homemade Pizza Dough Recipe
The beauty of a good homemade pizza dough is that you don’t need fancy stuff! I always keep these basic elements stocked because they transform into the perfect base when you follow the simple steps. I promise, if you have these six things, you are ready to go. Remember, precision in measuring is my little trick for consistency, especially with the yeast and water temperature!
- 1 1/2 cups warm water (about 105-115°F—it should feel warm to the touch, not hot!)
- 2 1/4 teaspoons active dry yeast
- 1 teaspoon sugar (this feeds the yeast, helping make that soft pizza dough scratch)
- 3 3/4 cups all-purpose flour, plus more for dusting
- 2 teaspoons salt
- 2 tablespoons olive oil, plus more for the bowl
How to Make Pizza Dough: Simple Step-by-Step Instructions
Now that you’ve got your ingredients ready, let’s talk about exactly how to make pizza dough that turns out perfectly chewy and soft every time. We are moving quickly here to get that from scratch pizza crust into the oven faster than you can decide on toppings!
Activating the Yeast: The Key to Quick Pizza Dough
This first step is non-negotiable for our quick dough! In your big bowl, mix the warm water, the yeast, and the sugar together. You’re looking for it to sit quietly for about five to ten minutes. If you see a nice, foamy cap form—like tiny bubbles on the surface—that means your yeast is alive and ready to work magic! If nothing happens, you need hotter water or fresh yeast, so start over there first.
Kneading for Smooth, Elastic Homemade Pizza Dough
Next, add in your flour, salt, and just 2 tablespoons of that gorgeous olive oil. Stir everything up with a sturdy wooden spoon until it looks like a shaggy mass. Now, turn that dough out onto a lightly floured surface.
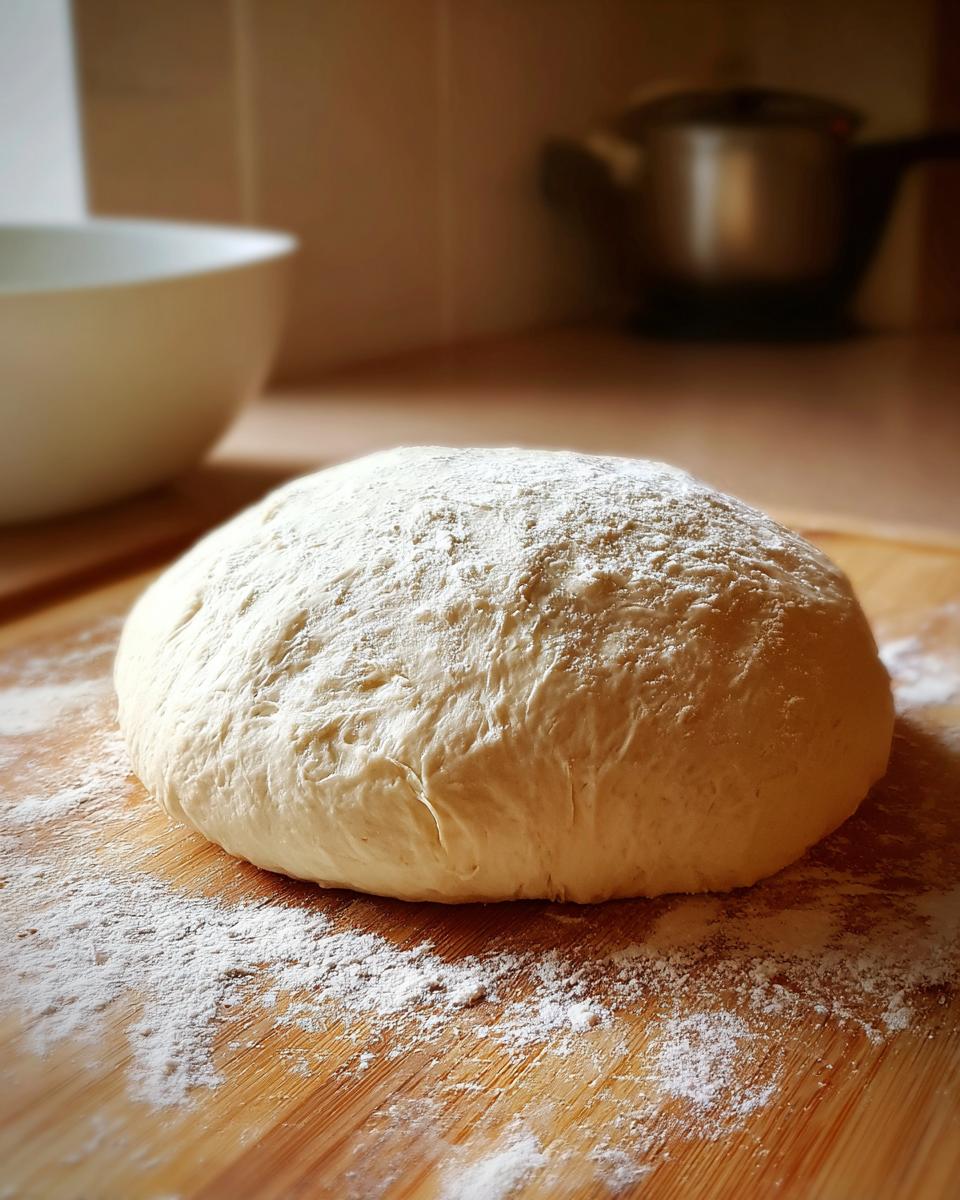
You need to knead this vigorousy for about 5 to 7 minutes by hand. If you’re using a stand mixer with the dough hook, let it run on medium-low speed for about 4 minutes. You’ll know you’ve hit the sweet spot when the dough stops feeling sticky and starts feeling smooth, supple, and elastic. It should bounce back lightly when you poke it. It’s less about brute force and more about working it until it feels cohesive!
The Rise: Getting Your Quick Pizza Dough Ready
Grab a clean bowl, toss a little olive oil around the inside—just enough to coat—and pop your freshly kneaded dough right in there. Turn the ball over so it’s lightly oiled on all sides. This keeps it from getting a crust while it rests.
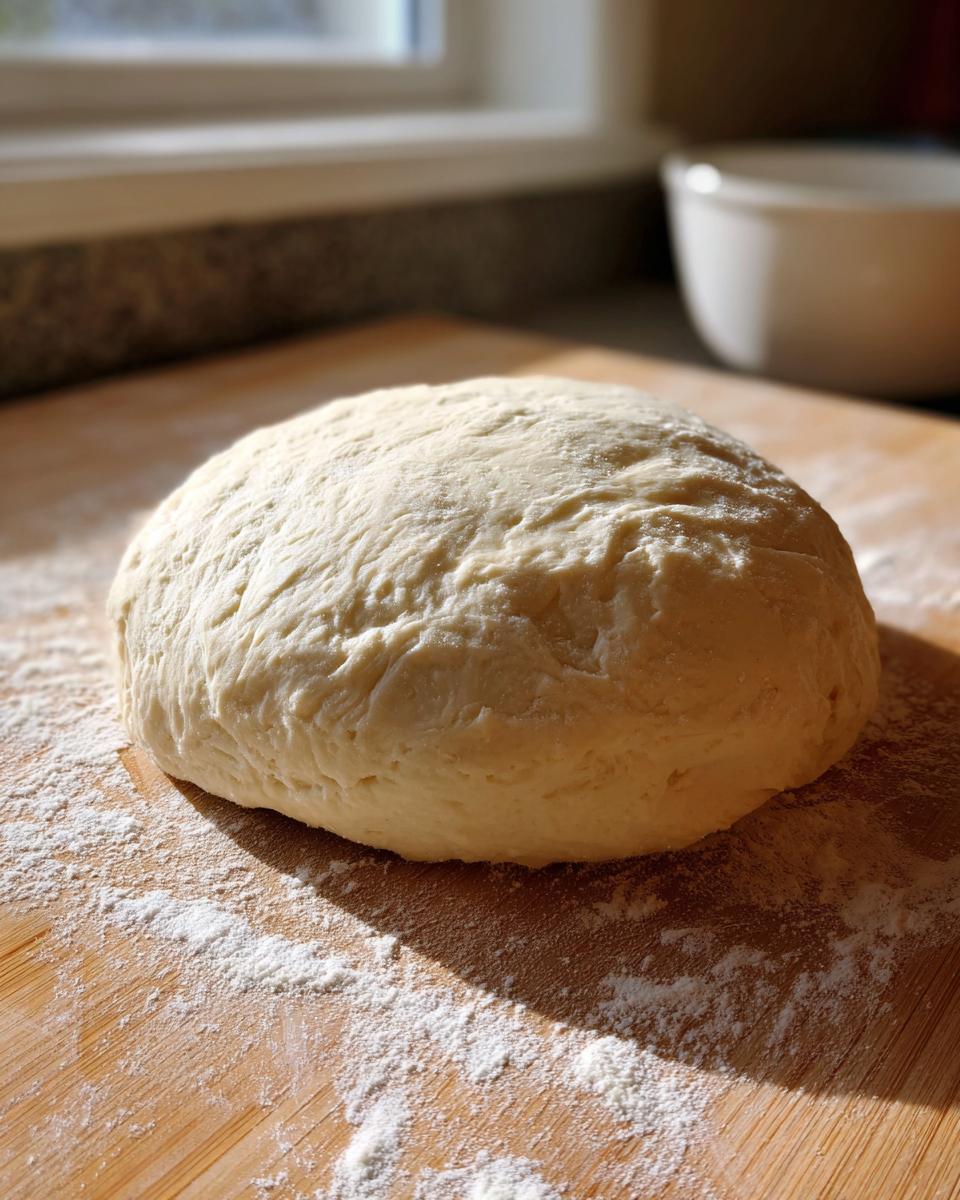
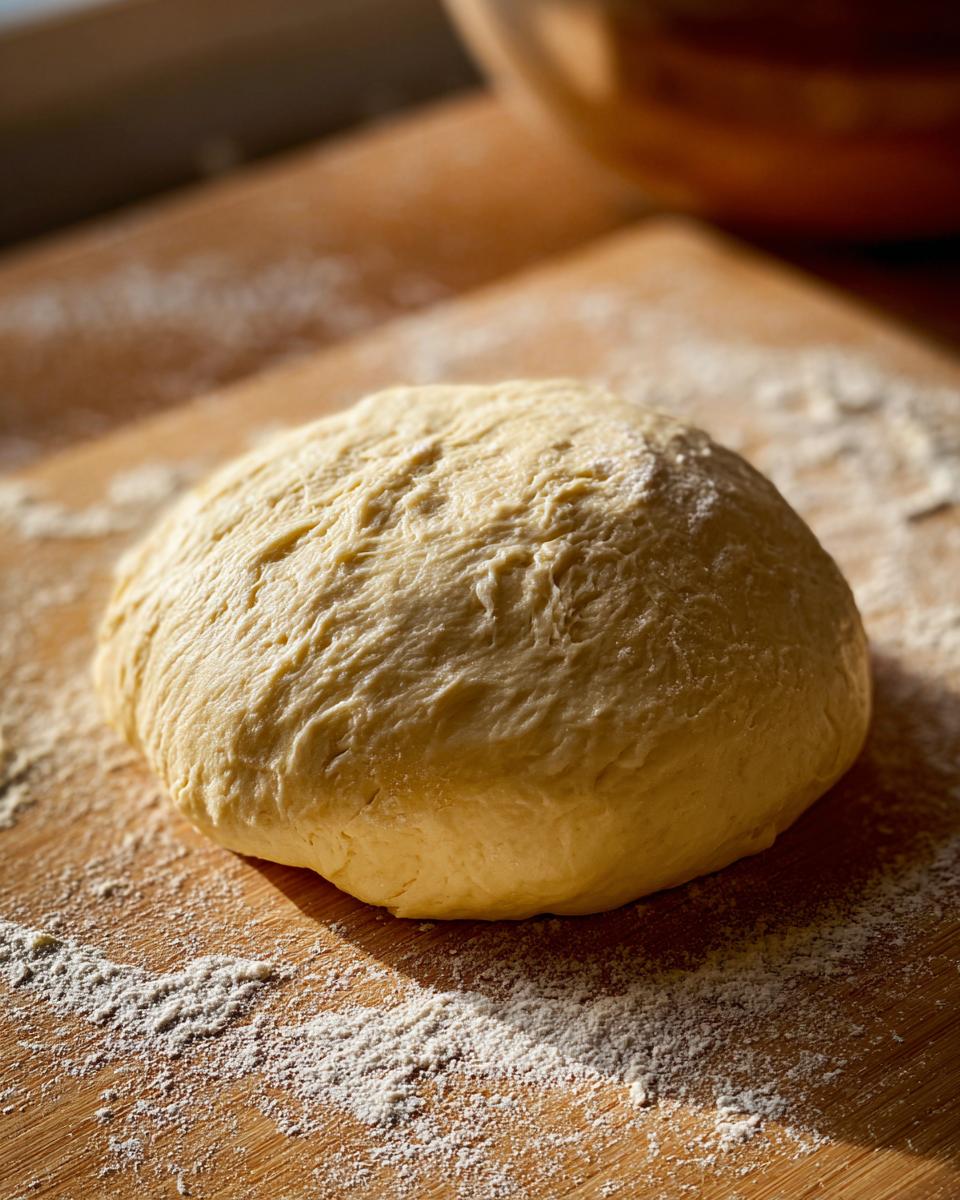
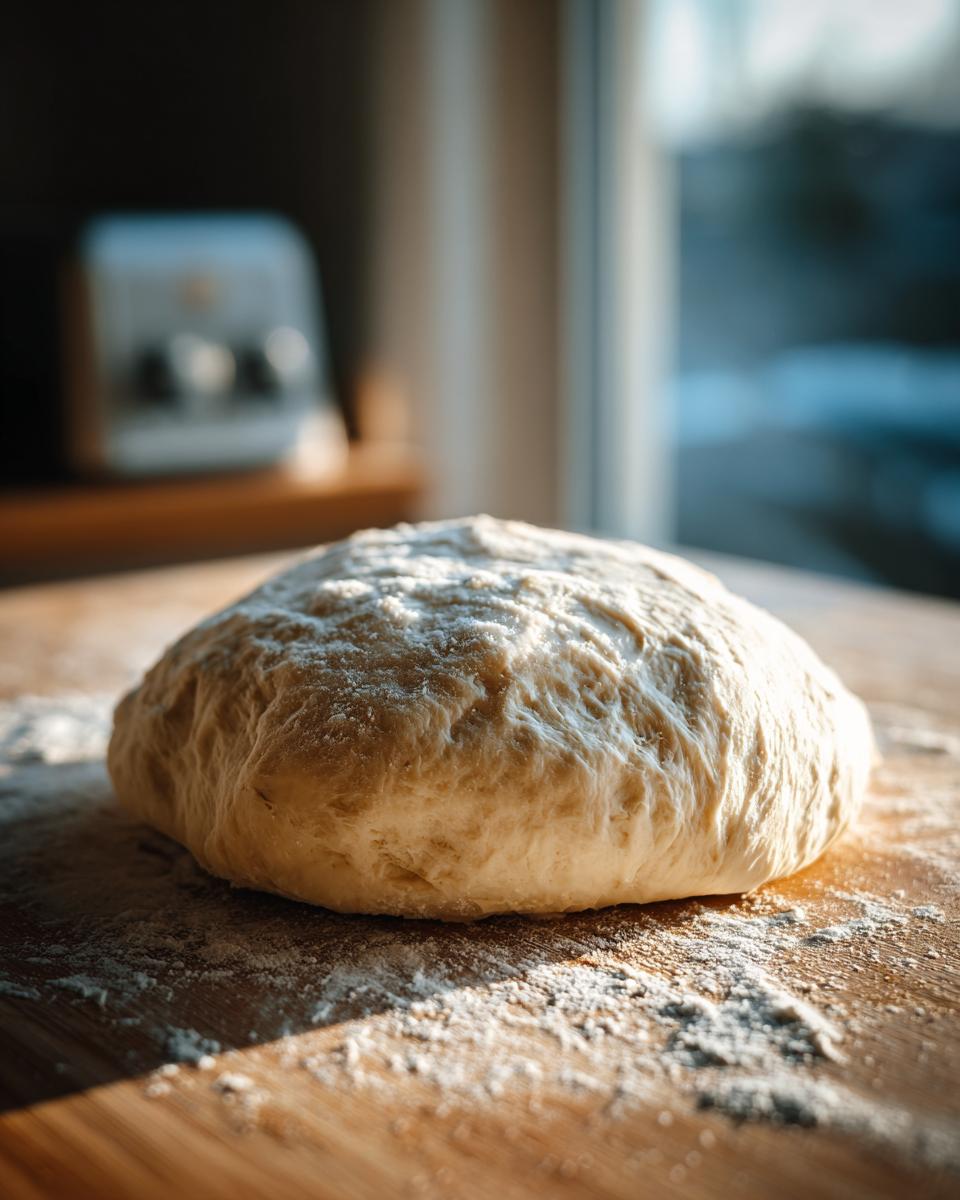
Cover that bowl tight—I use plastic wrap—and tuck it away somewhere warm in your kitchen. Let it rest for about 1 to 1.5 hours. That’s it! This is where we get that fast version of a developed dough. When you check on it, it should be about twice the size it was when you put it in. That means your quick pizza dough is ready for the next stage!
If you want to try making homemade sauces or even some fun pasta to go with this, I’ve got a terrific guide on sweet and savory homemade sauces that pair wonderfully!
Tips for the Best Ever Pizza Dough Recipe Results
We’ve got the quick method down pat, but if you’re aiming for the best ever pizza dough recipe—maybe the kind that rivals your favorite local spot—there are a couple of extra finishing touches I always add when time allows. Getting that deeply flavored, soft pizza dough scratch texture means paying attention to the bake, too!
If you want that perfect bubble structure and a wonderfully crisp bottom that doesn’t burn, you absolutely have to preheat your oven piping hot. I always toss my pizza stone or baking steel right into the oven while it’s preheating, usually to 500°F (260°C). When that dough hits that stone, you get instant steam release and a beautifully textured crust that keeps everything from getting soggy. It’s worth the few extra minutes of preheating!
For more bread inspiration that rivals the results of this dough, you must check out my tips for making crusty Italian bread right at home!
Optional Slow Fermentation for Artisan Pizza Dough Recipe Flavor
Now, listen up, because this is my secret weapon for weekends. While this recipe is built for speed, if you have the patience, after that first rise (Step 5 in the instructions), you can punch the dough down, divide it, and stick it in individual oiled bags in the fridge for 24 hours. That long, slow cold proof is what really builds complex flavor into an artisan pizza dough recipe. It’s easy to do, and the results are unbelievable—just bring it to room temp for about an hour before stretching!
Variations on This Simple Pizza Recipe Base
Don’t feel like you have to stick to the script! This simple pizza recipe base is so reliable, which means it’s wonderful for playing around with. If you want an even chewier crust next time, swap out about half a cup of the all-purpose flour for bread flour. It just has a bit more protein, which gives you that awesome stretch when you’re pulling the dough wider.
I also love turning this into herby breadsticks sometimes. Right before the final kneading, I toss in about a tablespoon of dried Italian herbs, maybe some garlic powder, and an extra drizzle of olive oil. Another fun thing to try is using a combination of whole wheat flour instead of some white flour for a nuttier taste. This versatility is why this homemade pizza dough always stays in my weekly rotation!
If you want to try transforming your pantry game with some other herb-crusted meals, you might enjoy my recipe for the herb-crusted prime rib roast—it packs a ton of flavor with minimal fuss!
Serving Suggestions for Your Homemade Pizza Dough
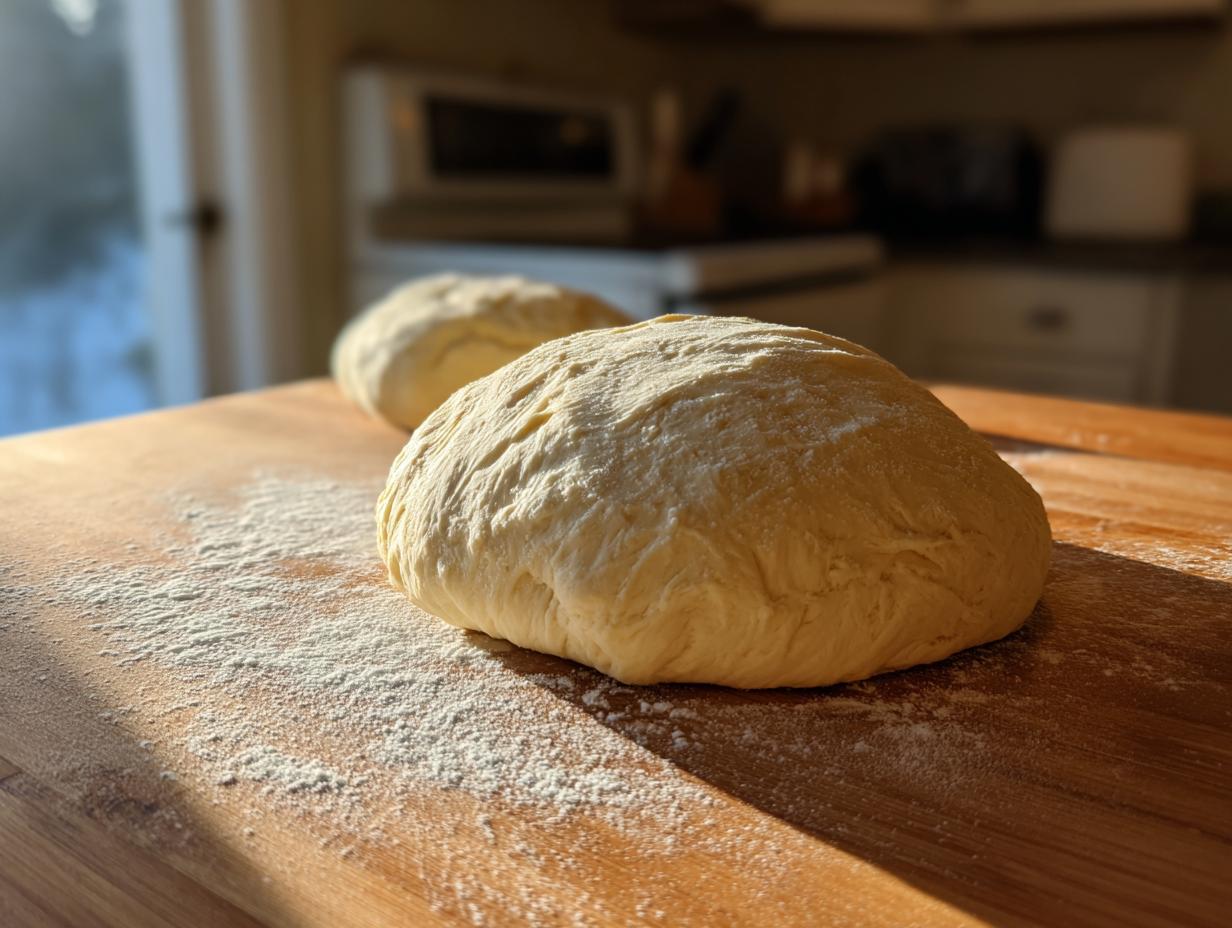
Once you’ve successfully made this fantastic homemade pizza dough, the real fun begins! Of course, it’s incredible holding up classic pepperoni and Mozzarella, but don’t stop there. Since this dough yields two nice rounds, I often use one for a traditional pizza and turn the second half into something totally different for pizza night essentials.
Try cutting the second half into strips right after the punch-down, tossing those strips with melted garlic butter, and baking them until golden. Instant, chewy garlic knots! Or, roll it out thin, layer on some ricotta and sausage, and roll it up tight for a beautiful stromboli.
And since a great pizza demands a great sauce, you absolutely must try my recipe for easy thick no-cook homemade pizza sauce—it brings the perfect fresh flavor!
Storage and Reheating Instructions for Pizza Dough Recipe
Okay, maybe you’re not having a pizza party for two, or maybe you just got too excited and made too much! Don’t stress about waste; this pizza dough recipe stores beautifully. My goal is always reliability, so knowing how to manage leftovers is part of the process, whether it’s the raw dough or the actual baked pizza.
For any leftover raw dough, the best way to keep it fresh is by refrigerating it. After you punch it down (Step 6) but before you shape it, coat the extra ball tightly with olive oil, put it into an airtight container or a zip-top bag, and pop it in the fridge. It can stay happy in there for up to three days! The cold slows down the yeast activity, but trust me, it keeps!
If you want to hibernate it longer, freezing works, too. Wrap that oiled dough ball super tight in plastic wrap, and then slip it into a sturdy freezer bag. You can keep it frozen securely for about two months. Just remember to thaw it overnight in the fridge before you plan to use it!
Now, what about reheating the *baked* pizza? This is important for texture! Do not use the microwave unless you enjoy rubbery crust. The best way to revive a slice made from this homemade pizza dough is to reheat it directly on the stovetop. Place the slice in a dry, non-stick skillet over medium heat for a few minutes until the bottom gets crisp again, then put a lid on for one minute to melt the cheese. It tastes almost as good as fresh!
Frequently Asked Questions About This Pizza Dough Recipe
I know when you’re trying out a brand new pizza dough recipe—especially one promising speed—you’re going to have a few lingering questions. Cookin’ Corner is all about making sure you succeed, so here are the things I get asked most often about making this homemade pizza dough!
Can I use instant yeast instead of active dry yeast?
Oh, absolutely! Instant yeast saves even more time, which is fantastic for a quick pizza dough. If you’re using instant yeast, you can skip the whole bubbling step entirely! Just mix the instant yeast directly in with your dry ingredients (flour and salt) before stirring it all into the wet mixture. It will still rise beautifully because the sugar in the recipe feeds it during the bake.
What if my dough didn’t rise properly?
Don’t panic! This usually means your water was too hot (killing the yeast) or too cold (putting the yeast to sleep). If your dough hasn’t doubled after 90 minutes, try putting the covered bowl in a slightly warmer spot—like near the pilot light of your oven or on top of a preheating but empty oven. For the next batch, remember that water needs to be ‘warm’ (around 110°F), not hot. That’s the key to unlocking that volume for your soft pizza dough scratch!
Can I skip kneading entirely for a no-knead pizza dough?
Well, you *can*, but I caution against it if you want that authentic chewiness! While this recipe is quick, it benefits so much from that 5-7 minute knead to build structure. If you skip it entirely, you’ll end up with something closer to a flatbread—it’ll taste great, but it won’t have the billowy body you get when you work the gluten a bit. For this particular recipe, the quick knead is worth the effort for the chewy pizza crust!
Can I use bread flour instead of all-purpose?
Yes, and I love when folks experiment! Bread flour will make your crust significantly chewier and possibly a little tougher, which works great if you like that super sturdy, thicker crust you might find in some New York-style pizza places. Just know that since bread flour absorbs liquid differently, you might need an extra tablespoon or two of water to get the dough to come together smoothly.
If you need advice on another quick recipe, like my Avalanche Cookies, feel free to browse around! But for now, go make some pizza!
Nutritional Estimates for This Pizza Dough Recipe
Okay, let’s talk numbers, because while my grandma always said the only thing that mattered was how many people you fed, I know some of you tracking things are curious! I ran the numbers for this raw dough base so you have an idea of what you’re working with before you start piling on the cheese and pepperoni later. Remember, these are just estimates based on the ingredients in the dough itself. Once you add sauce, oil, toppings, or transform it into stromboli, those numbers are going to change!
This estimate is based on dividing the total batch into two equal portions (two 12-inch pizzas) and taking one half of the dough ball as the serving size. It’s a good baseline for planning your pizza night essentials!
- Serving Size: 1/2 dough ball (which makes one 12-inch pizza base)
- Calories: Approximately 450
- Carbohydrates: Roughly 90g
- Protein: About 15g
- Fat: Around 4g (mostly healthy fat from that olive oil!)
- Sugar: Very low, about 2g
- Sodium: About 450mg
I put that disclaimer right up front because homemade pizza can become a monster of flavor—and calories—once you load it up! This base is relatively light and clean, allowing you the freedom to go wild with those delicious toppings you love most. Enjoy knowing that the foundation of your next amazing pizza (made from our pizza dough recipe) is solid!
Share Your Homemade Pizza Night Creations
Alright, my friend, that’s all there is to it! You’ve successfully conquered making the best pizza dough recipe completely from scratch. I desperately want to see what masterpieces you create with this quick, chewy base!
Please come back and leave a 5-star rating if this recipe saved your weeknight dinner plans. I love hearing which toppings you chose or if you tried turning the extra dough into garlic knots. If you have any final lingering questions or pictures to share, you can always reach out to me directly at my contact page. Happy baking, and enjoy that perfect pizza!
PrintThe Ultimate Chewy and Quick Homemade Pizza Dough (Ready Same-Day)
This easy pizza dough recipe delivers a soft, chewy crust that tastes better than delivery. It uses simple ingredients and is ready for baking the same day, making it perfect for weeknight pizza.
- Prep Time: 15 min
- Cook Time: 15 min
- Total Time: 1 hour 30 min
- Yield: 2 medium pizzas 1x
- Category: Dinner
- Method: No-Knead/Quick Rise
- Cuisine: American/Italian Inspired
- Diet: Vegetarian
Ingredients
- 1 1/2 cups warm water (about 105-115°F)
- 2 1/4 teaspoons active dry yeast
- 1 teaspoon sugar
- 3 3/4 cups all-purpose flour, plus more for dusting
- 2 teaspoons salt
- 2 tablespoons olive oil, plus more for the bowl
Instructions
- Combine the warm water, yeast, and sugar in a large bowl. Let this mixture sit for 5 to 10 minutes until it becomes foamy. This shows the yeast is active.
- Add the flour, salt, and 2 tablespoons of olive oil to the yeast mixture. Mix with a wooden spoon or stand mixer until a shaggy dough forms.
- Turn the dough out onto a lightly floured surface. Knead the dough for 5 to 7 minutes until it becomes smooth and elastic. If using a stand mixer, use the dough hook for 4 minutes on medium-low speed.
- Lightly oil a large bowl with olive oil. Place the dough ball in the bowl and turn it to coat all sides with oil.
- Cover the bowl tightly with plastic wrap or a clean kitchen towel. Let the dough rise in a warm place for 1 to 1.5 hours, or until it has doubled in size. This is your quick pizza dough.
- Gently punch down the risen dough. Divide it into two equal pieces for two medium pizzas or use the whole batch for one large pizza or stromboli.
- Shape the dough as desired and bake according to your favorite pizza toppings recipe.
Notes
- For a crispier bottom crust, place your pizza stone or baking steel in the oven while it preheats to 500°F (260°C).
- If you prefer a slightly more authentic Italian pizza dough flavor, you can let the dough rise slowly in the refrigerator for 24 hours after the initial rise.
- This recipe makes enough dough for two 12-inch pizzas.
Nutrition
- Serving Size: 1/2 dough ball
- Calories: 450
- Sugar: 2
- Sodium: 450
- Fat: 4
- Saturated Fat: 1
- Unsaturated Fat: 3
- Trans Fat: 0
- Carbohydrates: 90
- Fiber: 4
- Protein: 15
- Cholesterol: 0