

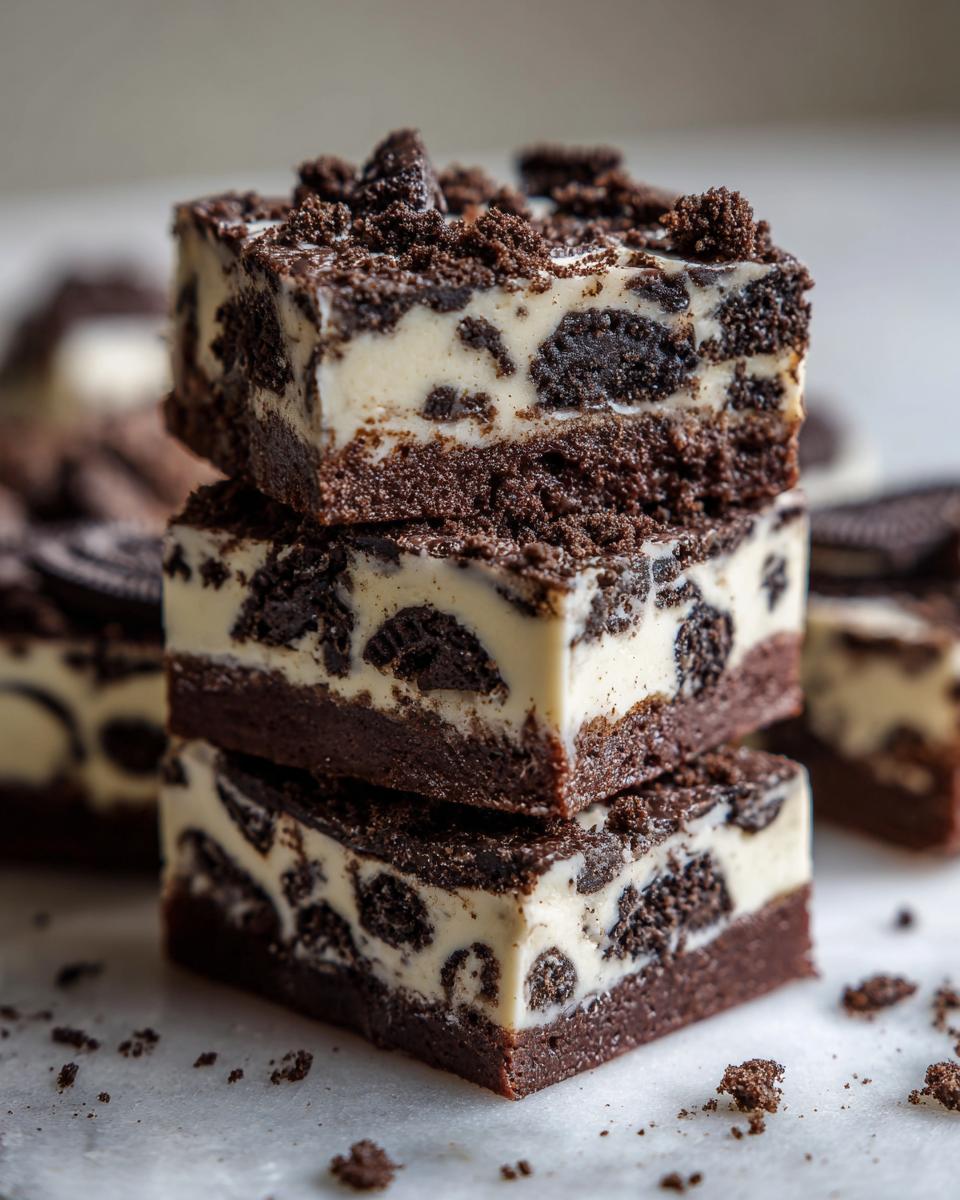
Oh, honey, let me tell you about the fudge that stops traffic in my kitchen. If you think fudge is fussy, complicated, or requires a candy thermometer, you haven’t met this version yet! This **Oreo fudge** is honestly the simplest, quickest sweet I have ever pulled off. We’re talking three ingredients and maybe five minutes of actual mixing time before it goes into the fridge. That’s it! It’s unbelievably decadent and hits that absolute sweet spot for anyone craving a cookies and cream treat right now.
Here at Cookin’ Corner, we believe the best American kitchen traditions are the ones that work every single time without stress. I learned from my Grandma that true magic isn’t about flash; it’s about reliable, comforting flavors. This recipe fits that perfectly. It’s that perfect, rich, creamy fudge square that is ready for a holiday platter or a Tuesday night emergency sweet tooth fix. Trust me when I say this no bake dessert is about to become your new favorite shortcut!
When you need to get baking fast, make sure you check out my recipe for no-bake avalanche cookies too. It uses a similar ‘mix it and forget it’ idea that I just adore.
- Why This 3-Ingredient Oreo Fudge Recipe Works So Well
- Gathering Your Simple Ingredients for Oreo Fudge
- How to Prepare Your Quick Dessert Ideas: Making Oreo Fudge
- Expert Tips for the Best Oreo Fudge Texture
- Serving Suggestions for This Cookies and Cream Treat
- Storage and Keeping Your Homemade Chocolate Candy Fresh
- Frequently Asked Questions About No Bake Desserts
- Nutritional Estimates for Creamy Fudge Squares
- Share Your Experience with This Simple Dessert Spread
Why This 3-Ingredient Oreo Fudge Recipe Works So Well
Honestly, the best part of this recipe is how it defies logic. How can something so simple taste so incredibly indulgent? It’s perfect for those moments when you need truly quick dessert ideas that still feel special. Forget complicated candy making; this is pure, straightforward magic.
We get incredible results because we rely on the foundational relationship between just two of those ingredients. It makes for the best, easiest fudge recipe around!
Achieving Creamy Fudge Squares with Minimal Effort
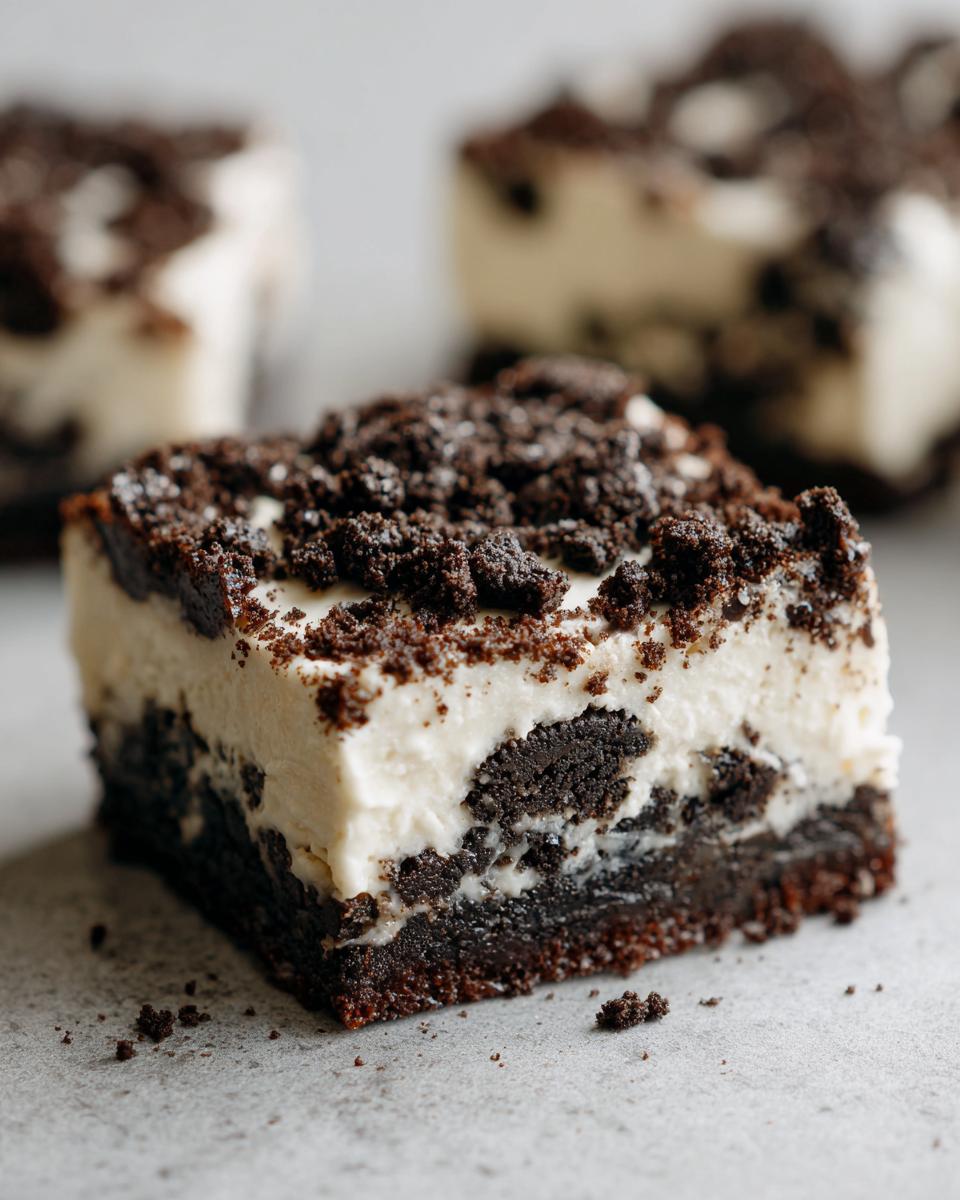
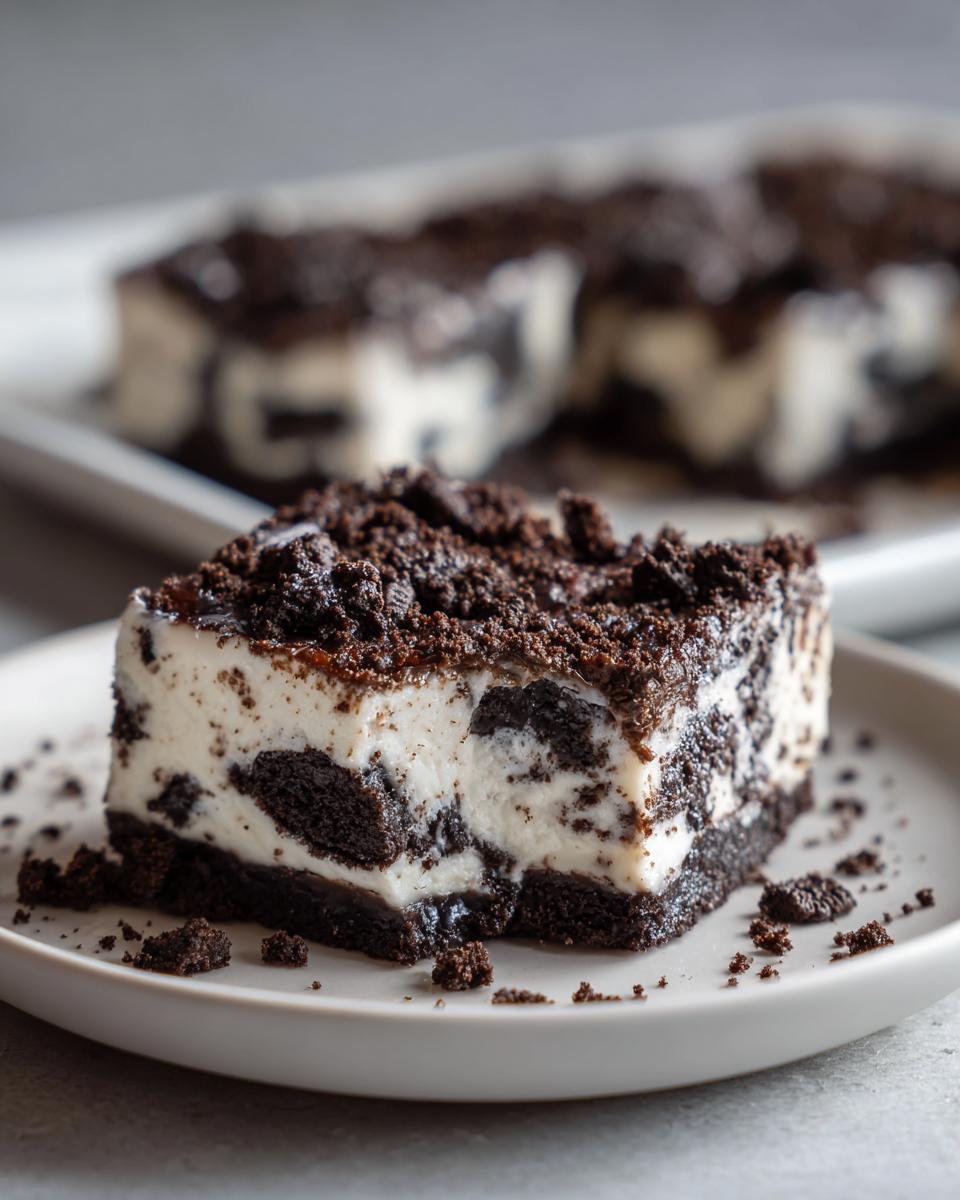
The secret sauce here is the combination of white chocolate and sweetened condensed milk. When you melt them together, they form this impossibly rich, thick base. It sets beautifully into those classic, firm yet yielding creamy fudge squares you dream about. Because we skip the oven entirely, this is a true no bake dessert powerhouse!
The Speed Factor: Making Oreo Fudge in 5 Minutes
If you’re looking for sweet tooth satisfaction right now, this hits the mark. You are genuinely looking at five minutes of active prep time. Seriously! That means you can have your base melted, Oreos folded in, and sitting in the pan before your coffee even finishes brewing. It’s the ultimate party snack recipe or last-minute gift because you whip up this amazing oreo fudge before most people have even decided what they’re going to bake.
Gathering Your Simple Ingredients for Oreo Fudge
When we keep things this easy, being precise about what hits the bowl is everything. This trio of ingredients is what makes magic happen! We want this to be your go-to oreo fudge recipe for years, so let’s make sure we have the right stuff ready to go before we even turn on the microwave.
Ingredient Clarity for Perfect Oreo Fudge
You only need three things here, but pay attention to the state of your cookies! That texture is crucial for the best cookies and cream treat.
- 1 (14 ounce) can sweetened condensed milk (Don’t grab evaporated milk—it has to be the sweet stuff!)
- 2 cups white chocolate chips (Your choice of chip quality here really makes a difference in smoothness!)
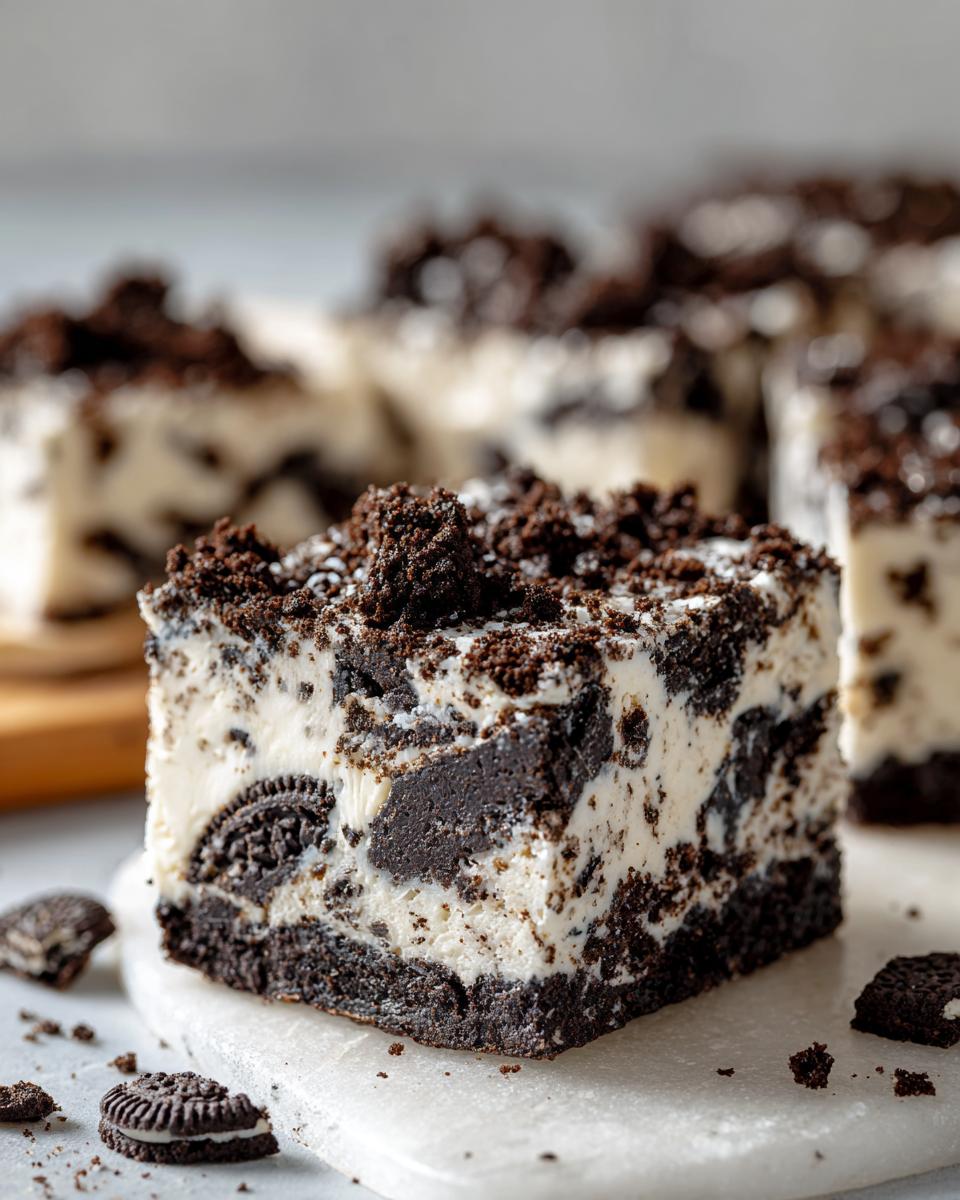
- 1 package (about 14.3 ounces) Oreo cookies, crushed (This is important: crush them coarsely—we want chunks, not dust!)
How to Prepare Your Quick Dessert Ideas: Making Oreo Fudge
This is where the magic happens—and boy, is it fast! Since this is one of those wonderful no bake desserts, you don’t need to worry about oven temperatures or timers. The real work is just melting and mixing. Follow these steps exactly, and these **oreo fudge** squares will turn out flawlessly creamy every single time.
Step 1: Pan Preparation and Oreo Crushing
First things first: grab an 8×8 inch pan. I personally swear by lining it with parchment paper, letting the sides hang over a bit like little handles. This overhang is your best friend later when you need to lift the whole beautiful slab out without breaking it. Now, deal with those Oreos! Crush about three-quarters of them up. You don’t need a food processor; a Ziploc bag and a rolling pin work just fine, and it’s a great way to de-stress! Keep the rest of those crushed cookies handy—they are going right on top for decoration.
Step 2: Melting the White Chocolate Fudge Base
Time for the melty part! In a microwave-safe bowl, combine your sweetened condensed milk and the white chocolate chips. Here’s my crucial bit of advice: *do not* walk away. Stick it in the microwave for 30-second bursts. Pull it out after each 30 seconds and stir it thoroughly, even if it doesn’t look melted yet. If you try to rush it, you’ll scorch the white chocolate, and that’s never fun. Keep going, stirring until it’s absolutely, perfectly smooth. It shouldn’t take more than a minute or two total!
Step 3: Combining and Setting the Creamy Fudge Squares
Once your base is silky smooth, take about three-quarters of your crushed Oreos and stir them right into the melted chocolate mix. Fold them in gently until they look evenly distributed—you want those crunchy bits mixed all through the batter. Pour that mixture into your prepared pan and spread it into a nice, even layer across the bottom. Now, sprinkle those reserved crushed Oreos right on top and give them a little gentle pat so they stick. Pop this pan into the refrigerator. You need to let it chill for at least 2 hours before you even *think* about cutting it. If you rush the chill time, your beautiful **creamy fudge squares** will turn into a crumbly mess!
Expert Tips for the Best Oreo Fudge Texture
Making this amazing oreo fudge is easy, but making it *perfect* takes just a little extra know-how. As someone who tests these simple dessert spreads endlessly, I’ve learned that the quality of your base ingredients totally dictates the final creamy texture you’re after. Don’t settle for good when you can have incredible, right?
Choosing the Right Chocolate for White Chocolate Fudge
Since we rely so heavily on the white chocolate chips for structure here, you need to treat them right. I strongly advise against using those cheap “white baking chips” if you can avoid them. They often contain vegetable fats that don’t melt as smoothly as good quality white chocolate chips do. Those other ones sometimes seize up or leave a waxy film when they cool down.
For truly luxurious, melt-in-your-mouth results for your white chocolate fudge, use good baking chips or even chopped white chocolate bars. You want that smooth, buttery melt because that’s what gives you those flawless, clean little pieces when you cut your cooled fudge!
Troubleshooting Common Issues
Even with a 3-ingredient recipe, things can go a little sideways if you don’t watch the heat. The number one issue I see readers run into is chocolate seizing up—that means it suddenly turns grainy and stiff instead of smooth. Nine times out of ten, that’s from overheating it in the microwave or getting even a tiny drop of water in the bowl. If it seizes, pull it out immediately and stir really vigorously, maybe add a teaspoon of shortening or oil to try and bring it back.
Then there’s the soft fudge problem. If your **oreo fudge** won’t firm up, don’t panic! It usually means you didn’t chill it long enough. Remember, this recipe relies on refrigeration, not baking, to set. If it’s still too soft after 3 hours, just slide it back in for another hour. Patience here ensures those perfect, firm squares!
Serving Suggestions for This Cookies and Cream Treat
Now that you have this glorious, quick batch of **oreo fudge** ready to go, the fun part is deciding how to show it off! Since this is such a foolproof easy fudge recipe, it shines year-round, but it truly comes alive during the holidays. Whether you’re stacking it on a party platter or packaging it up for a neighbor, presentation matters!
Making Oreo Fudge for Holiday Fudge Recipes
For holiday fudge recipes, we can lean into the fun! It’s so easy to make this look totally festive without adding any extra steps to that 5-minute prep time. When you sprinkle those reserved Oreo crumbs on top, try mixing in some bright red or green holiday sprinkles right along with them. They’ll stick beautifully to the surface.
Also, keep an eye out for seasonal Oreos! If you find the mint-filled ones around Christmas, those make an amazing seasonal swap. Or maybe grab those peanut butter ones in the summer! This simple ingredient swap makes your dessert feel totally new. Trust me, making a big batch of fudge cubes is one of the easiest holiday gifting food ideas you can rely on.
If you’re already in that festive baking mood, you should absolutely check out my recipe for soft gingerbread cookies—they smell like heaven!
Pairing with Beverages
These rich, creamy fudge squares are intensely sweet, which means they pair wonderfully with something deep and dark or wonderfully cold. For that ultimate **sweet tooth satisfaction**, serving a small square alongside a cup of strong, hot coffee is just divine. The bitterness cuts right through the sweetness of the white chocolate so nicely.
For the kids (or me, honestly!), a tall, ice-cold glass of milk is the classic answer. It complements the cookies and cream flavor perfectly. If you’re feeling fancy, try serving it alongside a mug of rich, velvety hot chocolate, like my French hot chocolate. It’s pure indulgence, but you deserve it!
Storage and Keeping Your Homemade Chocolate Candy Fresh
This is the part people always ask me about: how do I keep this amazing homemade chocolate candy delicious? The great news is that since this is such a simple, stable fudge with no perishable dairy other than the condensed milk (which is heavily preserved by sugar!), it lasts quite well.
The short answer is you have a choice, depending on how long you need to keep your oreo fudge. For immediate cravings, leaving it out is fine, but if you’re planning ahead, the fridge is your friend.
If you just made it and you plan on having it gone within the next week, you can absolutely store your **oreo fudge** squares in a good, airtight container right on your counter—room temperature is perfect. It stays nice and soft that way, which I love!
Now, if you want to stretch that sweet tooth satisfaction longer, pop those squares into the refrigerator inside that same airtight container. It will keep beautifully for longer periods. My notes here say up to a week, but frankly, it tastes good for even longer if you keep it sealed up tight. Just remember, if it sits in the fridge for more than a couple of days, let it sit on the counter for about 15 minutes before serving. That little bit of softening really brings back that smooth, melt-in-your-mouth texture!
Frequently Asked Questions About No Bake Desserts
I always get so many questions once people try my **no bake desserts**! People want to know how much they can change things up, or if they missed a step because it seemed too simple. Don’t worry, these are all super common worries, especially when dealing with simple dessert spreads that come together so quickly.
Can I use milk chocolate instead of white chocolate in this easy fudge recipe?
Oh, absolutely! You can definitely swap out the white chocolate chips if that’s what you have on hand, or if you just prefer a deeper flavor. If you use milk chocolate chips, you’ll end up with a completely different, but still delicious, fudge! It becomes a richer, more traditional chocolate flavor profile instead of the sweet, vanilla-forward cookies and cream taste we get from the white chocolate. Just remember, milk chocolate often melts a little faster than white chocolate, so watch that microwave closely when you are making your base for the easy fudge recipe!
How long does this easy fudge recipe need to chill?
This is the key to getting those beautiful, clean, almost professional-looking cuts! The recipe calls for a minimum of 2 hours in the refrigerator. If you try to cut it before then, you will end up with a gorgeous, gooey pile of deliciousness rather than neat squares—which is fine for eating straight from the bowl, but not great for gifting!
If you chill those creamy fudge squares for 3 or even 4 hours, they will be rock solid and super neat to slice. If you need them faster, you can try putting it in the freezer for about 45 minutes, but watch it closely! We don’t want rock-hard lumps, we just want them firm foundation.
Nutritional Estimates for Creamy Fudge Squares
I know some of you are curious about the numbers behind your favorite treats, even the super simple ones like this easy fudge recipe! While I focus on flavor and ease here at Cookin’ Corner, I always like to give you a ballpark idea of what’s in these little bites of heaven.
Remember, these estimates are based *exactly* on the 3-ingredient amounts I listed, split into 36 small squares. If you cut bigger pieces—which, let’s be honest, I usually do—the numbers change! This is just a guide for your **creamy fudge squares**.
- Serving Size: 1 square
- Calories: 180
- Sugar: 18g
- Sodium: 95mg
- Fat: 11g
- Saturated Fat: 6g
- Unsaturated Fat: 5g
- Trans Fat: 0g
- Carbohydrates: 19g
- Fiber: 0g
- Protein: 2g
- Cholesterol: 5mg
See? Lots of sugar, because, well, it’s fudge! But you’re also getting a little bit of dairy in there too. The beauty of keeping items like this no bake dessert recipe homemade is that you know exactly what went into it—no weird fillers!
Share Your Experience with This Simple Dessert Spread
Now that you know just how fast and easy it is to whip up these decadent **oreo fudge** treats, I truly want to hear all about it! Cookin’ Corner is built on sharing what works in our kitchens, and seeing your successes with these simple dessert spreads just makes my day.
Did you manage to get it done in under five minutes? Did you try swapping out the white chocolate for semi-sweet chips? Or maybe you made a huge batch for a party and need to tell me how fast they disappeared!
Please, don’t be shy! Leave a comment right below this section and tell me how your batch of **creamy fudge squares** turned out. If you snapped a picture of your beautifully set fudge—especially those you made for edible gifts—I’d love to see them! You can always send me a note through the contact page if the comment section isn’t your thing, but seriously, drop a star rating if this recipe saved your sweet tooth!
Thank you for trying out this little slice of home magic. Happy baking (or, well, *no baking*!)!
PrintEasy 3-Ingredient Oreo Fudge: Quick No-Bake Dessert

Make this incredibly simple Oreo fudge using only three ingredients. This no-bake cookies and cream treat comes together in minutes and sets up perfectly for satisfying your sweet tooth.
- Prep Time: 5 min
- Cook Time: 0 min
- Total Time: 2 hr 5 min
- Yield: 36 small squares 1x
- Category: Dessert
- Method: No Bake
- Cuisine: American
- Diet: Vegetarian
Ingredients
- 1 (14 ounce) can sweetened condensed milk
- 2 cups white chocolate chips
- 1 package (about 14.3 ounces) Oreo cookies, crushed
Instructions
- Line an 8×8 inch baking pan with parchment paper, leaving an overhang on the sides for easy removal.
- Place the white chocolate chips and sweetened condensed milk in a microwave-safe bowl.
- Microwave in 30-second intervals, stirring well after each interval, until the mixture is completely smooth and melted. This usually takes 1 to 2 minutes total.
- Stir in about three-quarters of the crushed Oreo cookies into the melted mixture until they are evenly distributed.
- Pour the fudge mixture into the prepared baking pan and spread it into an even layer.
- Sprinkle the remaining crushed Oreos over the top of the fudge. Gently press them into the surface.
- Refrigerate the fudge for at least 2 hours, or until firm enough to cut.
- Use the parchment paper overhang to lift the fudge from the pan. Cut the fudge into small squares before serving.
Notes
- For the best texture, use a good quality white chocolate.
- You can substitute the white chocolate with semi-sweet chocolate chips for a different flavor profile.
- Store your finished Oreo fudge in an airtight container at room temperature for up to one week, or in the refrigerator for longer freshness.
Nutrition
- Serving Size: 1 square
- Calories: 180
- Sugar: 18
- Sodium: 95
- Fat: 11
- Saturated Fat: 6
- Unsaturated Fat: 5
- Trans Fat: 0
- Carbohydrates: 19
- Fiber: 0
- Protein: 2
- Cholesterol: 5