
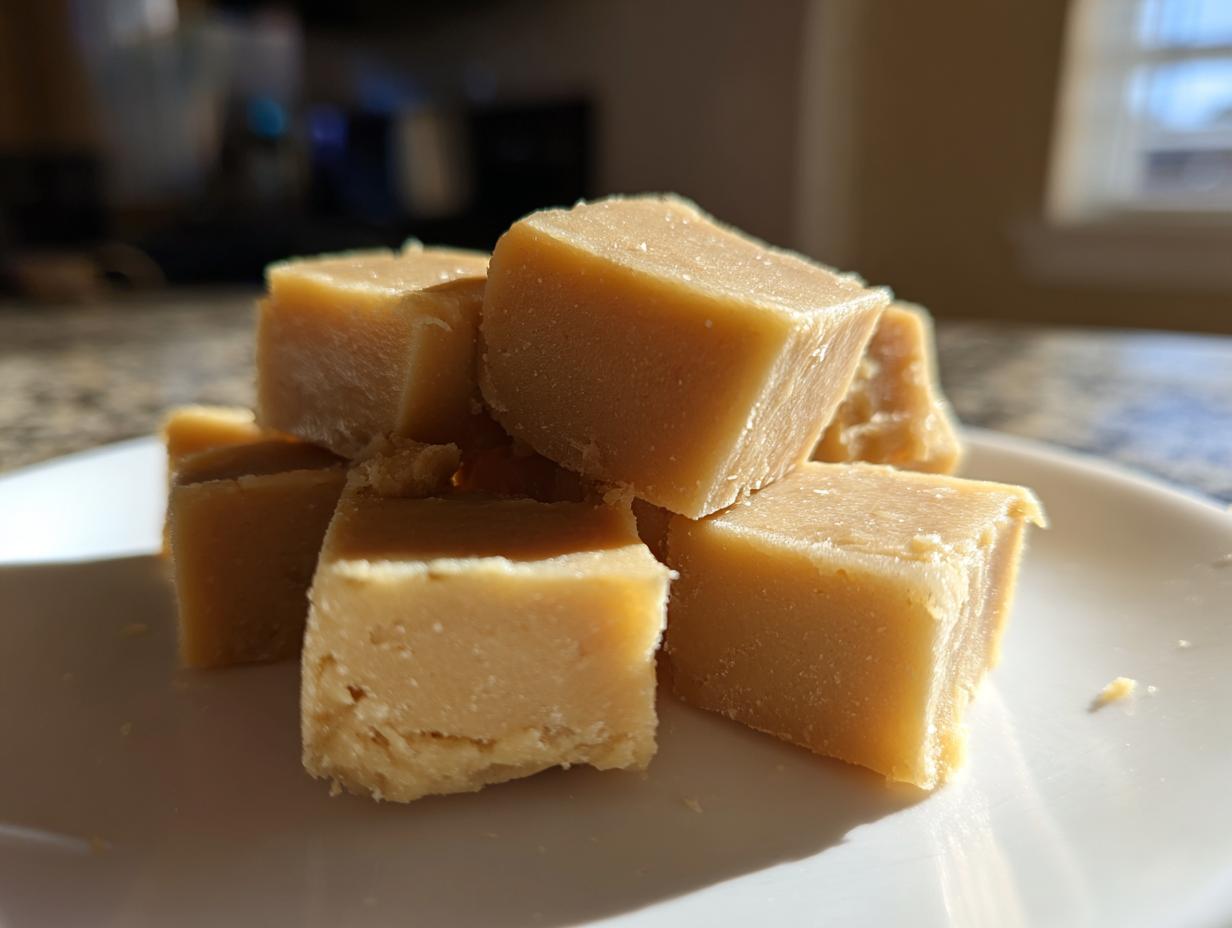
Oh, honey, let me tell you about the candy that starts every holiday season at my house! There’s nothing quite like the taste of rich, creamy fudge, and honestly, the smell alone throws me right back to my grandmother’s kitchen. Forget spending hours over a hot stove; we’re making this incredibly easy **peanut butter fudge recipe** using just three things, all thanks to the microwave. This is the kind of dependable, melt-in-your-mouth recipe that Sarah Jane built Cookin’ Corner on—it simply works every single time. Trust me, you won’t believe how simple this is.
- Why This Peanut Butter Fudge Recipe Works So Well
- Gathering Ingredients for Your Easy Peanut Butter Fudge
- Step-by-Step Instructions for the Microwave Peanut Butter Fudge Recipe
- Tips for Success with Your Peanut Butter Fudge Recipe
- Making This Peanut Butter Fudge Recipe Holiday Candy
- Storage and Reheating Instructions for the Fudge
- Frequently Asked Questions About This 3 Ingredient Fudge
- Understanding the Nutrition of This Peanut Butter Fudge Recipe
- Share Your Classic American Candy Creation
Why This Peanut Butter Fudge Recipe Works So Well
If you’re craving that slice of nostalgia, this is the ticket! Who has time for finicky candy thermometers anymore? This recipe proves you can get that true, old fashioned peanut butter fudge taste without any fuss. We rely on tried-and-true pantry staples that home cooks like me trust implicitly. It’s unbelievably easy, and that’s why it’s a staple for quick treats or last-minute holiday candy.
The Magic of the 3 Ingredient Fudge Method
The beauty of this 3 ingredient fudge is that the sweetened condensed milk does all the heavy lifting. It provides the perfect amount of sweetness and structure, so you don’t need to worry about boiling sugar to the firm-ball stage. It’s genuinely a no bake fudge marvel. You just melt, stir, and chill—that’s it!
Perfecting Your Microwave Peanut Butter Fudge
I know the microwave can feel unpredictable, but for this microwave peanut butter fudge, consistency is key. Here’s my biggest tip: when you microwave the chips and peanut butter, don’t just trust the timer. After that first minute, stir it out really well, even if it doesn’t look fully melted. That stirring distributes the heat and ensures you don’t scorch the chips. This small step is what separates grainy fudge from the perfectly smooth peanut butter fudge recipe we all want!
Gathering Ingredients for Your Easy Peanut Butter Fudge
See? I told you this peanut butter fudge recipe was simple! You probably have almost everything sitting on your shelf right now. We aren’t dealing with vanilla bean paste or exotic spices here, goodness no. This easy candy relies on just three reliable pantry staples that make the best easy peanut butter fudge you’ve ever tasted. Grab your measuring cups, we only need a few things!
Specific Ingredient Requirements for This Peanut Butter Fudge Recipe
Precision matters here, even though it’s easy, so make sure you grab these exact items. Consistency is key for that perfect set!
- 1 (10 ounce) package vanilla or white baking chips (No regular white chocolate chips, we need the melting power of baking chips!)
- 1 (14 ounce) can sweetened condensed milk (Make sure it’s the can, not the evaporated kind—that’s a different story entirely!)
- 1 cup creamy peanut butter (Please use the creamy kind, shelf-stable, not the natural oily kind, if you want it to set right.)
Step-by-Step Instructions for the Microwave Peanut Butter Fudge Recipe
Alright, pop on your apron! Because this peanut butter fudge recipe takes only about 10 minutes of hands-on time, and we’re looking at maybe 5 minutes actively microwaving. It’s the fastest delicious dessert on the planet. Just remember, this is a no bake fudge, which means you aren’t cooking—you are gently melting things together until they cooperate. Pay attention to the stirring, and you’ll have gorgeous results.
Preparing the Pan and Melting the Base
First things first, get your 8×8 inch pan ready! Line it with parchment paper, but don’t cut it flush with the sides. You want those little flaps hanging over two opposite sides—that’s your built-in handle for easy lifting later! After you grease the exposed paper a tiny bit, you can actually combine the white baking chips and the peanut butter right in your microwave-safe bowl. Pop that in for just 60 seconds to get things started.
Achieving Smoothness in Your No Bake Fudge Mixture
When that minute is up, take the bowl out and stir it like you mean it! Chances are, it won’t look completely smooth yet, and that’s okay. Now we go slow. Microwave in 30-second bursts after that first minute, stirring thoroughly after every single burst. It usually takes two more stops for me. You absolutely must stir until there are no little white lumps left. Grainy fudge is the enemy, and smooth shining mixture means you nailed the melt!
Combining and Setting the Old Fashioned Peanut Butter Fudge
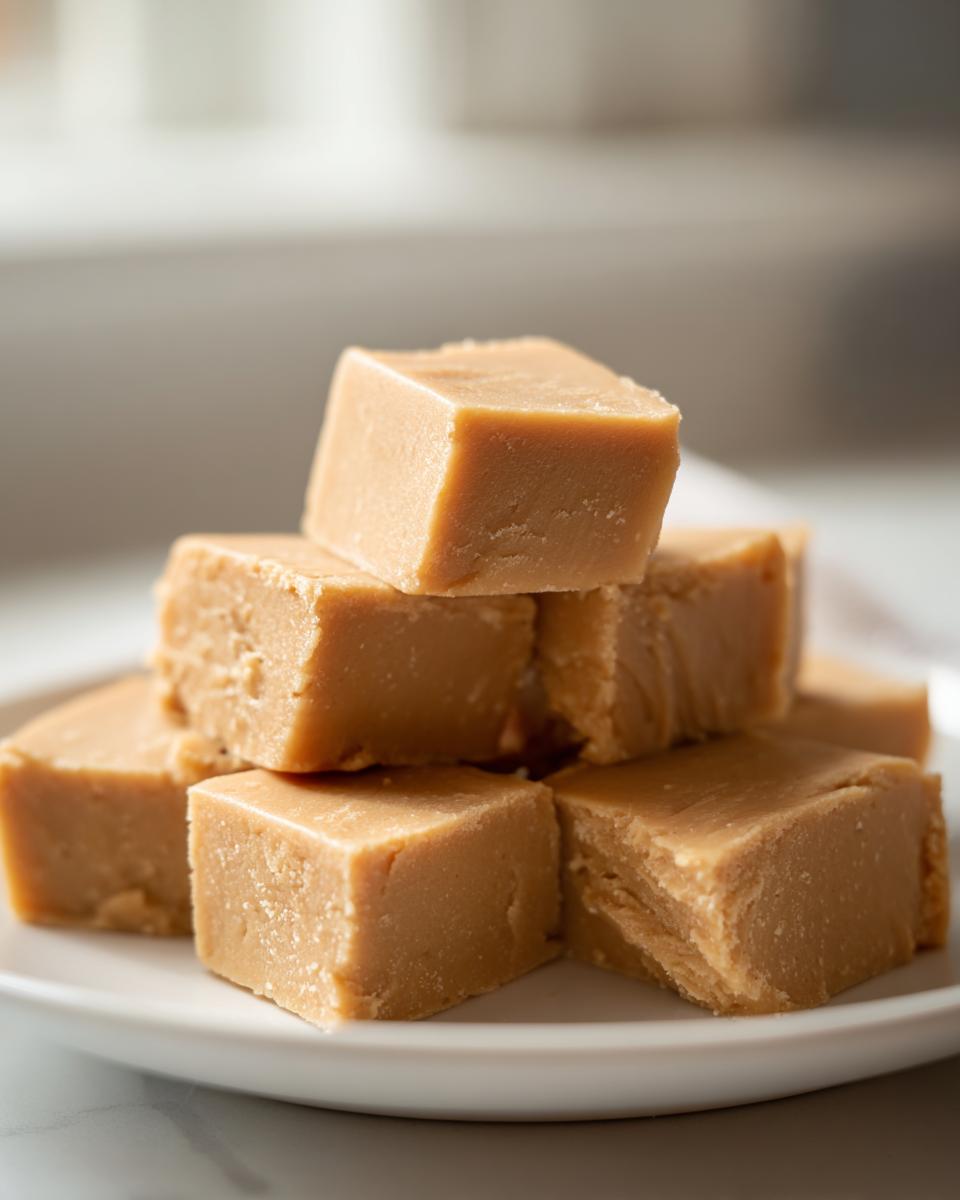
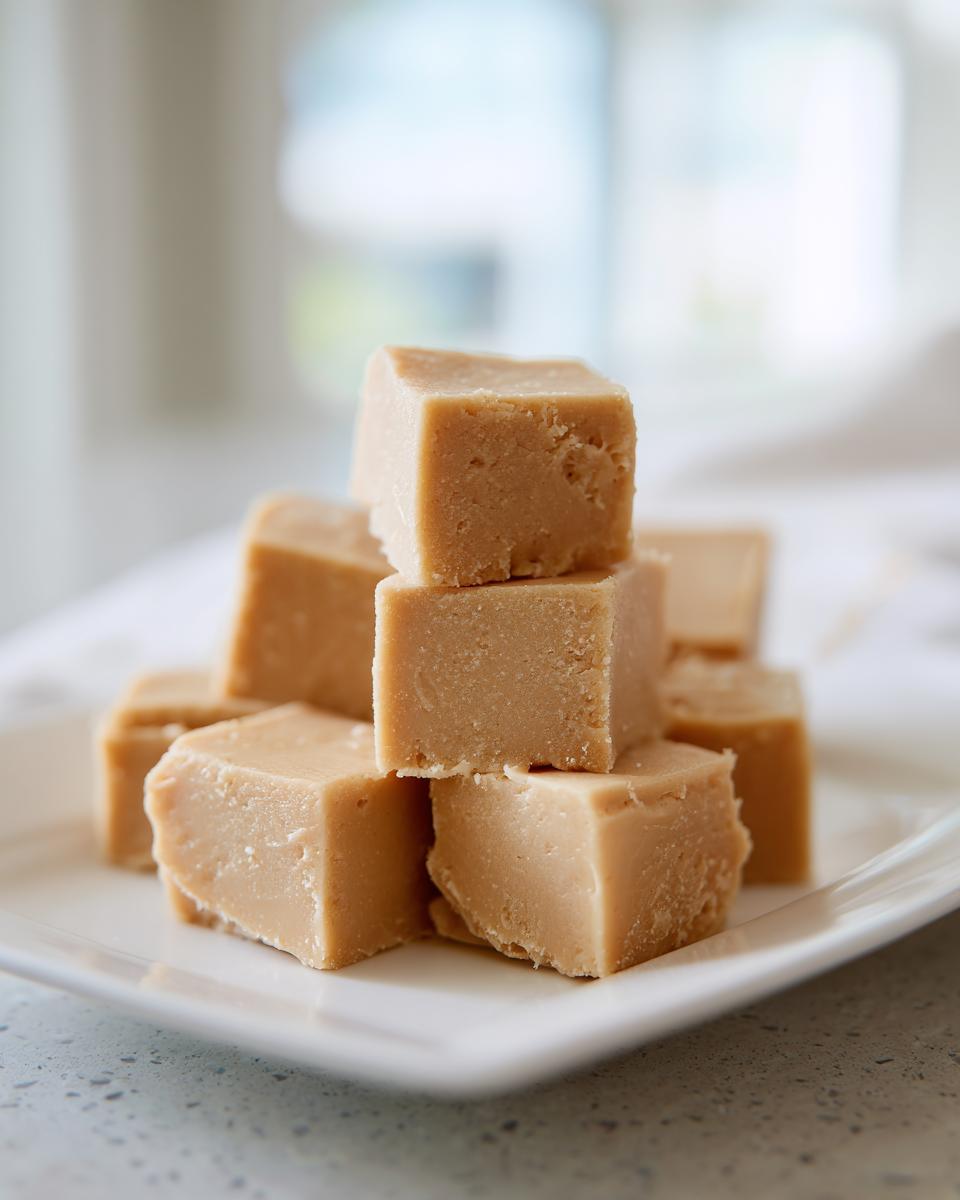
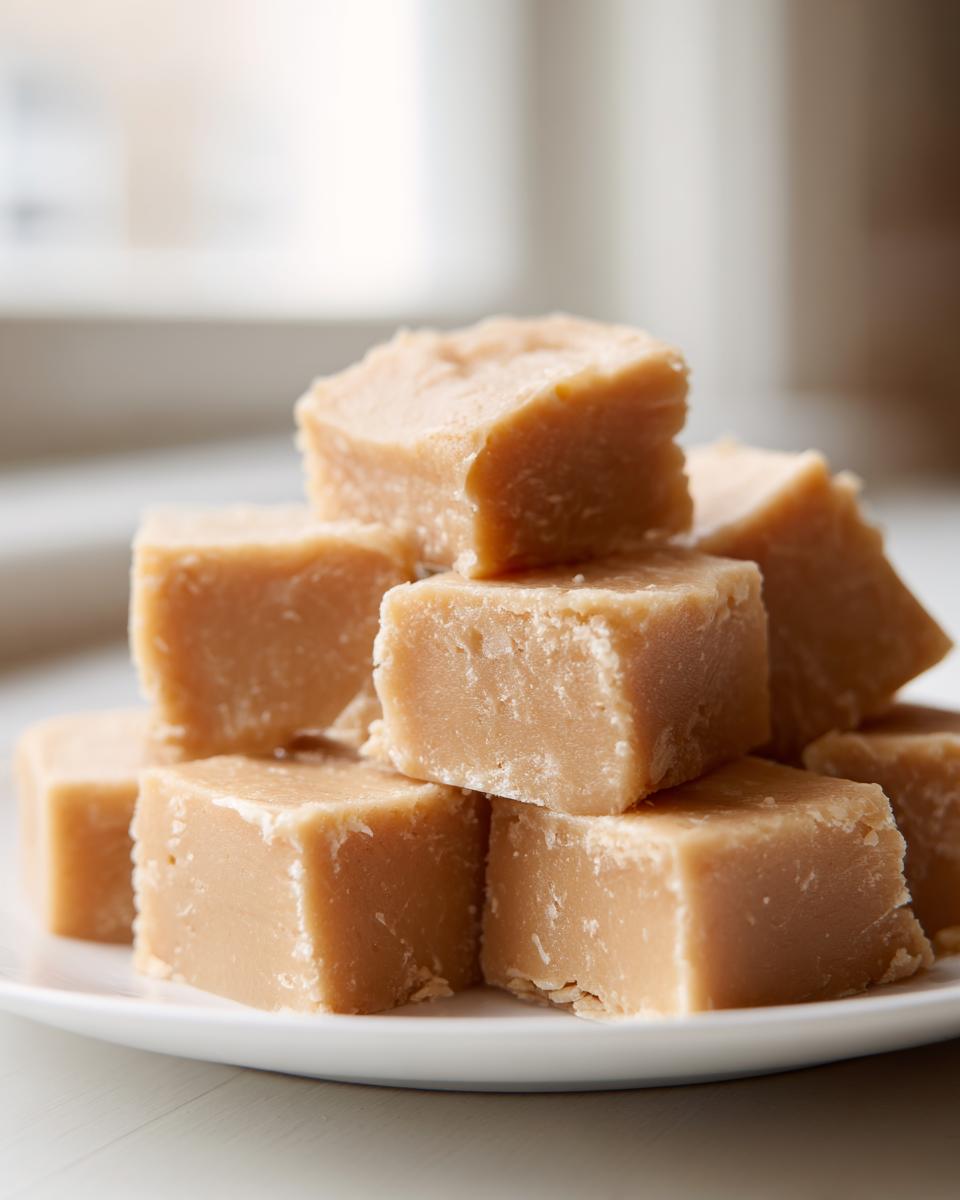
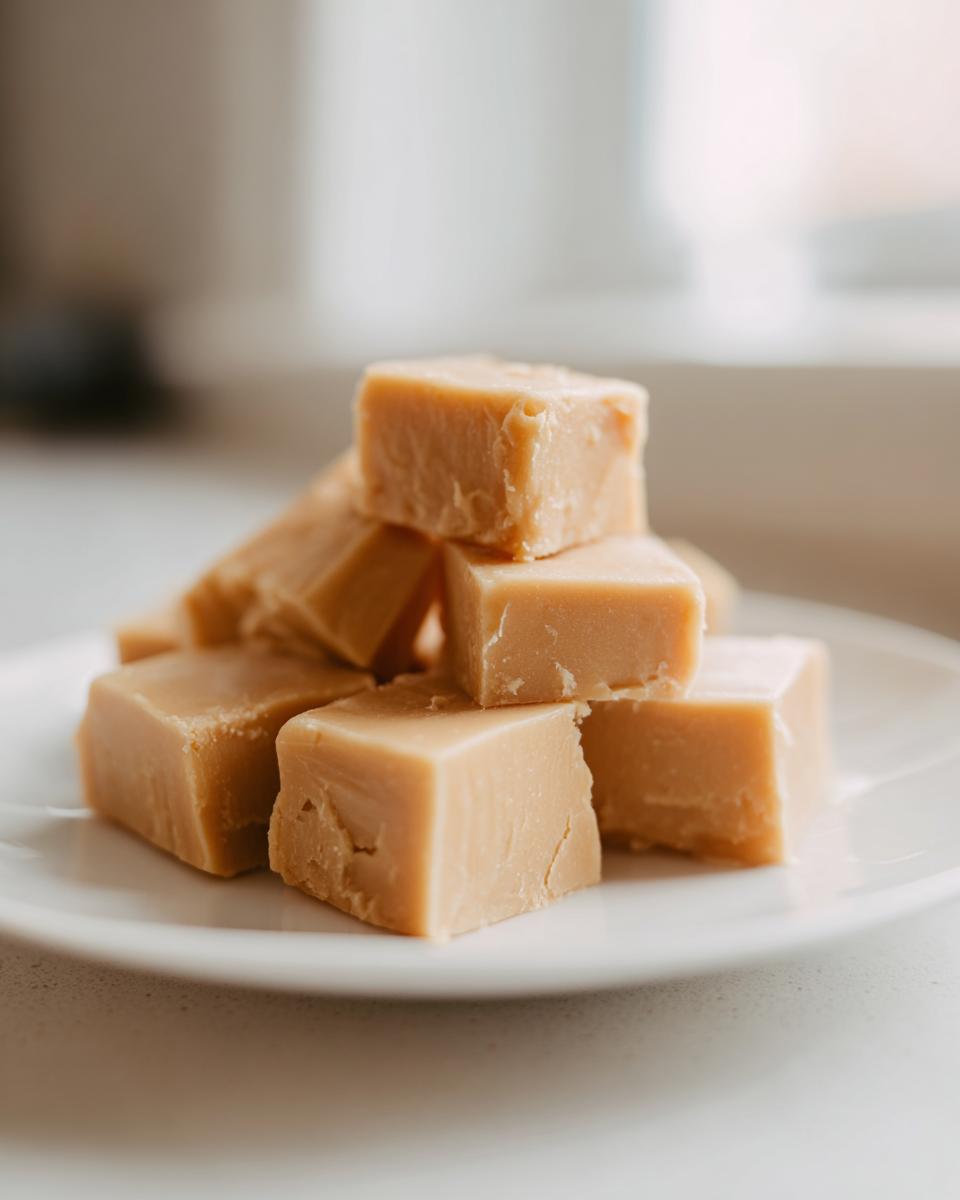
Once it’s perfectly smooth and shiny, pour in that can of sweetened condensed milk. Trust me, stir this until it’s totally uniform—you don’t want streaks of white or peanut butter remaining. Dump the whole glorious mass into your prepared pan and spread it out nice and even. Now for the hardest part of this old fashioned peanut butter fudge: the waiting game. Pop it in the fridge for a minimum of two hours until it’s firm enough to slice. Since this candy is so rich, you’ll cut small squares, and this batch yields about 36 little bites of heaven!
Tips for Success with Your Peanut Butter Fudge Recipe
Even the simplest recipe can have little hiccups, so let me give you a few things I’ve learned making this easy peanut butter fudge dozens of times. These little secrets will guarantee that rich, creamy texture we are aiming for, batch after batch. Don’t worry if you need to personalize it a bit; that’s what home cooking is all about!
Ingredient Notes and Substitutions
If you want to jazz this up, try swapping out those white chips for semi-sweet ones. You’ll get a fantastic peanut butter chocolate look when you swirl them together—so pretty for gifting! Now, about the peanut butter: I really push for the creamy, shelf-stable kind. If you try to use that natural, oily style, the fats separate during the microwave process, and you end up with oily spots instead of smooth fudge. Stick to the basics for the best result!
Making This Peanut Butter Fudge Recipe Holiday Candy
When this fudge sets up, it looks so ridiculously professional for such a quick recipe, which makes it my absolute go-to for teacher gifts or cookie platters! Since this peanut butter fudge recipe is already so delicious, it just needs a little sparkle to scream “festive!” It’s such a wonderful, quick option for making a big batch of holiday candy without taking over my oven for days.
You really don’t need much! We’re aiming for something that says, “I cared enough to spend 10 minutes making this perfect treat,” even though we only used three ingredients. If you’re planning on packaging this up, make sure it’s fully chilled before you try to wrap it, or you’ll end up with a sticky mess!
For presentation, think about texture and color. A light dusting of flaky sea salt right after you spread it in the pan—before it chills—is gorgeous and cuts through the sweetness. If you have kids helping, let them go wild with crushed peppermint or simple colorful sprinkles! Honestly, whatever you choose, the real win here is having such a fantastic base for beautifully packaged holiday candy.
Storage and Reheating Instructions for the Fudge
Since this is such a rich, sweet candy, you might find you don’t even have leftovers because everyone eats it right away! But if you do manage to save some of this fantastic no bake fudge, you need to treat it right so it stays creamy.
First off, don’t even think about leaving it out on the counter for days. Fudge thrives in the cold! At room temperature (say, in a cool pantry), it might start to soften up after a day or two because of the high fat and sugar content reacting to the air. I always keep mine in an airtight container in the refrigerator. It will firm way up in there, but that’s a good thing!
When stored properly in the fridge, this fudge will stay absolutely perfect for at least two to three weeks. Seriously, that’s how long it lasts! If you chill it longer than that, the texture can change a little bit and get a touch crumbly, but it’s still safe to eat.
Now, about reheating—you really don’t need to! This candy is meant to be eaten firm and cool. If you happen to forget a piece on the counter and it gets too soft, just pop it back in the fridge for 30 minutes. If, heaven forbid, it gets rock hard after a few weeks in the back of the freezer, you can let it thaw on the counter for about 15 minutes before slicing. It might not be as silky smooth as the first day, but it’ll still be that amazing peanut butter fudge recipe taste you love!
Frequently Asked Questions About This 3 Ingredient Fudge
I always get so many questions when folks try this 3 ingredient fudge for the first time, which is wonderful! It means everyone is excited to make this quick, reliable candy. It’s funny how easy things can sometimes cause the most confusion, but don’t you worry one bit. I’m here to clear up anything that might stand between you and your perfect batch of easy peanut butter fudge.
Can I make this peanut butter fudge recipe without a microwave?
Absolutely, you can! If your microwave is on the fritz or you just prefer not to use it, that’s totally fine. We just need a gentle way to melt those baking chips and the peanut butter together. You’ll need a double boiler setup! Just set a heat-safe bowl over a pan of simmering (not boiling!) water. You need to stir constantly until that mixture is completely smooth and glossy. Keep the heat low. While this technique takes a little more elbow grease than the microwave, it still works beautifully for this peanut butter fudge recipe and keeps the texture spot on.
What kind of peanut butter is best for this easy peanut butter fudge?
This is the most important ingredient switch to avoid! I strongly recommend using a standard, shelf-stable, creamy peanut butter—like the kind that doesn’t separate in the jar. Why? Because natural peanut butter (the kind you have to stir vigorously) has oils that just don’t emulsify well with the melted chips during that quick microwave process. If you use natural peanut butter, you risk getting oily streaks throughout your beautiful no bake fudge. Stick to the creamy stuff for that perfectly uniform texture!
If you ever need to reach out with another question or want to tell me how much your family loved this confection, please feel free to drop us a line on our contact page! We love hearing from you.
Understanding the Nutrition of This Peanut Butter Fudge Recipe
Now, let’s talk numbers for just a second. I know when we’re making classic, peanut butter fudge recipe treats, we aren’t really looking for kale salad nutrition! We’re looking for happiness, pure and simple. But just so you know what you are serving up, here is a quick snapshot based on the standard ingredients and cutting the batch into those nice, small squares. Like all rich homemade candies, remember, a little bit goes a long way!
These figures are just helpful estimates, of course, since every can of condensed milk or brand of baking chip is a little different. But this gives you a great baseline for this delightful confection.
- Serving Size: 1 square
- Calories: 150
- Sugar: 18g
- Fat: 8g
- Protein: 4g
- Carbohydrates: 18g
- Saturated Fat: 3g
- Cholesterol: 10mg
Remember, because this is such a rich candy, slicing it into about 36 small squares is really the best way to enjoy it without overdoing it. Seriously, one little piece of this 3 ingredient fudge packs a punch of flavor! Enjoy every single bite, that’s what cooking is all about!
Share Your Classic American Candy Creation
That’s it! You’ve done it! You have created a beautiful batch of ridiculously simple, melt-in-your-mouth peanut butter fudge recipe goodness. I am just so thrilled that you took the time to try this tradition from our kitchen to yours. Now that you’ve seen how easy this no bake fudge is, I really want to know how it turned out for you!
If you’re anything like me, once you take that first bite, you’re already planning the next batch for a bake sale or another holiday gathering. Home cooking is all about that shared experience, right? It’s not just about following directions; it’s about making memories and seeing the joy on someone’s face when they taste something made with care.
I always ask folks to come back and leave a review—that little five-star rating system we use on the site? That’s how we know we’re keeping those cherished American classics alive and well! Let us know if you added the sea salt or went wild with sprinkles. Your feedback helps keep this easy peanut butter fudge recipe trustworthy for anyone else nervous about trying it.
If you snap a picture of your wonderfully rich squares, tag us! Seeing your creations is honestly the best part of my day. Head over to the terms of use page if you have any questions about sharing your photos, and thank you again for baking with us. Happy snacking!
Print3-Ingredient Microwave Peanut Butter Fudge
Make classic, old fashioned peanut butter fudge quickly using only three ingredients in the microwave. This no bake fudge sets perfectly and is great for holiday candy.
- Prep Time: 10 min
- Cook Time: 5 min
- Total Time: 135 min
- Yield: About 36 small squares 1x
- Category: Dessert
- Method: Microwave
- Cuisine: American
- Diet: Vegetarian
Ingredients
- 1 (10 ounce) package vanilla or white baking chips
- 1 (14 ounce) can sweetened condensed milk
- 1 cup creamy peanut butter
Instructions
- Line an 8×8 inch baking pan with parchment paper, leaving an overhang on two sides for easy removal. Lightly grease the paper.
- Place the white baking chips and peanut butter in a microwave-safe bowl.
- Microwave on high for 60 seconds. Stir well.
- Continue microwaving in 30-second intervals, stirring after each interval, until the mixture is smooth and completely melted. This usually takes 1 to 2 minutes total after the first minute.
- Pour the sweetened condensed milk into the melted mixture. Stir until everything is fully combined and smooth.
- Pour the fudge mixture into the prepared baking pan. Spread evenly.
- Refrigerate for at least 2 hours, or until the fudge is firm.
- Lift the fudge out of the pan using the parchment paper overhang. Cut into small squares.
Notes
- For a richer flavor, you can use semi-sweet chocolate chips instead of white chips for a peanut butter chocolate swirl.
- If you want a slightly softer fudge, reduce the cook time slightly before stirring in the condensed milk.
- Cut the fudge into small pieces; this recipe makes rich candy.
Nutrition
- Serving Size: 1 square
- Calories: 150
- Sugar: 18g
- Sodium: 75mg
- Fat: 8g
- Saturated Fat: 3g
- Unsaturated Fat: 5g
- Trans Fat: 0g
- Carbohydrates: 18g
- Fiber: 0g
- Protein: 4g
- Cholesterol: 10mg