
Oh, honey, have you ever thought about taking two of the best desserts known to humankind and smushing them together? It’s pure genius, right? That’s exactly what we’re doing today with this spectacular tiramisu cheesecake. We aren’t aiming for some fussy restaurant version here; this is my tried-and-true classic, made with that same care you’d find in my family kitchen, just like I talk about over on our story page!
We’re marrying the unbelievable creamy texture of a perfect cheesecake with all those signature Italian flavors—that deep espresso kick, rich mascarpone, and a light dusting of cocoa. It’s the ultimate dessert fusion, and trust me, it is decadent without being too heavy. Get ready to wow everyone!
- Why This Tiramisu Cheesecake Recipe is a Showstopper Dessert Idea
- Essential Ingredients for Your Tiramisu Cheesecake Recipe
- How to Make Tiramisu Cheesecake: Step-by-Step Instructions
- Tips for Success with Your Tiramisu Cheesecake Recipe
- Serving Suggestions for This Decadent Cheesecake Fusion
- Storage and Reheating Instructions for Tiramisu Cheesecake
- Frequently Asked Questions About Tiramisu Cheesecake
- Estimated Nutritional Data for Tiramisu Cheesecake
- Share Your Best Tiramisu Cheesecake Creations
Why This Tiramisu Cheesecake Recipe is a Showstopper Dessert Idea
If you need a dessert that makes people stop mid-sentence when you bring it out, this is the one. It just screams special occasion! It’s the kind of recipe that gets pinned thousands of times because it truly delivers that ‘wow’ factor people look for.
- It’s the ultimate tiramisu cheesecake—you get the best of both worlds in one gorgeous slice.
- This recipe creates a truly Decadent Cheesecake Fusion that feels rich but manages to stay surprisingly elegant.
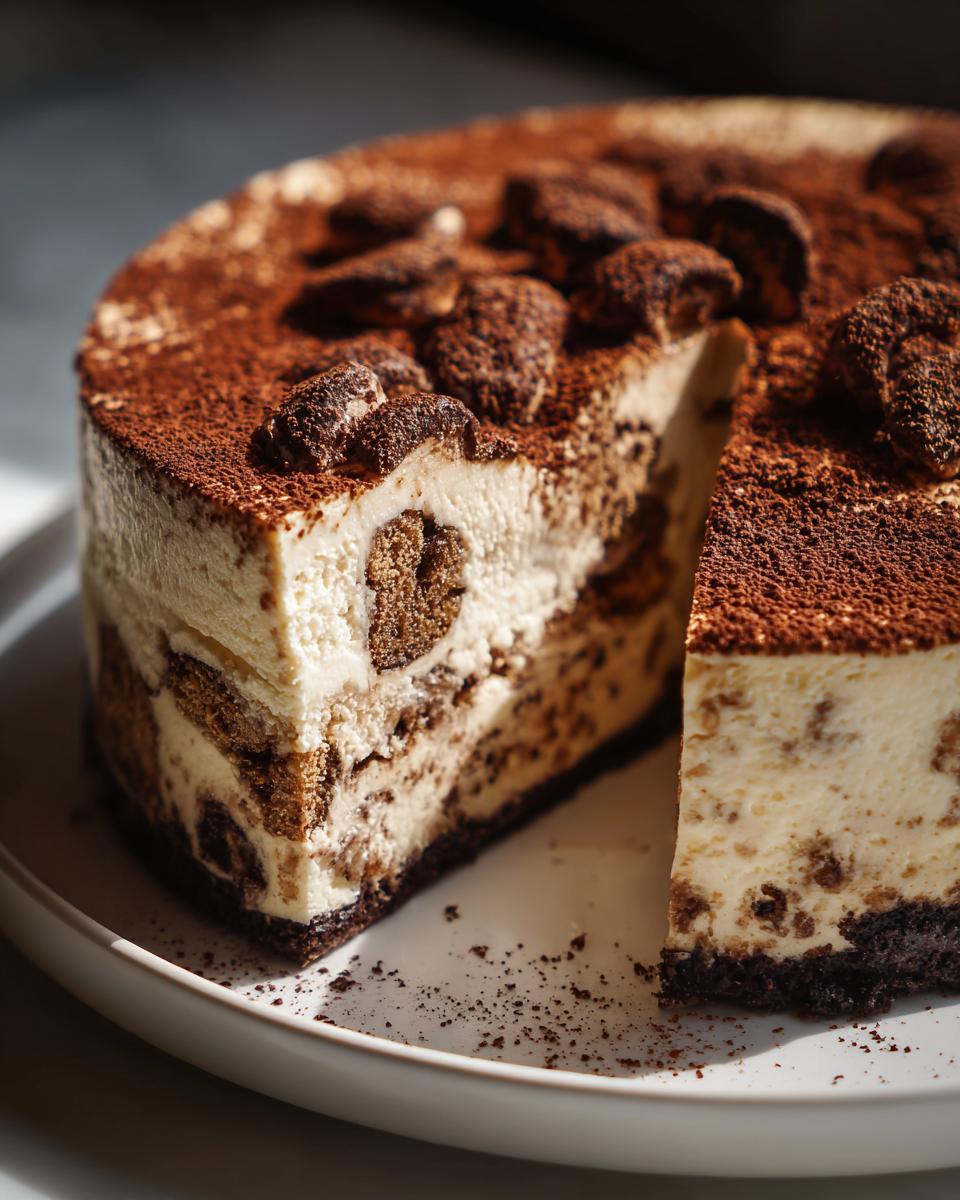
- You get that fantastic visual appeal, especially when you add the layers and the final cocoa dusting. It looks like it took days, but honestly? It’s straightforward!
- We use real mascarpone, which gives the filling an unmatched smoothness that regular cheesecake just can’t replicate.
The Perfect Cheesecake and Tiramisu Blend
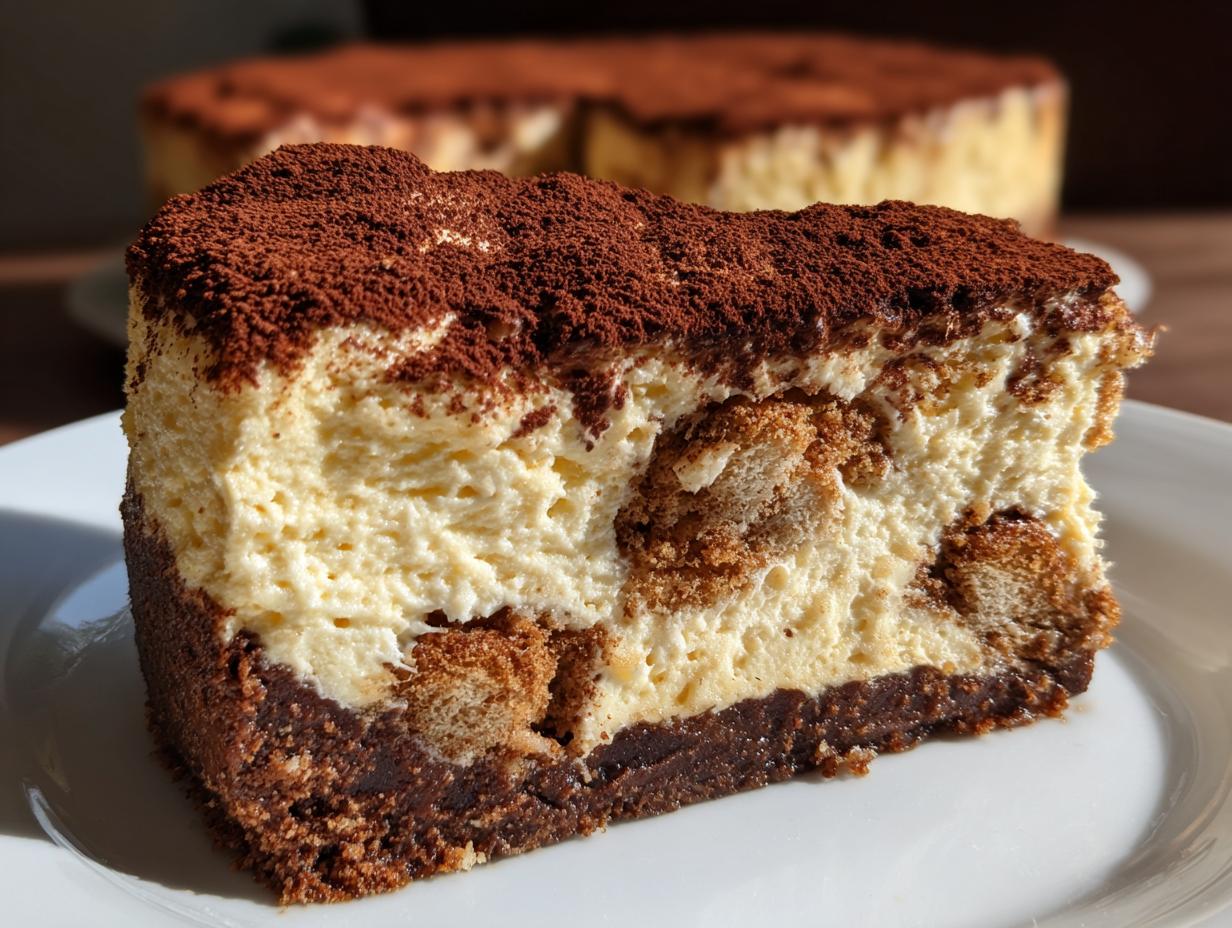
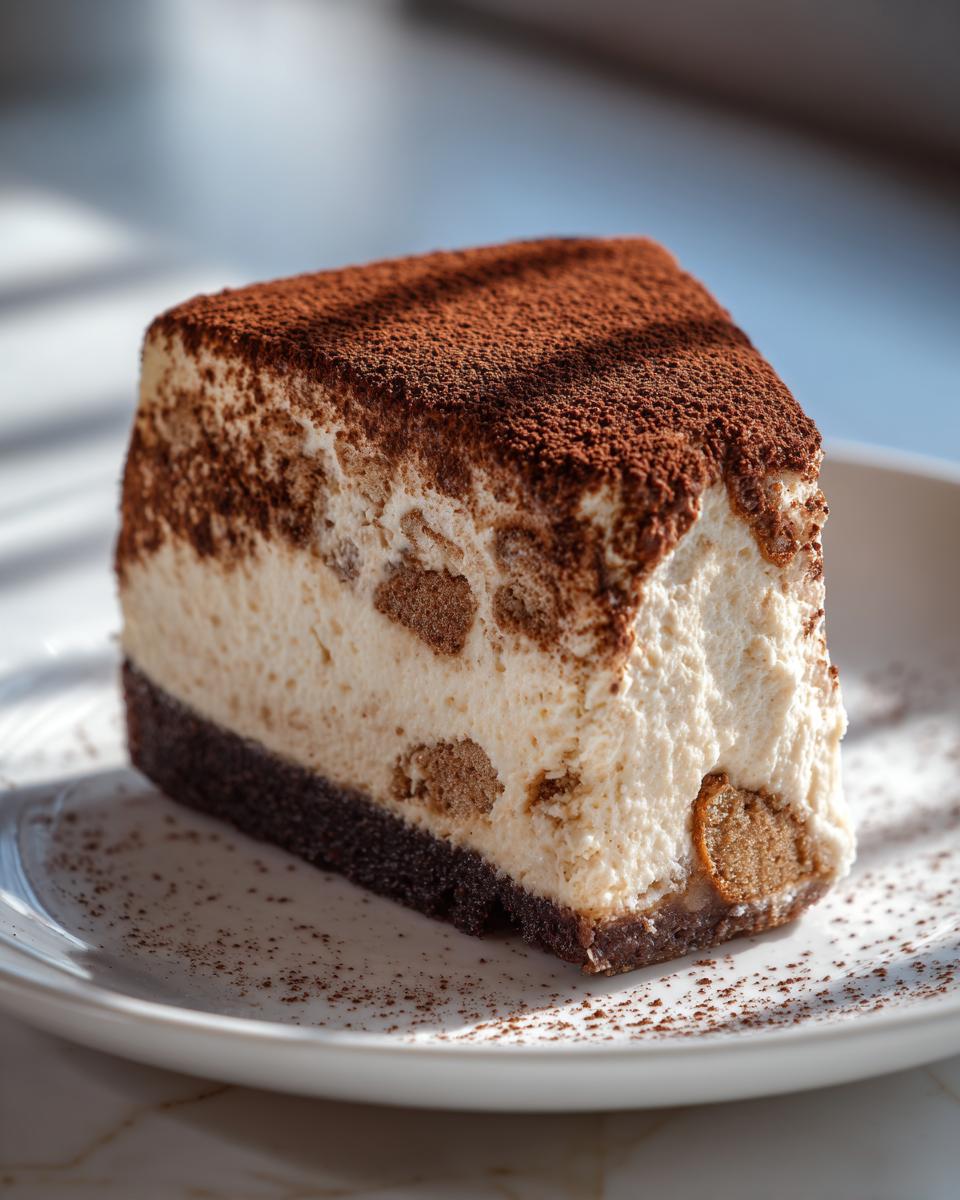
Where do these two worlds meet perfectly? It’s all in the mouthfeel! The cheesecake base is dense, creamy, and slightly tangy, providing the perfect sturdy foundation. Then, you hit those layers of espresso-soaked ladyfingers, which melt right into the batter—no dry spots here, ever! It’s smooth, slightly boozy (if you use the liqueur!), and perfectly coffee-flavored.
Essential Ingredients for Your Tiramisu Cheesecake Recipe
Okay, let’s talk about what you need to grab from the pantry and fridge! When you’re making a Creamy Mascarpone Dessert this fancy, ingredient quality really matters. Don’t rush the softening part on the dairy; I mean it! Cold cream cheese cracks and gives you lumps—and we definitely aren’t having that in our Tiramisu Cheesecake.
I’ve broken down the list below by section so you can shop or prep easily. Remember, room temperature eggs mix in so much better and prevent that curdling we’re trying to avoid, so pull those out a little early!
For the Chocolate Wafer Crust
- 1 1/2 cups chocolate wafer crumbs
- 1/4 cup granulated sugar
- 6 tablespoons unsalted butter, melted
For the Coffee Flavored Cheesecake Filling
Make sure your cream cheese and your mascarpone have been sitting out long enough to get nice and soft!
- 24 ounces cream cheese, softened
- 1 1/2 cups granulated sugar
- 1/4 cup all-purpose flour
- 1 teaspoon vanilla extract
- 1/4 teaspoon salt
- 4 large eggs, room temperature
- 8 ounces mascarpone cheese, softened
- 1/2 cup strong brewed espresso, cooled
- 1/4 cup coffee liqueur (optional, but yum!)
For the Espresso Soak and Topping
This is where that deep coffee flavor really shines through, so use strong espresso if you can!
- 1 package (7 ounces) ladyfingers
- 1/2 cup strong brewed espresso, for dipping
- Whipped cream, for topping
- Cocoa powder, for dusting
How to Make Tiramisu Cheesecake: Step-by-Step Instructions
Alright, this is where we turn those beautiful ingredients into the superstar dessert we’ve been waiting for. Making a baked cheesecake sounds intimidating, I know, but the water bath is our secret weapon! It keeps everything steady so we get that lush, smooth texture in our tiramisu cheesecake. Just follow these steps closely, especially around the cooling, and you’ll look like a total baking pro!
Preparing the Crust and Initial Bake
First things first, get that oven warmed up to 325°F (160°C). Then, wrap that 9-inch springform pan really well in heavy-duty foil—this keeps any rogue water from our bath splashing inside. Mix your chocolate wafer crumbs, the little bit of sugar, and the melted butter until it looks like wet sand. Press it down super firmly onto the bottom of the pan. We just bake that crust for 10 minutes to set it, then let it cool down for a minute while we whip up the filling.
Mixing the Creamy Mascarpone Cheesecake Batter
In your big bowl, start by beating the softened cream cheese with the main sugar, flour, vanilla, and salt until it’s totally smooth. Remember how I mentioned room-temp eggs? Beat them in one at a time. Don’t just dump them all in! Mix until *just* combined after each egg. Then, gently fold in that beautiful mascarpone cheese until it’s barely mixed in. We don’t want to whip too much air in here!
Layering the Tiramisu Cheesecake
Pour about half of that creamy batter right over your cooled crust. Now for maximum flavor: combine your cooled espresso with the coffee liqueur if you’re using it. Dip those ladyfingers in super quick—just a flash on each side! If you soak them too long, they turn to mush. Arrange those espresso-kissed cookies in a single layer over the first layer of batter, and then pour the rest of that gorgeous batter right on top of them.
Baking with a Water Bath for Smooth Results
Here’s the key to avoiding cracks! Place your foil-wrapped pan inside a larger roasting pan. Carefully pour hot water into the outer pan until it comes about halfway up the sides of your springform pan. This water bath steam keeps the cheesecake cooking slowly and evenly. Bake for 60 to 75 minutes. You know it’s done when the edges look set but the center still has a slight, tiny jiggle when you nudge it.
Cooling and Chilling the Layered Tiramisu Cheesecake
Don’t rush the cooling, seriously! Turn the oven off, crack the door open a little bit, and let it cool down inside for a full hour. This gradual temperature change is vital for the Best Tiramisu Cheesecake texture. After the hour, take it out, off the water bath, and let it cool totally on the counter. Then, wrap it up tight and refrigerate that beauty for at least six hours, but honestly, the overnight chill is what gives you that perfect slice.
Tips for Success with Your Tiramisu Cheesecake Recipe
Now that you know the baking steps, let’s talk about setting yourself up for absolute success. Even a fantastic tiramisu cheesecake can get derailed by a few small hiccups, so these little bits of wisdom—learned through plenty of trial-and-error, believe me—will ensure yours turns out perfect every single time, just like those beautiful ones you see online from other cooks.
My biggest tip, which I mentioned before, is managing temperature. If your cream cheese or mascarpone is fridge-cold, your batter *will* be lumpy. Don’t try to speed this up by microwaving it either; just plan ahead and let it sit on the counter for an hour or two. Patience in this step pays off when you cut into that smooth final slice!
Ingredient Notes and Substitutions for this Italian Dessert Recipe
Let’s talk coffee and booze. The espresso is non-negotiable if you want real depth here. Skip the weak stuff! Use a very strong brew or even instant espresso mixed with hot water—just make sure it’s completely cooled down before it touches the batter!
The coffee liqueur is optional, but if you skip it, you are missing a beautiful layer of adult flavor that really ties the tiramisu element together. If you don’t want the alcohol, don’t just leave it out! My notes say to swap in 1 tablespoon of rum extract into your espresso dipping liquid. That mimics the depth of flavor without any alcohol content. It’s a brilliant trick for an amazing Espresso Cheesecake experience.
Also, remember the water bath setup? If you are worried about water getting into your beautiful pan, double-wrap that foil. Really press it on tight around the base. It’s messy work, but cracking due to dry heat is one of the saddest things to happen to a baked cheesecake!
Serving Suggestions for This Decadent Cheesecake Fusion
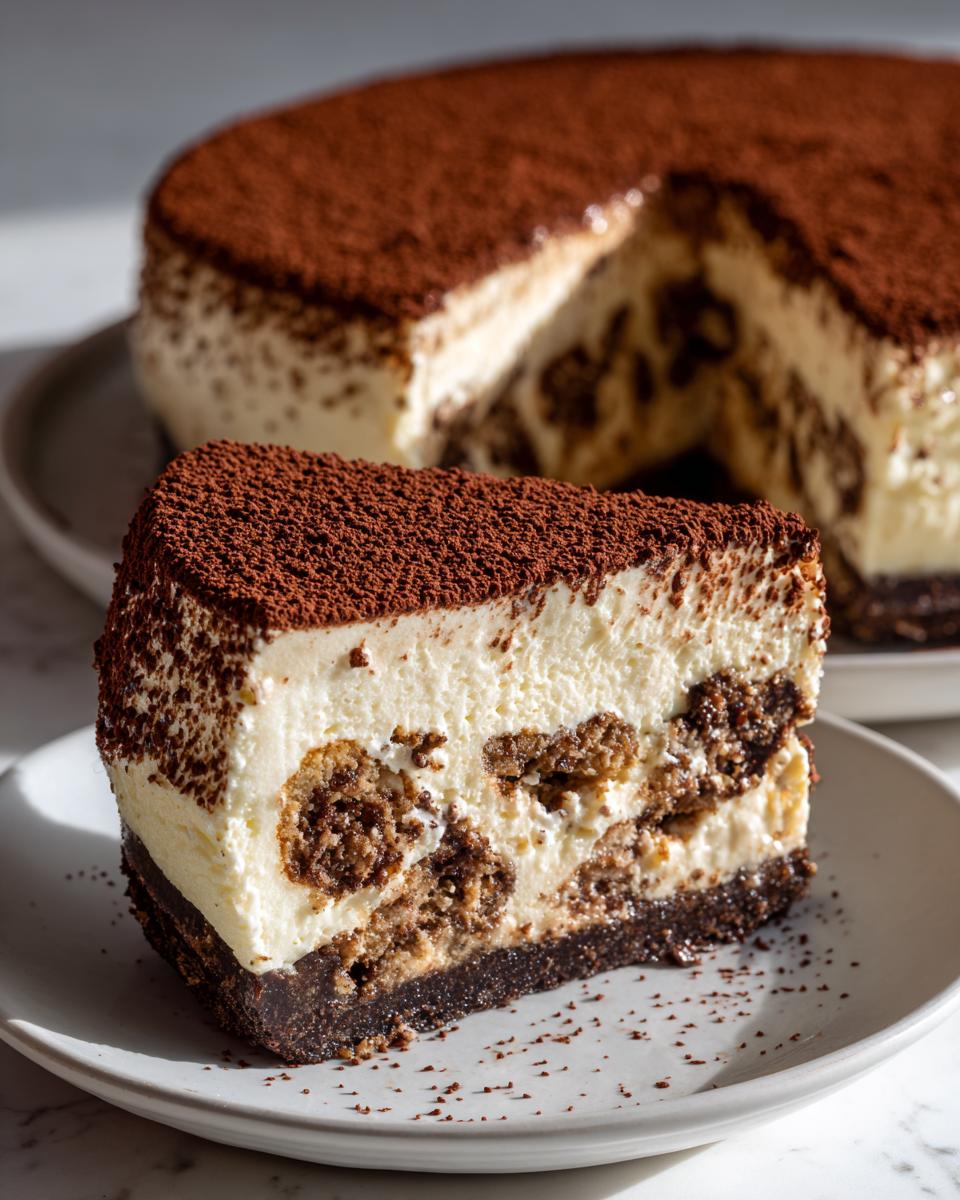
You’ve done the work, you’ve waited patiently, and now your **tiramisu cheesecake** is ready to be presented! Because this dessert is already so rich with creamy mascarpone and deep espresso notes, you don’t need a ton of fuss. In fact, too many extra sauces can just overwhelm the careful balance we worked so hard to achieve.
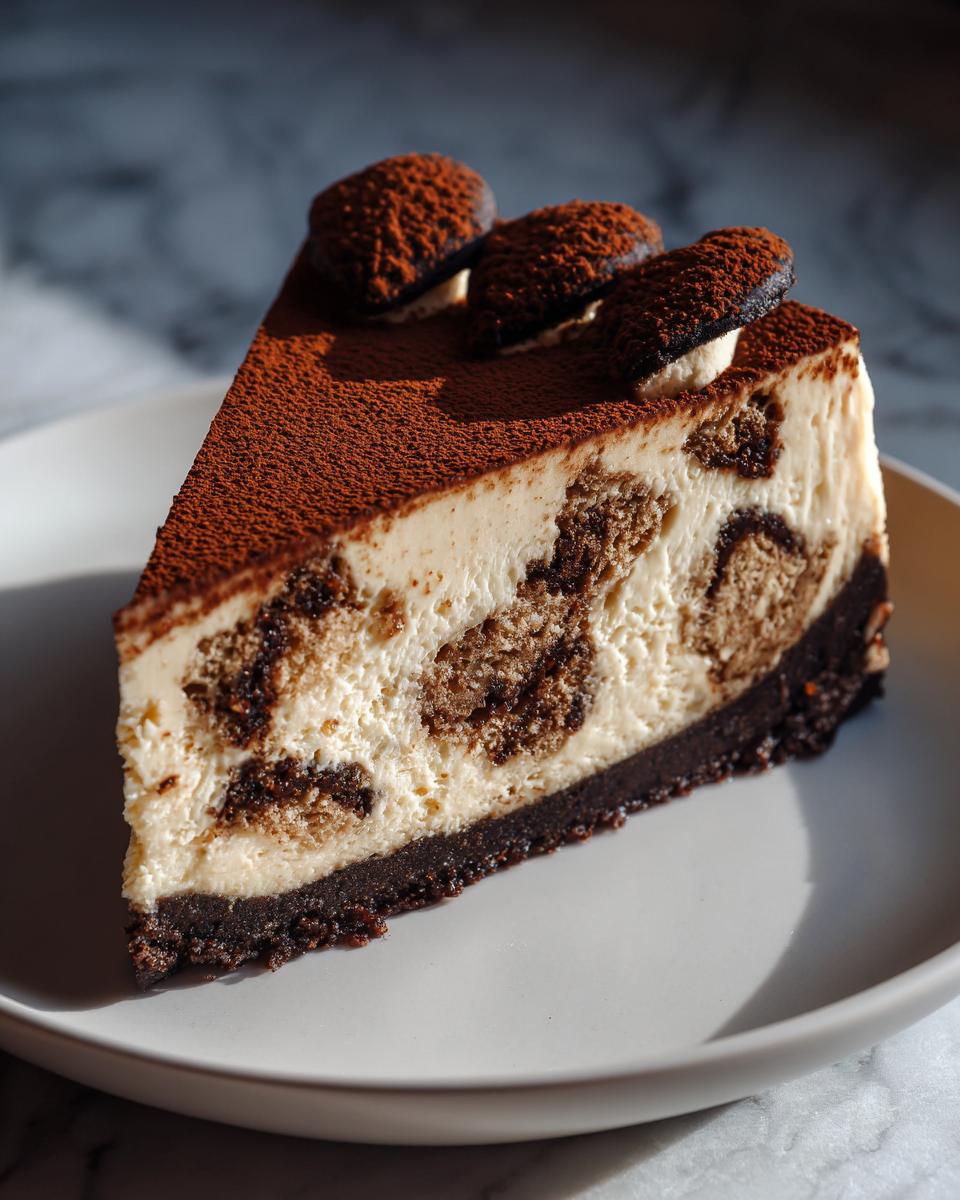
When I put this out for big dinners, I like to keep the presentation simple but elegant. Think about the colors—the rich brown base, the creamy white filling, and the dark cocoa dust on top. We want colors that pop, not clash!
For a truly impressive platter, especially if this is your star **Holiday Cheesecake Dessert**, consider these pairings:
- Fresh Berries: A small, neat border of fresh raspberries or sliced strawberries around the base adds a perfect burst of color and a lovely, sharp acidity to cut through the richness after a big meal. They just look so pretty next to that dark chocolate crust!
- A Light Dusting of Gold: Instead of just cocoa powder, try using a tiny sifter and dusting half of the top with high-quality cocoa and the other half with just a whisper of powdered sugar. The contrast is stunning.
- For the Grown-Ups: If you skipped the coffee liqueur in the actual recipe, serve it alongside a small pitcher of good quality espresso or maybe a tiny drizzle of dark chocolate ganache. A little bit goes a long way!
Remember, the whipped cream topping we used already adds airiness, so keep anything else you add light. This **decadent cheesecake fusion** stands beautifully on its own, but a little thoughtful plating never hurt anyone!
Storage and Reheating Instructions for Tiramisu Cheesecake
So, you might be lucky enough to have some leftover—which means you made a truly fantastic Tiramisu Cheesecake Recipe! This dessert is delicate because of all that lovely mascarpone and the coffee-soaked ladyfingers, so we need to treat it kindly when storing it.
The absolute best way to keep this masterpiece fresh is to leave it right in the springform pan if you can manage it, or move it very carefully to an airtight container once it’s fully set and chilled. Don’t try to cover the top directly with plastic wrap right away, especially if you have that lovely whipped cream layer! Plastic wrap sticking to cream makes for a sad morning slice.
Here’s what I always do:
- Wait until it’s totally chilled—at least 6 hours, remember?—then, very lightly drape plastic wrap over the top so it doesn’t touch the cocoa or cream. If you have a cake dome, even better!
- Store it in the coldest part of your refrigerator. Because of the eggs and dairy, you want it nice and chilly.
- It keeps beautifully for about four to five days. Some folks say the flavor gets even better on Day Two as the espresso totally marries with the cream cheese, so don’t be afraid to save some for later!
Now, about ‘reheating’—we don’t really reheat cheesecake, sweetie! If you serve it straight from the fridge, it’ll be super firm, almost like fudge. If you want it softer and creamier, just take the slice you plan to eat out onto a plate about 20 to 30 minutes before you plan to dig in. That little bit of time at room temperature lets it bloom and really showcase that soft, creamy texture we worked so hard to achieve in our Coffee Flavored Cheesecake.
Frequently Asked Questions About Tiramisu Cheesecake
I know you might have a few little questions popping up—I always did when I first tried to combine these two icons! Don’t worry, these are the things folks ask most often about making the perfect tiramisu cheesecake. We’ve got you covered so you can bake with confidence!
Can I make a No Bake Tiramisu Cheesecake instead?
Oh, absolutely you can! Sometimes you just don’t want to deal with the water bath or turning the oven on, especially when it’s hot out. If you want to take the No Bake Tiramisu Cheesecake route, you’ll skip Steps 1 through 9 entirely! Mix up your crust and press it in, but skip the bake. Then, just pour the batter over it, layer your coffee-soaked ladyfingers, and pop the whole thing into the fridge to chill firm, just like my notes suggest. It won’t have that dense, baked texture, but it will be incredibly smooth and creamy!
What is the best coffee to use for an Espresso Cheesecake?
For the very best flavor in this **Espresso Cheesecake**, you need intensity! Weak, watery coffee just won’t cut it when pitted against all that rich cheese and sugar. I strongly recommend using a very strong brew of espresso—either from your machine or using instant espresso powder mixed with just enough boiling water to make a concentrate. The most important thing is that it MUST be completely cooled down (room temperature or even slightly chilled) before you dip your ladyfingers or mix it into the batter. Hot liquid will start melting your beautiful cheesecake batter!
I also often toss in that small amount of coffee liqueur because it really enhances that roasted, deep coffee flavor we want!
We promise these answers cover the basics, but if you have more, check out our Terms of Use—sometimes there are little operational questions hiding in there too!
Estimated Nutritional Data for Tiramisu Cheesecake
Now, I know what some of you are thinking when you see a **tiramisu cheesecake**: ‘This looks like it’s going to break the calorie bank!’ And look, let’s be real—it’s a showstopper dessert, not a side salad! But I wanted to give you a rough idea of what you’re looking at per slice so you can plan accordingly. Remember, this is a home-cooking estimation, so these numbers are based on the recipe provided and might shift a little depending on the exact brands of cream cheese or the amount of coffee liqueur you decide to use.
For full transparency, as we always do here at Cookin’ Corner, you can always check out our official Privacy Policy if you have general site questions, but these nutritional estimates are just for this slice of heaven!
Here’s the breakdown for one slice (Yield: 12 servings):
| Nutrient | Amount |
|---|---|
| Calories | 450 |
| Sugar | 35g |
| Fat | 30g |
| Saturated Fat | 18g |
| Total Carbohydrates | 40g |
| Protein | 9g |
| Cholesterol | 120mg |
See? It’s rich, but it’s packed with flavor because of that mascarpone and coffee! Enjoy every single bite; you definitely earned it making this amazing **tiramisu cheesecake**!
Share Your Best Tiramisu Cheesecake Creations
Whew! We made it through this incredible **tiramisu cheesecake** adventure together! I hope you’re already planning when you can bring this showstopper to your next gathering. Watching you all bring these heirloom-style recipes into your modern kitchens is seriously my favorite part of running Cookin’ Corner. It’s why we do what we do!
Now, I really want to see the magic you created. Did your cocoa dusting look perfect? Did your family immediately devour the edges? Don’t be shy!
- Please take a picture of your incredible **Tiramisu Cheesecake Recipe** creation and share it on social media! Tag me so I can see it and cheer you on.
- More importantly, please come back here and leave a rating! Those stars really help other home cooks decide if this creamy mascarpone dessert belongs on their Thanksgiving menu.
- If you ran into any roadblocks, or if you tried a clever little tweak, leave a comment below. We all learn best from each other in the kitchen, right? You can always reach out to us through the Contact page if you have specific questions about the method!
Thank you again for letting me share this special blend of classics with you. Happy baking, friends, and I cannot wait to hear how much everyone loved this **decadent cheesecake fusion**!
PrintRich and Creamy Tiramisu Cheesecake Recipe
Combine the creamy texture of cheesecake with the classic espresso and mascarpone flavors of tiramisu in this decadent dessert fusion. This recipe delivers a show-stopping Italian dessert perfect for special occasions.
- Prep Time: 30 min
- Cook Time: 75 min
- Total Time: 105 min
- Yield: 12 servings 1x
- Category: Dessert
- Method: Baking
- Cuisine: Italian
- Diet: Vegetarian
Ingredients
- 1 1/2 cups chocolate wafer crumbs
- 1/4 cup granulated sugar
- 6 tablespoons unsalted butter, melted
- 24 ounces cream cheese, softened
- 1 1/2 cups granulated sugar
- 1/4 cup all-purpose flour
- 1 teaspoon vanilla extract
- 1/4 teaspoon salt
- 4 large eggs, room temperature
- 8 ounces mascarpone cheese, softened
- 1/2 cup strong brewed espresso, cooled
- 1/4 cup coffee liqueur (optional)
- 1 package (7 ounces) ladyfingers
- 1/2 cup strong brewed espresso, for dipping
- Whipped cream, for topping
- Cocoa powder, for dusting
Instructions
- Preheat your oven to 325°F (160°C). Wrap the outside of a 9-inch springform pan with heavy-duty aluminum foil.
- Prepare the crust: Mix chocolate wafer crumbs, 1/4 cup sugar, and melted butter. Press the mixture firmly into the bottom of the prepared springform pan. Bake for 10 minutes. Let cool slightly.
- Prepare the cheesecake batter: In a large bowl, beat the softened cream cheese, 1 1/2 cups sugar, flour, vanilla extract, and salt until smooth. Beat in the eggs one at a time, mixing just until combined after each addition.
- Gently fold in the softened mascarpone cheese. Mix until just smooth.
- Pour half of the cheesecake batter over the cooled crust.
- Combine the 1/2 cup cooled espresso and coffee liqueur (if using). Quickly dip each ladyfinger into the espresso mixture for just a few seconds per side, then arrange them in a single layer over the first layer of batter.
- Pour the remaining cheesecake batter over the ladyfingers.
- Place the foil-wrapped springform pan into a larger roasting pan. Carefully pour hot water into the roasting pan until it reaches halfway up the sides of the springform pan, creating a water bath.
- Bake for 60 to 75 minutes, or until the edges are set and the center has a slight jiggle.
- Turn off the oven, crack the door open, and let the cheesecake cool inside the oven for 1 hour.
- Remove the cheesecake from the water bath and let it cool completely on a wire rack.
- Once cool, cover and refrigerate for at least 6 hours, or preferably overnight.
- Before serving, carefully remove the springform ring. Top with whipped cream and dust generously with cocoa powder.
Notes
- For a no-bake version, chill the cheesecake mixture until firm instead of baking, and layer with coffee-soaked ladyfingers before the final chill.
- Use high-quality espresso for the best coffee flavor in this dessert fusion.
- If you skip the coffee liqueur, add 1 tablespoon of rum extract to the espresso dipping liquid for depth.
Nutrition
- Serving Size: 1 slice
- Calories: 450
- Sugar: 35g
- Sodium: 300mg
- Fat: 30g
- Saturated Fat: 18g
- Unsaturated Fat: 12g
- Trans Fat: 0.5g
- Carbohydrates: 40g
- Fiber: 1g
- Protein: 9g
- Cholesterol: 120mg