
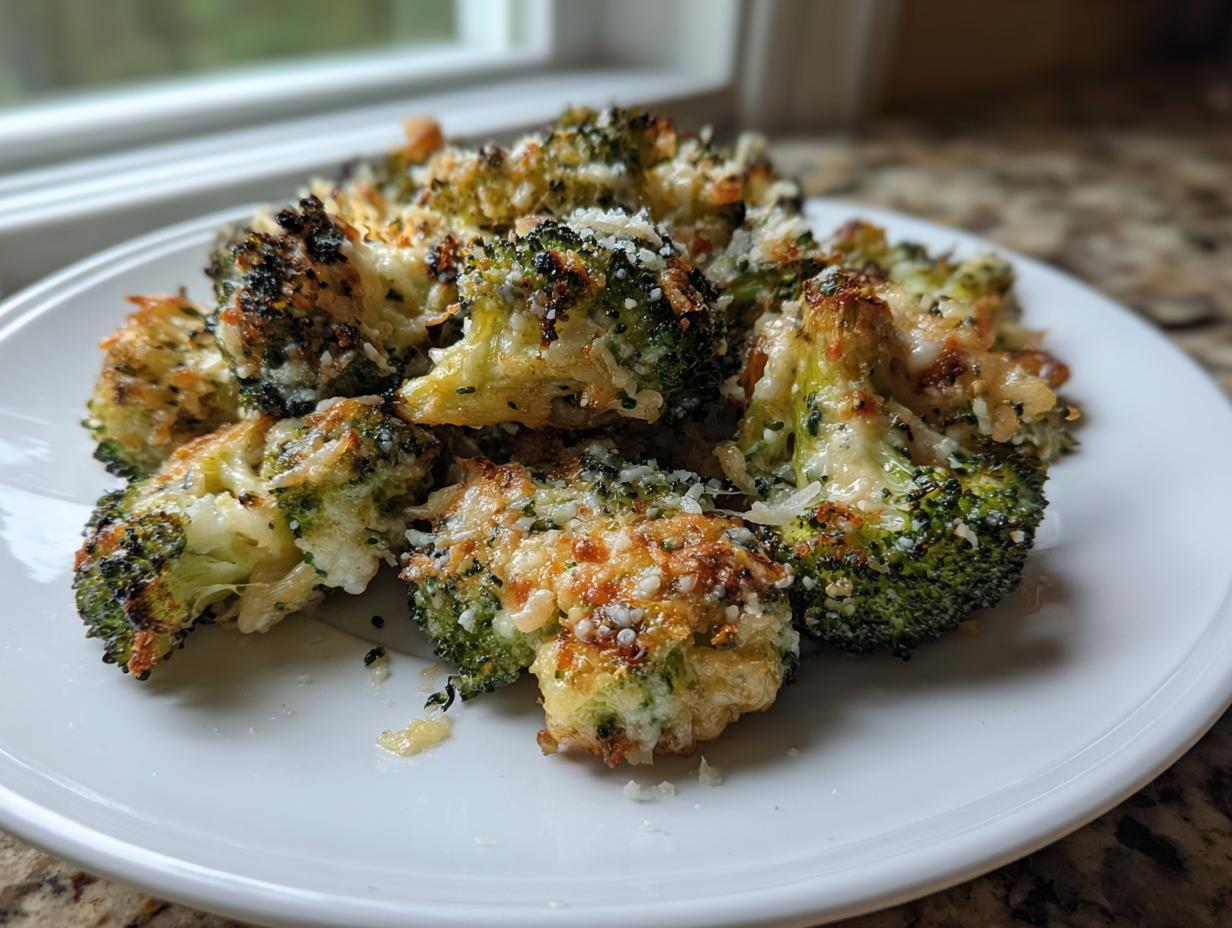
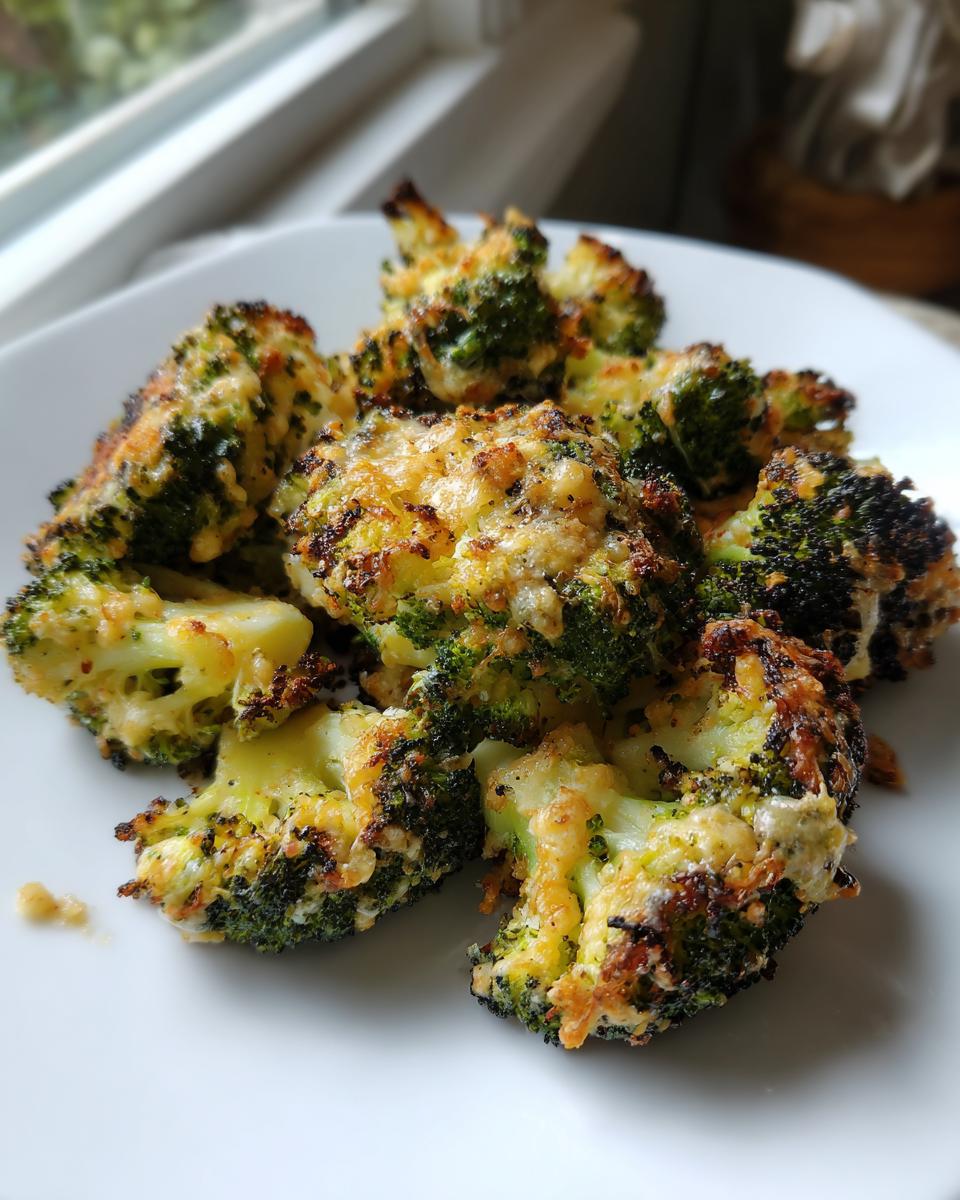
Listen, I’m going to let you in on a secret: I used to despise plain steamed broccoli. It was mushy, honestly a little sad. But what if I told you we can transform those humble green florets into something that tastes like it came straight out of a fancy restaurant during happy hour? We can! This recipe for The Ultimate Crispy Garlic Parmesan Smashed Broccoli does just that.
The magic here is simple: we smash the broccoli slightly before roasting! This creates uneven surfaces, which means way more edges get crispy while the inside stays perfectly tender. I’ve tested this process—blanching, smashing, roasting—countless times here in the Cookin’ Corner kitchen to make sure you get maximum crunch without burning the good stuff. If you’re looking for the absolute best way to make smashed broccoli that your picky eaters will actually ask for, you’ve found it. It’s fast, it’s packed with flavor, and it’s ready for your weeknight rotation!
- Why This Smashed Broccoli Recipe Works So Well (The Secret to Tender Crispy Broccoli)
- Ingredients for The Ultimate Crispy Garlic Parmesan Smashed Broccoli
- Essential Equipment for Perfect Smashed Broccoli
- Step-by-Step Instructions: How to Make Smashed Broccoli
- Tips for Success with Roasted Smashed Broccoli Recipe
- Serving Suggestions for Your Smashed Broccoli Parmesan Recipe
- Storage and Reheating Smashed Broccoli
- Frequently Asked Questions About Smashed Broccoli
- Share Your Easy Vegetable Side Dish Experience
Why This Smashed Broccoli Recipe Works So Well (The Secret to Tender Crispy Broccoli)
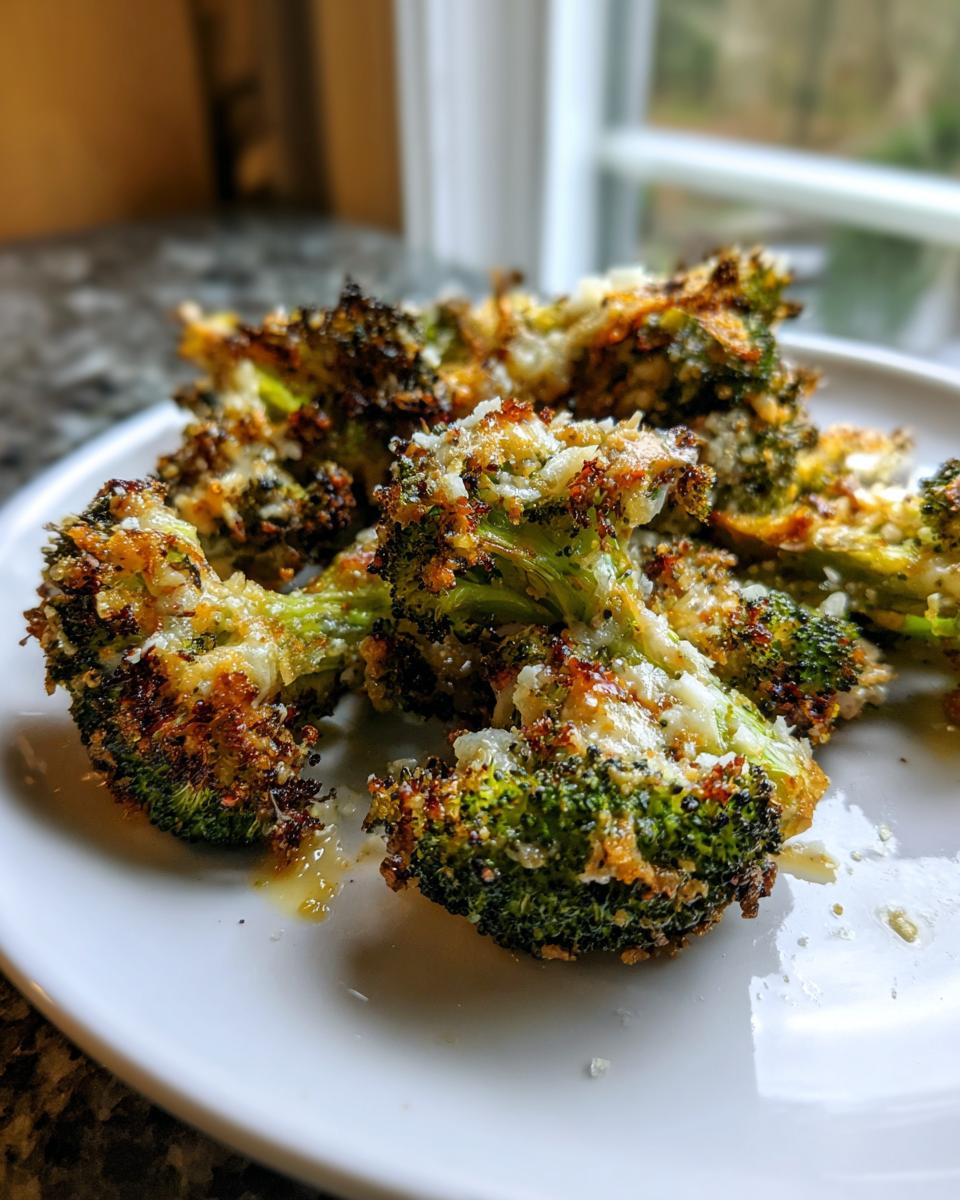
You might be wondering, why smash broccoli? Trust me, it’s the game-changer for anyone hunting for the best way to cook broccoli that isn’t boring. This method gives you that amazing dual texture: shatteringly crisp edges where the cheese clings, and a wonderfully soft interior. It’s the dream, that authentic tender crispy broccoli we all crave.
I learned early on that you absolutely cannot skip the boiling step—I tried roasting them raw once, and wow, did I learn my lesson! They became charcoal before they were tender inside. A quick 3-to-4-minute blanch just softens them enough so they yield when you smash them, without turning them gummy. You can check out one way chefs tackle this crispness over here in this example. It really sets up the texture.
Achieving Restaurant Style Vegetable Sides Texture
The actual smashing is where the real drama happens! You aren’t pureeing these babies; you’re just gently flattening them out with the bottom of a glass or a heavy spatula. This simple act maximizes the surface area exposed to the heat and oil. Suddenly, those basic florets look like something you’d pay extra for! This technique instantly upgrades your green vegetable game to genuine restaurant style vegetable sides quality. It’s satisfying to flatten them and watch the oil soak right into the newly exposed surfaces.
Ingredients for The Ultimate Crispy Garlic Parmesan Smashed Broccoli
Okay, let’s look at what we need for this unbelievably tasty side. The ingredient list is super short, which is why this makes such a fantastic quick and easy side dish. We’re relying on quality here, not quantity of stuff!
- 2 large heads of broccoli, cut into medium florets
- 3 tablespoons olive oil
- 3 cloves garlic, minced
- 1/2 cup grated Parmesan cheese
- 1/2 teaspoon salt
- 1/4 teaspoon black pepper
- 1 tablespoon lemon juice (optional)
I strongly recommend using freshly grated Parmesan cheese here. Pre-shredded bags have anti-caking agents that stop the cheese from melting and getting that beautiful golden crisp we want. Also, we stick with good old olive oil for roasting; it has a higher smoke point than butter, which helps prevent scorching while we get those perfect edges.
Ingredient Notes and Substitutions for Smashed Broccoli
Don’t panic if you have dietary restrictions! For a dairy-free version, you can absolutely swap out that Parmesan cheese for nutritional yeast. It gives you that nutty, savory flavor that works so well with garlic. If you skip the optional lemon juice, you still have a seriously flavorful dish, but I highly recommend squeezing it on right at the end for a bright little kick—it cuts through the richness of the oil and cheese. This keeps it firmly in the delicious low carb broccoli recipes category!
Essential Equipment for Perfect Smashed Broccoli
We don’t need fancy gadgets for this, thank goodness—it keeps this firmly in the realm of weeknight broccoli sides that are stress-free! You really just need three things, besides your usual bowls and spoons.
- A large pot for that quick boil.
- A sturdy, rimmed baking sheet.
- Parchment paper—please don’t skip this, it makes cleanup a dream!
- Something heavy to do the smashing—I use the flat bottom of an old glass measuring cup.
Make sure your baking sheet is large enough! Crowding the pan is the nemesis of crispiness for smashed broccoli. We want a single layer coating everything in olive oil goodness!
Step-by-Step Instructions: How to Make Smashed Broccoli
Alright, this is the fun part! Taking something healthy and making it taste like a guilty pleasure. Remember, we are moving step-by-step here; rushing the blanching or the cooling will ruin the texture you are working so hard to achieve with our smashed broccoli.
Prepping and Smashing the Broccoli Florets
First things first, get that oven heating up to 400°F (200°C) and line that baking sheet with parchment paper—seriously, thank me later when you don’t have to scrub cheese off metal. Bring salted water to a rolling boil. We only boil the broccoli for 3 to 4 minutes, tops! They should be bright green and just starting to give when you poke them. Drain them right away and let them cool down enough so you can actually touch them without burning yourself. This cooling time is important! Once cool enough, lay the florets onto your sheet and grab that glass. Gently press down on each one until it flattens out a bit. You want them squashed, not disintegrated! This technique is what sets up the incredible crunch, making it a standout home-tested recipe.
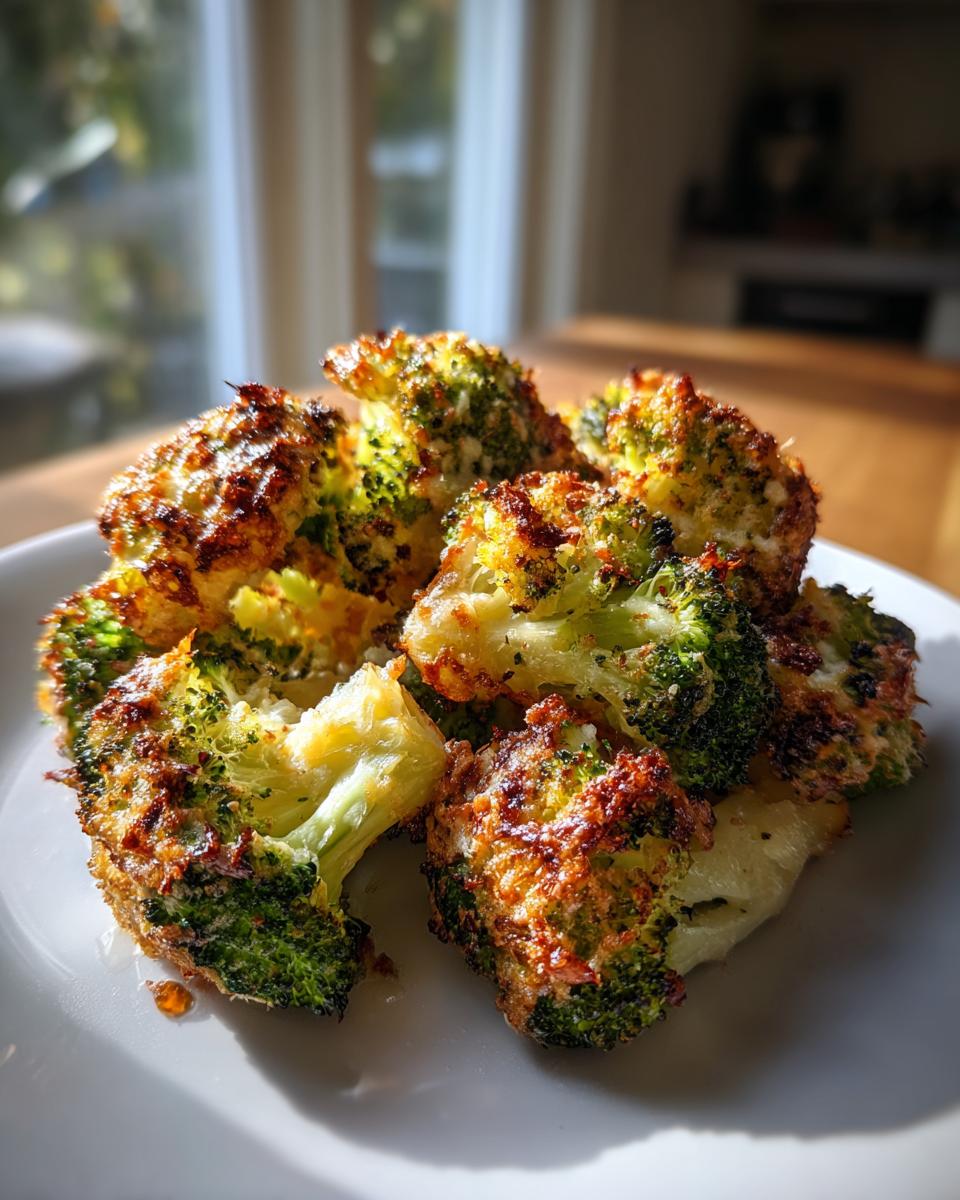
Roasting and Adding the Parmesan for Crispy Broccoli Side Dish
Now we bring in the flavor! Whisk up your olive oil, minced garlic, salt, and pepper, and pour it all over the slightly flattened broccoli. Toss it gently so everything is coated. Roast this mixture for 15 minutes exactly. This starts the transformation! When you pull the pan out, sprinkle that grated Parmesan all over generously. Pop it back in the oven for another 5 to 10 minutes. We wait until the edges are brown and crispy and that cheese is beautifully melted and bubbly. That final crisp on the cheese is what makes this a truly amazing crispy broccoli side dish. If you watch video inspiration on this, Tasty has a great visual example of that final melt!
Tips for Success with Roasted Smashed Broccoli Recipe
If you want this roasted smashed broccoli recipe to turn out exactly like mine, I have three non-negotiable tips based on all my trial-and-error sessions. Listen closely, because these things separate the mushy from the magnificent!
First, do not over-boil your broccoli! I keep stressing 3 to 4 minutes because if they are too soft going into the oven, they just steam themselves into oblivion during the ‘smash’ phase. You want them mostly cooked but still firm.
Second, water is the enemy of crispiness! After boiling, make sure those florets are thoroughly drained—I mean really patted down—before you even think about oiling them up. Any remaining water will steam them instead of crisping them in the oven.
Finally, use a huge baking sheet. Seriously, go big! Your smashed broccoli pieces need space to breathe. If they are touching too much, they steam each other, and we lose that beautiful outer crunch we worked so hard for. Think of it like having a small dinner party for each floret on that pan! For more inspiration on nailing that texture, check out how others approach their vegetable sides here.
Serving Suggestions for Your Smashed Broccoli Parmesan Recipe
Now that you have this incredible broccoli parmesan recipe, you must know what to serve it with! Honestly, because it’s so rich and savory, it pairs well with almost anything. It’s fantastic next to a simple baked chicken breast or a perfectly grilled steak. It truly feels like a splurge, even though it’s part of a great low carb broccoli recipe rotation.
I also love taking the leftovers—if there are any!—and tossing them cold into a quick bowl of mixed greens. Drizzle a little balsamic glaze over that makeshift salad, and you’ve got lunch sorted. You can see how beautifully lemon fits in with this flavor profile over at this recipe inspiration, which is a great idea if you want to skip the heavier mains!
Storage and Reheating Smashed Broccoli
Listen, leftovers are a reality—even when the food is this irresistible! If you happen to have any of this phenomenal smashed broccoli left over, you’ll want to handle it right so it’s just as good the next day.
Tuck away any remaining roasted florets in an airtight container. They should keep nicely in the refrigerator for about three to four days. We don’t want them going soft and losing that glorious texture we worked for, right?
Now, the reheating part is key. Please, I’m begging you, skip the microwave if you care about the crunch! Microwaving instantly turns crispy things soggy, and we can’t have that tragedy occur.
The best way to bring back the crispness is a quick blast in the oven or, even better, an air fryer. Spread the broccoli in a single layer on a small baking sheet. Pop it into a hot oven—say, 350°F—for about five to seven minutes. If you use an air fryer, ten minutes at 350°F is usually perfect. You just want to hear that little crackle as the edges warm up again.
This little bit of extra effort ensures that even your Tuesday night dinner tastes just as amazing as when you first pulled the smashed broccoli out of the oven!
Frequently Asked Questions About Smashed Broccoli
I know you might have a few lingering questions before you dive in, especially if you’re looking for quick and easy side dishes that need to fit a specific diet plan. That’s totally fair! I’ve gathered up some of the things people always ask me about when they try this style of cooking.
Can I use frozen broccoli for this recipe?
Oh, honey, please don’t use frozen. Trust me on this one! Frozen broccoli is already pretty wet and cooks down unevenly. When you try to boil and then smash it, you’ll end up with mush. We need the structural integrity of fresh broccoli florets to hold up to that smashing action so we can get those crispy edges. For the best way to cook broccoli using this method, stick to fresh greens!
What temperature should the oven be, and can I skip the boiling step?
The recipe calls for 400°F (200°C), and that temperature is important because we need high heat to create instant crisping. As for skipping the boiling—no, you really shouldn’t skip it! Boiling for just a few minutes is what softens the fibrous center so you can actually flatten the pieces without them snapping into dust. If you roast raw broccoli, the outside will burn long before the center softens enough to press down.
Can I cook this faster in the air fryer instead of the oven?
You absolutely can, and air fryers are amazing for making this crispy broccoli side dish! If you use an air fryer, you can usually cut the time down significantly. Try about 375°F (190°C) for 10 to 12 minutes total. Make sure you don’t overcrowd the basket, or it will steam instead of crisp. You might need to work in batches, but the results are unbelievably good and fast on a busy night!
Is Smashed Broccoli Healthier Than Steamed Broccoli?
Well, that depends on what you count as “healthy,” doesn’t it? Steamed broccoli is definitely the purest option if you are just counting calories, as it uses no added fat. However, because this recipe is packed with garlic, spices, and Parmesan, it tastes way more indulgent, and we still use olive oil, which is a healthy fat. If you compare this to heavy cream sauces, it’s a fantastic choice that fits right into low carb broccoli recipes. You’re getting amazing flavor payoff for just a little bit of fat, so I say it’s a win-win! We just have to be mindful of how much cheese we heap on, of course. For more information on our site guidelines, you can always check out our Terms of Use.
Share Your Easy Vegetable Side Dish Experience
We created this recipe to bring joy and unbelievable flavor to your dinner table, but now I want to hear from you! Did this whole smashed broccoli thing finally change how you feel about eating your greens? I really hope so!
If you made The Ultimate Crispy Garlic Parmesan Smashed Broccoli, please take a minute to leave a rating below. A five-star review really helps other folks who are skeptical about trying a new vegetable technique see that this really is the best way to cook broccoli!
Let me know in the comments if you added anything extra—maybe a little chili flake kick? Or perhaps you found an alternative way to boost that crispy texture? I love seeing how you customize my favorites. Don’t forget to snap a picture and tag us on social media so we can see your gorgeous, crispy results! We love connecting with everyone who uses these recipes to make their own memories. If you have questions about anything else, feel free to reach out via our Contact page!
PrintThe Ultimate Crispy Garlic Parmesan Smashed Broccoli

Make flavorful, crispy-edged smashed broccoli that tastes rich and satisfying. This easy recipe transforms simple florets into a delicious side dish perfect for weeknight dinners.
- Prep Time: 10 min
- Cook Time: 25 min
- Total Time: 35 min
- Yield: 4 servings 1x
- Category: Side Dish
- Method: Roasting
- Cuisine: American
- Diet: Vegetarian
Ingredients
- 2 large heads of broccoli, cut into medium florets
- 3 tablespoons olive oil
- 3 cloves garlic, minced
- 1/2 cup grated Parmesan cheese
- 1/2 teaspoon salt
- 1/4 teaspoon black pepper
- 1 tablespoon lemon juice (optional)
Instructions
- Preheat your oven to 400°F (200°C). Line a large baking sheet with parchment paper.
- Bring a pot of salted water to a boil. Add the broccoli florets and boil for 3 to 4 minutes until they are bright green and slightly tender-crisp. Drain them immediately and let them cool slightly so you can handle them.
- Place the slightly cooled broccoli florets on the prepared baking sheet. Using the bottom of a glass or a sturdy spatula, gently smash each floret until it flattens out slightly, creating more surface area for crisping. Do not crush them completely.
- In a small bowl, whisk together the olive oil, minced garlic, salt, and pepper.
- Drizzle the oil mixture evenly over the smashed broccoli on the baking sheet. Toss gently to coat all the pieces.
- Roast for 15 minutes.
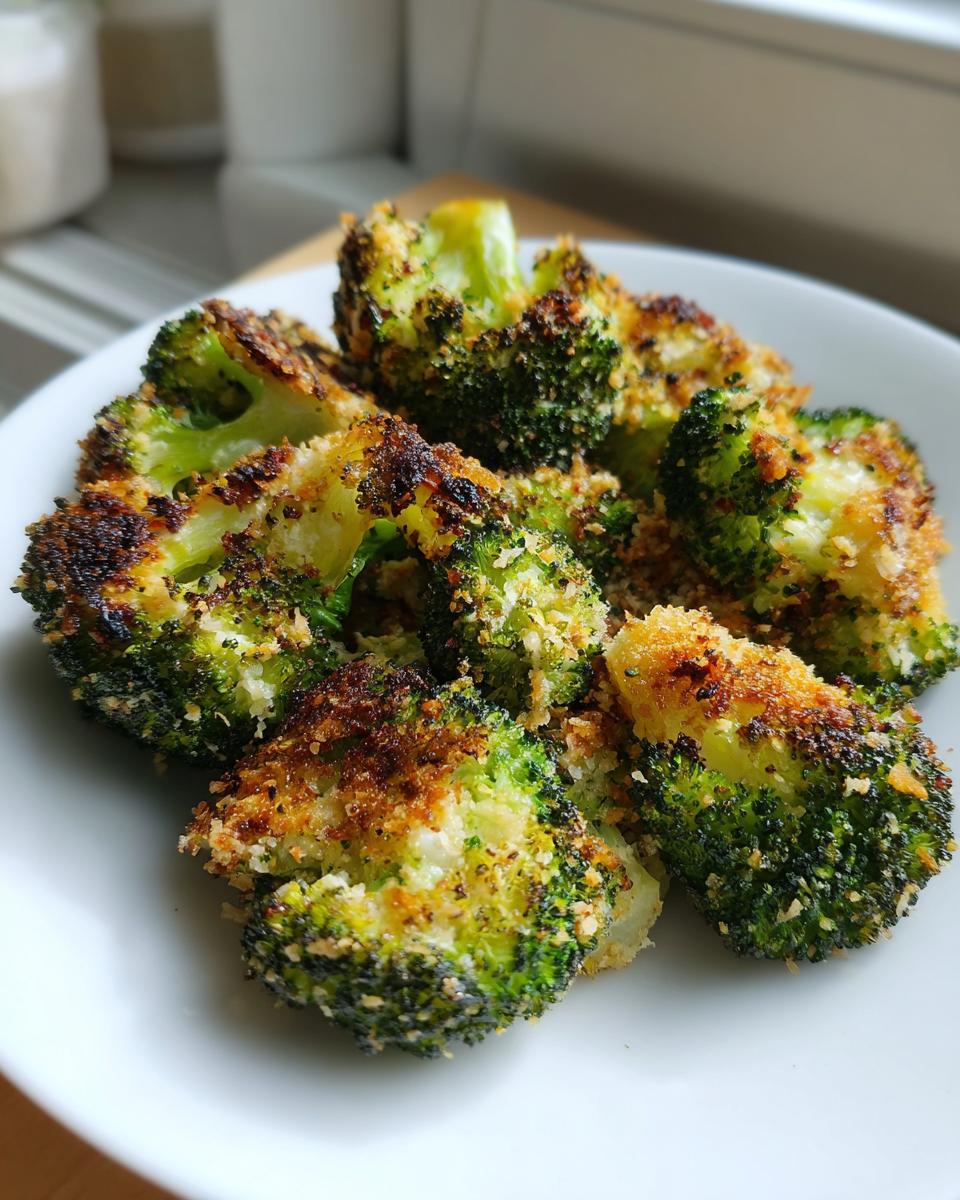
- Remove the baking sheet from the oven. Sprinkle the grated Parmesan cheese evenly over the broccoli.
- Return the broccoli to the oven and bake for another 5 to 10 minutes, or until the edges are crispy and the cheese is melted and golden brown.
- Remove from the oven. Drizzle with fresh lemon juice, if using, before serving hot.
Notes
- For extra crispiness, ensure the boiled broccoli is well-drained before smashing and oiling.
- You can substitute nutritional yeast for Parmesan cheese if you need a dairy-free option.
- This dish works well as a low-carb broccoli recipe alternative to roasted cauliflower.
Nutrition
- Serving Size: 1 serving
- Calories: 120
- Sugar: 3
- Sodium: 350
- Fat: 8
- Saturated Fat: 3
- Unsaturated Fat: 5
- Trans Fat: 0
- Carbohydrates: 8
- Fiber: 3
- Protein: 6
- Cholesterol: 10