
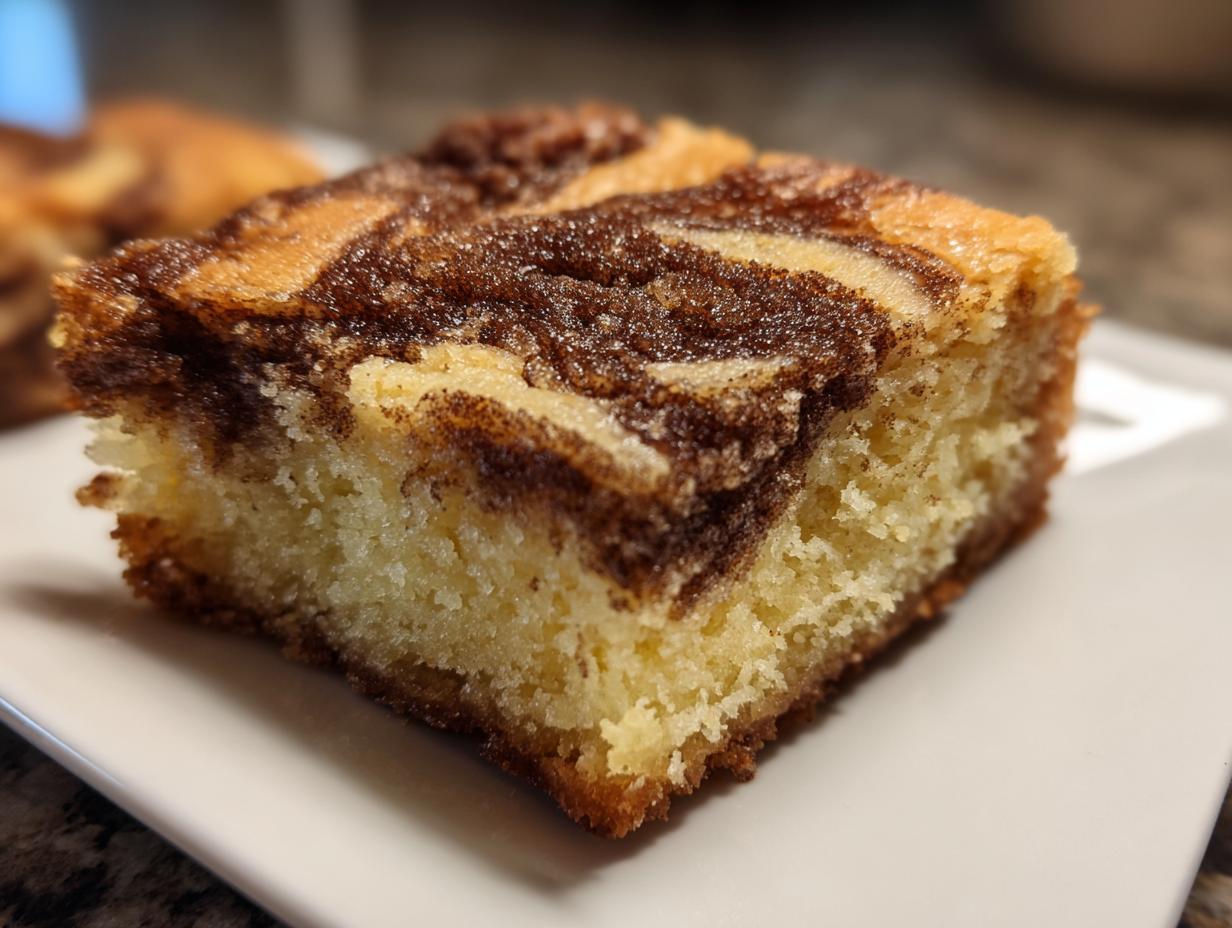
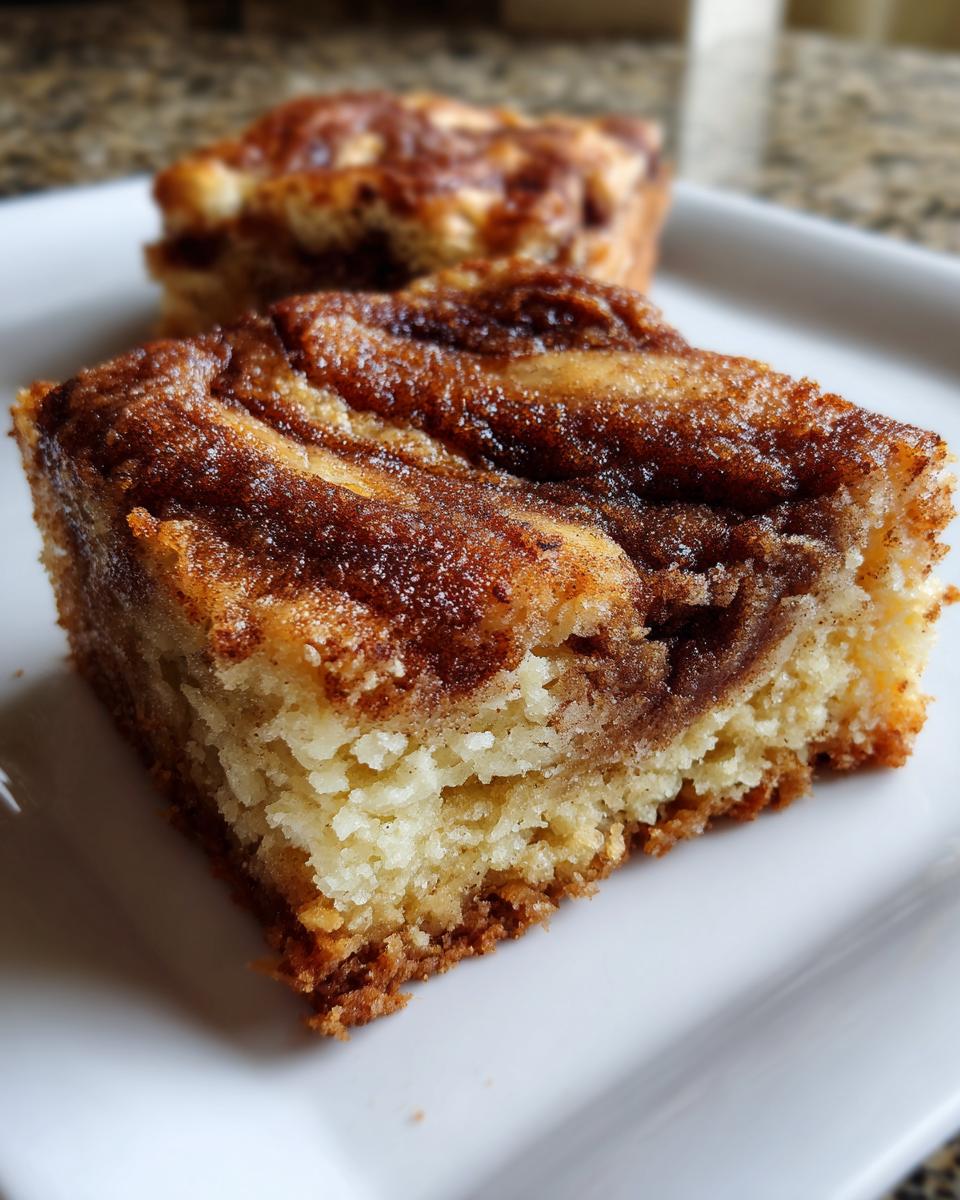
You know that feeling when you take a bite of a perfectly baked snickerdoodle? That pillowy soft texture combined with the warm, sweet kiss of cinnamon? Well, I took that feeling, made it richer, and gave it a buttery, dense foundation. That’s how we end up with these incredible snickerdoodle blondies! Growing up in my Midwest kitchen, we believed every cookie deserved to be a little bit more—a little thicker, a little chewier. These blondie bars, which really give the best soft chewy snickerdoodles a run for their money in bar form, hit all those notes, blending the richness of vanilla and butter with that unmistakable spice swirl. Trust me when I say, these are the ultimate soft and chewy treats you’ve been searching for to add to your baking rotation.
- Why This Snickerdoodle Blondies Recipe Works Every Time
- Gathering Ingredients for Your Snickerdoodle Blondies
- Step-by-Step Guide to Making Snickerdoodle Blondies Recipe
- Baking Tips for Perfect Snickerdoodle Blondies
- Expert Tips for Making the Best Blondie Recipe
- Serving Suggestions for Your Homemade Cinnamon Treats
- Storage and Reheating Instructions for Snickerdoodle Blondies
- Frequently Asked Questions About Snickerdoodle Cookie Bars
- Nutritional Estimate for Your Vanilla Spice Dessert
Why This Snickerdoodle Blondies Recipe Works Every Time
I get asked all the time: what makes these different from just a normal blondie? It all comes down to texture, honey, and keeping things simple! When you bake from scratch, you need consistency, and these babies deliver that soft and chewy result every single time. That’s why I’m sharing exactly why these specific proportions work so well for gooey cookie bars.
- The double-sugar approach—using both brown and white sugar—is vital. The brown sugar brings moisture and that slight molasses depth, while the granulated sugar helps keep the edges set as they bake.
- We rely heavily on melted butter here instead of creamed butter. Melted butter is a secret weapon for creating those incredibly dense, rich, and chewy blondie bars, rather than a more cake-like texture.
- The ratio of flour to fat is carefully balanced. Too much flour, and you’ve got a cake. Too little, and it won’t hold its shape!
Achieving the Perfect Soft Cinnamon Dessert Texture
Listen, we are aiming for gooey cookie bars here, not little bricks! The secret to that melt-in-your-mouth quality starts with that melted butter. When you mix melted butter with your sugars, you are locking in a richness that sticks around post-bake. Furthermore, the amount of flour relative to the sugar and eggs is just right to support the moisture.
You want the batter to be thick enough that you have to fight it a little when spreading it in the pan. That resistance tells you the structure is there to support that glorious cinnamon swirl without collapsing into a puddle. If you want that truly satisfying chew, don’t even think about overbaking them! Check out my best blondie recipe fundamentals if you want the deep dive on structure!
Gathering Ingredients for Your Snickerdoodle Blondies
Okay, now that we know why these bars are going to be amazing, we need to talk about what goes into them! I always say that your finished product is only as good as what you put in the bowl, and that’s especially true for these sweet little beauties. Since the flavor profile is so simple—vanilla and cinnamon dominating—we have to make sure those components are top-notch. We are making snickerdoodle blondies here, which means maximizing that buttery richness is key!
When you pull out your ingredients, be precise, especially with the sugars. Remember how we talked about the chew? That doesn’t happen by accident. Make sure you’re using packed brown sugar—that means really pressing it into the measuring cup! And please, don’t try to substitute the vanilla; it’s crucial for that classic snickerdoodle cookie flavor we are aiming for.
Ingredient Notes and Substitutions for Buttery Dessert Squares
Let’s look at a couple of spots where you can really pump up the flavor or make a quick swap if you’re in a pinch. First, the sugars: use that dark brown sugar! White sugar alone will make these too cakey and light. The molasses in the brown sugar is what gives the final product that gorgeous depth we associate with comforting, homemade cinnamon treats.
Now, for a little something extra! If you want to boost these buttery dessert squares even further, feel free to toss in a cup of white chocolate chips right before you swirl the cinnamon sugar on top. White chocolate and cinnamon are a match made in heaven, I swear! They melt slightly into the blondie base and just add another layer of decadence without overpowering the main spice element. The recipe doesn’t call for it, but if you’re feeling adventurous, go for it!
Also, a quick word on the cinnamon: the ratio is important. We use a little bit mixed *into* the batter to season the base, and then a bigger punch for the swirl topping. Make sure you are using fresh ground cinnamon; the stuff that’s been hiding in the back of your spice cabinet for two years won’t give you that bright, warm flavor these bars need!
Step-by-Step Guide to Making Snickerdoodle Blondies Recipe
Alright, buckle up! This is where the magic happens for our snickerdoodle blondies recipe. It moves fast, so have everything measured out ahead of time, just like you would for any solid baking project. First things first: get your oven heating up to 350°F (175°C). I always use a 9×13 inch pan, but if you use a different size, the timing will change, so keep that in mind!
You need to line that pan with parchment paper, leaving plenty of overhang on the sides. Think of the overhang as little handles—it makes taking these gooey cookie bars out later a breeze! Give that parchment a quick spray or grease it lightly so nothing sticks to the bottom. If you need a quick win for a different project, check out my easy 5-ingredient haystack cookies recipe for speed!
Mixing the Batter for Chewy Blondie Bars
We start with the wet stuff. Whisk your melted butter, big pile of brown sugar, and the white sugar together until they look happy and combined. Then, beat in those two eggs, one at a time, making sure they fully incorporate before adding the next one. Finish that wet mixture with vanilla.
Now, switch bowls! Mix your flour, baking powder, that first teaspoon of cinnamon, and the salt together. Add the dry ingredients to the wet ingredients, and this is critical for getting those perfect Chewy Blondie Bars: mix until you *just* see no more white flour streaks. Stop stirring! Seriously, overmixing develops gluten and turns this beautiful blondie into a tough square. We want soft, not chewy-tough!
Creating the Cinnamon Swirl for Your Cinnamon Swirl Bars
Time to get artistic with the topping! In a tiny bowl, stir together the reserved 1/4 cup of sugar and the tablespoon of cinnamon. This is our snickerdoodle power injection. Take about two-thirds of your batter and spread it gently into the prepared pan. Don’t press it down hard!
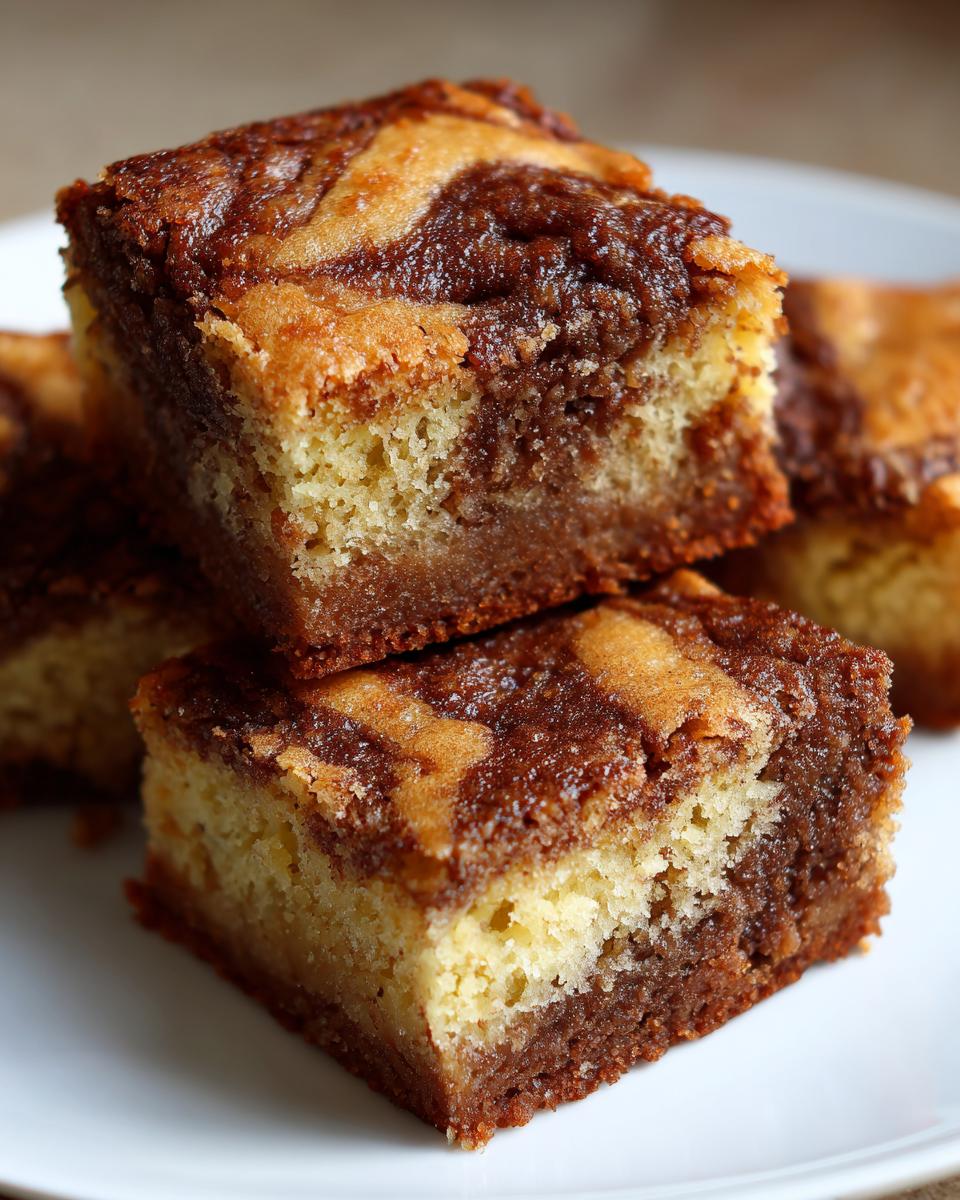
Sprinkle half of that cinnamon-sugar mixture right over that first layer. Yep, it looks like a lot, but trust me! Now, dollop the rest of your batter over the top layer. Use a little butter knife or offset spatula and gently swirl it around. You want distinct ribbons of cinnamon running through your batter—these are your Cinnamon Swirl Bars! Don’t blend them completely; we want visual contrast and pockets of pure spice. Sprinkle the remaining cinnamon-sugar right on top for that signature look.
Baking Tips for Perfect Snickerdoodle Blondies
Baking is all about timing, especially when you are trying to nail that perfect texture in these snickerdoodle blondies. We aren’t aiming for dry cookie bars here; we want that wonderful, slightly underdone, gooey experience. When the recipe says 25 to 30 minutes, that’s your starting point, but you have to really watch them!
The key test isn’t a completely clean toothpick. If you insert a toothpick near the very center and it comes out bone dry, you’ve gone too far and they’re going to set up too firm. We are looking for ‘moist crumbs attached.’ This means the toothpick has a few soft, tiny, baked crumbs clinging to it, but there is absolutely no wet, runny batter dripping off. That little bit of residual moisture is what guarantees you end up with those wonderfully soft and gooey cookie bars once they cool down.
And listen up, because this is the hardest part: you *must* let them cool completely in the pan. I know, waiting is torture when something smells this good! If you try to rush these babies out of the pan hot, they will collapse into a sad, messy heap. The structure needs time to set up off the heat. Once they are totally cool—like, clocking room temperature—you can grab those parchment paper handles and lift the whole slab out onto a cutting board. From there, cutting them into neat squares for serving is super easy.
If you struggle with timing in general, maybe take a peek at my tips for getting best oatmeal cookies soft and chewy; the temperature checks are similar!
Expert Tips for Making the Best Blondie Recipe
Now listen, I’m not a fancy pastry chef, but when you bake as much as I do—trying to recreate those Midwest classics—you learn a few tricks that bump a good recipe right up to being the absolute best blondie recipe on the block. These aren’t strictly in the recipe instructions, but they are the little things I do every single time to guarantee perfection.
My biggest tip revolves around pan choice and how it dictates your baking environment. We use a 9×13 inch pan because it creates a thinner bar that cooks faster, leaning into that gooey center we love. But what if you want those super thick, decadent squares? You have to adjust!
If you decide to use an 8×8 inch pan instead—which makes for a glorious, super thick, almost brownie-like square—you absolutely cannot use the same 30-minute timer. That smaller, deeper amount of batter needs much longer for the heat to penetrate the middle without burning the edges. I’d start checking around 35 minutes, but honestly, you might need close to 40!
Another thing that separates the amateurs from the pros when making buttery dessert squares is what happens immediately after they come out of the oven. Don’t jostle that pan! Place the 9×13 on a wire cooling rack immediately. Don’t touch it, don’t move it around. That gentle, even cooling process keeps the internal structure stable so you don’t end up with sunken centers. I learned this the hard way when I was trying to rush things for a church potluck years ago. Never again!
For more tips on mastering the bar shape, you might want to check out how I approach things when I make my coffee cake cookies—the cooling and cutting process is surprisingly similar!
Serving Suggestions for Your Homemade Cinnamon Treats
So, you’ve successfully navigated the baking, the swirling, and the agonizing cooling period, and now you have these incredible Homemade Cinnamon Treats sitting there, calling your name. How do you serve them? Well, that depends on the occasion, right?
For an everyday indulgence, especially if you happen to pull them out while they are just slightly warm (and I won’t judge if you sneak one early!), a scoop of vanilla bean ice cream is non-negotiable. That contrast between the warm, spiced bar and the cold, creamy vanilla just sings. It elevates these simple buttery dessert squares into something truly spectacular.
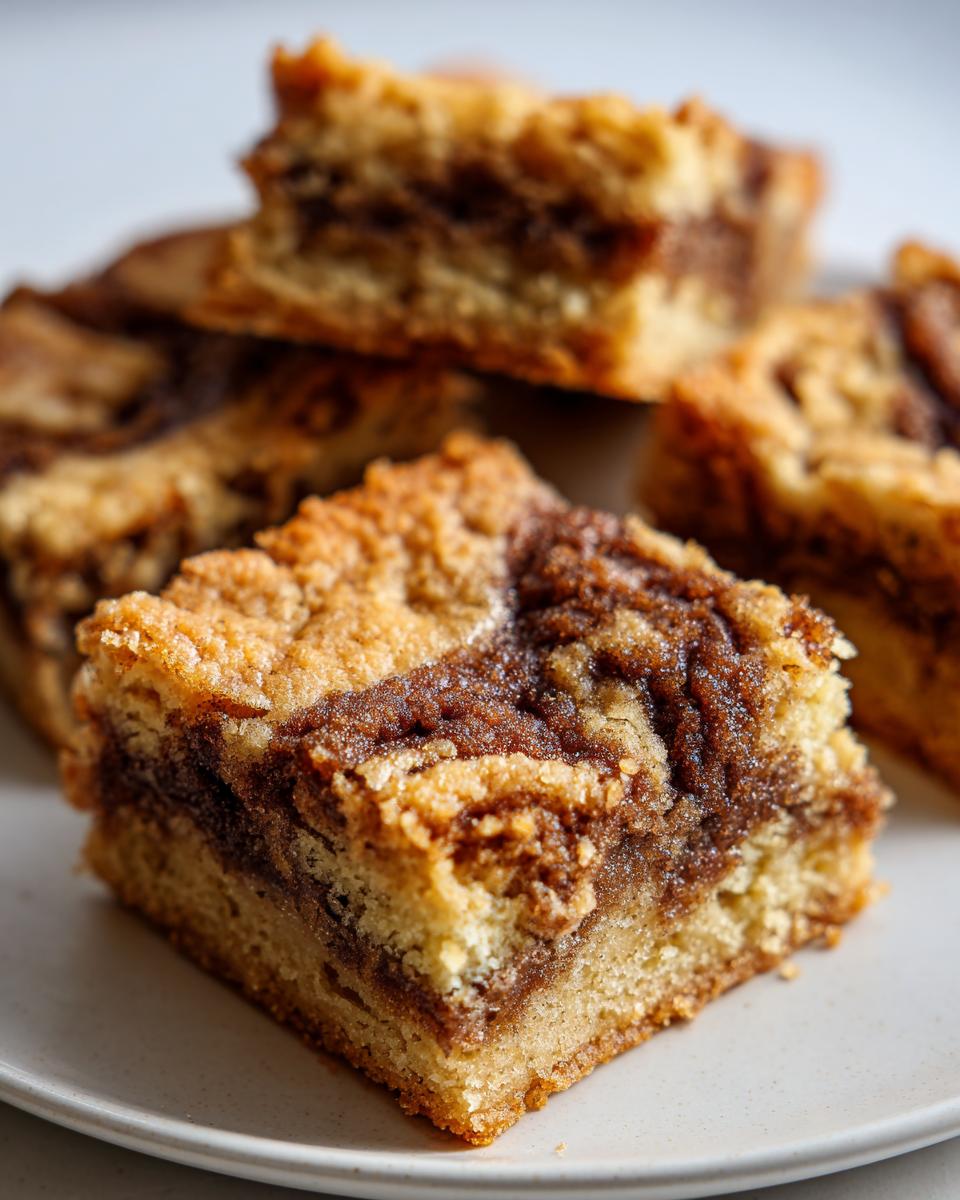
If you’re taking these to a potluck or a fall gathering—which, let’s be real, these are perfect for any fall baking recipes—serving them at room temperature is best. They hold their shape beautifully when cooled totally, so you can stack them neatly on a platter. They’re sturdy enough that you don’t need a plate or fork if you’re standing around chatting; they are just perfect finger food!
As for drinks, you can’t beat them with something warm. A strong cup of black coffee cuts through the sweetness perfectly, balancing out that buttery richness. Or, if it’s a cozy evening, a mug of hot apple cider infused with a cinnamon stick makes the whole house smell like heaven. Honestly, these cinnamon goodies are so flavorful on their own, they don’t really *need* anything extra, but we always appreciate a good pairing!
Storage and Reheating Instructions for Snickerdoodle Blondies
Okay, the eternal question for any truly delicious bake: how do I keep these soft things soft? We worked so hard to get that perfect apple bread pudding texture in these snickerdoodle blondies, and we certainly don’t want to ruin them on day two!
The good news is that because of the high sugar and fat content, these bars are actually pretty hardy. For short-term storage—say, if you plan on eating them within two or three days—room temperature is totally fine. You just need an airtight container. Make sure they are completely cool before you seal the lid, otherwise, the condensation will make them sticky and sad.
If you need them to last longer, maybe for a holiday party spread out over a week, pop them in the fridge. Storing them airtight in the fridge will keep them fresh for up to a week. Now, I know what you’re thinking: cold bars are hard bars, right? Wrong! We have a foolproof reheating trick.
To bring back that melt-in-your-mouth tenderness—that gooey cookie bars feeling—you only need about 10 to 15 seconds in the microwave. Just take a single square, put it on a microwave-safe plate, and zap it for just a little bit. This softens the butter back up and makes them taste like they just came out of the oven. Don’t try to reheat the whole pan, just reheat what you’re about to eat!
Frequently Asked Questions About Snickerdoodle Cookie Bars
Whenever I share something new, I always end up with a flood of questions, and these Snickerdoodle Cookie Bars are no exception! People want to know exactly how to customize them or troubleshoot if a step goes slightly sideways. Don’t worry, I’ve gathered the most common concerns right here so you can bake with confidence.
If you have any other burning questions after you try this recipe, feel free to check out my post on the easy tamale pie comfort food casserole—sometimes troubleshooting baking issues is just about applying general kitchen wisdom!
Can I use melted butter or softened butter for these snickerdoodle blondies?
This is a big one, and it’s all about texture! For these specific snickerdoodle blondies, you absolutely need to use melted butter. Why? Because melted butter is what gives you that dense, rich, and truly gooey cookie bars structure. When you melt the butter, you’re foregoing the aeration process that creaming butter and sugar does.
If you cream softened butter, you incorporate air, and that air makes the final product lighter and more cakey. We don’t want that for a superb chewy blondie bar! We want that heavy, compact, satisfying chew that only melted butter, combined with all that sugar, can provide. Stick to melted for the best results!
What if I really, really don’t want the cinnamon swirl?
Look, I love the cinnamon swirl—it’s what makes it a snickerdoodle bar and not just a vanilla spice dessert! But if you’re in a rush or someone in your house hates cinnamon, you can totally skip it. Just mix all the dry ingredients together until they are uniform, and spread all the batter into the pan in one go.
To keep some of that signature flavor, I recommend stirring about half of the cinnamon from the topping mixture right into your main batter when you mix the flour in. That way, you still get that warm vanilla spice throughout your chewy blondie bars, even without the defined ribbon on top.
These look amazing for holiday dessert bars—can I make them ahead of time?
Yes, you totally can! These are phenomenal holiday dessert bars because they hold up so well. For the best flavor and texture, I recommend baking them a day ahead of time. Once they are completely cooled, store them tightly covered at room temperature. They actually taste *better* the next day once the flavors have settled in!
If you need to make them even further ahead, you can freeze them! Cut them into squares first, then layer them in an airtight container with parchment paper between the layers. When you’re ready to serve them, just thaw them on the counter for an hour or pop them in the microwave for that 10-second reheat we talked about to bring back that heavenly soft cinnamon dessert feel.
Nutritional Estimate for Your Vanilla Spice Dessert
Now, I know we are baking for joy and comfort here, not exactly counting macros when we make these rich, buttery dessert squares, but I always get asked about the nutrition breakdown. So, here’s a little glimpse at the estimated nutritional data for our wonderful vanilla spice dessert. Remember, this is based on standard calculations for 16 generous servings, so your actual mileage might vary depending on how big you cut those squares!
I always say checking in on this stuff is good for keeping balance, especially when you are sharing treats at a big party or bringing them to a potluck. If you’re looking for something lighter for your next gathering, you might want to try my recipe for the easy hoagie dip recipe game day appetizer!
- Serving Size: 1 bar
- Calories: 250 (A tasty treat!)
- Sugar: 18g (That delicious cinnamon swirl adds up!)
- Fat: 13g
- Saturated Fat: 8g
- Carbohydrates: 32g
- Protein: 3g
- Cholesterol: 55mg
Just a quick disclaimer, because I need to be clear: these figures are my best estimate based on the standard ingredients listed. If you swap out the sugar for a substitute, or if you use salted butter, those numbers will shift a bit. These are designed to be rich, comforting, homemade cinnamon treats, so we’re not cutting corners on flavor, but it’s always good to know what’s in that delicious wrapper!
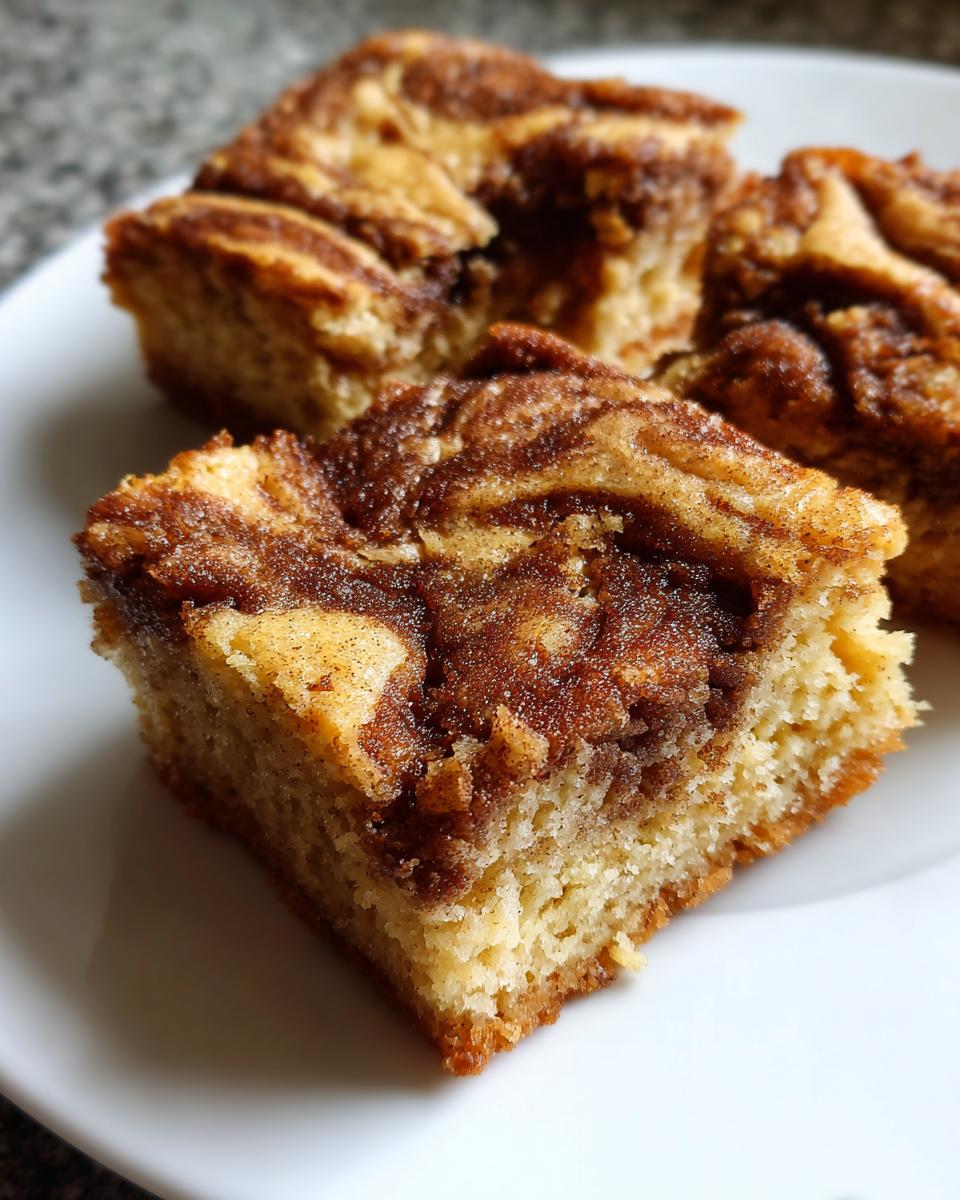
PrintSoft and Chewy Snickerdoodle Blondies with Cinnamon Swirl

Make these soft and chewy Snickerdoodle Blondies that combine the buttery richness of a blondie with the warm spice of a classic snickerdoodle cookie. This easy recipe creates perfect dessert bars with a sweet cinnamon swirl.
- Prep Time: 15 min
- Cook Time: 30 min
- Total Time: 45 min
- Yield: 16 servings 1x
- Category: Dessert
- Method: Baking
- Cuisine: American
- Diet: Vegetarian
Ingredients
- 1 cup unsalted butter, melted
- 1 cup packed brown sugar
- 1/2 cup granulated sugar
- 2 large eggs
- 2 teaspoons vanilla extract
- 2 cups all-purpose flour
- 2 teaspoons baking powder
- 1 teaspoon ground cinnamon
- 1/2 teaspoon salt
- 1/4 cup granulated sugar (for topping)
- 1 tablespoon ground cinnamon (for topping)
Instructions
- Preheat your oven to 350°F (175°C). Line a 9×13 inch baking pan with parchment paper, leaving an overhang on the sides for easy removal. Lightly grease the paper.
- In a large bowl, whisk together the melted butter, brown sugar, and granulated sugar until well combined.
- Beat in the eggs one at a time, mixing well after each addition. Stir in the vanilla extract.
- In a separate medium bowl, whisk together the flour, baking powder, 1 teaspoon of cinnamon, and salt.
- Gradually add the dry ingredients to the wet ingredients, mixing until just combined. Do not overmix the batter.
- In a small bowl, mix the 1/4 cup granulated sugar and 1 tablespoon of cinnamon for the topping. Set aside.
- Spread about two-thirds of the blondie batter evenly into the prepared pan.
- Sprinkle half of the cinnamon-sugar mixture evenly over the batter layer.
- Dollop the remaining one-third of the batter over the cinnamon sugar layer. Use a knife or offset spatula to gently swirl the batter and cinnamon sugar together to create ribbons.
- Sprinkle the remaining cinnamon-sugar mixture over the top.
- Bake for 25 to 30 minutes, or until the edges are set and a toothpick inserted near the center comes out with moist crumbs attached. Do not overbake to keep these gooey cookie bars soft.
- Let the blondies cool completely in the pan on a wire rack before lifting them out using the parchment overhang.
- Cut into squares and serve your buttery dessert squares.
Notes
- For extra gooey cookie bars, slightly underbake them by about 2 minutes; they will set as they cool.
- If you prefer a thicker bar, use an 8×8 inch pan, but adjust the baking time, checking around 35-40 minutes.
- You can add 1 cup of white chocolate chips to the batter for a variation on these cinnamon blondies.
Nutrition
- Serving Size: 1 bar
- Calories: 250
- Sugar: 18g
- Sodium: 150mg
- Fat: 13g
- Saturated Fat: 8g
- Unsaturated Fat: 5g
- Trans Fat: 0g
- Carbohydrates: 32g
- Fiber: 1g
- Protein: 3g
- Cholesterol: 55mg