
If you’re anything like me, the secret to a great party is having appetizers that disappear before anyone even sits down for the main course! And nothing disappears faster than a truly reliable, gorgeous dip. Forget sloppy bowls of lukewarm chili; we’re talking about the legendary, crowd-stopping **Seven layer dip**. This isn’t just any recipe; this is the tried-and-true blueprint I turn to every single time I host a gathering. When you come from a long line of home cooks, you learn quick that a party needs dependable recipes, and this Tex-Mex appetizer is simply foolproof. Trust me, once you layer it right, everyone will be asking for your secret.
- Why This Is the Best 7-Layer Dip for Your Next Gathering
- Gathering Ingredients for Your Classic Seven Layer Dip
- Step-by-Step Instructions on How to Make Seven Layer Dip
- Tips for the Perfect Seven Layer Dip Presentation
- Easy Seven Layer Dip Variations and Additions
- Serving Suggestions for Your Party Layered Dip
- Storage and Keeping Your Seven Layer Dip Fresh
- Frequently Asked Questions About This Classic Dip
- Sharing Your Experience with This Seven Layer Dip
Why This Is the Best 7-Layer Dip for Your Next Gathering
When you’re throwing a get-together, you don’t want to spend the whole party hovering over the appetizer table fixing things! This recipe is my go-to because it’s designed for real life. It looks spectacular, tastes amazing, and I know it won’t fall apart halfway through the evening. That’s the kind of dependability you get when you follow a recipe honed over years of actual practice, just like the heritage we cherish here at Cookin’ Corner. You can read more about why reliability matters to us.
Here’s why I swear by this version for any party:
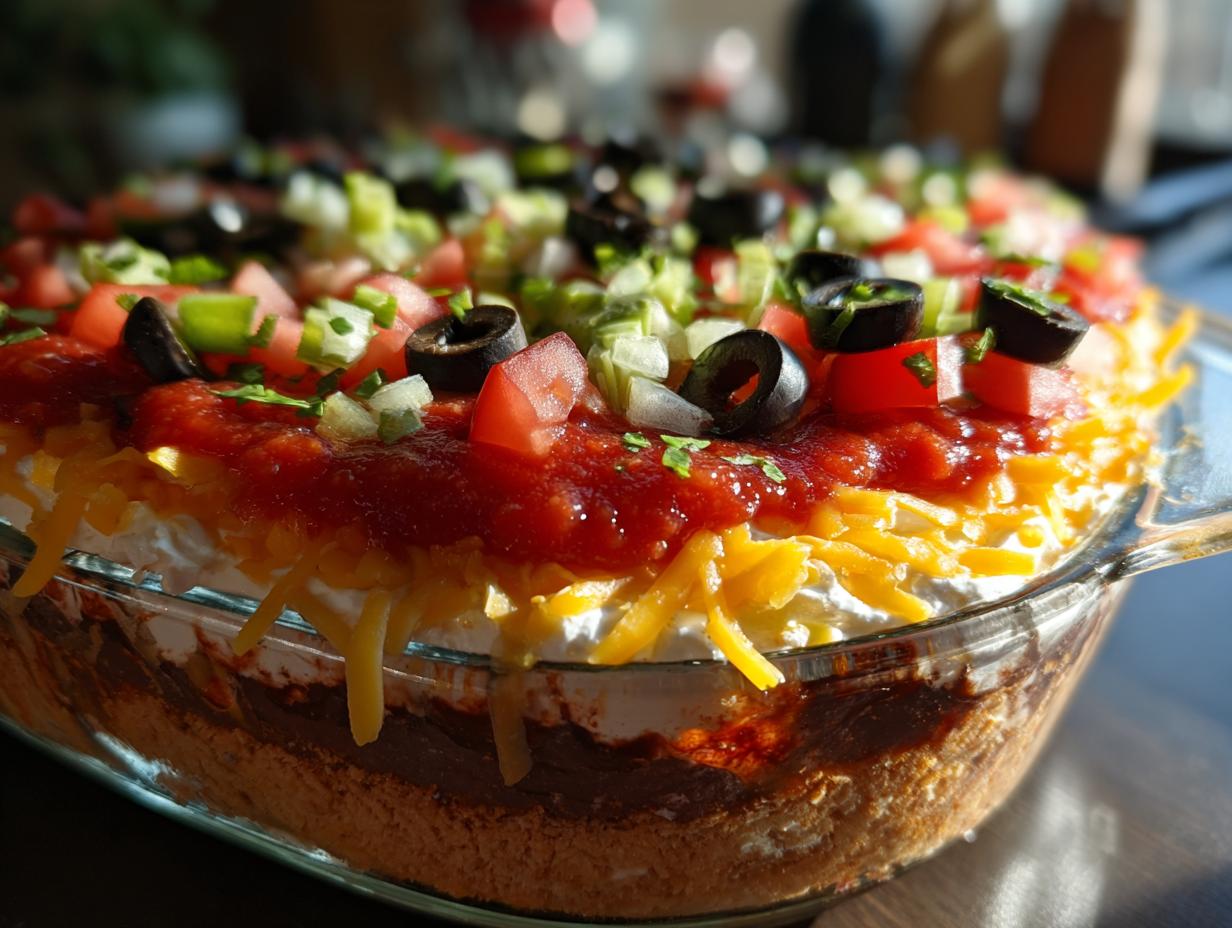
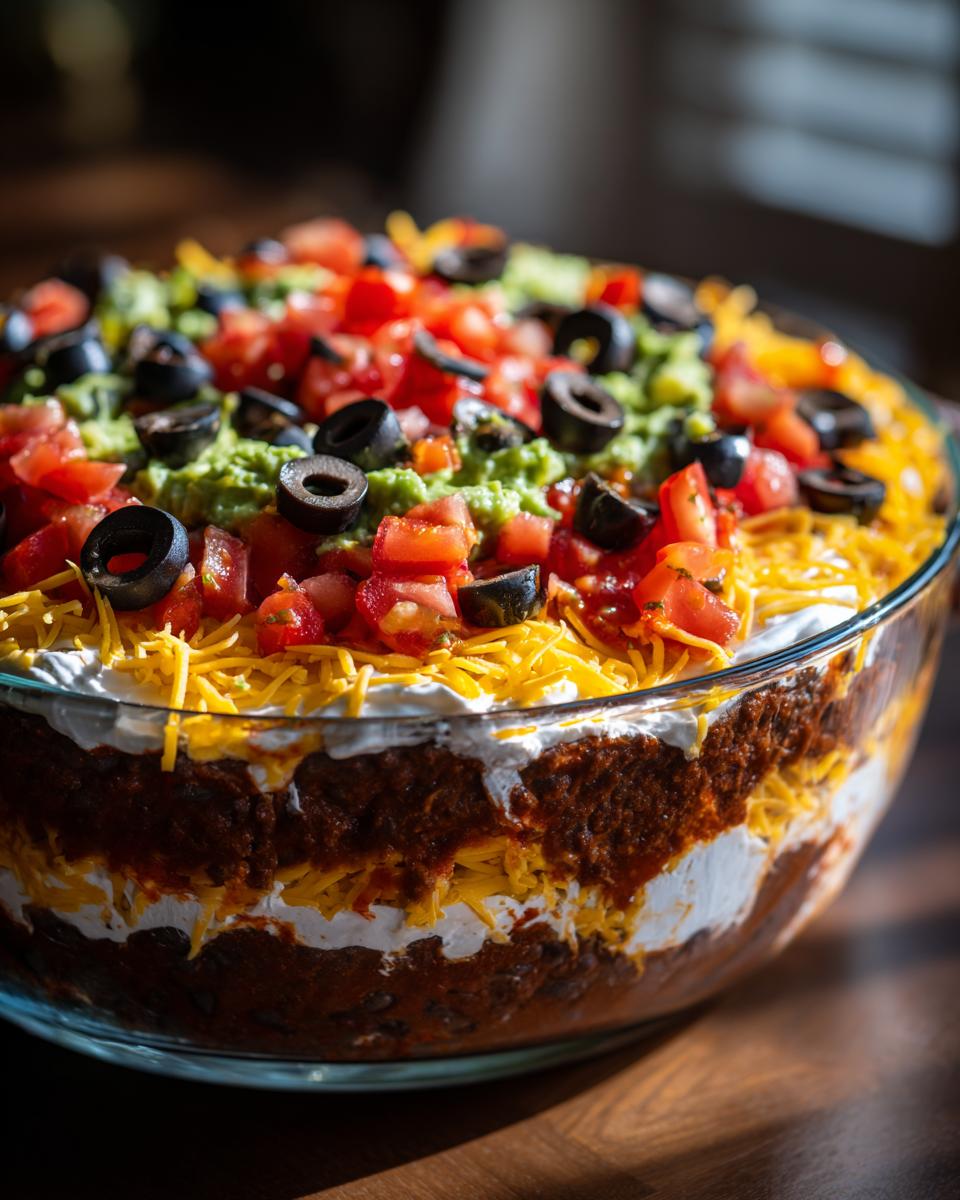
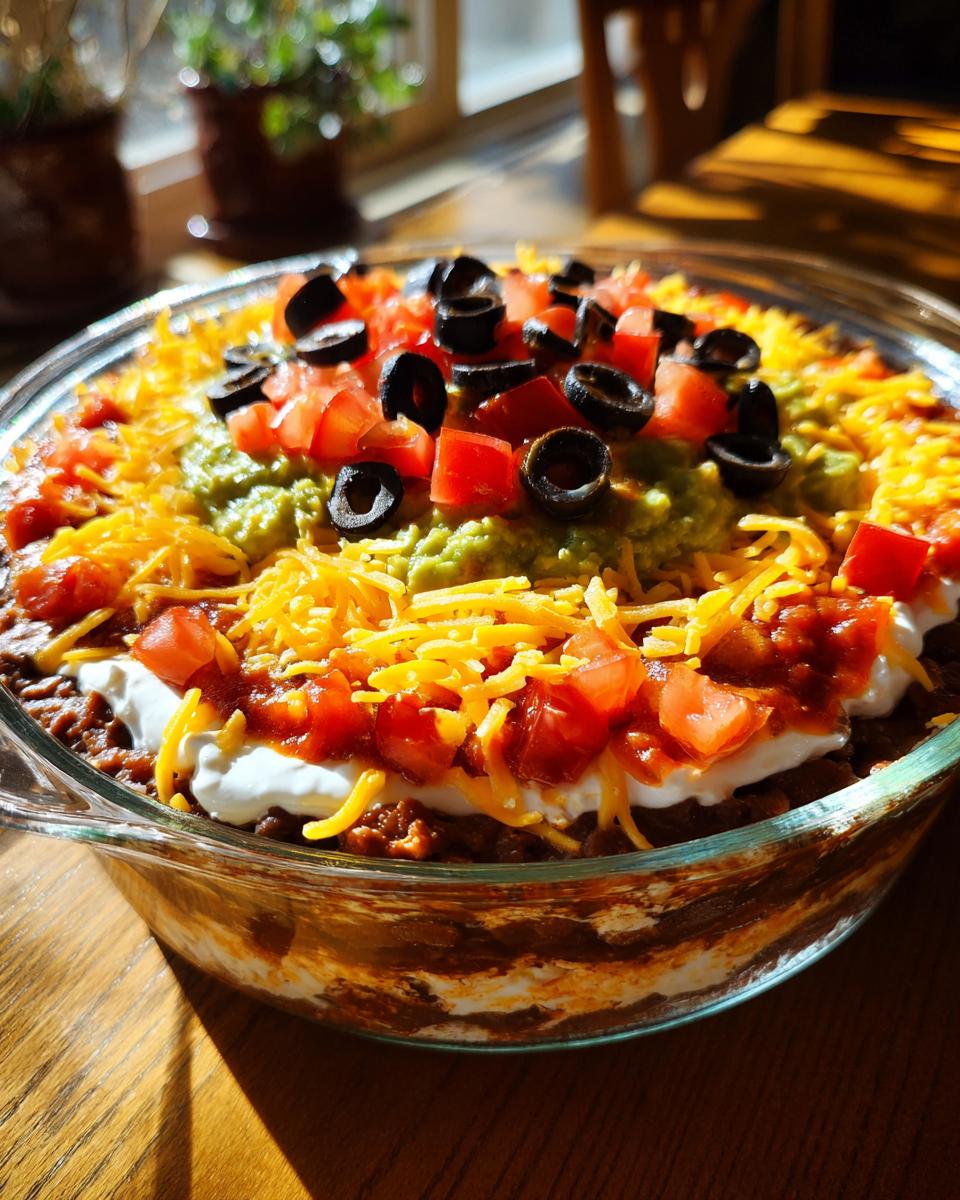
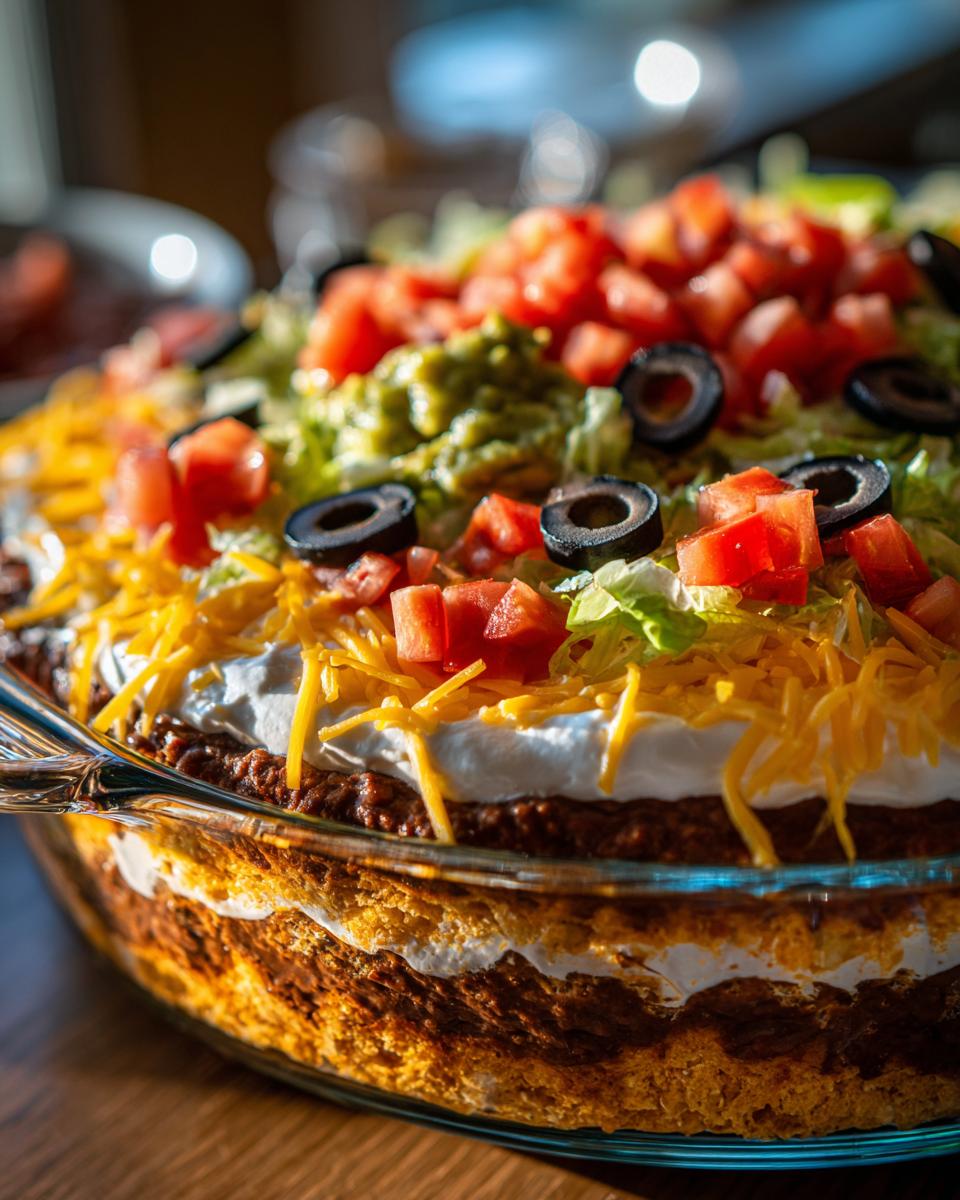
- It’s gorgeous! Using a clear dish really shows off all seven distinct layers.
- The ingredients are totally standard—no searching specialty shops!
- It holds up beautifully in the fridge, making it perfect to prep the day before.
Key Features of Our Party Layered Dip
The major win here is the visual appeal. Nothing screams “Tex-Mex Appetizer” quite like seeing those colorful layers stacked neatly. We take simple steps, like draining the salsa right, to ensure your hard work doesn’t end up as a watery mess. Every layer stays where it belongs, from the spiced bean base to the bright toppings, so when guests dive in with their chips, they get a perfect bite of everything.
Gathering Ingredients for Your Classic Seven Layer Dip
Okay, let’s get organized! This recipe is unbelievably straightforward because it relies on ingredients you probably already have or can grab in one quick trip. We’re aiming for a fantastic result that serves about eight hungry chip-dippers, maybe more if you have other snacks out! The magic of this classic dip is that it uses totally standard stuff, which makes pulling together this easy seven layer dip a breeze.
Ingredient Clarity and Preparation Notes
Before we start stacking, just a couple of crucial notes to ensure your final product is magnificent. First and foremost: you absolutely must drain that salsa well! I mean really well. Nothing ruins a beautiful dip faster than excess watery juice seeping between the layers. Nobody wants that! Also, please, please, please use a clear serving dish—a glass pie plate or square dish works perfectly. You want guests to see the gorgeous colors you worked so hard to assemble!
For the refried beans, letting the can sit on the counter for about 15 minutes before spreading makes them much easier to handle. For the guacamole, make sure that’s ready to go, but we’ll talk about keeping it green in a minute!
Step-by-Step Instructions on How to Make Seven Layer Dip
Now for the fun part! Making this best 7-layer dip is really just an exercise in gentle layering. You want each component to stay separate and proud until someone dives in with their chips. The key here is patience. Don’t rush the spreading, or you’ll end up mixing everything into a uniform mush—and where’s the fun in that?
Layering the Base: Beans and Seasoned Cream
First up, the foundation! Take your can of refried beans and spread that whole 16 ounces evenly across the bottom of your clear dish. You want a nice, consistent blanket of beans. Next, this is an important little step: take your sour cream in a separate bowl and mix in that teaspoon of taco seasoning until it’s perfectly blended. Don’t just sprinkle the seasoning on top of the plain sour cream! Once seasoned, very carefully spread that creamy mixture right over the beans. Work slowly so you don’t drag the bean layer up.
Adding the Middle Layers: Guacamole and Salsa
Time for the green gold! Gently dollop your cup of guacamole over the seasoned sour cream. Use the back of a spoon to coax it into an even layer. Now, here’s a trick I learned the hard way: if you think you might not serve this immediately, take a sheet of plastic wrap and press it *directly* onto the surface of the guacamole. That blocks the air and keeps it beautifully green while you prepare the next layer, saving your gorgeous presentation. After that, spoon your well-drained salsa evenly over the top of that layer. Again, gentle movements are your best friend here.
Finishing the Seven Layer Dip Assembly
We’re almost there! Sprinkle your shredded cheese right over the salsa. Then scatter those diced tomatoes evenly across the cheese, and finish it all off with those drained black olives. That gives us our seventh layer—perfection! You absolutely must cover the whole dish now and pop it into the fridge. I insist on chilling it for at least an hour. This resting time is crucial; it lets all those distinct layers firm up so they don’t slide around when the chips start digging in at the party!
Tips for the Perfect Seven Layer Dip Presentation
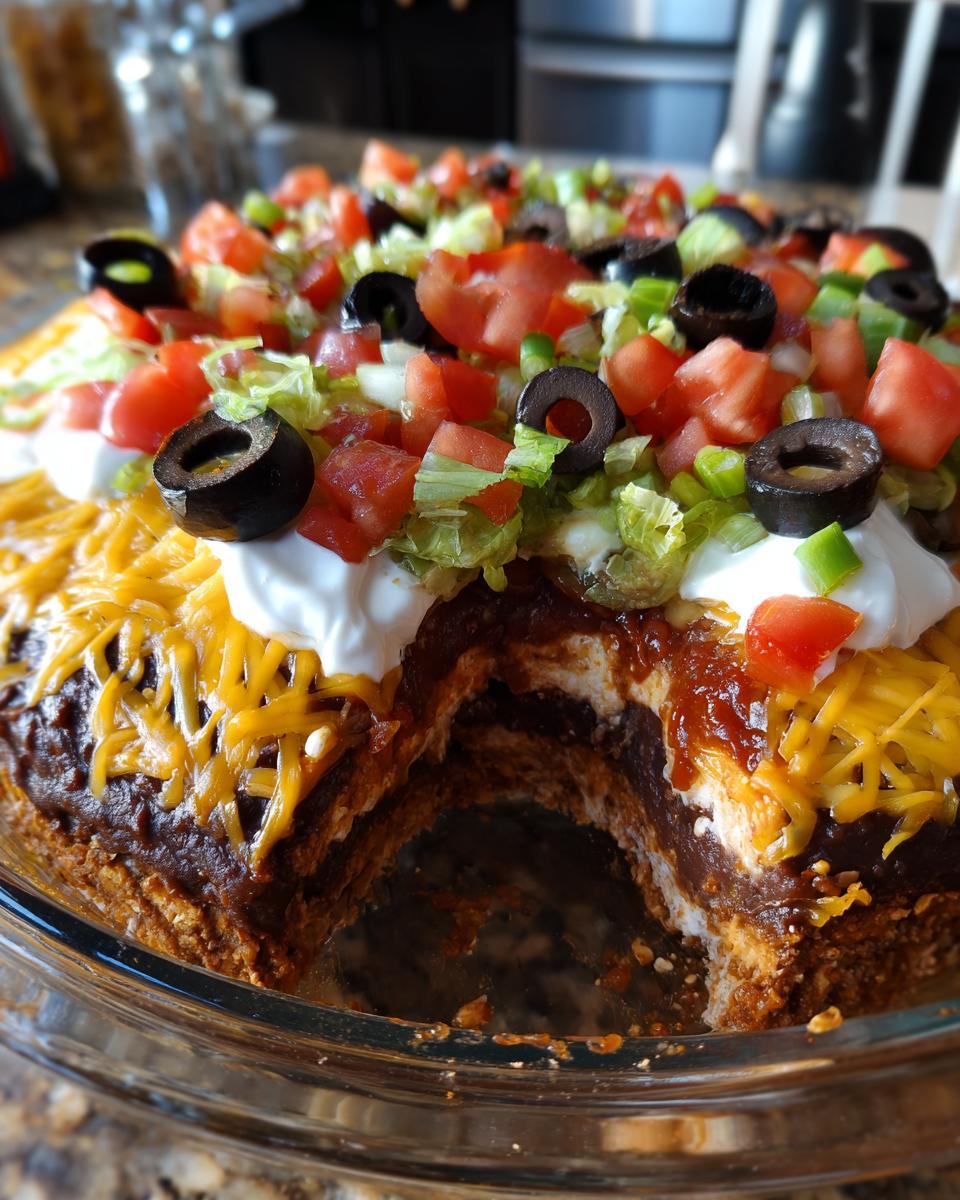
Getting those beautiful layers visible in the glass dish is half the battle, right? Nobody wants to serve something that looks like it melted in transit! The secret here is controlling temperature and moisture before serving. Cold ingredients generally help keep those layers firm and visually distinct, but there’s one exception we need to watch out for.
Preventing Browning and Watery Layers in Your Seven Layer Dip
Let’s revisit that avocado situation because nobody likes brown guac at a party. Trust me on this: right after spreading the guacamole layer, press a sheet of plastic wrap directly onto its surface. This is the absolute best way to block air and keep that bright green color until you’re ready to add the salsa. It’s my best defense against browning!
And we simply cannot forget the salsa. You’ve drained it once, but if you see any beads of water pooling when you gently spoon it on, just dab it with a paper towel first. We want flavor, not swimming pools in our dip! One last quick tip that helps with the very bottom layer: if your refried beans are coming straight from the fridge, let them sit out for just five minutes while you mix your sour cream. Slightly warmer beans spread like butter, which means you won’t accidentally dig down and mix them into your beautifully seasoned sour cream layer.
Easy Seven Layer Dip Variations and Additions
While this classic assembly rocks my world, I totally get that sometimes you want to jazz things up for a crowd! It’s so easy to customize this party layered dip without making it complicated. Since all the layers are already so tasty, you only need to tweak one or two things for a whole new flavor profile.
For example, try swapping out that regular taco seasoning in the sour cream for something spicier, like a pinch of chipotle powder or even some finely minced jalapeño rounds if you’re feeling bold! If you want a little more crunch on top, ditch the olives every once in a while and sprinkle on some chopped green onions instead. Seriously, green onions add such a fresh little bite right at the end.
Another super simple variation that guests always love is swapping the regular cheddar cheese for Monterey Jack or Pepper Jack if you want that subtle heat woven right into the middle of the dip. These small changes make it feel brand new, but the core assembly stays exactly the same, keeping it easy!
Serving Suggestions for Your Party Layered Dip
So, you’ve got this magnificent, towering Seven Layer Dip ready to go! Now the question is: what are we going to use to excavate it? I always make way too much of whatever I put next to that dish because people go nuts for this kind of Tex-Mex appetizer. Having the right vehicles for scooping is almost as important as the layers themselves!
Of course, you simply cannot go wrong with traditional corn tortilla chips. I prefer the sturdy, restaurant-style thick chips because they provide the best structural integrity when you’re trying to get a little bit of every layer onto one chip. Don’t buy the flimsy ones, they always break off right in the dip!
But I like branching out a little bit too! If you want a bit of salty, corn flavor contrast, Fritos (the original, not the chili cheese ones, obviously!) are absolutely phenomenal with the creamy, cool layers. They bring a totally different, satisfying crunch.
If you’re looking to offer something lighter for folks watching their carb intake, have some fresh veggie sticks ready. Crisp bell pepper strips—especially the red and yellow ones for color contrast—are perfect for scooping. And don’t forget carrots or celery sticks; they offer a satisfying snap against the soft texture of the beans and sour cream. Keep everything chilled right up until serving time, and your dish will look and taste fresh all evening long!
Storage and Keeping Your Seven Layer Dip Fresh
Even the most popular party dip sometimes has leftovers, which is honestly a win in my book! I love knowing I have a little taste of Tex-Mex happiness waiting for me the next day. Storing this dip properly is super important, especially since we have all those wonderful fresh toppings like tomatoes and olives in there.
The best thing you can do is keep it covered tightly and tucked away in the refrigerator. I usually wrap the clear dish tightly with plastic wrap, making sure the wrap touches the top layer of olives and tomatoes—this helps keep any lingering air out.
Generally, this classic dip is best eaten within two to three days. After that, the integrity of the layers really starts to suffer. The salsa will start to make the cheese layer feel a little soggy, and the tomatoes might get a bit too soft for my liking. It’s still safe, but it won’t have that perfect, satisfying texture.
Now, you might be tempted to try warming up leftovers, but please don’t! This dip relies on creamy, cold layers like guacamole and sour cream. If you try to heat it up, you’ll end up with a soupy mess where the cheese melts and the sour cream separates. It’s meant to be an intensely chilled appetizer. If you absolutely need a refresh, just let it come up slightly closer to room temperature for about 15 minutes before serving again, but never heat it!
Frequently Asked Questions About This Classic Dip
I always get questions after a party about this dip! It’s understandable because getting the layers right is crucial for that perfect scoop. I’ve gathered up the most common things folks ask me about making this easy seven layer dip.
Can I make the seven layer dip ahead of time?
Oh, yes, you absolutely can! Making this party layered dip ahead of time is my preferred method, honestly. I usually assemble everything through the cheese layer—beans, sour cream, guac, salsa, cheese—the night before. That gives the layers time to chill and really marry together nicely. However, I hold off on the fresh diced tomatoes and the olives until just an hour or so before guests arrive. Those fresh items are best when they haven’t been sitting in the cold mingling with the other ingredients for too long. That keeps everything sparkling fresh!
What is the correct order for the layers in a seven layer dip?
The order matters hugely for stability and visual appeal! If you follow the steps, you’ll get that stunning look you want. It always starts with the refried beans on the absolute bottom. Then comes the seasoned sour cream, followed by guacamole. Next up is your salsa (make sure it’s drained!), then the shredded cheese. The last two layers, the fresh ones that sit on top, are the diced tomatoes, and finally, that final sprinkle of black olives. Keeping the wet salsa beneath the dry cheese is key to this structure!
Can I substitute the refried beans in this easy seven layer dip?
That’s a great question, especially if you have dietary needs or just want to mix things up! While the traditional recipe calls for standard refried beans, you can often swap those out successfully. If you want something vegetarian or just a little different, try using seasoned mashed black beans instead. Just make sure you mash them up really smooth, almost like a thick paste, so they still spread neatly. You don’t want chunky beans fighting with the smooth sour cream layer above them. As long as you keep that base layer smooth and evenly spread, you’re good to go with most bean substitutes!
Sharing Your Experience with This Seven Layer Dip
Whew! We’ve covered everything needed to make what I genuinely believe is the most reliable, crowd-pleasing Seven layer dip out there. Seriously, just thinking about scooping that perfect blend of beans, cheese, and spice makes me want to host a party right now!
Now that you’ve tried assembling this classic Tex-Mex appetizer in your own kitchen, I really want to hear all about it! Did it disappear as fast at your house as it does at mine? Did you try any little tweaks to the toppings or seasoning?
Please, please, please leave a star rating right below this section—it helps other home cooks know that this recipe is dependable and works like a dream every time. And if you have a second, I’d love for you to drop a comment telling me what you served with it. Knowing how you share these comforting, classic recipes with your own family and friends is what Cookin’ Corner is all about! Feel free to reach out through my contact page if you have any other burning dip questions!
PrintClassic Seven Layer Dip

A straightforward recipe for a popular Tex-Mex layered dip, perfect for parties and gatherings.
- Prep Time: 20 min
- Cook Time: 0 min
- Total Time: 20 min
- Yield: 8 servings 1x
- Category: Appetizer
- Method: Assembling
- Cuisine: Tex-Mex
- Diet: Vegetarian
Ingredients
- 1 (16 ounce) can refried beans
- 1 cup guacamole
- 1 cup sour cream
- 1 teaspoon taco seasoning mix
- 1 cup salsa, drained well
- 1 cup shredded cheddar or Mexican blend cheese
- 1 large tomato, diced
- 1/2 cup sliced black olives, drained
Instructions
- Spread the refried beans evenly across the bottom of a clear serving dish.
- In a small bowl, mix the sour cream and taco seasoning. Spread this seasoned sour cream mixture over the beans.
- Gently spread the guacamole over the sour cream layer.
- Spoon the drained salsa evenly over the guacamole layer.
- Sprinkle the shredded cheese over the salsa.
- Distribute the diced tomato over the cheese layer.
- Top with the sliced black olives.
- Cover the dish and refrigerate for at least one hour before serving to allow the layers to set.
Notes
- Use a clear glass dish so guests can see all seven layers.
- Drain the salsa well to prevent the dip from becoming watery.
- To keep the guacamole layer from browning, press a layer of plastic wrap directly onto the surface of the guacamole before adding the next layer.
Nutrition
- Serving Size: 1/7th of dip
- Calories: 180
- Sugar: 4
- Sodium: 350
- Fat: 14
- Saturated Fat: 7
- Unsaturated Fat: 7
- Trans Fat: 0.5
- Carbohydrates: 10
- Fiber: 2
- Protein: 6
- Cholesterol: 30