
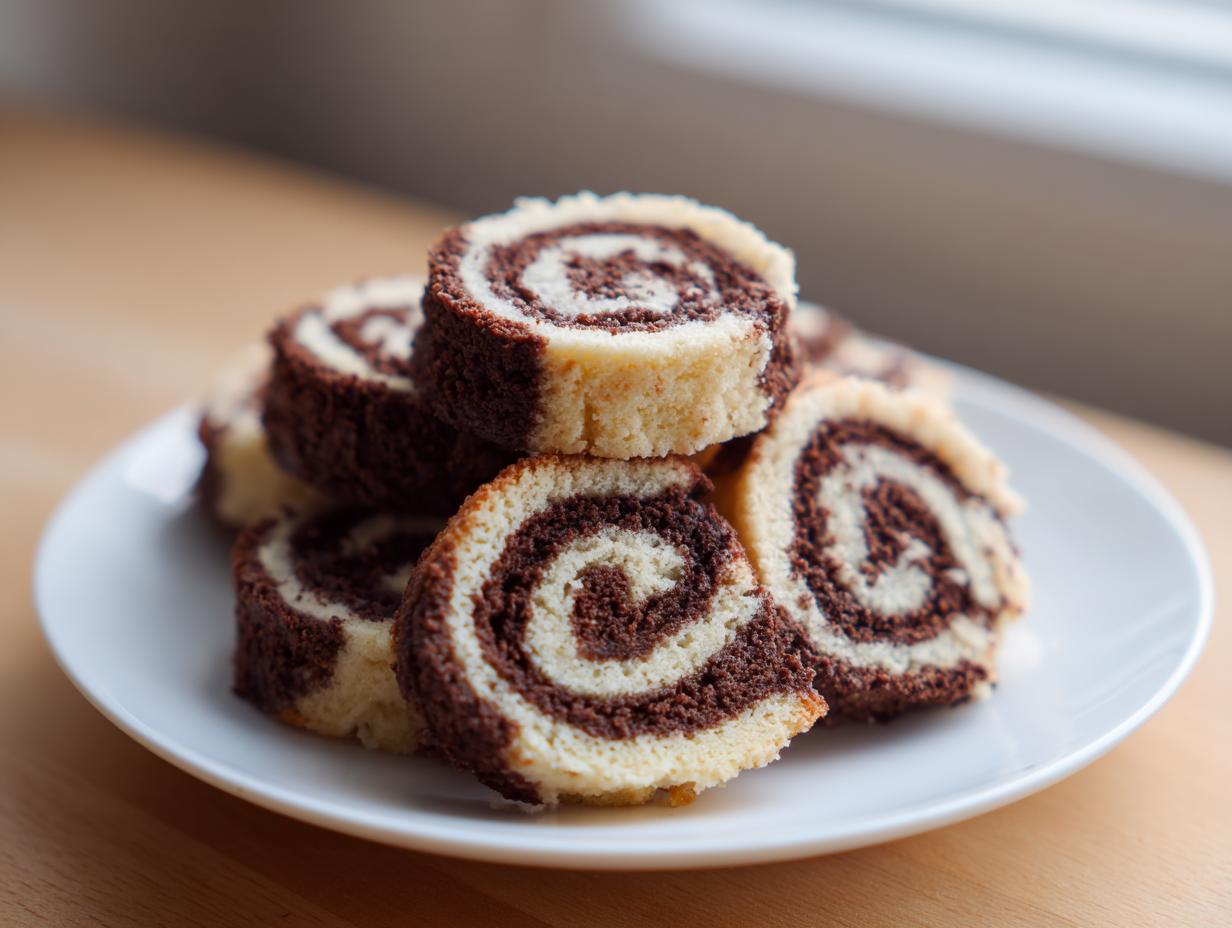
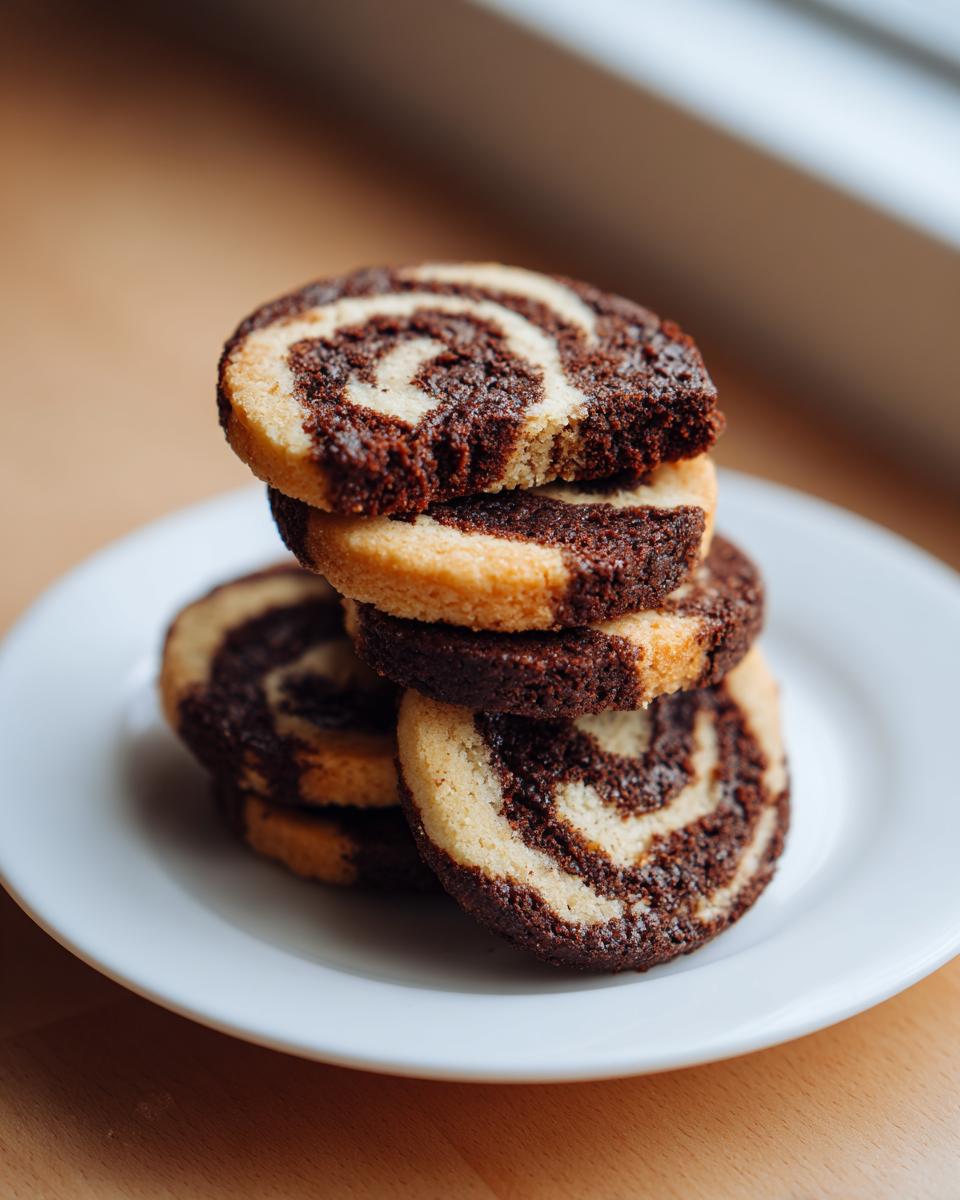
Oh, nothing beats pulling a tray of cookies out of the oven that look like they took hours of fussy decorating, right? But what if I told you that these stunningly beautiful cookies are actually one of the easiest things you’ll bake all season? I am obsessed with making these classic chocolate and vanilla pinwheel cookies during the holidays. They are my absolute standby for dressing up a cookie platter or wrapping up for neighbor gifts.
This recipe uses the genius slice-and-bake method, which means you do all the messy, intricate work—the swirling that creates those mesmerizing spirals—while the dough is cold. So simple! The contrast between the rich cocoa and the sweet, buttery vanilla dough never fails to impress at any cookie exchange. If you want that ‘wow’ factor without the headache, you’ve absolutely come to the right place. If you need some other simple holiday ideas, check out my post on how I whip up easy snickerdoodle recipes too!
- Why These Classic Chocolate and Vanilla Pinwheel Cookies Are Essential (Easy Pinwheel Cookies)
- Gathering Ingredients for Your Pinwheel Cookies Recipe
- How to Prepare Visually Stunning Pinwheel Cookies (How to Make Pinwheel Cookies)
- Expert Tips for Perfect Pinwheel Cookies Every Time
- Serving Suggestions for Your Buttery Shortbread Pinwheels
- Storage & Reheating Instructions for Pinwheel Cookies
- Frequently Asked Questions About Pinwheel Cookies
- Estimated Nutritional Data for Classic Pinwheel Cookies
- Share Your Stunning Pinwheel Cookies Creations
Why These Classic Chocolate and Vanilla Pinwheel Cookies Are Essential (Easy Pinwheel Cookies)
When the holiday baking marathon starts, you need cookies that deliver big on looks but are small on stress. That’s why these easy pinwheel cookies are my go-to. They solve the biggest problem of holiday treats: getting that show-stopping look without spending hours on piping or complicated layering.
These are truly slice and bake pinwheel cookies at their finest. You do the artistic work once, chill it until it’s basically a decorative stick of butter, and then slice off perfect rounds. It makes whipping up huge batches for those big cookie exchanges absolutely no problem at all!
Slice and Bake Pinwheel Cookies: Maximum Visual Impact, Minimum Fuss
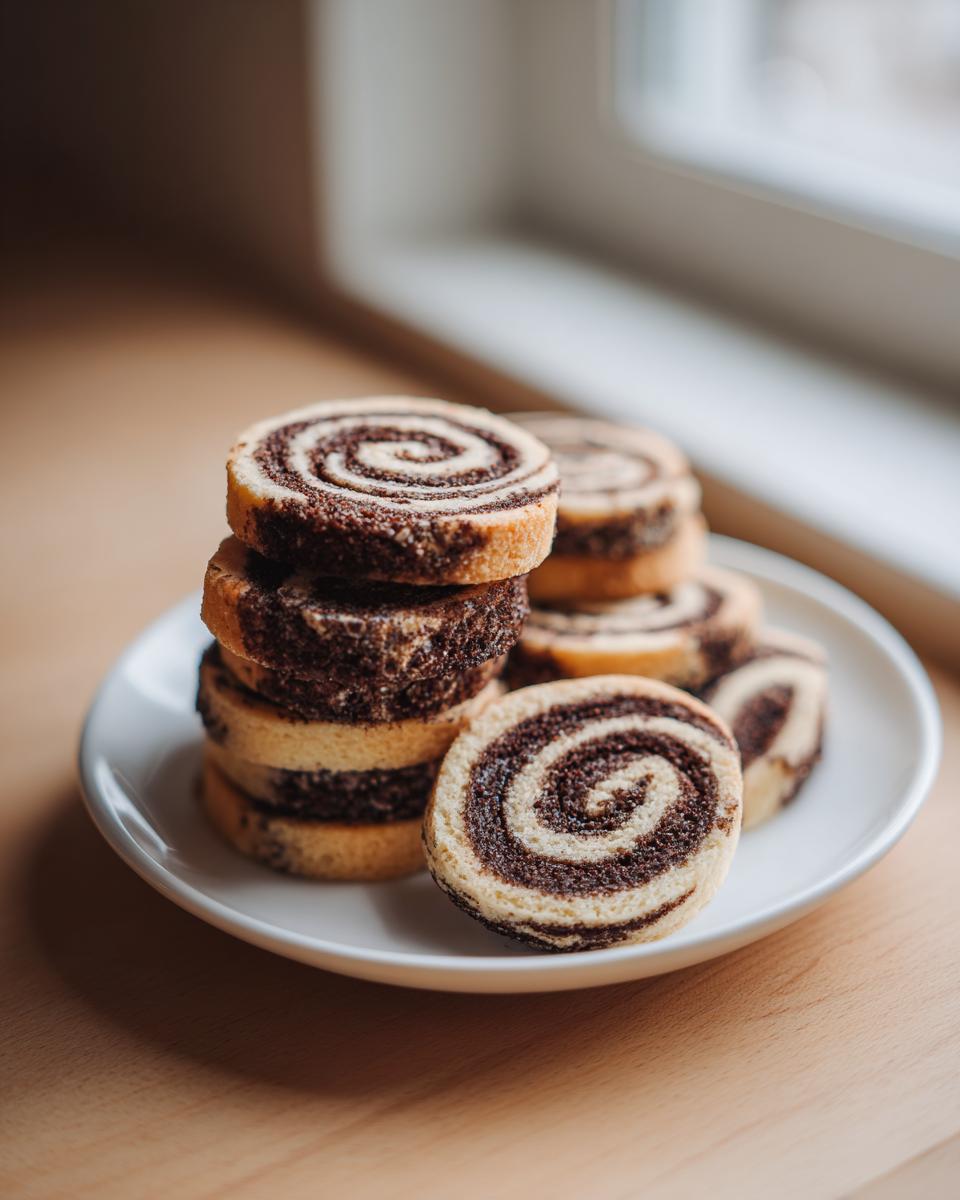
The magic here is the chilling time. Once we get that dough rolled out in a neat, tight log, those beautiful spirals lock into place. When they bake, they hold their shape almost perfectly, giving you those crisp edges and that tight, mesmerizing swirl. It’s just so satisfying to see them come out uniform and beautiful!
Building the Best Christmas Cookies: Flavor Profile of Our Pinwheel Cookies
These aren’t just pretty faces; they taste like home. The dough itself is a rich, buttery shortbread—it melts in your mouth, trust me. We keep the flavor classic: pure, creamy vanilla playing off deep, slightly earthy cocoa. This contrast makes them one of the best Christmas cookies because they aren’t overly sweet. They are just perfectly balanced.
Gathering Ingredients for Your Pinwheel Cookies Recipe
Okay, let’s talk about getting armed for battle—I mean, baking! The best part about this specific pinwheel cookies recipe is that you probably have 90% of what you need hanging out in your pantry right now. No need to run out for fancy, obscure ingredients here, which is always a win when I’m whipping up a big batch for a party.
- 1 cup (2 sticks) unsalted butter, softened
- 1 cup granulated sugar
- 1 large egg
- 1 teaspoon vanilla extract
- 3 cups all-purpose flour
- 1 teaspoon baking powder
- 1/2 teaspoon salt
- 2 tablespoons milk
- 2 tablespoons unsweetened cocoa powder
Ingredient Notes and Substitutions for Flawless Pinwheel Cookies
A few little secrets make a huge difference with these cookies. First, your butter *must* be properly softened—set it out early! It needs to cream beautifully with the sugar. Also, don’t skimp on the cocoa; use a good quality unsweetened kind so your chocolate dough gets that deep color and flavor contrast.
Now, while this recipe is classic chocolate and vanilla, I know some of you are wondering about those fruity ones, like the Date Pinwheel Cookies Recipe. You can absolutely use this base shortbread dough for other fillings, like a date spread or even some salted caramel, but you’ll skip the cocoa powder in one half and use a thin layer of your special filling before rolling up that log.
How to Prepare Visually Stunning Pinwheel Cookies (How to Make Pinwheel Cookies)
Alright, this is where the magic truly happens! If you’ve ever wondered exactly how to make pinwheel cookies that look like they took hours of fussy decorating, it all comes down to patience during the mixing and rolling stages. Don’t rush the chill time; that’s the secret handshake for perfect spirals! This whole process is much easier than you think, especially with the slice-and-bake goodness we’re using.
Creating the Vanilla Chocolate Swirl Cookies Dough Base
First things first, we start by creaming that soft butter and sugar until it’s looking light and fluffy—don’t skip that aerobic workout with the mixer! Then we mix in the egg and the vanilla. In a separate bowl, get your dry stuff whisked. Now, add the dry ingredients to the wet stuff slowly. Mix only until you don’t see any more dry flour streaks. Overmixing at this stage is what gives you tough cookies, and we want tender ones here!
Once combined, you need to divide that beautiful dough evenly into two bowls. One bowl stays pure vanilla, and the other gets the cocoa powder mixed in until it’s a uniform dark brown. Pop both bowls into the fridge for just an hour—they need to firm up before we try to roll them out. If you love a good, chewy sugar cookie base, you’ll also want to check out my recipe for the best sugar cookies!
The Art of Rolling and Chilling Your Pinwheel Cookies Log
When the doughs are chilled, take them out one at a time. Roll the vanilla dough into a rectangle, about 10 by 12 inches wide and a quarter-inch thick on a lightly floured surface. Repeat that exactly with the chocolate dough. Now, carefully lay the chocolate rectangle right on top of the vanilla one, pressing lightly to make them stick together nicely. You want those edges lined up!
Starting from one long side, roll that double-layered piece of dough up as tightly as you possibly can—this is another crucial spot! If you roll it loosely, your beautiful pattern will squish apart when baking. Wrap that finished log tightly in plastic wrap and send it back to the fridge for a minimum of two hours, or until it’s rock solid. This firmness is what guarantees those clean cuts and gorgeous pinwheel cookies swirls.
Baking and Cooling Your Holiday Swirl Cookies
When you’re ready, get your oven preheated to 375°F (190°C) and line those baking sheets with parchment paper; it saves a ton of cleanup. Take that chilled log out and slice it into perfectly even rounds, about 1/4 inch thick. Lay them on the sheet with about two inches between them because they will spread just a tiny bit.
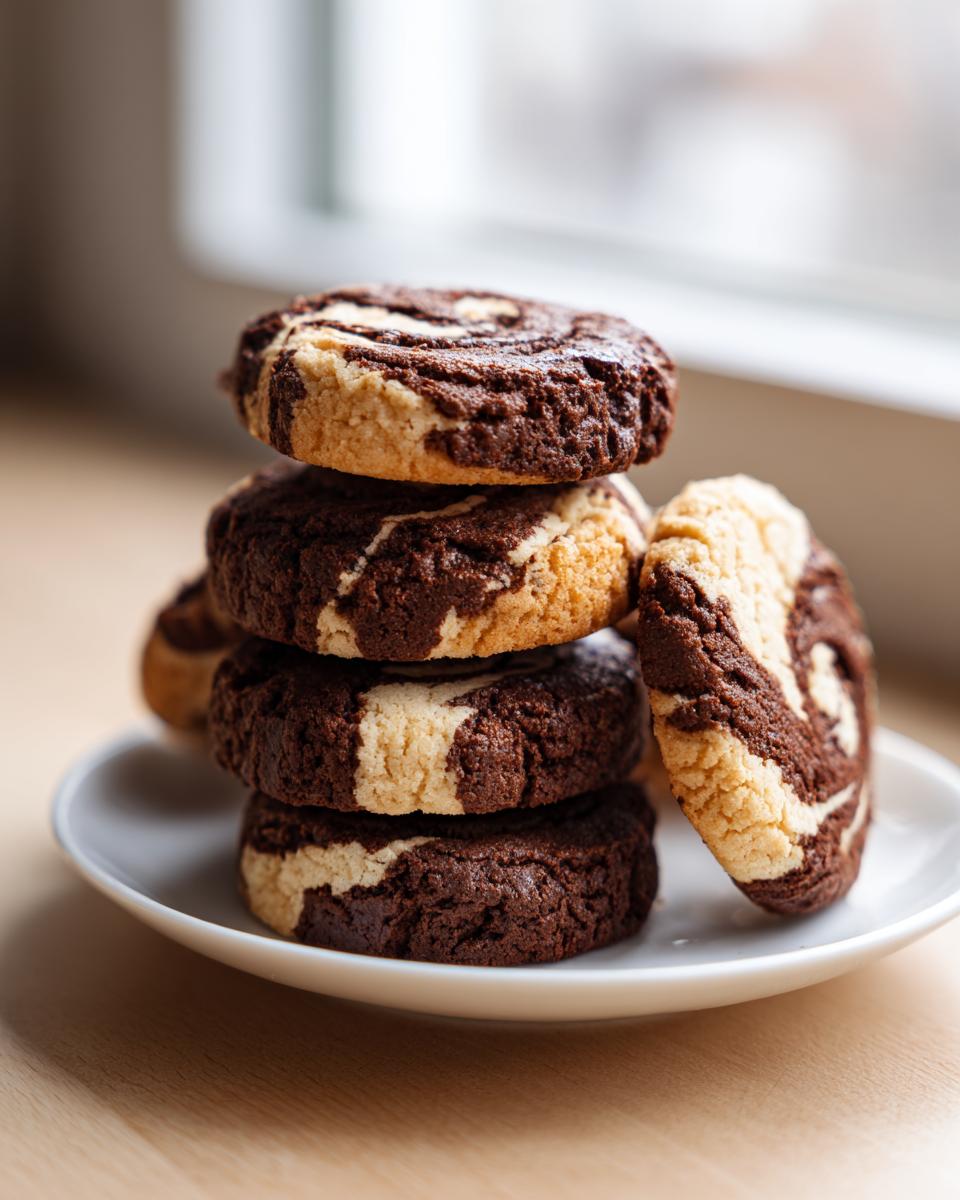
Bake them for 8 to 10 minutes. You’re looking for lightly golden edges, but the middle should still look a tad soft when you pull them out. Let those beautiful holiday swirl cookies cool right on the baking sheet for five minutes while they set up, then move them gently to a wire rack to finish cooling completely.
Expert Tips for Perfect Pinwheel Cookies Every Time
Phew! Now that you know the basics of getting those gorgeous swirls, I want to share a few tricks I use to make sure these pinwheel cookies come out looking absolutely professional, especially when I’m baking for a crowd. Remember, getting defined spirals is all about temperature and how you handle the dough before it ever hits the oven. These little secrets really ramp up the festive factor!
Making Festive Colorful Pinwheel Cookies Variations
If you need bolder colors for your tray—maybe you’re going heavy on red and green for your Christmas pinwheel cookies—I have a simple trick! Instead of just using the chocolate dough and vanilla dough, take that vanilla dough and divide it in half. Color one half bright red and the other half bright green using gel food coloring, of course (liquid coloring messes up the texture!). Then you roll one color with the chocolate, and the other color with the chocolate, or even layer all three if you’re feeling brave. It makes for such visually stunning cookies!
Make Ahead Holiday Cookies: Freezing Instructions for Pinwheel Cookies
This is my favorite hack for surviving the hectic holiday season. These cookies are amazing make ahead holiday cookies because the dough freezes beautifully. Once you have rolled up that tight log, skip the 2-hour chill and go straight to the freezer for about 30 minutes, just until it’s rock hard. Then, wrap it well in plastic and foil and toss it in the freezer. When you want fresh cookies later, just slice them right from frozen—you might need to add an extra minute or two to the baking time. Easy peasy!
For more baking inspiration on things you can prep early, you should absolutely look at my tips for making lemon crinkle cookies ahead of time. They freeze just as well!
Serving Suggestions for Your Buttery Shortbread Pinwheels
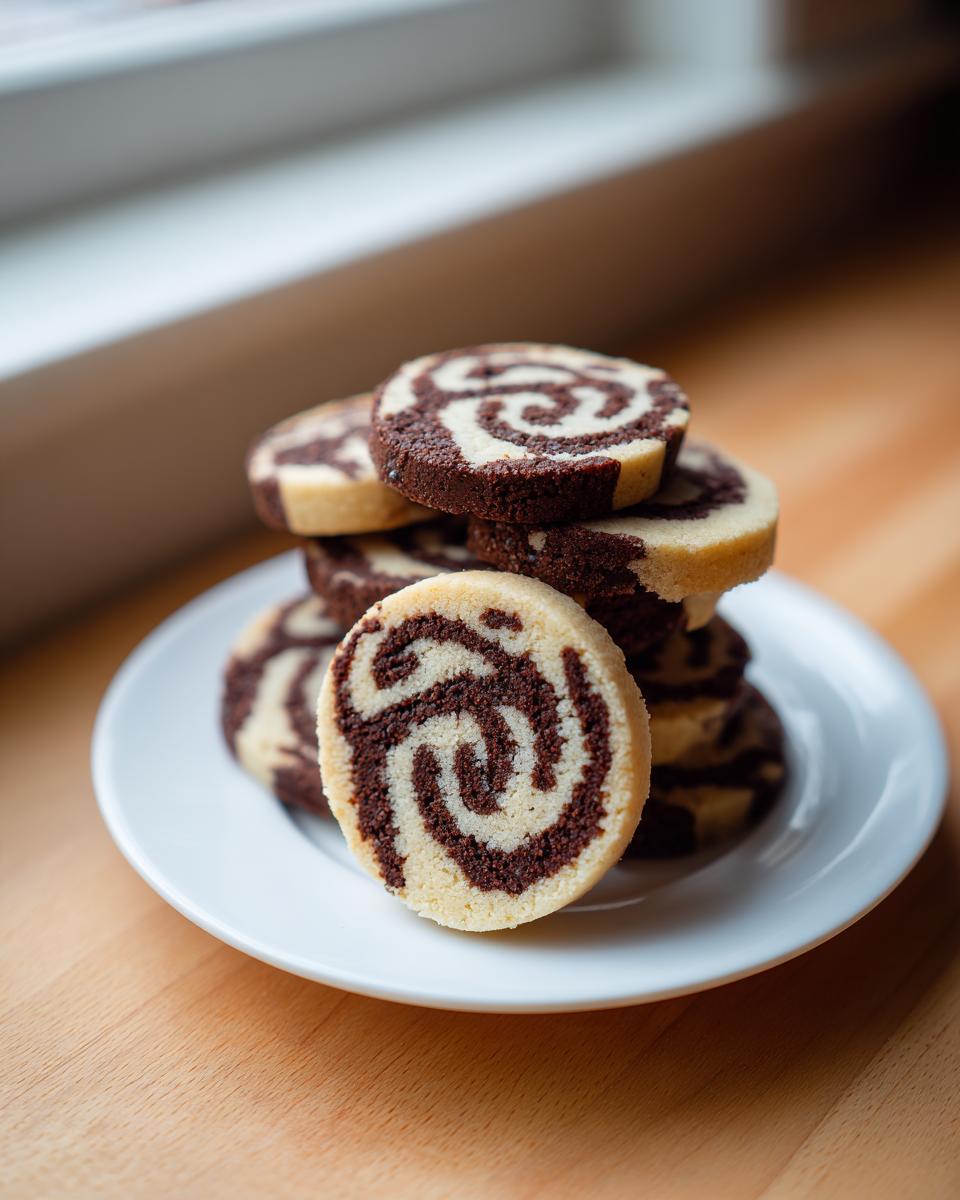
Once these beauties are cooled, the fun shifts to presentation! These buttery shortbread pinwheels look incredible lined up on a simple white platter during holiday open houses because their swirls pop against the plain background. They are perfect for filling those empty spots on a big Christmas cookie assortment.
Because they are so rich and buttery, they pair wonderfully with a warm beverage. Don’t skip making a big batch of my easy frozen hot chocolate, even if it’s cold outside—it tastes so good alongside the chocolate and vanilla dough! They are truly showstoppers for any cookie exchange.
Storage & Reheating Instructions for Pinwheel Cookies
Keeping your beautiful pinwheel cookies fresh the whole holiday season is surprisingly simple. Once they are completely cool—and I mean stone cold off that wire rack—pop them into a sturdy, airtight container. Skip the fridge! These buttery shortbread-style cookies actually do best stored at room temperature.
If you don’t plan on eating them right away, they hold up wonderfully; they should stay perfect for a solid week, sometimes even two if you manage not to sneak too many! If you froze the dough logs like I showed you earlier, you’re all set for baking off fresh ones whenever you need them.
Frequently Asked Questions About Pinwheel Cookies
I get so many questions after people bake these, and honestly, they are usually down to one small step we might have missed! Don’t worry if your first batch doesn’t look exactly like the photos—it happens to everyone. Here are the things I hear most often about these beautiful swirl cookies recipe classics.
Can I make Neapolitan Swirl Cookies using this base recipe?
Yes, absolutely! You can totally make these into Neapolitan swirl cookies. Remember how I mentioned coloring the vanilla dough red and green for Christmas? Just follow that same idea! Leave one dough portion vanilla, color one section pink (a drop of red food coloring works), and use the chocolate dough for the third. Roll them together carefully for that classic strawberry, vanilla, and chocolate effect. It’s so much fun!
What causes my Slice and Bake Pinwheel Cookies to lose their shape?
If your slice and bake pinwheel cookies end up looking more like flat discs than perfect circles with defined swirls, it almost always comes down to chilling. You need that dough log to be rock hard before you slice it! If the dough is too soft, it squishes out when you cut it, and then it spreads way too much in the oven. Also, make sure you roll that log as tightly as you possibly can in Step 9; a loose roll means separation!
If you ever need tips on making other doughs perfectly, sometimes checking other tried-and-true sources helps too, like this guide on how to make pinwheel cookies from Sarah’s kitchen. For other flavor ideas that cook up nice and tidy, you might want to peek at my creamy vegan pumpkin curry recipe—not a cookie, but delicious!
Estimated Nutritional Data for Classic Pinwheel Cookies
Because we use real butter and sugar in this recipe, these are definitely a treat, not a health food! Here is the general breakdown for one of these wonderful pinwheel cookies. These estimations are based on using standard pantry items, but remember that exact values can change based on the specific brands of butter or sugar you use. They are a great addition to any holiday tray, though!
- Serving Size: 1 cookie
- Calories: 145
- Sugar: 10g
- Fat: 7g (4g Saturated)
- Carbohydrates: 19g
- Protein: 2g
Share Your Stunning Pinwheel Cookies Creations
Now that you’ve baked these beautiful festive cookie recipes, I absolutely want to see them! Did you go bold with Christmas red and green swirls, or stick to the classic duo? Please drop a comment below and let me know how you liked them—your feedback helps me know what recipes to make next!
If you snapped a picture of your perfect log slices, tag Kitchen Corner on social media! I love seeing your successes. If you have questions about other flavors, don’t hesitate to reach out through my contact page. Happy baking, friend!
PrintClassic Chocolate and Vanilla Pinwheel Cookies (Slice-and-Bake)
Make striking, buttery pinwheel cookies using a simple slice-and-bake method. This recipe combines vanilla and chocolate dough for classic, mesmerizing swirls perfect for holiday cookie exchanges.
- Prep Time: 30 min
- Cook Time: 10 min
- Total Time: 2 hours 40 min
- Yield: 3 dozen cookies 1x
- Category: Dessert
- Method: Baking
- Cuisine: American
- Diet: Vegetarian
Ingredients
- 1 cup (2 sticks) unsalted butter, softened
- 1 cup granulated sugar
- 1 large egg
- 1 teaspoon vanilla extract
- 3 cups all-purpose flour
- 1 teaspoon baking powder
- 1/2 teaspoon salt
- 2 tablespoons milk
- 2 tablespoons unsweetened cocoa powder
Instructions
- Beat the softened butter and sugar together in a large bowl until light and fluffy. Beat in the egg and vanilla extract.
- In a separate bowl, whisk together the flour, baking powder, and salt. Gradually add the dry ingredients to the wet ingredients, mixing until just combined.
- Divide the dough evenly into two separate bowls.
- To the first bowl, add the milk and mix until smooth. This is your vanilla dough.
- To the second bowl, add the cocoa powder and 1 tablespoon of milk. Mix until the dough is uniformly chocolate colored. This is your chocolate dough.
- Wrap each dough portion separately in plastic wrap and chill in the refrigerator for at least 1 hour, or until firm enough to roll.
- On a lightly floured surface, roll the vanilla dough into a rectangle approximately 10×12 inches and 1/4 inch thick. Repeat with the chocolate dough.
- Carefully place the chocolate dough rectangle directly on top of the vanilla dough rectangle, aligning the edges. Press lightly to adhere.
- Starting with one of the long edges, roll the dough tightly into a log. Do not roll too loosely, or the swirls will separate.
- Wrap the log tightly in plastic wrap and chill for a minimum of 2 hours, or until very firm. This step is key for clean slices.
- Preheat your oven to 375°F (190°C). Line baking sheets with parchment paper.
- Remove the dough log from the refrigerator. Using a sharp knife, slice the log into 1/4-inch thick rounds.
- Place the slices onto the prepared baking sheets, leaving about 2 inches between cookies.
- Bake for 8 to 10 minutes, or until the edges are lightly golden. The centers should still look slightly soft.
- Let the cookies cool on the baking sheet for 5 minutes before transferring them to a wire rack to cool completely.
Notes
- For festive holiday colors, divide the vanilla dough in half. Color one half with red food coloring and the other half with green food coloring. Use the chocolate dough and one colored dough for a two-color swirl, or use all three for a tri-color effect.
- For crisp edges and defined swirls, chill the dough logs until they are very firm before slicing.
- You can slice the dough logs and freeze them on a baking sheet. Once frozen solid, transfer the cookies to a freezer bag for baking later. Bake from frozen, adding 1-2 minutes to the baking time.
Nutrition
- Serving Size: 1 cookie
- Calories: 145
- Sugar: 10g
- Sodium: 75mg
- Fat: 7g
- Saturated Fat: 4g
- Unsaturated Fat: 3g
- Trans Fat: 0g
- Carbohydrates: 19g
- Fiber: 0g
- Protein: 2g
- Cholesterol: 25mg