
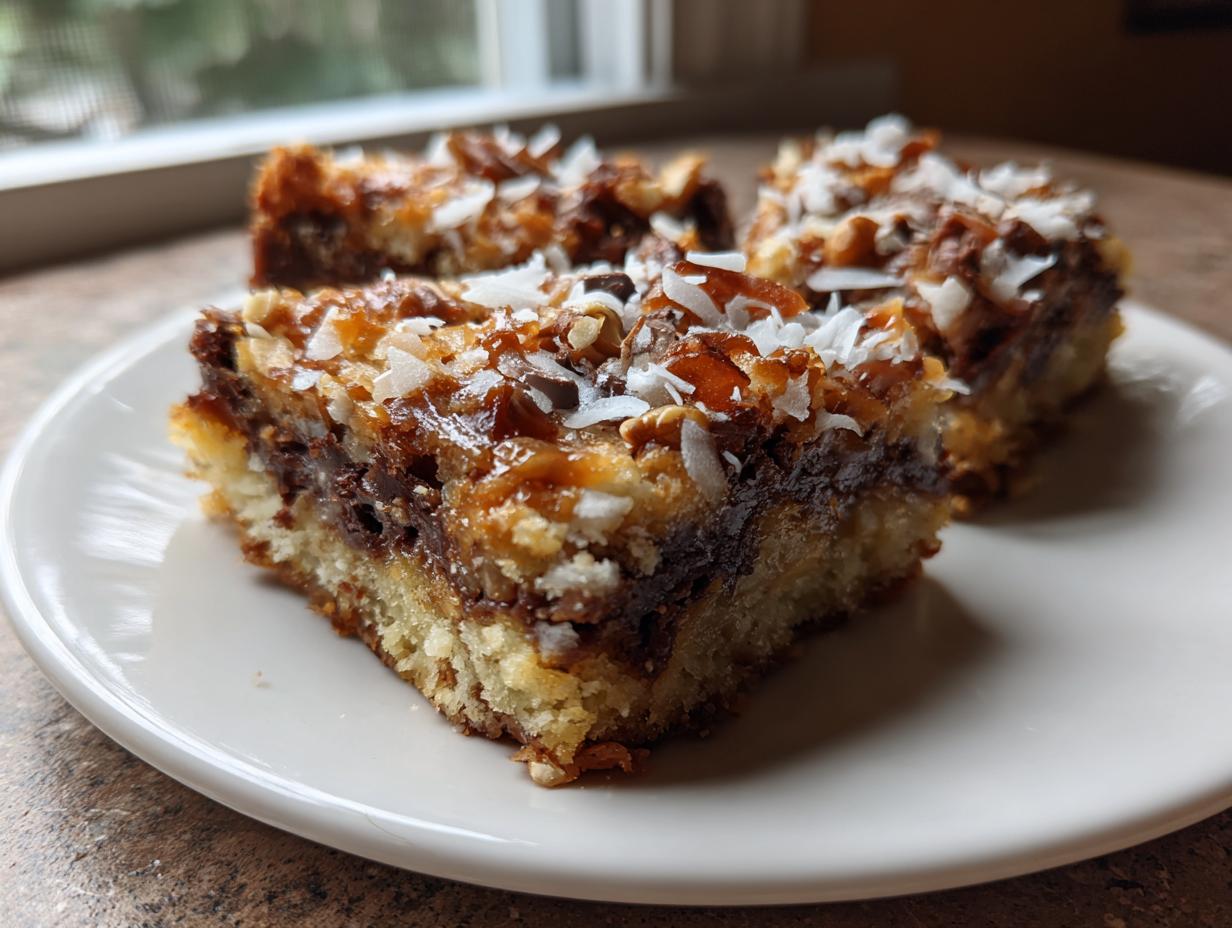
We all have those desserts—the ones that immediately pull you back to your childhood kitchen, perhaps covered in powdered sugar or sticky with something delicious. For me, those moments are always tied to the absolute easiest, most satisfying square you can bake: the magic cookie bars! People call them Seven-Layer Bars or Hello Dolly Bars, but no matter the name, they are famous for tasting like pure nostalgia. Here at Cookin’ Corner, where we build recipes on tested, reliable home cooking heritage, I knew I had to nail down the classic version.
These bars are unbelievably easy—seriously, you just layer everything in a pan! But they deliver that signature chewy, gooey texture we all crave, particularly when you bake them just right. Trust me, once you see how fast these come together, they’ll become your go-to for any busy weeknight or last-minute potluck. We even have some fun, almost no-bake variations, but first, let’s master the original gold standard. If you love easy bars, you’ll adore this recipe!
- Why This is the Best Magic Cookie Bars Recipe
- Gathering Your Ingredients for Classic Magic Cookie Bars
- Step-by-Step Instructions for Simple Layered Cookies
- Baking and Cooling Your Ultimate Layer Bars
- Expert Tips for Perfect Magic Cookie Bars
- Serving Suggestions for Potluck Dessert Bars
- Storage and Reheating Instructions for Gooey Dessert Bars
- Frequently Asked Questions About Magic Cookie Bars
- Share Your Experience Making These Classic Cookie Bars
Why This is the Best Magic Cookie Bars Recipe
I’ve tried all the fancy layered desserts out there, but nothing beats the sheer joy and effortless perfection of these bars. Why do I stand by this specific Magic Cookie Bars recipe? Because it delivers on every single promise: simplicity, incredible chewiness, and the perfect gooey center. My grandmother always stressed that reliability matters, and these bars are a baked good you can count on for holidays or last-minute get-togethers. If you want truly Gooey Dessert Bars that impress everyone without stressing you out, stick with this method! If you love other simple classics, you should definitely see how I make my best sugar cookies.
Irresistibly Easy Assembly for Magic Cookie Bars
Honestly, if you can sprinkle, you can make these! That’s the beauty of what people call the classic Easy 7 Layer Bars. We aren’t using electric mixers or complicated creaming methods here. It’s truly no-mix; you just press the crust, and then you sprinkle layer after layer on top. It’s almost like building a decadent, sweet tower. Since there’s next to no mixing involved, these count as some of the fastest Simple Layered Cookies you’ll ever whip up!
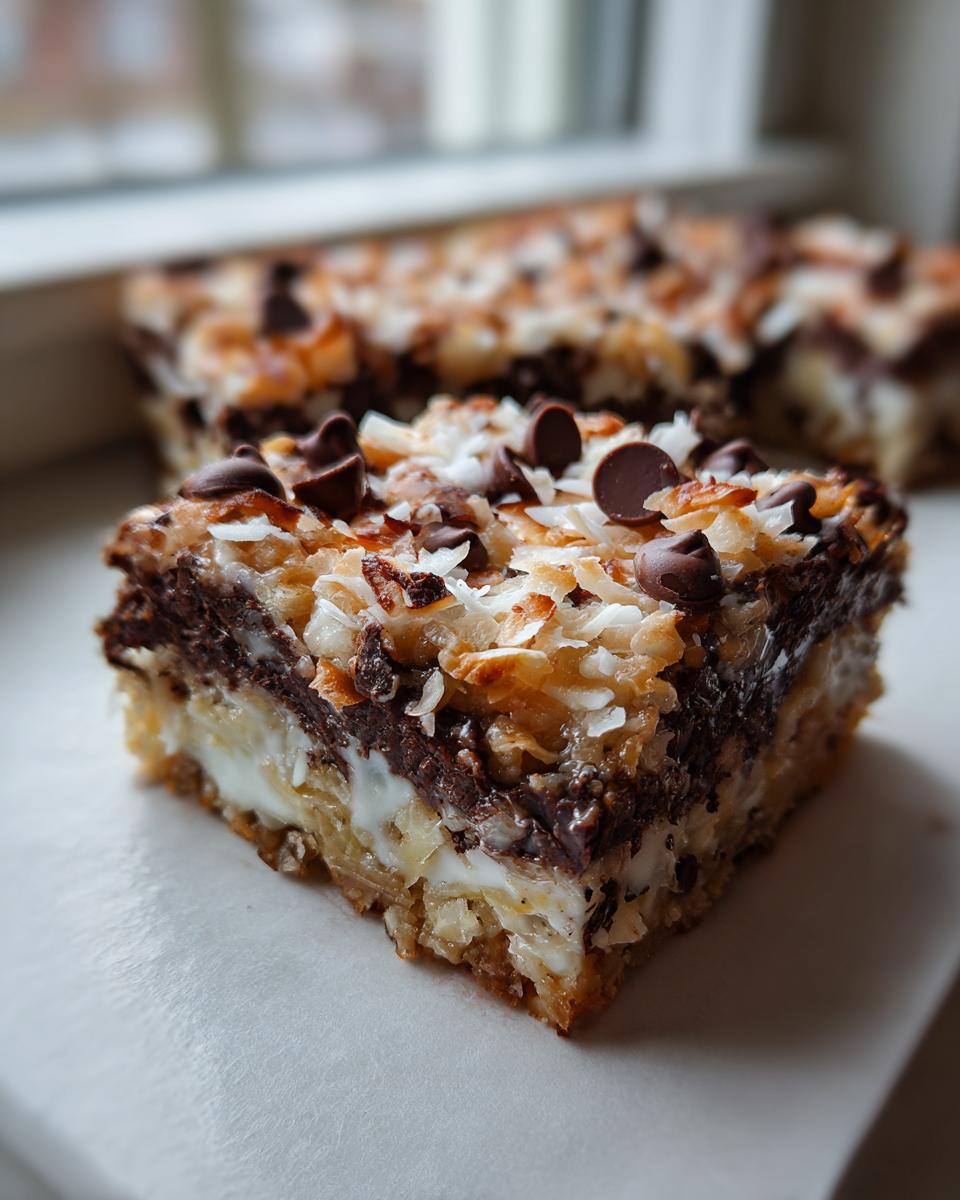
Achieving the Perfect Chewy Coconut Squares Texture
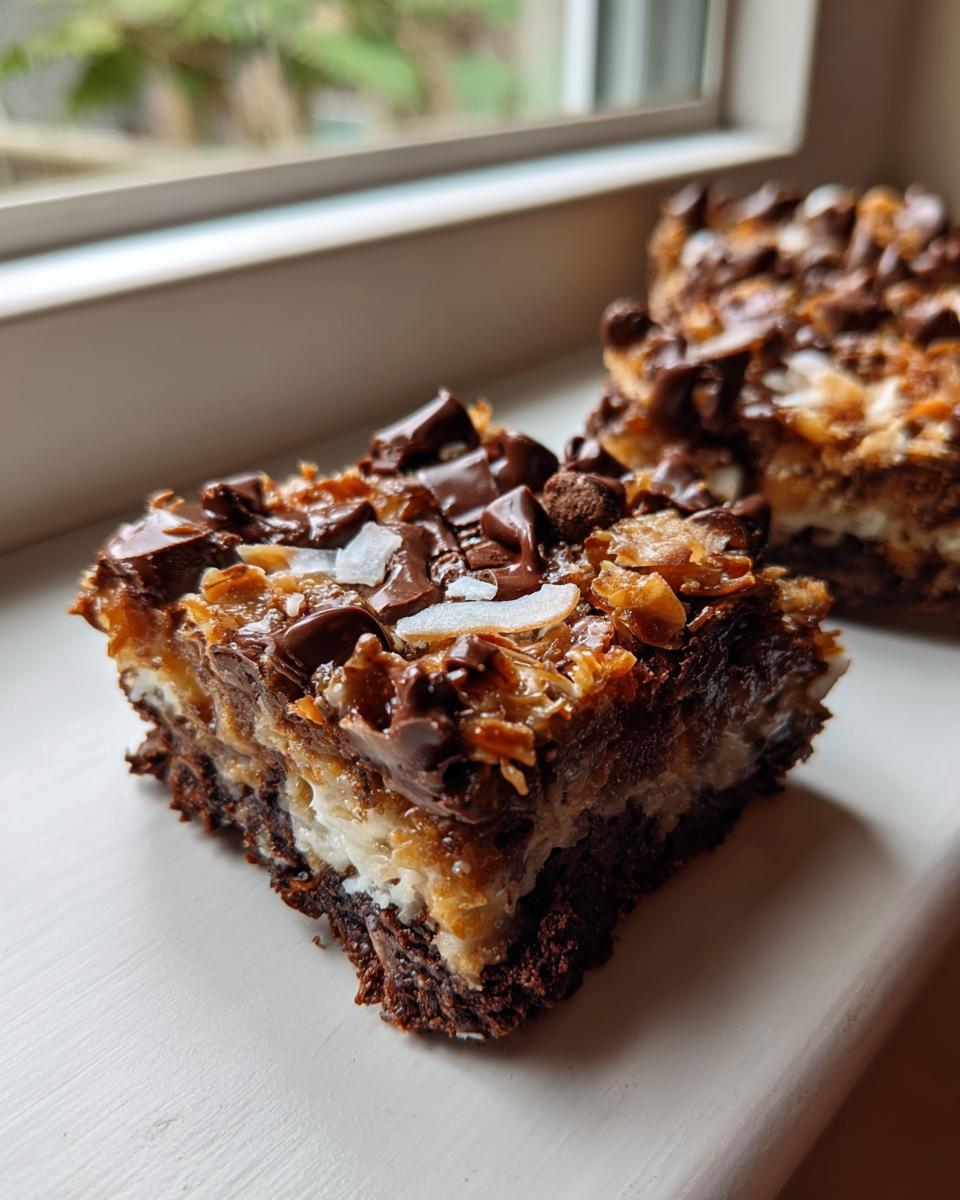
The secret to the legendary texture, the thing that makes these bars so addictive, is that beautiful can of sweetened condensed milk. When you pour it over those dry layers—the chocolate, the coconut, the pecans—it seeps down and bakes into this rich, almost caramel-like binder. If you want those classic Chewy Coconut Squares, you absolutely must let them cool completely. Seriously, don’t cut them warm! Cooling is where the magic sets, keeping everything gooey inside instead of letting it ooze all over your cutting board. You can check out some other great baked-goods tips over at Snack On Meat if you need more inspiration!
Gathering Your Ingredients for Classic Magic Cookie Bars
Now that you know how simple these are, let’s talk about gathering our building blocks! Since we are relying on very few ingredients to do all the heavy lifting, quality really matters here. If you stick to the classics, you can’t go wrong. I always make sure I have high-quality chocolate chips on hand, but the real MVP in this recipe? That sweet, creamy, thick sweetened condensed milk. That ingredient is key to binding everything together and giving us that gooey hug in every bite. My goal with these magic cookie bars is always pure, buttery, nutty flavor, and using the right stuff guarantees it.
When you look at the list, it seems like a lot of separate items, but really, it’s just layers waiting to be stacked! You’ll need the following items ready to go before we even think about pressing that crust into the pan. For the full directions, you can always jump ahead, but having these ready makes assembly feel like a breeze. Don’t forget to check out the amazing things people are making with their layers over at Snackin’ Style!
Here is what you need for this incredible recipe:
- 1 1/2 cups graham cracker crumbs
- 1/2 cup unsalted butter, melted
- 1 (14 ounce) can sweetened condensed milk
- 1 cup semi-sweet chocolate chips
- 1 cup flaked coconut, sweetened
- 1 cup chopped pecans or walnuts
See? Just a few handfuls of goodness! If you’re looking for similar flavor profiles but maybe in a different texture, check out my recipe for Pecan Pie Cobbler—it also uses pecans wonderfully!
Step-by-Step Instructions for Simple Layered Cookies
Okay, you’ve got your cast of characters lined up in the kitchen, and now it’s time for assembly! This is what makes magic cookie bars famous. Forget wet batters and scraping mixing bowls. We are building vertically, and it’s so satisfying. Right off the bat, make sure your oven is set to 350 degrees F. If you haven’t already, grab a 9×13 pan and line it well with parchment paper. Leave a little overhang on the sides; trust me, this overhang is going to save your life later when you try to lift these beauties out! If you need a refresher on the best way to handle sturdy baked oats, check out my base recipe here.
Preparing the Graham Cracker Crust Bars Base
First things first: the foundation! Take those graham cracker crumbs and mix them really well with that ½ cup of melted butter. Get it all incorporated until it looks like wet sand. Then, you press it firmly into your lined pan. I always use the bottom of a dry measuring cup for this part. Pressing hard and evenly ensures you get those sturdy Graham Cracker Crust Bars that won’t crumble when you try to cut them later. Make sure this base is packed tightly!
Layering and Pouring Sweetened Condensed Milk bars
Now for the fun part—sprinkling! Layer those chocolate chips evenly over the crust. Then toss on the coconut, followed by your chopped nuts. Sprinkle them gentle but make sure everything is covered edge-to-edge. Once all your dry stuff is sitting there looking pretty, you take that beautiful, thick can of sweetened condensed milk and pour it slowly and evenly right over the top of everything. This liquid is what turns into the delicious, chewy glue holding your Sweetened Condensed Milk bars together. See how easy that was? You can find a great article on assembly techniques over at Leni Eats!
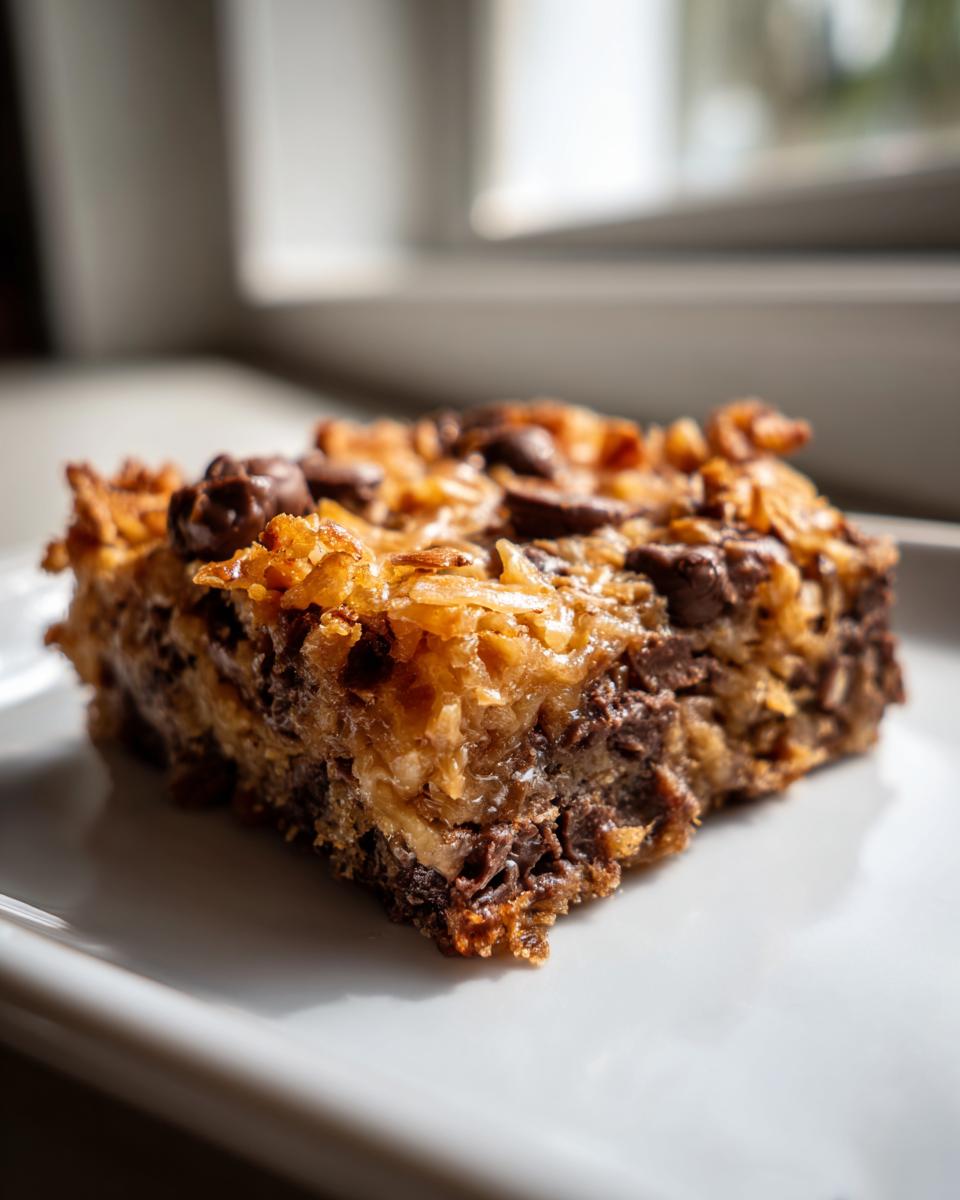
Baking and Cooling Your Ultimate Layer Bars
We’ve done the work of layering everything up, and now your pan is ready for the oven! Pop that pan into your preheated 350-degree oven. You’re generally looking at about 25 to 30 minutes of baking time. Don’t just watch the clock, though; watch the edges! You want to see them starting to get just lightly golden brown. More importantly, you want the condensed milk layer to look bubbly and set. If it’s still looking super wet in the middle, give it another five minutes. We need that sugar to caramelize just a touch!
But here’s where I insist you listen to me: cooling is just as important as the baking! If you try to cut these luscious treats while they are hot, they will just turn into a delicious, sweet puddle. Who doesn’t love a puddle, right? But for neat squares (especially if you’re taking them to a party!), you have to let them be patient. Let them cool completely on the rack first. Once they feel room temperature, that’s when you transfer the whole thing—parchment sling and all—into the fridge for at least an hour. Chilling them solid is the secret sauce for getting those clean, perfect cuts on your final magic cookie bars.
Once they are chilled, you simply use that parchment paper overhang we planned for earlier, lift the whole slab out, and slice them up. The cold keeps everything firm but doesn’t sacrifice all that satisfying gooeyness inside. If you are looking for firm but chewy treats, you might also want to check out my recipe for the ultimate chewy lemon cookies! They hold their shape beautifully, too.
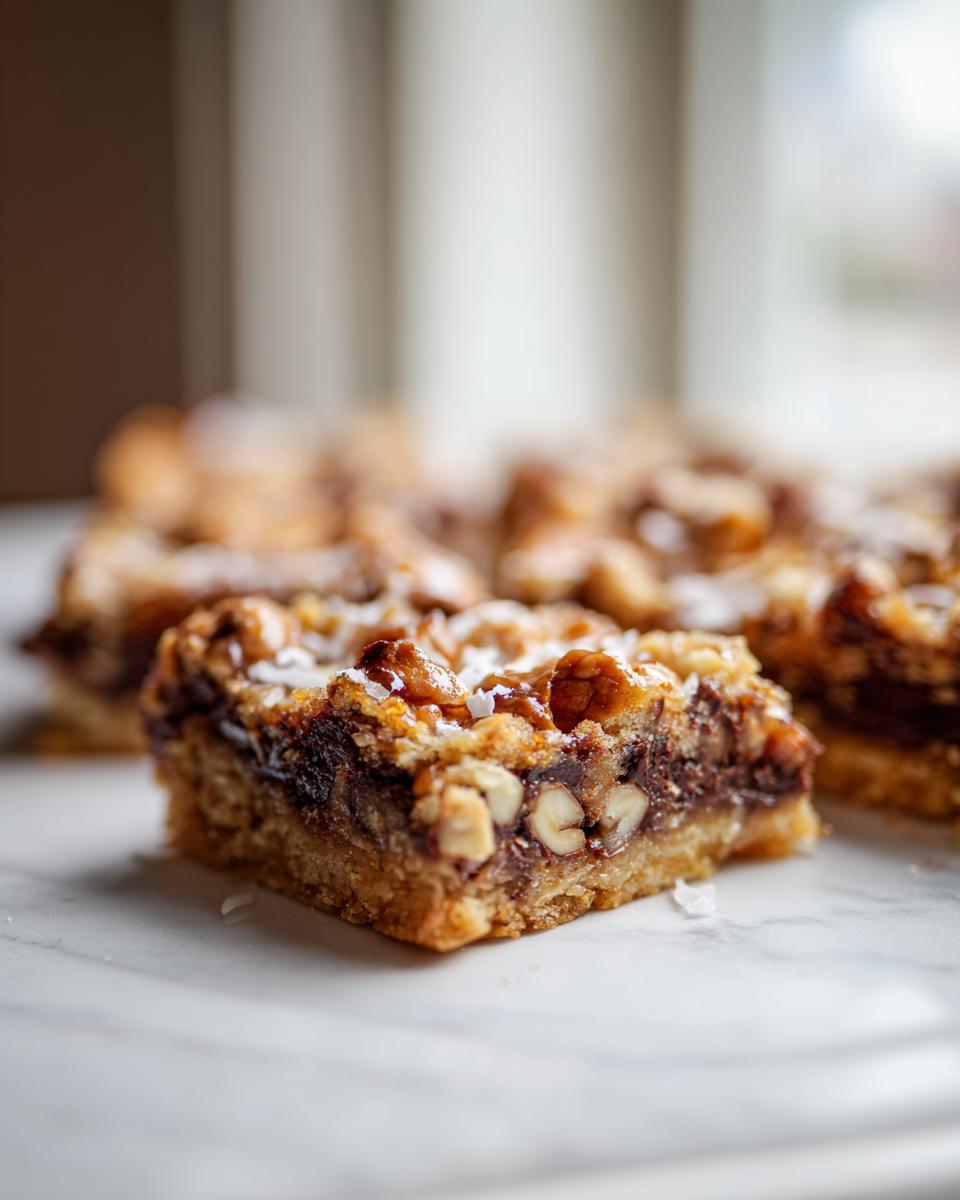
Expert Tips for Perfect Magic Cookie Bars
Even though these bars are famously simple, a few little tweaks can take them from great to absolutely legendary. When you’re aiming for the Best Magic Cookie Bars recipe, paying attention to the details—even when the recipe itself is built on ease—is what separates a good batch from the one people request every single year. I always go back to my grandmother’s core belief: care in the small things makes the big things better. So, let’s talk about dialing in your ingredients!
Ingredient Adjustments for Hello Dolly Bars dessert
You asked if you can skip the nuts, and my answer is always: sure, if you must! If someone has an allergy or just isn’t a pecan fan, you can completely leave them out. But here’s a trick: if you omit the nuts, you should slightly increase the coconut or chocolate chips. That way, you don’t end up with a giant empty space where the pecans used to be, and you keep that glorious layer balance we talked about. Also, feel free to mix up the chocolate! I sometimes use a blend of butterscotch chips and milk chocolate chips just to change the flavor profile of these amazing Hello Dolly Bars dessert treats.
One tip I learned from my cookbook collection is that toasting the coconut lightens up its flavor and gives it a wonderful, crisp edge before that sweet milk bath hits it. Just toss your dry flakes into a dry skillet over medium heat for about three minutes, stirring constantly until they smell nutty and look slightly golden. Put them on a plate to cool completely, and then proceed with layering! It seems like an extra step, but it makes such a difference in the final flavor depth.
If you want more easy baking tips, especially for those times that gooey texture just needs to be *just right*, make sure you read up on my advice for making the best sugar cookies; texture control is everything when baking!
I always find amazing reinforcement for these kinds of classic recipes over at Best Baking Recipes; they focus on making simple things reliably delicious, just like us!
Serving Suggestions for Potluck Dessert Bars
These magic cookie bars are rich, friends—truly decadent! Because they pack such a sweet punch, I always think about what pairs nicely with them when I’m packing up my tray for a gathering. Since they’re so famously sweet and chewy, they shine brightest next to something slightly tart or wonderfully robust. Think about serving them alongside a strong cup of black coffee or maybe a bright, fruit-forward side, like a fresh berry salad.
Because they hold up so well once they’ve chilled, these are my absolute favorite things to take to any holiday party. They slice cleanly and don’t melt everywhere, which is a huge win for any host! If you’re looking for the perfect drink pairing for your tray of Christmas Cookie Bar recipes, I’ve got a fantastic recipe for a Non-Alcoholic Christmas Punch that cuts through that sweetness perfectly. You can see how other folks dress up their festive bars over at CookRisp!
Storage and Reheating Instructions for Gooey Dessert Bars
The best part about making a big batch of magic cookie bars is that you usually have leftovers, even if you think you won’t! Because these bars rely on that wonderful, gooey binder, storage is a little different than a regular cookie. You want to keep them cool to maintain that perfect chewy texture we worked so hard for. My rule of thumb, learned from making huge batches for bake sales, is that once they are fully set and cut, they should go right back into the fridge.
Place the cut squares tightly in an airtight container. I usually line the container with a bit of wax paper or parchment paper between layers just to make sure nothing sticks together once they get cold. Stored this way, they stay fantastic for nearly a week! They firm up a bit more when cold, which is why chilling them before you slice them initially is so important.
Now, about reheating—this is key. Since these are loaded with chocolate chips and coconut suspended in that sweet milk candy, direct, high heat is your enemy. If you try to microwave a single bar for too long, or put them back in a hot oven, you risk turning that lovely gooey center into sticky syrup. If you absolutely must warm them up (maybe you like them slightly melty?), go low and slow. Try just about 15 seconds in the microwave, or use a very low oven setting—maybe 250 degrees F—for just five minutes. I personally love eating them straight from the fridge, but you do you! If you’re planning ahead for meals later, you might enjoy my recipe for easy slow cooker apple butter, which stores beautifully too!
Frequently Asked Questions About Magic Cookie Bars
I know when I first started making these amazing layered treats, I had a million questions pop into my head. It’s only natural when you’re dealing with layers of goodness! Since my goal here at Cookin’ Corner is to give you tried-and-true recipes that work every time, I wanted to tackle the most common puzzles folks have when they are putting together their Ultimate Layer Bars.
Can I skip the nuts in this Magic Cookie Bars recipe?
Absolutely! If you have allergies or just aren’t a big fan of pecans or walnuts, you can skip them entirely. However, remember what I always say about texture? Nuts add a necessary bit of crunch to balance out all that gooey. If you omit them, I really suggest you spread an extra quarter cup of chocolate chips or maybe add a handful of dried cranberries for a little chew. We just don’t want any sad, empty spots in the layers, right? This ensures you still get a great result with my Magic Cookie Bars recipe.
What is the difference between 7 Layer Bars and Magic Cookie Bars?
This is such a fun question because it makes me smile! Honestly, there’s usually no difference at all. They are just different names for the exact same classic, layered dessert! If someone calls them Easy 7 Layer Bars, you know exactly what they mean: graham crust, chocolate, coconut, nuts, and that beautiful blanket of condensed milk holding it all together. They earned all those names because they are, well, magic, and there are usually seven components stacked on top of that buttery base!
Why are my Magic Cookie Bars runny or too soft after baking?
Oh, I have absolutely been there! Nothing is sadder than lifting a gooey bar out and realizing it’s more of a liquid situation. Usually, this happens for one of two reasons: either you didn’t bake it long enough, or, and this is the big one, you tried to cut it too soon! If the center isn’t bubbly and set when it comes out, it needs more time. But even if it looks perfect, you MUST let them cool completely, usually requiring an hour or two in the fridge, before you even think about slicing. A quick peek at the testing methods used over at Weeknight Recipes might help confirm if your oven runs cool!
Do I really need sweetened condensed milk? Can I use evaporated milk?
No substitutions here, friend! Sweetened condensed milk is non-negotiable for these bars. Evaporated milk is much thinner and doesn’t have the high sugar content needed to caramelize and create that signature chewiness. The condensed milk is what cooks down into that thick, golden hug binding your cookies. Trust me, using the right canned milk makes all the difference in achieving that perfect texture in your Sweetened Condensed Milk bars!
If you’ve ever made my recipe for easy chicken gravy, you know I preach about using the right fat, and this is the same idea—use the right milk!
Share Your Experience Making These Classic Cookie Bars
I truly hope this recipe brings as much sticky, sweet joy to your kitchen as it does to mine! That’s the whole point of Cookin’ Corner—turning a simple list of ingredients into genuine, delicious memories you can share with the people you love. These magic cookie bars are so straightforward, and I can’t wait to hear how they turned out for you!
Did they set up perfectly? Are your kids already asking for a second batch? Did you add in dried cherries or maybe some white chocolate chips? Please, don’t keep those successes (or even those little “oops!” moments) to yourself!
Take a moment to leave a star rating right below this section. Even better, drop a quick comment telling me what your favorite memory was while pulling these layers apart. Sharing stories and honest feedback helps everyone who comes after you make these classics perfectly. If you want to reach out directly with a photo of your finished tray, you can always get in touch with me here. Happy baking, friends—let’s keep these traditions alive!
PrintClassic 7-Layer Magic Cookie Bars
Make these irresistibly easy Magic Cookie Bars, also known as 7-Layer Bars or Hello Dolly Bars. They feature a buttery graham cracker crust topped with layers of chocolate chips, coconut, and nuts, all bound together with sweetened condensed milk for a perfectly chewy and gooey dessert.
- Prep Time: 15 min
- Cook Time: 30 min
- Total Time: 45 min
- Yield: 24 servings 1x
- Category: Dessert
- Method: Baking
- Cuisine: American
- Diet: Vegetarian
Ingredients
- 1 1/2 cups graham cracker crumbs
- 1/2 cup unsalted butter, melted
- 1 (14 ounce) can sweetened condensed milk
- 1 cup semi-sweet chocolate chips
- 1 cup flaked coconut, sweetened
- 1 cup chopped pecans or walnuts
Instructions
- Preheat your oven to 350 degrees F. Line a 9×13 inch baking pan with parchment paper, leaving an overhang for easy removal.
- In a medium bowl, combine the graham cracker crumbs and melted butter. Press this mixture firmly into the bottom of the prepared baking pan to form the crust.
- Sprinkle the chocolate chips evenly over the crust layer.
- Distribute the flaked coconut over the chocolate chips.
- Scatter the chopped pecans or walnuts over the coconut layer.
- Pour the entire can of sweetened condensed milk slowly and evenly over all the layers. This binds the bars together.
- Bake for 25 to 30 minutes, or until the edges are lightly golden brown and the condensed milk is bubbly.
- Let the bars cool completely in the pan on a wire rack before lifting them out using the parchment paper overhang.
- Cut into squares. For the cleanest cuts, chill the bars for at least one hour before slicing.
Notes
- For an extra rich flavor, lightly toast the coconut in a dry skillet before adding it to the layers.
- If you prefer a softer texture, reduce the baking time by 3-5 minutes.
- These bars are excellent for potlucks and holidays because they travel well and hold their shape once cooled.
Nutrition
- Serving Size: 1 square
- Calories: 210
- Sugar: 20
- Sodium: 85
- Fat: 13
- Saturated Fat: 6
- Unsaturated Fat: 7
- Trans Fat: 0
- Carbohydrates: 23
- Fiber: 1
- Protein: 3
- Cholesterol: 15