
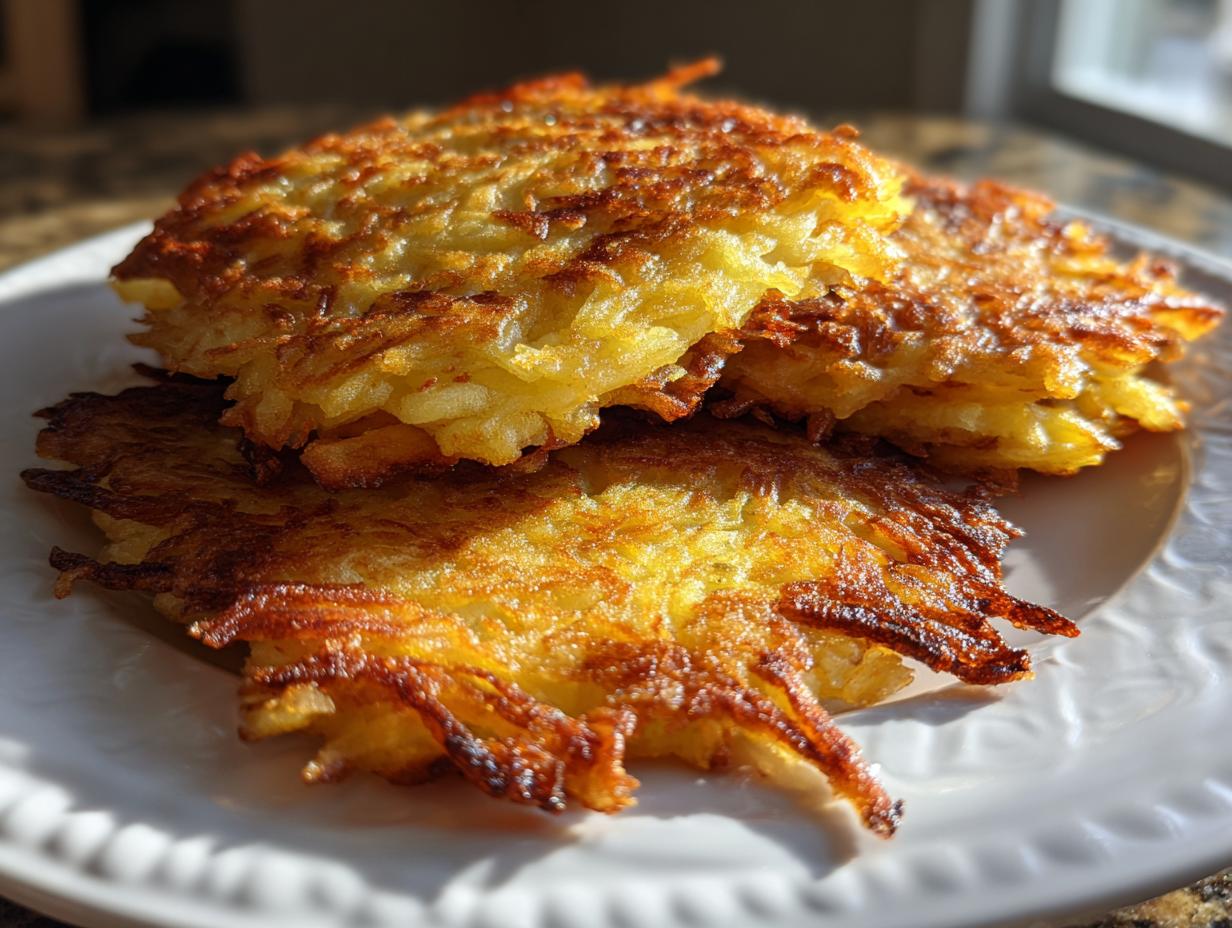
When the chill hits the air and the holiday season lights start twinkling, my mind always goes straight to the warm, savory smell wafting from the stove. That aroma means one thing: it’s time for Latkes! Honestly, I think these potato pancakes are one of the greatest comfort foods ever invented. So many recipes promise perfection, but I’ve wasted enough weekends dealing with soggy, greasy messes. That’s why I’m sharing my tried-and-true method today. We are chasing that perfect crunch—crispy on the outside, tender inside, and absolutely NO excess grease. If you’re looking for that reliable connection to tradition, just follow these steps. This is how we keep those memories fresh right here in my kitchen, and I know they’ll feel like home in yours too. It’s what we do here at Cookin’ Corner.
- Why This Crispy Latkes Recipe Works Every Time
- Gathering Ingredients for Traditional Jewish Dish Latkes
- Step-by-Step Guide to Preparing Crispy Latkes Recipe
- Frying Your Hanukkah Potato Pancakes to Golden Perfection
- Tips for Success When Making Latkes
- Storing and Reheating Leftover Latkes
- Serving Suggestions for Your Latkes
- Frequently Asked Questions About Latkes
- Nutritional Estimates for This Fried Holiday Treat
Why This Crispy Latkes Recipe Works Every Time
I know that feeling. You make your batter, you slide the spoonfuls into that shimmering hot oil, and what comes out looks more like a pale potato sponge than a gorgeous, golden, fried holiday treat. Ugh! That usually means one failure point was missed. My goal here is to stop that from happening to you! We’re focusing on two crucial parts of the process that make all the difference between a soggy mess and a stunning, crackly pancake.
Stick with my process, and you’ll see success:*
- We tackle the moisture problem before we even think about the pan.
- We use just enough binder—no more!—to keep things together.
The Secret to Non-Greasy Latkes
The absolute number one killer of crispness is potato water. It sounds dramatic, but it’s true! When you grate those potatoes and that onion, they immediately start weeping liquid. That water hits the hot oil, turning the oil cloudy and essentially steaming your pancakes instead of frying them. If you want that authentic crunch, you have to treat that liquid like it’s the enemy. You have to squeeze your mixture until your knuckles are white! Seriously, wring that towel out like you mean it. It might seem extreme, but that dryness is what delivers the crispest latkes possible.
Binding Agents for Perfect Latkes
A lot of people try to ‘fix’ wetness by dumping in tons of flour, right? Big mistake! Too much binder makes your latkes taste pasty, and they get gummy instead of fluffy inside. Eggs are essential because they bring structure when they cook, but we only want a little bit of flour or perhaps some matzo meal for insurance. These binding agents should just be there to hold the grated texture together beautifully, not to create a dough. Just mix until everything is barely coated, and trust the squeeze you did earlier!
Gathering Ingredients for Traditional Jewish Dish Latkes
Okay, now that we know what *not* to do—like skip the squeezing—let’s talk about what we actually need to make a great batch of traditional Jewish dish latkes. The quality really does matter here, especially with potatoes! You cannot just grab any old spud; we need the right structure for the best crisp.
For me, Russets are the only way to go. They have that amazing starch content that helps them hold their shape when squeezed, and they fry up beautifully golden. If you use those waxy red potatoes, you’re asking for trouble—they just weep too much water and don’t have the right internal texture once cooked.
Make sure your onion is fresh, too. You need that sharp bite to cut through the richness of the oil, and a dull, old onion just won’t give you the flavor pop we are aiming for in these perfect latkes. When you gather these few items, you’re already halfway to the finish line. Here is exactly what you’ll need for about a dozen wonderful pancakes:
- 3 large Russet potatoes (we’re looking for about 1.5 pounds total after peeling!)
- 1 medium yellow onion (don’t skimp on this!)
- 2 large eggs, just lightly beaten so they aren’t frothy
- 1/4 cup all-purpose flour (or you can use matzo meal if you prefer that slight crunch)
- 1 teaspoon salt (be generous here!)
- 1/4 teaspoon black pepper
- Vegetable oil or canola oil for frying—you’ll need about 1 inch deep in your skillet, remember, we are frying these babies!
That’s it! It’s a short list because the magic isn’t in exotic spices; it’s truly in the technique we are about to cover in the next section. Keep everything close by, because once the oil is hot, things move fast!
Step-by-Step Guide to Preparing Crispy Latkes Recipe
Alright, deep breath! This is where we turn humble tubers into the most gorgeous, savory treats. If you follow these steps for making your crispy latkes recipe, I swear you will never look back. The process is fast once you get into the rhythm, but preparation is everything.
Grating and Drying Potatoes and Onions
First things first: peel those potatoes and the onion. Now, grab your box grater, and I want you to use the BIG holes. We aren’t making mashed potatoes here; we need those chunky shreds to give the finished latke something to bite into! Process them quickly—the less time those peeled potatoes sit around exposed to air, the less browning you’ll end up with. Now for the essential trick: take that mountain of wet shreds and transfer it to a clean kitchen towel or a big piece of cheesecloth. You need to squeeze this until your arms ache a little. Really wring that moisture out! If you skip this, your latkes will soak up oil like a sponge, and we definitely don’t want that. Toss that watery liquid out and admire your dry, fluffy mounds of potato and onion!
Mixing the Latkes Batter Gently
Time to bind things together! Dump your thoroughly dried potatoes and onion into a mixing bowl. Add the lightly beaten eggs, the small amount of flour—or maybe that matzo meal I mentioned—plus your salt and pepper. Here’s the next critical warning: mix it gently with a fork or a spatula until you barely see streaks of flour disappearing. Seriously, stop mixing the second it looks uniform enough. If you start beating this mixture, the starch in the potatoes gets angry, releases more water, and you’re back to square one with gummy, tough pancakes. We want the ingredients to just cling together, nothing more!
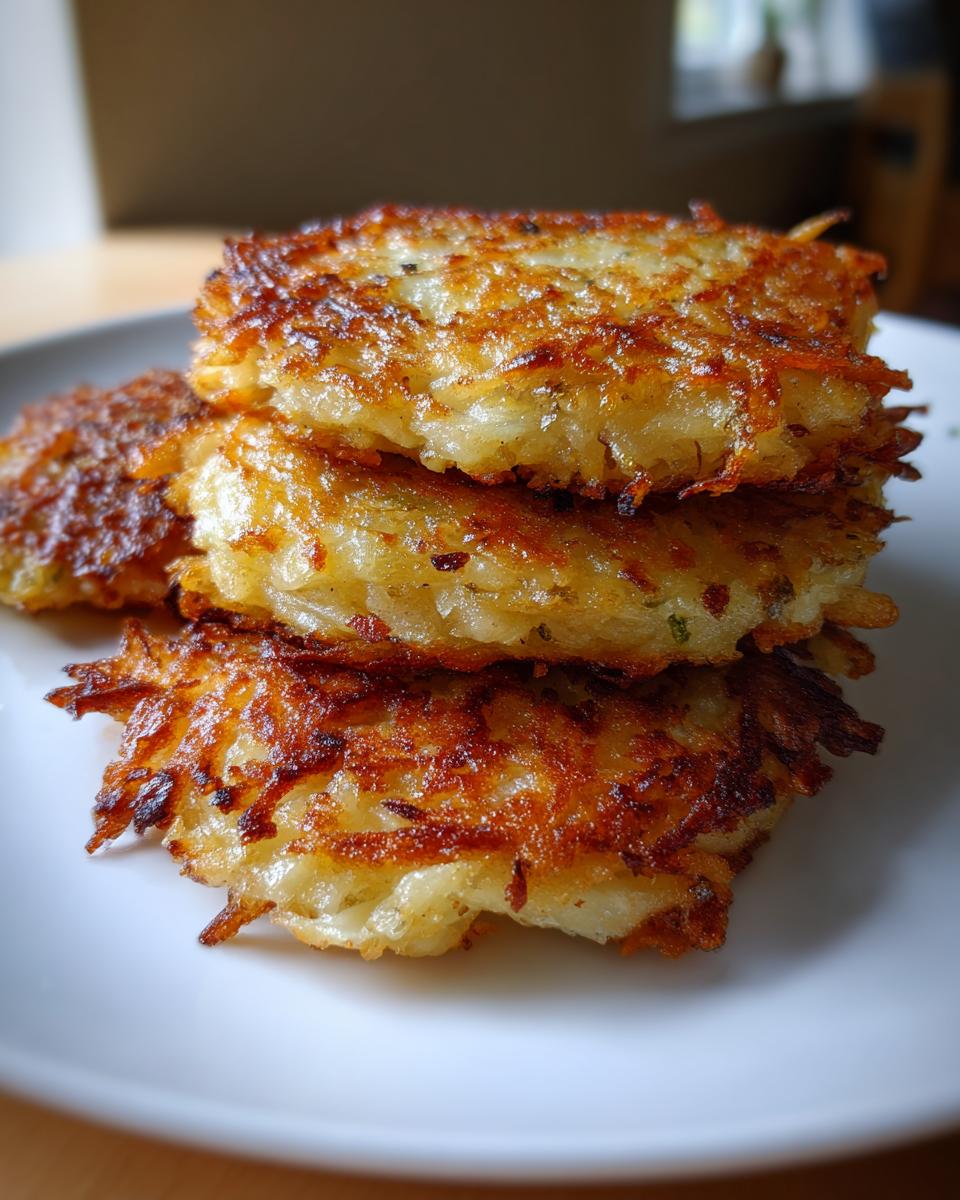
Frying Your Hanukkah Potato Pancakes to Golden Perfection
Okay, we’ve done the hard work of drying the potatoes, so now we deal with the heat! This is the make-or-break moment for your beautiful Hanukkah potato pancakes. You absolutely need about an inch of oil in a heavy bottom skillet—I always reach for my cast iron because it holds heat so evenly. We are aiming for that perfect medium-high heat where the oil hits about 350 degrees F (175 degrees C).
Don’t just guess! I test my oil by dropping in just a tiny little pea-sized bit of the potato mixture. If it starts hissing and bubbling vigorously right away, you’re golden. If it just sits there looking sad, it’s too cold. If it smokes, turn the heat DOWN immediately! Once the oil is ready, carefully drop heaping spoonfuls of your batter in, pressing them down just slightly so they are about half an inch thick. Don’t overcrowd the pan, even if it takes you forever to fry the whole batch! Give them space to breathe so the oil temperature doesn’t drop.
Managing Heat for Optimal Latkes Frying
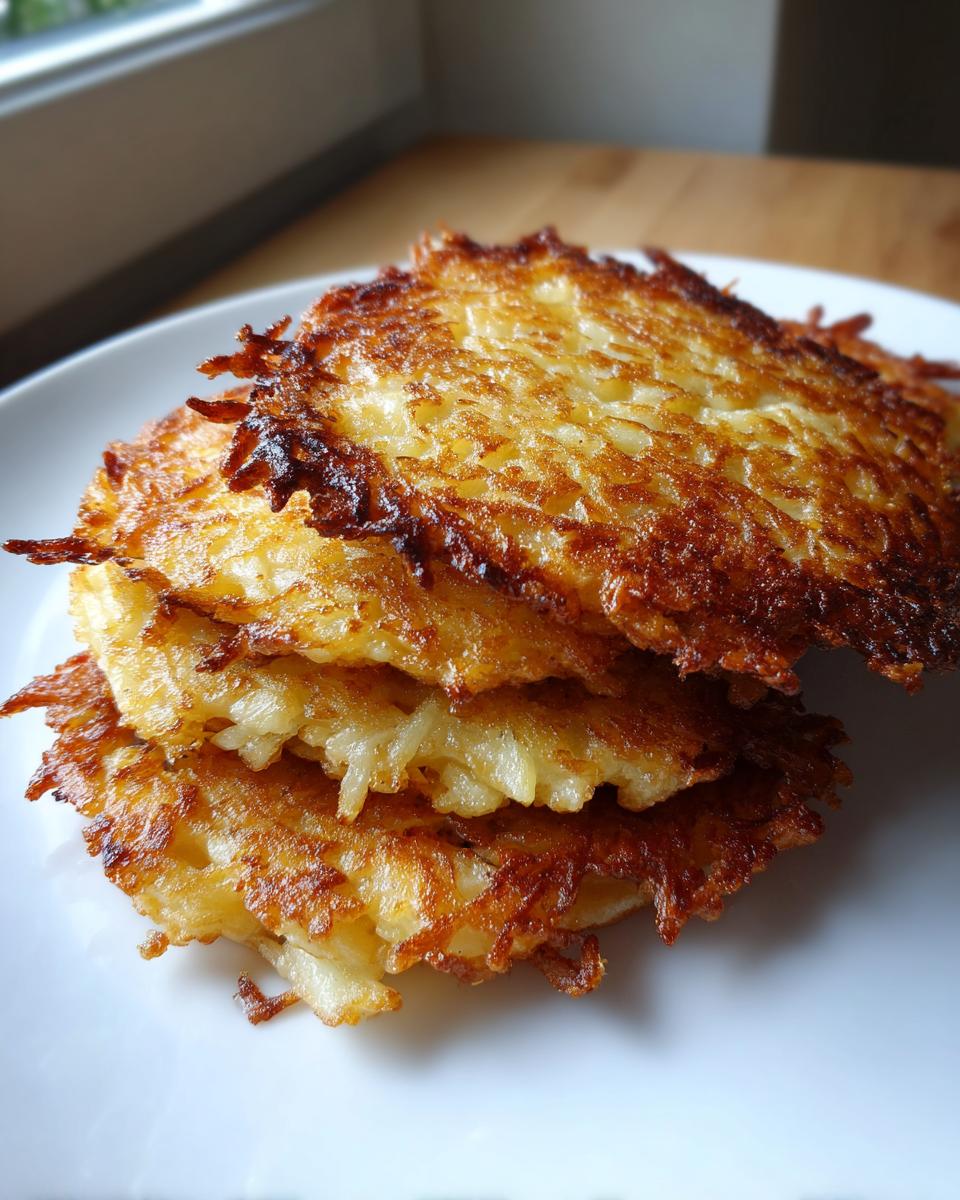
When frying, you have to watch the color, not the clock! You want amazing, deep, beautiful golden brown—that means you’ve got crispness developing. After about 3-5 minutes, gently check one edge with your spatula. When it’s that rich color, flip it right over! The second side usually cooks a bit faster. If you notice the edges burning before the center looks golden, that oil is too hot! Turn the burner down a notch right then and there. It takes a little babysitting, but I promise, those perfectly fried latkes are worth every minute. You’ll know they’re done when they feel firm to the lift and look uniformly gorgeous.
Tips for Success When Making Latkes
I’ve made so many batches over the years, and even I mess up sometimes if I rush. That’s how you learn the little secrets that make the difference between a good pancake and a legendary one! Here are a few little notes from my kitchen journey that might save you some panic during your next fry-up.
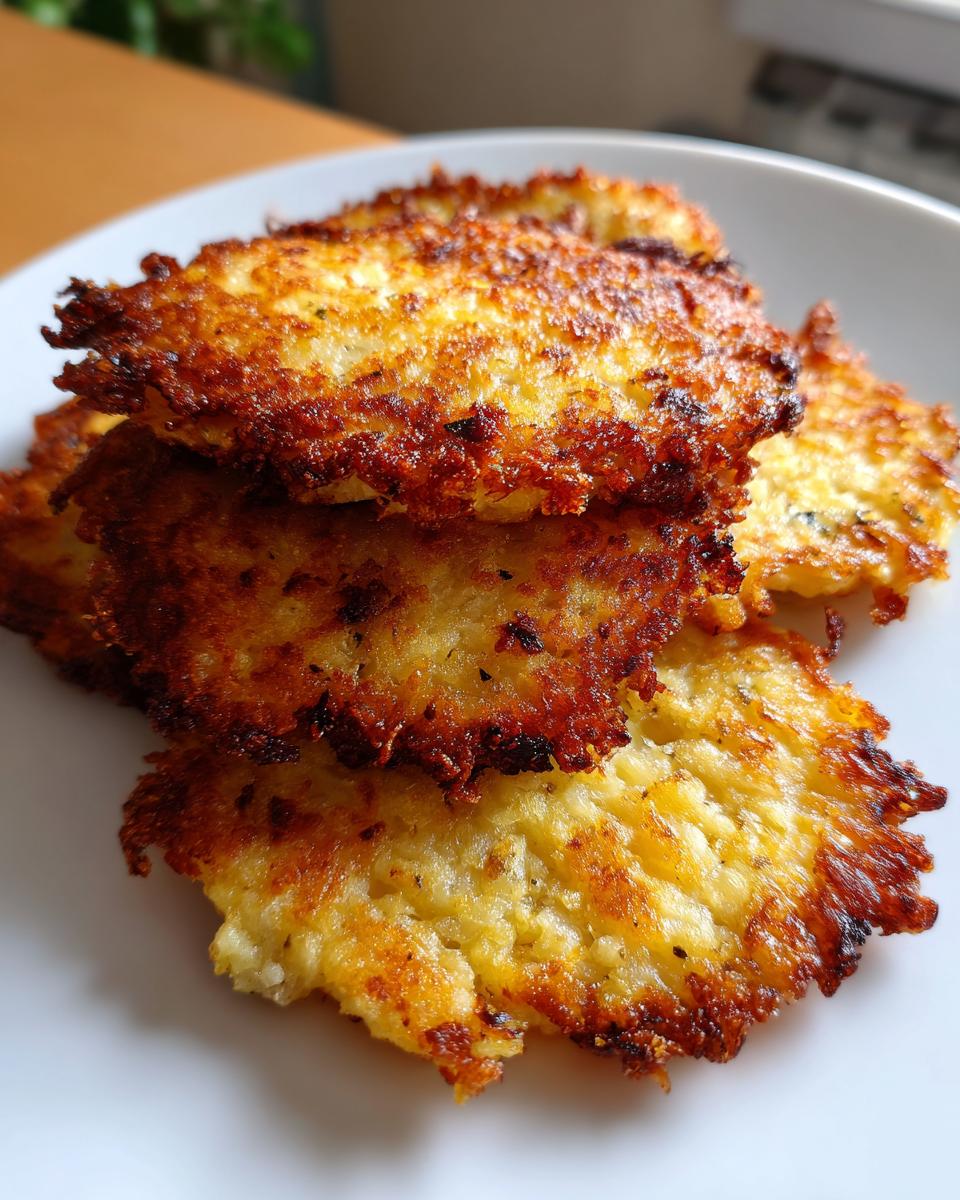
If you followed the recipe, you might have some flour left over, or maybe you’re wondering about that matzo meal. If you want an *extra* crunch—that really sharp, almost nutty exterior—you can swap out that tablespoon of all-purpose flour for matzo meal. It’s not necessary, but it really amps up the texture. Also, I learned the hard way that you should never just put the finished latkes on a plate, even lined with paper towels! They steam themselves soft. You must set them on a wire rack placed over paper towels. That way, the hot air can circulate completely around them, keeping that bottom side as crisp as the top side.
I remember one time hosting a big gathering for Hanukkah. I got distracted talking politics and let my oil temperature creep up too high. The first batch looked fantastic, totally dark brown in maybe two minutes! I thought, wow, I’m getting fast! Then my husband took a bite and told me the center was still raw and mushy. Oops! That meant the heat was scorching the outside before the inside could cook through. Ever since then, I keep a cheap little instant-read thermometer right next to the stove when making latkes, just so I can keep that temperature steady around 350°F. It sounds fussy, but it’s the only way to guarantee those tender centers for our Hanukkah potato pancakes.
Lastly, if you are frying for a crowd, don’t worry about serving them piping hot right out of the oil. You can keep the cooked ones warm without ruining the crispness. Just transfer your wire rack batch right onto a baking sheet and pop them into an oven set low—around 200 degrees F. They’ll stay warm and sturdy until you’re ready to serve them all at once.
Storing and Reheating Leftover Latkes
Now, let’s be real—sometimes you simply cannot eat twelve perfect latkes in one sitting, even if you try your hardest! Luckily, these savory beauties store really well, but you have to treat them right when you put them away, or they’ll lose all that hard-earned crunch. The absolute worst way to store leftovers is stacked on top of each other in a sealed container. All that trapped steam turns your crisp exterior into soft, sad potato mush overnight. Don’t do that to yourself!
If you have leftovers you want to save for a day or two, you need to cool them down completely first. Spread your cooked latkes out in a single layer on a plate or tray—no stacking! Once they are totally room temperature, you can move them to an airtight container, but try to separate the layers with a piece of parchment paper just to be safe. That parchment acts like a little barrier against moisture migration. Store that container in the fridge.
If you realize you have a massive batch and know you won’t get to them within three days, freezing is your friend! Flash freeze them first: lay the cooled latkes in a single layer on a baking sheet, put the sheet in the freezer until they are rock solid, and *then* transfer them to a heavy-duty freezer bag. This prevents them from sticking together in one giant potato brick.
Bringing Back That Wonderful Crisp
This is the most important part of the storage game: reheating! Forget the microwave, okay? The microwave is the natural enemy of everything fried and crispy. It will heat them fast, sure, but it will turn them steamy and limp. We need dry heat to revive that beautiful crust we worked so hard to create.
My favorite way to revive them, especially if I’m making a big breakfast the next morning, is the oven. Preheat your oven to about 375 degrees F. Arrange the cold or frozen latkes in a single layer on a baking sheet—again, no leaning on each other! Bake for about 8 to 10 minutes if they were refrigerated, or maybe 12 to 15 minutes if they are coming straight from the freezer. You just want them hot all the way through and getting that satisfying crackle back on the edges.
If you have an air fryer, wow, that’s even faster! Set your air fryer to 375°F, toss in a single layer of your delicious Hanukkah potato pancakes, and give them about 5 to 7 minutes. Pull them out when they are piping hot and golden again. Trust me on this—a quick blast in dry heat is the only way to truly enjoy those leftovers!
Serving Suggestions for Your Latkes
Okay, the hard part is done! You’ve managed to squeeze, mix, and master the temperature to get the crunchiest latkes imaginable. Now comes the fun part: putting out the toppings! This is where you turn a simple, savory pancake into a real centerpiece for your table. Honestly, you can’t go wrong with the classics; they’re classics for a reason!
For most of my family gatherings, we always have two bowls sitting side-by-side: a big dollop of cool, tangy sour cream and a bowl of sweet applesauce. The contrast is just divine, isn’t it? The cool creaminess cuts right through the hot, fried potato flavor, and the sweetness of the applesauce plays so nicely with the onion and salt in the batter. My girls usually fight over who gets the first bite combining both!
But if you want to turn your perfect Hanukkah potato pancakes into something a little fancier for brunch or an appetizer spread, I have a couple of easy twists that always disappear fast. First, try topping your latke with a little smoked salmon—lox! If you spread a tiny bit of cream cheese on the hot pancake first, then layer on the salmon, and finish it off with some fresh, thinly sliced chives? Wow. That feels fancy, but it takes absolutely zero extra cooking time.
Another savory idea that my neighbor taught me is just a simple sprinkle of finely chopped fresh parsley or dill right before serving. It adds a lovely pop of color and a fresh, bright herbal note that keeps the flavor from feeling too heavy. Really, once you have that beautiful crispy base, these delicious latkes will happily accept whatever topping you throw at them!
Frequently Asked Questions About Latkes
I’ve gotten so many questions over the years about what happens when things go slightly sideways during the frying process, or what happens if you try to cheat a little bit. It’s totally normal! That’s why I wanted to gather the most common worries right here so you feel 100% confident about your next batch of latkes. Cooking is all about learning through tiny mishaps, after all!
Can I bake these latkes instead of frying?
Look, if you really need to cut back on oil, you *can* bake them, but I need to be honest with you: you won’t get the same result. Baking will dry them out more and you simply won’t achieve that signature crackle and deep golden color that comes only from hot oil immersion. If you bake them, they’ll turn out more like little potato patties, soft on the edges and much denser inside. They’re still edible, sure, but they won’t deliver that perfect texture we’ve been fighting for in this crispy latkes recipe. For the authentic taste, frying really is the way to go!
Why are my latkes turning brown too fast?
This is 99% of the time related to oil temperature, just like I mentioned earlier! If your Hanukkah potato pancakes are turning deep mahogany brown in under three minutes, your oil is raging hot—way past 350°F. The outside crust is burning before any heat can actually reach the center of the potato mound. Remember that test drop? It should sizzle vigorously but not smoke! If your first batch burns, take the pan off the heat completely for a minute or two to let the oil cool down before turning the burner to medium-low. You want steady, controlled heat to cook them through gently.
What is the best potato to use for latkes?
If you take one thing away from this whole guide, please let it be this: use starchy potatoes! I am absolutely devoted to Russets for this job. They have the right balance of starch and low moisture content that allows them to be squeezed dry and still hold together beautifully once mixed. Waxy potatoes, like the red ones, just shatter into watery pieces when grated, and no amount of squeezing is going to save you from a sad, soggy mess. Stick to Russets, and you immediately elevate the quality of your traditional Jewish dish.
If you have any other questions I didn’t cover here, please don’t hesitate to reach out to me directly through my contact page! Happy Hanukkah!
Nutritional Estimates for This Fried Holiday Treat
Now, I always tell people that when celebrating holidays, we aren’t really looking at the nutrition label, are we? These latkes are a celebration food meant to be enjoyed with applesauce and sour cream! But since you asked for the full picture, here is what you can generally expect from one of these crispy, golden pancakes based on the ingredients listed in this recipe.
Please know that this is just an estimate because so much depends on how much oil you actually absorb during the frying process, and what brand of potatoes you use. These figures are based on one serving size being one standard-sized latke, using the amounts listed in my recipe and standard vegetable oil amounts for frying.
- Serving Size: 1 latke
- Calories: About 120
- Fat: Around 7 grams (this is where the frying oil comes in!)
- Saturated Fat: About 1.5 grams
- Carbohydrates: Very close to 13 grams
- Fiber: 1 gram
- Protein: 2 grams
- Sodium: Roughly 180 mg
- Sugar: Less than 1 gram (most of the sugar is natural potato starch breakdown)
I always remind folks that if you manage to get every drop of excess oil off onto that wire rack, you land closer to the lower end of the fat estimate. If your batter was a little wetter than mine, it might creep up a bit. Enjoy these incredible fried holiday treat latkes—they are worth every single delicious, savory bite!
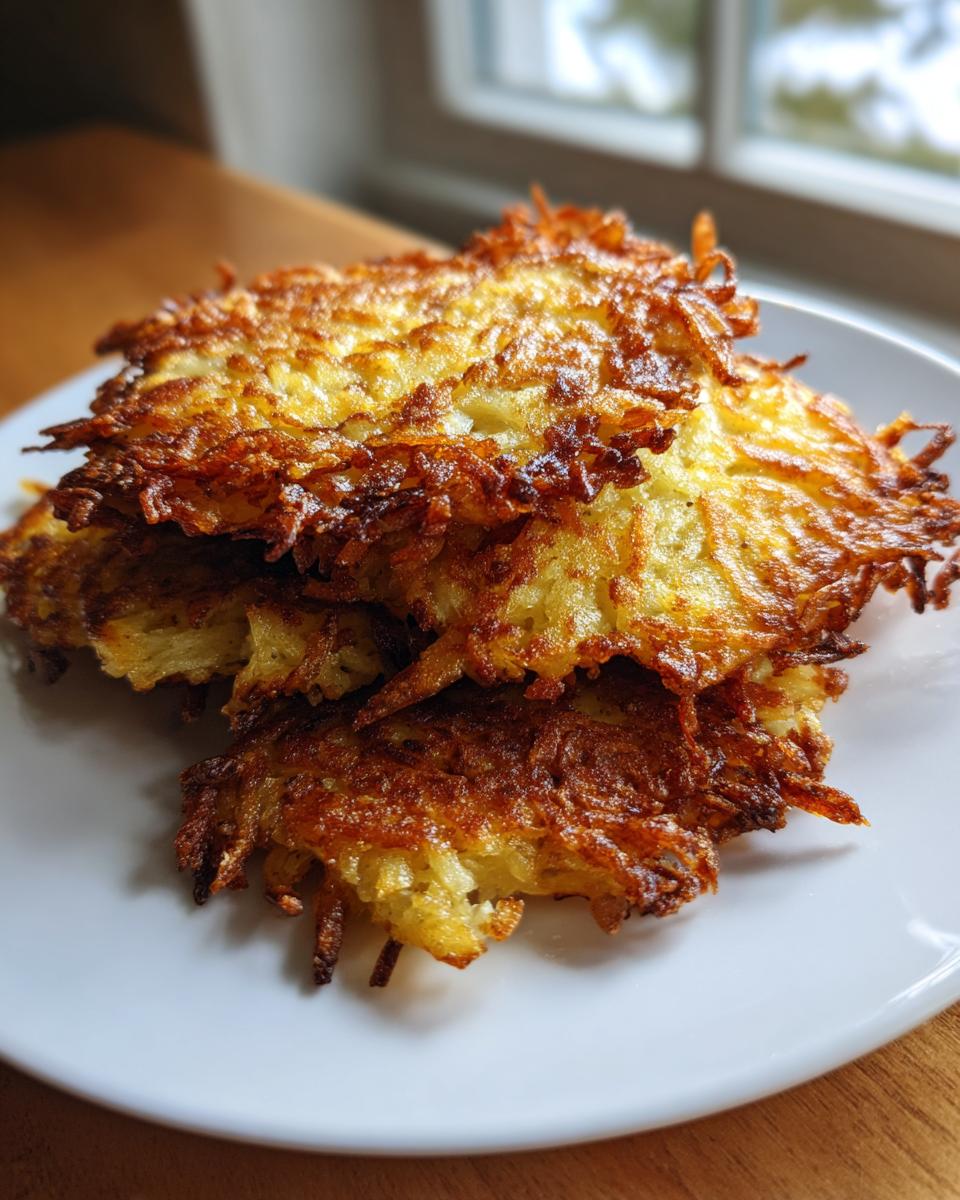
PrintTraditional Crispy Latkes Recipe

Make perfect, golden-brown potato pancakes for Hanukkah or any time. This recipe yields latkes that are crispy outside and tender inside, not greasy.
- Prep Time: 20 min
- Cook Time: 25 min
- Total Time: 45 min
- Yield: About 12 latkes 1x
- Category: Side Dish
- Method: Frying
- Cuisine: Jewish
- Diet: Vegetarian
Ingredients
- 3 large Russet potatoes (about 1.5 lbs)
- 1 medium yellow onion
- 2 large eggs, lightly beaten
- 1/4 cup all-purpose flour
- 1 teaspoon salt
- 1/4 teaspoon black pepper
- Vegetable oil or canola oil for frying (about 1 inch deep)
Instructions
- Peel the potatoes and onion. Grate them using the large holes of a box grater or a food processor fitted with a grating disc.
- Place the grated potatoes and onion in a clean kitchen towel or several layers of cheesecloth. Wrap tightly and squeeze out as much liquid as possible. This step is key for crispy latkes. Discard the liquid.
- Transfer the dried potato and onion mixture to a medium bowl.
- Add the beaten eggs, flour, salt, and pepper to the potato mixture. Mix gently until just combined. Do not overmix.
- Pour about 1 inch of oil into a large, heavy-bottomed skillet (cast iron works well) and heat over medium-high heat until the oil reaches about 350 degrees F (175 degrees C).
- Carefully drop heaping tablespoons of the potato mixture into the hot oil, flattening them slightly with the back of the spoon to form pancakes about 1/2 inch thick. Do not overcrowd the pan.
- Fry for 3 to 5 minutes per side, until deep golden brown and crisp. Adjust heat as needed to prevent burning.
- Remove the latkes with a slotted spoon or spatula and place them on a wire rack set over paper towels to drain excess oil.
- Serve immediately with your preferred toppings, such as sour cream or applesauce.
Notes
- For extra crispness, you can substitute 1 tablespoon of matzo meal for the flour.
- If your mixture seems too wet after squeezing, add one more tablespoon of flour.
- To keep latkes warm while frying the rest, place them on a baking sheet in a 200 degree F oven.
Nutrition
- Serving Size: 1 latke
- Calories: 120
- Sugar: 0.5
- Sodium: 180
- Fat: 7
- Saturated Fat: 1.5
- Unsaturated Fat: 5.5
- Trans Fat: 0
- Carbohydrates: 13
- Fiber: 1
- Protein: 2
- Cholesterol: 25