
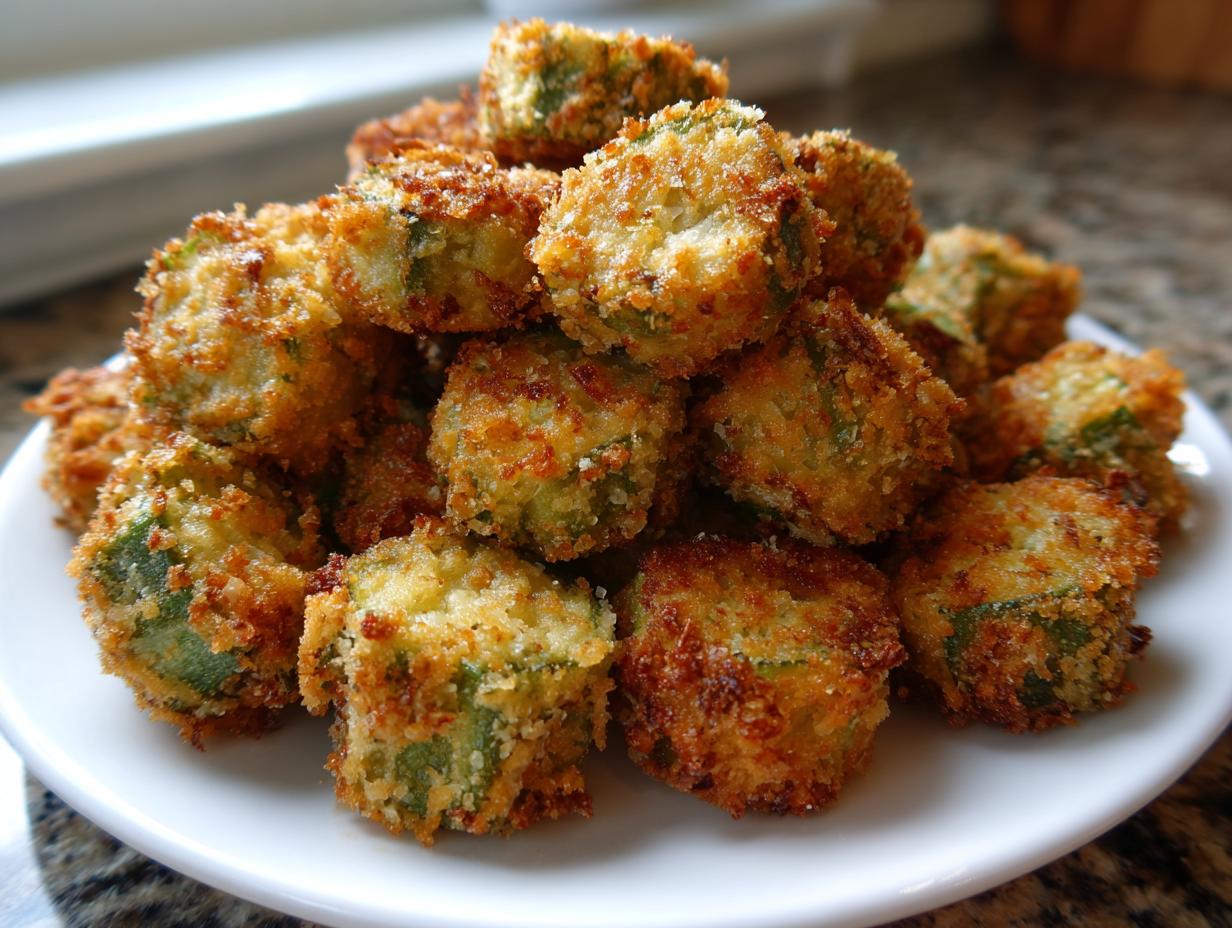
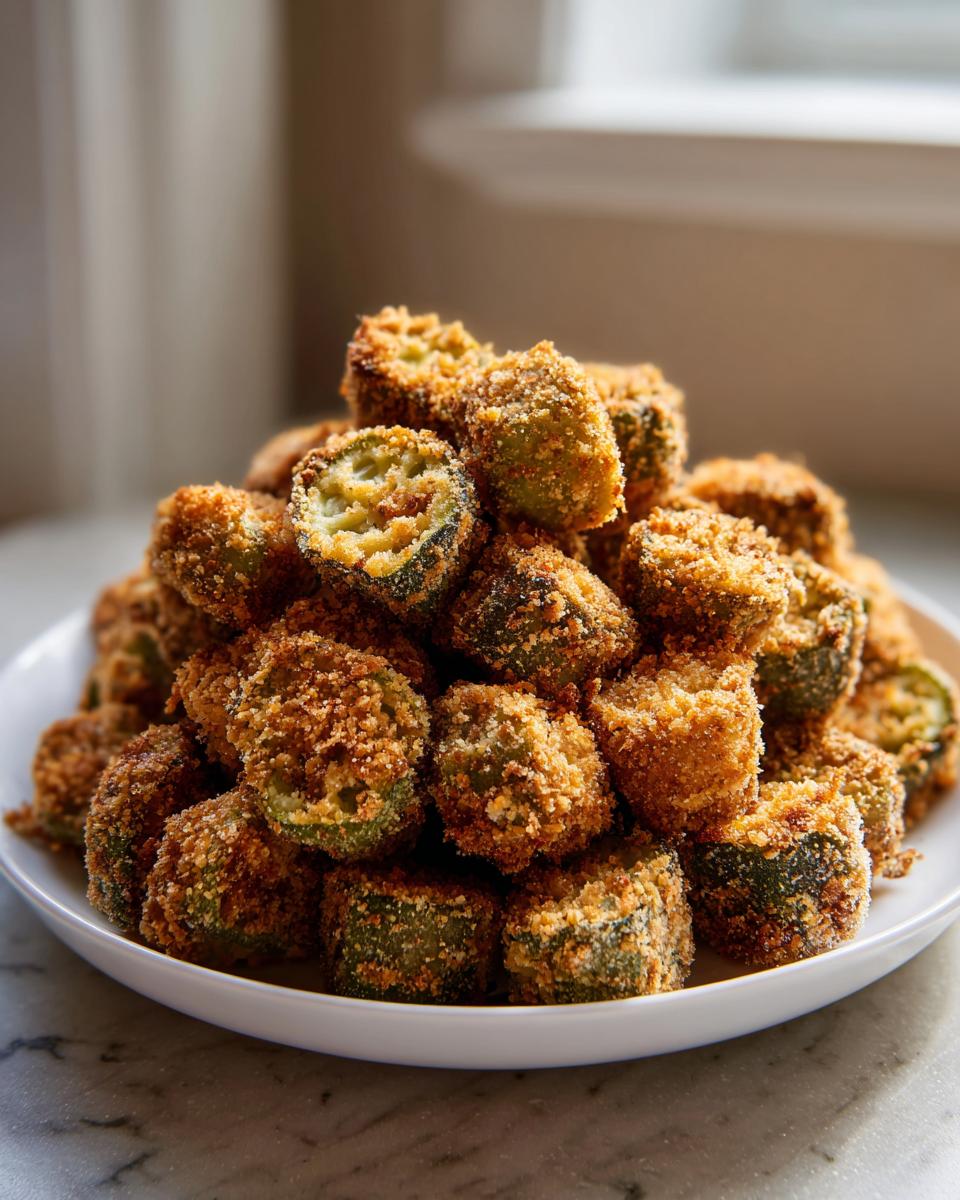
When I think about true, honest-to-goodness Southern cooking, my mind immediately goes to that perfect crunch—the sound you hear when biting into something perfectly prepared. It’s a nostalgic sound! And nothing captures that feeling quite like perfectly cooked okra. For years, I struggled with that dreaded sliminess, but thanks to the patient teachings from Sarah Jane Thompson’s grandmother, we finally cracked the code. I’m thrilled to share my absolute favorite: the Ultimate Crispy Southern Fried Okra. Get ready for true comfort food because we’re using the classic buttermilk and cornmeal dredge to guarantee maximum crispiness without any unwelcome slime!
- Why This Southern Fried Okra Recipe Works (The Secret to Crispy Fried Okra)
- Ingredients for Ultimate Crispy Fried Okra
- Step-by-Step Instructions for Perfect Fried Okra
- Making Fried Okra Crispy: Pro Tips for Success
- Alternative Cooking Methods for Fried Okra
- Serving Suggestions for Your Southern Fried Okra Recipe
- Storage and Reheating Instructions for Fried Okra
- Frequently Asked Questions About Fried Okra
- Appreciating Classic Southern Vegetable Recipes
Why This Southern Fried Okra Recipe Works (The Secret to Crispy Fried Okra)
Listen, I know the reputation okra has. If it’s not handled just right, you end up with something stringy instead of savory crunch heaven. But trust me when I say this technique, passed down through generations observing Southern cooking masters, conquers the slime factor every single time. We aren’t just throwing things together here; we are building layers for texture and protection!
The key to achieving that famous Crispy Fried Okra everyone raves about lies in two main steps: the soak and the dredge. When you get these two elements right, you lock in the freshness and prepare the surface of the okra pod so the breading adheres perfectly without getting gummy.
Buttermilk Soak: The Okra Recipe No Slime Trick
This is honestly the most important part for anyone asking, “How do I get Okra Recipe No Slime?” We let the sliced okra hang out in cold buttermilk for at least half an hour. The acid in the buttermilk tenderizes the okra pods beautifully, which dramatically reduces that mucilage—you know, the slimy stuff! Plus, it gives the flour something tacky to cling to later on.
Homemade Okra Breading for Perfect Texture
You can’t use just flour for this! We mix our all-purpose flour with a good amount of fine cornmeal. That cornmeal is what gives you the honest-to-goodness sound and texture of a true Southern Fried Okra Recipe. We season this Homemade Okra Breading mixture well with salt, pepper, and a little garlic powder. Make sure you press that coating onto the okra firmly; you want every surface covered before it hits the hot oil!
Ingredients for Ultimate Crispy Fried Okra
When you’re making something this classic, you need good, clear measurements. I always keep all my ingredients laid out on the counter before I even start washing the okra—it’s called mise en place, and it keeps the process quick and stress-free. We aren’t using complicated things here; just quality staples that deliver that true Southern flavor.
This list makes about 4 generous side dish servings, but honestly, they disappear fast! Here’s exactly what you’ll need for that golden crunch:
- 1 pound fresh okra, sliced into 1/2-inch rounds
- 1 cup buttermilk (make sure it’s cold!)
- 1 cup all-purpose flour
- 1/2 cup fine cornmeal (this is key for the crunch!)
- 1 teaspoon salt
- 1/2 teaspoon black pepper
- 1/2 teaspoon garlic powder
- 1/4 teaspoon paprika
- Vegetable oil, for frying (you’ll need about 2 inches deep in your skillet)
If you want this to taste a little different next time, maybe try this sweet potato pound cake recipe as inspiration for tweaking your spices, but for the okra, stick to this lineup for the best results. It just works!
Step-by-Step Instructions for Perfect Fried Okra
Alright, now that we have our beautiful, seasoned breading ready, it’s time for the action! Getting that deep-fried texture right requires a little patience and a keen eye on the oil. Remember, we aren’t just making okra; we are making crunchy, savory perfection that rivals any Southern food staple. Don’t rush the heating process, or it’ll all turn soggy!
Preparing and Soaking the Okra
First things first, okra hates water lingering on it. You need to wash it, but then you absolutely must dry it thoroughly—I mean really pat it dry with paper towels! If you skip this, your buttermilk won’t coat right. Once dry, slice it into those half-inch pieces. Now, toss them right into the buttermilk and let them chill for at least 30 minutes. This is where the magic starts to fight that sliminess!
Dredging for Maximum Crispiness
Once the soak time is up, pull the okra out of the buttermilk, letting the excess drip off back into the bowl. Don’t shake it off completely, we want some moisture there! Then, immediately drop those wet pieces into your dry flour and cornmeal mixture. You have to toss them gently but thoroughly—make sure every little round is covered. Then, gently press the coating onto the okra pieces. This light press helps secure that wonderful layer so it doesn’t fall off when it hits the oil.
Deep Frying for Golden Fried Okra
This is the big moment! Get your oil warmed up until it hits a steady 375 degrees Fahrenheit. Seriously, use a thermometer; it makes the difference between snack perfection and sad, greasy okra. You have to work in small batches here, too—if you crowd the pan, the temperature drops instantly, and that’s goodbye to your crispiness! Fry those beautiful pieces for just about 3 to 5 minutes until they’re that glorious golden brown color. Scoop them out with a slotted spoon and get them straight onto a wire rack to drain. These Deep Fried Side Dishes are best eaten right away!
Making Fried Okra Crispy: Pro Tips for Success
So, you’ve got the buttermilk soak and the perfect cornmeal dredge down—that’s huge! But if you want to move from “good fried okra” to “the best fried okra I’ve ever had,” you need to pay attention to the heat and the draining process. These little details stack up, and they’re what elevate this from just a side dish to the star of the show. I’ve learned these tricks the hard way, so you don’t have to!
To truly master How to Make Fried Okra Crispy, it all comes down to moisture and oil stability. If your oil isn’t hot enough, the breading soaks it up like a sponge, and you end up with grease bombs instead of crunchy bites. I always prefer using a neutral, high smoke-point oil like peanut or canola oil. It handles the heat better than olive oil, so you get a better color without burning.
When those lovely golden pieces come out of the fryer, resist the urge to pile them onto a flat stack of paper towels. If you do that, the steam gets trapped underneath, and goodbye, crispiness! Instead, always use a wire rack set over a baking sheet or paper towels. This allows the hot air to circulate all around the okra, letting the steam escape completely. You want that gorgeous crust to stay sturdy and crunchy until it hits your mouth.
And the final, non-negotiable tip: Serve it immediately! Fried foods are happiest right out of the oil. If you’re making these for a big crowd, keep the fried okra warm in a single layer on a baking sheet in a 200-degree oven while you finish the remaining batches. If you plan on using it later, you absolutely must reheat it in the oven or an air fryer—microwaves are the sworn enemy of anything crispy! Speaking of sauces, this stuff is amazing dipped in a zesty homemade dip like my tartar sauce recipe—don’t knock it ’til you try it!
Alternative Cooking Methods for Fried Okra
I absolutely love that deep-fried, golden crunch, and I stand by the skillet method above as the most authentic way to enjoy true Southern comfort food. But let’s be real, sometimes we want that satisfying snap without the big pot of oil. I totally get it! We want deliciousness without the cleanup headache, right?
For those leaner days, or when I’m just feeling lazy, I’ve experimented quite a bit with alternatives, and I’m happy to report that you can still get a fantastic texture using modern appliances. These methods are great if you’re looking for an Air Fryer Fried Okra option or perhaps something lighter overall. You still need that buttermilk soak and the good cornmeal dredge, though—that base is sacred!
If you’re looking for oven options, some folks swear by Oven Baked Crispy Okra, but honestly, it takes longer, and you have to watch it carefully so it doesn’t dry out before it browns. For my money, the air fryer gives you a closer result to the real deal.
Air Fryer Fried Okra Magic
You use the same dredging steps as we did for deep frying, but instead of dropping them in oil, you just give those coated pieces a light spray of cooking spray. I mean a *light* spray—just enough to coat the outside so the coating crisps up nicely. Set your air fryer to 380 degrees Fahrenheit. Don’t cram them in there; work in batches so the air can circulate around every single piece. They usually take about 10 to 12 minutes total, but you absolutely must pull the basket out halfway through and give it a good shake. This tumbling action ensures every side gets kissed by the heat! This method really earns the title of Air Fryer Fried Okra winner.
The Oven Baked Crispy Okra Approach
If you don’t have an air fryer, the oven works in a pinch, though it takes commitment. Preheat your oven to 425 degrees Fahrenheit. Line a baking sheet with parchment paper—and this is important, because it helps prevent sticking! Toss your dredged okra lightly with a bit more oil (maybe 1 tablespoon total) right before spreading it in a single layer on that hot pan. You’ll need to bake this for about 15 to 20 minutes, flipping or tossing them halfway through. Keep an eye on them starting at the 15-minute mark because they can go from golden to burnt awfully fast up here. For a healthier vibe, this approach gives you that Oven Baked Crispy Okra texture we talked about!
Serving Suggestions for Your Southern Fried Okra Recipe
Now that you’ve mastered the crunch, the question becomes: what are we serving this beautiful, crispy green delight alongside? Honestly, you could just eat them straight from the cooling rack—I won’t tell anyone! But if you’re planning a proper spread of Southern Comfort Food Side Dishes, these little guys pair with everything savory.
If you’re going the appetizer route and making this the Best Okra Appetizer at your next gathering, you absolutely need a reliable dipping vehicle. Forget plain ketchup! My family swears by a creamy, slightly spicy sauce. Try whipping up a batch of my famous Cowboy Butter Dipping Sauce—the richness cuts through the crispiness perfectly. Ranch is always a classic backup, too, if you need something quick.
For a full meal, these are the perfect companion to smoky barbecue, crispy fried chicken, or even a simple meatloaf. Whenever I make a big batch of fried okra, I know I’m setting the table for a truly comforting Southern experience!
Storage and Reheating Instructions for Fried Okra
Here’s the tough love part of eating deep-fried goodness: nothing—and I mean *nothing*—tastes as glorious as fried okra right out of that hot oil. It’s crispy, it’s steamy, and it’s absolutely perfect for snacking. So, the number one rule is this: make only what you seriously think you’ll devour immediately!
Now, if you do have leftovers, don’t despair! We can save these little flavor bombs, but we have to be smart about it. First, you have to let them cool completely on the wire rack we used earlier—this stops any residual steam from making them sad.
Storing Your Crispy Okra
Once completely cool—and this takes patience when they smell this good—store the leftovers in an airtight container. You can use a rigid plastic container or a zip-top bag, just make sure you press out as much air as possible before sealing it up. Stored this way on the counter, they are usually okay for a day, but honestly, the texture starts to go downhill fast after about 12 hours. For best results, they belong in the fridge, but remember, the fridge is the enemy of crispiness!
How to Reheat for a Quick Vegetable Snack
If you plan on eating these as some leftover lunch or a Quick Vegetable Snack the next day, you cannot, under any circumstances, use the microwave. The microwave makes moisture aggressive, and you’ll end up with rubbery, steamed okra, which defeats the entire purpose of our hard work!
The secret to reviving that golden crunch is dry heat. You want high heat for a short amount of time. My favorite method is the air fryer; just toss those cold pieces in the basket at 400 degrees Fahrenheit for about 5 to 7 minutes. They come out crunchy again! If you don’t have an air fryer, the oven works: spread them in a single layer on a baking sheet and bake at 400 degrees for about 8 to 10 minutes. This is the only reliable way to recapture that perfect texture we worked so hard to achieve. If you’re looking for more ideas on using up dinner bits, you might find my recipe for easy leftover turkey soup interesting, though this okra is usually gone before dinner is even over!
Frequently Asked Questions About Fried Okra
Can I make Gluten Free Fried Okra?
Oh, yes, you absolutely can! If you need Gluten Free Fried Okra, the swap is pretty straightforward, but it changes the character of the breading a little. You need to replace that all-purpose flour with a good quality 1-to-1 gluten-free blend. Some folks have great luck just using fine almond flour mixed with the cornmeal, but be warned: using pure almond flour might give you a slightly richer, nuttier flavor than the traditional Southern style. The buttermilk soak is still your best friend here, though! It helps that gluten-free coating stick on there beautifully, which is really what matters most.
How long does it take to make this Easy Fried Okra recipe?
If you’re searching for an Easy Fried Okra recipe, you’ll be happy to hear this one moves pretty quickly once you get set up! The total time is about 50 minutes, but that includes the crucial 30-minute soak in the buttermilk—which you can totally do while you prep other things for dinner. The actual cooking time? That’s only about 15 minutes total once the oil is hot. The frying itself is super fast, just a few minutes per batch, so it’s a great choice for a quick vegetable side dish when you want that deep-fried satisfaction!
What is the best oil temperature for frying okra?
If you want that gorgeous, even color and maximum crunch, temperature control is everything—it’s the difference between crispy texture and greasy failure! The sweet spot for this fried okra recipe is exactly 375 degrees Fahrenheit (or 190 degrees Celsius). If your oil drops below that temperature when you add the okra, the coating soaks up all that oil before it can set, and you lose that perfectly golden crunch we worked so hard to achieve. Keep a thermometer handy, and remember to fry in small batches to keep that heat consistent!
Appreciating Classic Southern Vegetable Recipes
You know, my journey in the kitchen, which started watching my grandmother, has really shown me that food is storytelling. And when we talk about Classic Southern Vegetable Recipes, we’re talking about deep history. Okra isn’t just a tasty side; it’s a staple that traveled across oceans and became a cornerstone of true Southern cuisine.
Making this fried okra isn’t just about dinner—it’s about honoring that resilience and tradition. It connects us right back to those old kitchens, just like my grandmother’s, where every vegetable was treated with respect, whether blended into a stew or fried golden brown. I hope this recipe becomes one of your family’s delicious traditions, too!
If you’re looking for another holiday dish that carries that same weight of history, you have to check out my authentic recipe for sweet potato pie. And for those looking for specialized adaptations, remember that even folks looking for gluten-free options can honor these classics!
PrintUltimate Crispy Southern Fried Okra

Make perfectly crispy, golden Southern Fried Okra that eliminates sliminess using the classic buttermilk and cornmeal dredge. This easy recipe delivers true comfort food flavor.
- Prep Time: 35 min
- Cook Time: 15 min
- Total Time: 50 min
- Yield: 4 servings 1x
- Category: Side Dish
- Method: Deep Frying
- Cuisine: American Southern
- Diet: Vegetarian
Ingredients
- 1 pound fresh okra, sliced into 1/2-inch rounds
- 1 cup buttermilk
- 1 cup all-purpose flour
- 1/2 cup fine cornmeal
- 1 teaspoon salt
- 1/2 teaspoon black pepper
- 1/2 teaspoon garlic powder
- 1/4 teaspoon paprika
- Vegetable oil, for frying (about 2 inches deep)
Instructions
- Wash and thoroughly dry the okra slices. Place the sliced okra in a bowl and cover with buttermilk. Let the okra soak for at least 30 minutes to help tenderize it and remove surface moisture.
- In a separate shallow dish, whisk together the flour, cornmeal, salt, pepper, garlic powder, and paprika to create the breading mixture.
- Remove the okra from the buttermilk, letting excess drip off, and dredge the pieces thoroughly in the flour mixture. Press the coating onto the okra gently to ensure it adheres well.
- Pour vegetable oil into a deep, heavy-bottomed skillet to a depth of about 1.5 to 2 inches. Heat the oil over medium-high heat until it reaches 375 degrees Fahrenheit (190 degrees Celsius). Use a thermometer to check the temperature for best results.
- Working in small batches to avoid overcrowding the pan, carefully place the coated okra into the hot oil. Do not add too much at once, as this lowers the oil temperature and results in soggy okra.
- Fry the okra for 3 to 5 minutes, turning occasionally, until the coating is deep golden brown and crisp.
- Use a slotted spoon to remove the fried okra from the oil and transfer it to a wire rack lined with paper towels to drain excess oil.
- Repeat the frying process with the remaining okra. Serve immediately as a classic Southern side dish or appetizer.
Notes
- For the crispiest results, ensure your buttermilk is cold and your oil is hot before adding the okra.
- If you prefer an air fryer method, toss the coated okra lightly with cooking spray and air fry at 380 degrees Fahrenheit for 10 to 12 minutes, shaking the basket halfway through.
- To avoid sliminess, the combination of the buttermilk soak and the cornmeal in the dredge is key. Do not skip the drying step before the buttermilk soak.
Nutrition
- Serving Size: 1 cup
- Calories: 280
- Sugar: 4
- Sodium: 450
- Fat: 18
- Saturated Fat: 3
- Unsaturated Fat: 15
- Trans Fat: 0
- Carbohydrates: 28
- Fiber: 6
- Protein: 5
- Cholesterol: 15