
Oh, friends, let’s talk about the magic that happens when two totally perfect desserts decide they can’t live without each other! You know how some treats just feel like home? For me, that’s the warmth of spiced apple pie mingling with the cool, dreamy texture of a classic cheesecake. When I first tried baking them together, it felt like discovering a secret ingredient for the holidays! That’s why I’m so thrilled to share what I call the apple pie cheesecake here at Cookin’ Corner.
This isn’t just another dessert; it’s the ultimate hybrid, perfect for cozying up when those cool breezes start blowing. My goal when creating this recipe was to capture the nostalgic essence of fall gatherings—like the ones I grew up attending that always featured a good pumpkin pie, which inspired how seriously I take these seasonal bakes. Trust me, combining the creamy, tangy filling with that spiced apple goodness on a buttery crust creates something spectacular that will absolutely wow everyone at your table. We’re taking two icons and making one show-stopping classic holiday dessert!
- Why This Baked apple pie cheesecake Recipe is the Ultimate Fall Treat
- Gathering Ingredients for Your apple pie cheesecake Recipe
- How to Prepare the Ultimate apple pie cheesecake
- Tips for a Crack-Free apple pie cheesecake
- Variations: Creating Salted Caramel apple cheesecake or Mini Versions
- Storage and Reheating for Your Creamy Dessert Mashup
- Frequently Asked Questions about apple pie cheesecake
- Sharing Your apple pie cheesecake Creation
- Estimated Nutritional Data for apple pie cheesecake
Why This Baked apple pie cheesecake Recipe is the Ultimate Fall Treat
Lots of folks look for a no-bake version, but honestly, baking this hybrid dessert is where the real magic happens. It creates depth you just can’t fake! This baked creation is truly the best hybrid dessert because the oven sets the cheesecake filling just right—it’s dense and silky smooth, not airy. That texture holds up beautifully against our warm, spiced apple layers.
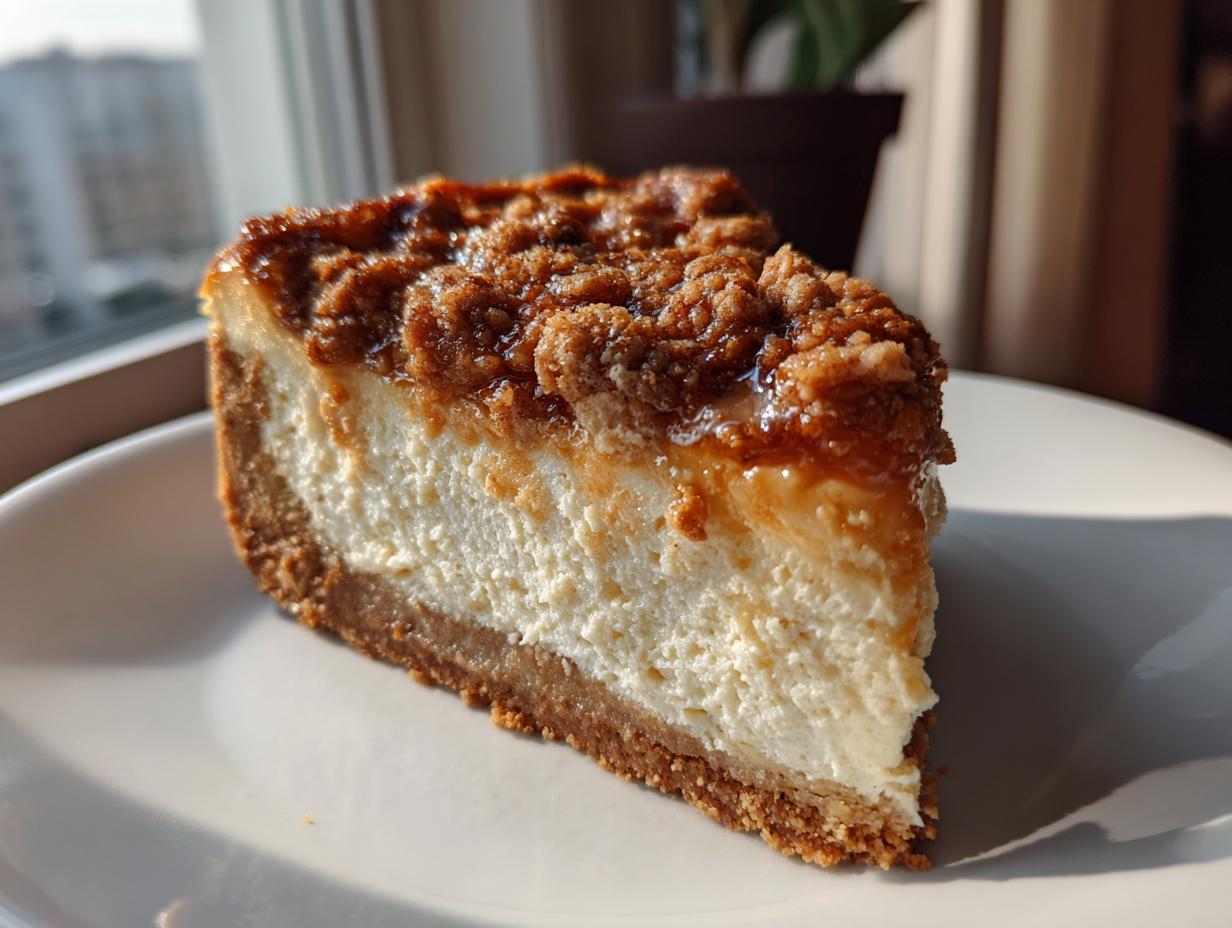
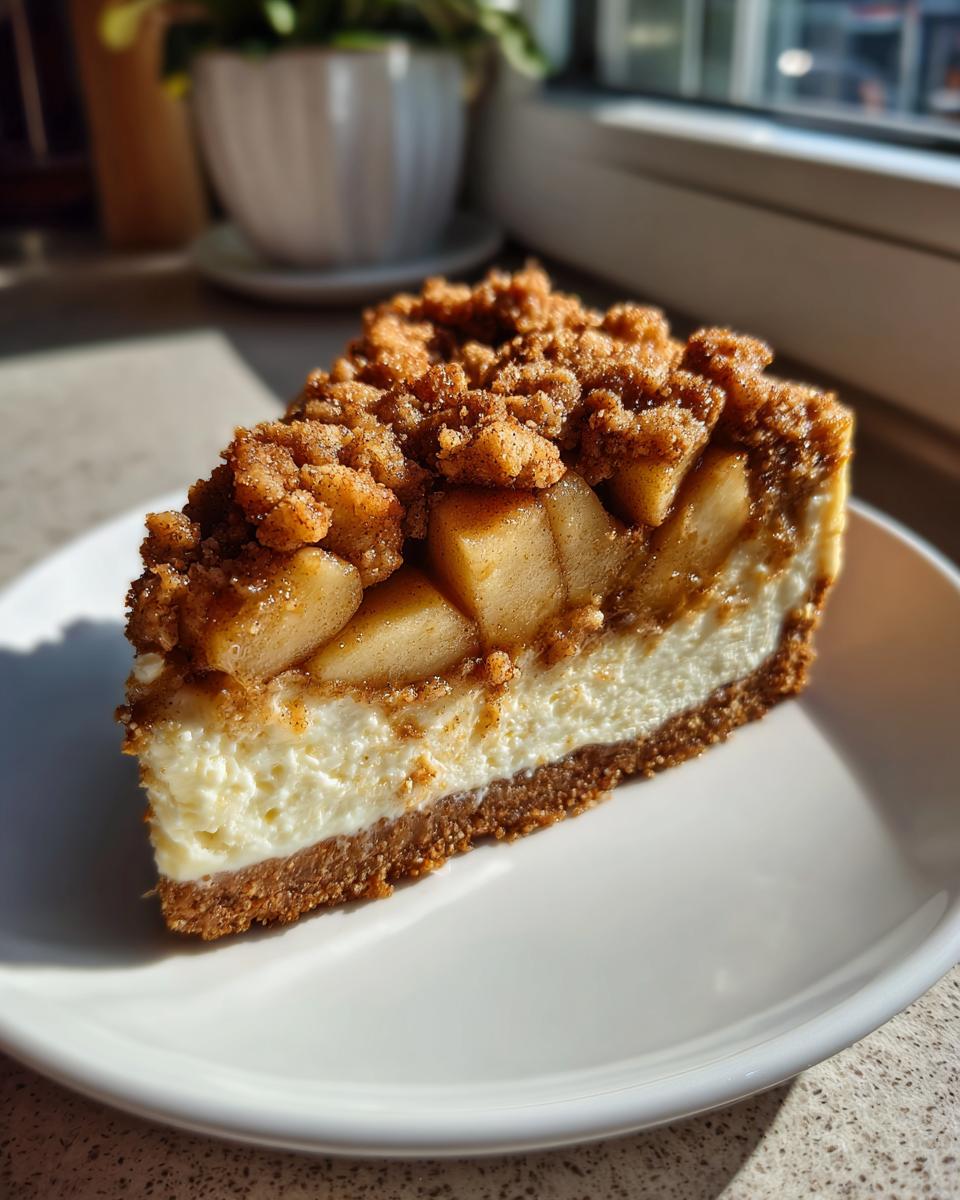
When you bite into it, you get that slight resistance from the perfectly set crust, followed by the cool creaminess, and finally, that burst of soft, flavorful fruit. It’s the sensory experience that truly makes this the ultimate fall treat. You can rely on this recipe to be a showstopper for any holiday gathering, without any stress!
Key Benefits of Our apple pie cheesecake
- The baked filling achieves a superior, dense texture compared to chilled versions.
- It perfectly balances the tanginess of the apples with the richness of the cream cheese.
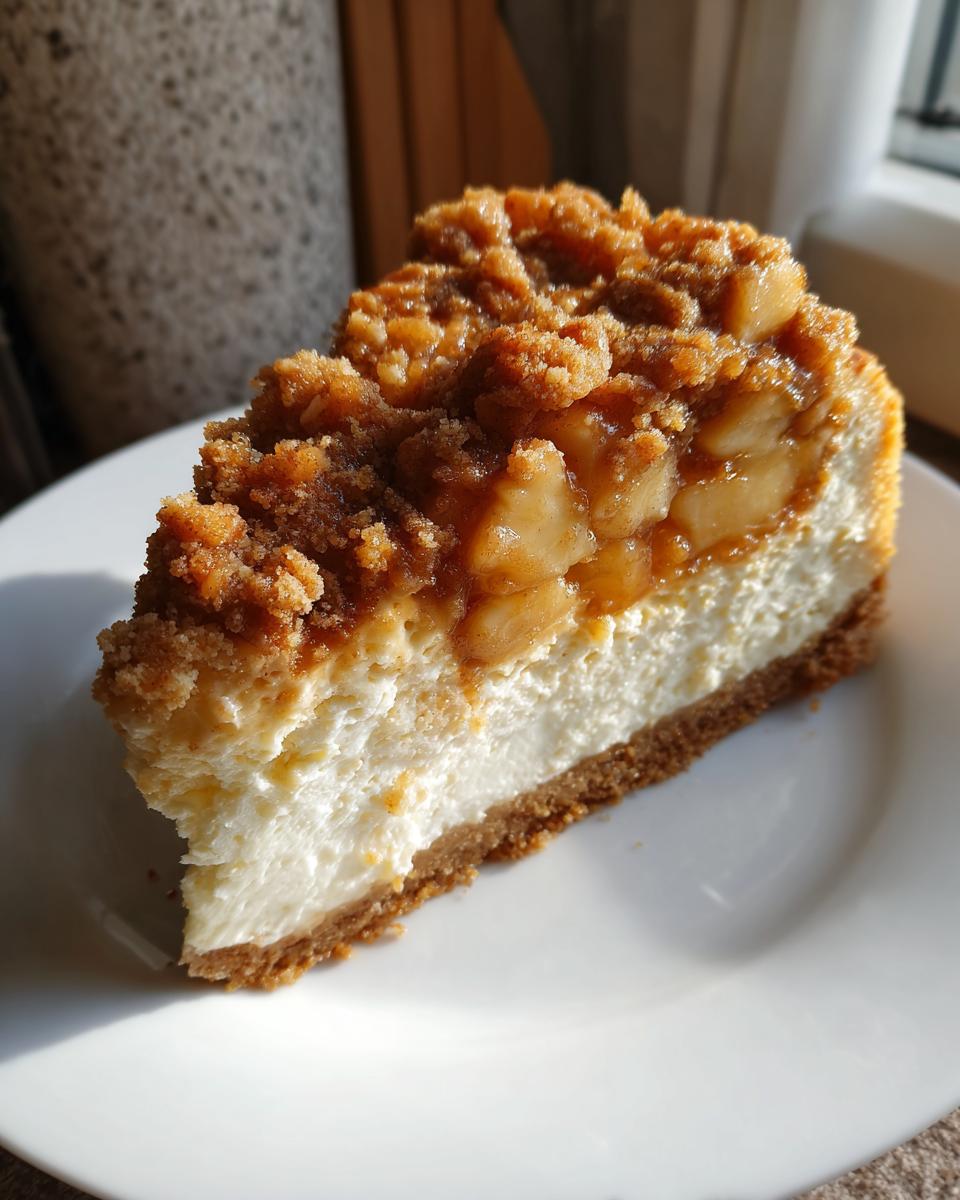
- The optional streusel adds a fantastic, buttery crunch that contrasts beautifully with the smooth center.
- This recipe is incredibly dependable for holiday entertaining because it travels and holds its shape so well.
Gathering Ingredients for Your apple pie cheesecake Recipe
Okay, now we get down to the fun part: grabbing everything we need! For an apple pie cheesecake that sings, preparation is everything. You can’t just throw things together; we need the right players for this creamy dessert mashup. I broke this list down exactly how I keep my station organized—crust, filling, and that amazing apple work. Don’t skip prepping your ingredients first; it makes the assembly so fast, I promise!
When gathering your items, remember that fresh ingredients make all the difference, especially the apples. If you are looking for more ways to use apples this season, you might want to check out my recipe for easy slow-cooker apple butter while you’re at the store. And if you want to double-check conversion ratios for any ingredients, this resource here might help you out: what you’ll need.
For the Graham Cracker Crust Dessert Base
- 1 1/2 cups graham cracker crumbs
- 1/4 cup granulated sugar
- 6 tablespoons unsalted butter, melted
This forms the sturdy, buttery foundation for our graham cracker crust dessert, so make sure you press it down really well!
For the Cinnamon Apple Topping
- 3 medium Granny Smith apples, peeled, cored, and diced
- 1/2 cup packed light brown sugar
- 1 tablespoon all-purpose flour
- 1 teaspoon ground cinnamon
- 1/4 teaspoon ground nutmeg
- 1 tablespoon lemon juice
Watch how these humble spices turn into that gorgeous, slightly tart cinnamon apple topping once they hit the heat. That lemon juice keeps those pretty apples from browning too much, too!
For the Creamy Cheesecake Filling
- 3 (8 ounce) packages cream cheese, softened
- 1 1/2 cups granulated sugar
- 1 teaspoon vanilla extract
- 1/4 cup sour cream
- 3 large eggs
Remember, the cream cheese *must* be softened, or you’re going to end up with lumps, and we hate lumps in our rich filling. And for the gourmet cheesecake flavors to shine, make sure those three large eggs are incorporated gently!
Optional Streusel Components
- 1/2 cup all-purpose flour
- 1/4 cup packed light brown sugar
- 1/4 cup cold unsalted butter, cut into small pieces
If you want that extra layer of crunch—which I totally recommend—these ingredients turn into a buttery crumble topping that just seals the deal!
How to Prepare the Ultimate apple pie cheesecake
Alright, let’s get this show on the road! Making this apple pie cheesecake is broken down into straightforward steps, but listen close—the order matters if you want that gorgeous result. We want it creamy, we want it spiced, and we certainly don’t want any sad, cracked tops! Think of this process like following a reliable map for baking success. I’m sharing everything I learned from trial and error, so just follow along, and you’ll be whipping up this amazing bake like a pro in no time.
Step 1: Creating and Pre-baking the Graham Cracker Crust
First things first, get your oven warmed up to 350 degrees F and grease that 9-inch springform pan. Grab your crumbs, that small amount of sugar, and the melted butter, and mix them up real good until it looks like wet sand. Press that mixture down firmly and evenly across the bottom of the pan—use the base of a dry measuring cup; it gives a nice, flat surface. Pop it in for 10 minutes just to set it. Once that short bake is done, pull it out, let it chill slightly, and here’s important timing: drop your oven temperature down to 325 degrees F for the main bake.
Step 2: Cooking the Cinnamon Apple Topping
While the crust is cooling, we tackle those gorgeous apples. In a medium saucepan, combine your diced Granny Smiths, brown sugar, flour, warming spices—cinnamon and nutmeg—and that splash of lemon juice. Set the heat to medium. You need to stir this occasionally as it cooks down. We’re looking for the apples to soften up just a bit and for the sauce to thicken nicely. This usually takes about 8 to 10 minutes. Once it’s looking saucy and fragrant, take it right off the heat and set it aside—it’ll join the party later!
Step 3: Mixing the Smooth Cheesecake Filling
Cream cheese first! This is non-negotiable. In a big bowl, beat that softened cream cheese until it is completely lump-free and fluffy. *Then* gradually beat in the 1 1/2 cups of sugar. Once that’s totally smooth, mix in your vanilla and the sour cream. Now, the eggs—beat them in one at a time, making sure each egg is just blended before adding the next. I stress this: Do not overmix once the eggs are in! Overmixing brings in too much air, and that’s how you get those dreaded cracks later on.
Step 4: Assembling and Baking the apple pie cheesecake
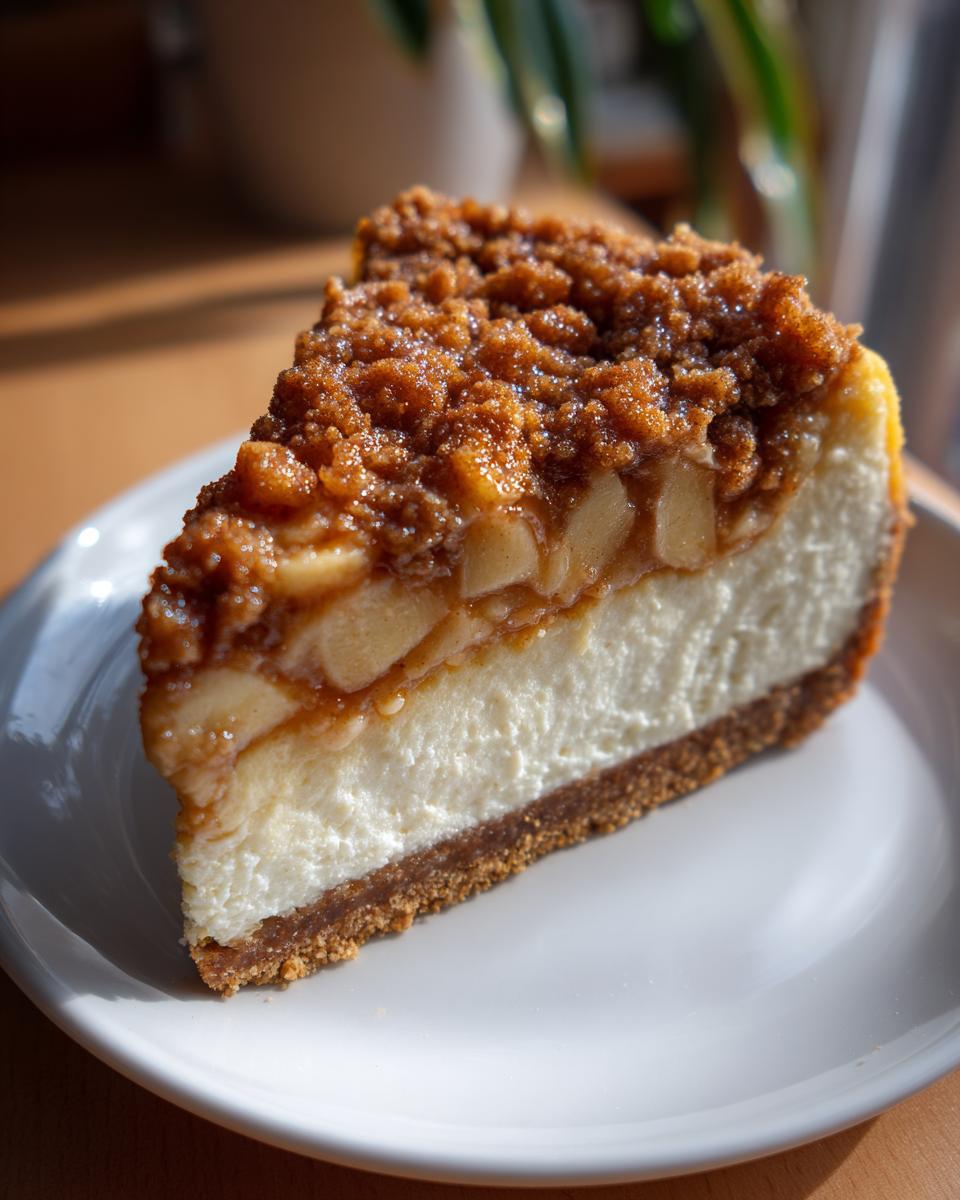
Time to build! Spread half of your smooth cheesecake batter evenly over that pre-baked crust. Then, spoon half of your cooked apple mixture over the batter layer. Now, gently—and I mean gently—pour the remaining cheesecake batter right over the apples. Smooth the top slightly, and then evenly distribute the last bits of the apple topping over everything. If you made that streusel topping, feel free to sprinkle it on now! Bake this beauty at 325 degrees F for about 60 to 75 minutes. You know it’s ready when the edges look firmly set, but if you gently nudge the pan, the very center still has a little bit of a wobble, like jelly.
Step 5: Cooling and Chilling for Perfect Texture
This step is about patience, which is key to any great cheesecake! Don’t rush it! Immediately after taking it out of the oven, turn the oven off. Prop that door open slightly—just a crack—and let the cheesecake sit inside for a full hour. This gradual cooling prevents a sudden temperature shock that causes cracks. After that hour in the oven retreat, take it out and let it cool completely on the counter. Once it’s totally room temperature, cover it up and tuck it into the fridge for at least six hours, but honestly, an overnight chill is what gives you the most amazing, dense texture.
Tips for a Crack-Free apple pie cheesecake
If you’ve ever fretted over those spidery cracks on top of a cheesecake, you are not alone! They are the bane of every baker’s existence, ruining what is otherwise the perfect apple pie cheesecake. I learned the hard way that cheesecake is sensitive to sudden changes, so we need gentle handling after the bake. The single best thing you can do is what they call a water bath—or, as I like to do it, simply placing a shallow pan of hot water on the rack underneath the cheesecake while it bakes. That steam keeps the environment moist and happy!
We already built in the crucial slow cooling process by leaving it in the turned-off oven, but remember that after that hour, it needs to come fully to room temperature slowly before it ever sees the inside of the fridge. A very slow cooldown means a very smooth top! For more insights on handling cream cheese desserts, you can always check out my tips for a great cream cheese pound cake recipe, as the science behind preventing cracks is pretty similar across the board.
Variations: Creating Salted Caramel apple cheesecake or Mini Versions
I love that this recipe, the centerpiece of our fall cheesecake recipes roundup, is so easy to twist into something new! Once you’ve mastered the classic combo, you might want to branch out and try some of those other amazing flavors people are raving about. We’ve seen some fantastic takes on this, especially the salty-sweet versions that come with a little caramel drizzle.
If you’re aiming for that luxurious flavor profile, you absolutely have to try turning this into a salted caramel apple cheesecake. The easiest way to do this without changing the main bake time is right at the end. Once the cheesecake has chilled completely and is ready for serving, grab your favorite jar of salted caramel sauce. Drizzle it generously over the top layer of the cooled apples before you slice it. That hit of salt cuts through the sweet caramel and cream cheese beautifully. You can find some other fun holiday mashups, like my pecan pie cheesecake, if you’re looking for more baking adventures this season!
Now, if you are hosting a party or just trying to control portion sizes (those little guys vanish so fast!), making mini cheesecakes apple pie style is a breeze. Instead of using our 9-inch springform pan, you’ll want to use a standard muffin tin lined with cupcake liners. You’ll fill those liners about two-thirds full with the same layered process: crust, batter, apple topping. Because these are so much smaller, they bake much faster, usually around 20 to 25 minutes at the same 325 degrees F. Just watch them closely! You can find some great inspiration for making small versions of these hybrid desserts over here: mini no-bake apple pie cheesecakes. Keep an eye on the bake time, chill them well, and enjoy those perfectly portioned treats!
Storage and Reheating for Your Creamy Dessert Mashup
Because this is such a rich, creamy dessert mashup, leftovers are best enjoyed cold and we don’t recommend reheating! Keep your finished apple pie cheesecake tightly covered in the refrigerator. It stays absolutely lovely for about four to five days. Because the apple topping is moist, the longer it sits, the softer the crust gets, but it still tastes amazing!
If you want to enjoy it after a few days, just let a slice sit on the counter for about 20 minutes before digging in; that small temperature break really lets the flavors bloom. For more tips on keeping dishes fresh, check out my easy guide to keeping salads fresh—the advice on airtight storage methods is useful for cheesecake, too!
Frequently Asked Questions about apple pie cheesecake
I always get so many helpful questions after sharing a big, bold recipe like this! Folks are usually wondering about baking times or if they can skip a step. Let’s clear up some of the common things I hear about making the absolute best hybrid dessert.
Can I make a no bake apple pie cheesecake instead?
Oh, absolutely you can! If you’re looking for simpler fall cheesecake recipes without the oven time, the no bake apple pie cheesecake version is a lifesaver. You just skip those eggs entirely! Instead, you whip up one cup of heavy cream until you get stiff peaks, then gently fold that whipped cream into your cream cheese mixture after you’ve mixed in the sugar and sour cream. It won’t have the same deep richness as the baked version, but it’s creamy and delicious. Remember, though, the chilling time is crucial—you need at least 8 hours for it to truly set up firm!
What is the best apple type for this recipe?
My instructions call for Granny Smith apples, and I really stand by that choice for this apple pie cheesecake recipe. Why? Because the cheesecake filling is already quite sweet and rich. Granny Smiths provide that perfect tart counterpoint! If you use a sweeter apple, the whole dessert can end up tasting too heavy or cloying. The acidity from the tart apples really brightens every creamy bite.
How do I prevent the apple topping from sinking?
This is one of the trickiest parts of layering! If you have a runny apple topping, it *will* sink into that lovely cheesecake batter, and we want distinct layers. The secret is twofold. First, make sure you cook your topping long enough in the saucepan so that the sauce thickens up quite a bit—it should look syrupy, not watery. Second, when you assemble, try not to just pour the apples on top of the first batter layer. Instead, use a spoon to gently dollop the apples across the surface, keeping them separated. Then, when you pour the final half of the batter over that first layer, it helps suspend the apples slightly before the final bake. If you are looking for other easy chilled recipes, check out my guide to easy no-bake avalanche cookies!
Sharing Your apple pie cheesecake Creation
Now that you’ve created this incredible apple pie cheesecake, I truly hope you savor every moment of it! Creating these comforting classics together is what Cookin’ Corner is all about—building memories one delicious bite at a time. Don’t keep all that goodness a secret!
When you try this recipe, please come back and leave me a rating so I know what you thought, and I’d absolutely love if you shared a photo of your final bake on social media! You can read more about my vision for our community over at the About Page. Happy baking, everyone!
Estimated Nutritional Data for apple pie cheesecake
I always get a few questions about the numbers behind the magic, especially when we’re combining a few favorite things into one big, glorious apple pie cheesecake. Now, I want to be super clear right up front: the nutrition facts listed below are just my best estimate based on the ingredients called for in this recipe. If you use store-bought caramel or a different crust, those numbers will shift a bit, so take this as a helpful guide, not gospel!
This is meant to be an indulgent, made-with-love treat for special occasions, so just bake it with love and enjoy every slice!
- Serving Size: 1 slice
- Calories: 450
- Sugar: 45g
- Sodium: 300mg
- Fat: 28g
- Saturated Fat: 17g
- Unsaturated Fat: 11g
- Trans Fat: 0.5g
- Carbohydrates: 48g
- Fiber: 2g
- Protein: 7g
- Cholesterol: 110mg
Remember, because this is such a decadent bake, we’re counting on a good chill time to get those flavors perfectly married. If you are looking for lighter desserts for weeknights, you might want to check out my easy no-bake avalanche cookies instead!
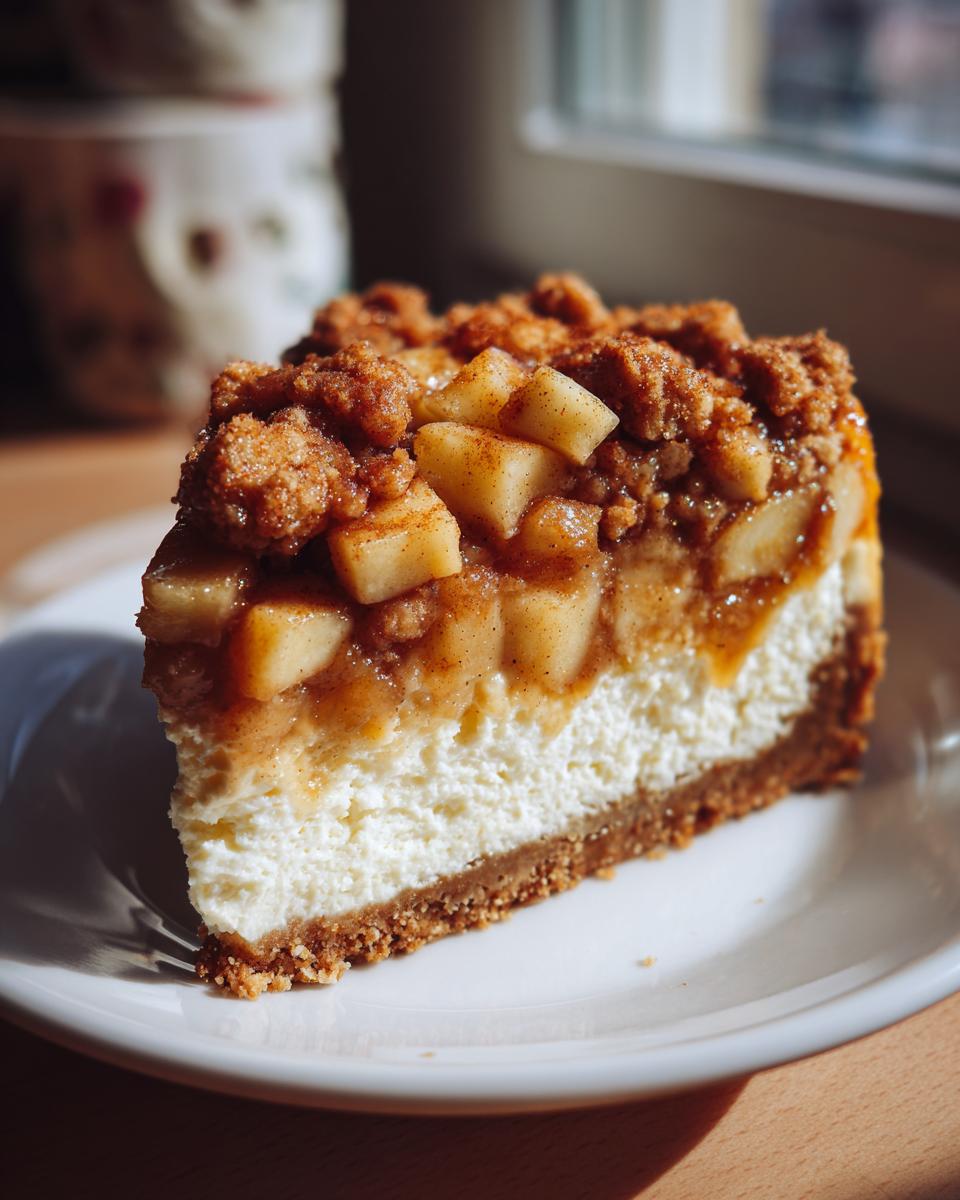
PrintUltimate Apple Pie Cheesecake with Cinnamon Streusel Topping

Combine the creamy texture of cheesecake with the warm spice of apple pie in this ultimate fall dessert. This baked recipe features a graham cracker crust, rich cheesecake filling, and a homemade cinnamon apple topping.
- Prep Time: 30 min
- Cook Time: 75 min
- Total Time: 115 min
- Yield: 12 servings
- Category: Dessert
- Method: Baking
- Cuisine: American
- Diet: Vegetarian
Ingredients
- For the Crust: 1 1/2 cups graham cracker crumbs, 1/4 cup granulated sugar, 6 tablespoons unsalted butter, melted
- For the Apple Topping: 3 medium Granny Smith apples, peeled, cored, and diced, 1/2 cup packed light brown sugar, 1 tablespoon all-purpose flour, 1 teaspoon ground cinnamon, 1/4 teaspoon ground nutmeg, 1 tablespoon lemon juice
- For the Cheesecake Filling: 3 (8 ounce) packages cream cheese, softened, 1 1/2 cups granulated sugar, 1 teaspoon vanilla extract, 1/4 cup sour cream, 3 large eggs
- For the Streusel (Optional): 1/2 cup all-purpose flour, 1/4 cup packed light brown sugar, 1/4 cup cold unsalted butter, cut into small pieces
Instructions
- Prepare the Crust: Preheat your oven to 350 degrees F. Lightly grease a 9-inch springform pan. Mix graham cracker crumbs and 1/4 cup sugar in a bowl. Pour in melted butter and mix until combined. Press the mixture firmly into the bottom of the prepared pan. Bake for 10 minutes. Remove and let cool slightly. Reduce oven temperature to 325 degrees F.
- Make the Apple Topping: In a medium saucepan, combine the diced apples, brown sugar, flour, cinnamon, nutmeg, and lemon juice. Cook over medium heat, stirring occasionally, until the apples soften slightly and the sauce thickens, about 8 to 10 minutes. Remove from heat and set aside.
- Prepare the Cheesecake Filling: In a large bowl, beat the softened cream cheese with an electric mixer until smooth. Gradually beat in the 1 1/2 cups sugar until fully incorporated. Mix in the vanilla extract and sour cream. Beat in the eggs one at a time, mixing just until blended after each addition. Do not overmix.
- Assemble and Bake: Pour half of the cheesecake batter over the cooled crust. Spoon half of the cooked apple mixture evenly over the batter. Gently pour the remaining cheesecake batter over the apples. Top with the remaining apple mixture.
- Make the Streusel (If using): Combine flour and brown sugar. Cut in the cold butter using a pastry blender or your fingers until the mixture resembles coarse crumbs. Sprinkle the streusel evenly over the top layer of apples.
- Bake: Bake at 325 degrees F for 60 to 75 minutes, or until the edges are set but the center still has a slight jiggle.
- Cool and Chill: Turn off the oven, prop the door open slightly, and let the cheesecake cool in the oven for 1 hour. Remove from the oven and let it cool completely on a wire rack. Once cool, cover and refrigerate for at least 6 hours, or preferably overnight, before serving.
Notes
- To prevent cracking, place a pan of water on the lower rack of the oven while baking the cheesecake.
- For a salted caramel apple cheesecake variation, drizzle salted caramel sauce over the top before chilling.
- If you prefer a no bake apple pie cheesecake, substitute the eggs with 1 cup of heavy cream whipped to stiff peaks and fold it into the cream cheese mixture after mixing the sugar and sour cream. Chill for 8 hours.
Nutrition
- Serving Size: 1 slice
- Calories: 450
- Sugar: 45g
- Sodium: 300mg
- Fat: 28g
- Saturated Fat: 17g
- Unsaturated Fat: 11g
- Trans Fat: 0.5g
- Carbohydrates: 48g
- Fiber: 2g
- Protein: 7g
- Cholesterol: 110mg