
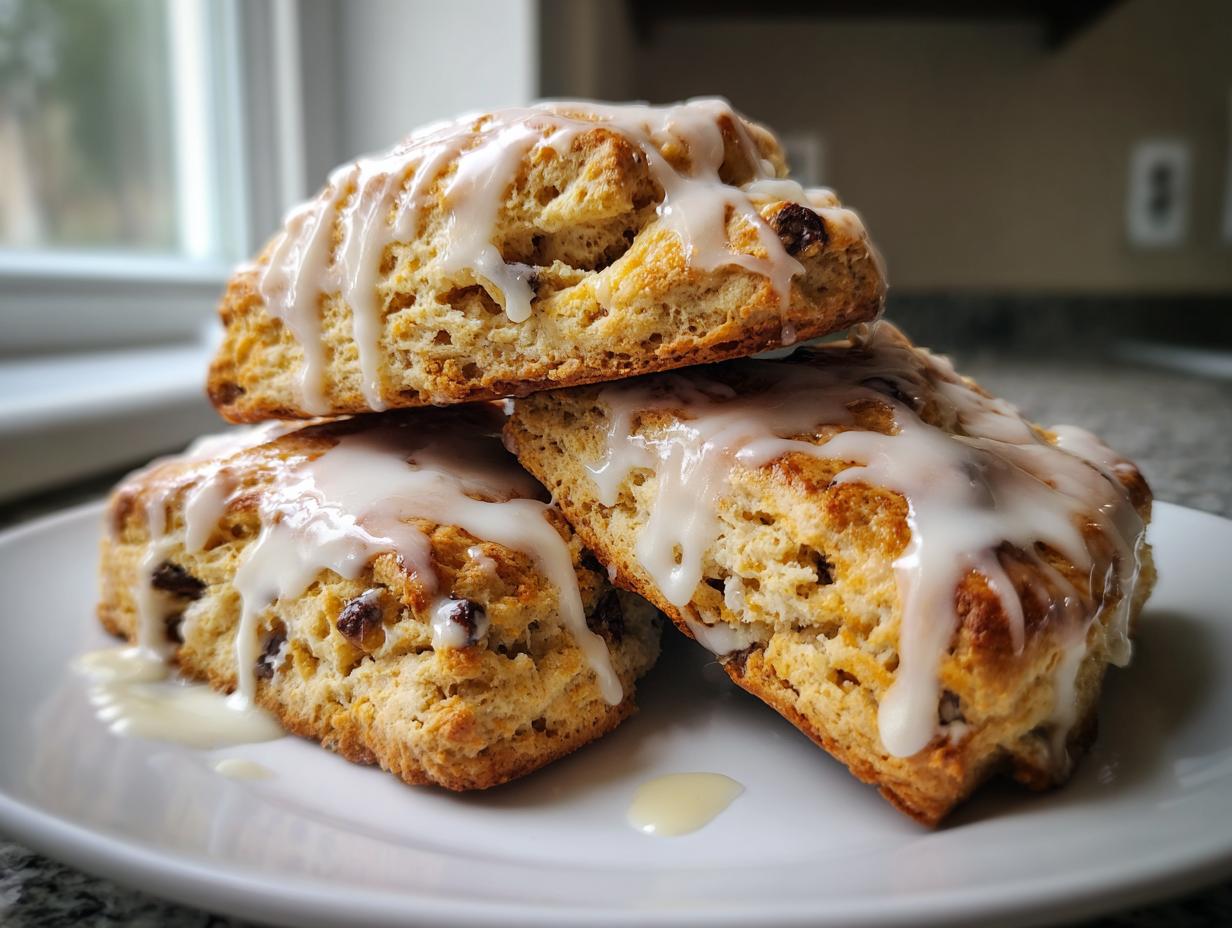
If you ask me what the greatest comfort food is, it’s not a heavy casserole; it’s the simple magic of homemade pastry. There is just nothing quite like the scent of butter baking into something tender and flaky! That’s why I am so thrilled to share what I truly believe is the ultimate sweet breakfast treat: my Bakery-Style Flaky Chocolate Chip Scones with Vanilla Glaze. Around here at Cookin’ Corner, we believe food is our language of love, and these rich, buttery chocolate chip scones speak volumes. They are soft inside, perfectly crisp on the edges, and trust me, they taste just like something you’d happily pay too much for at your favorite coffee shop. We’re going to make them easy, though!
If you want to see another classic pastry that captures true home goodness, check out my recipe for fluffy strawberry shortcake biscuits. But for now, let’s get these scones mixed up!
- Why These Are the Best Chocolate Chip Scones You Will Ever Make
- Ingredients for Bakery-Style Flaky Chocolate Chip Scones
- How to Make Tender Scones Recipe: Step-by-Step Instructions
- Expert Tips for Flaky Scones Homemade Success
- Ingredient Notes and Substitutions for Chocolate Chip Scones
- Serving Suggestions for Chocolate Chip Brunch Idea
- Storage and Reheating Instructions for Your Sweet Breakfast Treats
- Frequently Asked Questions About Making Chocolate Chip Scones
- Nutritional Estimates for These Buttery Chocolate Chip Scones
Why These Are the Best Chocolate Chip Scones You Will Ever Make
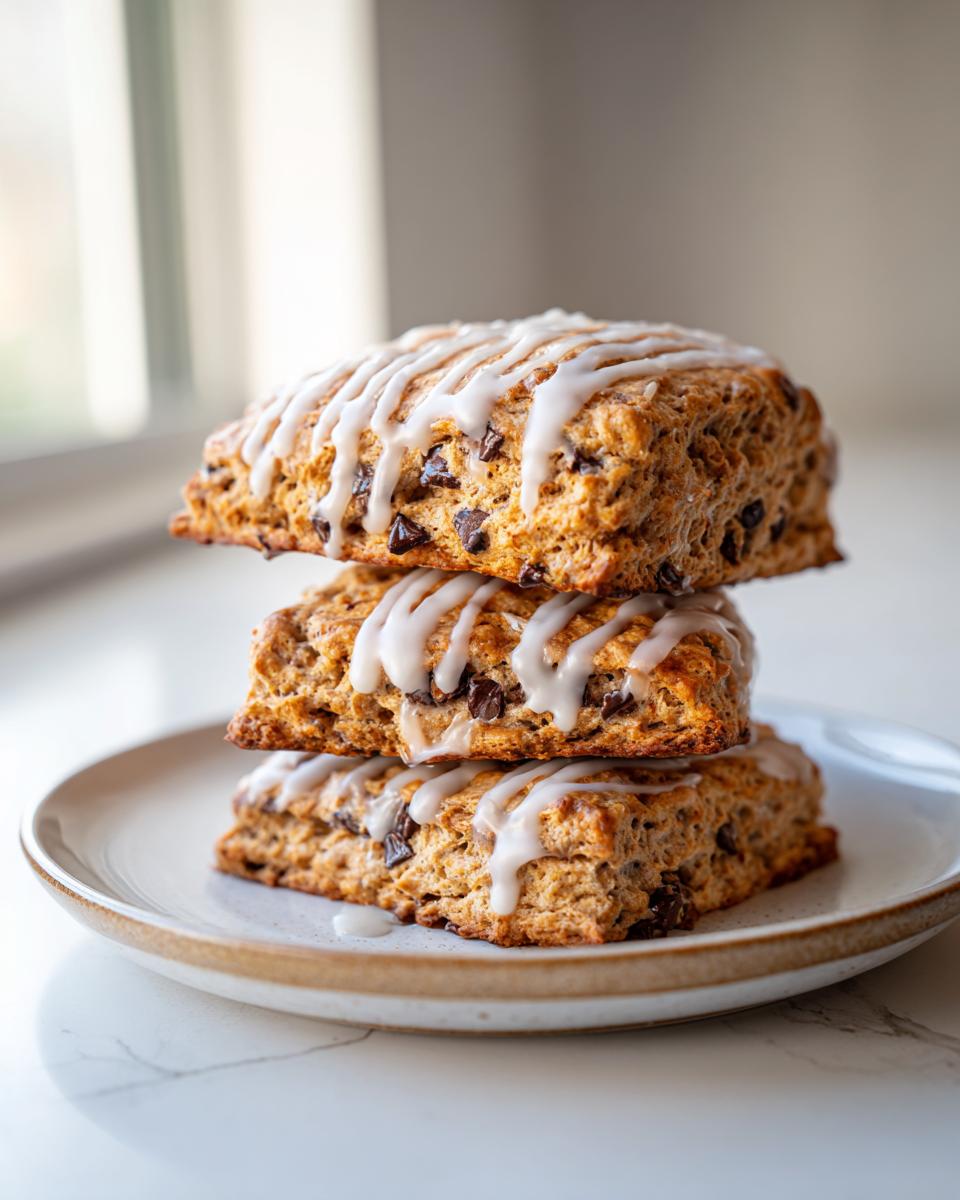
I promise you, making the best chocolate chip scones at home doesn’t require days of practice. What makes these stand above the rest is that flaky, tender texture—the kind you usually only find in a fancy bakery case! We are aiming for height here, those tall, proud wedges that look so impressive on a brunch platter. Because we use heavy cream and cold butter correctly, the result is these incredible, almost biscuit-like pastries that honestly just melt in your mouth.
Forget dry, crumbly failures. These are consistently moist and wonderfully buttery. When you use the right gentle hand during mixing, these become the perfect sweet breakfast pastry you dreamed of making. If you love classics that always deliver, you should also check out my guide to the classic cottage pie next.
Ingredients for Bakery-Style Flaky Chocolate Chip Scones
When we talk about those flaky, bakery-style chocolate chip scones, the temperature of your ingredients is absolutely everything! Think cold—arctic cold for the butter, and chilled for the heavy cream. This prevents the butter from integrating too much when you mix, which is how we get those gorgeous, separate layers during baking. Don’t worry if you need to pop things back into the fridge for a moment! We’re keeping it simple here with pantry staples, but that cold factor is going to deliver the flakiness you crave. Before you start, make sure you have your mixing bowls ready, and if you’re into homemade toppings, don’t forget to grab the ingredients for my easy chocolate syrup, though we are sticking to a simple vanilla glaze here!
- 2 1/2 cups all-purpose flour
- 1/2 cup granulated sugar
- 1 tablespoon baking powder
- 1/2 teaspoon salt
- 1/2 cup (1 stick) cold unsalted butter, cut into small cubes
- 1 cup semi-sweet chocolate chips
- 1 large egg
- 1/2 cup heavy cream, plus more for brushing
- 1 teaspoon vanilla extract
- 1/4 cup powdered sugar (for glaze)
- 1-2 teaspoons milk or cream (for glaze)
How to Make Tender Scones Recipe: Step-by-Step Instructions
Guess what? Even though these are bakery style chocolate chip scones, we can have these beauties out of the oven in under 40 minutes total time! It’s a quick breakfast pastry lifesaver. The key here is moving just as fast as you can once the butter hits the flour, but still being gentle overall. Get your oven preheated to 400°F (200°C) and line up that baking sheet with parchment paper right away so you’re ready to go. We want everything moving quickly to keep that butter cold.
Mixing the Dough for Perfect Chocolate Chip Scones
First, whisk all your dry stuff together—the flour, sugar, baking powder, and salt. Now for the butter! Toss in those cold, cubed butter pieces. You have to use your fingertips or a pastry blender to work that butter in until it looks like coarse crumbs, and you still want to see some small, pea-sized bits floating around. If you miss those cold pockets, you won’t get that lovely flaky texture we’re after. In a separate little bowl, whisk your egg, heavy cream, and vanilla extract, then pour that wet mix into the dry bowl. Use a fork to stir everything until it *just* comes together. Seriously, stop mixing when you see flour streaks! Overmixing is the absolute enemy of a tender scones recipe.
Shaping and Baking Your Homemade Pastry Recipe
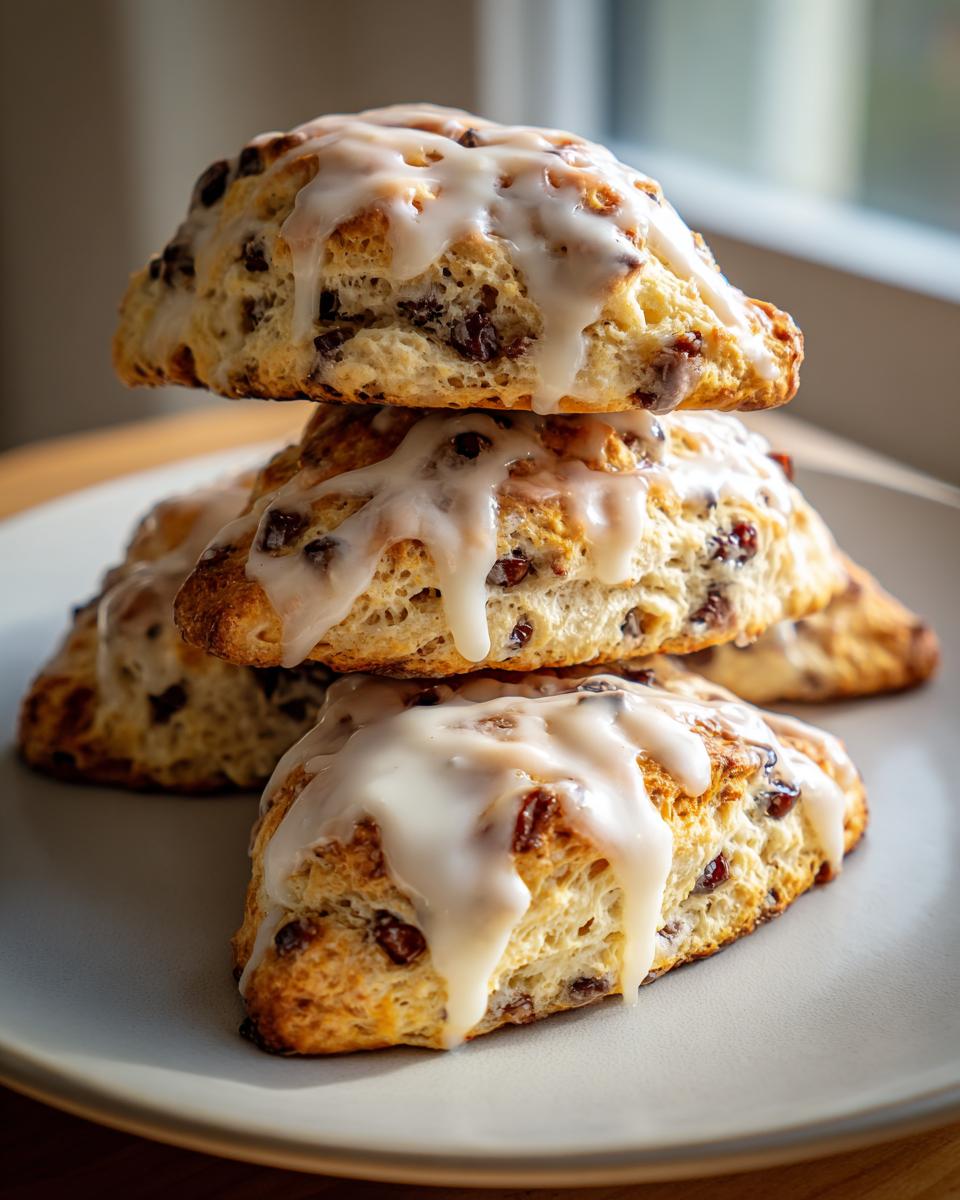
Dump the shaggy dough onto a counter dusted lightly with flour. Don’t knead it much—just gently fold it over itself maybe three or four times until it holds a shape. Pat it down gently into a thick circle, about 3/4 of an inch deep. Then, slice it like a pizza into 8 equal wedges. These wedges are what give you that awesome height! Lay them out on your prepared sheet, leaving about 1 inch between them. Brush the tops lightly with a touch more heavy cream—this helps with that beautiful golden color. Bake these homemade pastry recipe triangles in the oven for about 15 to 18 minutes until they are golden brown on top. Honestly, this whole process rivals how fast you can whip up my easy cottage pie if you need dinner!

Preparing the Scones with Vanilla Glaze
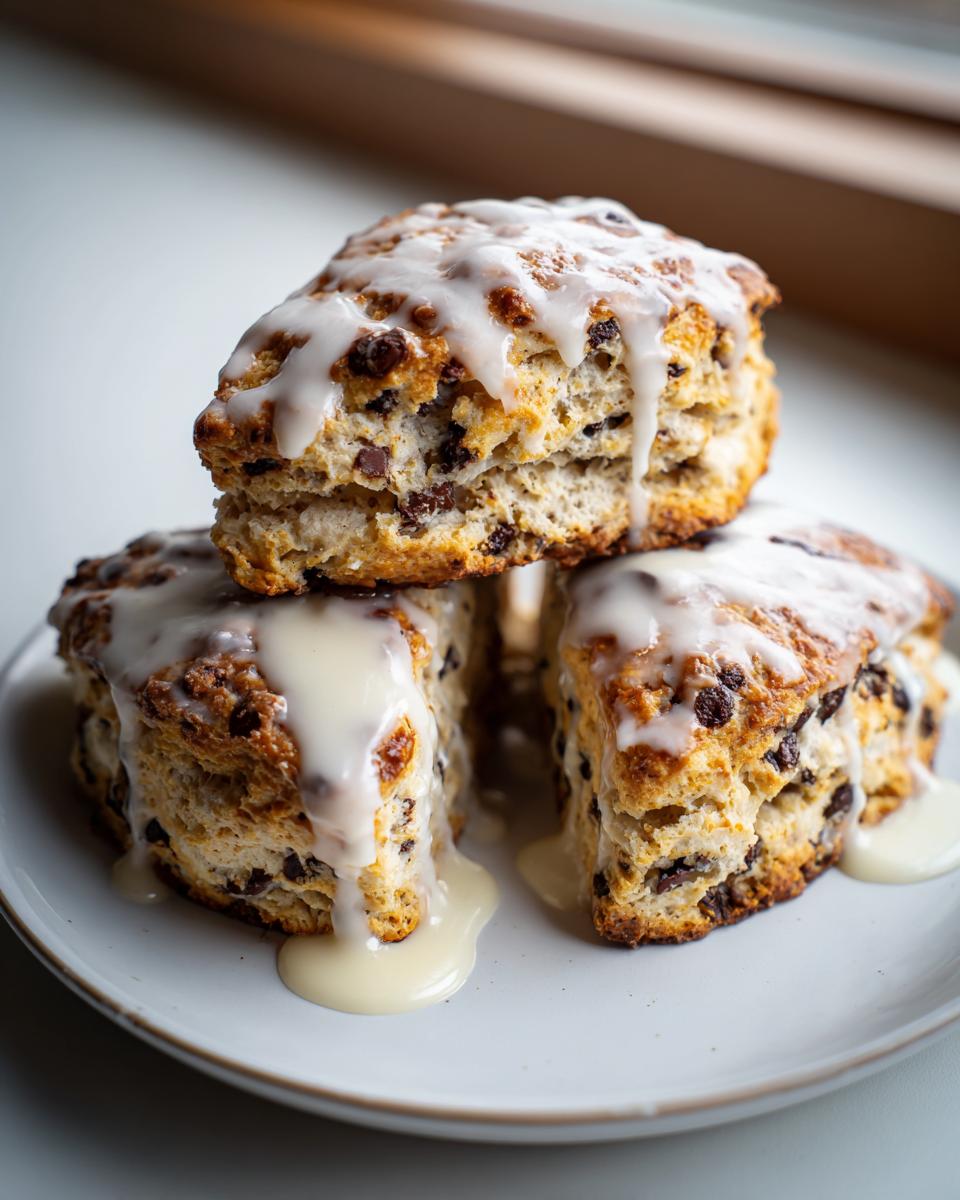
We have to let those chocolate chip scones cool totally before we move to the glaze step—otherwise, the glaze just melts right off and looks messy! While they cool down on a wire rack, whisk your powdered sugar with just one teaspoon of milk or cream. You want something thick but still drippy. If it’s too stiff, add those extra drops of liquid, one at a time, until it flows nicely, kind of like thick honey. Once the scones are truly cool, just drizzle that sweet vanilla glaze all over the tops. Let it set up for a few minutes and you are done. For another quick, satisfying bake, you might want to try my soft pretzel bites while you wait for the glaze to firm up!
Expert Tips for Flaky Scones Homemade Success
Achieving those truly flaky scones homemade takes just a couple of tried-and-true tricks, really. I need to tell you, the number one most important thing is keeping your butter super cold. My recipe says to cut it into cubes, and that’s because we are going to avoid the grater method; we want those visible pockets of cold fat that melt open in the oven! For years, I struggled with scones that baked up more like dense cookies. It was all because I let my butter get too soft before cutting it into the flour.
I finally mastered it when I started chilling my ingredients—even the flour!—and working super quickly. Also, remember my direction on chilling the cut wedges? This step is crucial for maximizing height. If you chill those wedges in the freezer for about 10 minutes right before they hit the hot oven, they bake up taller before the butter melts away. These little secrets are why these scones come out as soft and tall as my favorite Southern buttermilk biscuits.
Ingredient Notes and Substitutions for Chocolate Chip Scones
I get asked all the time about changing things up in my chocolate chip scones recipe, and while I love experimentation, some things just can’t be messed with! Number one: that butter has to be cold, cut into cubes, not grated. Grating it sounds easy since some folks skip cutting in butter completely, but those defined cold cubes melt slower, giving you that fantastic lift and flakiness we talked about.
For the liquid, the recipe calls for heavy cream, and that’s my favorite because it makes them rich and tender. But, if you look through your fridge and only have buttermilk, go for it! Using buttermilk instead of heavy cream will add a lovely little tang, which is great with the chocolate. It’s a wonderful substitution for a slightly different flavor profile. For a little extra something festive when you serve these, maybe try my strawberry champagne punch recipe!
Serving Suggestions for Chocolate Chip Brunch Idea
These chocolate chip brunch idea scones are so versatile! They are just as happy as the centerpiece for a fancy weekend brunch—maybe served warm with a side of good clotted cream and some tangy raspberry jam—as they are tucked into a napkin for a quick afternoon tea. Honestly, they smell heavenly next to a piping hot cup of coffee, which is how I usually enjoy my first one straight out of the oven (and slightly messy from the glaze!).
If you’re warming them up later for a cozy evening treat, you might want to skip the coffee and instead try stirring up a batch of my rich easy homemade hot cocoa to go along side them. They are sweet enough on their own, though!
Storage and Reheating Instructions for Your Sweet Breakfast Treats
Okay, so these sweet breakfast treats are best eaten the day you make them, truly they are! If you have leftovers, which is rare around here, you need to store them properly. Keep them in an airtight container at room temperature for up to two days. If you want them to taste like they just came out of the oven, though, you must reheat them. Just pop them in the oven or an air fryer at about 325°F for about 5 to 7 minutes. That little bit of heat totally revives that flaky texture we worked so hard for! If reheating later, maybe check out my banana bread recipe for another great make-ahead bake.
Frequently Asked Questions About Making Chocolate Chip Scones
I know when you try a new recipe, you always have a few nagging questions floating around! I’ve gathered up some of the things I always wondered about when I was first getting the hang of making a truly fantastic batch of chocolate chip scones. There is nothing worse than wasting ingredients on a failed bake, so let’s troubleshoot now!
How far ahead can I mix this quick breakfast pastry?
This is where things get slightly tricky! If you want that authentic flaky texture, I really recommend cutting the butter in and chilling the unbaked dough disc in the fridge for up to 24 hours before baking. But if you are making the wedges, baking them, and *then* planning to eat them later, I’d advise storing the fully baked scones (unglazed!) tightly wrapped at room temperature. The glaze doesn’t love being stored for too long.
Why did my scones come out flat instead of tall and flaky?
Oh, I’ve fought this battle! If your buttery chocolate chip scones lay sad and flat, it almost always points back to warm butter. If the butter melts before it hits the heat of the oven, you lose all those lovely steam pockets that create height. Make sure your butter is cut into small chunks and is seriously cold. Also, don’t handle the dough more than you absolutely have to after you mix it!
Do I really have to use the vanilla glaze, or can I skip it?
You absolutely don’t have to use it if you aren’t feeling it! The glaze just adds a lovely touch of extra sweetness that really elevates them to copycat coffee shop scones territory. If you want to skip it, try sprinkling coarse turbinado sugar over the cream-brushed tops right before baking instead. It gives a nice, crunchy texture contrast!
Can I use buttermilk instead of heavy cream in the dough?
Yes, you certainly can! As I mentioned before, this recipe works beautifully with buttermilk, which results in a slightly softer, tangier tender scones recipe. Just make sure that buttermilk is also well-chilled before it goes into your dry ingredients. Baking is just fun science, isn’t it? If you are looking for more easy baking ideas that work every time, check out my list of easy dinner ideas for inspiration later in the week!
Nutritional Estimates for These Buttery Chocolate Chip Scones
Now, listen, since these are made with real butter and all those chocolate chips, we know they aren’t exactly diet food! But knowing what’s in your delicious homemade pastry is always helpful. These estimates are just what you’d expect for a rich, buttery chocolate chip scones treat. Keep this in mind that these numbers are based on the recipe divided into eight servings, and real-life results can change a little bit based on exact ingredient brands.
- Serving Size: 1 scone
- Calories: 350
- Sugar: 18g
- Fat: 19g
- Protein: 5g
This is just a guide, of course. We’re baking for love and happiness here, not counting every single calorie!
PrintBakery-Style Flaky Chocolate Chip Scones with Vanilla Glaze
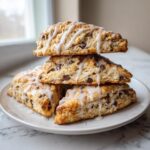
Make soft, buttery, bakery-style chocolate chip scones at home. This easy recipe yields flaky scones loaded with chocolate chips and finished with a simple vanilla glaze, perfect for breakfast or brunch.
- Prep Time: 15 min
- Cook Time: 18 min
- Total Time: 33 min
- Yield: 8 servings 1x
- Category: Breakfast
- Method: Baking
- Cuisine: American
- Diet: Vegetarian
Ingredients
- 2 1/2 cups all-purpose flour
- 1/2 cup granulated sugar
- 1 tablespoon baking powder
- 1/2 teaspoon salt
- 1/2 cup (1 stick) cold unsalted butter, cut into small cubes
- 1 cup semi-sweet chocolate chips
- 1 large egg
- 1/2 cup heavy cream, plus more for brushing
- 1 teaspoon vanilla extract
- 1/4 cup powdered sugar (for glaze)
- 1–2 teaspoons milk or cream (for glaze)
Instructions
- Preheat your oven to 400°F (200°C). Line a baking sheet with parchment paper.
- In a large bowl, whisk together the flour, granulated sugar, baking powder, and salt.
- Add the cold, cubed butter to the dry ingredients. Use a pastry blender or your fingertips to cut the butter into the flour until the mixture resembles coarse crumbs with some pea-sized pieces of butter remaining.
- Stir in the chocolate chips until they are evenly distributed.
- In a separate small bowl, whisk together the egg, 1/2 cup heavy cream, and vanilla extract.
- Pour the wet ingredients into the dry ingredients. Use a fork to mix until just combined. Do not overmix; the dough will be shaggy.
- Turn the dough out onto a lightly floured surface. Gently knead it 3 or 4 times until it holds together. Pat the dough into a 3/4-inch thick circle.
- Cut the circle into 8 equal wedges, like a pizza. Place the wedges onto the prepared baking sheet, leaving about 1 inch between them.
- Brush the tops of the scones lightly with a little extra heavy cream.
- Bake for 15 to 18 minutes, or until the tops are golden brown. Let the scones cool on the baking sheet for 5 minutes before transferring them to a wire rack to cool completely.
- Prepare the glaze: Whisk together the powdered sugar and 1 teaspoon of milk or cream until smooth. Add more liquid, a few drops at a time, until you reach a thick but pourable consistency.
- Drizzle the vanilla glaze over the cooled scones. Let the glaze set before serving.
Notes
- Keep your butter very cold. This is the secret to flaky scones.
- For taller scones, chill the cut wedges in the freezer for 10 minutes before baking.
- You can substitute buttermilk for the heavy cream in the dough for a slight tang.
Nutrition
- Serving Size: 1 scone
- Calories: 350
- Sugar: 18
- Sodium: 250
- Fat: 19
- Saturated Fat: 11
- Unsaturated Fat: 8
- Trans Fat: 0
- Carbohydrates: 42
- Fiber: 1
- Protein: 5
- Cholesterol: 65