
There is just something magical about a dessert that fits perfectly between your thumb and forefinger, right? It feels indulgent without being overwhelming! That’s why I absolutely love making these little guys. If you’re looking for the creamiest, easiest batch of cheesecake bites you’ll ever whip up, you’ve found the spot. Seriously, these are my go-to party snacks, but they’re also perfect for those evenings when you just need a sweet pick-me-up without turning on the oven. My whole approach here at Cookin’ Corner is built on the idea that delicious, comforting food doesn’t need a complicated process. This simple, no-bake recipe captures that comforting spirit perfectly. Everything comes together so quickly, giving you that rich, tangy flavor without sacrificing an entire afternoon. Trust me, everyone expects these individual cheesecake cups to take hours, but we know the simple secret!
- Why You Will Love These Easy Cheesecake Bites Recipe
- Gathering Ingredients for Your Creamy Cheesecake Dessert
- Step-by-Step Instructions for Perfect No Bake Cheesecake Bites
- Tips for Success Making Your Cheesecake Bites
- Storage and Make Ahead Desserts with Cheesecake Bites
- Serving Suggestions for These Simple Dessert Recipes
- Frequently Asked Questions About Making Cheesecake Bites
- Estimated Nutritional Data for these Melt in Your Mouth Treats
- Share Your Experience with Our Best Cheesecake Bites
Why You Will Love These Easy Cheesecake Bites Recipe
I know you’re busy, and the last thing you need is a recipe that demands you chain yourself to the stove all day. That’s why I made sure this recipe maximizes flavor while minimizing fuss. These quick and easy recipes are the heart of my kitchen now, and these little treats are leading the pack for a reason!
- They deliver that intense, satisfying cheesecake flavor we all crave.
- There’s no need to heat up the oven, which is a huge win in the summer!
- They look picture-perfect with minimal decorating effort.
Perfectly Portion-Controlled Mini Cheesecake Bites
When you serve these little jewels, people grab one—maybe two!—and they’re happy. Having mini cheesecake bites means you get that perfectly creamy experience without committing to a giant slice of cake. They are fabulous for parties because they’re sturdy, easy to handle, and everyone loves individual desserts. No slicing required means less mess for you!
Truly No Bake Cheesecake Bites Requiring Minimal Effort
Seriously, these are some of the best no bake cheesecake bites out there. We skip the baking entirely! That means no fussing with water baths or worrying about cracks forming while the oven cools down. You just mix, fill, chill, and you’re done. They fit right into the category of ultra-simple dessert recipes that always impress the crowd.
Gathering Ingredients for Your Creamy Cheesecake Dessert
Alright, let’s talk about what we need to get those beautiful, creamy cheesecake dessert fillings happening. Since this is a no-bake recipe, the quality of your ingredients really matters because they aren’t getting a chance to bake into something new—they just need to be perfectly smooth!
The single most important thing you can do is make sure your cream cheese is fully softened. I mean, take it out a good two hours before you plan to mix. Cold cheese leads to lumpy filling, and we want smooth perfection for these little bites! I always suggest checking out a good recipe for melt-in-your-mouth butter cookies if you want to swap the crust, but for this version, graham crackers are classic for a reason.
For the Graham Cracker Crust
This crust is simple and forms the perfect little base for our cheesecake bites. Just measure everything out, and you’re halfway there!
- 1 1/2 cups graham cracker crumbs
- 1/4 cup granulated sugar
- 6 tablespoons unsalted butter, melted
For the Smooth Cheesecake Filling
This is where the magic happens! Remember, make sure that cream cheese is soft so it mixes up beautifully without any lumps getting into your filling. Don’t skip measuring that heavy cream perfectly; it helps everything set.
- 16 ounces cream cheese, softened
- 1 cup powdered sugar
- 1 teaspoon vanilla extract
- 1/4 cup heavy cream
Optional Toppings for Your Cheesecake Bites
Once these chill, you can decorate them however you like to make them look extra special for the party table. These are the suggestions that always get rave reviews:
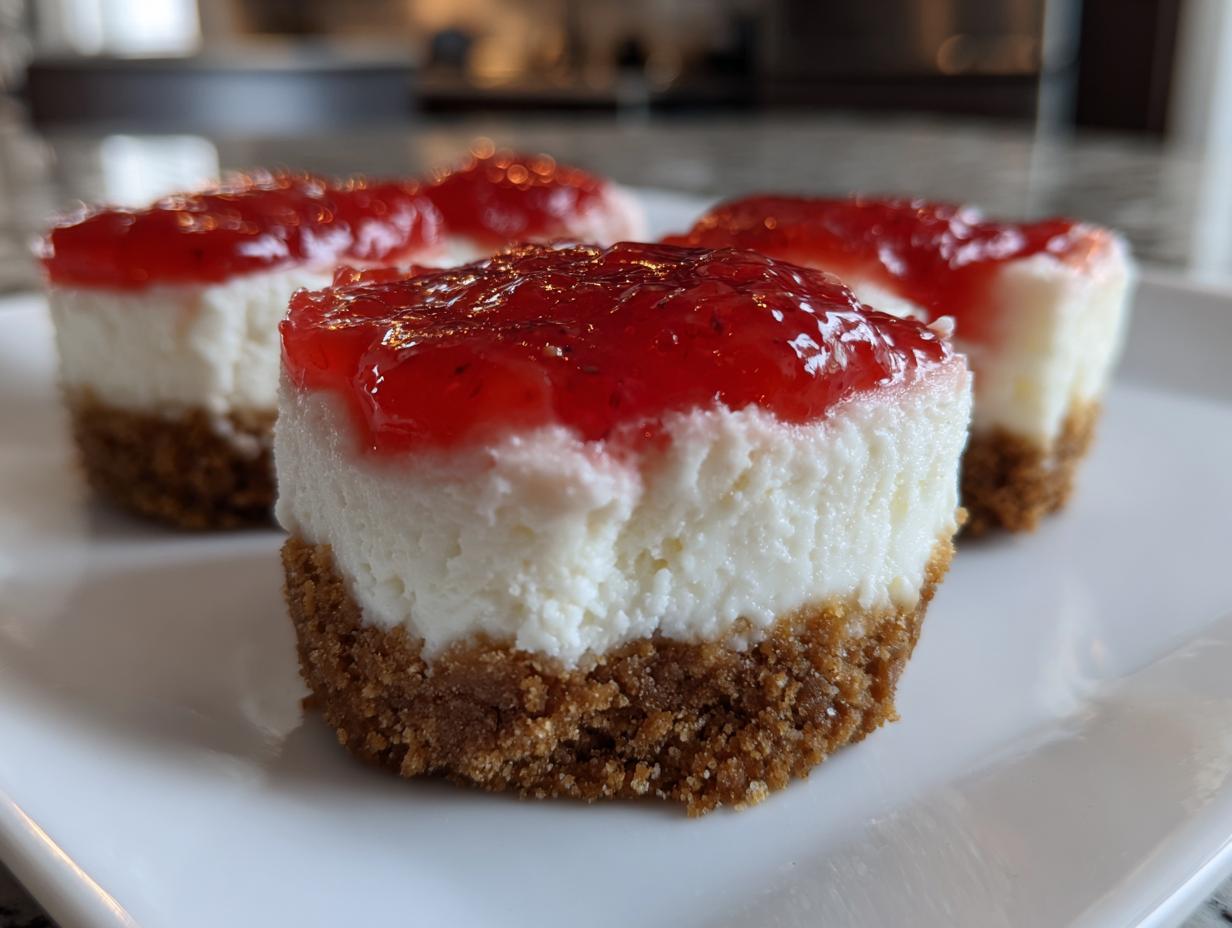
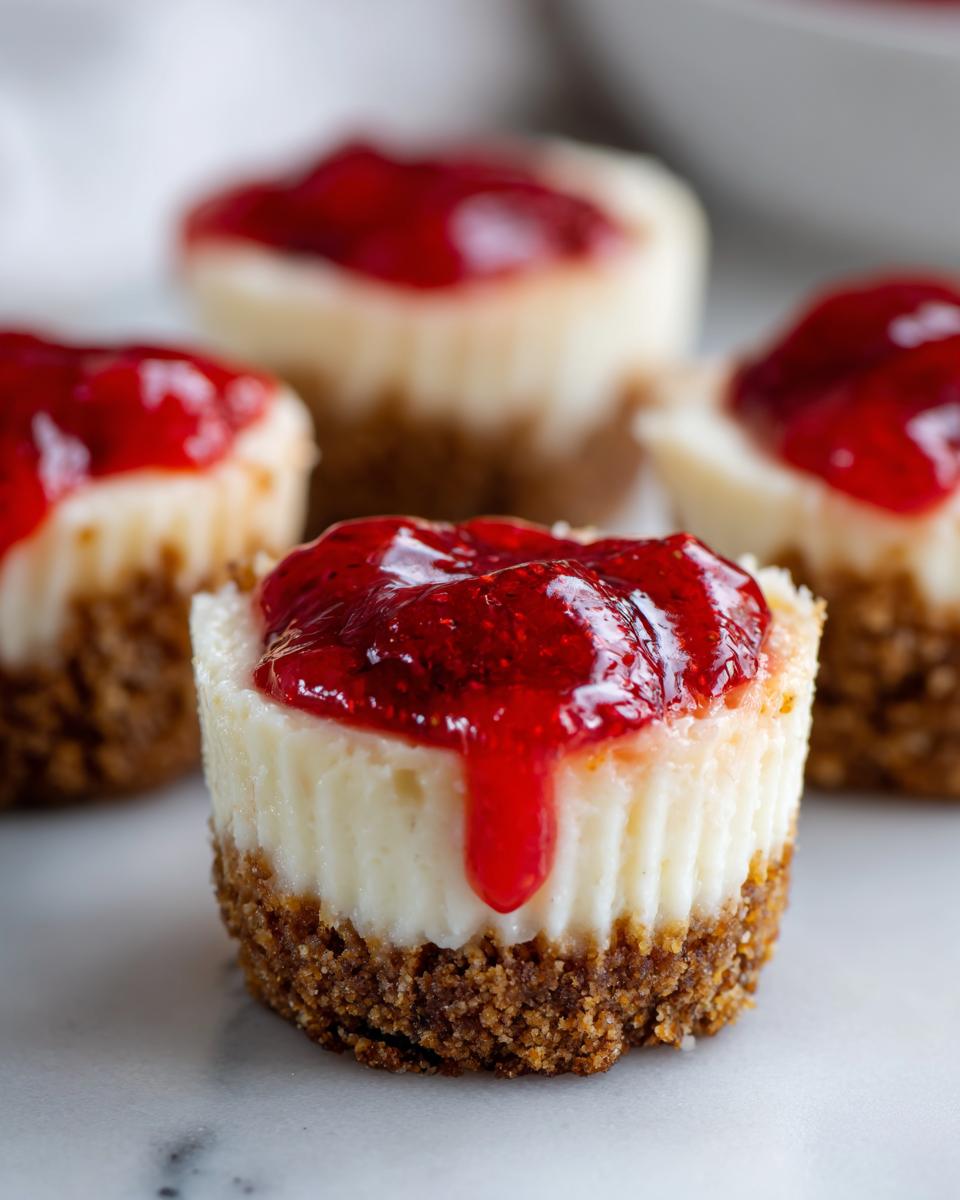
- Optional topping: Strawberry sauce or chocolate ganache
Step-by-Step Instructions for Perfect No Bake Cheesecake Bites
Now that we have all our beautiful components ready, let’s put them together! Since this is a no bake cheesecake bites recipe, the work is mostly mixing, and then letting the refrigerator do the heavy lifting. You want to move fairly quickly once you start mixing the filling so everything stays fresh and smooth, just like in my recipe for no-bake sugar cookie truffles.
Preparing and Pressing the Crust for Your Mini Cheesecake Bites
First thing first, make sure your mini muffin tin is lined with paper liners. You don’t want these sticky little desserts attached to the tin! In a bowl, combine your graham cracker crumbs and the 1/4 cup of sugar. Pour that melted butter right over the top.
Stir it all together until it looks like wet sand—you know, like the kind that actually holds a shape when you squeeze it. Then, divide this mixture evenly among your lined cups. You need a really firm base for these, so take the bottom of a small glass or even just your fingers and press that crust down hard. We want a nice, tight layer for our mini cheesecake bites to sit on.
Creating the Irresistibly Creamy Cheesecake Filling
Time for the creamy part! Grab your big mixing bowl—use that electric mixer if you have one, it saves your wrist! Beat that softened cream cheese until it’s totally smooth. Don’t rush this scrape-down step, you don’t want any pockets of unmixed cheese lingering around.
Slowly start adding that powdered sugar while the mixer is running on low, then bring the speed up until it looks incorporated. The next part is important to keep them light: Now add the vanilla and the heavy cream. Mix until it’s just combined and lightened up a bit. Please, don’t overmix once that cream is in there, or you’ll end up with heavy filling instead of that creamy cheesecake dessert texture we are aiming for!
Assembling and Chilling the Bite Size Cheesecake Desserts
Once the filling is gorgeous, you need to transfer it into the crusts. I usually use a small spoon, but if you want to look extra fancy, grab a piping bag (or a big Ziploc bag with the corner snipped off) to pipe the filling evenly over each crust. Get them level!
Now, this is the hardest part: waiting. You absolutely must refrigerate these for a minimum of four hours. I usually forget about them overnight! If you cut them short, your little bite size cheesecake desserts will collapse when you try to handle them. Give them time to set up firmly.
Finishing Your Party Perfect Cheesecake Treats
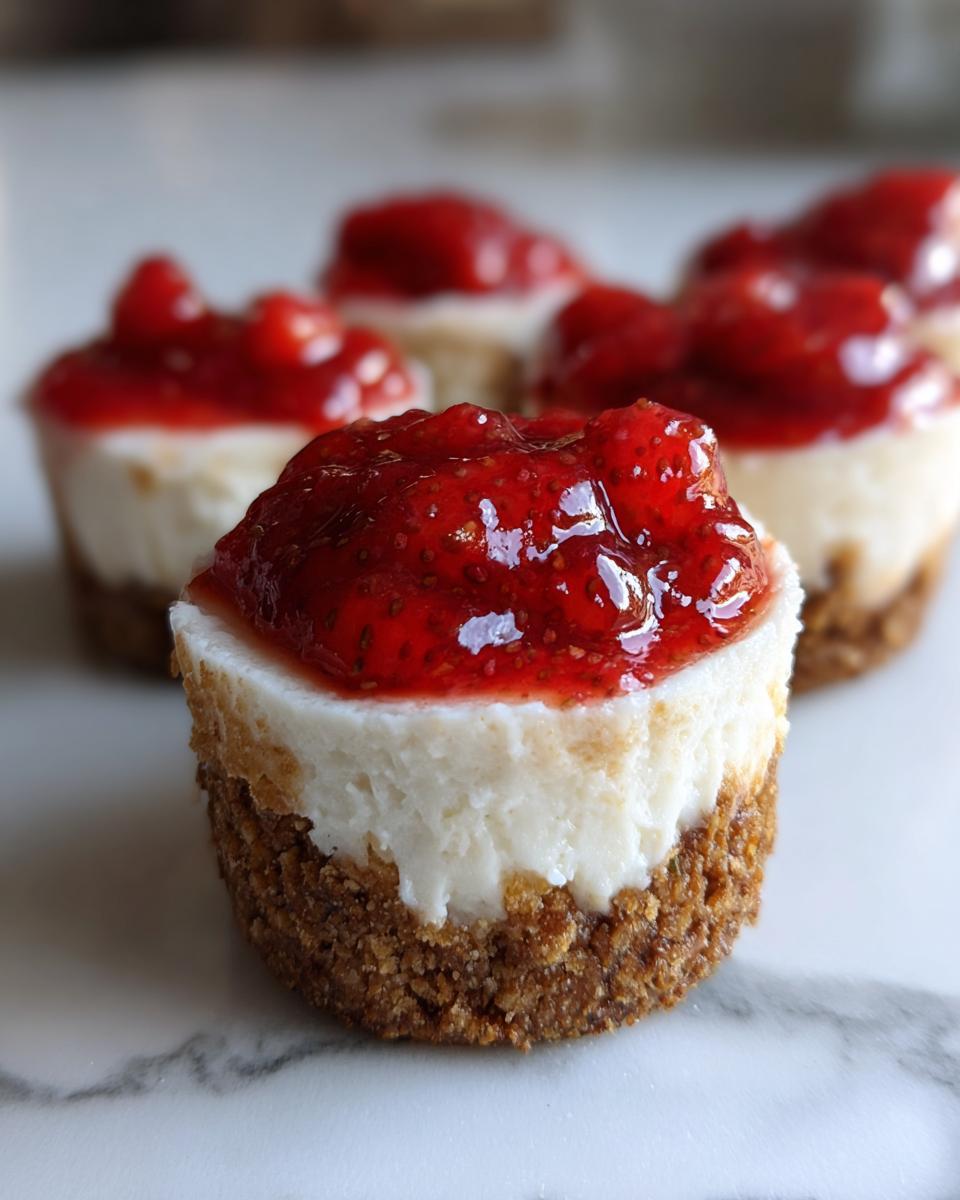
When they are rock solid and perfectly chilled, about 4 hours later, you can remove the paper liners. Just gently peel them away from the sides. You’ll see how cute and perfect they look! This is when you add your final flair. A drizzle of strawberry sauce, a slick of chocolate—whatever you chose! These look best when you add the topping right before you put them out so they look fresh for your guests.
Tips for Success Making Your Cheesecake Bites
I always say that baking, even the no-bake kind, is about having a few secrets tucked up your sleeve! These little tips are what I learned over trial and error when figuring out the best approach for cheesecake bites. They help ensure you get that perfect texture every single time, especially when dealing with a recipe that needs to set up firm in the fridge.
Since we are skipping the heat for these easy dessert recipes, we have to be clever about the crust. While my main recipe keeps it no-bake, sometimes I want that extra guarantee that the bottom crumb is locked down tight. It makes them feel even sturdier!
Achieving the Best Crust Texture for Your Cheesecake Bites
If you’re making these for a huge party and you worry about rough handling, I have an optional little trick for the crust. Even though this recipe is brilliant as a no bake cheesecake bite, you can absolutely pop the lined muffin tin into a 350°F oven for just five minutes. This quick bake melts the butter into the crumbs even more securely.
When they come out, let them cool completely before filling them, just like you would with any standard crust. It gives you a slightly crunchier, more robust base. If you’re just making these for family on a quiet night, skip it! But for a party perfect cheesecake situation, those five minutes can be a lifesaver.
Flavor Variations for Your Individual Cheesecake Cups
What I love most about this base recipe for individual cheesecake cups is how adaptable it is! If you get bored of plain vanilla, you can go wild while keeping the effort level low. My absolute favorite variation, which I see popping up everywhere, is the pink velvet look. Honestly, it’s stunning!
Right after you beat your cream cheese and powdered sugar smooth in Step 4, before you add the vanilla and cream, drop in just one or two tiny drops of red food coloring. Mix it in gently until you get a delicate blush. That little bit of color makes these mini cheesecake bites look so elegant, whether you use strawberry sauce or just leave them plain!
Storage and Make Ahead Desserts with Cheesecake Bites
One of the best things about these make ahead desserts is how wonderfully they handle advance prep! If you’re planning a party or just want to get ahead of your weeknight snacking guilt, this is perfect. Since these are no bake cheesecake bites, chilling really is the key to making them firm, so prepping them a day early is actually beneficial for the texture!
You can absolutely make these the day before your big event. Just make sure you get them totally set up in the fridge first. Don’t even think about adding any toppings like strawberry sauce or chocolate ganache until the very last minute, though. Soggy crusts are the enemy of the perfect bite size cheesecake dessert!
Store your plain, un-topped cheesecake bites in a single layer in an airtight container in the refrigerator. If you have to stack them, put a piece of wax paper between the layers so the creamy tops don’t stick together. I’ve found they stay absolutely perfect for up to three days this way. Honestly, they rarely make it past day two, but it’s good to know you have options!
Serving Suggestions for These Simple Dessert Recipes
So, you’ve got your gorgeous, perfectly set cheesecake bites ready to go. Awesome! While the strawberry sauce and chocolate ganache are fantastic standbys, sometimes you want to dress up these simple dessert recipes just a tiny bit more, especially if you’re presenting them on a big platter at a gathering. I’ve got a few ideas that just elevate these little treasures, making them look like they came straight from a fancy bakery case.
The key here is balancing that rich, tangy cream cheese with something bright or crunchy. Don’t be afraid to make them look abundant! People eat with their eyes first, and when you have these cute little individual cheesecake cups, you have a perfect canvas.
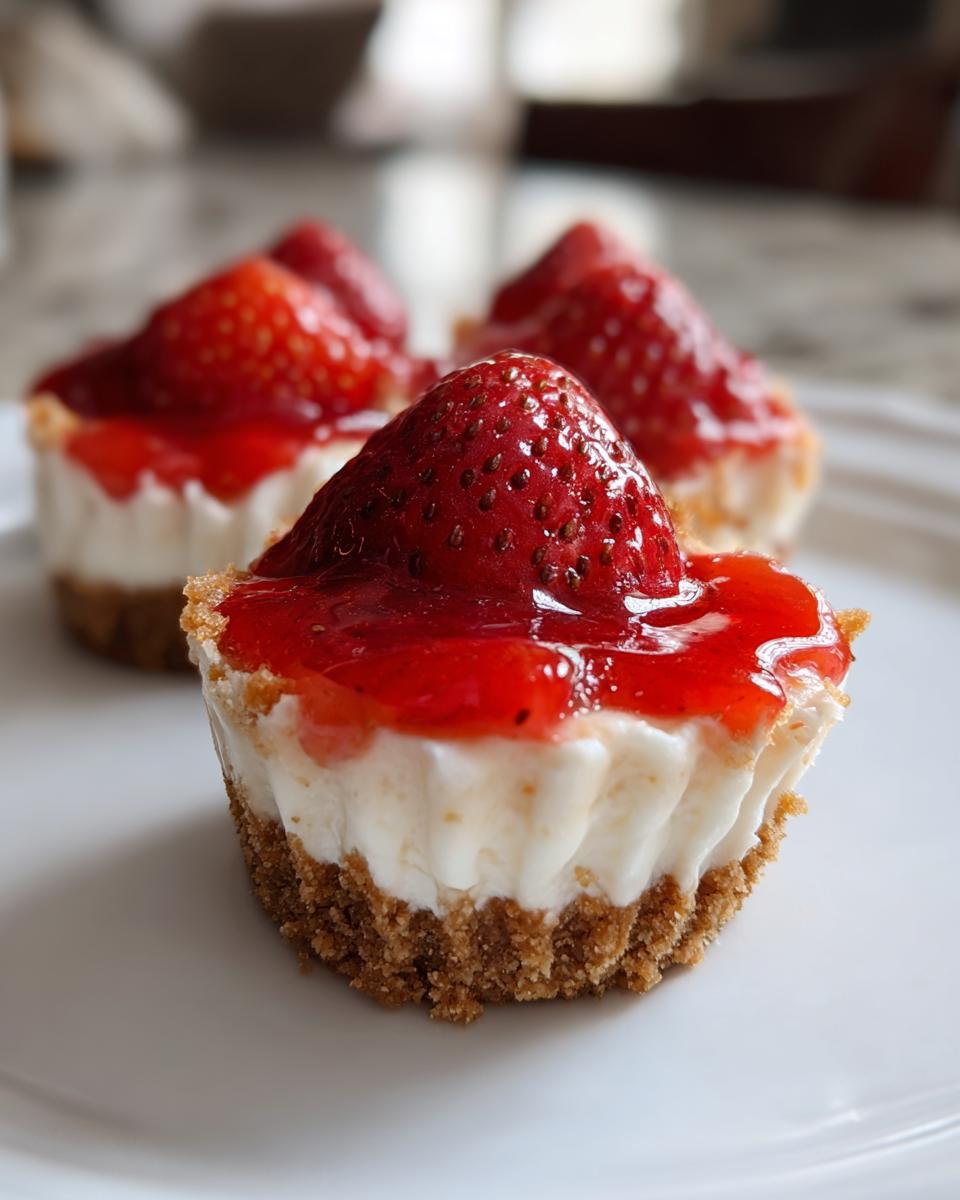
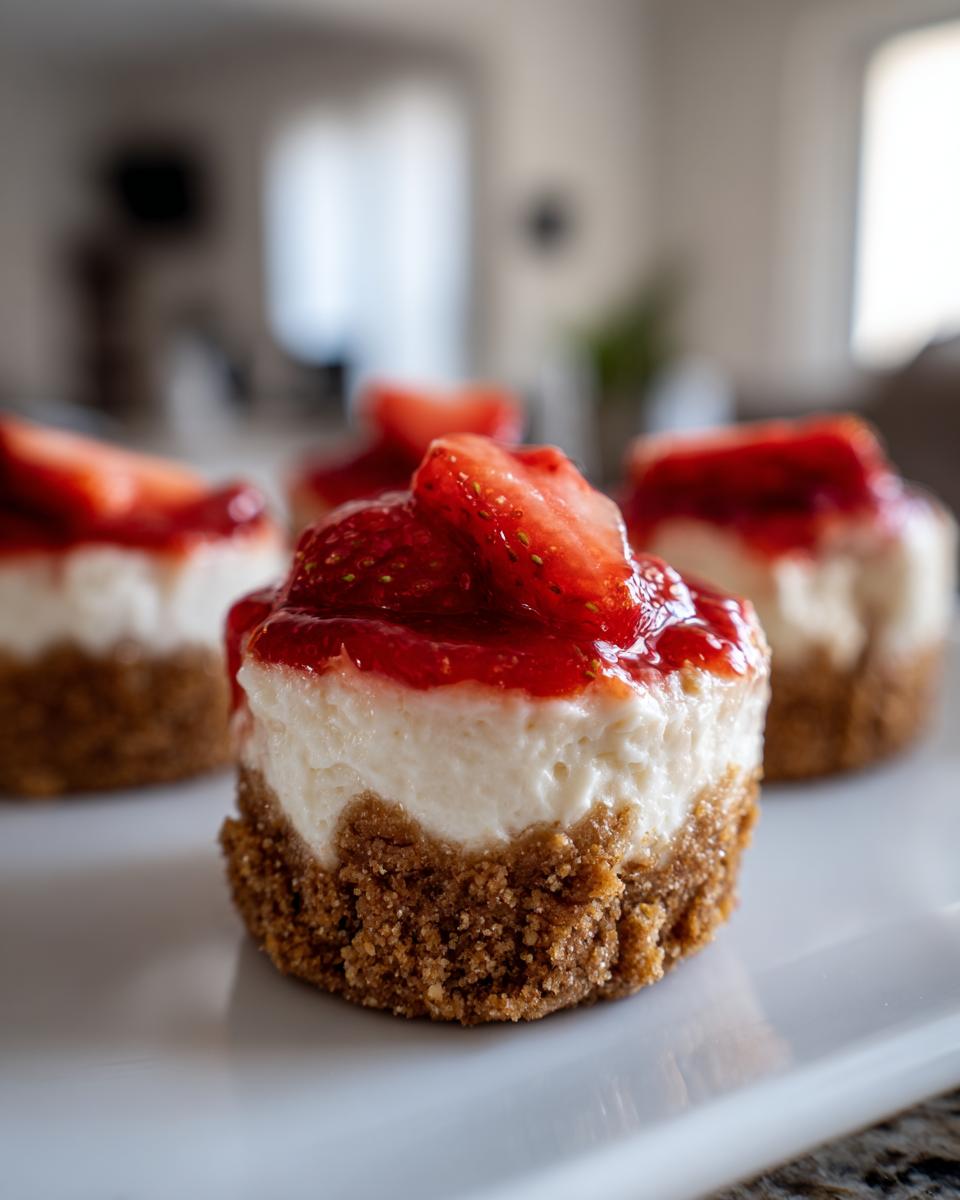
If you’re looking for something super fresh, a tiny sliver of fresh fruit goes miles. Think paper-thin slices of kiwi or a beautiful half of a raspberry placed right on top of the standard filling before chilling. The color contrast is stunning! Or, if you’re feeling adventurous, grab some lemon zest and sprinkle just a tiny bit over the center of each one—it brightens the whole flavor profile wonderfully.
For an incredible texture combination, try dusting the top with finely crushed graham crackers or even some toasted pecans. Those nuts add a buttery crunch that contrasts beautifully with the smooth filling. If you happen to really love cream cheese dips, you can even use inspiration from my cream cheese fruit dip recipe and thin it down slightly to make a tangy, drizzle-able frosting instead of a heavy sauce!
Ultimately, these bite size cheesecake desserts are so good on their own, but adding that final, intentional touch is what turns them into a true showstopper. Enjoy seeing how quickly they disappear!
Frequently Asked Questions About Making Cheesecake Bites
It’s natural to have a few questions when you’re trying a new dessert, especially when you want it to turn out picture-perfect! I’ve gathered the most common things people ask me about these cheesecake bites. Getting these little details right is what separates a good treat from the best cheesecake bites!
Can I use a different crust besides graham crackers for my mini cheesecake bites?
Oh, absolutely, you can! Graham crackers are the traditional route, but if you’re feeling frisky, you can easily swap those out. You need about 1 1/2 cups of crumbs, the same amount of sugar, and the melted butter. I adore using finely crushed Oreo wafers—that makes for incredible chocolate cheesecake bites! Vanilla wafers work beautifully too if you want something a little sweeter than graham crackers. Just follow the same pressing technique to make sure that crust stays tight underneath your filling.
What is the best way to get these creamy cheesecake dessert cups out of the pan?
This is a big one! The number one secret here is patience during the chilling process. If you don’t let them set up for the full four hours—or ideally overnight—they just won’t hold their shape when you try to lift them. Since we use paper liners, that makes things way easier than a traditional baked cheesecake.
Once they are rock solid, gently peel the paper away from the sides first. You shouldn’t have much sticking. If, by chance, one is being stubborn, you can stand the muffin tin on its edge and gently run a thin offset spatula right under the paper liner edge, but honestly, good chilling usually avoids that extra step. You want those creamy cheesecake dessert cups to come out intact!
How do I make sure my no bake cheesecake bites set up correctly?
This is all about temperature and timing! For these no bake cheesecake bites to set properly without an oven, you need two things. First, that cream cheese absolutely must be at room temperature before you even start mixing; cold cream cheese will always give you lumps, and lumps won’t smooth out just by chilling.
Second, make sure you give that heavy cream the time it needs to incorporate and thicken slightly when you mix it in. The combination of the fat in the cream cheese and the cold air in the fridge is what firms everything up. If you follow the four-hour minimum chill time, they will be firm enough to handle easily. If they are still looking a little wobbly, they just need more time chilling—don’t try to rush setting up these bite size cheesecake desserts!
Estimated Nutritional Data for these Melt in Your Mouth Treats
I always feel a little guilty looking at the numbers sometimes, but I know the joy these melt in your mouth treats bring is worth every single bite! If you are planning ahead for a gathering or just curious about what’s in these rich little desserts, here is the breakdown. Remember, this is homemade heaven, so these figures are just great estimates based on the ingredients listed in the recipe.
Since we are using real butter and full-fat cream cheese to get that truly creamy cheesecake dessert texture, they are wonderfully satisfying. Please keep in mind that these details are calculated using standard ingredient brands and standard serving sizes for these cheesecake bites. If you use different toppings or different brands of cream cheese, your numbers might shift a bit!
- Serving Size: 1 bite
- Calories: 180
- Fat: 12g (Saturated Fat: 7g)
- Carbohydrates: 16g
- Sugar: 15g
- Protein: 3g
- Cholesterol: 35mg
We aim for maximum flavor here at Cookin’ Corner, and that sometimes means rich ingredients! But because they are perfectly portion-controlled mini cheesecake bites, you can enjoy them guilt-free—you only need one to feel satisfied, which is always a win in my book when serving party perfect cheesecake!
Share Your Experience with Our Best Cheesecake Bites
Wow, we made it through the process! I truly hope you’re looking at a tray piled high with these amazing, creamy little treasures. Making these simple dessert recipes is just as much about the joy in the kitchen as it is about the final delicious product.
Now, the best part for me is hearing from you! Did you make these cheesecake bites? Were they the hit of your party? I would be thrilled if you took a minute to leave a rating down below—you know, the starry ones! Your feedback helps me keep making sure these recipes are truly the most dependable ones out there.
Also, I absolutely love seeing how you decorate them! Did you stick to the classic strawberry sauce, or did you try something wild like crushed Oreos or salted caramel? Snap a picture and share it with me! Every time someone tells me how much their family loved these melt in your mouth treats, it reminds me why I love sharing these old-fashioned American comfort foods.
If you want to check out another incredibly easy, no-fuss dessert that always wows people, you can see how I tackle incredible no-bake desserts over at this link! Thanks so much for baking with me today!
PrintNo-Bake Mini Cheesecake Bites: Easy Party-Perfect Dessert
Make these irresistibly delicious, creamy No-Bake Mini Cheesecake Bites. This simple recipe delivers individual cheesecake cups perfect for parties or quick indulgences with minimal effort.
- Prep Time: 20 min
- Cook Time: 0 min
- Total Time: 4 hr 20 min
- Yield: 24 bites 1x
- Category: Dessert
- Method: No Bake
- Cuisine: American
- Diet: Vegetarian
Ingredients
- 1 1/2 cups graham cracker crumbs
- 1/4 cup granulated sugar
- 6 tablespoons unsalted butter, melted
- 16 ounces cream cheese, softened
- 1 cup powdered sugar
- 1 teaspoon vanilla extract
- 1/4 cup heavy cream
- Optional topping: Strawberry sauce or chocolate ganache
Instructions
- Prepare the crust: In a medium bowl, mix the graham cracker crumbs and 1/4 cup granulated sugar. Pour in the melted butter and stir until the mixture resembles wet sand.
- Press the crust mixture firmly into the bottom of a mini muffin tin lined with paper liners. Use the bottom of a small glass to pack it down well.
- Make the filling: In a large bowl, beat the softened cream cheese with an electric mixer until smooth. Scrape down the sides of the bowl.
- Gradually add the powdered sugar to the cream cheese mixture, beating until fully combined and smooth.
- Beat in the vanilla extract and heavy cream until the filling is light and creamy. Do not overmix.
- Spoon or pipe the cheesecake filling evenly over the crusts in the muffin tin.
- Chill the bites: Place the muffin tin in the refrigerator and chill for at least 4 hours, or until the filling is firm.
- Once set, remove the paper liners. Top each mini cheesecake bite with your choice of strawberry sauce or chocolate ganache before serving.
Notes
- For a firmer crust, you can bake the crusts for 5 minutes at 350°F before chilling, but this recipe works well without baking.
- Make ahead desserts like these store well in an airtight container in the refrigerator for up to 3 days.
- If you want a pink velvet look, add 1-2 drops of red food coloring to the cream cheese mixture before adding the vanilla.
Nutrition
- Serving Size: 1 bite
- Calories: 180
- Sugar: 15
- Sodium: 110
- Fat: 12
- Saturated Fat: 7
- Unsaturated Fat: 5
- Trans Fat: 0
- Carbohydrates: 16
- Fiber: 0
- Protein: 3
- Cholesterol: 35