
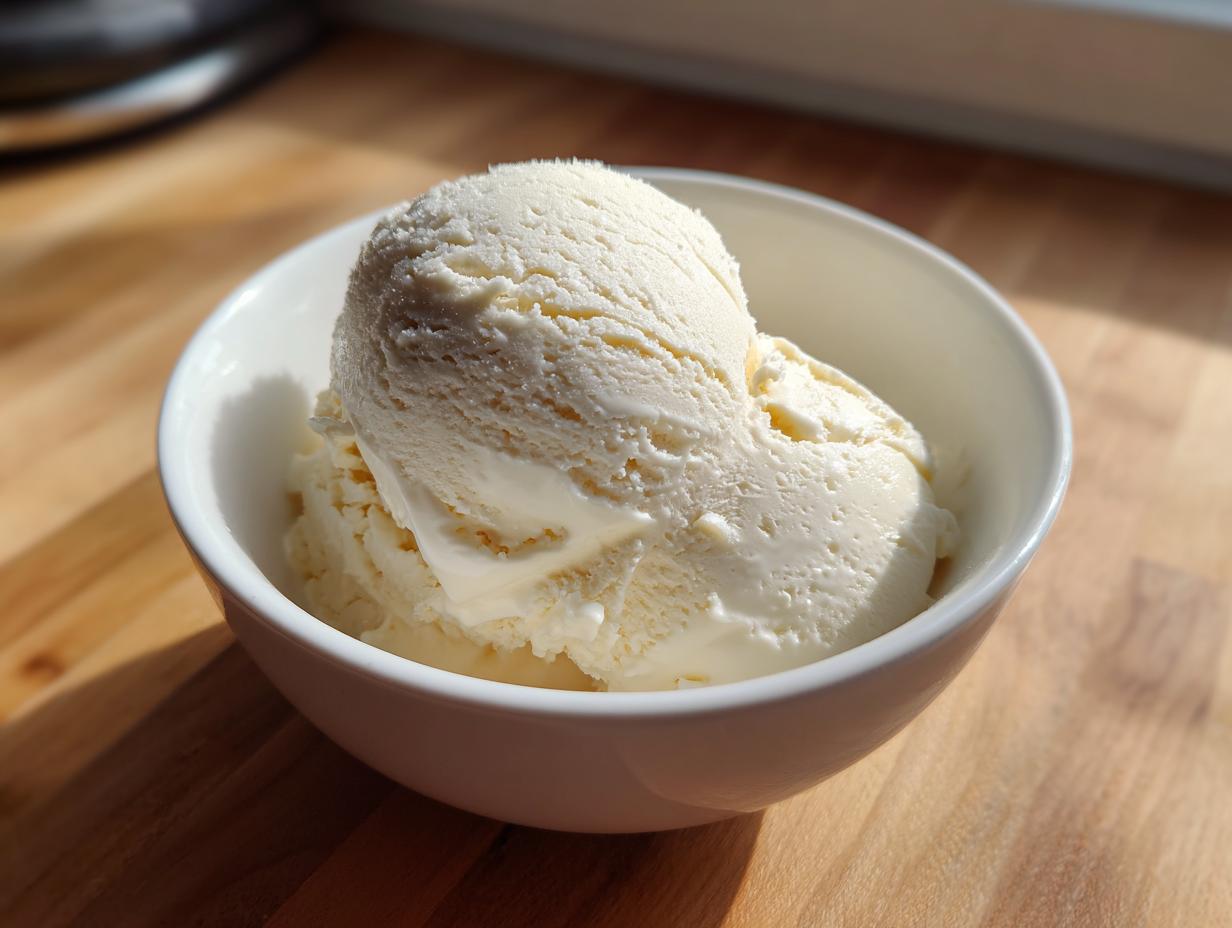
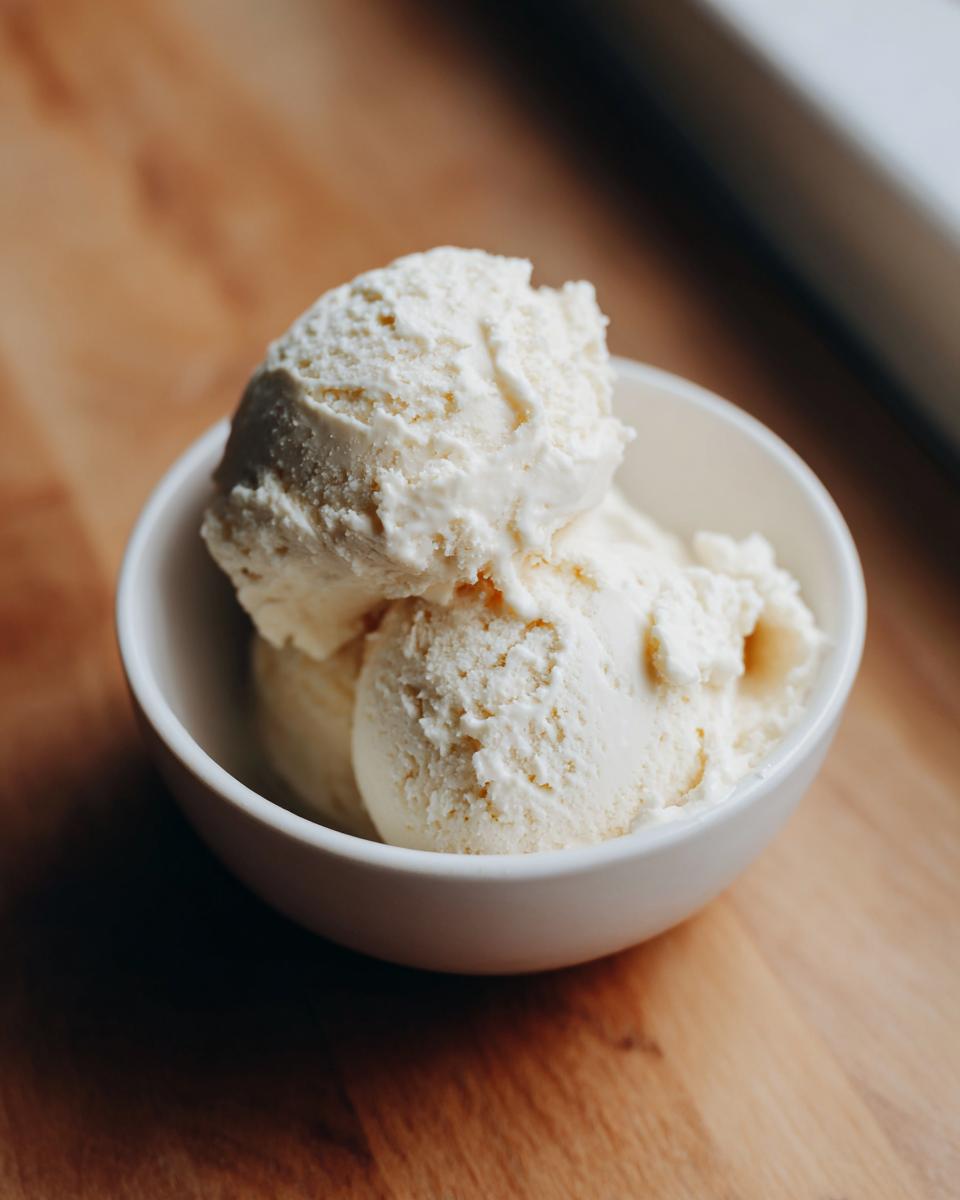
Oh, I totally get it. You’re staring down your macros, you’ve crushed your workout, and now the siren song of dessert is loud. How do you enjoy something truly decadent without completely derailing your progress? That’s why I developed this recipe, because here at Cookin’ Corner, we believe food should be love, not guilt! This creamy, scoopable **protein ice cream** is the answer you’ve been searching for. It transforms simple ingredients into the ultimate macro friendly frozen treat you crave.
This isn’t some icy, disappointing powder sludge, I promise. I test every recipe endlessly so you don’t have to waste ingredients. This versatile base works like a dream whether you have the new Ninja Creami machine or if you just want a simple no-churn option. It’s incredibly satisfying and proves you don’t have to sacrifice flavor just because you’re eating healthy.
- Why This is the Best Protein Ice Cream Base You Will Make
- Gathering Your Ingredients for Perfect Protein Ice Cream
- How to Prepare Your Simple Protein Ice Cream Base
- Tips for the Ultimate Macro Friendly Ice Cream Texture
- Flavor Variations for Your Homemade Protein Dessert Ideas
- Storage and Reheating Instructions for Protein Ice Cream
- Understanding Nutrition for This Guilt Free Ice Cream Recipe
- Common Questions About Making Protein Ice Cream
- Share Your Favorite Protein Ice Cream Creations
Why This is the Best Protein Ice Cream Base You Will Make
Listen, I know what you’re thinking. Most homemade protein ice cream recipes end up tasting like frozen chalk or maybe worse—icy snow cones. Not this one! That’s the beauty of keeping the ingredients minimal but choosing them smartly. This base is specifically designed to deliver maximum creaminess, making it one of the best **low calorie fitness treats** you’ll ever whip up.
We get fantastic results whether you’re using the machine everyone is talking about or taking the slow and steady no-bake route. It truly is a game-changer when you’re watching your numbers because it keeps that **macro friendly ice cream** promise without any weird aftertaste.
Quick Prep for High Protein Ice Cream Recipes
The best part? You spend maybe five minutes throwing everything into the blender. Seriously, that’s it for the prep! This speed makes it perfect for those days when you absolutely need a **post workout frozen snack** right now, or even just as a quick midnight sweet fix. It’s so fast, you can transition from workout to dessert in no time.
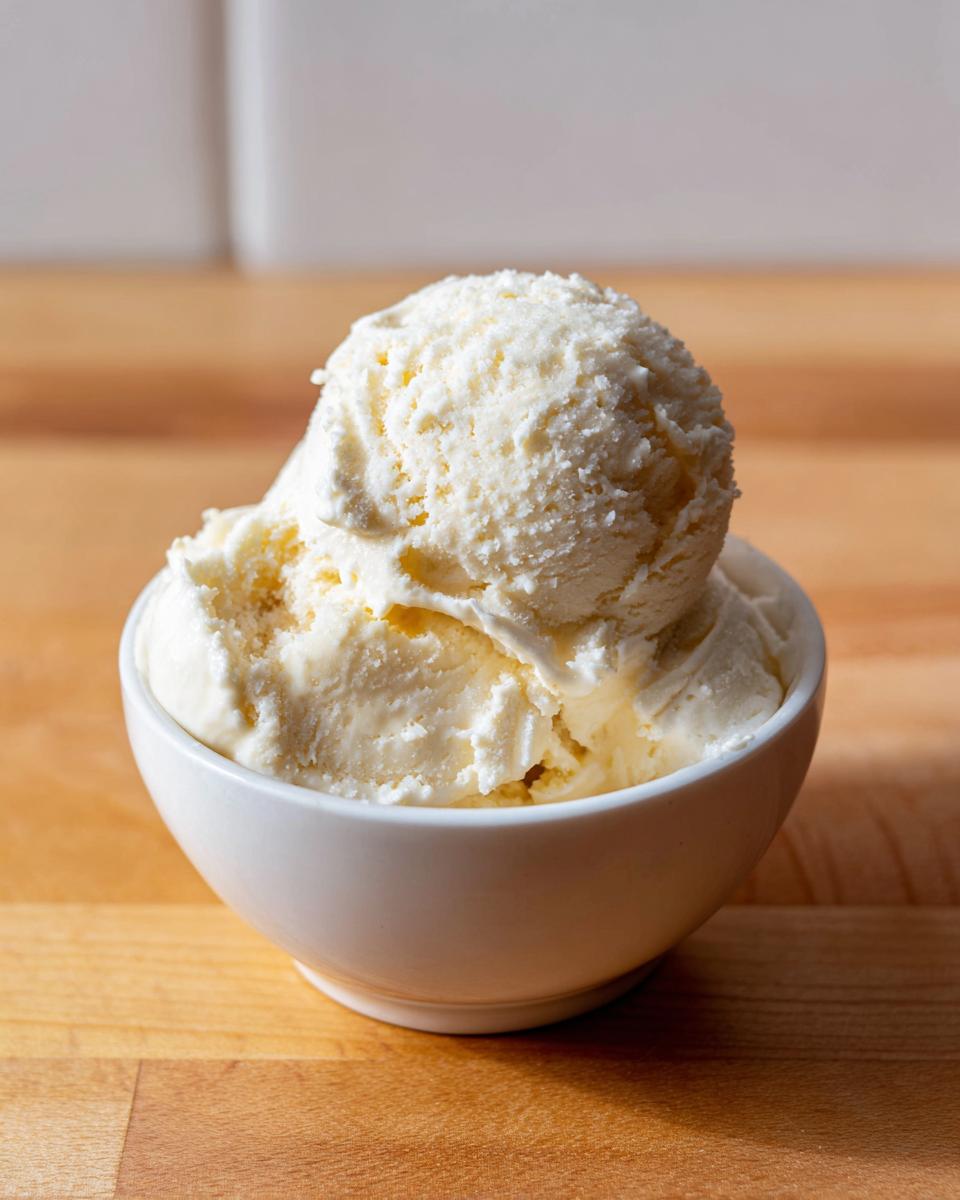
Texture Perfection: Creamy Protein Ice Cream No Churn or Creami
The secret sauce to avoiding that dreaded iciness—which plagues so many **high protein ice cream recipes**—is dairy density. By adding just a touch of Greek yogurt or cottage cheese, you are loading up on stabilizers without adding sugar. This one swap makes all the difference when you’re aiming for truly **easy protein ice cream no churn** success.
Gathering Your Ingredients for Perfect Protein Ice Cream
Okay, let’s talk about what actually goes into this magic mixture. We keep the ingredient list super short, which is awesome for keeping it low-calorie fitness treats territory, but every single item counts! You’ll need just one scoop of your favorite protein powder, half a cup of liquid—I usually grab skim milk, but unsweetened almond milk is brilliant too if you’re watching carbs closely. Then comes the texture secret weapon: a quarter cup of either non-fat plain Greek yogurt or, if you’re feeling adventurous, cottage cheese. Don’t panic about the cottage cheese; we blend it until it vanishes! If you want to explore using cottage cheese in savory dishes first, you can check out my recipe for cottage cheese toast.
You’ll also want half a teaspoon of vanilla extract for warmth, and just a touch of low-calorie sweetener if your protein powder isn’t super sweet already. If you’re using the Ninja Creami, or if you just want that *extra* smooth, non-icy finish in no-churn situations, sprinkle in about a quarter teaspoon of xanthan gum. Trust me, that little bit of gum stops the texture from going gritty.
Protein Powder Selection for Your Protein Ice Cream
This is where I get super particular, as it really impacts your final **protein ice cream** quality. If you can, use a blend that has both whey and casein protein in it. Whey mixes well, but casein is the real MVP for freezing because it thickens up beautifully. If you only use whey, your frozen dessert might freeze a little harder and might need that extra re-spin in the Creami. Casein helps keep it scoopable and creamy, which is key for any **cottage cheese ice cream base** you might be dabbling in too!
How to Prepare Your Simple Protein Ice Cream Base
Okay, now that we have our perfect ingredients ready to go, let’s get this sweet treat mixed up! The total hands-on time is ridiculously short, which is exactly what we want for quick, healthy recipes around here. Just watch out for the xanthan gum—a little goes a long, long way! When you’re done blending everything, feel free to check out my recipe for whipped hot chocolate if you need another quick, fun recipe for your next sweet craving.
Blending the Creamy Protein Ice Cream Mixture
First things first: everything goes into the blender or food processor. Seriously, toss in your protein powder, your milk, that Greek yogurt or cottage cheese, the vanilla, and any sweetener you decided to use. Blend it up! You need to blend this until it is completely smooth. If you used cottage cheese, I mean absolutely pulverized—you shouldn’t see any curds at all. If you’re adding that tiny bit of xanthan gum for texture stability, sprinkle it in gently while the blender is on a very low setting just until you see it disappear.
Freezing and Processing for Ninja Creami Protein Desserts
Once it’s perfectly smooth, pour that glorious mix into your Ninja Creami pint. Remember, don’t fill it past the MAX line! Pop it flat into the freezer and leave it alone for a full 24 hours. Patience here pays off! When it’s rock solid, run the whole container using the ‘Lite Ice Cream’ setting. If it comes out looking a little crumbly—which happens sometimes—don’t panic! Just add a splash of milk and hit the ‘Re-spin’ button until you get those amazing **ninja creami protein desserts** results.
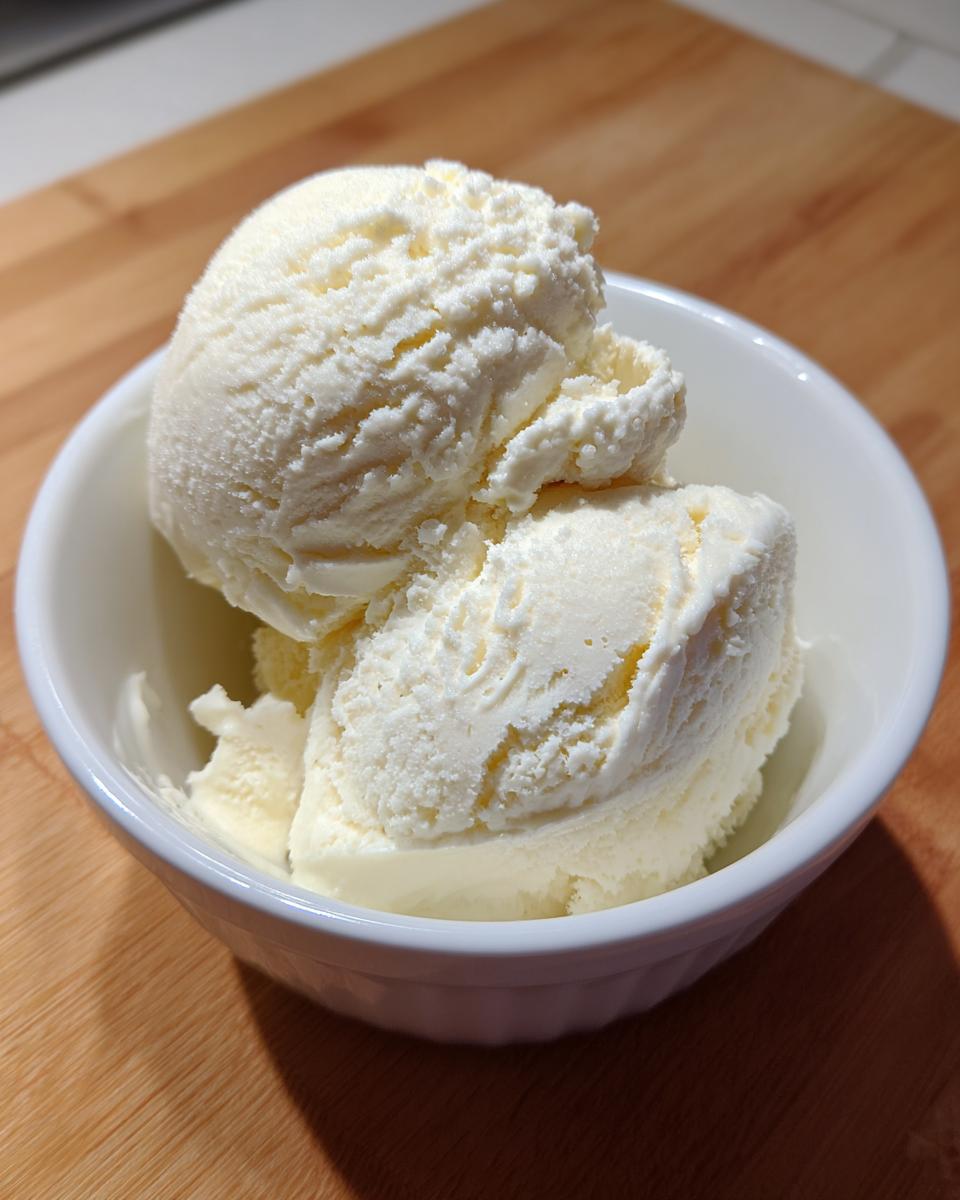
Achieving Smoothness with Easy Protein Ice Cream No Churn Method
If you don’t have the machine, we turn it into a surprisingly good version of **easy protein ice cream no churn** right in a loaf pan. Pour the mixture in and freeze it solid. But here’s the trick: every 30 minutes for the first two hours, you have to pull it out and stir it aggressively with a fork or whisk. This breaks up those big ice crystals that try to form and keeps the texture closer to real ice cream until it’s fully firm.
Tips for the Ultimate Macro Friendly Ice Cream Texture
Now that you’ve blended and frozen your base, let’s talk about fine-tuning that texture because we are aiming for decadence, not disappointment! If you are working with the no-churn method, the texture is all about aeration. The more you whisk those first two hours, the less icy it gets—it’s pure elbow grease leading to a better **macro friendly ice cream**.
If you are using the Ninja Creami and it still feels a little dry after the re-spin, try adding just a tiny bit more milk or even a splash of zero-calorie MCT oil right before that final spin. That extra fat content, even a tiny bit, makes a huge difference in mouthfeel!
For flavor, a pinch of salt, even in vanilla, really wakes up the sweetness without adding sugar. I swear by it! Don’t be afraid to experiment with the tiniest amounts of thickeners like a half teaspoon of sugar-free pudding mix if you find your protein flavor makes the texture too soft. These little tweaks ensure every serving of your **protein ice cream** is scoopable and perfect.
Flavor Variations for Your Homemade Protein Dessert Ideas
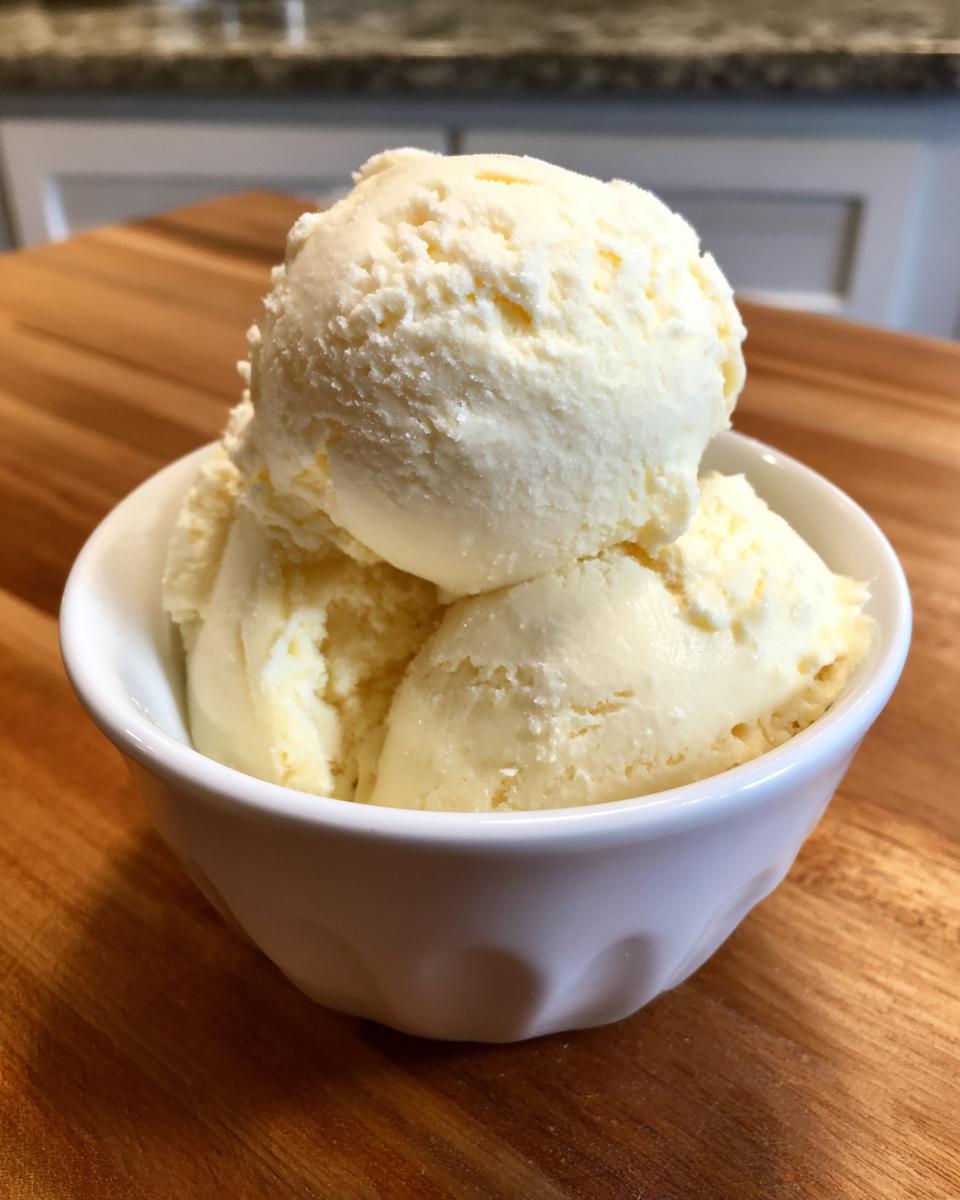
Vanilla is wonderful, it’s the perfect blank canvas, but if you’re going to commit to making a batch of this, you might as well mix things up, right? Making these **homemade protein dessert ideas** means you’re in complete control of the flavor profile. It’s so easy to switch things up once you have this basic blend down. If you’re looking for more inspiration after you’ve nailed this one, I have a whole collection of easy-to-make treats like my cake mix cookie bars that use simple pantry staples!
Creating Chocolate Protein Ice Cream
If you’re a chocolate person like me, you don’t have to wait for a special recipe! You can transform this vanilla base into a rich chocolate flavor in seconds. When you blend your ingredients, just swap out the vanilla protein for chocolate protein powder. That’s step one! Then, you add about one tablespoon of plain, unsweetened cocoa powder. That cocoa powder really deepens the color and the flavor profile, making it unbelievably rich without adding any sugar or fat.
Exploring Best Protein Ice Cream Flavors
Once you get the chocolate version down, you can start playing around with other great options for the **best protein ice cream flavors**. A super easy one I love is mocha! Just add half a teaspoon of instant coffee or espresso powder right in with the liquids before you blend. It gives it a beautiful depth that pairs wonderfully with the vanilla.
Another winner is peanut butter! Instead of using a teaspoon of xanthan gum, try adding one tablespoon of powdered peanut butter (like PB2). It gives you that wonderful nutty flavor and actually helps thicken the base even more, which is fantastic if you’re going the no-churn route!
Storage and Reheating Instructions for Protein Ice Cream
Since this is a **protein ice cream** recipe, how you store it really affects how it eats later. If you are using the Ninja Creami pint, just put the lid on tight and stick it back in the freezer. That’s it! But sometimes, the no-churn version can freeze up like a brick because we skipped the churning process.
If that happens—and don’t worry, it happens to me too—don’t try to scoop it right away! Just let it sit on the counter for about 10 to 15 minutes before you try serving it. That little bit of time lets the texture relax just enough. If you’re using the Creami and it freezes too solid, remember that Re-spin button is your best friend!
Understanding Nutrition for This Guilt Free Ice Cream Recipe
Now, a very important note before you dive into those scoops! When we talk about making **guilt free ice cream recipes**, we need to be honest about the numbers. Because I use different protein powders—some are higher in carbs, some use different sweeteners—the nutritional panel I provided earlier (about 180 calories and 30g of protein) is really just an estimate, okay?
It’s based on my specific combination of skim milk and vanilla whey/casein blend. If you swap the almond milk for regular 2% milk, or if you use a protein powder that has added sugars, those totals change quickly!
So, here’s my real advice from the Cookin’ Corner: treat those numbers as a great starting point for making **healthy frozen dessert** ideas, but if you are meticulously tracking specific macros—which I often am—please calculate the exact nutrition based on the exact brands of powder and milk you use. That way, you know precisely what you’re packing into your fantastic **protein ice cream**!
Common Questions About Making Protein Ice Cream
When you dive into the world of homemade frozen treats, naturally you end up with a few questions! I remember when I first started experimenting with making my own fitness desserts; it felt like I needed a science degree just to stop it from turning into a block of ice. Here are a few things I’ve learned about making the best **protein ice cream** possible, especially regarding texture and keeping those calories low.
Can I use only whey protein powder in this protein ice cream?
Oh, you absolutely *can*, but you might need to adjust your expectations a tiny bit, or maybe your freezing time! Whey protein is great because it blends up super smooth, but it doesn’t absorb or bind liquid quite as effectively as casein does when it freezes. If you use 100% whey, your final **protein ice cream** might freeze up a little harder, almost like a dense sherbet.
If you’re using the Ninja Creami, that’s fine—just be prepared to run that Re-spin cycle! If you’re going the no-churn route, you might need to let it soften on the counter a little longer before scooping. For the creamiest scoop, try to find a blend that has at least 40% casein, or try adding a tiny bit of sugar-free pudding mix to mimic that texture binder!
What is the best milk substitute for a lower calorie fitness treat?
If your main goal is keeping the calories and carbs as low as possible for a truly **lower calorie fitness treat**, my favorite liquid swap is easy: unsweetened almond milk or even just filtered water! This works especially well if you’re already using a protein powder that is heavily flavored, like a really sweet birthday cake flavor.
If you just use water, it will be thinner, so that’s where that little bit of xanthan gum (or maybe a little more of that Greek yogurt!) becomes essential to keep the body. For the absolute lowest calorie version, just remember that less liquid means a denser freeze, so be ready to re-spin or let it thaw a moment!
How do I make this a low sugar frozen yogurt style protein ice cream?
This recipe is already heading that direction because we rely on protein powder sweeteners, but if you want to guarantee that **low sugar frozen yogurt style** experience, you need to be deliberate about your sweetener choice! If your protein powder isn’t sweet enough for your liking, make sure any extra sweetener you add—like stevia, monk fruit, or erythritol—is zero-calorie.
By avoiding any fruit purees or actual sugar syrups, you keep the profile clean and sugary-sweet without the sugar grams. If you love that slightly tartness that yogurt often brings, that’s already built in with the Greek yogurt step—we already took care of the tang for you!
When you have success getting this recipe just right, you can find tons of other great ideas over in my collection of healthy recipes on the blog!
Share Your Favorite Protein Ice Cream Creations
Baking is always better when we do it together, right? That’s the whole spirit of Cookin’ Corner—sharing honest, working recipes! I truly hope this easy **protein ice cream** base makes its way into your freezer rotation this week.
Once you try it, I absolutely need to hear how it turned out for you! Did you use the Ninja Creami? If so, did it land perfectly the first time, or did you need that little extra re-spin? Or maybe you took the no-churn route and want to tell me how you kept the ice crystals away. Drop a star rating right below the recipe card so other folks know how reliable this classic vanilla base is!
And please, get adventurous with the flavors we talked about! I’d love to see your takes on chocolate, coffee, or maybe you discovered something even better. You can always send me a note or connect with me directly over on the contact page. If you want to see the original inspiration for the no-churn version I tested, you can check out the details over on this creamy no-churn recipe linked here!
Happy freezing, friends. I can’t wait to hear all about your delicious, guilt-free finds!
PrintEasy High-Protein Vanilla Ice Cream (Ninja Creami or No-Churn)
Make this incredibly creamy, high-protein ice cream base that works perfectly in the Ninja Creami or as a simple no-churn frozen dessert. It is a macro-friendly treat ready in minutes.
- Prep Time: 5 min
- Cook Time: 0 min
- Total Time: 24 hr 5 min
- Yield: 1 pint (2 servings) 1x
- Category: Dessert
- Method: Freezing/Blending
- Cuisine: American
- Diet: Low Fat
Ingredients
- 1 scoop vanilla whey or casein protein powder
- 1/2 cup skim milk or unsweetened almond milk
- 1/4 cup non-fat plain Greek yogurt or cottage cheese (for extra creaminess)
- 1/2 teaspoon vanilla extract
- Optional: 1-2 teaspoons low-calorie sweetener (like erythritol or stevia)
- Optional: 1/4 teaspoon xanthan gum (for texture stability)
Instructions
- Combine the protein powder, milk, Greek yogurt (or cottage cheese), vanilla extract, and sweetener (if using) in a blender or food processor. Blend until completely smooth.
- If using xanthan gum, sprinkle it over the mixture while blending on low speed until incorporated.
- Pour the mixture into a Ninja Creami pint container. Do not fill past the max fill line.
- Freeze the container flat in the freezer for at least 24 hours until solid.
- Process the frozen base using the ‘Lite Ice Cream’ or ‘Ice Cream’ setting on your Ninja Creami machine.
- If the texture is powdery, add 1-2 tablespoons of milk and run it on the ‘Re-spin’ setting until creamy.
- For a no-churn option, freeze the mixture in a loaf pan, stirring vigorously every 30 minutes for the first 2 hours to break up ice crystals, then freeze until firm.
Notes
- Using a blend of whey and casein protein yields the best texture. Casein thickens better when frozen.
- For a chocolate version, substitute vanilla protein with chocolate protein powder and add 1 tablespoon of unsweetened cocoa powder.
- If you use cottage cheese, ensure it is blended very smoothly to avoid a grainy texture.
- This recipe is excellent for post-workout recovery or as a low-calorie fitness treat.
Nutrition
- Serving Size: 1/2 pint
- Calories: 180
- Sugar: 4
- Sodium: 150
- Fat: 1
- Saturated Fat: 0.5
- Unsaturated Fat: 0.5
- Trans Fat: 0
- Carbohydrates: 10
- Fiber: 1
- Protein: 30
- Cholesterol: 10